Most self tanner mistakes happen before the bottle is even opened. Streaky ankles, orange palms and patchy elbows usually come down to rushed prep, dry skin in the wrong places or a product that's too dark for a first try. Get the night before right, and the application itself becomes surprisingly forgiving.
The other secret is choosing the right formula for your comfort level. A gradual lotion is almost impossible to mess up. A dark mousse with a ten-minute dry time is a different story. Start gentle, learn how your skin takes color, and build from there.
This guide to self tanner for beginners walks you through the four main types, how to prep your skin, the exact order to apply it with a mitt, how to handle hands, feet and your face, and when to rinse. You'll also find a simple 3-day timeline and a streak fix-it table for the moments when things don't go to plan.
Think of your first tan as practice, not a performance. A slightly uneven ankle is a lesson, not a disaster, and it fades within a week.
How Self Tanner Actually Works
Most self tanners use an ingredient called DHA, a sugar-derived compound that reacts with the very top layer of your skin and turns it a golden brown over a few hours. It isn't a stain and it doesn't go deep. It simply colors the surface cells, which is why your tan fades as your skin naturally sheds, usually over five to seven days.
That one fact explains almost every tip below:
- Dry, flaky spots grab more color, because there are more loose surface cells there. Hello, dark knees.
- Smooth, freshly exfoliated skin takes color evenly, and it fades evenly too.
- Uneven fading happens when skin sheds unevenly, so daily moisturizing makes your tan last longer and look better.
And one important note: a self tan does not protect you from the sun at all. You still need your usual sunscreen, even when you look sun-kissed.
The 4 Types of Self Tanner (and Which One To Start With)
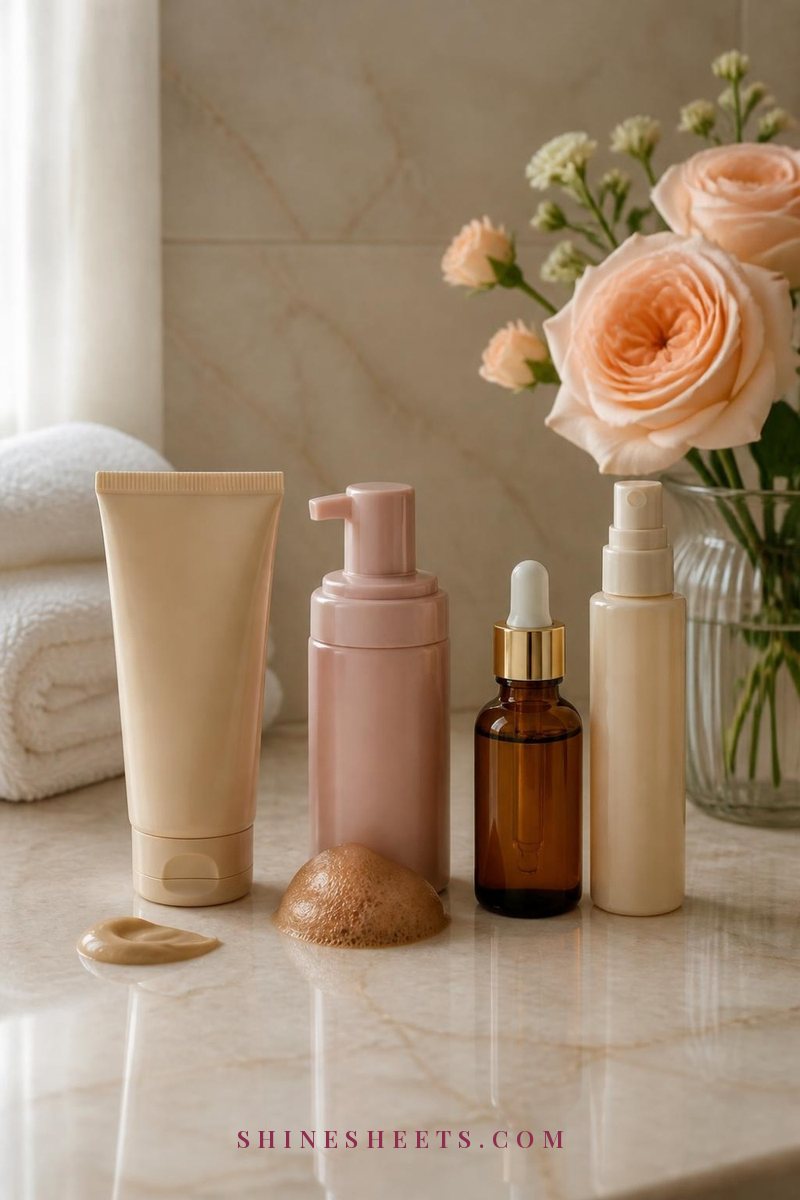
Formulas differ in how fast they dry, how forgiving they are and how much color you get. Here's how to choose.
1. Gradual Tan Lotion
This is the friendliest place to start. A gradual tan lotion looks and feels like a regular body moisturizer, but it builds a soft color over two or three days of daily use. If you miss a spot, nobody will notice, because the color is so sheer.
A gradual tan body lotion is my pick for anyone nervous about streaks. Look for one with a light or medium shade, a fast-absorbing texture and moisturizing ingredients like glycerin or shea butter. Apply it after your evening shower, wash your hands right after, and wait until you see how it develops before adding more.
2. Self Tanning Mousse
Mousse is the classic "real" self tanner. It's lightweight, dries quickly and usually has a tinted guide color so you can see where you've applied it. That guide color is very helpful for beginners, because you can spot missed patches before they develop.
A self tanning mousse in a light-to-medium shade is a great second step once you've tried gradual lotion. Look for "fast drying" and a guide color on the label, and avoid the darkest shade for your first few tans.
3. Tanning Drops
Tanning drops are a concentrated formula that you mix into your own moisturizer or serum. They're popular for the face because you control the depth: two drops for a hint of warmth, four or five for a deeper look.
Because you're using your usual moisturizer, drops are a nice option for sensitive or combination skin like mine, as long as you patch test first. More on this in the face section below.
4. Tanning Water or Mist
Tanning waters and mists are clear, lightweight sprays. They feel almost like nothing on the skin and dry fast, but without a guide color they're harder to see while applying. They work well for touch-ups on hard-to-reach areas like your back, or for a top-up on day three or four. I'd save them for once you know how your skin takes color.
Quick guide: nervous and want zero risk? Gradual lotion. Want visible color and a guide to follow? Mousse. Face only? Drops. Touch-ups and back? Mist.
How To Choose Your First Shade
The most common beginner mistake is reaching for "dark" because it looks lovely in photos. On real skin, a first tan that's too deep shows every streak and fades in patches. Go one step lighter than you think you want, and build.
- Very fair or fair skin: choose "light" or "fair." It gives a soft, healthy warmth rather than an obvious tan.
- Light to medium skin: "medium" is usually the sweet spot, and it's easy to deepen with a second layer.
- Olive or deeper skin: "medium" or "dark" works well, and a formula with a violet or green undertone helps avoid any orange tint.
If you're unsure, try your chosen shade first on a small, hidden patch like your inner thigh. Check it after eight hours in daylight, not under bathroom lighting, which tends to make everything look warmer than it really is.
How To Prep Your Skin the Day Before
Good prep is about 80 percent of a good tan. Plan to do these steps the day before (or at least the morning before) your tan night.
Step 1: Shave or Wax 24 Hours Ahead
Shaving right before tanning leaves pores slightly open, and DHA can settle into them as little dark dots. Shave or wax at least 24 hours before tanning so your skin has time to calm down. If you tend to get dark dots on your legs anyway, my guide to strawberry legs explains why it happens and how to soften it.
Step 2: Exfoliate 24 Hours Before

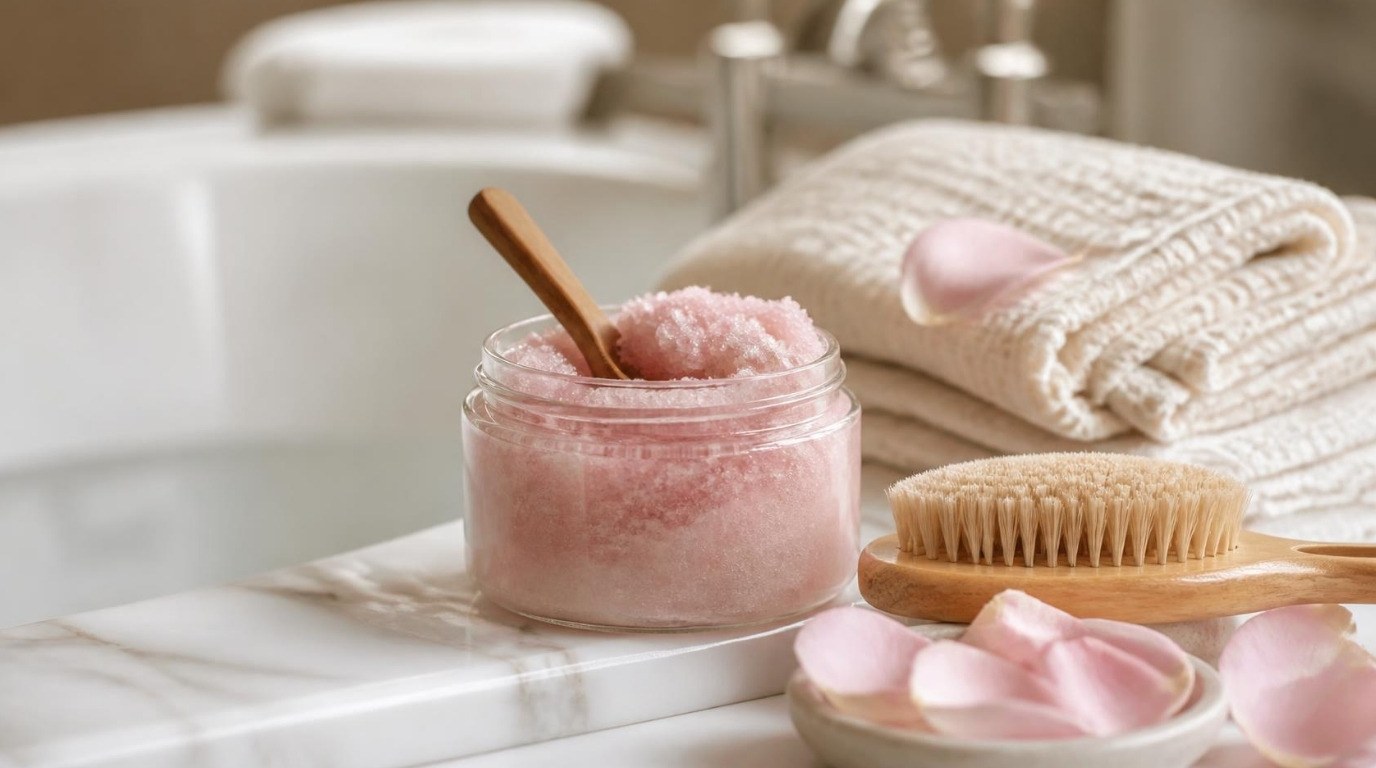
Exfoliating removes the dry, flaky cells that would otherwise grab too much color. Use an exfoliating body mitt in the shower with your usual body wash, working in small circles over your whole body and spending extra time on knees, elbows, ankles and the tops of your feet. Look for a textured mitt that feels firm but not scratchy.
Two little rules: skip oil-based scrubs on tan day, because oil can create a barrier that stops the tanner from developing evenly, and don't over-scrub irritated or broken skin. If you'd like a full routine around this, my body care routine guide covers exfoliating and moisturizing in more detail.
Step 3: Barrier Your Dry Spots
Right before applying, smooth a thin layer of plain, light moisturizer on the areas that always go too dark: elbows, knees, ankles, heels, wrists, knuckles and between your fingers and toes. This creates a light barrier so they take less color and blend with the rest of you. Use just a small amount, then let it sink in for a couple of minutes.
Step 4: Start With Clean, Bare Skin
On tan night, shower (no oils), dry off completely and skip deodorant, perfume and body lotion except on your barrier spots. These can react with the tanner or create patches. Tie back your hair and wear something old and dark you don't mind marking.
How To Apply Self Tanner With a Mitt
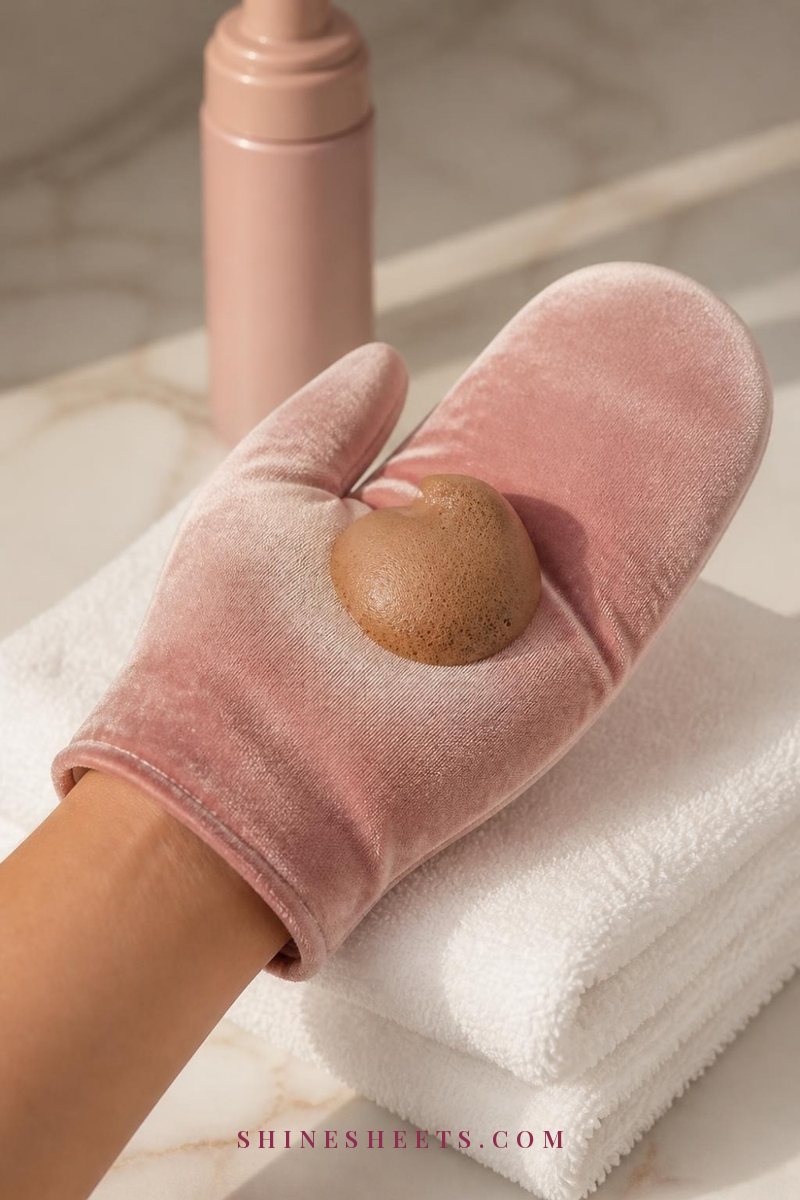
A tanning mitt is non-negotiable for mousse and lotion tanners. It keeps your palms from turning orange and helps you blend in smooth, even layers. A soft velvet tanning mitt with a waterproof inner layer is ideal, because the product sits on the surface instead of soaking through. Rinse it after every use and let it air dry.
Work in front of a well-lit spot, and follow this order:
- Start with your legs. Pump two pumps of mousse onto the mitt and apply in long, sweeping, circular motions from the ankle up to the thigh. One leg at a time.
- Move to your stomach and chest. Use one to two pumps, sweeping in circles.
- Do your arms. One pump per arm, starting at the wrist and moving up to the shoulder.
- Reach your back. Use a back applicator or ask for help, or simply wrap the mitt around a wooden spoon handle if you're on your own.
- Finish with the tricky areas. Use only what's left on the mitt for knees, elbows, ankles and feet. No new product.
Two habits make the biggest difference: blend each area for longer than you think you need to, and always apply less, not more. You can add a second layer tomorrow. Taking it off is much harder.
Hands, Feet, Elbows and Knees
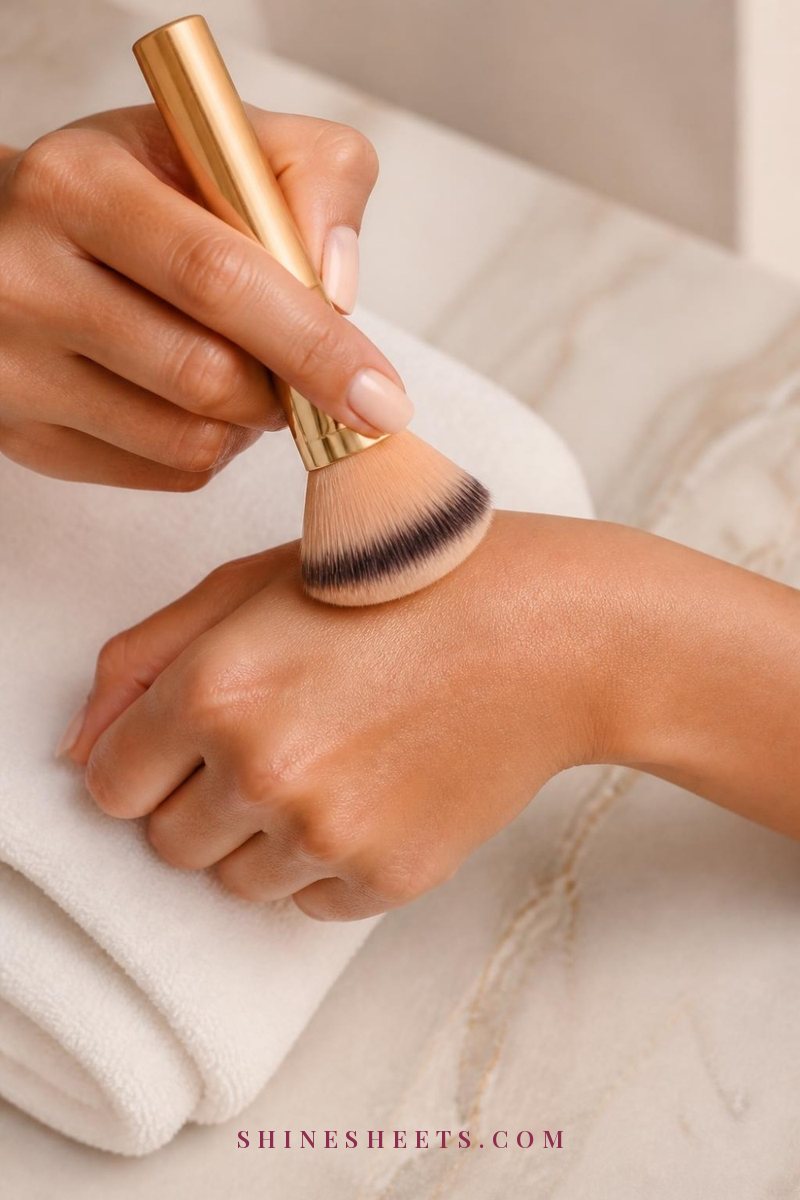
These are the spots that give a self tan away, so they deserve a slightly different technique.
- Hands: use what's left on the mitt or a fluffy brush. A dense kabuki brush is perfect here. Make a loose fist and buff from your wrist down over the back of your hand and knuckles, then open your hand and lightly sweep between the fingers. Wipe your palms and nails with a damp cotton pad afterwards.
- Feet: point your toes and sweep the leftover product from your ankle over the top of your foot in one or two strokes. Avoid the sides and soles, and wipe around the toenails and heels.
- Elbows and knees: bend the joint and buff gently with no extra product. Your barrier moisturizer will keep them from going too dark.
- Wrists and ankles: blend the edges with the kabuki brush in small circles so there's no visible line.
Then wash your hands thoroughly with soap, scrubbing between fingers and around nails, even if you used a mitt.
How To Tan Your Face
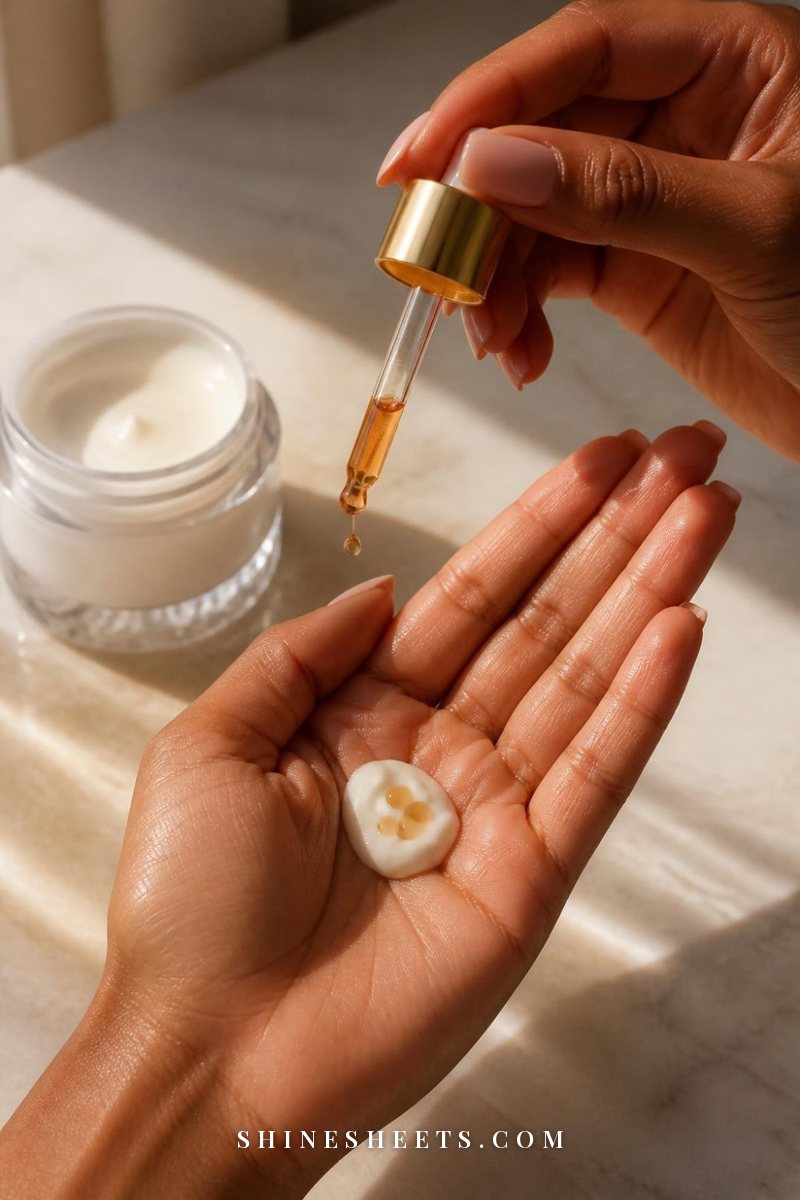
Facial skin is thinner and often more sensitive, so most people prefer a separate product. Self tanning face drops are my top suggestion: mix two drops into your usual evening moisturizer in your palm, then apply as normal, blending out past your jawline and onto your neck and ears. Wash your hands straight away and wipe your eyebrows and hairline with a damp cotton pad.
A few face tips:
- Start with fewer drops than the bottle suggests. You can add more the next night.
- Apply at night, after your full skincare routine, and skip strong actives like retinol or acids that evening so your skin isn't extra reactive.
- Exfoliate your face gently a day before. My guide on how to exfoliate your face explains how to do it without irritation.
- If you have breakout-prone or sensitive skin, look for "non-comedogenic" and "fragrance-free" on the label.
Drying, Dressing and Rinsing
Once you're done, the next hour is all about not smudging your hard work.
- Let it dry for 10 to 15 minutes. Stand, keep your arms slightly away from your body and avoid sitting with your legs crossed.
- Wear loose, dark clothing. An old oversized T-shirt and loose pajama pants are perfect. Skip bras with tight straps and socks if you can.
- Avoid water and sweat. No workouts, hot baths or washing dishes until you rinse.
- Rinse when the label says. Most standard tanners develop in 6 to 8 hours, so many people sleep in them. Express formulas can be rinsed after one to three hours depending on how deep you want the color.
- First shower: lukewarm water only. Just let the guide color run off, without soap or scrubbing. Pat dry gently with a dark towel.
Your real color appears once the guide color washes away, and it often keeps deepening a little over the next few hours.
Your 3-Day Self Tanning Timeline
Here's the whole process in one simple plan. Screenshot it before your first tan so you don't have to remember everything.
| When | What to do | Why it matters |
|---|---|---|
| Day before (morning or evening) | Shave or wax, then exfoliate your whole body with a mitt. Moisturize with a light, oil-free lotion. | Gives pores time to close and removes dry cells that cause patches. |
| Tan night: 30 minutes before | Quick shower with no oils, dry completely, tie hair back, put on old dark clothes nearby. | Clean, dry, product-free skin takes color evenly. |
| Tan night: 5 minutes before | Barrier moisturizer on elbows, knees, ankles, heels, wrists, knuckles. | Stops dry areas from going too dark. |
| Tan night: application | Legs, torso, arms, back, then joints, hands and feet with leftover product. Face with drops. | The right order means less product on tricky spots. |
| Tan night: after | Wash hands well, dry 10–15 minutes, loose dark clothes, no water or sweat. | Prevents smudges, transfer and streaks. |
| Morning after | Lukewarm rinse with no soap, pat dry, moisturize everywhere. | Reveals the true color and starts even fading. |
| Days 2–5 | Moisturize morning and night, use a gentle body wash, avoid scrubs and long hot baths. | Hydrated skin sheds evenly, so the tan fades without patches. |
Streak Fix-It Table
Mistakes happen to everyone, especially on the first few tries. Most of them are easy to soften within a day. Try the gentlest option first and give your skin a break between attempts.
| Problem | Likely cause | How to fix it |
|---|---|---|
| Streaks on legs or arms | Too much product or not enough blending | Exfoliate the streak gently with your mitt in the shower, then blend a little gradual lotion over the lighter edges. |
| Orange or dark palms | Product on hands without a mitt or not washed off | Wash with soap and warm water, then gently buff with a soft exfoliating mitt. A tan remover on a cotton pad also helps. |
| Dark knees, elbows or ankles | No barrier, or extra product on dry areas | Exfoliate those spots only, then moisturize well. Use barrier cream next time. |
| Missed patches | No guide color or rushed application | Apply a small amount of mousse or gradual lotion with the mitt just on the patch and blend the edges. |
| Wrist or ankle "line" | Edges not blended | Buff with a kabuki brush and a tiny bit of lotion, or exfoliate the line lightly. |
| Dark dots on legs | Shaving too close to tanning | Exfoliate gently, wait a few days. Shave 24 hours before next time. |
| Too dark overall | Shade too deep or left on too long | A warm bath followed by a full-body exfoliation lightens it. Choose a lighter shade or shorter rinse time next round. |
| Patchy fading | Dry skin or scrubbing in the shower | Exfoliate everything evenly and start fresh, then moisturize twice daily. |
How To Make Your Tan Fade Evenly
A beautiful tan isn't only about day one. It's about how it looks on day five. These habits keep it soft and even:
- Moisturize twice a day with a rich, oil-free body lotion. Hydrated skin sheds more evenly.
- Pat dry instead of rubbing after every shower.
- Use a gentle body wash and skip scrubs until you're ready to remove the tan completely.
- Top up every three or four days with a gradual lotion if you want to keep the color going.
- Remove it fully before reapplying a full mousse tan. Layering new tan over patchy old tan is how streaks build up. A long, warm shower and a full exfoliation usually does it.
Smooth skin also helps the next tan go on better, so if ingrown hairs are part of the problem, my post on how to get rid of ingrown hairs is worth a read.
A Few Gentle Safety Notes
Self tanner is a lovely alternative to sunbathing, but a few things are worth knowing:
- Patch test first. Apply a small amount behind your ear or on your inner arm and wait 24 hours, especially if your skin is sensitive.
- Keep it out of your eyes, nose and mouth, and wash your hands after every use.
- A tan is not sunscreen. Keep wearing broad-spectrum SPF every day.
- Skip broken, sunburned or irritated skin until it's fully healed.
- If you're pregnant, have a skin condition or notice redness, itching or a rash, stop using it and check with your doctor or a dermatologist.
Final Thoughts
Learning self tanner for beginners is mostly about patience: prep the day before, start with a light formula, use a mitt and give tricky areas only what's left. Your first tan might not be perfect, and that's completely fine. Each try teaches you how your skin takes color.
Keep the 3-day timeline and the fix-it table close, be generous with moisturizer and enjoy that soft, sun-kissed look without a single hour in the sun.