Nail polish rarely chips because of the polish itself. It chips because of what happens before and after it goes on: a thin film of oil on the nail, coats that are too thick, a bare tip that takes every knock, a hot shower an hour later. Fix those small things and even an inexpensive drugstore shade can look fresh for a full week.
The good part is that none of this is complicated. Long-lasting polish is mostly about prep, patience and a couple of tiny habits during the week. You don't need gel, a lamp or a salon appointment, just a clear order of steps and a little discipline with your top coat.
This guide explains how to make nail polish last longer, step by step: why regular polish chips, how to prep and dehydrate your nails, how to apply base coat, thin color coats and top coat, how to cap the free edge, how long to really let it dry and how to protect it all week. There's also a day-by-day polish wear plan, a quick fix for small chips and the shades that hide wear best. Everything here is for classic, sheer and nude manicures, no nail art required.
Why Nail Polish Chips So Fast
Regular nail polish is a thin film that sits on top of your nail. It doesn't bond to the nail the way gel does, so anything that weakens its grip or stresses its edges shortens its life. The most common reasons:
- Oils on the nail plate. Natural oils, hand cream or cuticle oil left on the nail stop polish from gripping. It's the number one reason polish peels off in sheets.
- Water. Nails absorb water and swell slightly, then shrink as they dry. Polish doesn't flex with them, so it cracks and lifts. Long showers, dishes and baths are the biggest culprits.
- Thick layers. A thick coat feels efficient but stays soft underneath for hours, dents easily and peels more readily.
- Skipping base or top coat. Base coat gives color something to grip; top coat is the protective shield on top. Without them, color wears directly.
- Unsealed tips. The free edge of your nail takes every tap on a keyboard and every zip you pull. If polish isn't wrapped over it, the tip wears first.
- Using nails as tools. Opening cans, scraping labels and picking at stickers chips polish instantly.
- Not enough drying time. Polish can feel dry in 15 minutes but stay soft underneath for hours.
Once you see the list, the fixes almost write themselves.
What You Need for Long-Lasting Polish
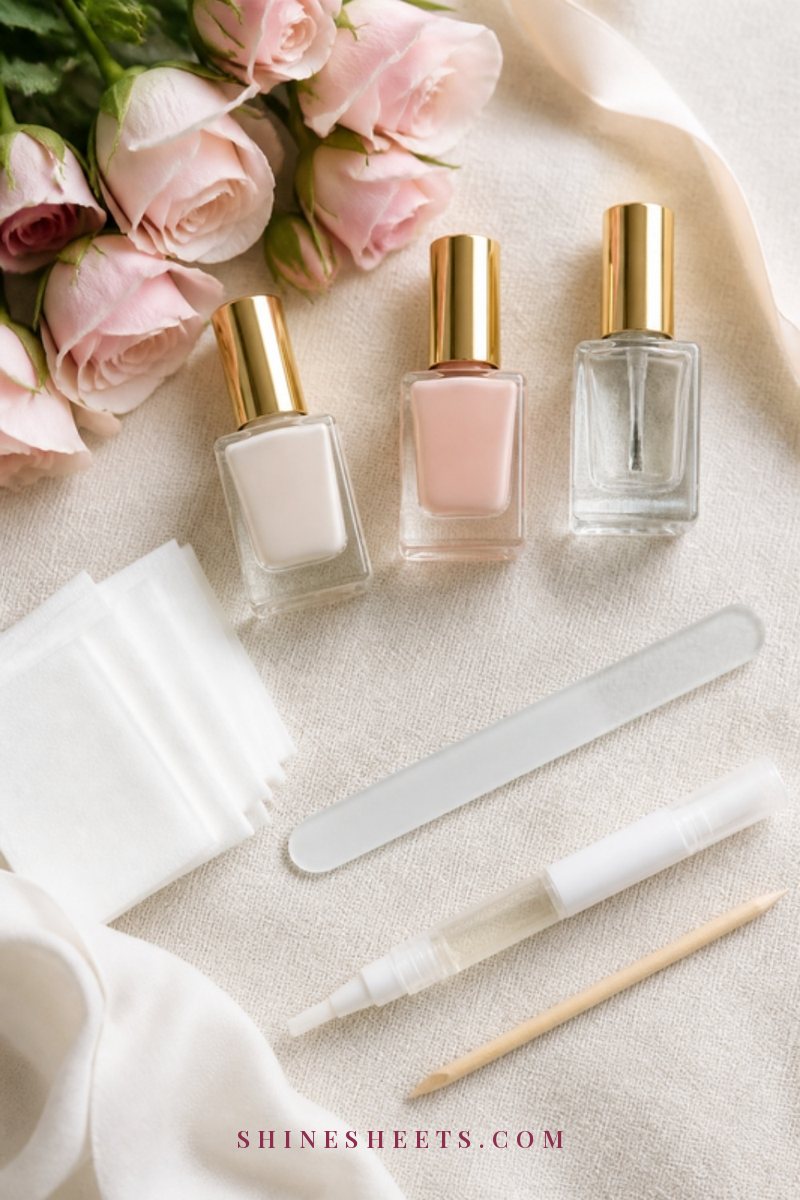
A small, good kit matters more than an expensive color. Here's what makes the difference:
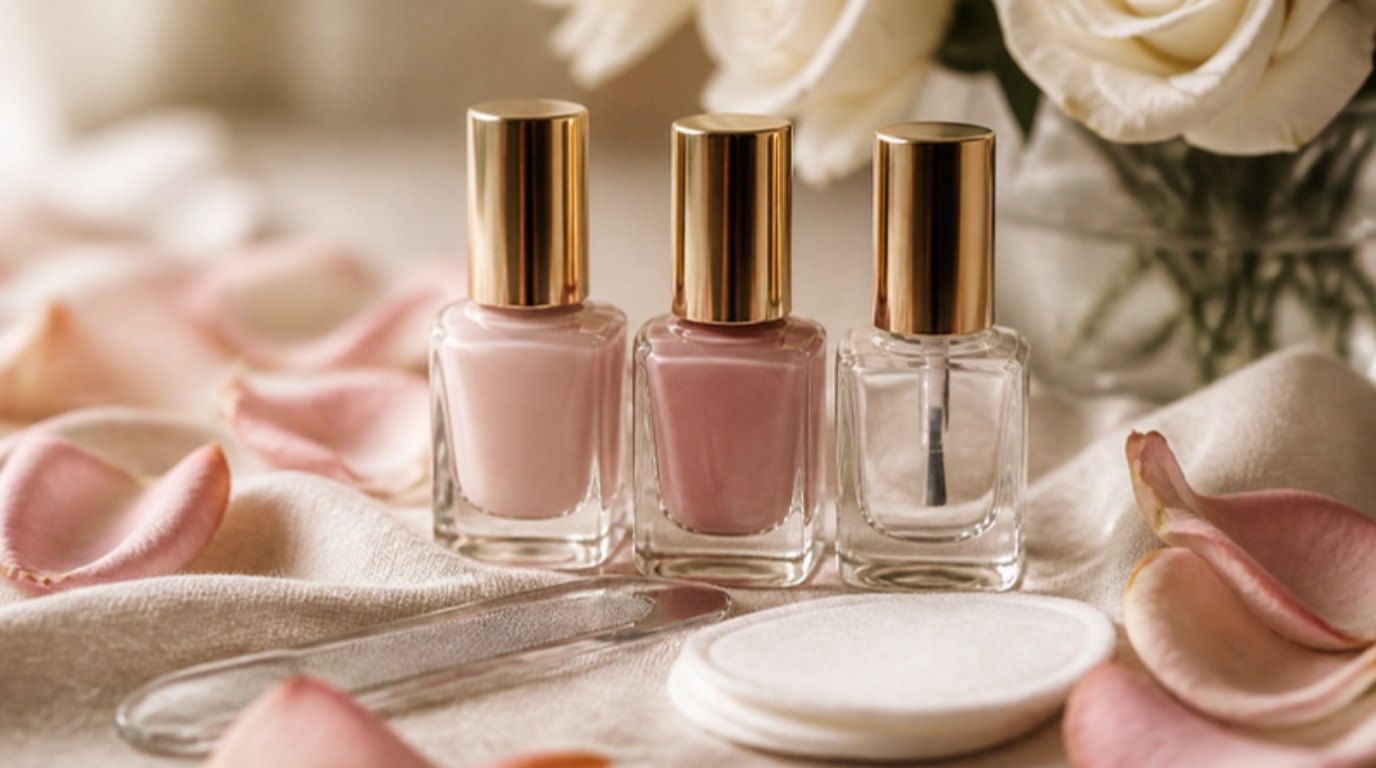
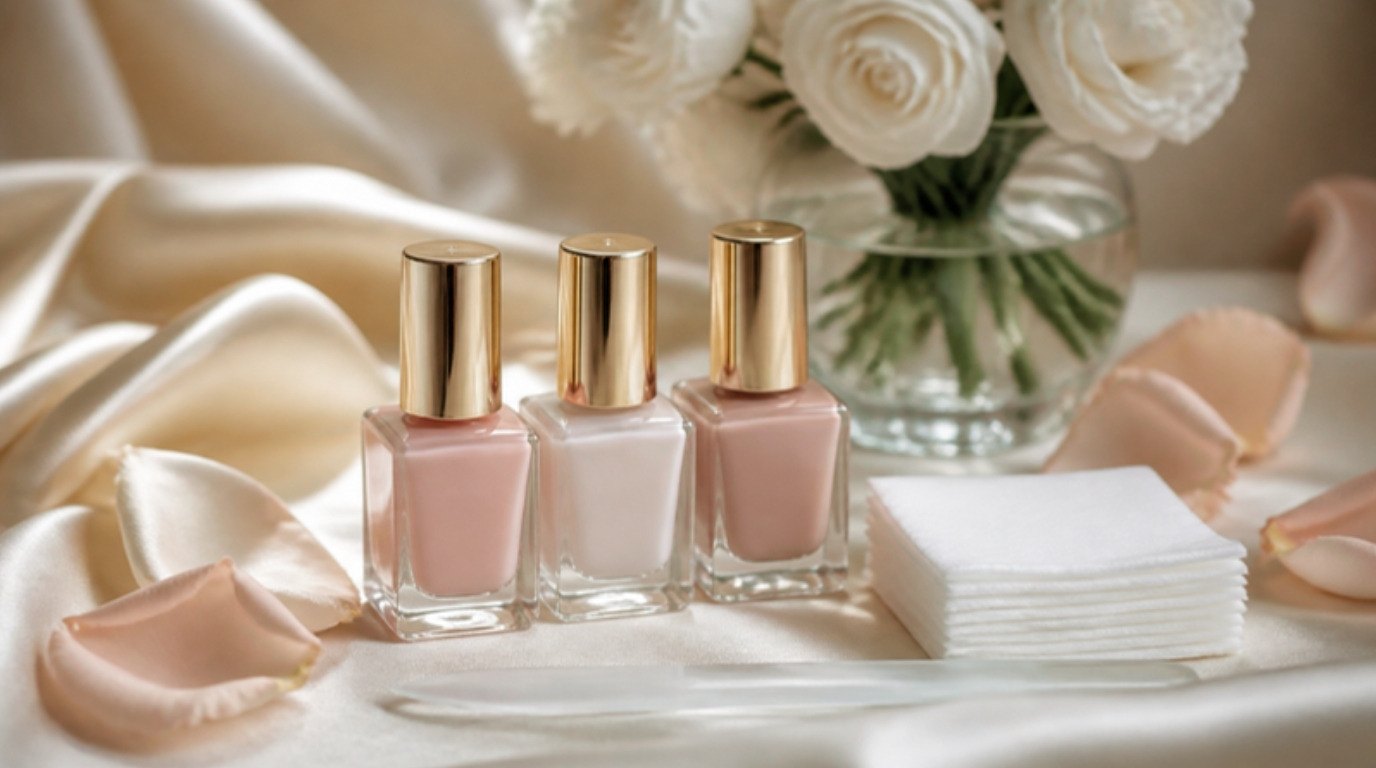
- Remover. An acetone-free nail polish remover is gentler on your nails and cuticles for everyday sheer and nude shades.
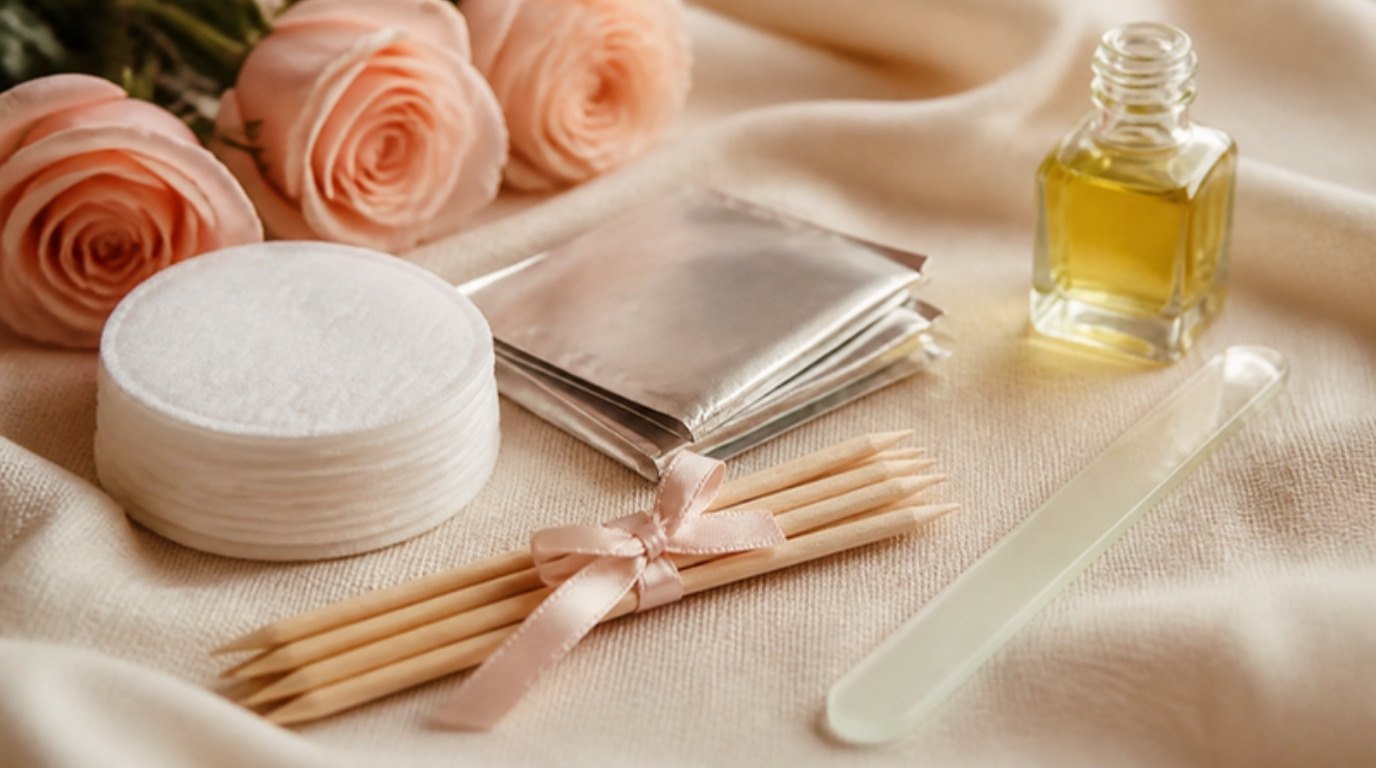
- Lint-free wipes. Lint-free nail wipes clean the nail plate without leaving tiny fibers that make polish bumpy.
- A good base coat. Look for a nail base coat that says it's for grip or strengthening. Some are slightly sticky when dry, which is exactly what you want.
- Your color. A sheer pink, a soft nude or a classic red.
- A top coat. A quick-dry top coat adds shine, protects the color and shortens the soft, vulnerable drying window.
- A glass or fine-grit nail file. Smooth, sealed edges hold polish better.
- A small clean-up brush or cotton swab. For tidying the edges.
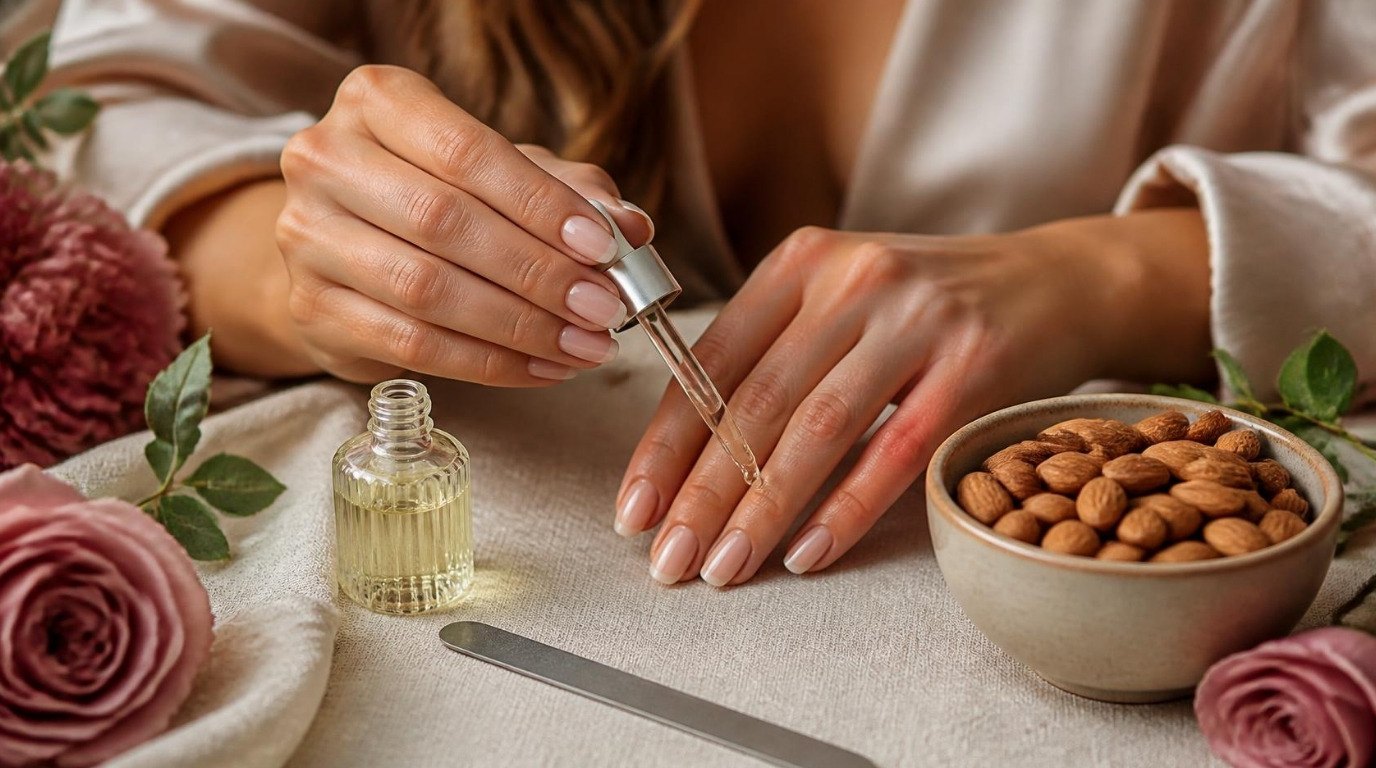
- Cuticle oil. For after your polish has dried, and every day after that.
If you're new to doing your own nails, my at-home manicure guide walks through the full routine from start to finish, and this guide zooms in on the steps that make it last.
How To Make Nail Polish Last Longer in 10 Steps
Follow these in order. Each step either helps the polish grip or protects it from wear, and skipping one usually shows up as a chip by day three.
1. Start With Bare, Clean Nails
Remove every trace of old polish, including the bits along the cuticle and sides. Press a remover-soaked pad on the nail for 10 seconds, then swipe toward the tip. Then wash your hands with soap and dry them thoroughly. Old polish residue creates bumps that new polish lifts from.
2. File and Shape Before You Paint
Shape your nails while they're dry. Wet nails are softer and fray more easily. File in one direction, from the side toward the center, and keep a gentle, rounded or soft square shape. Sharp corners and pointy tips chip first because they take more knocks.
A smooth, sealed edge also helps the polish wrap around the tip later. My guide on how to file your nails covers shapes and file grits if you'd like more detail.
3. Push Back Cuticles Gently
Polish that touches your cuticles or skin will lift there first. Gently push your cuticles back with a wooden stick or rubber pusher so you have a clean margin to paint inside. There's no need to cut them. My cuticle care guide explains how to keep them soft and neat between manicures.
Do this step without cuticle oil today, or wash it off thoroughly afterwards, because oil is the enemy of grip.
4. Dehydrate the Nail Plate
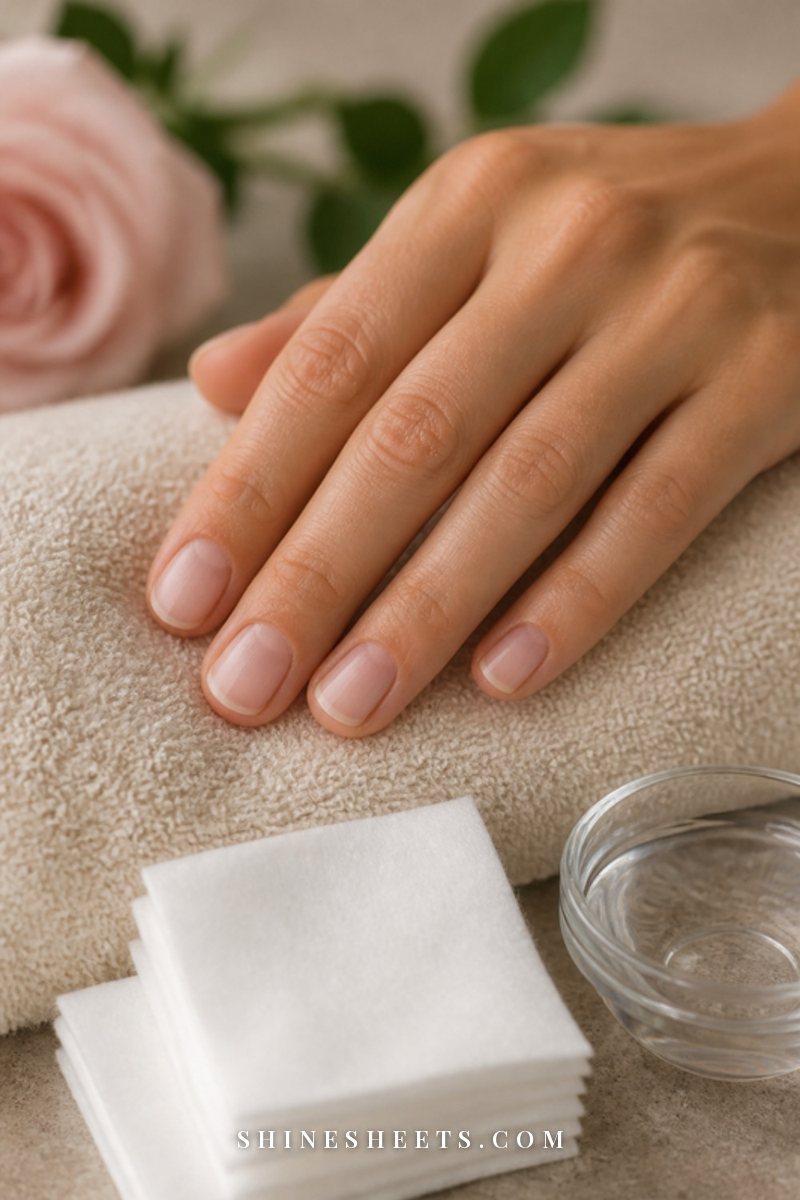
This is the step most home manicures skip, and it makes a big difference. Wipe each nail firmly with a lint-free wipe dipped in remover or rubbing alcohol. It removes the invisible film of oil and lotion that keeps polish from sticking.
Wipe the whole nail, including the sides and the very tip. From now on, try not to touch your nails with your fingers, and definitely don't put on hand cream until you're done.
5. Apply a Thin Base Coat
Brush on one thin layer of base coat, keeping a hair's width away from the cuticle and side walls. Run the brush lightly along the free edge of the nail too. Let it dry for 1 to 2 minutes.
Base coat gives the color something to grip, smooths small ridges and helps prevent staining from deeper shades. Thin is the key word. A thick base coat can actually make polish peel.
6. Paint Two Thin Color Coats
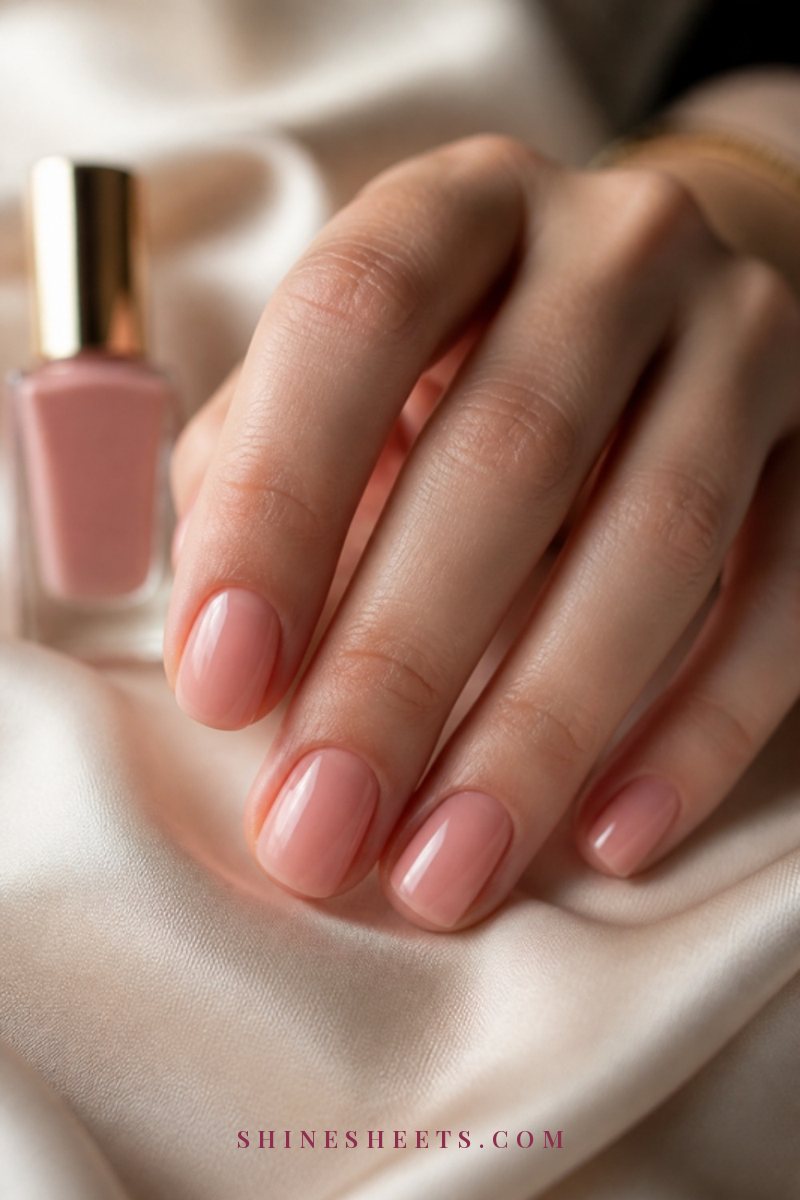
Roll the bottle gently between your palms instead of shaking it, which can create bubbles. Wipe one side of the brush on the bottle neck so you have a small bead of polish on the other side.
Use three strokes per nail: one down the center, then one on each side. Leave that tiny gap at the cuticle and sides. Wait 2 to 3 minutes, then apply a second thin coat the same way. Two thin coats dry faster, harder and smoother than one thick coat, and they last much longer. For very sheer shades, a third thin coat is fine, as long as each one is thin.
7. Cap the Free Edge
After each color coat, hold the brush almost flat and run it lightly along the very tip of the nail, so a thin line of polish wraps over the edge. This is called capping, and it seals the tip where most chips begin.
It feels like a tiny extra step, but it's often the difference between chips on day two and a clean manicure on day six.
8. Seal With Top Coat
Apply one generous but not puddly layer of top coat, covering the whole nail and slightly overlapping the color at the edges. Then cap the free edge with top coat too.
Before the top coat sets, clean up any polish on your skin with a small brush or cotton swab dipped in remover. Polish that sits on skin lifts as the skin moves, and that lifting edge can pull the rest of the polish with it.
9. Give It Time To Dry
Regular polish usually feels dry to the touch in about 15 to 20 minutes, especially with a quick-dry top coat, but it stays soft underneath for several hours and takes up to a full day to fully harden. Plan accordingly:
- First 30 minutes: hands still, no bags, no zips, no digging in pockets.
- First 2 hours: gentle use only. Avoid pressing your nails into anything.
- Before bed: paint at least 2 hours before sleep, or you'll wake up with sheet marks.
Painting in the evening after the dishes and your shower, then reading or watching something calm, is the easiest way to give polish the time it needs.
10. Avoid Hot Water for a Few Hours
Hot water makes the nail swell and softens fresh polish, which is the perfect recipe for early chips and lifting. Try to avoid long showers, baths and washing dishes for at least 2 to 3 hours after painting, ideally until the next day. A quick, lukewarm hand wash is fine.
This is why I'd always paint after a shower, never before.
The 7-Day Polish Wear Plan
This is the unique part of this guide: a simple day-by-day plan to keep polish looking fresh for a full week. Screenshot it and keep it next to your nail kit.
| Day | What to do |
|---|---|
| Day 0 (painting day) | Prep, dehydrate, base coat, two thin coats, cap the tips, top coat. Shower before, not after. No dishes tonight. |
| Day 1 | Polish is now fully hard. Start cuticle oil at night, applied only around the cuticle. Gloves for dishes and cleaning. |
| Day 2 | Quick check: any wear at the tips? Use your finger pads, not nails, for cans, stickers and buttons. |
| Day 3 | Add a fresh thin layer of top coat to every nail and cap the tips again. Let it dry 15 minutes. |
| Day 4 | Fix any small chip with the quick touch-up method below. Cuticle oil at night. |
| Day 5 | Second fresh layer of top coat, tips capped. Your manicure should still look nearly new. |
| Day 6 | Keep wearing gloves for wet chores. Moisturize hands, avoiding the nail surface if you can. |
| Day 7 | Decide: one more top coat for a few extra days, or remove gently and let nails rest for a day before repainting. |
The fresh top coat every two to three days is the step that does the most work. Each layer adds a new protective shield and restores the shine, so small scuffs disappear before they turn into chips.
Daily Habits That Protect Your Polish
What you do between manicures matters as much as the manicure itself. These habits add days to your polish:
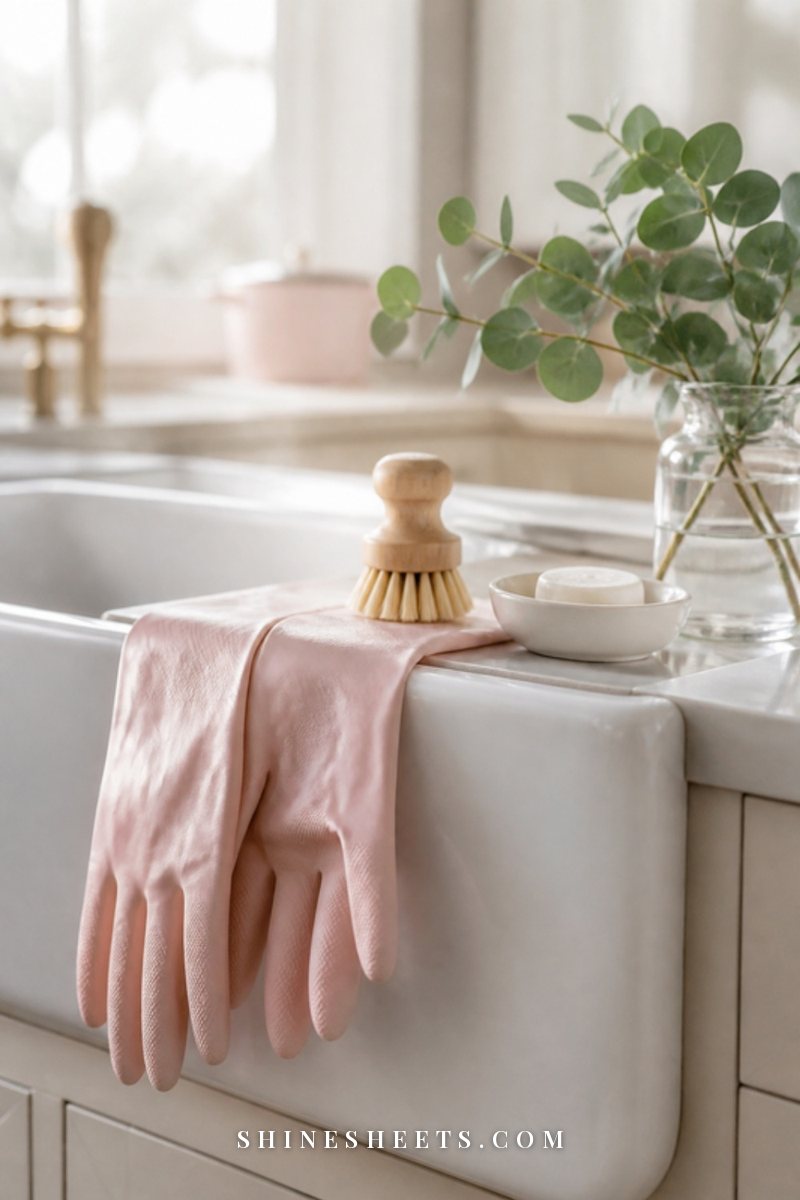
- Wear gloves for wet chores. Dishes, cleaning and scrubbing are the fastest way to lift polish. Keep a pair of pink rubber gloves right next to the sink so you actually use them.
- Use cuticle oil daily, but at the cuticle. A cuticle oil pen lets you apply oil precisely around the nail without flooding the polish. Hydrated nails flex less and crack less, and so does the polish sitting on them.
- Use your finger pads, not your nails. For cans, keys, buttons, labels and stickers, use the pads of your fingers or a tool.
- Keep showers and baths warm, not hot. Hot water softens polish and swells the nail plate.
- Moisturize hands regularly. Dry, cracked skin around the nail can catch on things and pull polish edges up.
- Carry a fine nail file. A snag on a nail edge can drag through polish. File it smooth right away rather than picking at it.
- Don't pick or peel. Peeling polish takes thin layers of the nail with it. If it's lifting, remove it properly.
How To Fix a Small Chip Quickly
A tiny chip doesn't mean starting over. This quick touch-up takes about five minutes:
- Smooth the edge. Very gently buff the edge of the chip with a fine buffer so there's no raised ridge.
- Clean the spot. Wipe the chipped area with a lint-free wipe and a tiny bit of remover, avoiding the rest of the nail.
- Fill the gap. Dab a very small amount of color only into the chipped area. Let it dry 2 minutes. Add a second dab if needed.
- Blend with top coat. Apply a thin layer of top coat over the entire nail and cap the tip. The top coat smooths the edges and hides the repair.
Sheer and nude shades are especially forgiving here. Often the repair is completely invisible.
Which Polish Colors Hide Wear Best
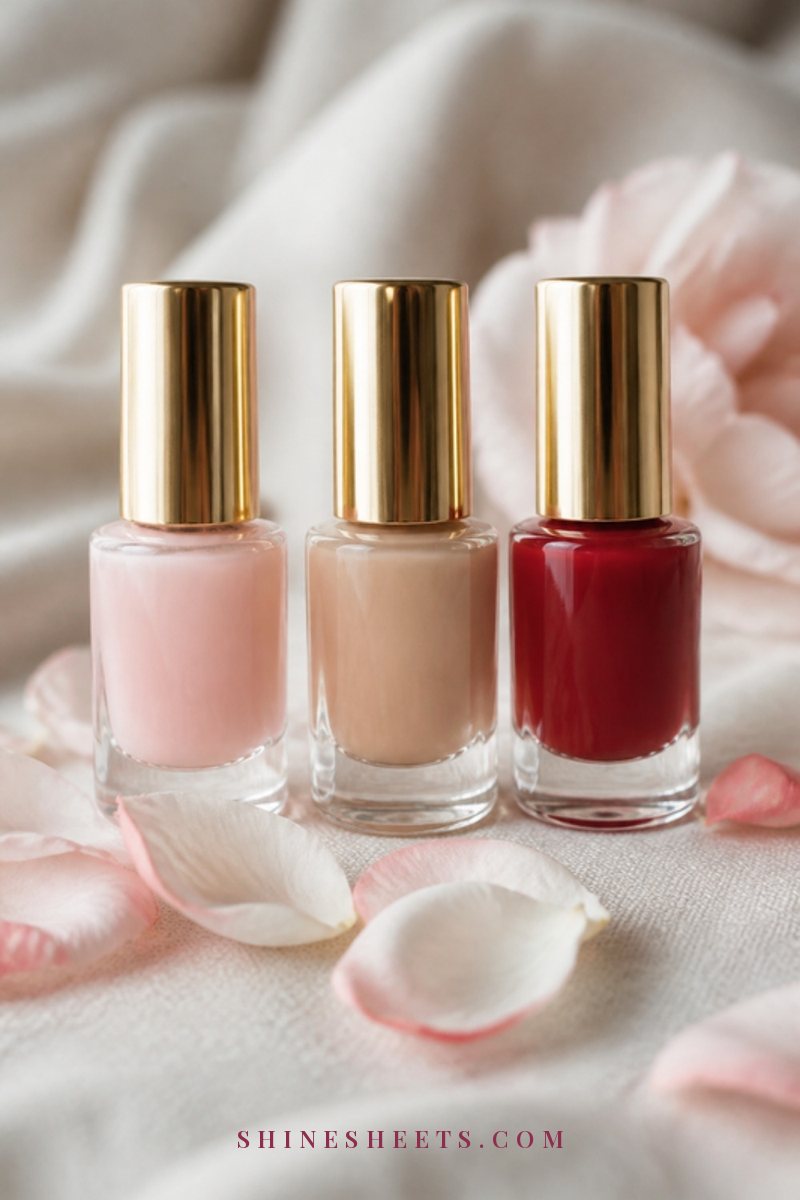
If long wear is your priority, your shade choice can help more than you'd expect:
- Sheer pinks and milky shades are the most forgiving. Tip wear and small chips barely show, and regrowth at the cuticle is almost invisible.
- Soft nudes close to your natural nail color hide wear well and look polished with everything.
- Classic reds and deep berries look striking but show every chip. They're lovely for a special week, but they need the full top-coat routine.
- Very pale, opaque pastels can streak and need thicker coats, so they tend to chip a little sooner.
A sheer pink with the full prep routine is the closest regular polish gets to effortless. It's also the shade I'd choose for a busy week when you know your hands will be working hard.
Common Mistakes That Make Polish Chip
A quick summary of the habits to drop:
- Painting over hand cream or cuticle oil.
- Applying one thick coat instead of two thin ones.
- Skipping base coat or top coat.
- Forgetting to cap the free edge.
- Painting right before a shower or doing dishes the same evening.
- Using an old, thick, gloopy bottle (if it strings off the brush, it's time for a new one).
- Painting in a steamy bathroom, where humidity slows drying.
- Never refreshing the top coat during the week.
And if you wear gel sometimes, the rules are different. My guide on how to make gel nails last longer covers that side.
How Long Should Regular Nail Polish Last?
With good prep and the wear plan above, regular polish on fingernails usually looks fresh for five to seven days, sometimes longer with sheer shades. Without prep, two to three days is typical, which is why so many people assume chips are just part of wearing polish.
A few things affect your personal number:
- How you use your hands. Lots of typing, cooking, gardening or cleaning means more wear at the tips.
- Your nail type. Very flexible, thin or peeling nails bend more, and polish on top cracks sooner. Strengthening your natural nails over time helps polish last too.
- Your polish formula. Older bottles get thick, and thick polish wears faster. Most opened polishes are at their best within a year or two.
- The season. Dry winter air and hot summer water both make nails swell and shrink more.
Toenail polish, by the way, often lasts two to three weeks, because toes don't take the same daily knocks. The same prep rules apply, and my at-home pedicure guide includes the full routine.
When To Give Your Nails a Break
Wearing polish all the time is fine for most healthy nails, but a short break every few weeks is a nice habit. After removing polish, leave your nails bare for a day or two, apply cuticle oil twice a day and take a look at their color and surface. If they look a little dry or have white patches, a few extra polish-free days and plenty of oil usually bring them back. Then start the routine fresh, with a clean nail plate and a thin base coat.
Final Thoughts
Long-lasting polish isn't about the most expensive bottle. It's about clean, oil-free nails, thin coats, sealed tips, real drying time and a fresh layer of top coat every few days. Each step is small, and together they turn a three-day manicure into a full, chip-free week.
Paint after your shower, put on something calm and let the polish set while you rest. Your nails will look neat and cared for all week, and that's a lovely little luxury to give yourself.