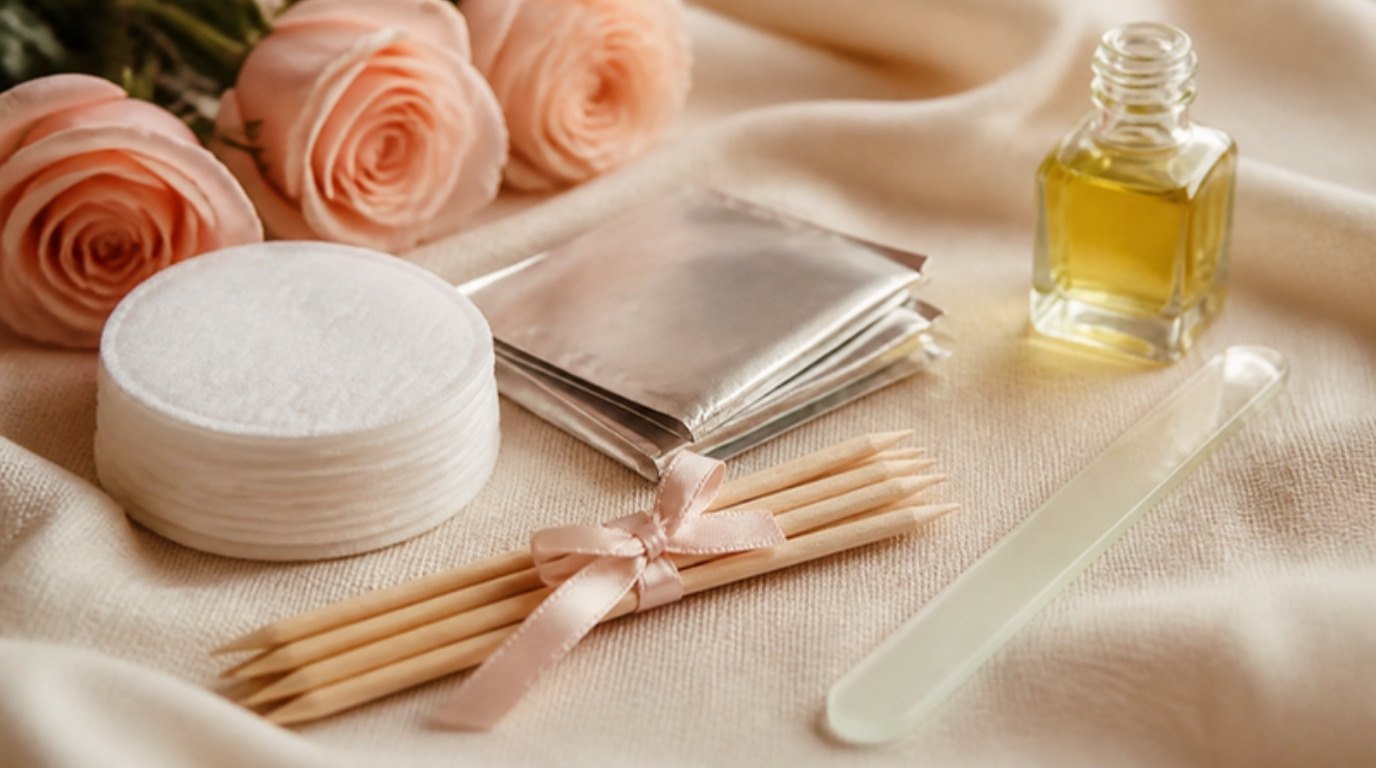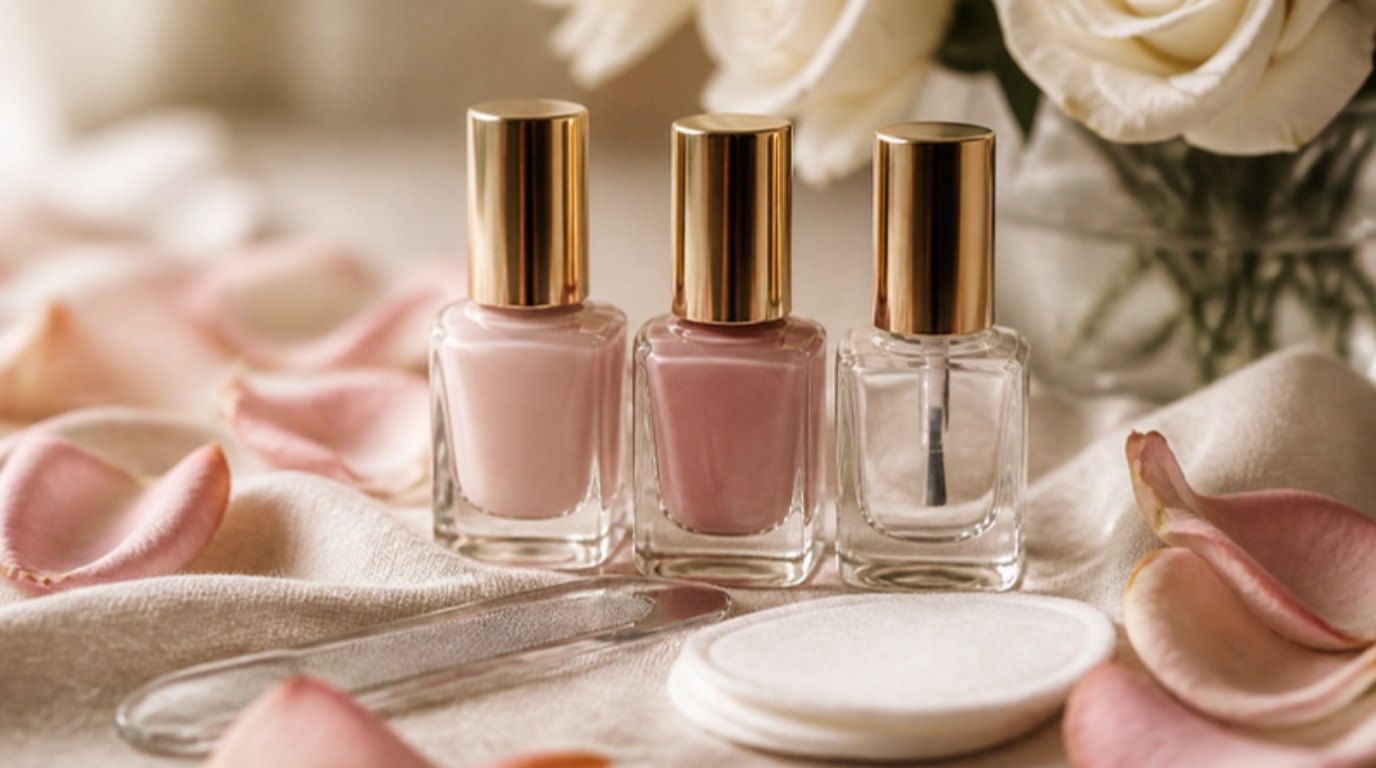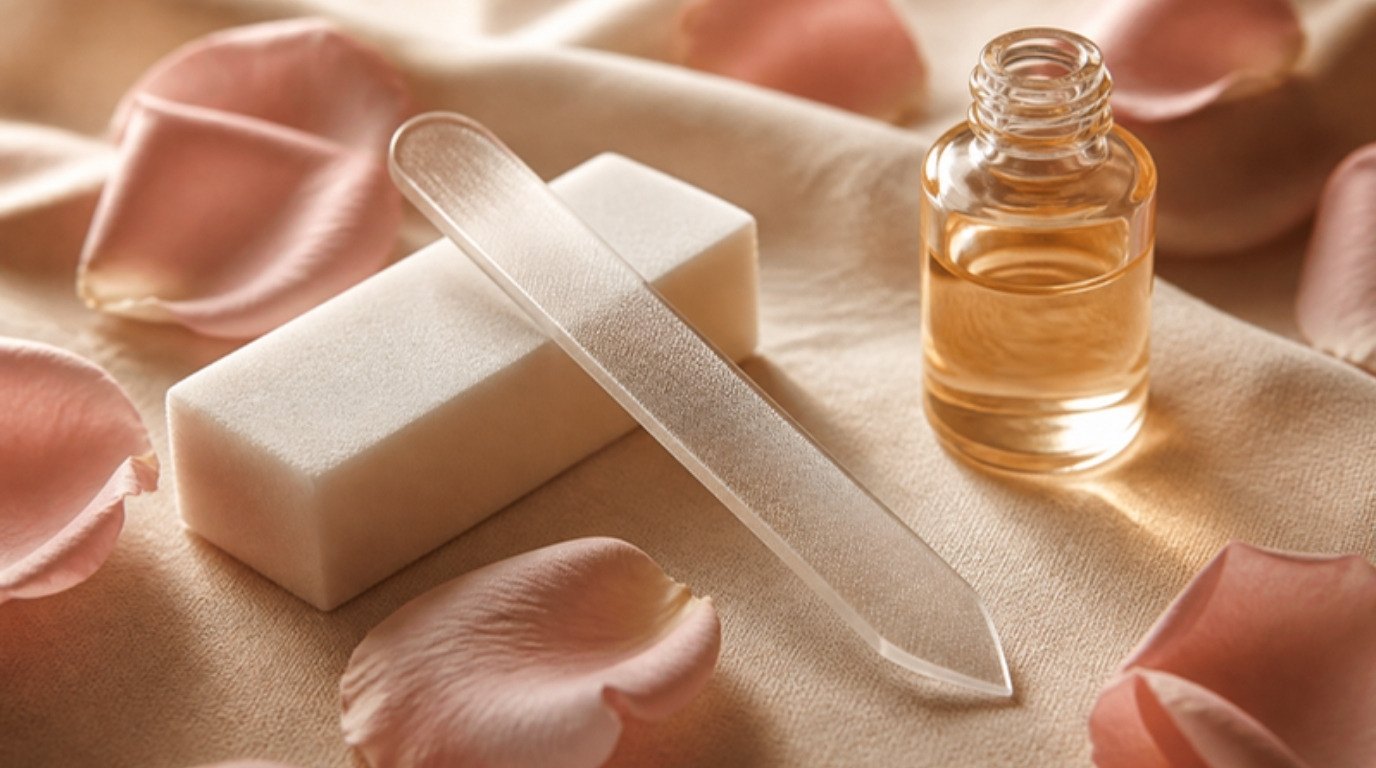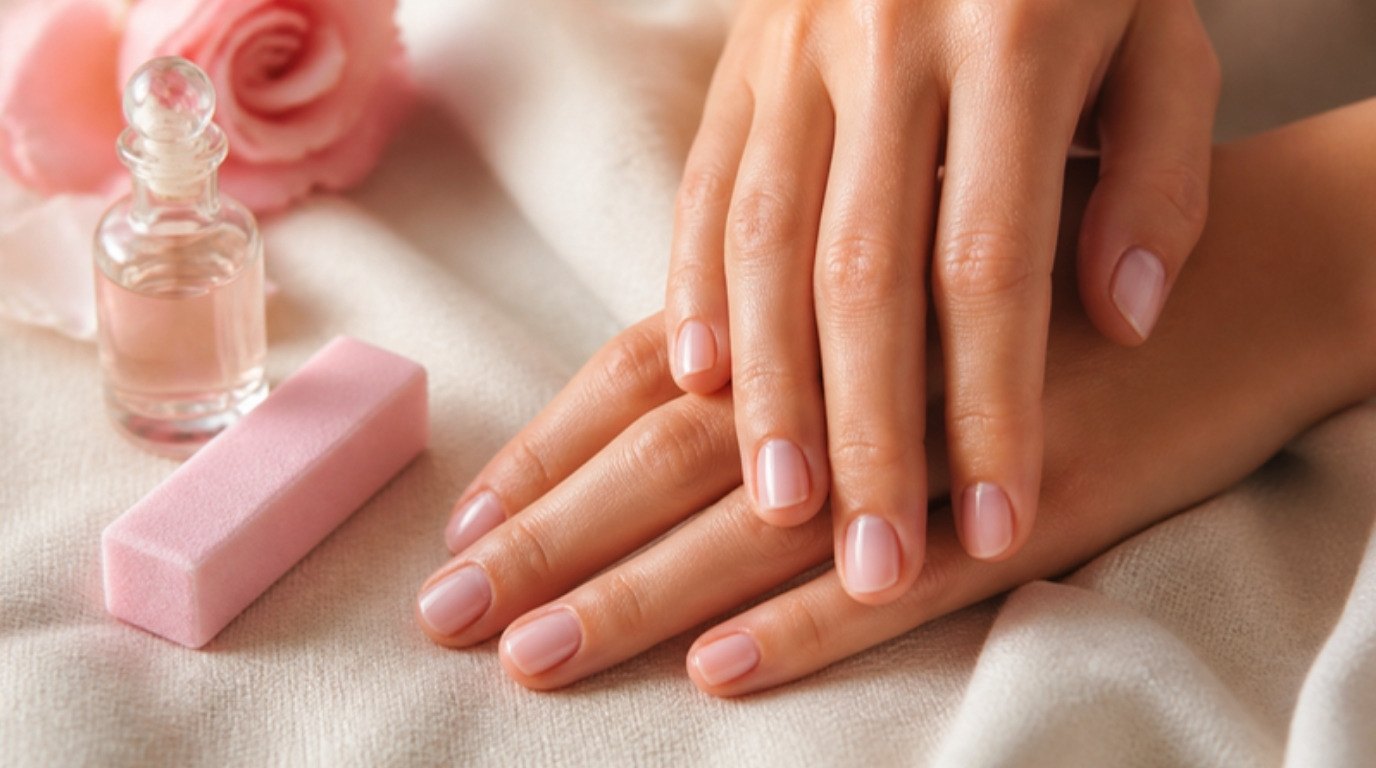
A nail strengthener can be a lovely helper, but it isn't a miracle in a bottle. The right formula, used the right way, can make soft, peeling nails feel sturdier within a few weeks. The wrong one, or the right one used every single day for months, can leave nails so stiff that they snap instead of bending.
That's why the honest answer to "do they work?" is: it depends on what's actually going on with your nails. Bendy nails that fold like paper need something different from dry nails that split at the tips, and both need a different approach from nails that are just recovering from gel or acrylics.
This guide is all about nail strengtheners: what the different types are, when they help and when they backfire, how to apply them correctly, what to look for on a label, the everyday habits that matter just as much and a realistic timeline so you know when to expect a difference. There's also a simple table that matches each common nail problem with what actually helps.
I'd rather you spend a little less and use it well than buy five bottles hoping one of them works.
What Nail Strengtheners Actually Are
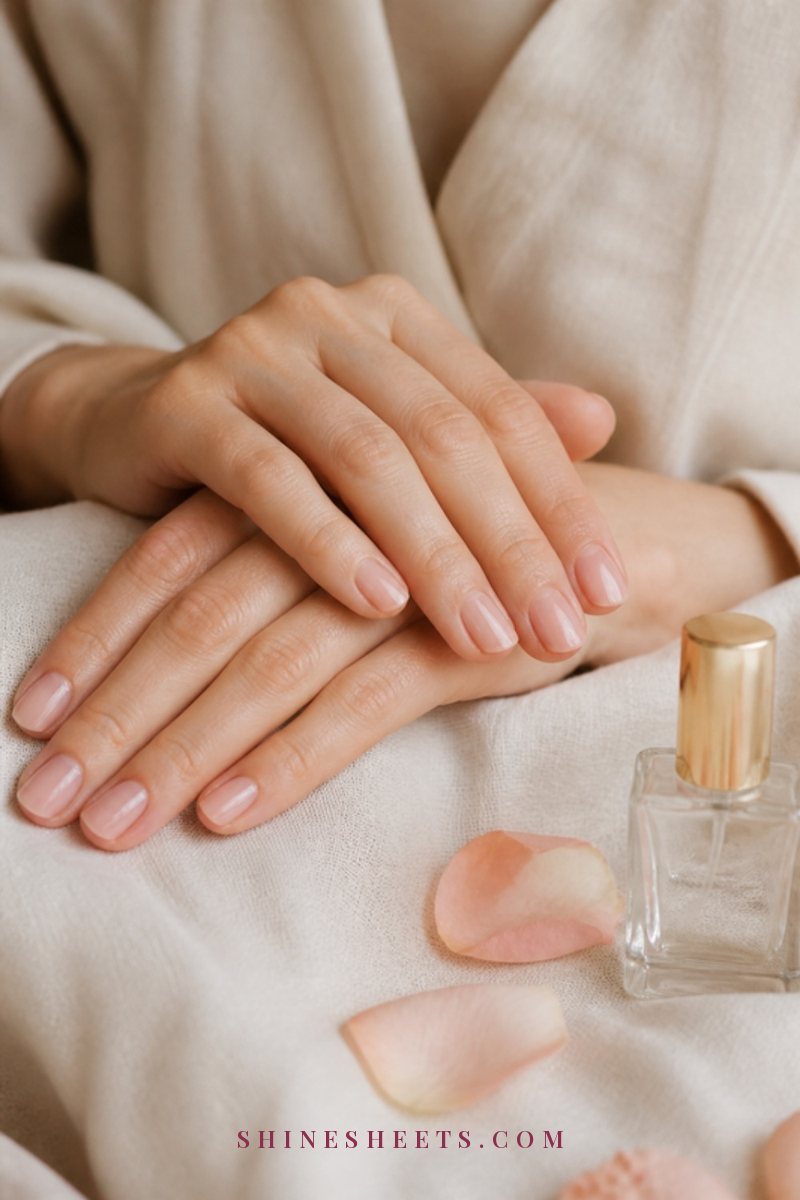
"Nail strengthener" is a marketing umbrella, and very different products sit under it. Most fall into one of three groups.
Protein and Keratin Formulas
These are clear or sheer coats with ingredients like hydrolyzed keratin, wheat protein or silk protein. They form a flexible shield over the nail plate that helps prevent peeling and chipping. They're the gentlest option and usually the best place to start for nails that peel in layers or feel thin after gel removal.
Hardeners
Hardeners use ingredients that link the keratin in your nail more tightly together, which makes the nail stiffer. Traditionally that's formaldehyde or related ingredients (sometimes listed as formalin, methylene glycol or similar). They can make soft, bendy nails noticeably firmer, but they're also the type most likely to cause problems with long use, and some people react to them with redness or irritation around the nail.
Conditioning Treatments and Oils
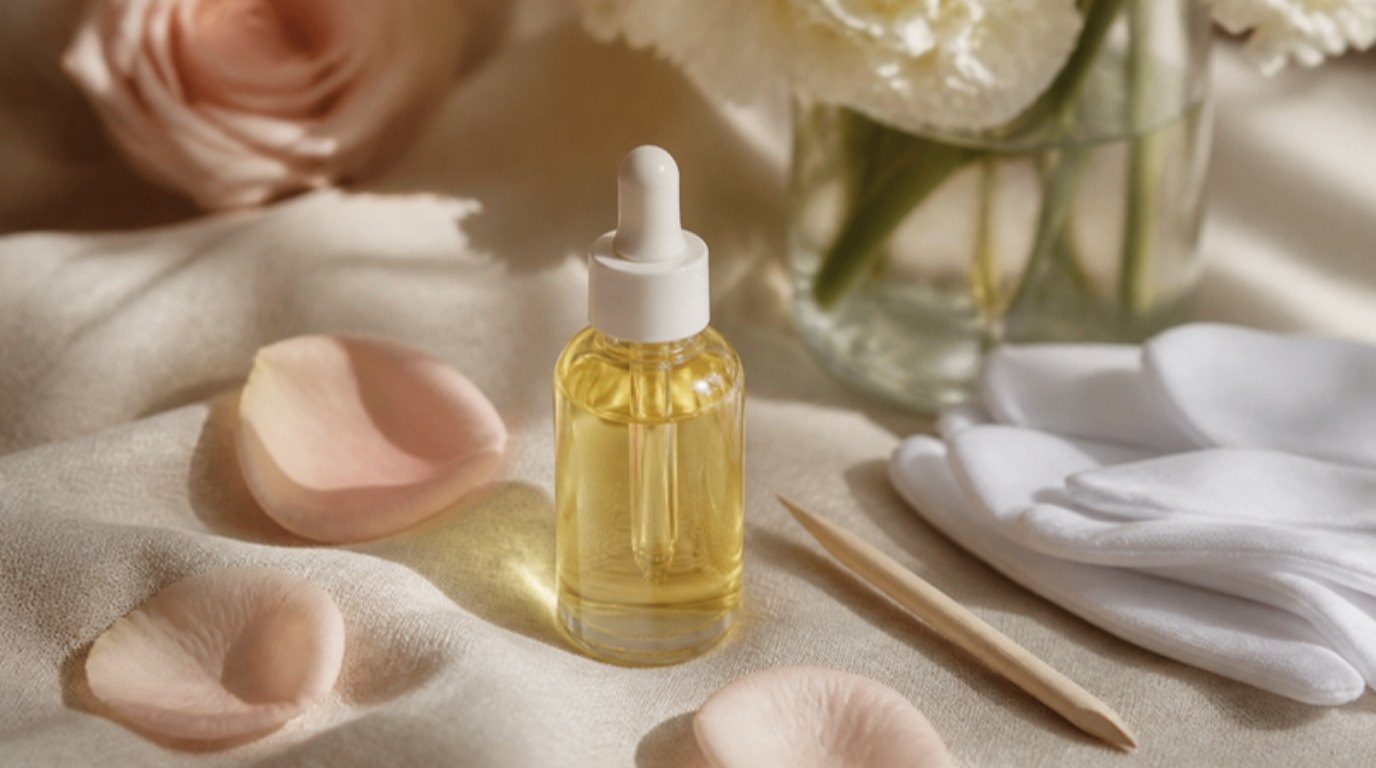
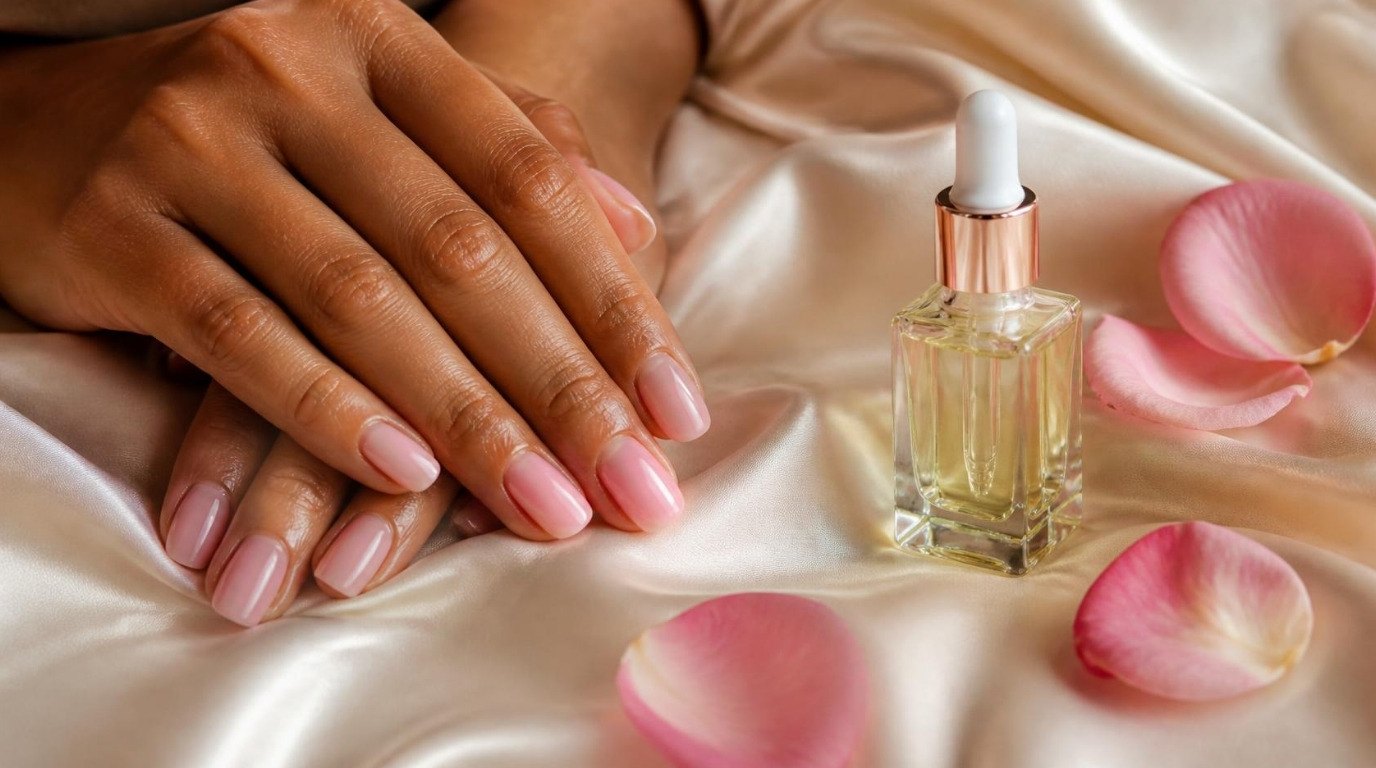
These focus on moisture and flexibility rather than hardness: nail and cuticle oils, creams and some "nourishing" base coats with oils, vitamin E or panthenol. They don't make nails harder, but they help dry, brittle nails bend instead of breaking, which is often exactly what's needed.
Many products mix two of these approaches, so it's worth reading the ingredient list rather than relying on the name on the front.
Do Nail Strengtheners Work?
They can, within limits. Here's the honest picture:
- They protect the nail you already have. A coat acts like a thin shield against water, knocks and detergents, so the existing nail peels and chips less.
- They can't change how your new nail grows. The nail is formed under the skin at the base (the matrix). What comes out is shaped by genetics, health and nutrition, not by what you paint on top.
- They work best on soft or peeling nails. If your nails bend easily, layer apart or feel thin, a protein formula or a careful hardener can make a real difference.
- They can make dry, brittle nails worse. If your nails already snap, crack or split vertically, they need moisture and flexibility, not more stiffness.
That means the first step isn't choosing a product. It's figuring out which kind of weak nails you have. If yours are the snappy, dry kind, my guide to brittle nails goes deeper into causes and care.
When Nail Strengtheners Backfire
This is the part most product descriptions skip. Strengtheners, especially hardeners, can cause trouble when:
- You use them nonstop. Months of daily hardener can over-harden the nail. It loses its natural flexibility, so instead of bending when you catch it on something, it cracks.
- You use a hardener on already brittle nails. Stiff plus dry equals splits.
- You build too many layers. Thick buildup traps the nail, looks cloudy and needs more remover to take off, which dries nails out again.
- You remove it with harsh acetone every other day. The removal undoes much of the good.
- Your skin reacts. Redness, itching or swelling around the nail fold is a sign to stop using that product and wash it off.
The fix is simple: use a strengthener in cycles with breaks, keep it on the nail plate only and pair it with moisture.
Which Nail Problem → What Helps
Use this as your starting point. Find the line that sounds most like your nails and begin there before buying anything.
| Your nails… | What's likely going on | What helps most | Strengthener type |
|---|---|---|---|
| Bend and fold easily | Soft, thin nail plate | Protective coat, short length, gloves | Protein formula; hardener only short-term |
| Peel in layers at the tip | Water exposure, drying and wetting | Gloves, cuticle oil, glass file to seal edges | Protein formula |
| Snap or crack easily | Dry, over-hard, brittle | Daily oil, hand cream, less remover | Skip hardeners; conditioning treatment |
| Split vertically | Dryness, sometimes health-related | Oil, gentle filing, see a doctor if it persists | Conditioning treatment |
| Feel thin after gel or acrylics | Surface layers removed | Short length, protective coat, patience | Protein formula |
| Chip at the edges | Rough filing or tool use | Glass file, one-direction filing, gloves | Protein formula |
| Have ridges and feel dry | Dryness, often age-related | Oil and cream daily, a ridge-filling base coat | Conditioning treatment |
If your nails are in rough shape after enhancements, this step-by-step on rejuvenating weakened, damaged nails is a good companion to the table.
How To Use a Nail Strengthener Correctly
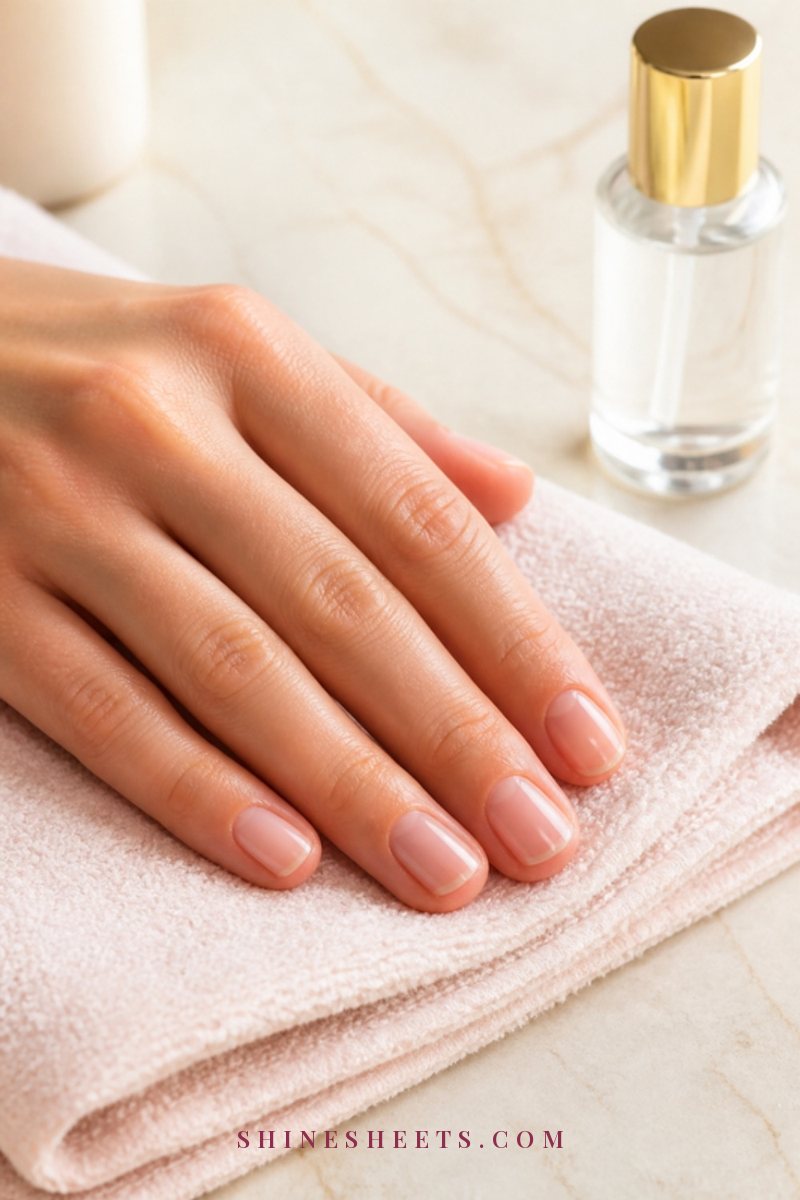
Application matters as much as formula. A clear nail strengthener treatment works best when you treat it like skincare: consistent, gentle and with breaks.
- Start with clean, bare nails. Remove old polish with a gentle remover, wash your hands and dry them well. Oil and lotion on the nail stop the coat from bonding.
- Shape first. File with a fine file in one direction to seal the free edge. Shorter nails break less while they recover.
- Apply one thin coat to the nail plate only. Keep it off the cuticle and skin, especially with hardeners. Wrap the tip by running the brush lightly along the free edge.
- Let it dry fully. Give it a few minutes before touching anything.
- Follow the product's rhythm. Many formulas suggest one coat every other day for a week, then removing everything and starting again. Others are applied once or twice a week. Read the instructions and don't double it.
- Use it as a base coat if you wear polish. One thin layer under color is enough.
- Take breaks. A common rhythm is a few weeks on, a week or two off, especially for hardeners. Use oil and cream daily during the breaks.
If your nails start feeling stiff, look cloudy or snap more than before, stop for a couple of weeks. That's your signal.
Using a Strengthener After Gel or Acrylics
Nails often feel paper-thin after a long run of gel or acrylics. That's usually because the top layers were filed or buffed away during application and removal, not because the nail itself has stopped growing properly. The good news: the damaged part grows out.
A few gentle rules for this recovery phase:
- Trim them short first. The thinnest, most damaged part is at the tip, so taking off the extra length removes much of the problem straight away.
- Choose a protein formula over a hardener. Thin nails need a flexible shield, not extra stiffness.
- Don't buff to smooth the surface. It's tempting when the nail looks uneven, but buffing removes even more of the layer you're trying to protect. A ridge-filling base coat hides texture without taking anything away.
- Give it a full cycle. Plan on a few months of bare or simply coated nails before deciding whether to go back to enhancements.
- Remove gently next time. If you do go back, a careful soak-off removal instead of prying or peeling makes the biggest difference to how your nails look afterward.
Peeling off gel at home is the single fastest way to end up back at square one, so if you notice a lifted corner, resist the urge and file or soak it off instead.
What To Look For on the Label
A few minutes reading the back of the bottle saves you from the wrong product:
- For peeling, thin or post-gel nails: hydrolyzed keratin, proteins (wheat, silk, soy), calcium-containing formulas.
- For dry, brittle nails: oils (jojoba, almond, argan), vitamin E, panthenol, glycerin.
- If you're sensitive or have reacted before: look for "formaldehyde-free" and avoid formalin or methylene glycol. A patch on one nail for a few days is a good test.
- Finish: a sheer pink or nude tint is nice if you want to wear it alone and look polished. Clear works under any color.
- Removal: some strengtheners are designed to be peeled or easily removed, which means less remover over time.
A short ingredient list you understand is better than a long one full of promises.
7 Habits That Strengthen Nails Without a Bottle
A strengthener protects. These habits do the long-term work, and for many people they make more difference than the product itself.
1. Oil Your Cuticles Daily
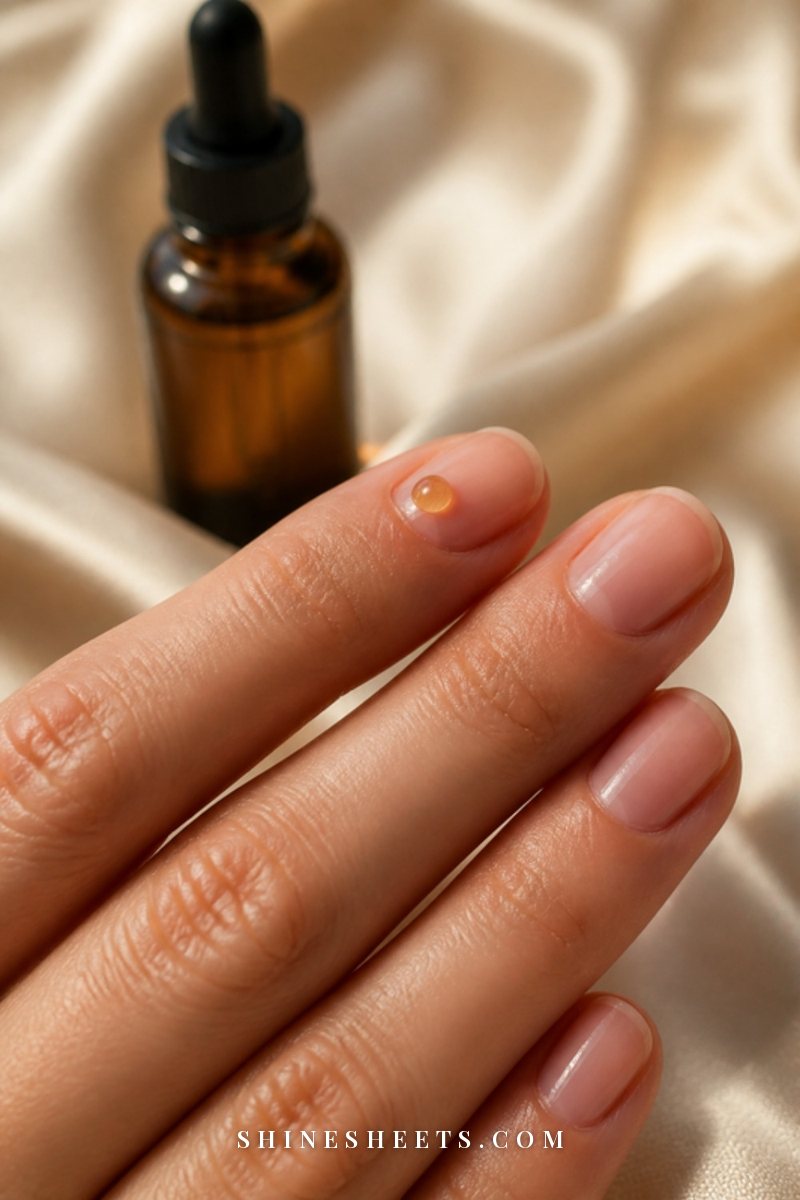
Oil keeps the nail plate and surrounding skin flexible, which is exactly what brittle nails lack. Once a day (at night is easiest) massage a drop into each nail and cuticle for about ten seconds. A cuticle oil pen lives happily in a handbag or on a nightstand, so you actually remember. My cuticle care guide shows the full routine.
2. Wear Gloves for Wet Work
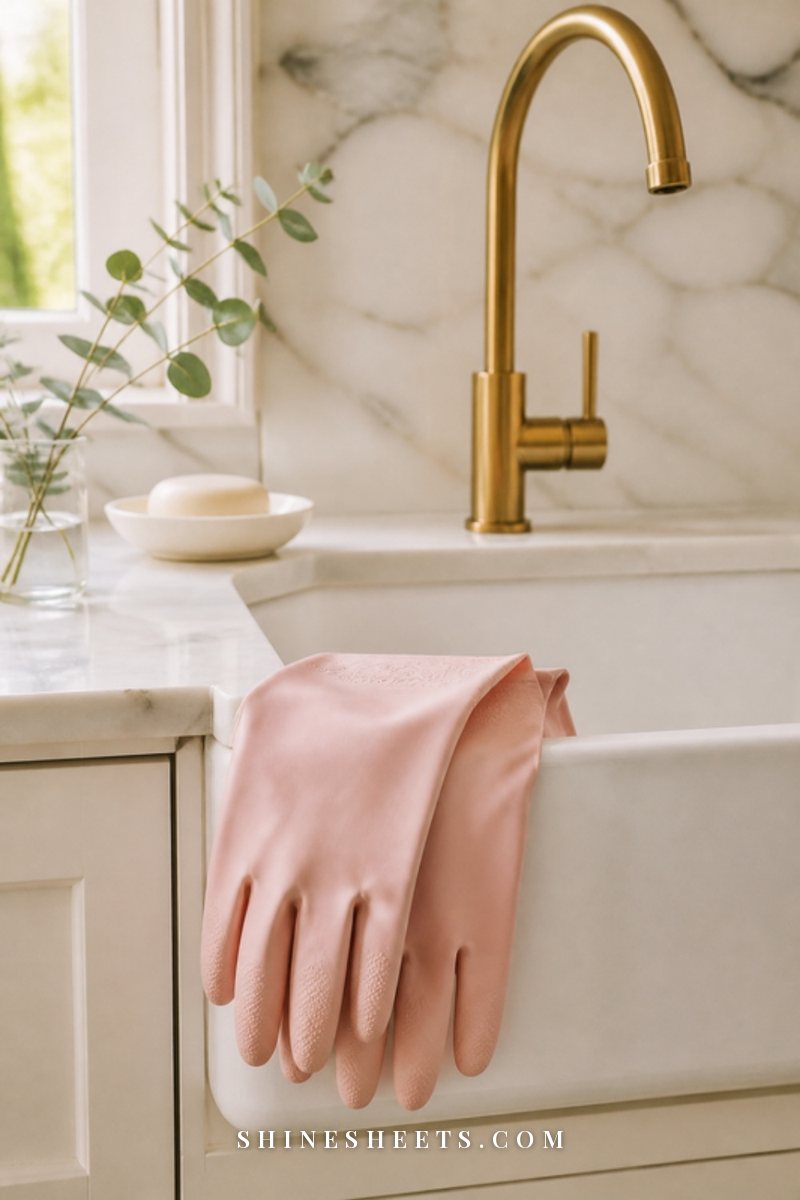
Repeated wetting and drying is one of the biggest reasons nails peel. Water makes the nail swell, drying makes it shrink, and the layers slowly separate. A pair of cotton-lined rubber gloves for dishes, cleaning and anything with harsh products protects your nails more than any coat can.
3. Use Hand Cream After Washing
Every time you wash your hands, rub a little cream into your nails and cuticles too, not just your palms. A rich hand cream for nails and cuticles by the sink makes it automatic. Look for shea butter, glycerin or urea in the ingredients.
4. Switch to a Glass File
Coarse emery boards can leave tiny tears at the tip that later turn into peels. A glass nail file is fine-grained and seals the edge smoothly. File in one direction, gently, not in a back-and-forth sawing motion.
5. Go Easy on Acetone
Acetone removes polish quickly but dries the nail plate. Use a gentler, acetone-free polish remover for regular polish, press the pad on the nail for a few seconds before wiping and follow with oil straight away. Fewer polish changes per week also helps.
6. Keep Them Short While They Recover
Short nails have less leverage, so they catch and snap less. Keeping them just past the fingertip for a couple of months lets the stronger new growth come through without drama. You'll find more on growing them out in my guide on how to grow your nails.
7. Stop Using Nails as Tools
Opening cans, scraping stickers and peeling labels are tiny everyday stresses that add up. Use the pad of your finger, a coin or a small tool instead. It sounds trivial, but it's one of the habits that matters most.
For a broader look at everyday nail care, from shaping to buffing, my guide on taking care of your nails brings it all together.
A Simple Weekly Nail Strengthening Routine
If you like having a plan, here's an easy rhythm that combines a strengthener with the habits above. It takes about ten minutes once a week plus a few seconds each day.
- Once a week (Sunday works well): remove any old coat gently, wash and dry your hands, file the tips in one direction, push back softened cuticles with a towel after a shower and apply one thin coat of your strengthener.
- Every other day for the first week of a cycle: add one thin coat on top if your product suggests it. Otherwise leave it alone.
- Every evening: one drop of cuticle oil per nail, massaged in for a few seconds. I like doing this with my evening tea, when my hands are already resting.
- After every hand wash: a small amount of hand cream, worked into the nails and cuticles.
- Whenever you clean: gloves on, no exceptions for "just a quick rinse."
- Every third or fourth week: a strengthener break. Bare nails, oil and cream only, so the nail stays flexible.
Write the break weeks in your planner or phone notes. It's surprisingly easy to forget them, and they're what keeps a strengthener from turning into a problem.
Signs Your Strengthener Is Working (and Signs It Isn't)
Pay attention to how your nails behave over the first month. It tells you more than any label.
Good signs:
- The tips peel less or not at all.
- Nails still bend a little when pressed, but don't fold.
- Edges stay smooth for several days after filing.
- The surface looks smooth and evenly shiny.
Signs to pause or switch:
- Nails feel rigid and crack straight across when caught.
- The coat looks cloudy, thick or yellowish.
- Skin around the nail is red, itchy, tender or peeling.
- Nails split vertically more than before.
If you see the second list, stop for two weeks, focus on oil and cream and, when you go back, try a protein formula instead of a hardener. Nothing is wrong with you or your nails. That particular formula just isn't the right match.
A Realistic Timeline

Patience is the least glamorous part of nail care, but it's the honest part. Fingernails grow slowly – roughly a few millimeters a month – and it takes around four to six months for a whole fingernail to grow out completely.
- First 1–2 weeks: a protective coat makes the existing nail chip and peel less. This is the quickest visible change.
- Weeks 3–6: with daily oil, gloves and gentle filing, nails feel less dry and the edges stay smoother.
- Months 2–3: new, healthier growth starts to be visible at the base.
- Months 4–6: most of the nail has grown out, and you can judge how well your new routine works.
If you'd like a gentle, low-effort way to follow this, take a photo of your nails on the first day and again after a month. It's much easier to see progress side by side than from memory.
When To See a Doctor
Most weak nails come down to water, dryness and wear. But nails can also reflect what's happening in the rest of your body. Please see a doctor or dermatologist if you notice:
- Sudden changes in color, shape or thickness
- A dark streak or spot that wasn't there before
- Nails lifting from the nail bed
- Pain, swelling, pus or redness around the nail
- Pitting, spoon-shaped nails or brittleness that doesn't improve after a few months of gentle care
- Changes alongside other symptoms like tiredness, hair loss or skin changes
They can check for things like nutrient deficiencies, thyroid issues, fungal infections or skin conditions, and point you to the right treatment. A strengthener can't fix any of those, so it's worth asking rather than guessing.
Final Thoughts
A nail strengthener is a helpful tool, not a cure. Choose the type that matches your nails, use it in thin coats with regular breaks and give the real work to the quiet habits: oil, gloves, cream, a gentle file and a little patience.
Your nails will thank you slowly, a millimeter at a time, and that steady progress is far more lasting than any quick fix.