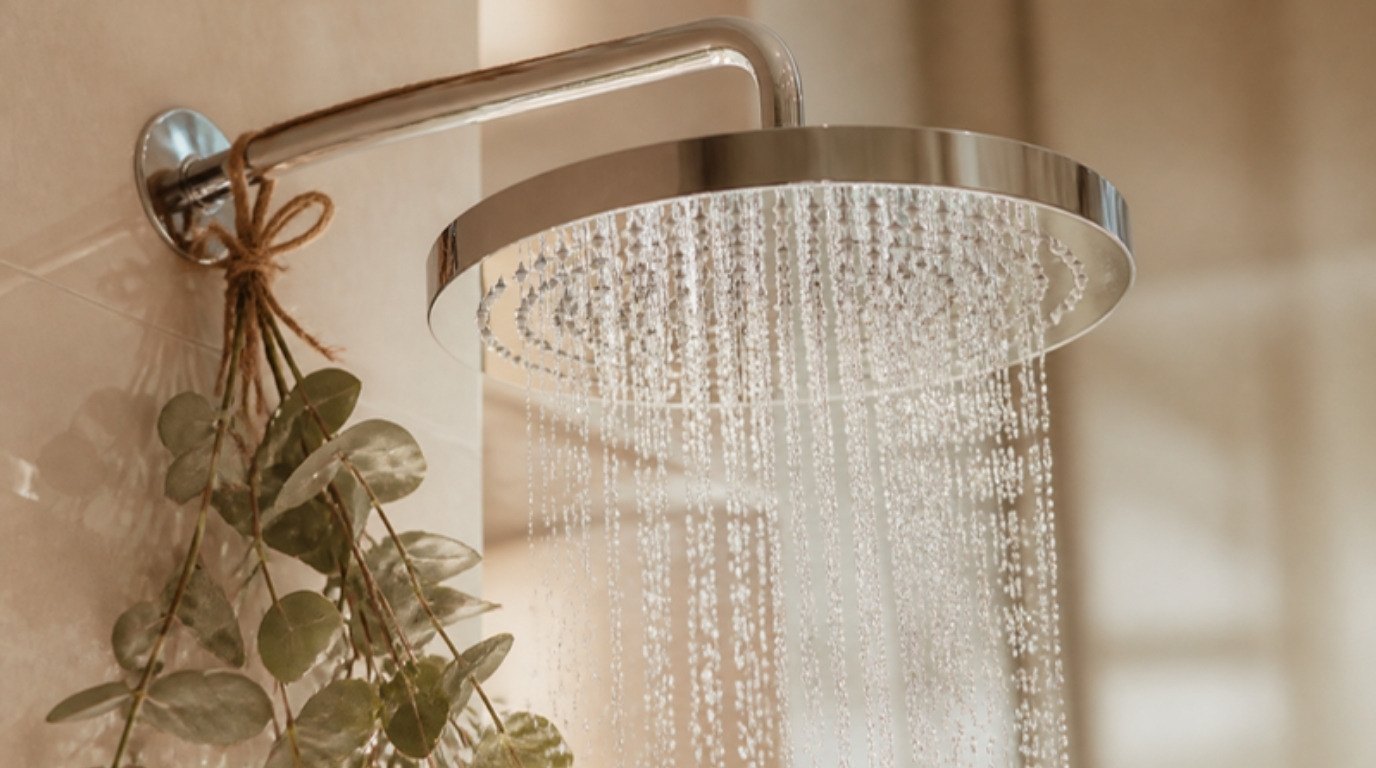
A shower head that sputters, sprays sideways or barely drizzles usually isn't broken – it's just full of minerals. Every time water runs through it, tiny amounts of calcium and magnesium are left behind, and over months they harden into a chalky crust that blocks the little nozzles one by one. The fix is surprisingly gentle: a bag of white vinegar, a soft brush and a bit of waiting.
Plain white cleaning vinegar is mildly acidic, which is exactly what dissolves that mineral scale. You don't need to scrub hard, buy a new fixture or call anyone. You do need to check one thing before you start, because not every finish loves a long vinegar soak (more on that below – it's the part most guides skip).
This guide covers how to clean a shower head with vinegar two ways – without removing it and by taking it off – plus a finish-by-finish soak time table, how to clear stubborn nozzles, what to do with handheld heads and hoses, and how to keep the buildup from coming back. It's one of the most satisfying twenty-minute jobs in the whole bathroom.
Signs Your Shower Head Needs Cleaning

Most of us only notice when the shower suddenly feels weaker, but there are earlier clues. Your shower head is ready for a vinegar soak if you see any of these:
- Uneven or sideways spray. A few jets shoot off at odd angles while others barely flow.
- Lower water pressure than you remember, especially if the rest of your taps are fine.
- White or chalky crust around the nozzles or on the face of the shower head.
- Greenish or rusty-looking spots on the metal around the holes.
- Dark specks or a pink, slimy film inside the nozzles or around the edges.
- A dripping shower head after you've turned the water off (sometimes a sign of buildup inside).
If you have hard water, you'll probably see these every two to three months. In soft-water areas, it can take much longer.
Why Shower Heads Get Clogged
Hard water is simply water with a lot of dissolved minerals in it, mostly calcium and magnesium. When water sits in the nozzles and evaporates, those minerals stay behind as limescale. Heat speeds the process up, which is why shower heads crust over faster than most cold-water taps.
Limescale also gives soap residue and bacteria a rough surface to cling to, so a neglected shower head can become a little less fresh than you'd like. A regular vinegar clean takes care of both the scale and the film that collects with it. If you're seeing the same white crust on your faucets and glass too, my guide on how to remove hard water stains covers the rest of the bathroom.
What You'll Need
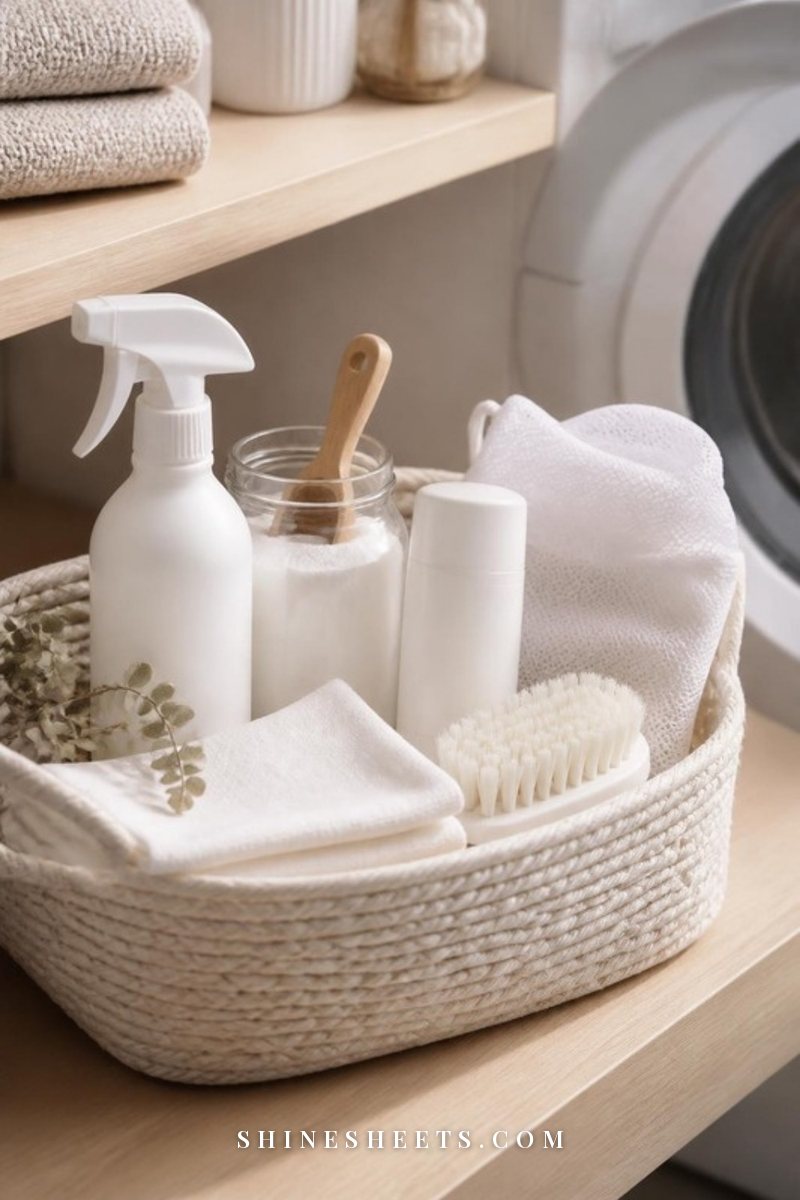
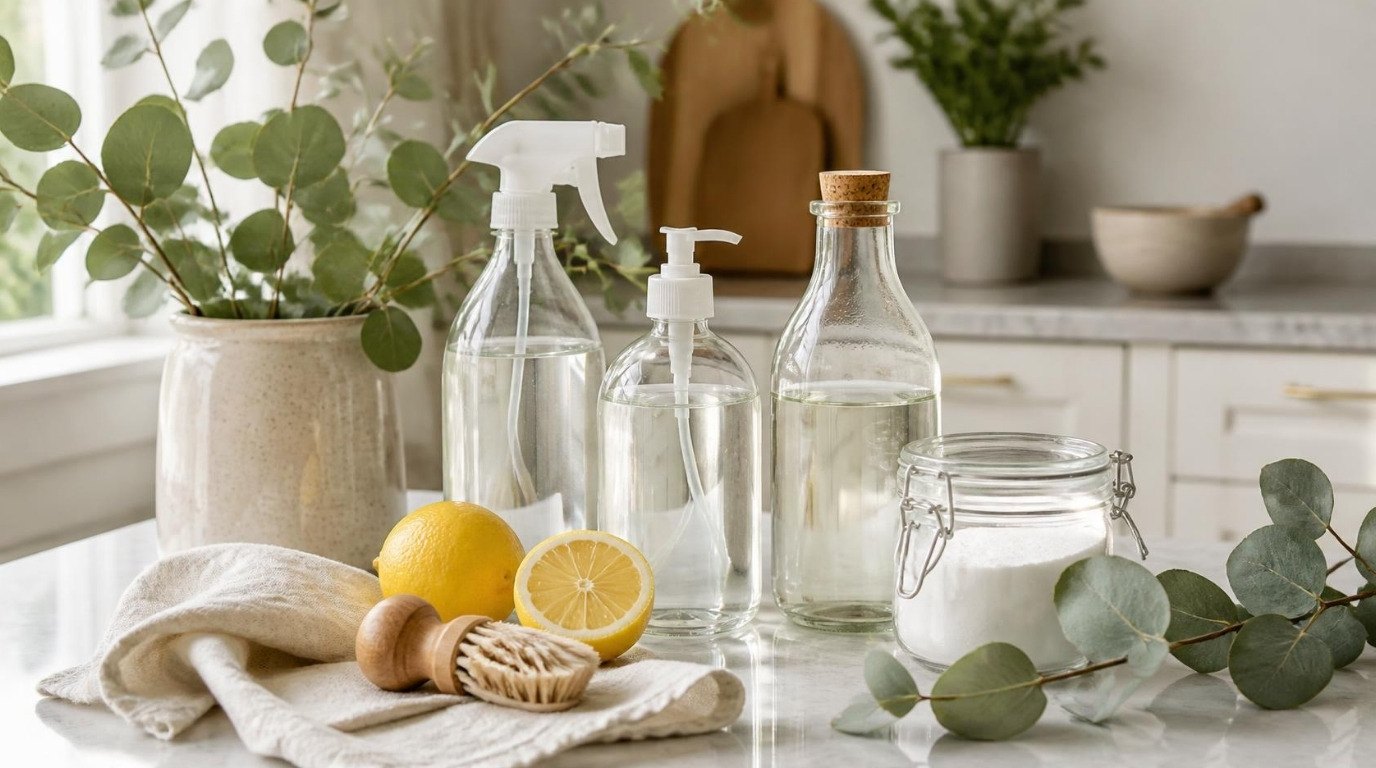
You probably have most of this already. Here's the full kit:
- White cleaning vinegar (regular distilled white vinegar works; cleaning vinegar is a little stronger). If you'd rather skip vinegar, a bathroom limescale descaling cleaner made for fixtures is a good alternative – just follow the label exactly.
- A sturdy plastic bag big enough to cover the shower head, and a rubber band, hair tie or twist tie.
- An old soft toothbrush or a soft detail cleaning brush for the nozzles.
- A toothpick or a straight pin for very stubborn holes.
- Rubber gloves – a pair of reusable rubber cleaning gloves keeps vinegar off your hands and cuticles.
- A soft cloth for drying and polishing. Microfiber cleaning cloths leave metal streak-free.
- For the remove-and-soak method: an adjustable wrench, a cloth to protect the finish, a bowl and plumber's tape.
Keeping all of this together in a white cleaning caddy with a handle under the sink makes the next clean a two-minute setup instead of a scavenger hunt.
Before You Start: Check Your Finish
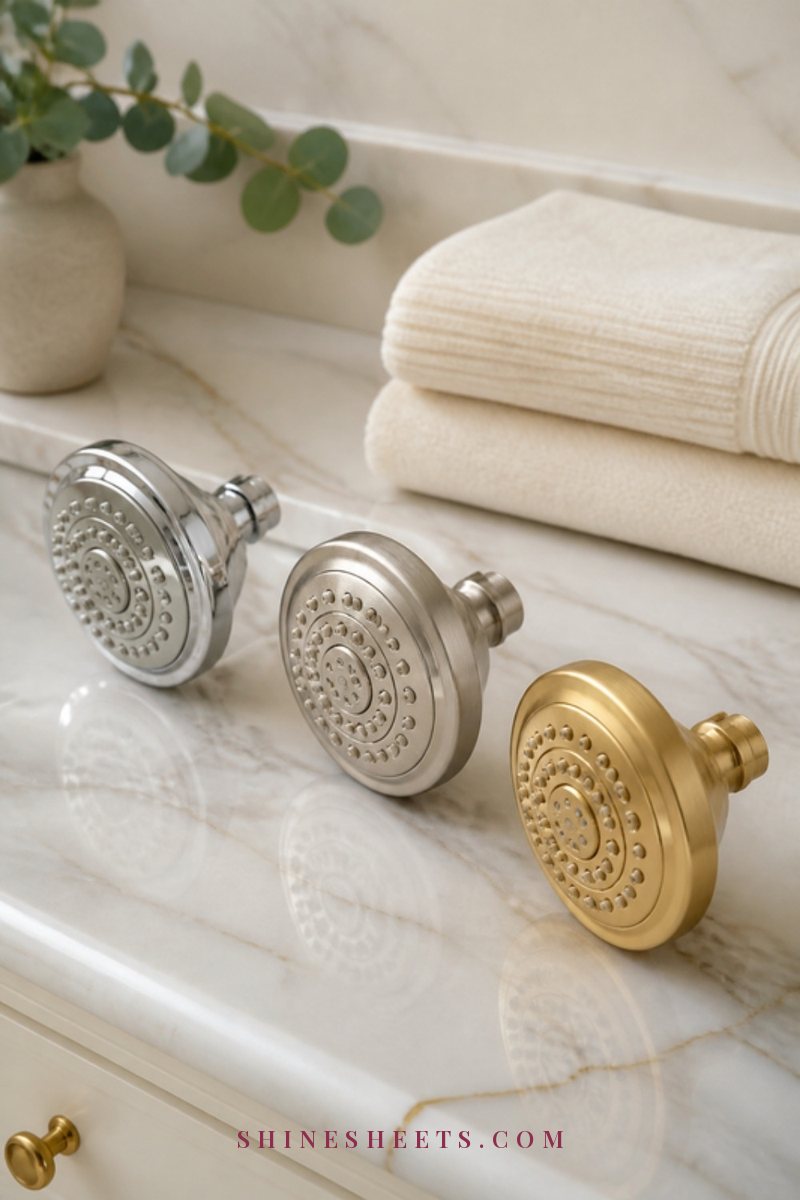
This is the step that protects your fixture. Vinegar is wonderful on chrome and plastic, but long soaks can dull or discolor delicate finishes like brass, nickel, gold, bronze and some matte black coatings. If you still have the manufacturer's care instructions (or can find them on the brand's website), follow those first – they always win over general advice.
Here's the finish-by-finish guide I'd use when there are no instructions:
| Finish | Best method | Max vinegar soak | Good to know |
|---|---|---|---|
| Polished chrome | Bag method or remove and soak, full-strength vinegar | 1 hour, up to overnight for heavy buildup | The most forgiving finish; rinse and buff dry after |
| Plastic / ABS | Bag method or remove and soak | 1 hour, up to overnight | Check for cracks while it's off |
| Stainless steel | Bag method, full-strength vinegar | Up to 1 hour | Rinse well; wipe dry to avoid spots |
| Brushed nickel | Bag method with 1:1 vinegar and water | 15–30 minutes | Check after 15 minutes; stop if it looks cloudy |
| Brass / polished brass | Diluted 1:1, nozzles only | 15 minutes, or follow manufacturer | Can tarnish or spot; rinse and dry immediately |
| Gold / brushed gold | Diluted 1:1, nozzles only | 10–15 minutes, or follow manufacturer | Coatings can be thin; many brands advise mild soap only |
| Oil-rubbed bronze | Mild soap and water; vinegar only if the brand allows | 10 minutes diluted, if at all | Acids can strip the dark patina |
| Matte black | Mild soap and soft cloth; diluted vinegar only if allowed | 10–15 minutes diluted, if at all | Can turn chalky or uneven with long soaks |
Screenshot it and keep it with your bathroom cleaning notes. When in doubt, always test on a small hidden spot on the back of the fixture first and go shorter rather than longer – you can repeat a short soak, but you can't undo a dulled finish.
Method 1: The Vinegar Bag Method

This is the easiest way and you don't need any tools. It works for fixed shower heads and handheld ones in their holder.
- Put on your gloves and open a window or turn on the fan – vinegar smells strong in a small room.
- Fill the bag about halfway with white vinegar. You need enough to fully cover the nozzles, usually 1–2 cups.
- Slide the bag over the shower head so the face is completely submerged. Lift it gently to check no nozzles are poking out.
- Secure it tightly around the shower arm with a rubber band, hair tie or twist tie. Tuck the excess bag up so it doesn't pull down.
- Let it soak for the time your finish allows (see the table). For chrome and plastic, 1 hour handles light buildup; heavy crust may need 2 hours to overnight.
- Remove the bag carefully over the tub or shower floor and pour the vinegar down the drain.
- Brush the face with a soft toothbrush, working in small circles.
- Run hot water through the shower head for 1–2 minutes to flush out loosened minerals.
- Wipe and buff dry with a soft cloth.
If the bag keeps slipping, double up the rubber band or use a small strip of painter's tape over the band to hold it in place. And if your water still sputters after this, move on to the nozzle section below.
Method 2: Remove and Soak
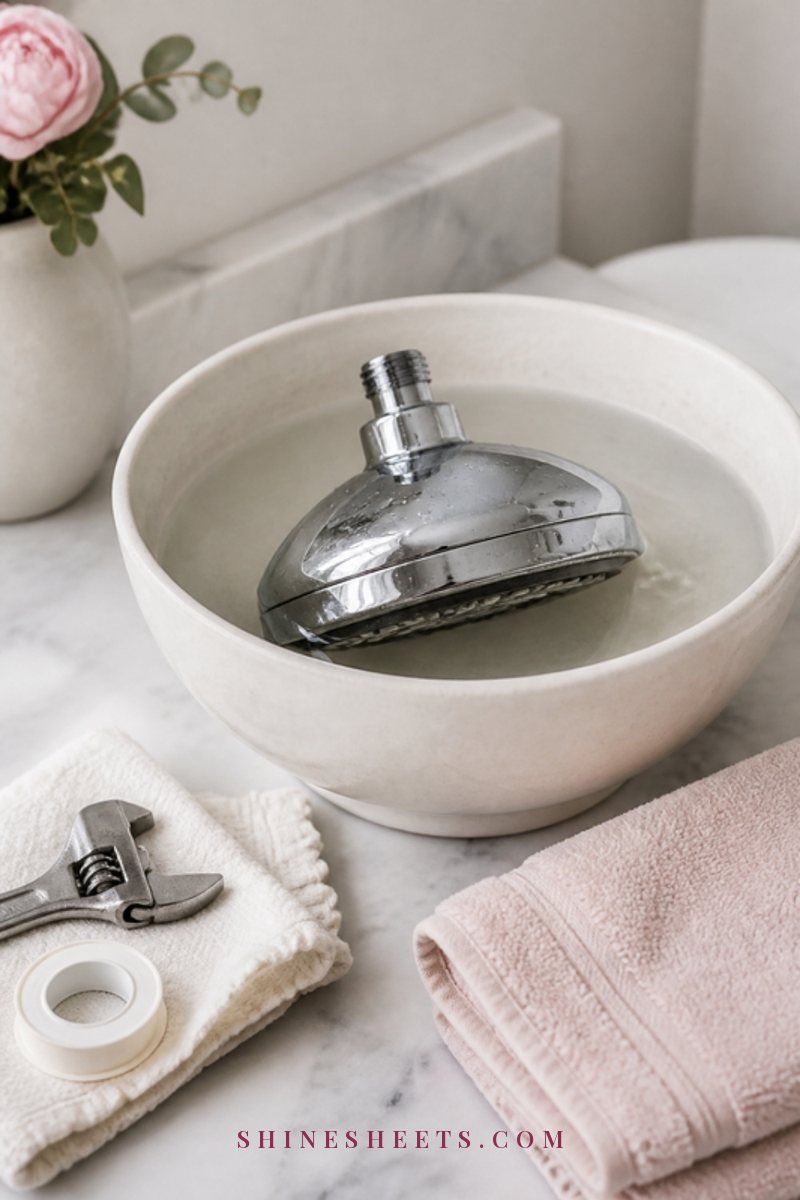
For very heavy buildup, or if you want to clean the inside and the screen too, taking the shower head off is worth the extra five minutes.
- Turn the shower head counterclockwise by hand. If it's stuck, wrap a cloth around it and use an adjustable wrench gently – the cloth protects the finish.
- Look inside the connection end. Many shower heads have a small mesh screen or filter washer. Remove it carefully if it pops out easily, and rinse it under the tap.
- Place the shower head face down in a bowl and pour in enough white vinegar to cover the face. For chrome and plastic, you can submerge the whole thing.
- Soak for the time your finish allows.
- Scrub the nozzles and the inside threads with a soft brush, then rinse under warm running water.
- Clean the shower arm threads with a damp cloth while the head is off – old tape and mineral bits collect there.
- Wrap the shower arm threads with 3–4 turns of fresh plumber's tape, going clockwise.
- Reattach by hand, then give it a gentle quarter turn with the cloth-covered wrench. Don't overtighten.
- Turn on the water and check for leaks at the connection.
One small but important note: some shower heads have a flow restrictor inside, a small plastic disc that limits water use. Leave it in place – it's there by design, and removing it can go against local water regulations.
How To Clear Clogged Nozzles
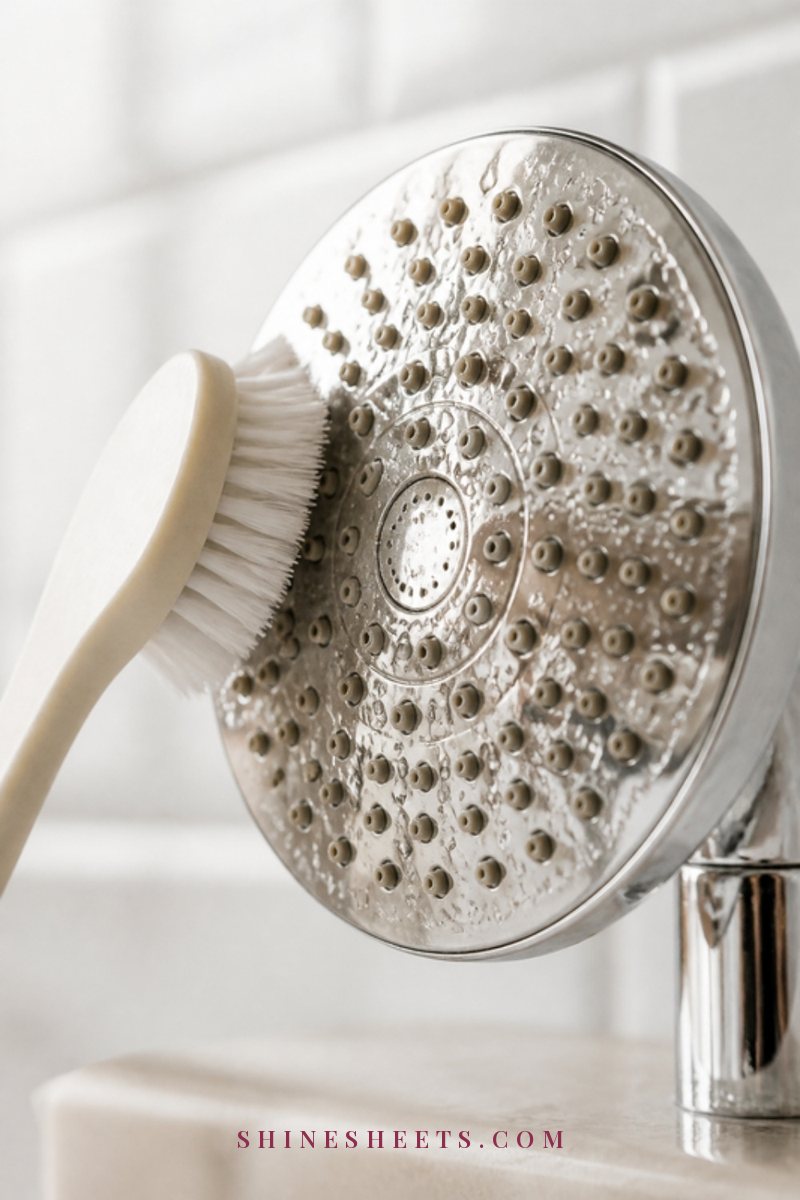
Even after a good soak, a few nozzles may stay blocked. This is the quiet, satisfying part:
- Rubber nozzles: Many modern shower heads have soft rubber jets. Simply rub your gloved thumb across the face while the water runs and the scale crumbles out. Do this once a week and you may not need a full soak as often.
- Metal or plastic holes: Gently push a toothpick or straight pin into each blocked hole, then brush. Don't force it or twist hard – you don't want to widen or scratch the holes.
- Stubborn spots: Dip your brush in vinegar and scrub the area for 30 seconds, then wait 5 minutes and repeat (staying within your finish's limits).
Finish by running hot water for a minute or two. You should see the spray even out as the loosened bits flush through.
Flush and Rinse
Rinsing is not optional. Leftover vinegar can keep working on the metal and leave spots, so after either method:
- Run hot water through the shower head for 1–2 minutes.
- Switch through every spray setting if you have a multi-setting head, so each channel gets flushed.
- Wipe the outside with a damp cloth, then buff completely dry with a microfiber cloth.
- Rinse the tub or shower floor where vinegar dripped, especially if you have natural stone.
About that last point: vinegar can etch marble, travertine and other natural stone. Keep the bag and bowl well away from stone surfaces and rinse any drips straight away. While you're in there, it's the perfect moment to give the rest of the tub a quick refresh – my guide on how to clean a bathtub has the details.
Cleaning a Handheld Shower Head and Hose
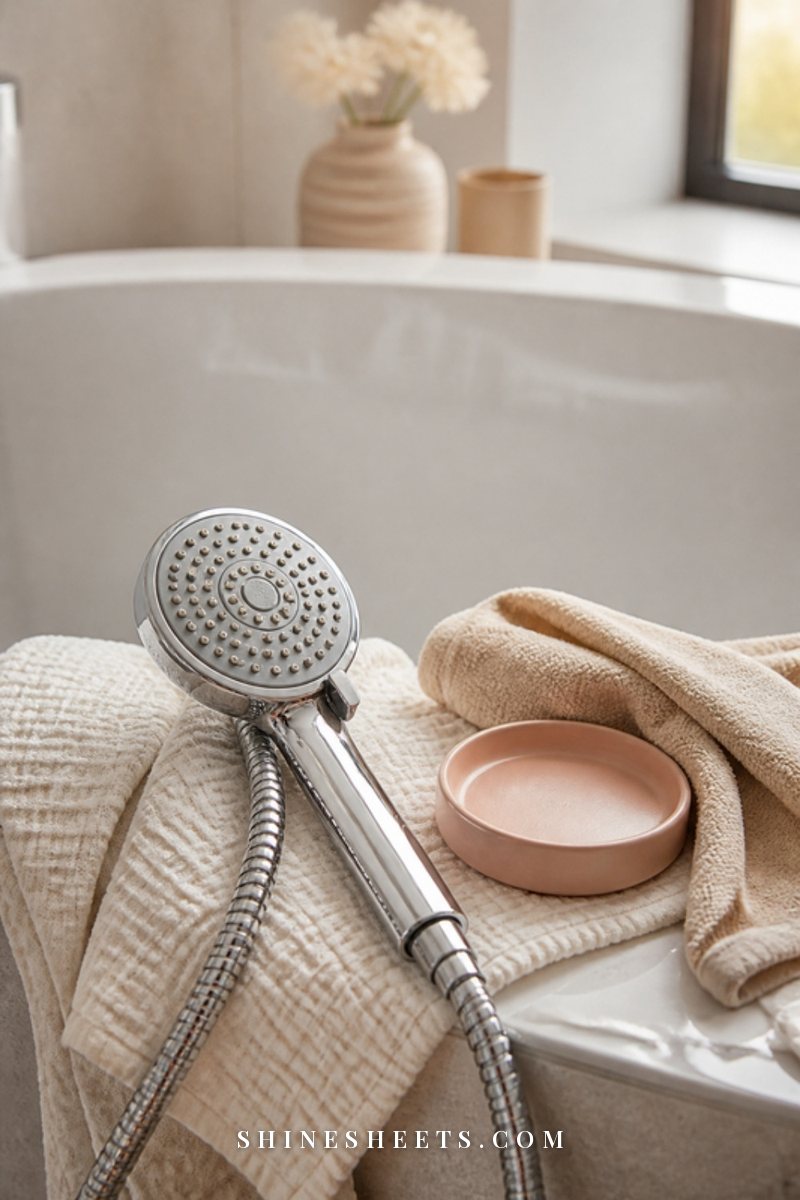
Handheld shower heads are even easier because you can soak them without a bag. Unscrew the head from the hose by hand and soak it in a bowl of vinegar for the time your finish allows, then brush and rinse.
The hose needs a little love too:
- Metal hoses: Wipe the outside with a cloth dipped in diluted vinegar (1:1 with water), then rinse with a damp cloth and dry. Don't soak the whole hose – water can get trapped in the coils.
- Inside the hose: With the head removed, run hot water through the hose for 1 minute to flush any loose bits.
- Check the washers at both ends. If they look cracked or flattened, replace them so the connection doesn't drip.
- Holder and bracket: Wipe with a soft cloth; these often collect a soapy film.
Safety Notes
Vinegar is mild, but a few rules keep the job safe:
- Never mix vinegar with bleach. Together they release chlorine gas, which is harmful to breathe. If you've used a bleach cleaner in the shower recently, rinse everything thoroughly with water first and wait before using vinegar.
- Don't mix cleaning products in general – one product at a time, rinsed between.
- Wear gloves and avoid splashing your eyes when you lift the bag off.
- Ventilate the room with the fan or an open window.
- Follow the label on any descaling cleaner and the manufacturer's instructions for your fixture.
- Keep vinegar away from natural stone and test on a hidden spot of any delicate finish first.
Can You Use Something Other Than Vinegar?
Yes, and sometimes you should. If the smell bothers you, your finish is delicate or the manufacturer says no acids, you have a few gentle options:
- A fixture-safe descaler. Store-bought limescale removers made for taps and shower heads work faster than vinegar. Read the label carefully, check which finishes it's safe for and stick to the dwell time it gives – usually a few minutes, not hours.
- Mild dish soap and warm water. For gold, bronze and matte black finishes, many brands recommend only this. It won't dissolve heavy scale, but regular gentle cleaning keeps the buildup from getting heavy in the first place.
- Diluted vinegar on a cloth. Instead of a soak, wrap a cloth dampened with 1:1 vinegar and water around the nozzles for 5–10 minutes, then rinse. It's a softer middle ground for finishes you're nervous about.
Whatever you choose, use one product at a time, rinse well in between and never combine a descaler with bleach or another cleaner. Slow and gentle is always the better trade than fast and dulled.
How Often To Clean Your Shower Head
A good rhythm depends on your water:
- Hard water: a vinegar soak every 1–2 months, plus a weekly nozzle rub.
- Average water: every 3 months.
- Soft water: every 6 months, or whenever the spray looks uneven.
I like adding it to a seasonal or monthly bathroom refresh so I don't have to remember it separately. If you're building a routine, my guide on how to keep your bathroom clean has a simple daily and weekly rhythm it fits right into.
How To Keep It Clean Longer

Five small habits slow limescale down a lot:
- Wipe the face after your last shower of the day. A quick swipe with a microfiber cloth removes droplets before they dry into minerals.
- Rub rubber nozzles weekly with your thumb while the water runs – 10 seconds is enough.
- Run cold water for a few seconds at the end of your shower to rinse warm, mineral-heavy water out of the head.
- Keep the bathroom ventilated so everything dries faster.
- Do a short soak before it gets bad. Light buildup comes off in 30 minutes; heavy crust can take overnight.
The same wipe-it-dry habit works wonders on glass too. If you have a glass shower door, my guide to cleaning glass shower doors is the perfect partner to this one.
Troubleshooting: Still Sputtering?
If the spray is still weak after a thorough clean, check these before buying anything new:
- The inlet screen: A clogged mesh screen at the connection is a very common culprit. Remove, rinse and soak it.
- Pressure across the house: If other taps are weak too, it's a plumbing or water supply question, not a shower head one.
- A kinked hose on a handheld shower can reduce flow – straighten it out or replace it.
- An old shower head: Internal parts wear out. If it's many years old and nothing helps, replacing it may simply be the kindest option.
When the whole room needs attention at once, my fast bathroom cleaning routine keeps it to about twenty minutes.
Final Thoughts
A clean shower head is one of those small, almost invisible upgrades you feel every single morning. A bag of vinegar, a soft brush, the right soak time for your finish and a weekly wipe are all it takes to keep the water soft, even and generous.
Put it on your list for this weekend, let it soak while you make a cup of tea, and enjoy that first gloriously even shower afterward.