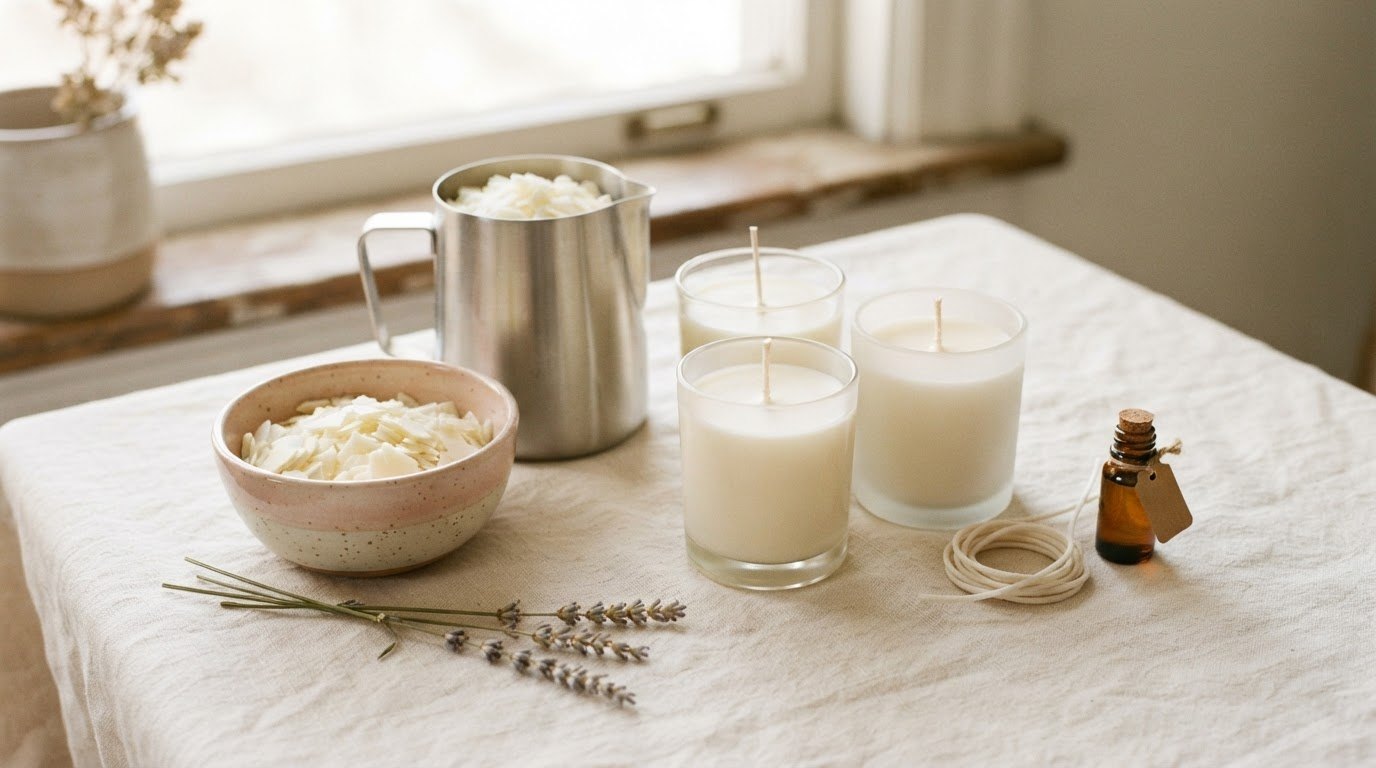
There's a moment every autumn when I light the first glass candle of the season, pour my evening tea and think, "I could make this myself." Then I look at the price tag on the jar, look at the little pool of wax, and the thought gets louder.
If you've had that same thought, this is your sign. Making soy candles at home is one of the most satisfying beginner hobbies there is: a few supplies, one calm evening and you end up with something you can actually use (or wrap up and give away). No art skills needed. Just a thermometer, a bit of patience and a willingness to accept that your first candle might have a funny little dip on top. Mine would. Everyone's does.
This guide on candle making for beginners walks you through everything in order: the supplies, the basics of wax, wicks and vessels, a step-by-step process with the temperatures commonly recommended for soy container wax, fragrance load explained without the math panic, how long to cure, a troubleshooting table for the most common problems and the safety rules that matter most. At the end there's a short section on making your candles look gift-ready.
Why Soy Wax Is the Easiest Place To Start
There are lots of candle waxes – paraffin, beeswax, coconut blends, rapeseed – but most beginner guides (this one included) start with soy container wax for a few simple reasons:
- It's forgiving. Soy melts at a fairly low temperature and gives you a decent window to pour, so you're not racing the clock.
- It cleans up easily. Spilled soy wax wipes off counters with warm soapy water and a paper towel once it's soft, which matters a lot on your first night.
- It's made for jars. "Container" soy wax is soft and designed to stick to glass, so you pour it straight into your vessel. No molds, no unmolding drama.
- It has that creamy, matte look. Soy candles look soft and natural, which is exactly the look most of us are trying to recreate.
The trade-off? Soy can be a little moody. It's known for frosting (white crystals on the surface) and for needing a proper cure before it smells its best. Both are totally manageable, and we'll cover them below.
Your Beginner Candle Making Supply List
You don't need a craft room. You need a clear counter, about two hours and these 10 things:
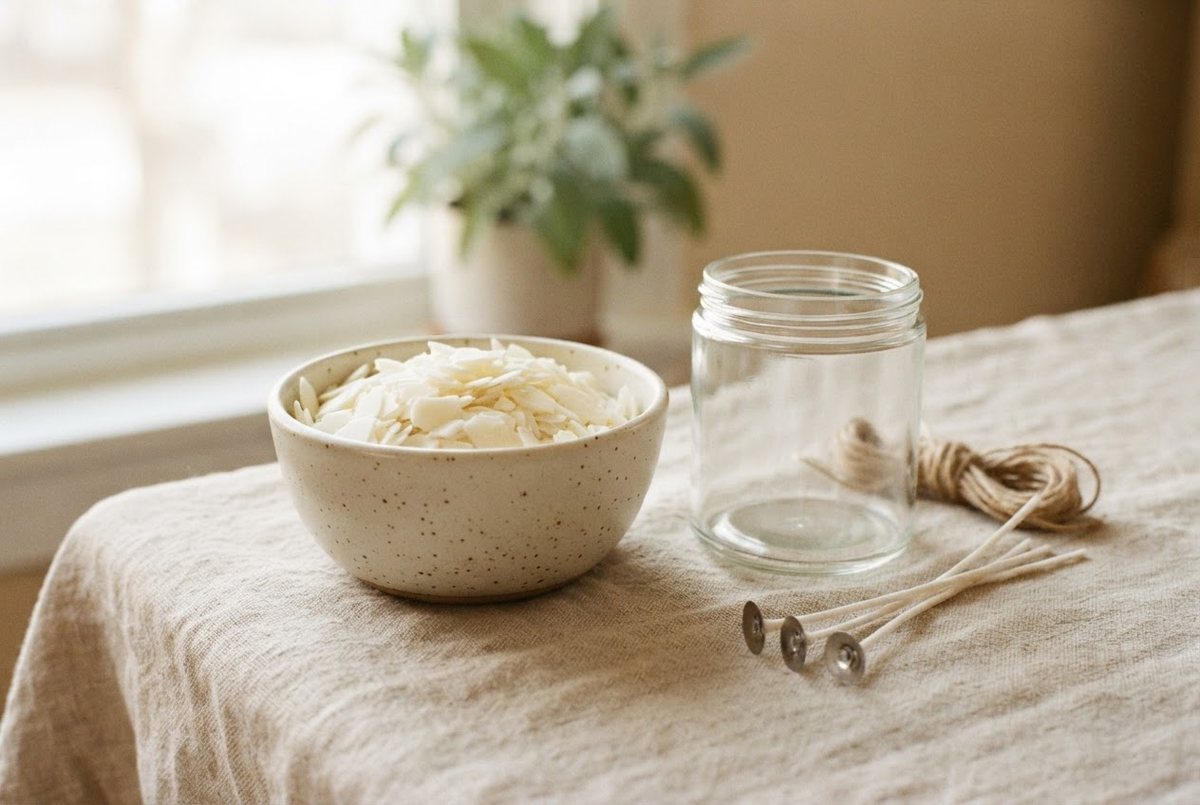
- Soy container wax. Look for wax labeled specifically for containers (not pillars), sold in flakes – they melt evenly and are easy to measure. A bag of natural soy wax made for container candles is the simplest start.
- A pouring pitcher. A metal pitcher with a handle and spout, used inside a pot of water as a double boiler. I'd choose a seamless candle-making pouring pitcher over an old saucepan every time, because the spout gives you a clean, controlled pour.
- A saucepan big enough to hold the pitcher with a few inches of water around it.
- A thermometer. Non-negotiable. Temperature is the difference between a smooth top and a lumpy one. A digital thermometer with a long probe reads faster and is easier to see than a glass one.
- Wicks. Pre-tabbed cotton wicks (with the little metal disc at the bottom) are the beginner-friendly option. Look for a pack of pre-tabbed cotton candle wicks that comes with a sizing chart from the maker.
- Wick stickers or a dab of hot glue to fix the wick to the bottom of the jar.
- A wick centering bar (or two clothespins or chopsticks) to hold the wick upright while the wax sets.
- Heat-safe glass vessels. Choose thick glass jars made for candles, with straight sides and no cracks or chips. Pretty frosted glass candle jars with lids look lovely and make gifting easy later.
- Candle fragrance oil (optional, but most of us want it). Use oils made for candle making, not essential oils from the bathroom cabinet or perfume.
- A kitchen scale. Wax and fragrance are measured by weight, not by cup.
One more tip: cover the counter with kraft paper and keep your candle tools separate from your cooking pots – once something is waxy, it's a candle tool forever.
Wax, Wick and Vessel: The Three Basics
Almost every candle problem comes back to one of these three things, so it's worth two minutes of understanding before you melt anything.
Wax: Read the Label Like a Recipe
Every soy wax is slightly different. The bag (or the maker's website) will list a recommended heating temperature, the temperature to add fragrance, a pouring range and a maximum fragrance load. Those numbers are your real instructions. Everything in this guide is a typical starting point, and your wax manufacturer's instructions always win.
Wick: Size Matters More Than Anything
The wick's job is to melt a full, even pool of wax across the jar without making a huge flame. Too small, and the candle tunnels down the middle. Too big, and you get a tall, flickering, sooty flame and a jar that gets too hot.
Wick makers publish sizing charts based on the diameter of your jar (measure across the inside of the opening) and the type of wax. Start with the size the chart suggests for your diameter and soy wax. If fragrance is heavy or your jar is wide, you may need to go a size up – that's what a test burn tells you (more on that below).
Vessel: Glass That Can Take the Heat
Choose jars sold for candle making, or thick, sturdy glass with no chips, cracks or thin spots. Skip thin drinking glasses, wine glasses and anything with a narrow neck (heat gets trapped). Wash and fully dry the jar before you start – any water left inside can cause wet spots and adhesion problems.
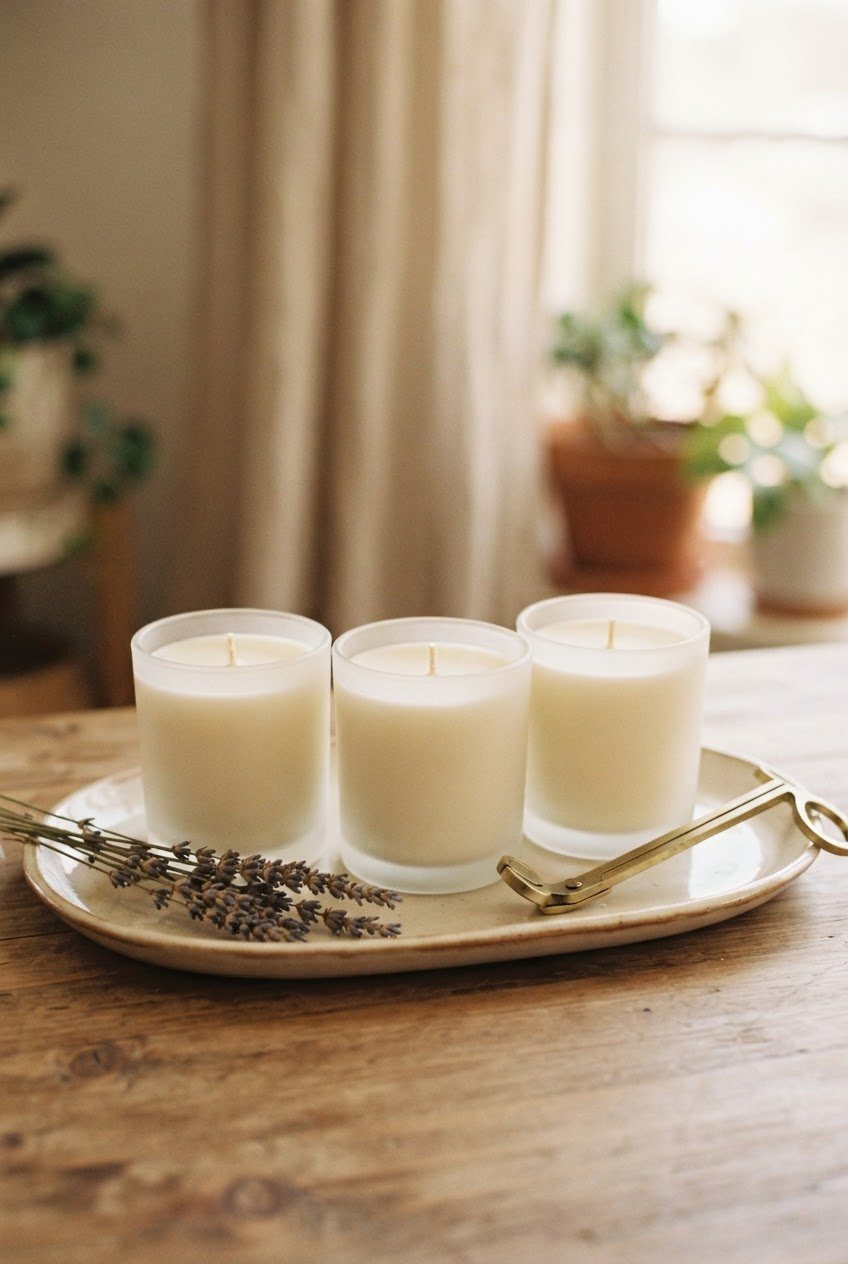
I'm a glass candle girl through and through. There's something a little Old Hollywood about candlelight flickering through a clear or frosted jar on a vanity, and it's exactly why I'd always start with glass instead of tins. (A few glass candles on a tray is also one of my favorite renter-friendly cozy home ideas.)
How Much Wax and Fragrance Do You Need? A Simple Formula
This is the part that scares people, but it's really just two small sums.
Step 1 – Wax. Fill your jar with water to where you want the candle to end (about half an inch below the rim), then pour that water into a measuring cup or weigh it. Because soy wax is a bit lighter than water, a common rule of thumb is:
Wax weight = water weight × 0.86
So a jar that holds 10 oz of water needs roughly 8.6 oz of wax. Round up a little – it's always better to have a spare splash than to come up short.
Step 2 – Fragrance. Fragrance load is the percentage of fragrance oil compared to the weight of the wax. Many soy container waxes work well somewhere around 6–10%, but every wax has its own maximum, so check yours before you go higher.
Fragrance weight = wax weight × fragrance load
For 16 oz of wax at 8%: 16 × 0.08 = 1.28 oz of fragrance oil. For 16 oz at 6%: 0.96 oz. That's it. Weigh the fragrance on your scale right into a small cup so it's ready to go.
A gentle note: more isn't always stronger. Going over your wax's limit can make the oil "sweat" out of the candle, cause wet-looking patches and even be a safety issue, because the extra oil can affect how the candle burns. If a scent seems weak, check the wick and the cure time before you add more fragrance.
How To Make Soy Candles at Home: 9 Steps
Before you start: the temperatures below are ranges commonly recommended for soy container wax. Different waxes have different sweet spots, so treat these as a guide and follow the instructions that came with your wax.
1. Prep Your Space and Jars
Cover the counter, set out everything you need and make sure the jars are clean, dry and at room temperature. Cold jars (think a chilly kitchen in December) can cause wet spots and rough tops, so if your room is cold, warm the jars slightly in an oven on its lowest setting for a few minutes, or with a hair dryer, before pouring.
2. Attach and Center the Wick
Peel a wick sticker, press it onto the metal tab and push the wick firmly into the exact center of the jar bottom (a pencil or chopstick helps you reach). Thread the top of the wick through a centering bar or clip it between two clothespins resting on the rim. A centered wick = an even melt pool later.
3. Weigh the Wax
Use your formula from above and weigh the wax flakes into the pouring pitcher. If you're making several candles, add up the totals and melt it all in one batch (as long as your pitcher isn't more than about two-thirds full).
4. Melt Gently in a Double Boiler
Put a few inches of water in the saucepan, set the pitcher inside and heat over medium-low. Stir now and then. Soy container wax is commonly heated to somewhere around 160–185°F (71–85°C) – check your wax label for its specific number. Never put the pitcher directly on the burner and never let the water boil dry. This is not a step to walk away from, even for "just a second."
5. Add the Fragrance at the Right Temperature
Take the pitcher off the heat. Many soy waxes suggest adding fragrance oil at around 175–185°F (79–85°C), because a warm wax binds the oil better. Pour in your pre-weighed fragrance (and dye, if you're using it).
6. Stir for a Full Two Minutes
Set a timer. Stir slowly and steadily – no whisking, which adds air bubbles. Those two minutes help the fragrance blend completely into the wax, and they're one of the biggest secrets to a good scent throw. Most beginners stir for 15 seconds and wonder why their candle smells faint.
7. Let It Cool to Pouring Temperature
Now wait while the wax cools. A common pouring range for soy container wax is around 120–140°F (49–60°C), and some waxes prefer pouring a little lower or higher – this is where your manufacturer's notes matter most. Pouring a bit cooler often helps with a smoother top and better glass adhesion.
8. Pour Slowly and Leave It Alone
Pour slowly down the side of the jar (or into the center at a low height) to avoid bubbles, leaving about half an inch at the top. Save a little wax in the pitcher for a top-up later. Then let the candle cool at room temperature, away from drafts, fans and open windows. Don't put it in the fridge to speed things up – fast cooling is a common cause of cracks, sinkholes and wet spots.
9. Top Up, Trim and Cure
Once the candle is fully set (usually after several hours or overnight), you may see small dips or holes around the wick. Reheat the leftover wax and pour a thin layer on top, or gently smooth the surface with a heat gun or hair dryer on a low setting. Trim the wick to about 1/4 inch, then let the candle cure.
Curing: Why You Should Wait Before Burning
This is the hardest step, because you'll want to light it right away. Curing is simply time for the wax and fragrance to finish setting and bonding, and soy wax in particular smells noticeably stronger after it.
- Minimum: many makers suggest at least 48 hours before the first burn.
- Typical sweet spot: around 1–2 weeks for soy candles.
- Store them at room temperature, out of direct sunlight, ideally with lids on or covered so the scent doesn't fade.
Write the pour date on a small piece of tape on the bottom of each jar. Future-you will not remember which one you poured when, and that little label makes it easy to know when a candle is ready.
Do a Test Burn Before You Make a Big Batch
If you only remember one tip, make it this one: make one candle, cure it, and test-burn it before you make ten more (or wrap any as gifts). Here's a simple way to do it:
- Light the cured candle on a heat-safe surface and keep it within sight the whole time.
- After about one hour per inch of jar diameter (so roughly 3 hours for a 3-inch jar), check the melt pool. Ideally it reaches the edge of the jar or very close to it.
- Watch the flame. A steady flame around an inch tall is a good sign. A tall, flickering or smoking flame means the wick is likely too big.
- Extinguish, let it cool completely and trim the wick before the next burn.
- Note what you saw (pool width, flame height, scent) in a little notebook so you know whether to size the wick up or down next time.
Candle Troubleshooting Table: Problem, Cause, Fix
Here's the part I wish every beginner had taped inside a cupboard door. Most first candles have at least one of these quirks, and almost all of them are fixable on the next pour.
| Problem | What it looks like | Likely cause | How to fix it |
|---|---|---|---|
| Tunneling | The candle burns a hole straight down the middle, leaving a thick wall of wax around the sides | Wick too small for the jar diameter, or the first burn was too short | Go up one wick size next time. Let the first burn run until the melt pool reaches (or nearly reaches) the edges – roughly one hour per inch of diameter |
| Frosting | White, crystal-like streaks or a dusty film on the top or sides | A natural trait of soy wax, made worse by temperature swings or pouring too hot | Purely cosmetic – it burns fine. Pour a little cooler, let candles cool slowly at a steady room temperature, and choose frosted or colored jars if it bothers you |
| Sinkholes | Dips, cracks or holes around the wick after the candle sets | Wax shrinks as it cools; cooling too fast (cold room, drafts, fridge) makes it worse | Pour at the cooler end of your wax's range, warm the jars, cool slowly, then add a thin top-up layer or smooth the top with a heat gun |
| Weak scent throw | You can smell it up close, but the room doesn't fill with scent | Not enough cure time, fragrance added too cool or not stirred enough, wick too small or a low fragrance load | Cure for 1–2 weeks, add fragrance at the temperature your wax suggests, stir for a full two minutes, check the wick size, and stay within your wax's fragrance limit |
| Wet spots | Patches where the wax has pulled away from the glass, looking damp or bubbly | Cold or dirty jars, cooling too quickly, temperature swings in the room | Clean and fully dry jars, warm them before pouring, cool slowly away from drafts. A heat gun on the outside of the glass can sometimes re-stick the wax. It's cosmetic and doesn't affect burning |
| Sooting or a big flame | Tall, flickering flame and black marks on the jar | Wick too big or too long, or too much fragrance | Trim to 1/4 inch before every burn, go down one wick size, and keep fragrance within the limit |
Seeing frosting or a wet spot on candle number one isn't a failure, by the way. It's just soy being soy. Even beautiful boutique candles have them – they just choose jars that hide it well.
Candle Making Safety: The Rules That Actually Matter
Candle making is a calm hobby, but it involves hot wax and, later, an open flame. A few rules make it safe and stress-free:
While You're Making Candles
- Never leave melting wax unattended. Not to answer the door, not to grab the laundry. If you have to leave, take the pitcher off the heat and turn off the burner.
- Always use a double boiler and a pouring pitcher. Never melt wax in a pan directly over the heat, and never microwave large amounts of wax.
- Use a thermometer the whole time and don't overheat the wax beyond what your manufacturer recommends. Wax that gets too hot can start to smoke, and smoking wax is a warning sign to turn off the heat immediately.
- Never put water on a wax fire. Water can make burning wax splatter and spread the fire. Turn off the heat, cover the pot or pitcher with a metal lid or baking sheet to smother it, and keep a fire extinguisher suitable for kitchen fires within reach. If the fire grows, get out and call 911.
- Keep kids and pets out of the kitchen while you work, and handle the hot pitcher with an oven mitt.
- Follow the fragrance oil's safety notes, avoid skin contact and work with a window cracked if the scent feels strong.
When You Burn Your Candles
- Trim the wick to about 1/4 inch before every single burn. A gold wick trimmer makes this an easy, pretty little ritual.
- Keep candles at least 12 inches away from anything that can burn – curtains, books, decor, garland.
- Never leave a burning candle unattended, and blow it out before you leave the room or go to sleep.
- Use a sturdy, heat-resistant surface and keep candles away from drafts, vents and anywhere kids or pets could knock them over.
- Stop burning when about half an inch of wax is left in the jar, so the glass doesn't overheat.
The NFPA's candle safety page has more simple, trustworthy tips for using candles at home, and it's worth a quick read before your first burn.
5 Easy Ways To Customize Your Candles
Once your basic candle behaves, the fun part begins. Change only one thing at a time so you can tell what made the difference.
- Scent blends. Combine two candle fragrance oils you love (a common starting point is 2 parts main scent to 1 part accent – for example, vanilla with a little sandalwood). The total still has to stay within your wax's fragrance limit.
- Soft color. Use dye made for candles (chips or liquid), not crayons or food coloring, which can clog the wick. A tiny amount gives a gentle blush, sage or butter-yellow tone.
- Seasonal scents. Think warm and familiar for autumn and winter: cinnamon, fir, vanilla, orange. If you love scenting your home, my simmer pot recipes are a great way to find the combinations you like before buying fragrance oils.
- Different jars. Vintage-style glass, amber jars or little ribbed tumblers each change the whole mood – just make sure they're thick and heat-safe.
- A wooden wick for that soft crackle. These behave differently from cotton wicks, so treat them as a new experiment and follow their own sizing guide.
Skip adding dried flowers, herbs or glitter into the wax near the wick. They look gorgeous in photos but can catch fire. If you want that look, put them on the lid or the gift tag instead.
Gift-Ready Finishing Touches
A handmade candle becomes a real gift in about ten minutes. Here's the simple finishing routine:
- Clean the jar. Wipe off fingerprints and wax drips with a paper towel and a little rubbing alcohol, then polish the glass.
- Add a lid or dust cover so the candle stays clean and the scent stays inside.
- Label it. A small round sticker with the scent name and a pour date looks professional. On the bottom, add a simple warning label with the basics: trim the wick, never leave unattended, keep away from kids, pets and anything flammable.
- Tie a ribbon around the neck of the jar (silk or velvet in cream or blush looks expensive) and tuck a little handwritten card underneath.
- Box it with cushioning – crinkle paper or tissue – if it's traveling.
Want more ideas to pair with your candles? My DIY Christmas gifts people actually want include plenty of handmade ideas that sit beautifully next to a candle in a gift box. And if you're shopping for the girl who loves everything soft and homey, these Christmas gifts for your best friend are sorted by her vibe. Plan your gift candles at least 2–3 weeks ahead so they have time to cure.
Final Thoughts
Your first candle doesn't need to be perfect. It needs to be poured. Pick one jar, one scent and one quiet evening, follow your wax's instructions, and let the troubleshooting table catch whatever goes sideways. By your third or fourth candle, you'll know your wax better than any guide could explain it. Once you have a few jars ready, here are my favorite cozy ways to style candles at home.
And then, one evening soon, you'll light something you made yourself, pour a cup of tea and watch the flame through the glass. That moment is worth every drip on the counter. (And if it sparks a whole new creative streak, my list of hobbies for fun, creativity and relaxation has plenty to try next.)