There's a photo of me from a New Year's Eve party a few years ago that I still think about. The dress was lovely, the hair was behaving, and my face… was a shiny, silvery mirror. The flash had found every bit of shimmer on my T-zone and turned it into a disco ball. I looked less "winter goddess" and more "glazed doughnut."
That's the funny thing about frosted makeup. In real life, under candles and fairy lights, it looks dreamy and expensive. Under a camera flash at midnight, the wrong shimmer in the wrong place can look ashy, greasy or chalky. And the "right" icy shade depends almost entirely on your undertone, which is why the same silver eyeshadow looks magical on your friend and slightly ghostly on you. Not sure about yours yet? My guide on how to find your foundation shade and undertone makes it easy.
So this is my guide to New Year's Eve makeup in the frosted, icy style – the soft, modern version, not the chalky early-2000s one. You'll find a quick way to figure out your undertone, a table that tells you exactly which shimmer, lip and blush to choose for cool, warm or neutral skin, a step-by-step look you can do in about 25 minutes, and a flash-photo checklist so your midnight pictures look as good as you feel.
What "Frosted" Makeup Means Now
When people hear "frosted," a lot of us picture icy blue eyeshadow from wrist to brow and lips so pale they disappear. The modern version is much softer. Think of the light on fresh snow, or the inside of a pearl: a cool, reflective sheen placed in just a few spots, with skin that still looks like skin.
Here's how the two versions compare:
- Old frosted: chalky, opaque white-silver shimmer, heavy on the whole lid, matching frosty lips, very little blush.
- New frosted: sheer, finely milled pearl or icy shimmer on the center of the lid and inner corners, a soft glossy lip, a cool-toned flush on the cheeks and skin left a little bit natural.
It's a very Old Hollywood idea, actually – those black-and-white film stars wore light-catching makeup in specific places so their faces glowed under studio lights. You're doing the same thing, just with fairy lights and a phone camera.
Find Your Undertone in 3 Minutes
Your undertone is the subtle color beneath the surface of your skin. It doesn't change with a tan or a pale winter, which is why it's so useful for choosing shimmer. Try these three quick tests in natural daylight, with a bare face:
- The vein test. Look at the veins on the inside of your wrist. Mostly blue or purple suggests cool; mostly green or olive suggests warm; a mix, or hard to tell, suggests neutral.
- The jewelry test. Hold a silver piece and a gold piece against your face. If silver makes your skin look brighter, you're probably cool. If gold looks more flattering, probably warm. If both look nice, you're likely neutral.
- The white paper test. Hold a sheet of plain white paper next to your bare face. Skin that looks pinkish or rosy next to it leans cool; skin that looks yellow, golden or peachy leans warm; skin that looks a bit of both (or slightly gray-green, which often means olive) leans neutral.
Two out of three is enough to go on. And if you're still unsure? Treat yourself as neutral – the neutral column in the table below is the most forgiving.
Your Icy Look by Undertone
This is the heart of the whole look. Find your row, then shop your makeup bag (or a drugstore) with it.
| Undertone | Shimmer shade | Lip | Blush | Avoid |
|---|---|---|---|---|
| Cool (pink, rosy, blue veins, silver looks best) | True icy silver, pearl white, pale lavender | Sheer cool pink gloss or a soft berry stain | Cool pink or soft rose | Heavy gold or bronze shimmer that can look muddy |
| Warm (golden, peachy, green veins, gold looks best) | Champagne, pale gold, warm pearl (silver with a gold reflect) | Peachy nude gloss or a warm rosy pink | Peach or warm apricot pink | Stark white-silver, which can look gray or ashy |
| Neutral (mixed, both metals work) | Rose gold pearl, soft opal, pinky champagne | Rosy nude or a clear gloss over your natural lip color | Dusty rose or soft mauve-pink | Very opaque frost on the whole lid |
| Olive (a neutral variation with a green-gray cast) | Opal with a pink shift, soft taupe pearl | Rosy brown nude or a warm berry | Warm rose or soft terracotta pink | Ice blue, which can emphasize the green |
One little tip if you have deeper skin: chalky white shimmers tend to sit on top and look gray. Reach for shades with a pink, gold or lavender reflect and a creamy, finely milled texture instead – they melt in and read as pure light.
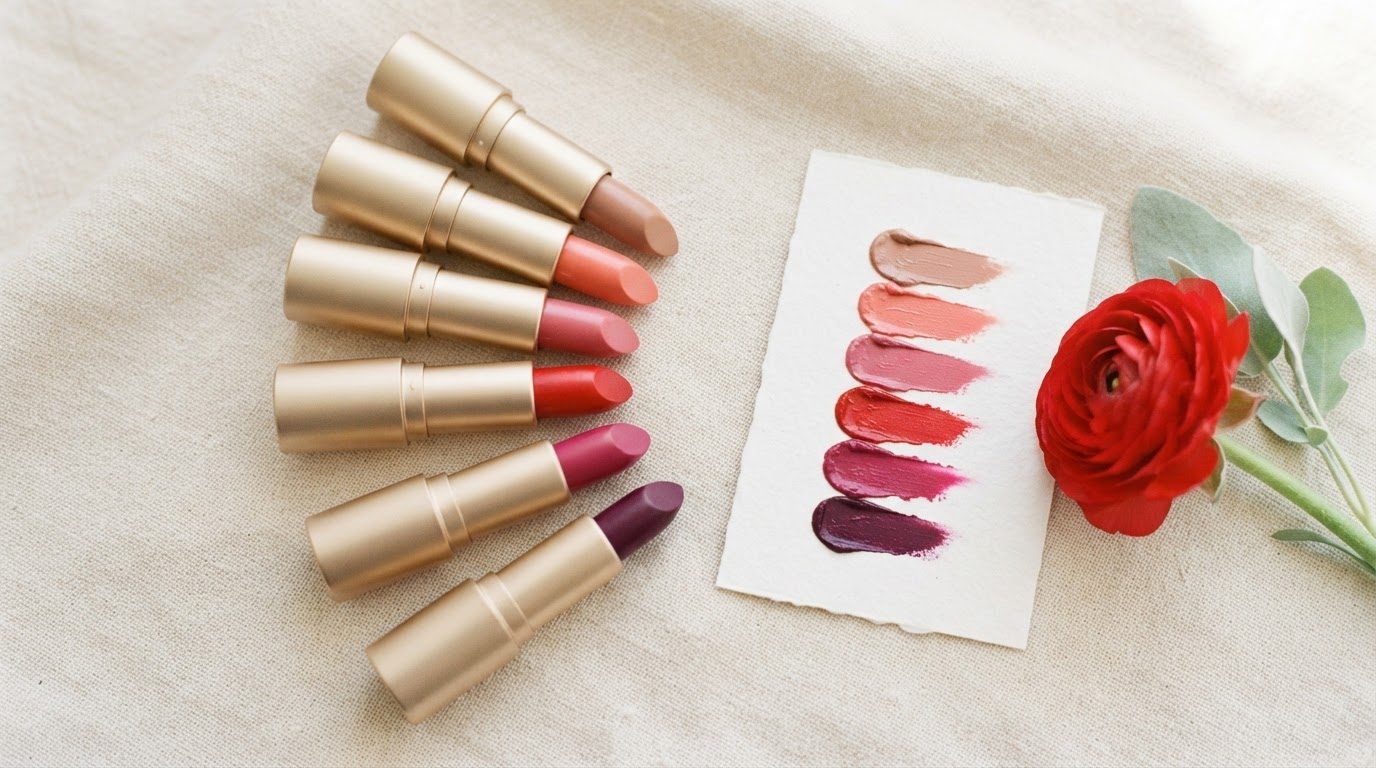
For the lip column, my guide to picking the best lipstick shades for your skin and hair tone goes deeper if you want to stay in your perfect color family all year.
Prep: The Skin Under the Sparkle
Frosted makeup shows texture more than matte makeup does, because shimmer reflects light from every little bump and dry patch. So the prep matters even more than usual. I have combination, sensitive skin with a T-zone that gets shiny by 9 p.m., so this is how I'd approach it:
- Moisturize the dry parts, not the shiny ones. Cream on cheeks and around the eyes, a light gel lotion on the forehead, nose and chin. Winter skin can be both flaky and oily at once – my winter skincare routine walks through how to handle that without irritation.
- Give it 5 minutes. Let moisturizer sink in fully before makeup, or foundation will slide.
- Use a mattifying primer only on your T-zone. The rest of the face can stay dewy. Shimmer looks best on skin that has some natural glow, just not oil.
- Patch-test anything new. If you're trying a new glittery product, swipe it on your inner arm a day or two before. Sensitive skin and New Year's Eve surprises don't mix.
The Frosted Look, Step by Step (About 25 Minutes)
Here's the full routine. Each step has a "subtle" and "full midnight" option, so you can dial it up or down depending on whether you're at a cozy dinner or a big party.
Step 1: Even Out the Base Lightly
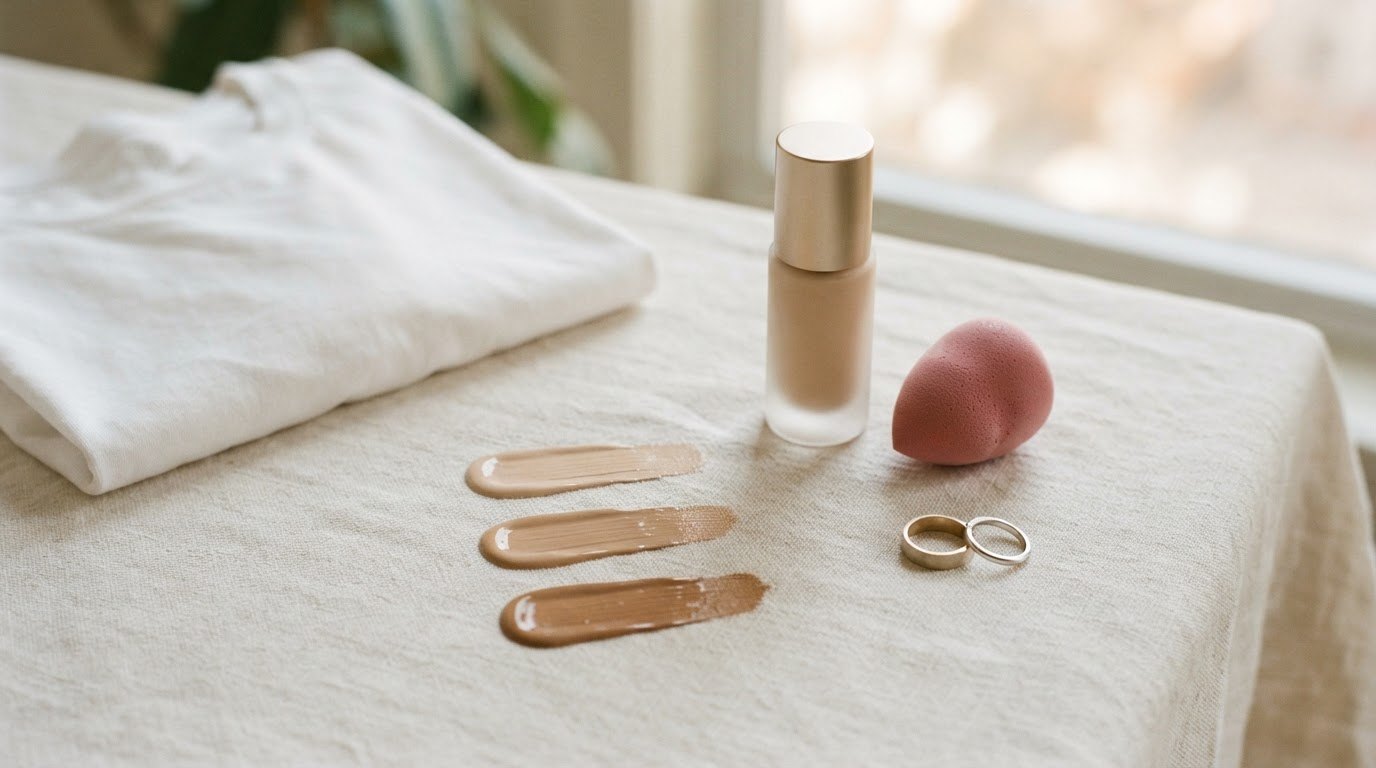
Use a thin layer of skin tint or foundation only where you need it – usually around the nose, chin and any redness. Leave your cheekbones a little sheer so the skin texture looks real. Conceal under the eyes with a creamy concealer, tapping (not rubbing) with your ring finger. If you want your base to survive until the countdown, my tips to make foundation last all day work just as well for all night.
Step 2: Set the T-Zone, and Only the T-Zone
Press a small amount of translucent powder onto your forehead, sides of the nose and chin with a damp sponge or a small fluffy brush. This is the step that stops the flash from turning your face into a mirror. Leave the high points of the cheeks unpowdered so the highlighter can melt in later.
Step 3: The Icy Lid
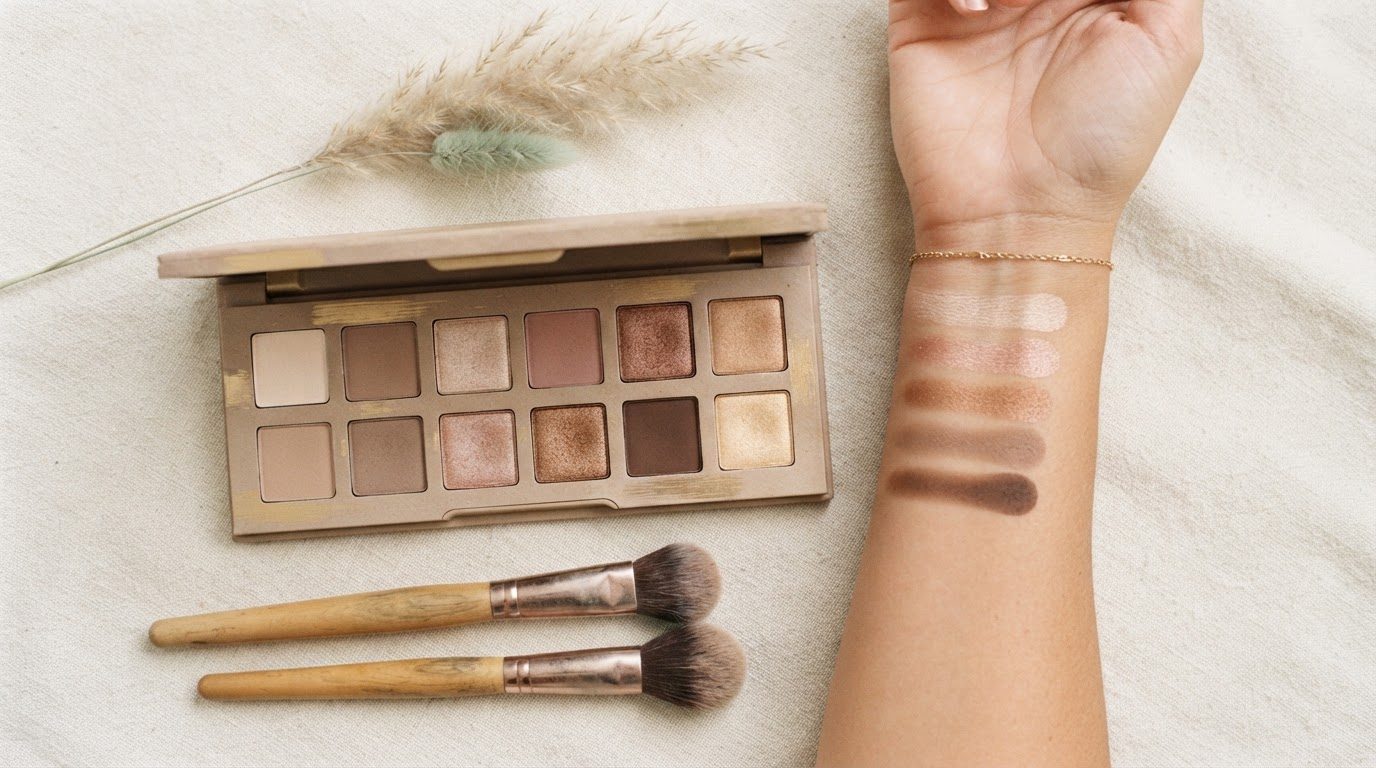
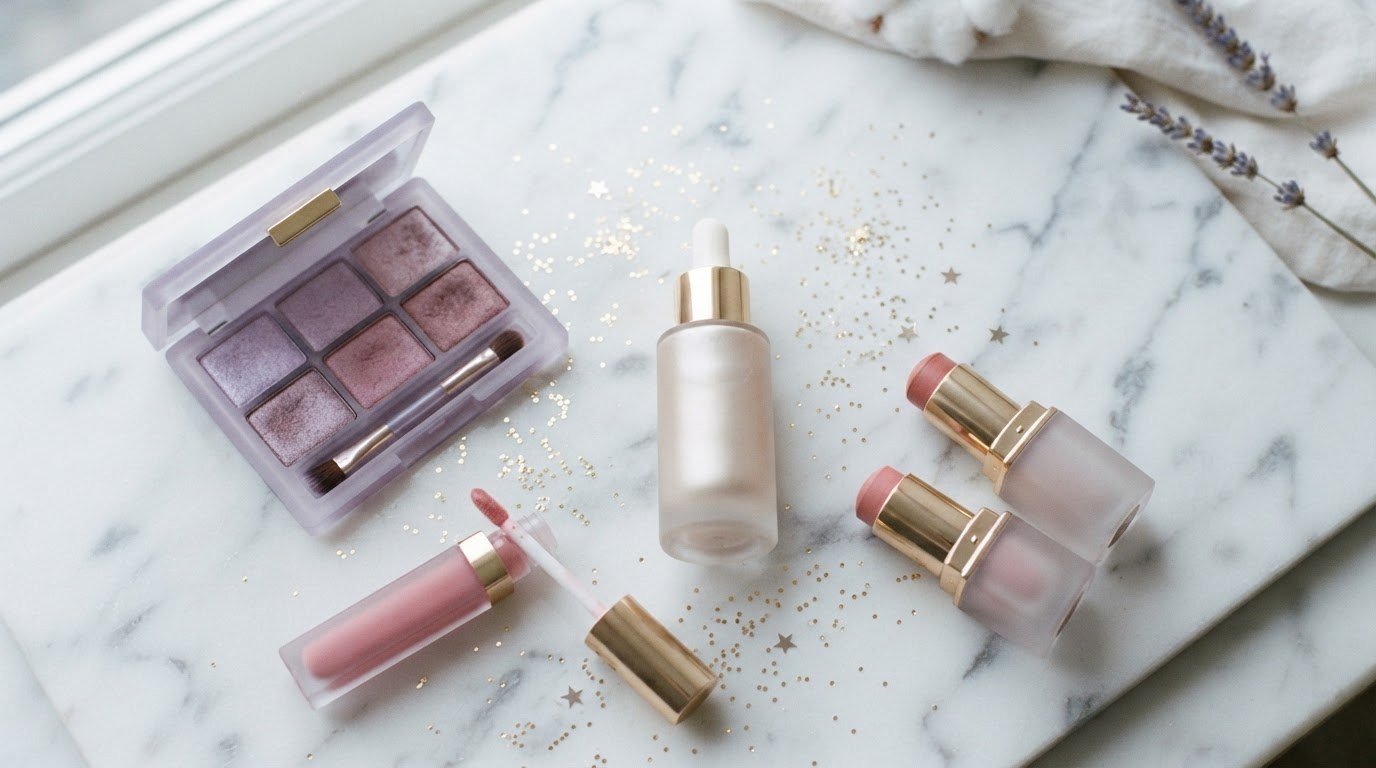
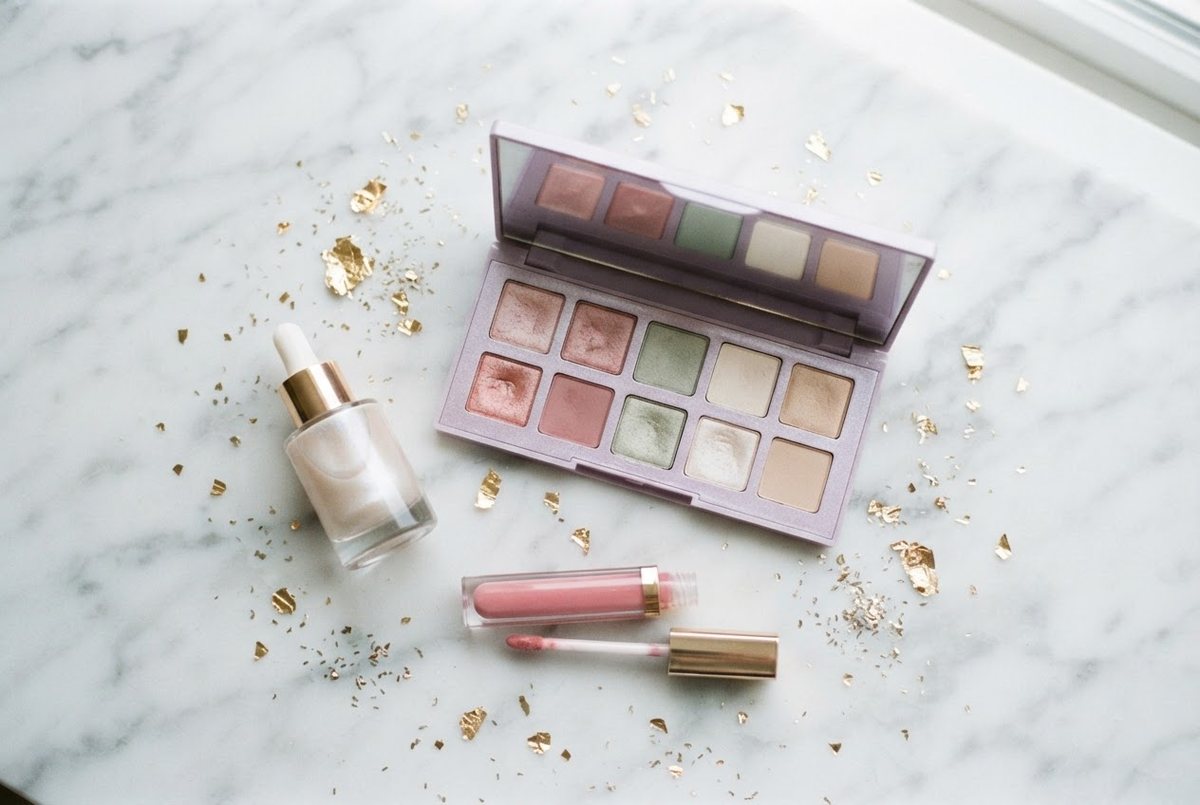
Choose your shimmer from the undertone table. Press it onto the center of the lid with your fingertip – fingers give a more intense, foiled finish than a brush. For a soft wash of color around it, a lavender shimmer eyeshadow palette is a lovely icy option for cool and neutral undertones; look for finely milled, buttery shimmers rather than chunky glitter, since they flatter textured lids and don't fall onto your cheeks.
Subtle: center of the lid only, with a soft matte taupe in the crease. Full midnight: extend the shimmer across the whole lid and add a second, slightly deeper shade on the outer third.
Step 4: Brighten the Inner Corners
A tiny dot of your lightest pearl shade in the inner corners is what makes the eyes look awake at 11:59 p.m. Use the tip of a small brush or a cotton swab. Then line your lower waterline with a white kohl eyeliner pencil – or a nude one if white feels too stark on you. Look for a soft, creamy formula labeled ophthalmologist-tested, and keep it on the waterline only, never inside the rim close to the eyeball. If eye makeup is still new territory, my sister post on eye makeup for beginners covers the basics without the overwhelm.
Step 5: Lashes and Brows
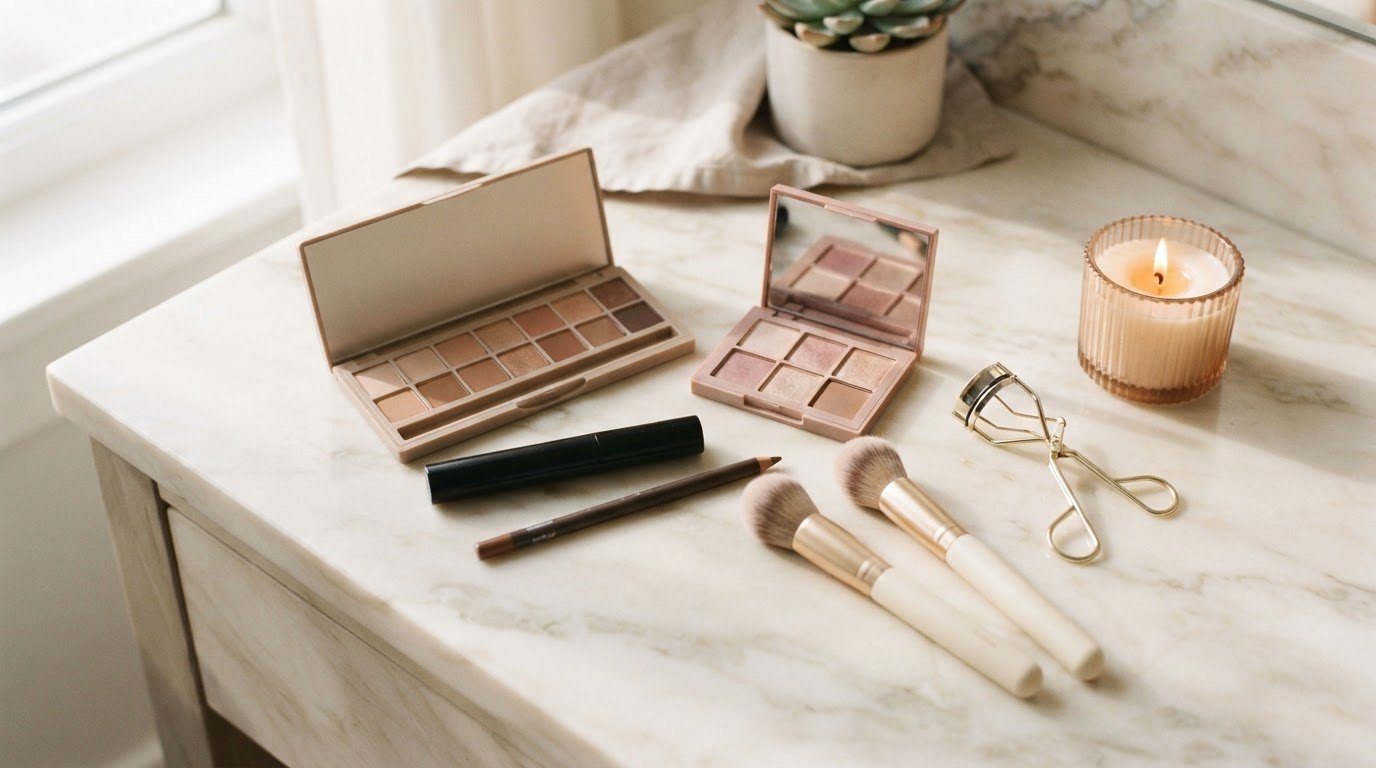
Curl your lashes, then add one or two coats of mascara, focusing on the outer lashes for a slightly lifted, doe-eyed look. Brush brows up with a clear or tinted gel. Icy makeup can wash you out a little, so defined brows and lashes are what keep the look polished rather than pale.
Step 6: A Cool Flush
Blush is non-negotiable here, because frosted makeup without color reads as tired. A creamy pink cream blush stick works beautifully on top of a dewy base – choose a sheer, buildable formula in the shade from your table, and dab it on the apples of the cheeks, blending up toward the temples. Cream formulas sit more naturally on dry winter skin than powder.
Step 7: Highlighter in Exactly Three Places
This is where restraint pays off. Tap a little pearl liquid highlighter on the top of the cheekbones, the inner corners of the eyes (if you skipped Step 4) and the center of the cupid's bow. Skip the nose and forehead entirely – those are already your shiniest zones and the first spots the flash will catch. Look for a sheer, liquid or cream formula you can mix with a drop of moisturizer for a soft glow rather than a stripe.
Step 8: The Glossy, Icy Lip
Line your lips with a pencil close to your natural lip color, fill in lightly, then add a sheer blush pink lip gloss (or the lip shade from your undertone row) in the center. Look for a non-sticky formula with a fine pearl finish so you get that frosted sheen without any glitter grit. Blot once, reapply once – it lasts much longer.
5 Frosted Makeup Mistakes (and the Easy Fix for Each)
- Shimmer on every surface. Lid, cheeks, nose, lips and collarbones all sparkling at once reads as greasy rather than glowing. Fix: pick two "light" zones (usually eyes and cheekbones) and keep everything else soft and satin.
- Skipping blush because the look is "icy." Cool shimmer without color can make you look like you're coming down with something. Fix: always add a flush from your undertone row, even if it's just one swipe.
- Putting powder over the highlighter. It mutes the shine and makes it look patchy. Fix: powder first, highlighter last – or use a liquid highlighter under foundation for a lit-from-within effect.
- Glittery shadow on hooded or crepey lids without a base. Loose shimmer settles into creases within an hour. Fix: tap a thin layer of concealer or eyeshadow primer on the lid first and press shimmer on with a fingertip. My post on makeup tips for hooded eyes has more placement tricks if your lids fold.
- Frosty lips over dry lips. Pearl finishes highlight every flake. Fix: a gentle lip balm 15 minutes before makeup, blotted off, then liner and gloss.
Three Ways To Wear It
Not every New Year's Eve is a big party. Here's how to adapt the same look to wherever you're spending the night:
- Cozy night in: skin tint, shimmer on the center of the lid, cream blush and gloss. Ten minutes, maximum sparkle-to-effort ratio.
- Dinner out: the full eight steps, subtle versions throughout. Candlelight is the most flattering light in the world for this look.
- Big party: full midnight lid, a little shimmer on the lower lash line and a slightly more defined lip. If you're the one hosting, my New Year's Eve party ideas include a sparkly theme that this look matches perfectly.
The Flash-Photo Checklist
Before you leave the house, do this one-minute check. Turn your phone's flash on, stand in a dimly lit room and take a selfie from about arm's length. Then go through the list:
- Bright white cast around the eyes or forehead? That's flashback, often from powders or sunscreens with lots of reflective minerals. Blend it in with a damp sponge or switch to a different setting powder.
- Shiny forehead or nose? Blot, then press a tiny bit of powder in. Never add more powder on top of oil – blot first.
- Highlighter showing as a stripe? Tap the edges with your fingertip to soften them.
- Eyeshadow looking gray? Your shimmer may be too cool or too opaque for your undertone. Add a warmer pearl on top, or a little more color in the crease.
- Lips disappearing? Add the lip liner back or swap to a slightly deeper gloss. Icy lips look paler on camera than in the mirror.
- Face looking flat? Add a bit more blush. Flash washes out color more than you'd expect.
- Visible texture on cheeks? Mist a little setting spray and press with clean fingers to melt powder back into the skin.
- Brows disappearing? Go one shade deeper with your gel or a fine pencil.
- Glitter on the cheeks? Pick it off with a piece of tape before it multiplies.
- Neck and face matching? Blend any leftover foundation down onto the jaw so the flash doesn't show a line.
The best flash trick of all: take photos with the light source slightly above and in front of you, chin a tiny bit down. It's what photographers did for the Old Hollywood portraits, and it still works on a phone.
Keep It Fresh Until Midnight
New Year's Eve is a long night. Fill a little clutch kit with these, and you'll look the same at the countdown as you did at 8 p.m.:
- Blotting papers. A pack of oil blotting papers is the single best touch-up for a shiny T-zone – press, don't rub, so you lift the oil without moving your makeup.
- Your lip gloss. Reapply after drinks and dinner.
- A mini setting spray. A quick mist halfway through the night revives powder that's started looking dry.
- Cotton swabs. For fixing smudges under the eyes.
- A tiny concealer. For any redness that sneaks back.
Taking It Off Gently
Shimmer and glitter cling, and tugging at your eyes at 2 a.m. is how irritation starts. Before bed, use an oil-based cleanser or cleansing balm to dissolve everything, holding a soaked cotton pad against your closed eyes for 20 seconds before wiping gently outward. Follow with your usual gentle cleanser and moisturizer.
A quick, kind safety note: only use glitter that's labeled cosmetic-grade and made for the face or eyes – craft glitter has sharp edges and isn't meant to go anywhere near your eyes. If your eyes feel itchy, watery or sore after wearing a new product, take it off right away and stop using it. If it doesn't settle down, check in with a doctor or pharmacist.
Final Thoughts
The best New Year's Eve makeup doesn't hide you behind sparkle. It looks like you on a really good night – a little brighter, a little glossier, catching the light at exactly the right moments.
So find your row in the table, do the one-minute flash check before you leave, and then forget about your face completely. The new year is better spent laughing than checking your reflection.