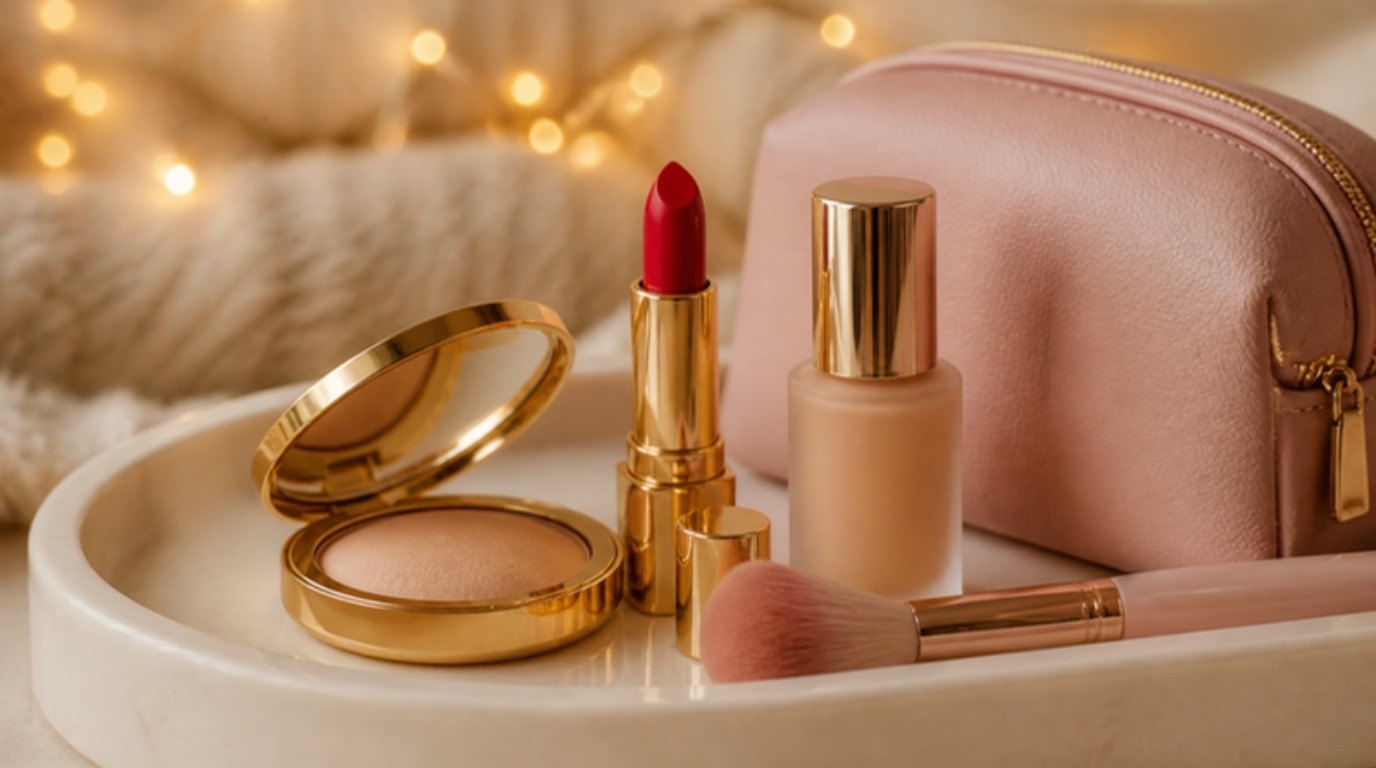
Red lipstick has a reputation for being difficult, but most of the trouble comes from two small things: the wrong red for your undertone and a rushed application. Get those right and a red lip becomes the easiest way to look polished for every holiday dinner, party and photo, even with the rest of your face kept simple.
A good red doesn't need perfect lips or years of practice. It needs a little prep, a liner that matches, a few patient strokes and one or two tricks to keep it from wandering onto your teeth or your glass.
This guide covers red lipstick for the holidays from start to finish: how to choose your red (with an undertone table), which finish suits which night, how to prep, how to apply red lipstick perfectly in seven steps, how to clean the edges, how to make it last through dinner and drinks and how to fix feathering and stains on the spot.
I have a soft spot for Old Hollywood glamour, and nothing captures it faster than a clean red lip. It's also far more forgiving than it looks, I promise.
Why Red Lipstick Works So Well for the Holidays
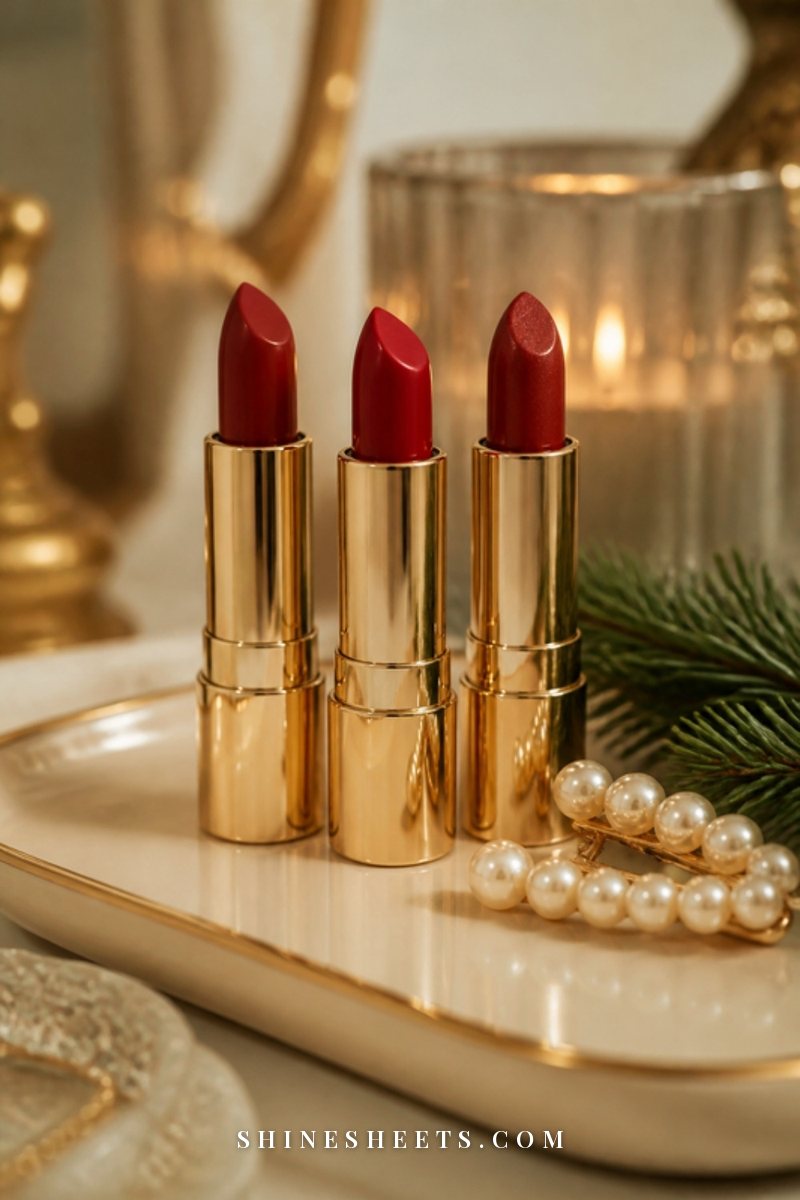
Holiday light is warm and low: candles, string lights, lamplit dinner tables. Red lipstick loves that light. It brightens the whole face, makes skin look warmer and reads beautifully in photos, even in dim rooms where softer nudes can wash out.
It also does a lot of work on its own. With a red lip, you can keep your eyes very simple (mascara and a little brow gel) and still look completely put together. That's a real gift during a season with back-to-back plans and little time to get ready.
And there's something quietly confidence-building about it. A red lip feels like a small decision to show up fully, which is a nice feeling to carry into a crowded room.
How To Choose Your Red
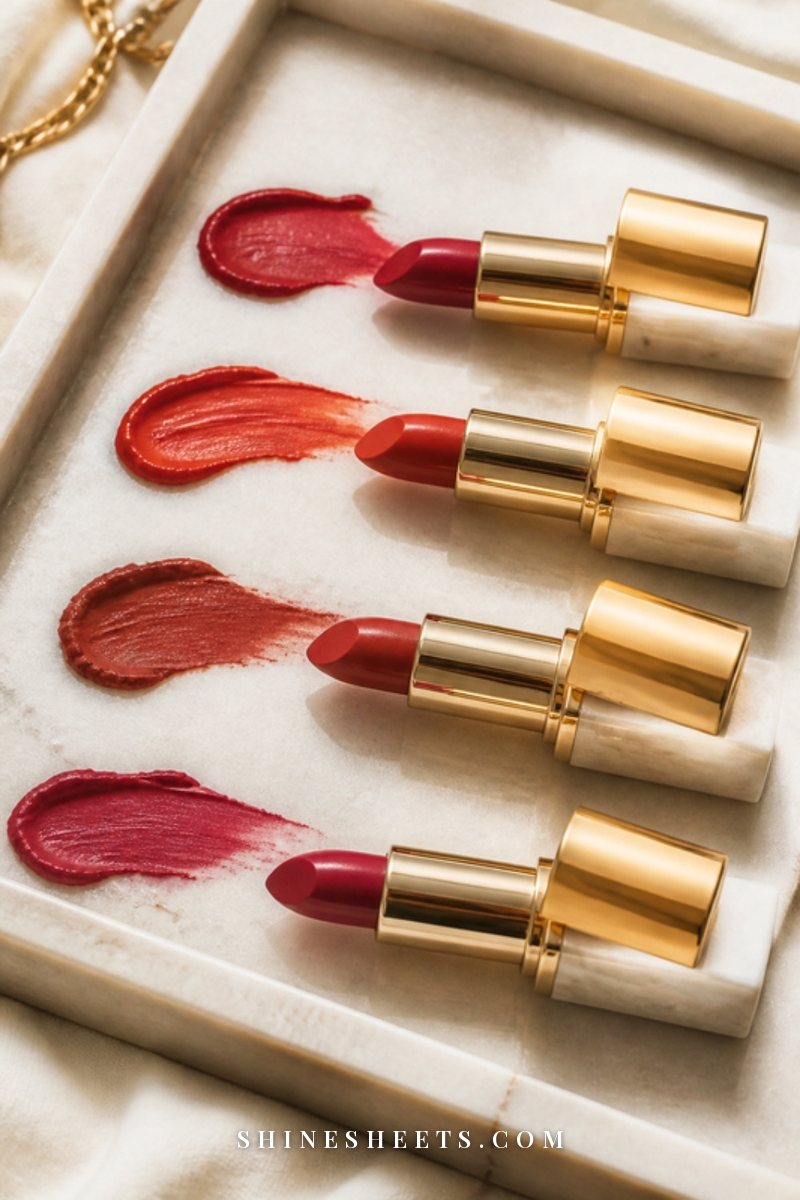
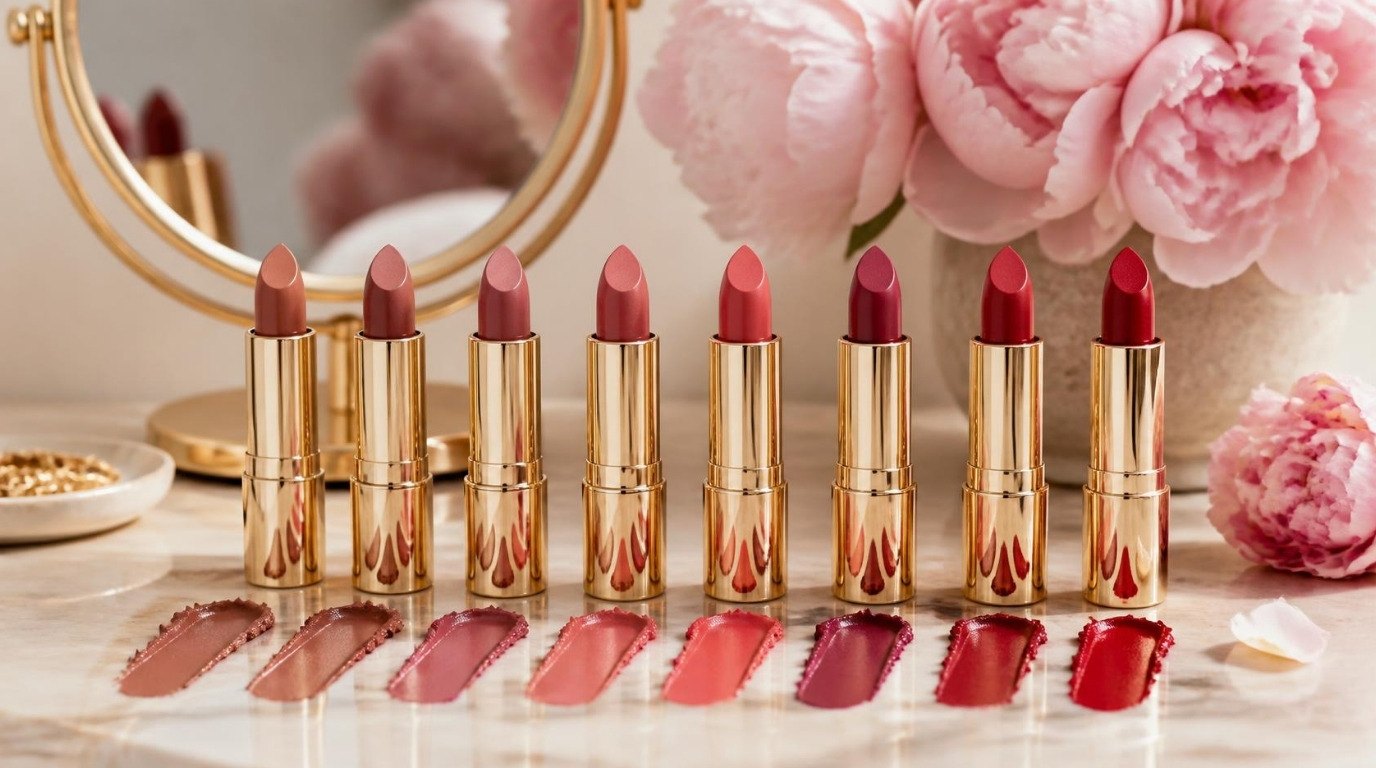
There's a red for everyone. The trick is matching the red's undertone to yours, then choosing how bold you want it to feel. If you'd like the deeper version of shade matching for all lip colors, my guide on picking the best lipstick shades for your skin tone goes through it in detail.
Blue-Based Reds
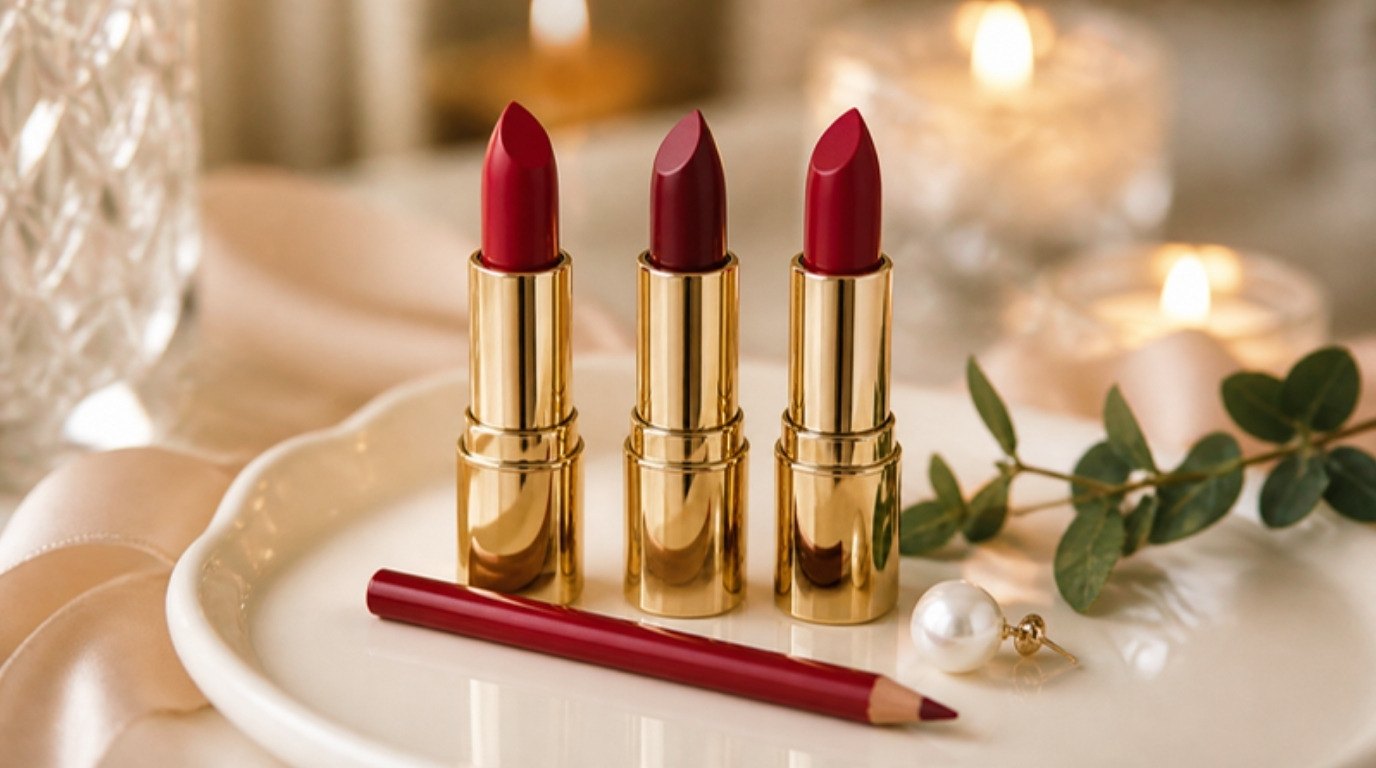
These are the classic, cherry-to-crimson reds with a cool, slightly blue undertone. They look stunning on cool and neutral undertones, and they have one lovely bonus for everyone: blue-based reds make teeth look brighter and whiter by contrast. If you want the most "classic movie star" red, this is it.
Orange-Based Reds
Warm, bright and a little playful, orange-based reds (sometimes called tomato or poppy reds) look fresh and radiant on warm undertones and on golden or olive skin. They feel a bit more daytime and cheerful, which makes them lovely for holiday brunches and afternoon get-togethers.
Brick and Berry Reds
If a bright red feels like too much, start here. Brick reds have a brown, earthy depth and suit warm undertones. Berry reds lean toward wine and plum and suit cool undertones. Both look softer, more lived-in and very elegant at a winter dinner.
The Quick Undertone Test
Not sure where you fall? Try these two quick checks in natural daylight:
- The vein test: look at the veins on the inside of your wrist. Mostly blue or purple suggests cool. Mostly green suggests warm. A mix (or hard to tell) usually means neutral.
- The jewelry test: hold silver and then gold jewelry next to your face. If silver makes your skin look brighter, you likely lean cool. If gold does, you likely lean warm. If both look nice, you're probably neutral, and you can wear almost any true red.
Red Lipstick Undertone Table
Here's the short version to screenshot before your next beauty aisle visit:
| Your undertone | Red family | Finish to try first | Best for |
|---|---|---|---|
| Cool | Blue-based cherry or crimson red | Matte or satin | Formal dinners, evening parties, classic glam |
| Cool (softer) | Berry or wine red | Satin | Family gatherings, long dinners |
| Warm | Orange-based tomato or poppy red | Satin or sheer | Holiday brunch, daytime parties |
| Warm (softer) | Brick or rust red | Matte | Cozy dinners, everyday winter wear |
| Neutral | True red (balanced, neither orange nor blue) | Any finish | Every holiday event |
| Not sure yet | Sheer red or red lip stain | Sheer | Testing red with low commitment |
Red Lipstick Finishes and What Each Needs
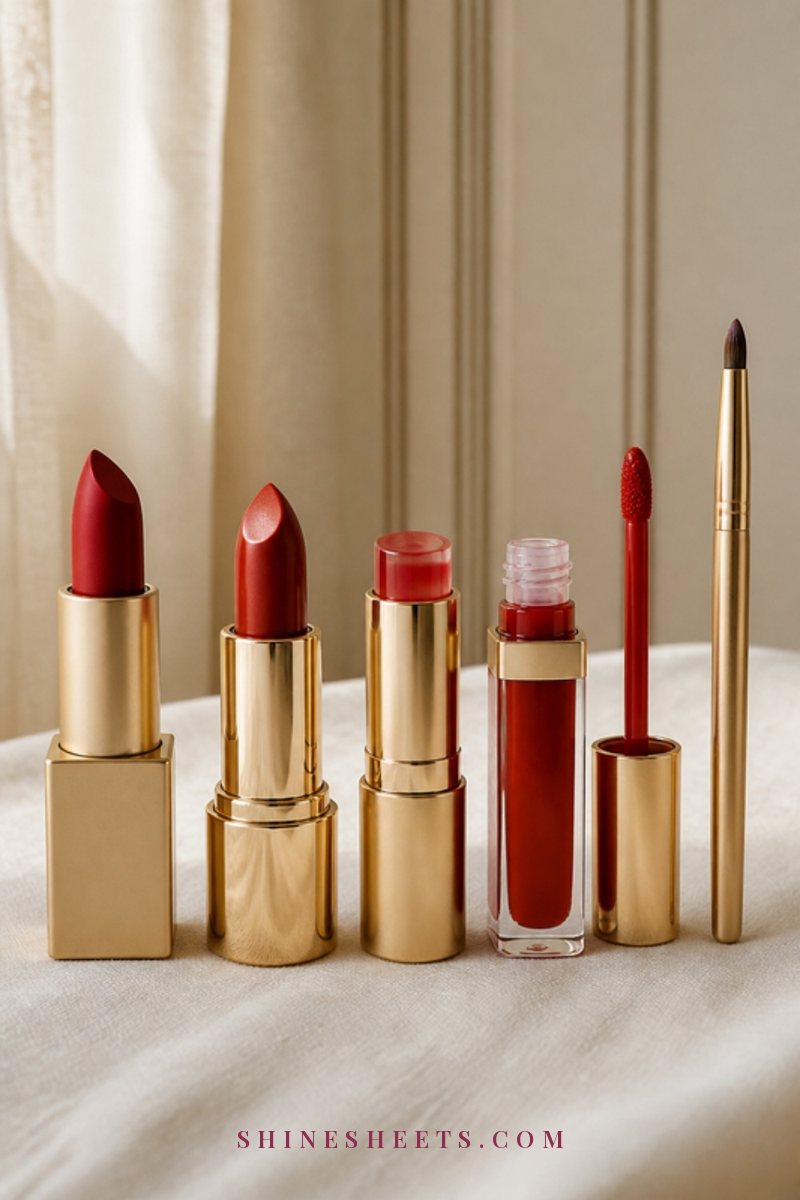
The finish changes how long red lasts, how forgiving it is and how much prep it needs. Here are the four you'll see most often.
Matte
Matte reds last the longest and look the most dramatic. They also show every dry patch, so they need the best prep: a well-hydrated lip, no flakes, and liner underneath. A great choice for long nights, as long as your lips aren't chapped.
Satin
Satin sits in the middle: a soft sheen, comfortable on the lips and more forgiving on texture. It fades more gently than matte, so a quick touch-up after dinner is usually all it needs. If you're new to red, this is my first suggestion.
Sheer
Sheer reds (balmy or glossy formulas) are the easiest to wear and the hardest to mess up, since edges don't need to be precise. They wear off faster, so carry the bullet with you. Lovely for daytime plans or when your lips need moisture more than drama.
Liquid
Liquid lipsticks dry down to a long-wear, transfer-resistant layer. They're brilliant for dinners and drinks, but can feel tight and drying after a few hours. Apply very thin layers, and never pile a fresh coat over a worn-off one without removing the patchy bits first.
How To Prep Your Lips
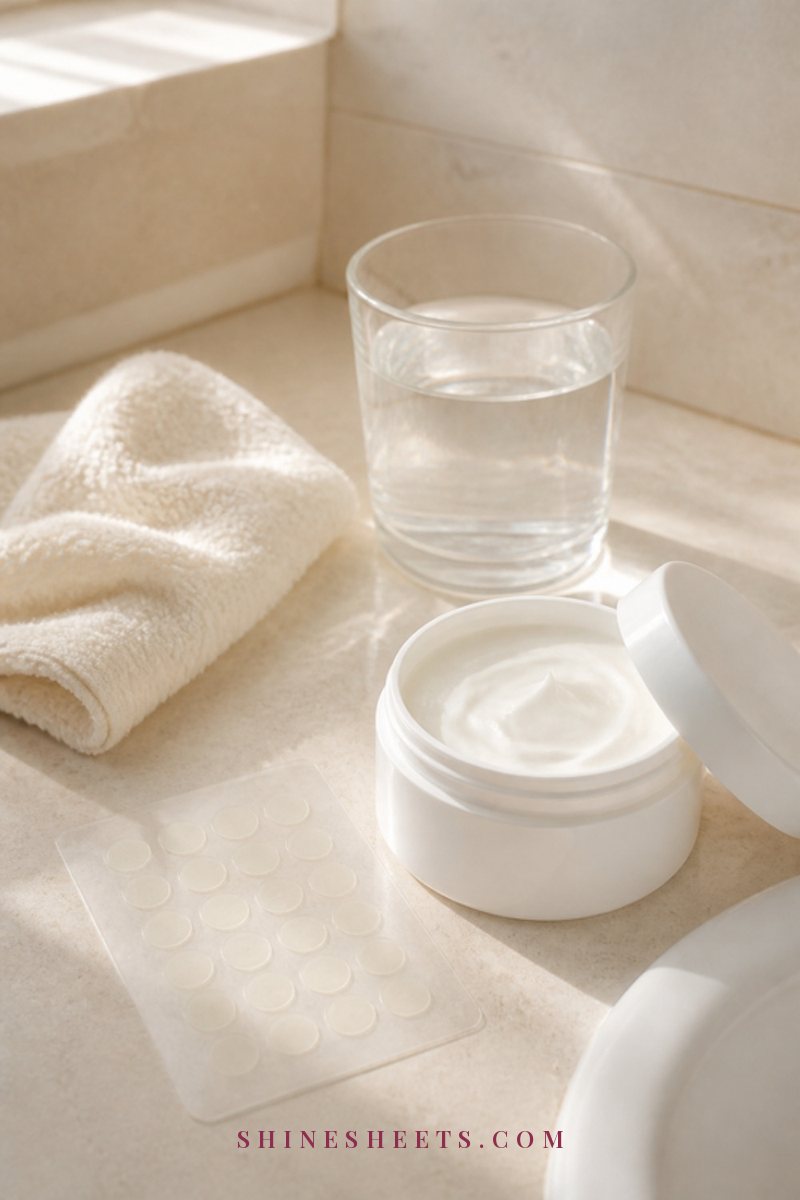
Prep is what makes a red look smooth instead of patchy. It takes about 15 minutes, and most of that is just waiting.
- The night before (only if lips aren't chapped): gently buff with a soft, damp washcloth, then apply a thick balm overnight. If your lips are cracked or sore, skip exfoliation completely.
- 10 minutes before makeup: apply a generous layer of lip balm and leave it while you do your skin and eyes.
- Right before lipstick: blot off the balm with a tissue. You want hydrated lips, not slippery ones, or the color will slide.
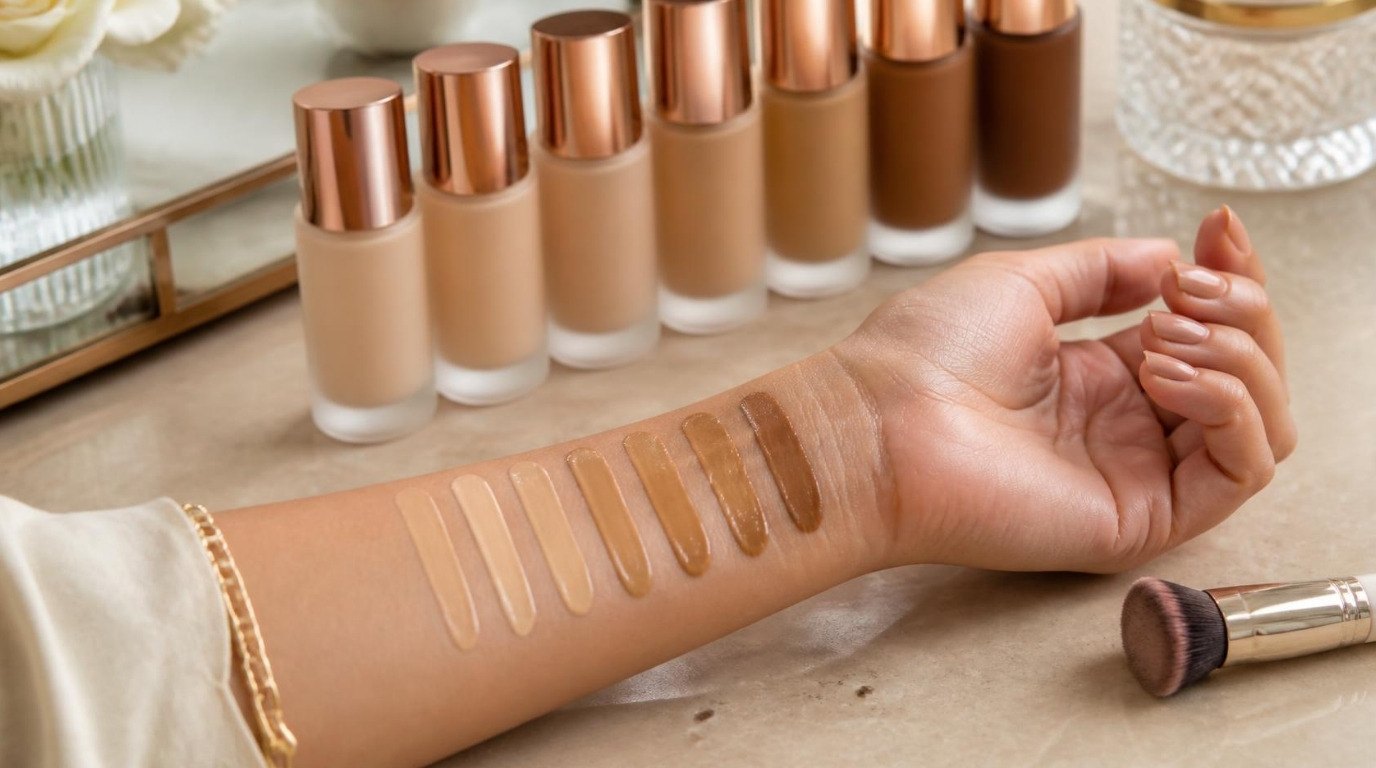
- Optional: pat a tiny bit of foundation or concealer around (not on) the lip line to even out the edges.
Lips that feel tight and flaky before the season even starts? My winter lip care routine covers the daily habits that keep them soft enough for red. And if a lip product ever stings or your lips stay cracked for more than a couple of weeks despite gentle care, it's worth seeing a dermatologist.
How To Apply Red Lipstick Perfectly in 7 Steps
This is the slow, careful version for nights when you want it flawless. Once you know it, it takes about five minutes.
1. Line Your Lips With a Matching Liner
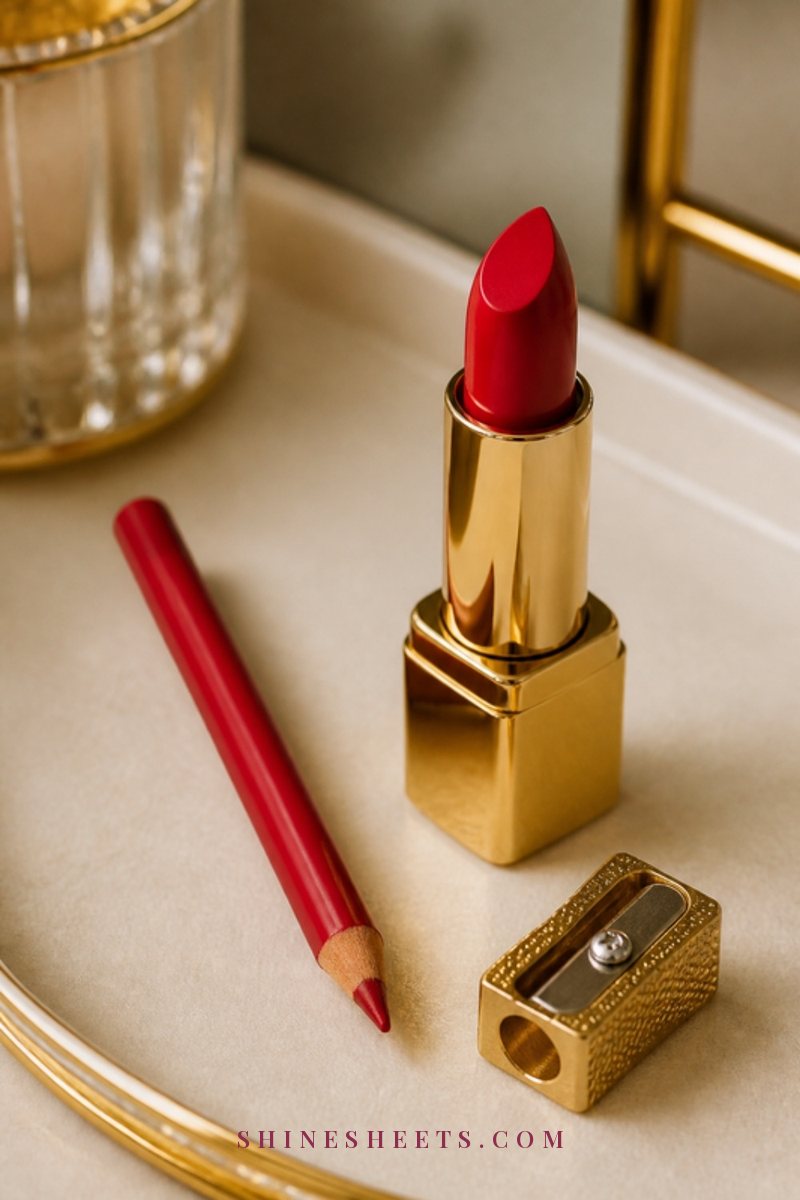
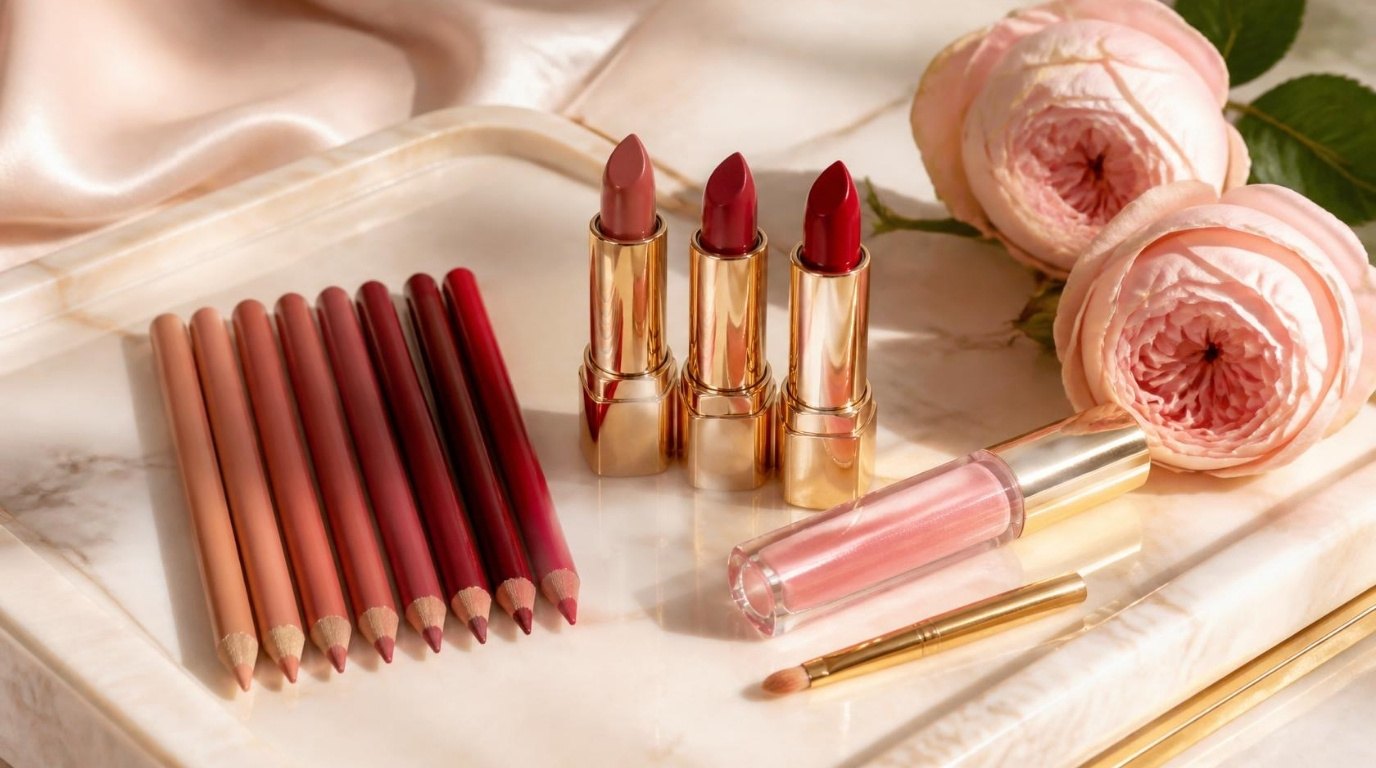
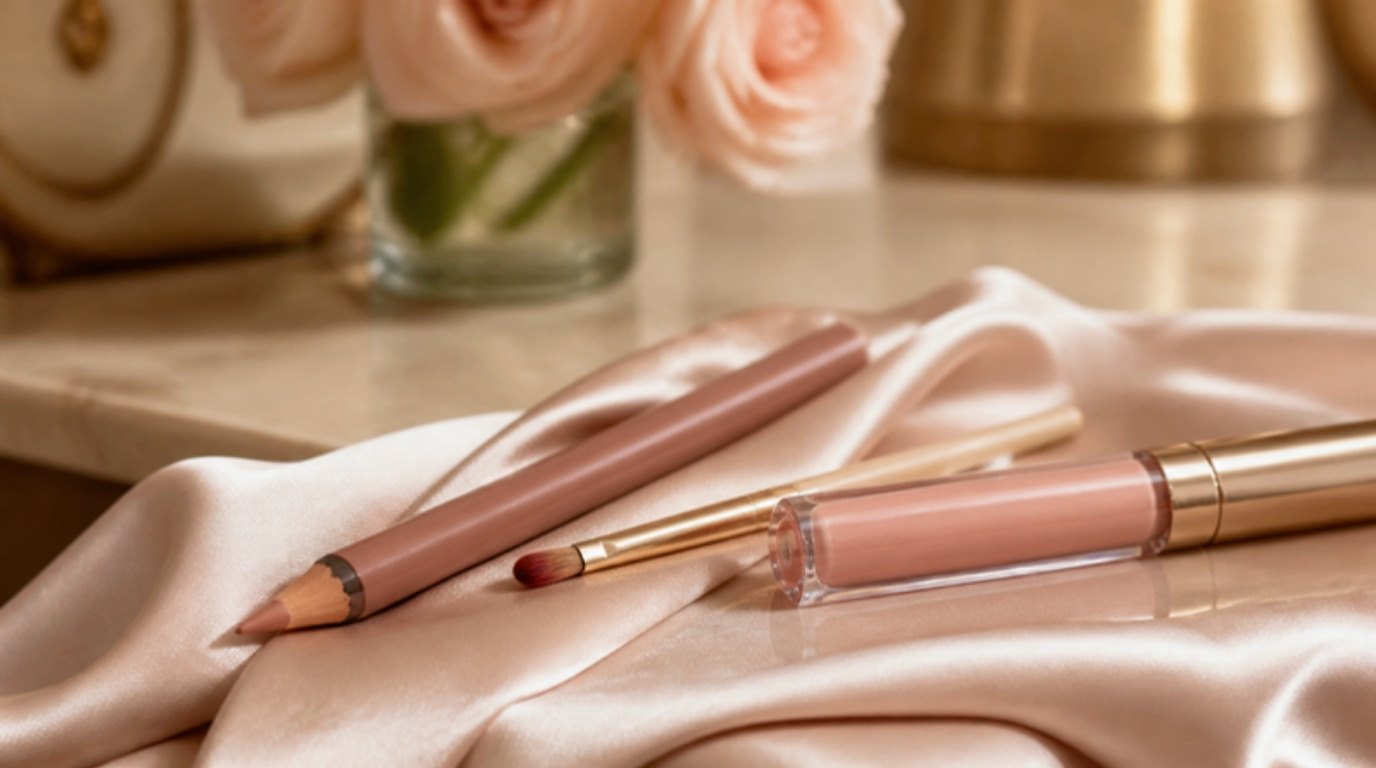
Choose a liner as close to your lipstick shade as possible, or one shade deeper. A matching red lip liner is the single most useful thing for a red lip: it defines the shape and stops the color from bleeding into fine lines. Look for a creamy pencil that glides without tugging and sets to a long-wear finish.
Start at the center of your bottom lip and draw outward toward each corner in short strokes. Then do the top lip.
2. Use Small Strokes at the Cupid's Bow
The cupid's bow is where red looks most precise (or most wobbly). Draw a small "X" right at the center of the cupid's bow, then connect the outer edges of the X down to each corner of your mouth with short, feathery strokes. Small strokes are much easier to control than one long line.
If you want your lips to look a touch fuller, you can line just slightly outside the natural line at the center only. My guide on how to overline your lips naturally shows how to keep it subtle.
3. Fill the Whole Lip With Liner
This is the step that makes red last. Use the side of the pencil to fill in your entire lip, lightly. The liner acts as a long-wear base and a "stain," so when the lipstick on top fades, the lip still looks evenly red instead of leaving a ring.
4. Apply the Lipstick With a Lip Brush
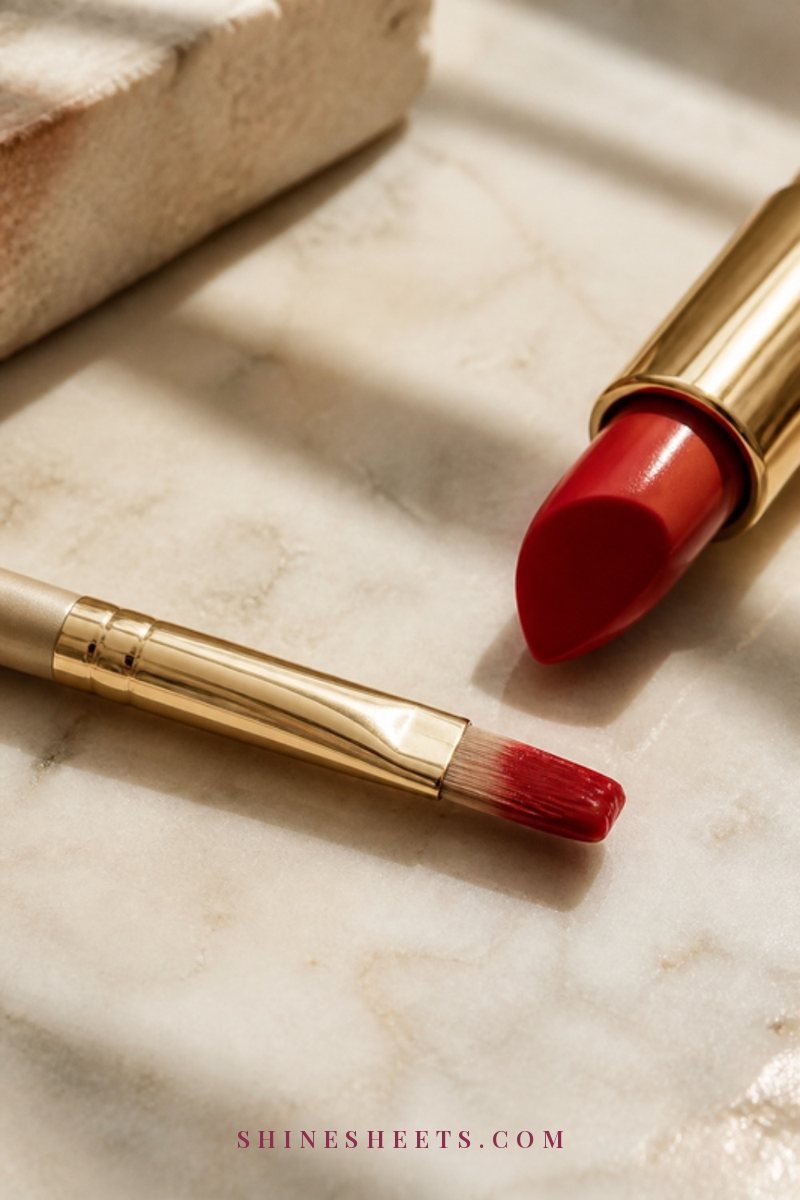
Applying straight from the bullet is fine for a quick top-up, but a brush gives you control on the first layer. Swipe a lip brush across the lipstick, then press the color into your lips from the center outward, staying just inside the liner. Look for a firm, flat brush with a tapered tip and a cap, so you can toss it into your bag later.
A long-wear red lipstick in a satin or matte finish is the best pick for holiday nights. Look for one marked "long-wear" or "transfer-resistant" that still feels comfortable, and choose from well-reviewed, widely available best-sellers. As with any new lip product, swipe a little on your inner wrist the day before as a quick patch test, especially if your skin is sensitive like mine.
5. Blot With a Tissue
Separate a two-ply tissue into a single layer, place it between your lips and press gently once. Blotting removes the slippery excess that would otherwise end up on your glass, your teeth or someone's cheek.
6. Add a Second Layer
Apply a second, thinner coat with the brush. Two thin layers always last longer and look richer than one thick one. Stay inside the lip line, and pay attention to the corners, where color fades first.
7. Set With Translucent Powder Through a Tissue
Here's the Old Hollywood trick. Place that single-ply tissue over your lips again, then dust a little translucent powder over the tissue with a fluffy brush. The tissue lets just enough powder through to set the color without making it look chalky. Finish with one last very thin layer of lipstick if you want back a little sheen.
A finely milled translucent setting powder is ideal, because it disappears on every skin tone. Look for one that's fragrance-free and lightweight, and you'll use it for your T-zone too.
How To Clean Up the Edges
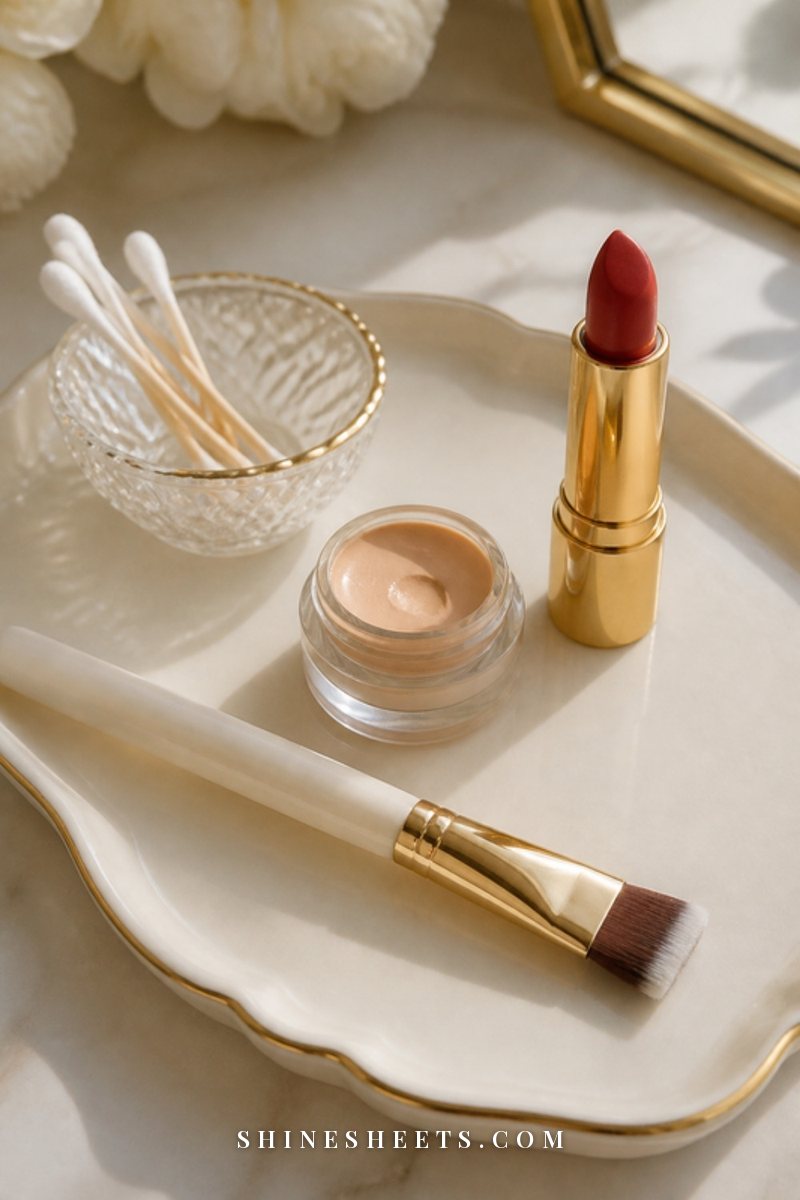
Even with careful lining, edges are rarely perfect on the first try. This is the step that makes a red lip look professional.
- Dip a flat concealer brush into a little concealer that matches your skin (not one shade lighter, which can look like a halo).
- Trace it tightly along the outside of the lip line, pressing the flat side of the brush against the edge.
- Blend the outer edge of the concealer outward with a fingertip, so you only see a crisp line, not a stripe.
- Set it lightly with a dusting of powder.
Look for a small, dense synthetic brush with a flat, squared tip. It gives you a much sharper line than a cotton swab.
How To Make Red Lipstick Last Through Dinner and Drinks
Long holiday dinners are the true test. These habits help red stay put from the first toast to the last cup of tea:
- Drink through a straw when you can, especially with a cocktail glass or mocktail.
- Sip from the same spot on your glass. It's a tiny habit, but you'll leave one mark instead of five.
- Take small bites and use your fork so food doesn't brush across your lips.
- Avoid oily foods dragging across your lips, since oil breaks down lipstick fastest.
- Touch up after the meal, not during. Blot, add a quick layer of liner in the center, then lipstick, then blot again.
Keep a little touch-up kit in your bag: the lipstick, the liner, a few folded tissues and a cotton swab. A blush satin makeup pouch is the perfect size for this, and satin is gentle on lipstick caps and won't snag on jewelry. Look for one with a zip and a wipe-clean lining.
If you're planning the rest of your party look too, my sister guide to holiday party makeup that lasts all night walks through the full long-wear routine.
The 5-Minute Red Lip for Busy Nights
Some evenings you have exactly five minutes between work clothes and the front door. Here's the shortcut version that still looks polished:
- Swipe on balm while you change, then blot it off before you start.
- Line the cupid's bow and the center of the bottom lip only, then fill the whole lip lightly with the same pencil.
- Apply lipstick straight from the bullet, pressing your lips together once.
- Blot with a tissue and tap a second layer on the center of both lips.
- Run a fingertip with a little concealer along any wobbly edge.
That's it. It won't be quite as crisp as the seven-step version, but in candlelight and photos almost nobody can tell the difference. If you're short on time, a satin or sheer finish is more forgiving than a matte here.
Fixing Feathering and Teeth Stains
Two of the most common red lipstick worries, and both have quick fixes.
Feathering (when color bleeds into the little lines around your lips) usually happens when the lipstick is very creamy or there's no liner. To fix it mid-evening, take a cotton swab with a tiny bit of concealer, wipe away the bleed, re-line the edge and blot. To prevent it next time, fill the entire lip with liner and set with powder as in step 7.
Teeth stains have a classic fix: the finger trick. After applying your lipstick, put a clean index finger into your mouth, close your lips gently around it and slowly pull it out. Any lipstick on the inner part of your lips comes off on your finger instead of your teeth. It looks a little silly, so do it at the mirror before you leave the house or in the restroom.
For extra help, check your teeth once after drinks and once after dinner. A quick swipe with a clean tissue fixes most stains in a second.
Keep the Rest of Your Face Soft
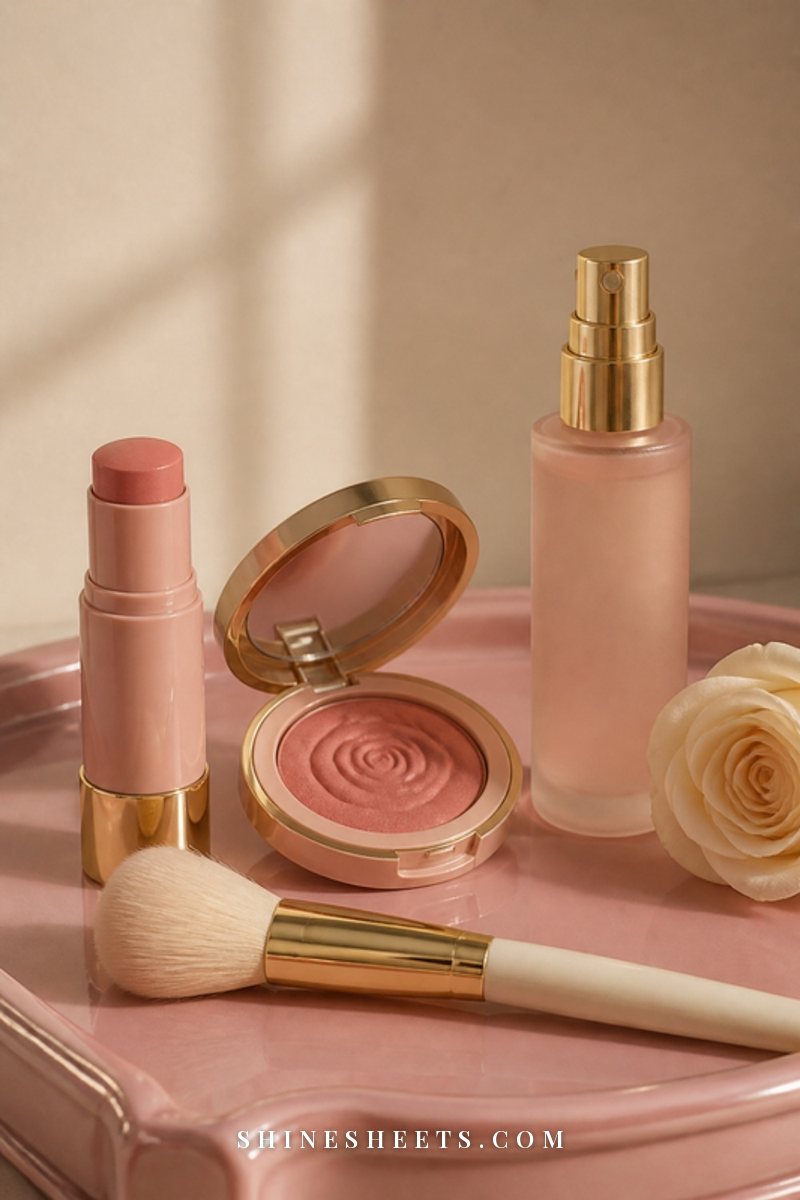
Red lips look most elegant when everything else is quieter. You don't need to skip eye makeup, just keep it balanced:
- Eyes: one or two coats of black or brown mascara, a thin line of brown liner or none at all, and neutral eyeshadow in cream or soft taupe.
- Brows: brushed up and set with clear or tinted gel. Groomed, not dramatic.
- Skin: a light, even base. A little powder on the T-zone (mine gets shiny by dessert) and a soft blush in a rose or warm pink shade.
- Cheeks: avoid very orange or very bright blush, which can compete with the lip.
If you'd rather try red as part of a pairing, my list of liner and lipstick combinations has a few softer red-adjacent options too.
How To Remove Red Lipstick Gently
Long-wear reds are made to stay, which means they need a little help to come off without scrubbing. Rubbing hard is what leaves lips sore and flaky the next morning.
- Soak a cotton pad with an oil-based makeup remover or cleansing balm and hold it on your closed lips for 20–30 seconds.
- Wipe gently from the corners toward the center, then use a fresh pad for any leftover color.
- For liquid lipstick, repeat the press-and-hold once more instead of rubbing.
- Rinse with lukewarm water and finish with a thick layer of balm before bed.
A faint pink tint the next morning is normal with long-wear formulas. It fades on its own by lunchtime, and your lips will be ready for red again by the next party.
Final Thoughts
Red lipstick isn't about having perfect lips. It's about a few patient minutes, a liner that matches and the confidence to let one bold detail carry the whole look.
Choose your red, prep your lips, take your time with the edges, and then forget about it and enjoy the evening. A little fade by the end of the night just means you laughed, talked and lived in it, and that's exactly what holiday lipstick is for.