The prettiest holiday nails are rarely the most complicated ones. A glossy red, a soft shimmer or a single glitter nail catches the candlelight just as beautifully as an elaborate salon set, and it's something you can actually do on your own couch the night before a party. What makes a festive manicure look expensive isn't the design. It's clean prep, the right finish and a shade that suits the moment.
That's good news, because December is busy enough without a two-hour nail appointment. With one evening, a few polishes and a little patience between coats, you can have nails that look finished for every dinner, office party and family gathering on your calendar.
This guide is all about holiday nail ideas you can do at home: a quick prep routine, seven simple festive manicures (with shade direction, number of coats, finish, nail length and the occasion each one suits), a comparison table to help you choose, the easy way to remove glitter, and how to keep it all looking fresh until the new year. No hand-painted designs, no stamping, no fiddly tools. Just pretty, festive nails anyone can manage.
Why Simple Holiday Nails Look the Most Polished
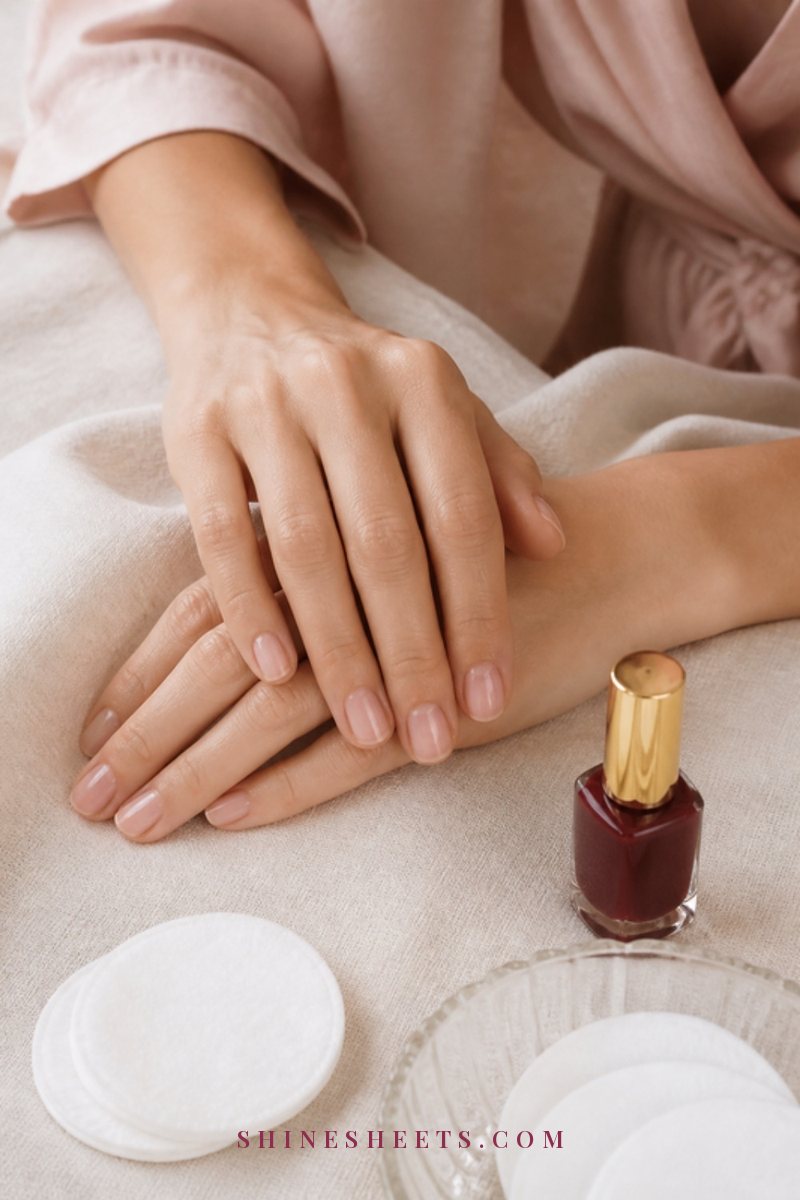
There's a reason the classic looks never go out of style during the holidays. A single shade or a soft metallic accent reads as intentional and elegant, and it goes with everything: a velvet dress, a cream sweater, your favorite pajamas on Christmas morning. Busy nail art, on the other hand, can feel dated by the second party and is much harder to repair when you chip a nail wrapping something.
I'm a big fan of Old Hollywood glamour, and the old starlets had the right idea: one confident color, perfectly applied, with a high-gloss finish. That's the whole formula. If you get the shape neat, the cuticles tidy and the top coat glassy, even a plain sheer pink looks festive under twinkle lights.
Simple also means forgiving. If a nail chips on the 23rd, you can fix one solid red nail in five minutes. Try doing that with a detailed design.
Quick Prep Before Any Festive Manicure
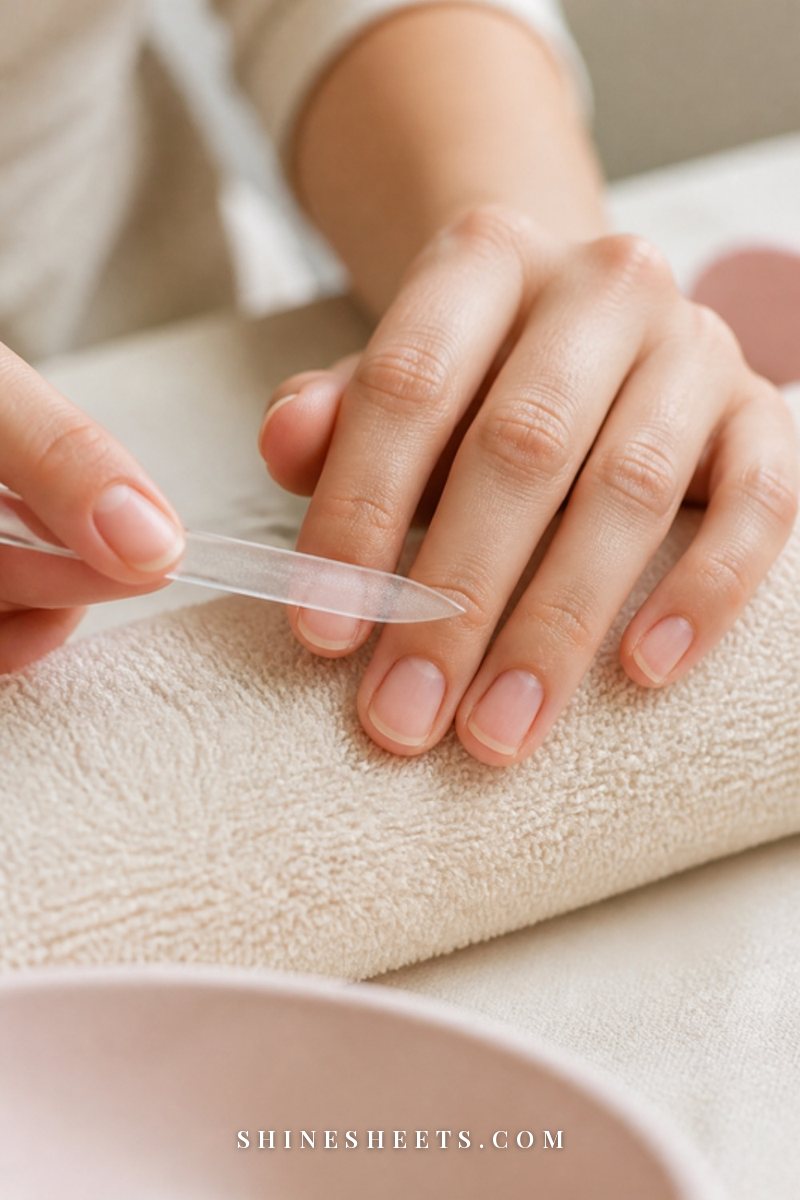
Prep takes about 15 minutes and it's the part that makes the color last. If you want the full step-by-step version, my at-home manicure guide walks through every stage. Here's the short holiday edition:
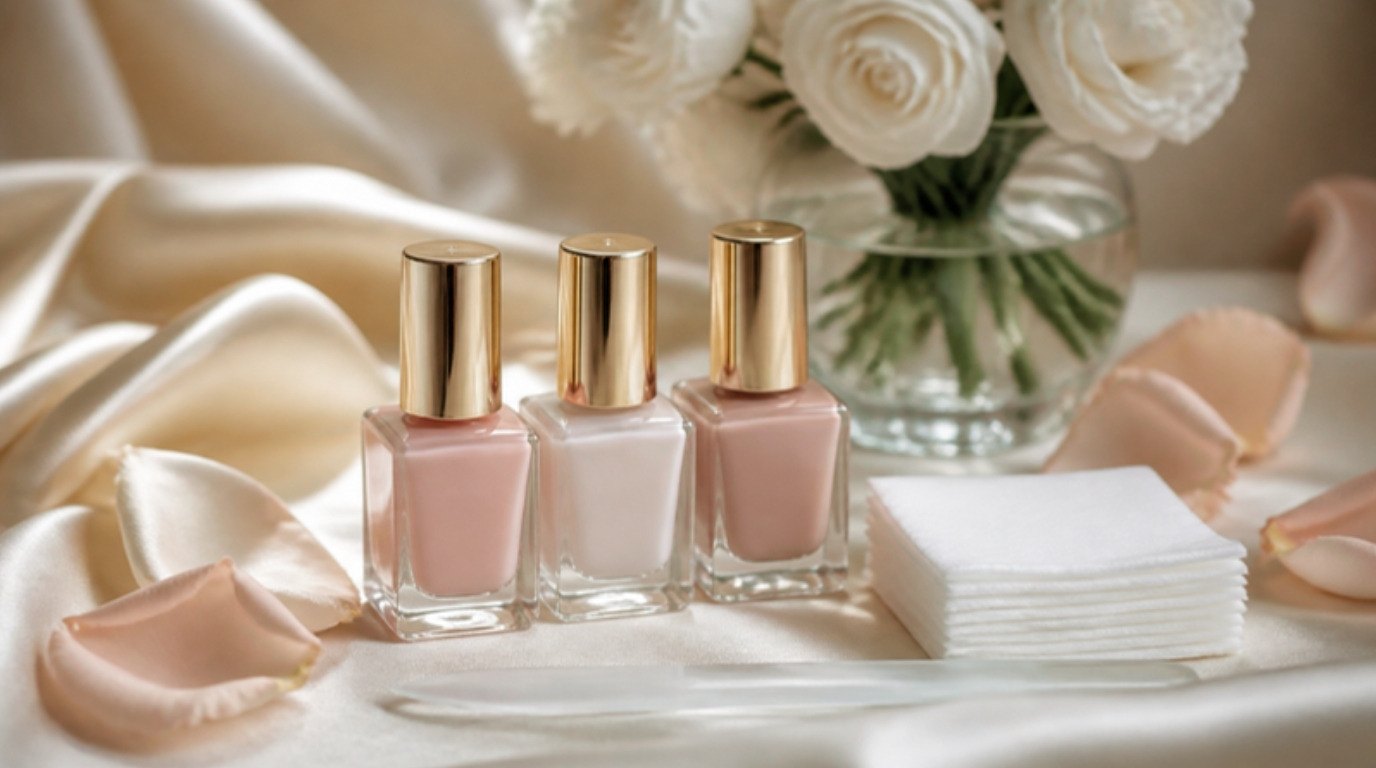
- Remove old polish completely. Even a thin film of old color makes new polish peel. Wipe each nail with remover and a lint-free pad, then wash your hands.
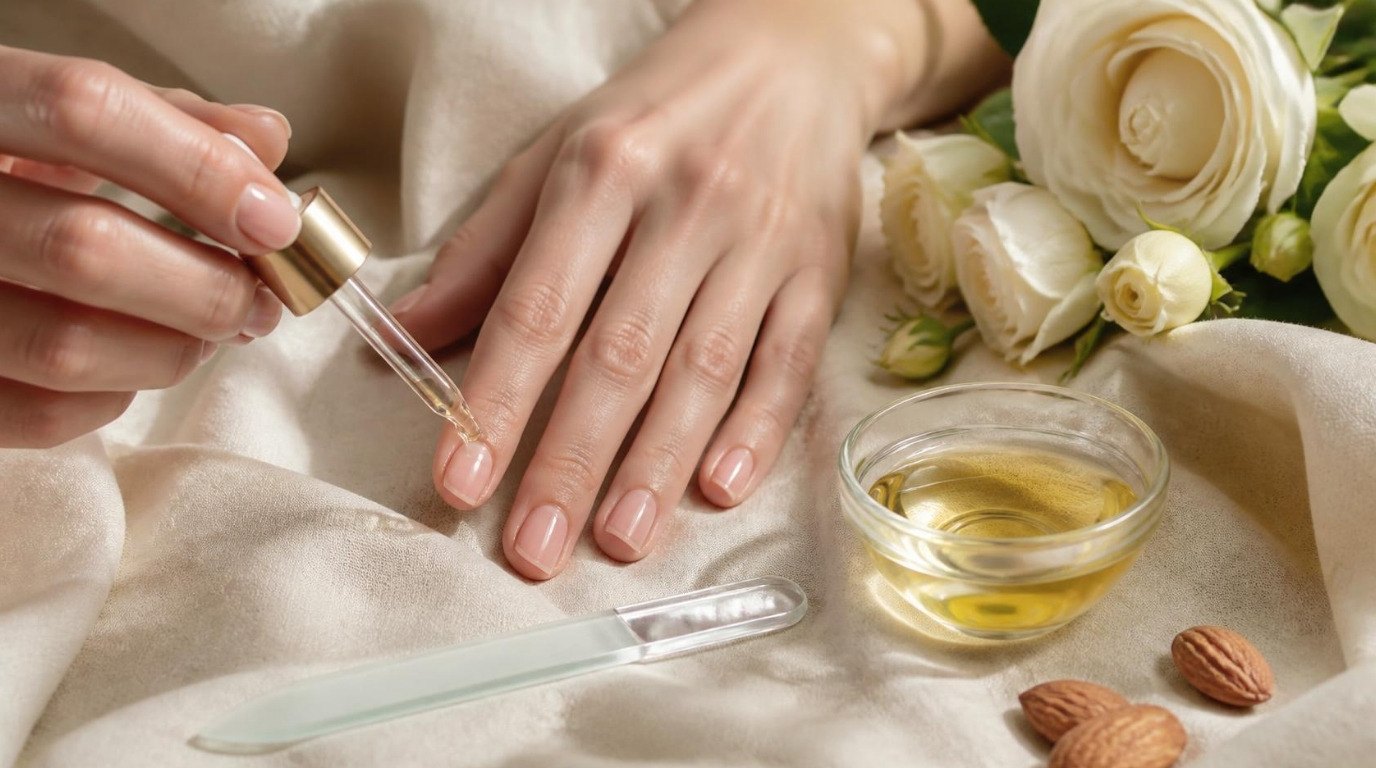
- Shape in one direction. A pink glass nail file is the gentlest choice because it seals the edge instead of shredding it. File from the side toward the center, never back and forth. Soft oval or squoval shapes suit almost every festive look.
- Tidy the cuticles. Push them back gently with a wooden stick after a shower or a two-minute soak. Skip cutting, especially in winter when skin cracks easily.
- Dehydrate the nail plate. Swipe each nail with a little remover or rubbing alcohol right before polish. Oils from hand cream are the number one reason holiday manicures lift early.
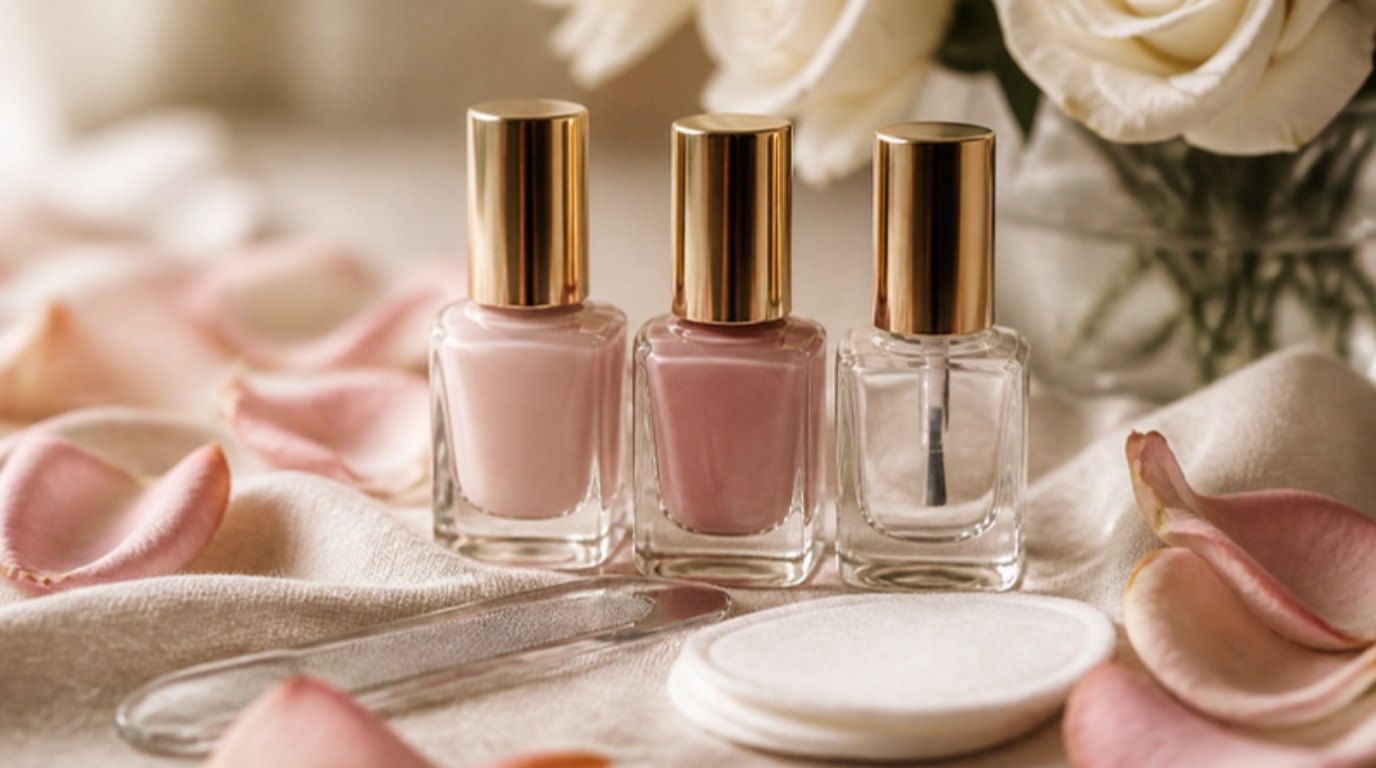
- Apply a base coat. One thin layer. It stops deep reds and burgundies from staining your nails and gives the color something to grip.
A small honest admission: I used to skip the dehydrating step because it felt fussy. It isn't. It takes thirty seconds and adds days to a manicure.
7 Festive Manicures You Can Do at Home
Each of these uses only polish, a steady hand and the brush that comes in the bottle. Pick one for the whole season, or switch between two – say, burgundy for early December and a gold French for New Year's Eve.
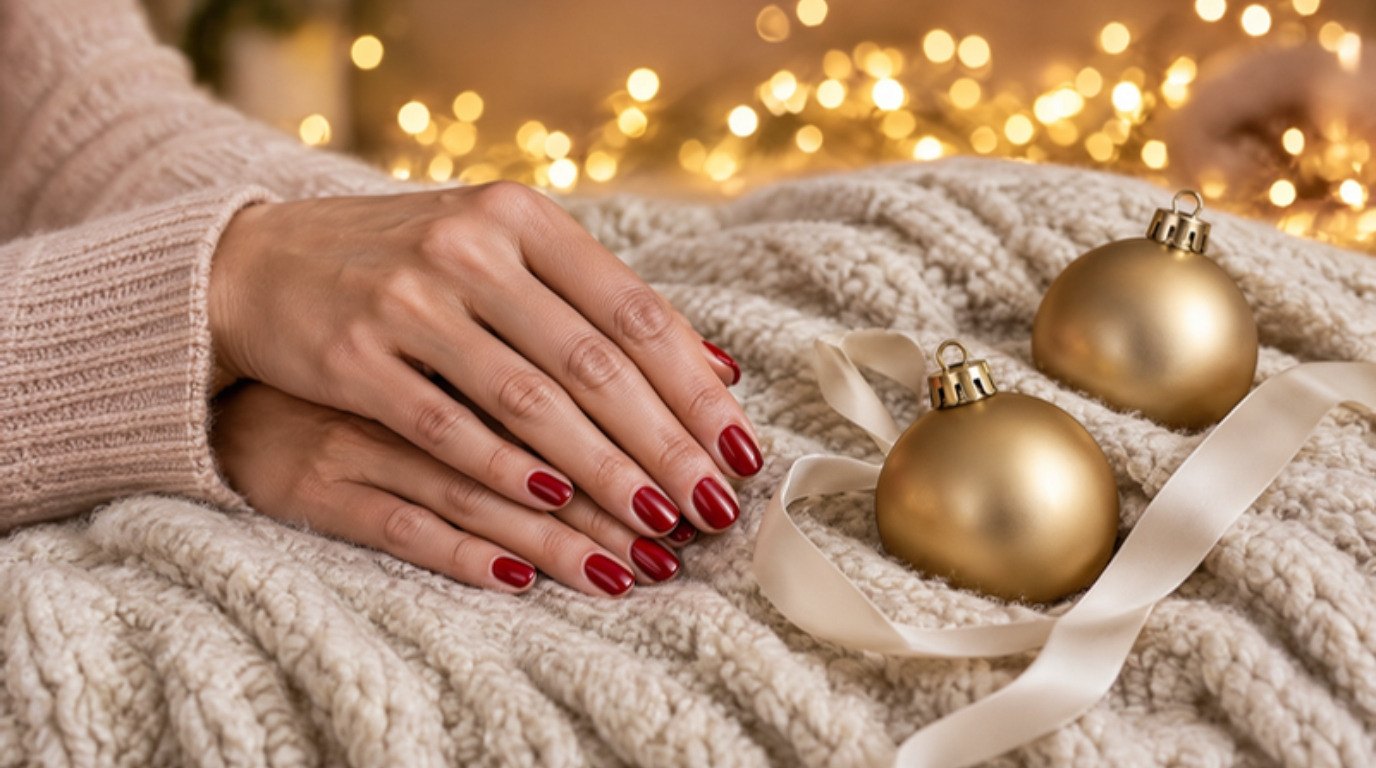
1. Solid Classic Red
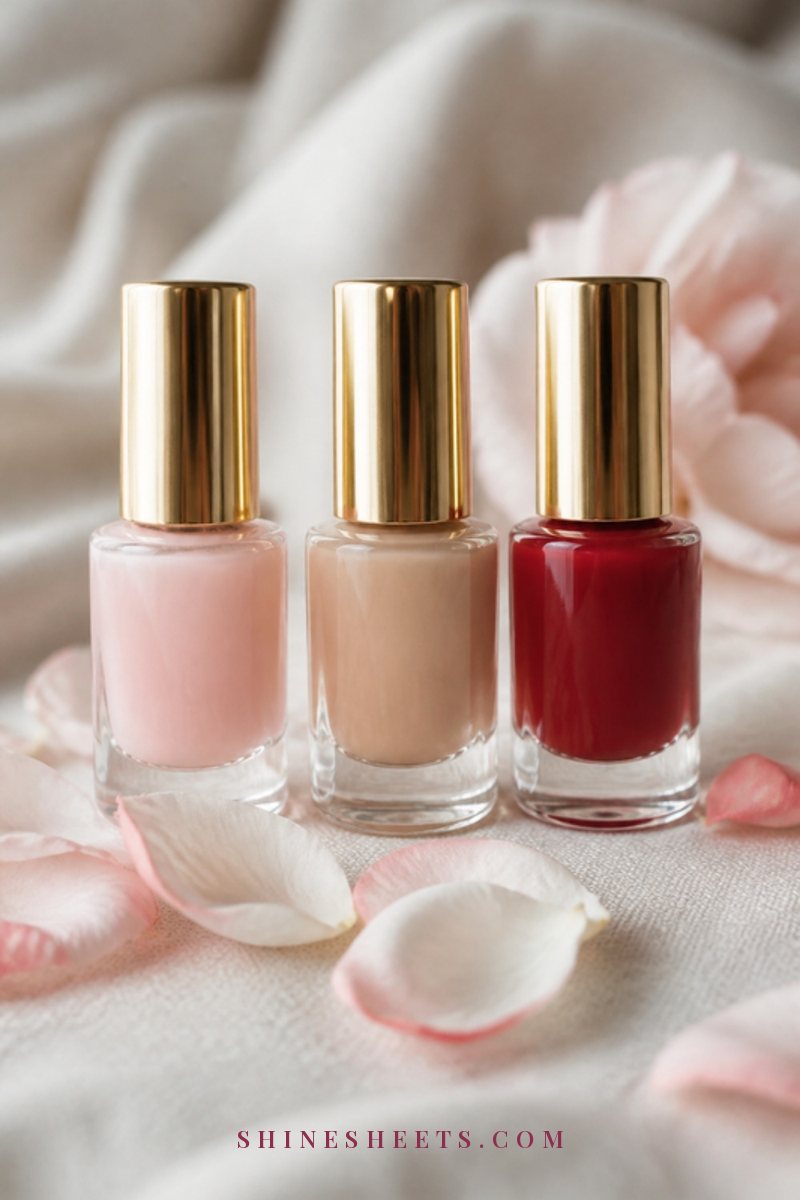
Shade direction: a true red with a slight blue undertone looks the most festive and makes teeth and skin look brighter. If you have warm, golden skin, a red with a tiny hint of orange can be even more flattering.
Coats: base coat, two thin color coats, one glossy top coat. Thin is the key word. A thick first coat is what causes bubbles and smudges.
Finish: high gloss. Red is all about shine.
Best nail length: short to medium. A short, rounded red nail is one of the chicest looks there is.
Occasion: everything from the office party to Christmas dinner. If you're also wearing a red lip, my guide to red lipstick for the holidays helps you choose a shade that matches without looking too coordinated.
Tip: clean up the edges with a small flat brush dipped in remover before the top coat. Red shows every wobble, and a crisp cuticle line is what makes it look salon-done.
2. Deep Burgundy
Shade direction: wine, plum-burgundy or a deep cherry. If you love jewel tones, a deep emerald works with exactly the same technique and looks beautiful next to a Christmas tree.
Coats: base coat, two thin coats (dark shades are usually opaque in two), top coat.
Finish: glossy, or a soft velvet look if you choose a polish with a fine shimmer inside.
Best nail length: short. Dark shades on short nails look elegant and polished; on very long nails they can feel heavy.
Occasion: cozy family dinners, candlelit evenings, early December events. Burgundy also grows out more gracefully than bright red, so it's a smart pick if you won't have time to redo your nails often.
3. Sheer Pink Shimmer
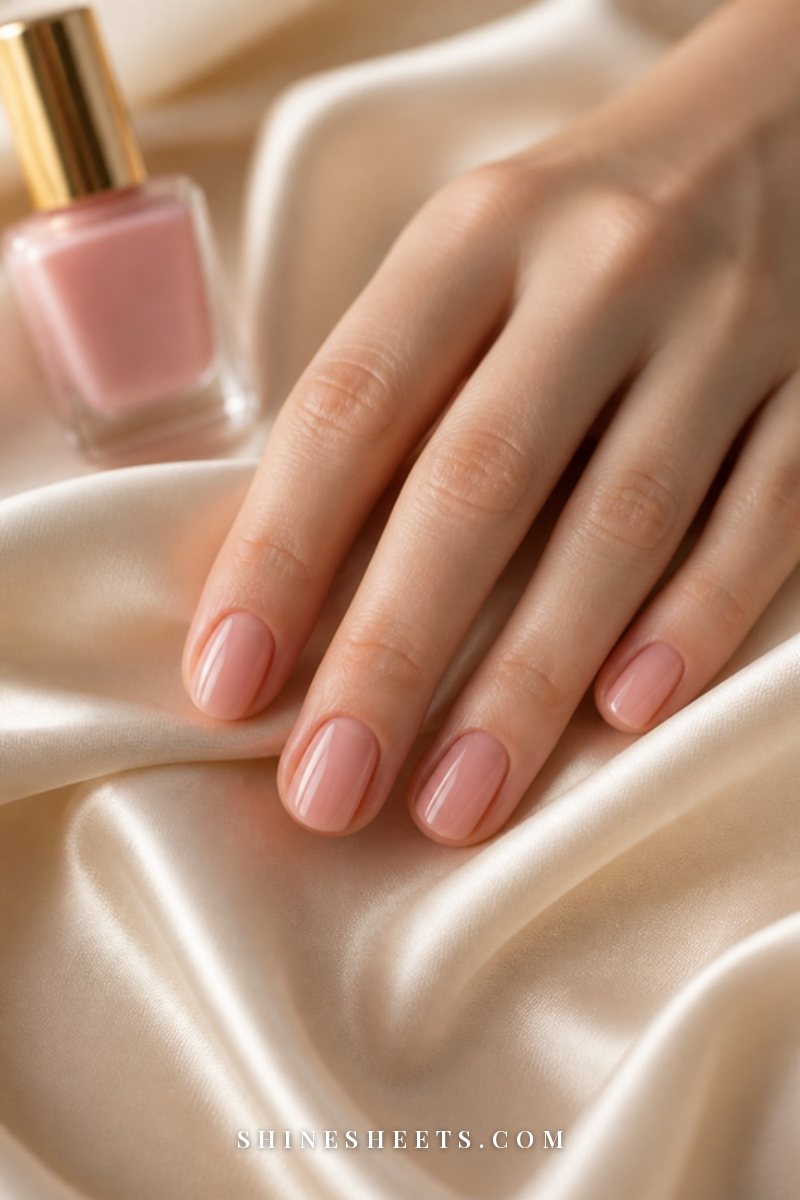
Shade direction: a translucent pink or rosy beige with fine pearl or gold shimmer. Look for a sheer pink shimmer polish described as "jelly" or "sheer" so your natural nail still peeks through.
Coats: base coat, one to three coats depending on how much sparkle you want, top coat. One coat looks like healthy nails catching the light; three looks like candlelight in a bottle.
Finish: soft shimmer with a glossy top.
Best nail length: any length, and it's especially kind to short or uneven nails because sheer shades hide very little and forgive a lot.
Occasion: work events, daytime gatherings, anyone who prefers quiet sparkle. It's also the easiest look to keep fresh because chips barely show.
4. Single Glitter Accent Nail
Shade direction: any of the solid shades above on four nails, and a gold glitter polish on the ring finger. Gold with red, gold with burgundy and gold with sheer pink are all classic.
Coats: on the accent nail, one coat of your base shade, then one or two coats of glitter. To get more glitter onto the nail, dab the brush on instead of painting long strokes. Finish with a thick-ish layer of top coat so the surface feels smooth, not gritty.
Finish: sparkle on one nail, gloss on the rest.
Best nail length: short to medium.
Occasion: holiday parties and anything with music and dancing. One glitter nail feels festive without looking like a costume.
5. Gold Metallic Tips
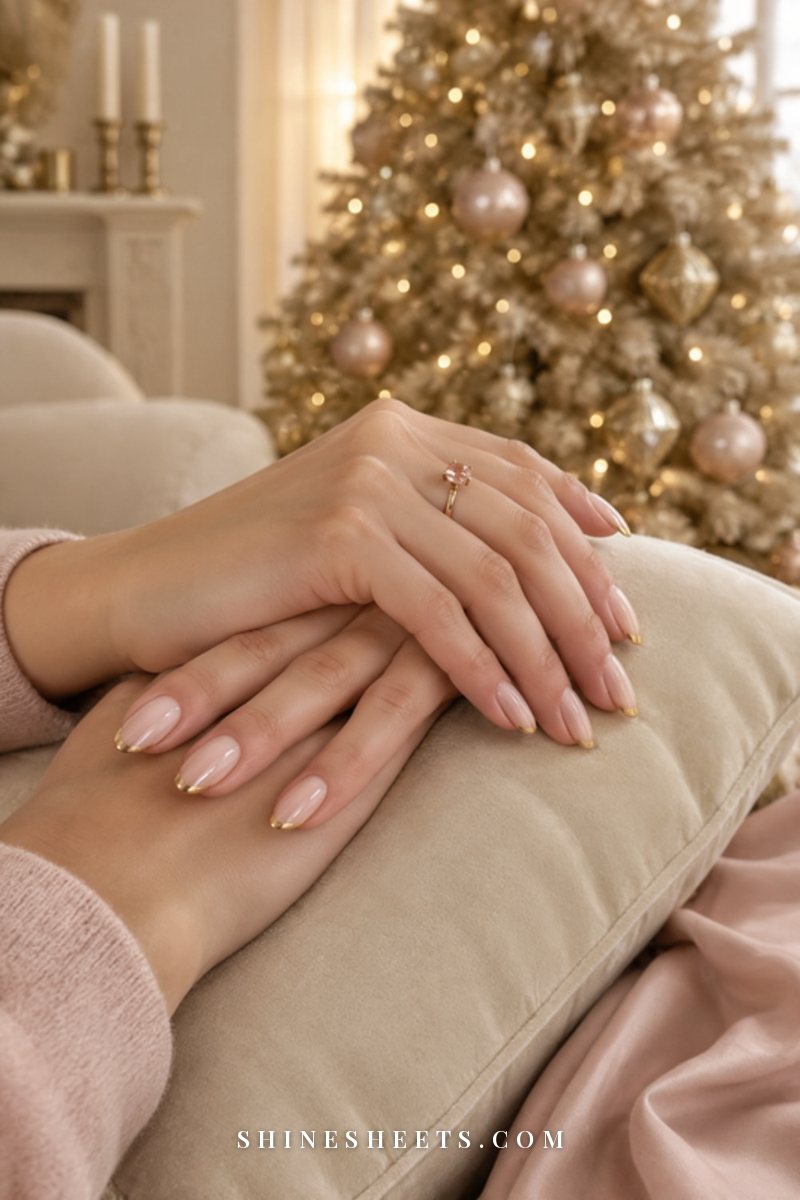
Shade direction: a sheer nude or pale pink base with tips in a gold metallic or gold chrome-effect polish.
Coats: base coat, one or two coats of the sheer base, then the gold tip, then top coat.
How to do the tip simply: rest your hand flat on the table, hold the brush still and gently rotate your finger into it, sweeping the polish across the free edge. Moving the finger instead of the brush gives a much smoother curve. A slightly thicker tip is more forgiving than a skinny one, and if one side looks wobbly, a clean-up brush dipped in remover fixes it in seconds.
Finish: metallic tips, glossy base.
Best nail length: medium, because you need a little free edge to show the gold.
Occasion: New Year's Eve, dressy dinners, anything with a sequined top.
6. Gold-Line French
Shade direction: sheer pink base with a very thin gold line hugging the free edge, like a micro French tip.
Coats: base coat, one or two coats of sheer pink, the thin gold line, top coat.
How to do the line simply: wipe most of the gold polish off the brush so there's only a little left on one side. Then use the very edge of the brush and the same finger-rotating trick from the gold tips. If freehand feels scary, a gold polish with a long, thin built-in brush (often sold as a "striper") makes this one much easier. You can also run a strip of tape across the nail just below the edge, polish the tip and peel the tape off while it's still wet.
Finish: soft and glossy with a fine gold glint.
Best nail length: short to medium. It's the most office-friendly festive look in this list.
Occasion: work events, brunches, quieter family days when you want a little sparkle without any glitter at all.
7. Chrome Topcoat Over a Nude
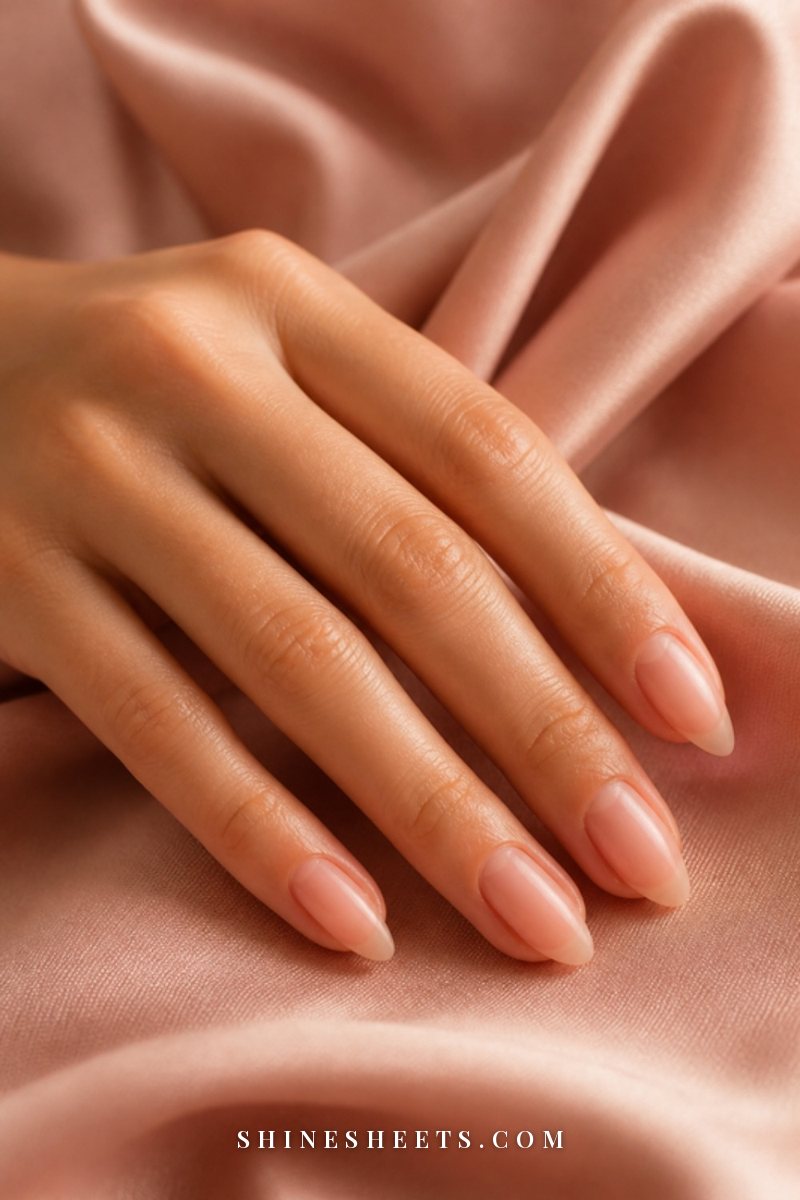
Shade direction: a creamy nude or soft pink base topped with a pearly or champagne chrome finish. The easiest way to get it without powders is a liquid chrome topcoat brushed straight over regular polish.
Coats: base coat, two coats of nude, let it dry for at least 10 minutes, then one thin layer of liquid chrome, then a regular top coat if the product recommends it.
Finish: glazed, pearly, almost glassy. It looks very soft in daylight and beautifully reflective under string lights.
Best nail length: any length, though it looks especially elegant on medium almond or oval nails.
Occasion: Christmas Eve, winter weddings, any time you want something modern but still soft.
Holiday Manicure Comparison Table
Not sure which one to pick? This table compares all seven looks at a glance. Screenshot it for the evening you sit down to do your nails.
| Manicure | Difficulty | Time needed | Best nail length | Occasion |
|---|---|---|---|---|
| Solid classic red | Easy (needs neat edges) | 35–40 min | Short to medium | Office party, Christmas dinner |
| Deep burgundy | Easy | 35 min | Short | Family dinners, cozy evenings |
| Sheer pink shimmer | Easiest | 25–30 min | Any length | Work events, daytime gatherings |
| Single glitter accent nail | Easy | 40 min | Short to medium | Holiday parties, dancing |
| Gold metallic tips | Medium | 45 min | Medium | New Year's Eve, dressy dinners |
| Gold-line French | Medium | 45–50 min | Short to medium | Work events, brunch |
| Chrome topcoat over a nude | Easy to medium | 40 min | Any length | Christmas Eve, winter weddings |
Times include prep and drying between coats. If you're new to doing your own nails, start with sheer pink shimmer or burgundy and work up to the gold looks.
How To Make Your Holiday Manicure Last
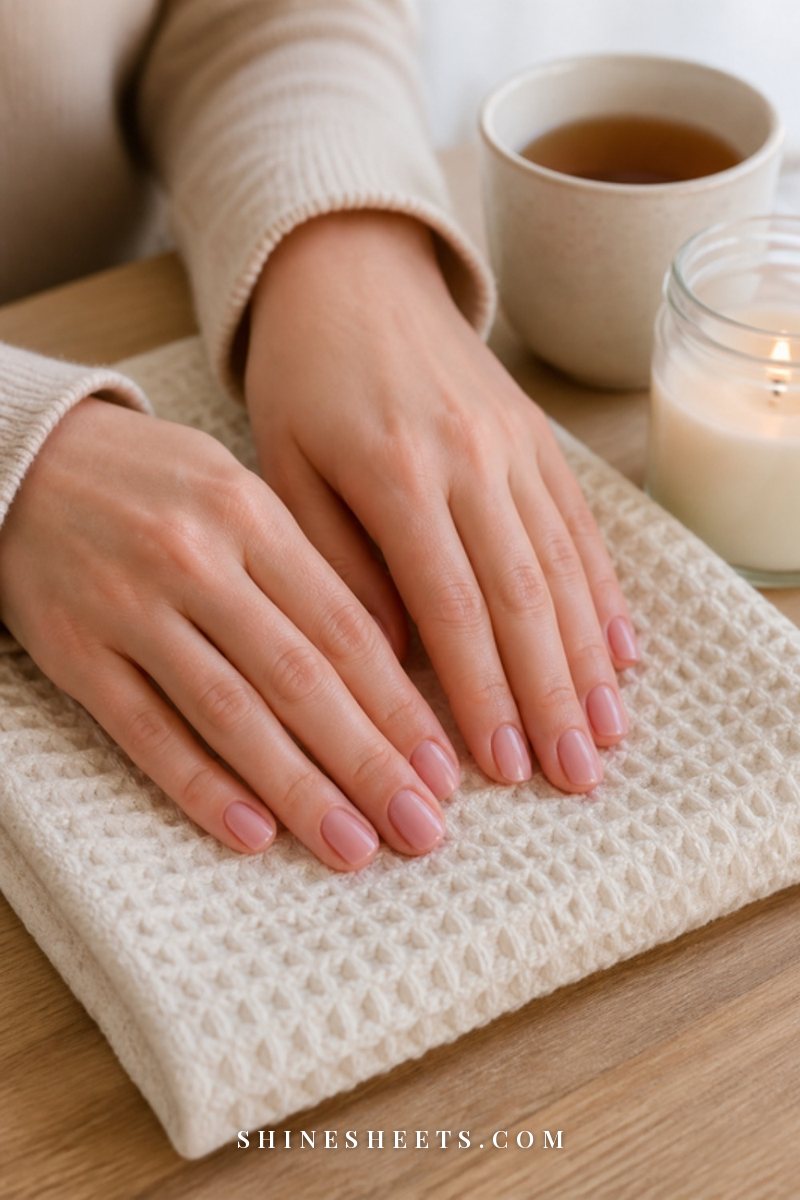
Holiday weeks are hard on nails: wrapping paper, dishwashing after dinners, cold air and lots of hand washing. These small habits keep your color looking fresh for a week or longer:
- Wrap the tips. After each color coat, run the brush lightly along the very edge of the nail. This seals the tip, which is where chips start.
- Wait between coats. Give each color coat about two minutes before the next. Rushing is the real reason polish dents. My guide on how to make nail polish dry faster has a few clever ways to speed this up without smudging.
- Use a quick-dry top coat. A quick-dry top coat sets the surface fast and adds the glassy shine that makes simple colors look expensive.
- Refresh the top coat every two to three days. One thin layer restores shine and adds a little protection.
- Wear gloves for dishes. Hot water and soap soften polish and make it peel. Rubber gloves after the holiday dinner are not glamorous, but they work.
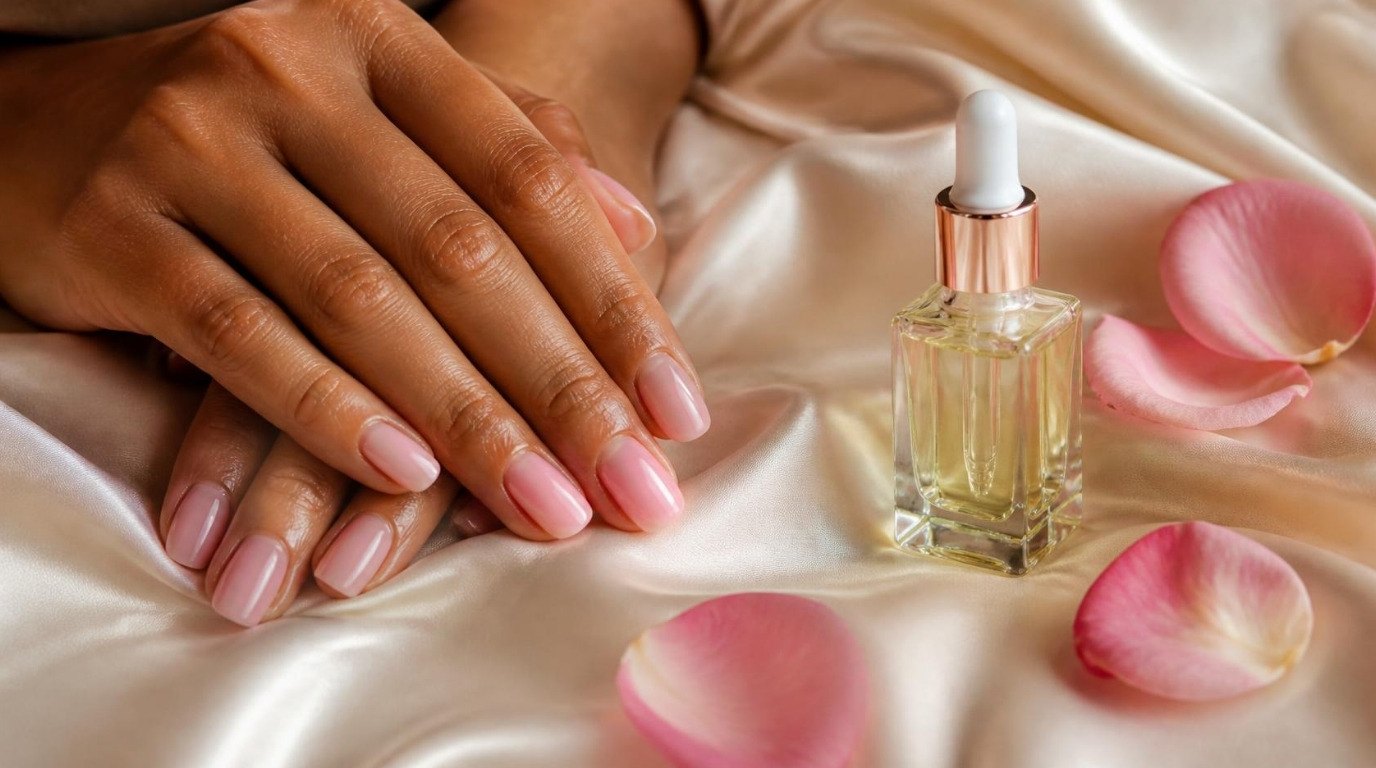
- Oil your cuticles at night. A cuticle oil pen in your bag or on your nightstand keeps the skin around your nails soft, which makes the whole manicure look fresher.
For more ways to stretch a manicure, I have a whole guide on how to make nail polish last longer.
Quick Touch-Ups Between Parties
Even a perfect manicure gets a small chip at some point. Here's how to fix it without starting over:
- Tiny chip on the tip: lightly buff the chipped edge smooth, dab on a thin layer of the same color only on the chipped spot, let it dry for two minutes, then apply top coat over the whole nail.
- Bigger chip on a solid color: remove polish from that one nail and redo it. With prep, it takes about ten minutes.
- Glitter accent chipped: add one more dab of glitter right on the spot. Glitter hides repairs better than any other finish.
- Dull shine: one fresh coat of top coat. It's the fastest refresh there is.
- Visible regrowth at the cuticle: with sheer shades, nobody notices. With dark shades, a fresh coat of color over the whole nail blends it for a few more days.
How To Remove Glitter Polish Without Scrubbing
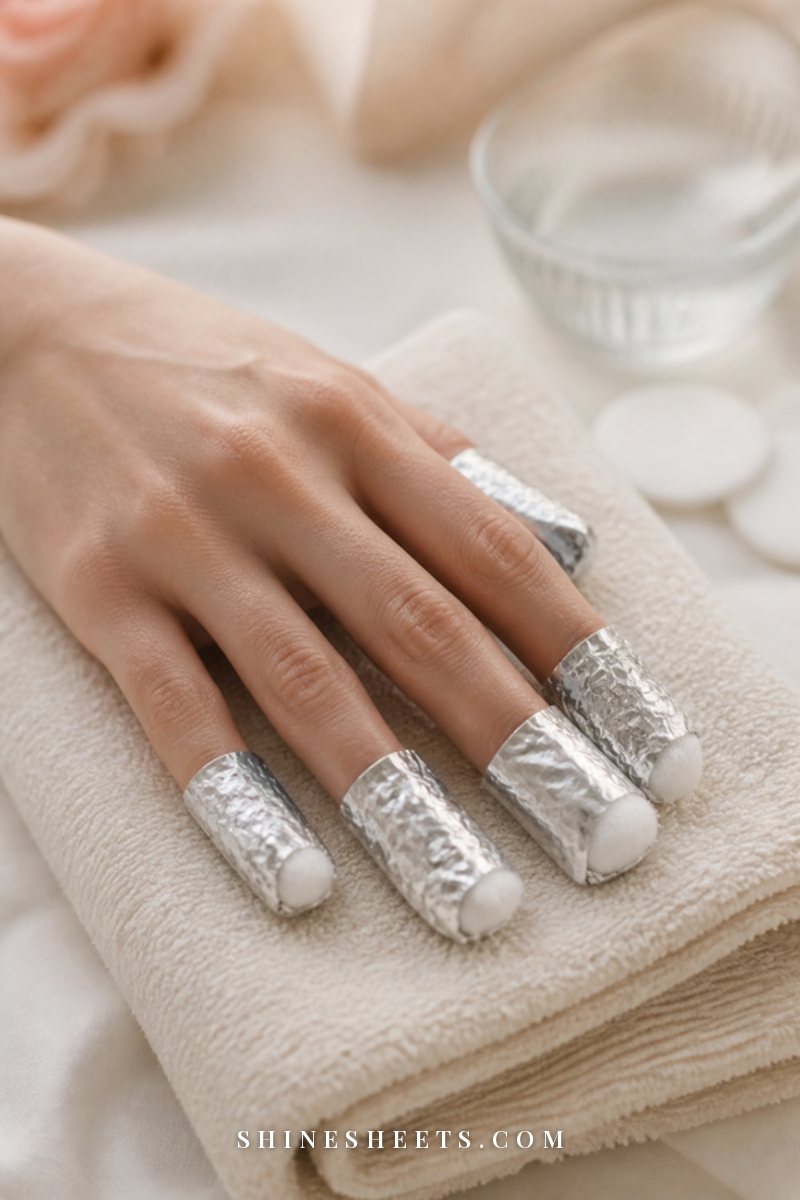
Glitter polish is the one festive finish that can make you regret your choices on January 2nd. Rubbing with a cotton pad just drags the glitter around. The foil wrap method lifts it in one swipe:
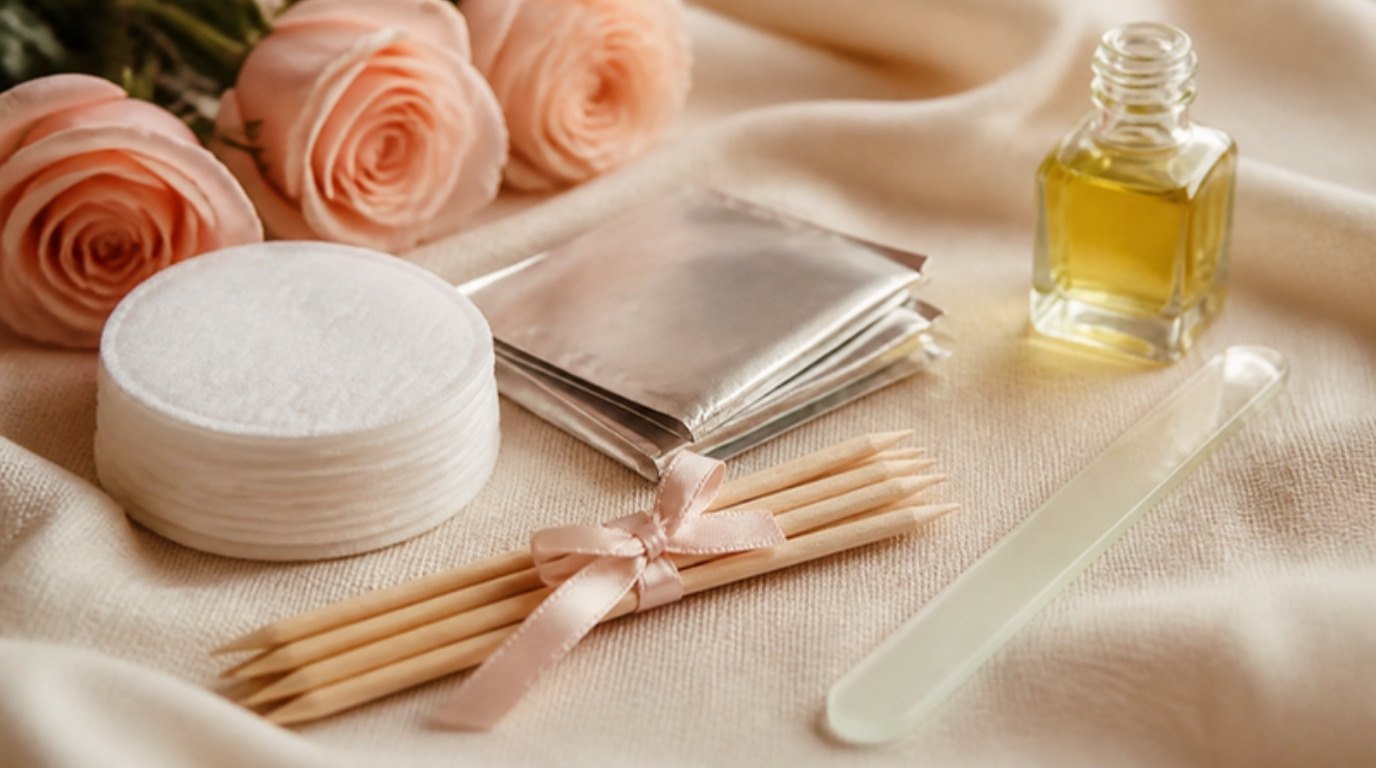
- Cut ten small squares of foil, roughly 3 by 3 inches, and ten small pieces of cotton pad.
- Soak a piece of cotton in remover and place it right on top of the glitter nail.
- Wrap the fingertip snugly in foil so the cotton stays pressed down.
- Wait 5 to 10 minutes. Thick glitter may need the full ten.
- Press down and slide the foil and cotton off toward the tip in one motion. Most of the glitter should come with it.
- Remove any leftover specks with a fresh pad, wash your hands and apply cuticle oil or hand cream right away, since remover is drying.
Acetone remover works faster on glitter, while non-acetone is gentler on dry winter nails but needs more time. Whichever you use, a good hand cream afterward makes a real difference.
Matching Your Nails to Your Holiday Makeup
You don't need your nails and lips to match exactly, but it helps when they're in the same family. A few easy pairings:
- Classic red nails: a red lip for full Old Hollywood, or a soft pink lip if you want the nails to be the star.
- Burgundy nails: a berry or rosy nude lip and soft, warm eye makeup.
- Sheer pink shimmer: dewy skin, a touch of highlighter and a pink gloss.
- Gold tips, gold-line French or glitter accent: a bit of gold or champagne shimmer on the eyelids ties it all together.
- Chrome over nude: a glowy base and a neutral lip keep the look soft and modern.
If you want a full face that lasts from dinner until the last song, my holiday party makeup routine is built for exactly that.
A Quick Safety Note
Polish and remover smell strong for a reason, so do your nails near an open window or in a well-ventilated room, and keep remover away from candles and any open flame, since it's flammable. If your skin around the nails gets red, itchy or swollen after a new polish, remove it and give your hands a break. Persistent irritation or changes in the nail itself are worth showing to a dermatologist.
Final Thoughts
Festive nails don't have to be a project. A neat shape, a glossy coat of red, a soft shimmer or one little flash of gold is enough to make your hands feel ready for the holidays. Put on some music, light a candle (far from the remover), make a cup of tea and give yourself one calm evening to paint your nails. It's a small thing, but every time you reach for a mug or a gift this season, you'll notice it and smile.