A smoky eye looks dramatic, but the technique behind it is surprisingly forgiving. It isn't about drawing a perfect shape. It's about putting your darkest color right at the lash line and letting it melt softly upward, so there's no single edge anyone can judge. If you can smudge, you can do a smoky eye.
That's also why it works on almost everyone. The look is built on blending, not precision, which means a slightly wobbly line or an uneven start simply disappears into the haze. It took me a while to stop treating it like an advanced skill and start treating it like what it is: three shades, three brushes and a little patience.
This guide walks you through a smoky eye for beginners, one look in real depth. You'll find the exact tools to grab, eight easy steps, color options beyond black (with a table for day and evening versions), how to handle fallout, small tweaks for hooded eyes and the gentlest way to take it all off at night. If you'd rather start with lighter everyday looks first, my guide to eye makeup for beginners has five simple ones to practice on.
What a Smoky Eye Actually Is

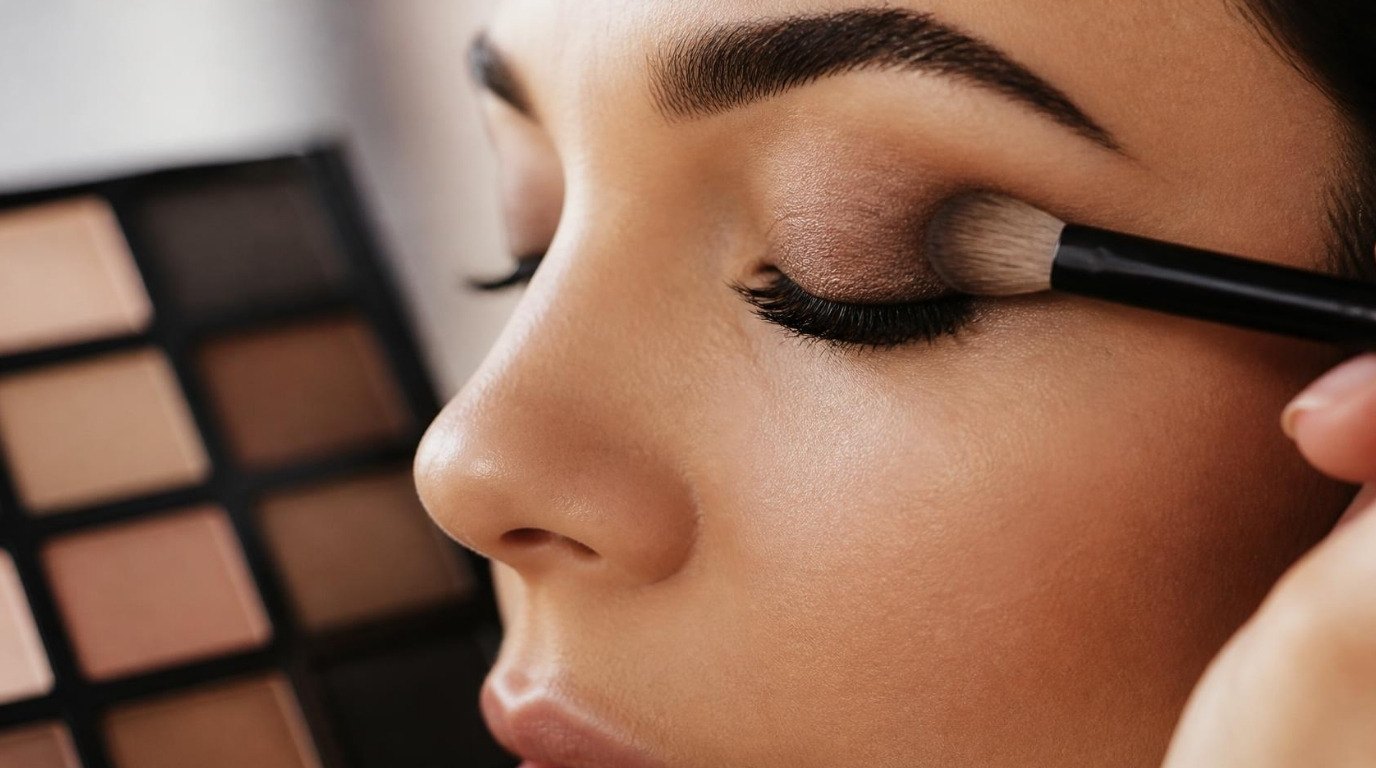
A smoky eye is a gradient. The deepest shade hugs the lashes, a medium shade covers the lid, a soft transition shade sits in the crease, and everything fades into your natural skin tone with no visible stopping point. Think of smoke drifting up from a candle: dense at the base, sheer at the top.
There are three things that make a smoky eye look like a smoky eye:
- The darkest color is at the lash line. Not in the crease, not on the brow bone. Right where the lashes grow.
- The edges are soft. If you can see where the shadow ends, it needs more blending.
- The lower lash line is included. A little smudge underneath ties the whole eye together.
Notice what's not on that list: black. A smoky eye can be soft brown, taupe, plum or even champagne. The classic black version has that Old Hollywood glamour I adore, but for a first attempt, a warm brown is far kinder and much easier to blend.
The 3 Brushes You Need
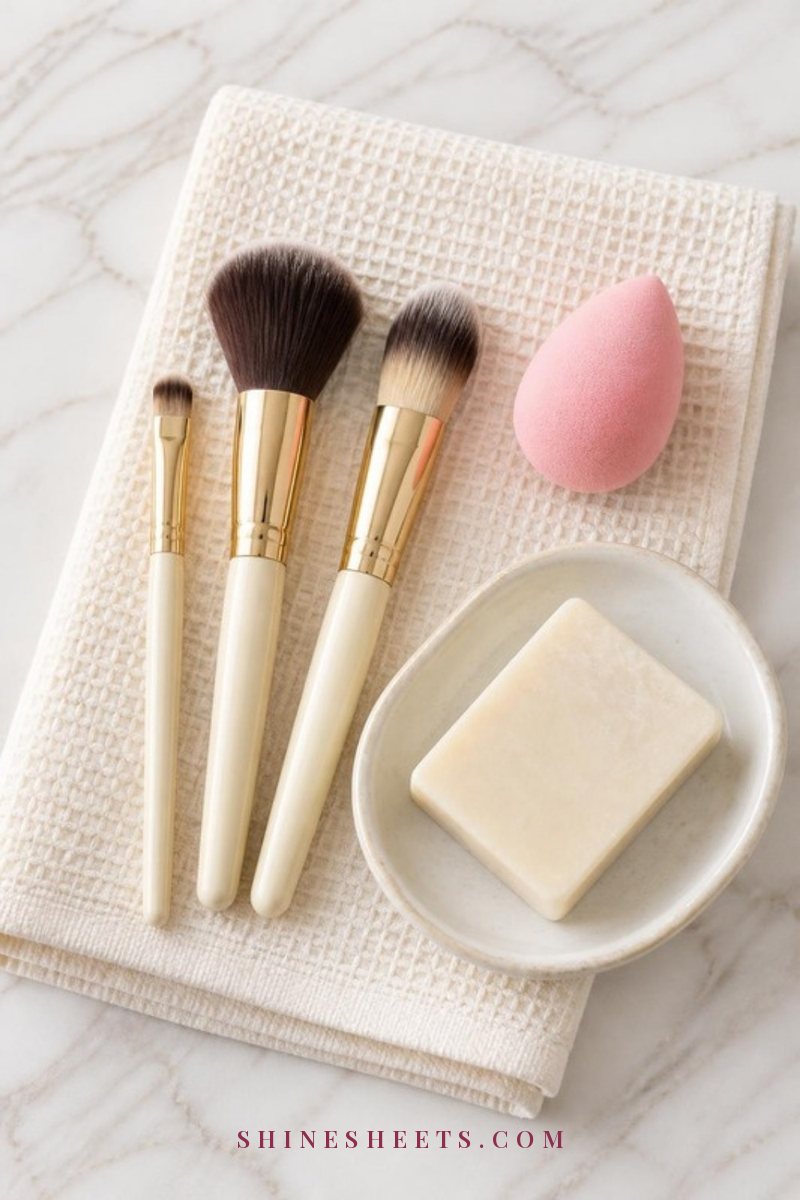
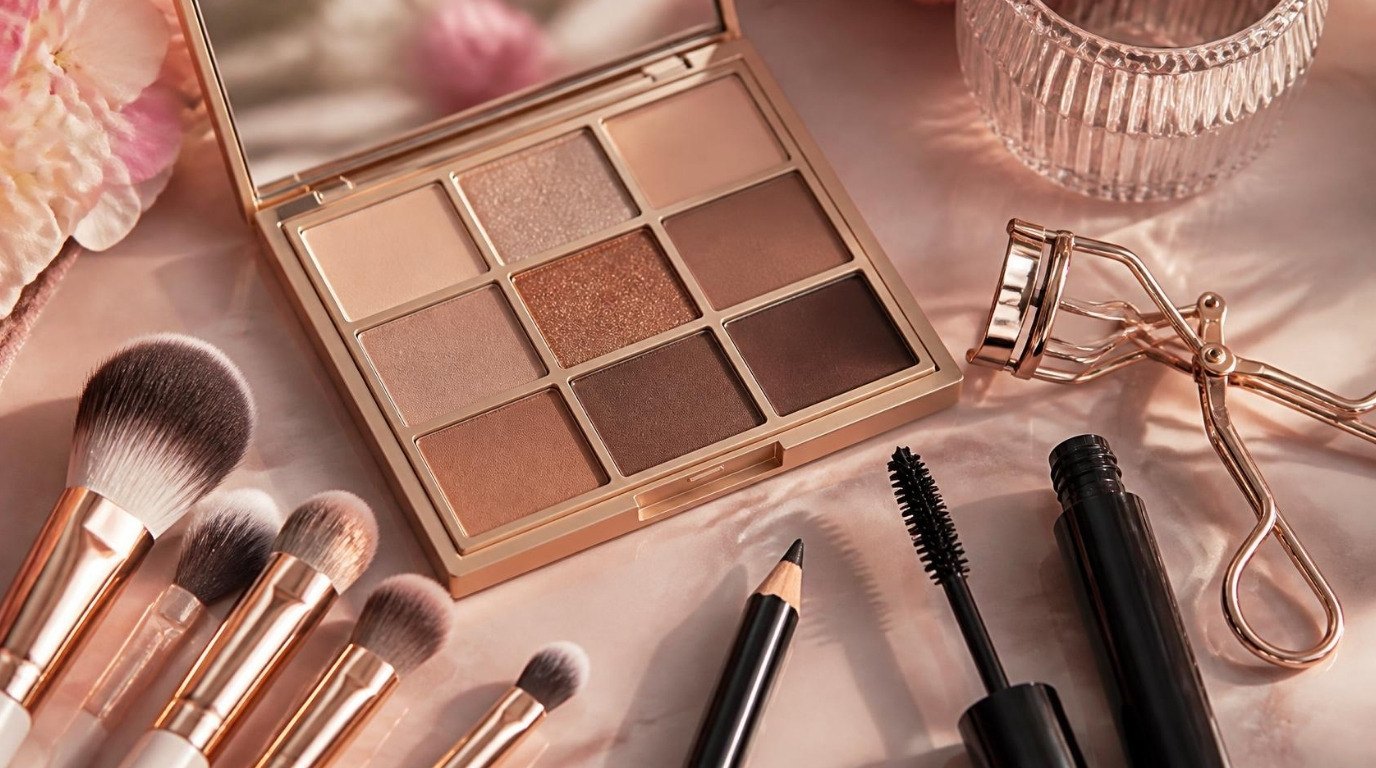
You can technically do a smoky eye with your fingertip, but three simple brushes make it ten times easier. You don't need a giant set. You need these:
- A flat shader brush. Small, dense and flat. It picks up a lot of pigment and pats it onto the lid without kicking up dust. Use it for your mid shade.
- A fluffy blending brush. Soft, tapered and loose. This is the hero of the whole look, because it erases harsh lines. Use it for the crease shade and for all the final blending.
- A small pencil brush. A tiny, firm, pointed brush for smudging pencil and shadow right along the upper and lower lash lines.
A soft pink eye brush set usually includes all three shapes, so look for one with a flat shader, a fluffy tapered blender and a pencil brush, with bristles that feel soft on the back of your hand. Keep one fluffy brush completely clean for the final "erase the edges" step; it makes a bigger difference than you'd think.
What Else Goes in Your Smoky Eye Kit
Beyond the brushes, the list is short. Here's everything I'd lay out on a tray before starting:
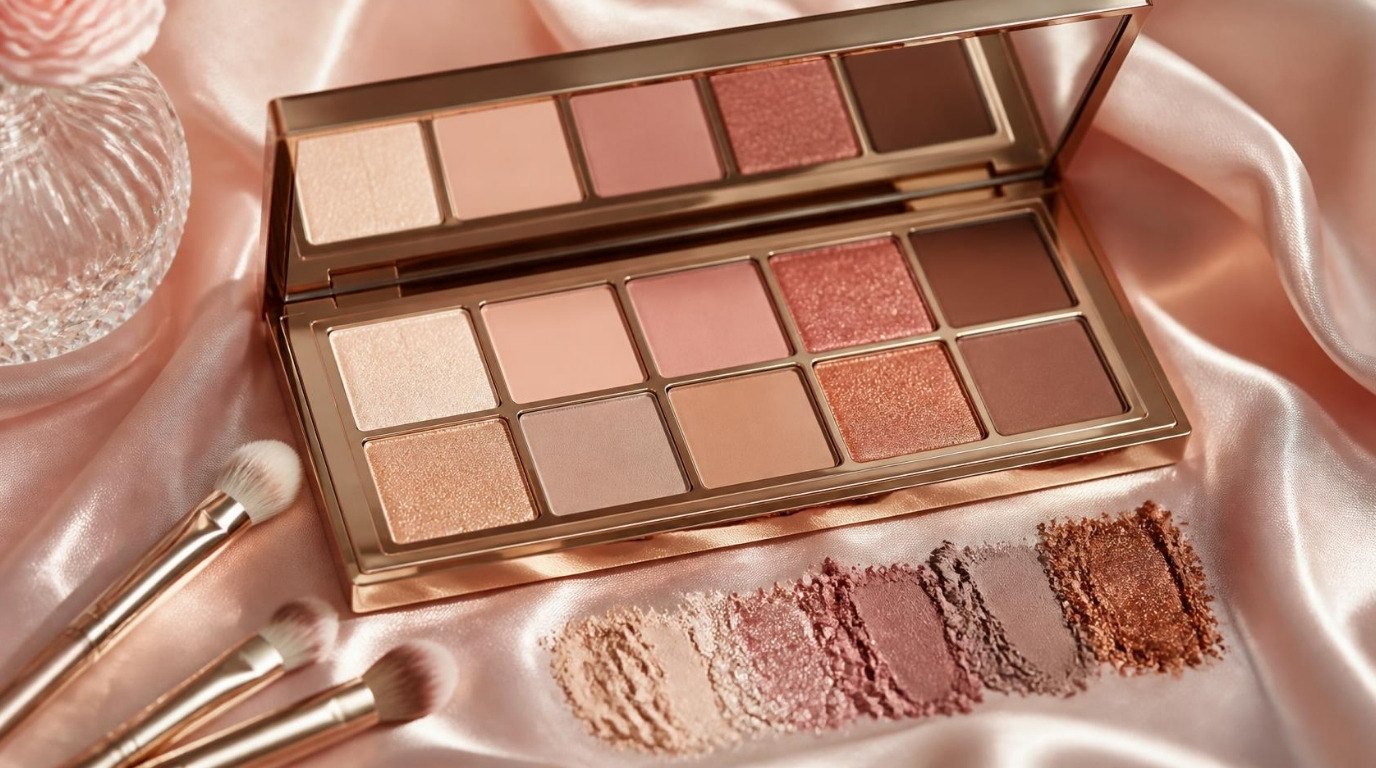
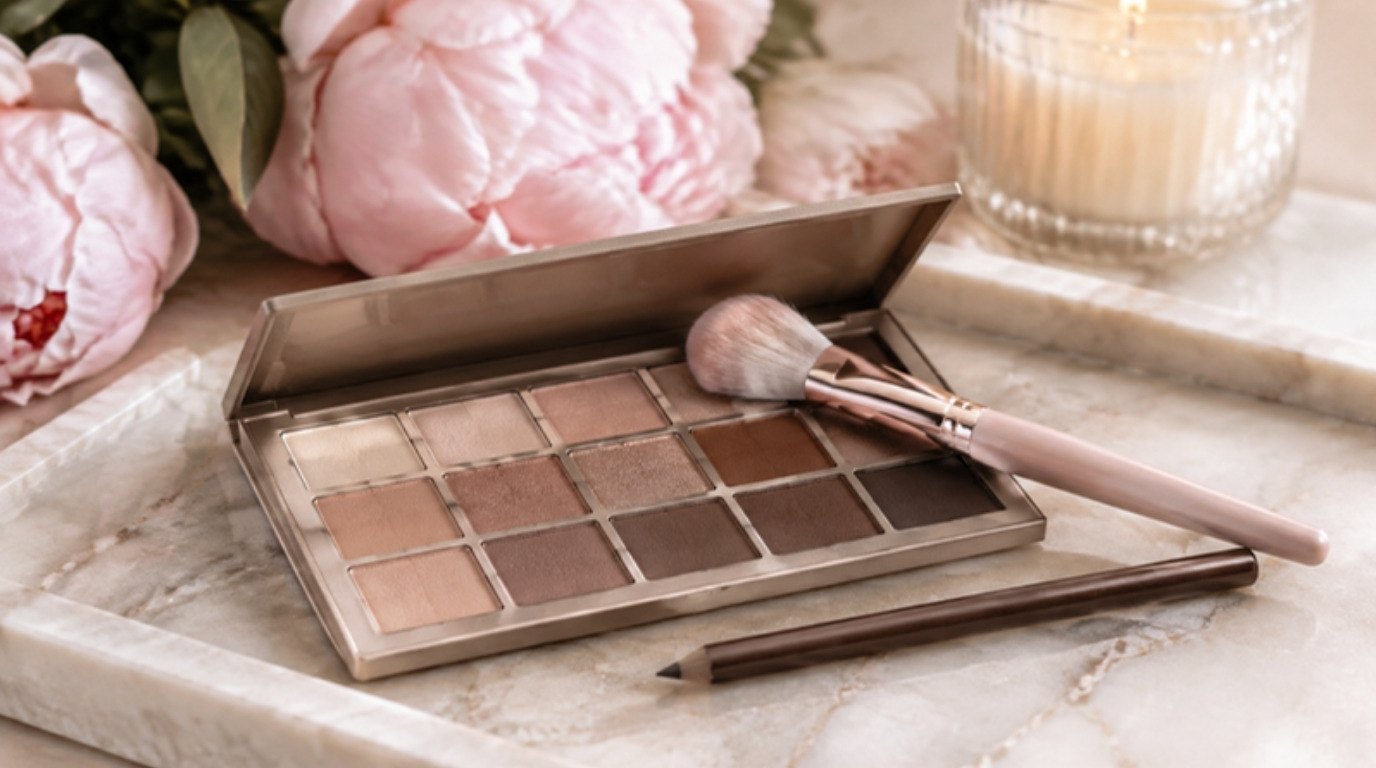
- A neutral matte palette. A neutral matte eyeshadow palette with at least one light beige, one soft medium brown and one deep brown covers every step. Mattes blend more predictably than shimmers, which is exactly what you want while you're learning. Look for shades that feel buttery when you swipe a finger across them, not chalky.
- A blendable pencil. A soft brown kohl pencil is the beginner's shortcut. Drawn along the lash line and smudged, it gives you the dark base in about thirty seconds. Pick one that glides without tugging and stays creamy for a minute before it sets, so you have time to smudge.
- An eyeshadow primer. More on this in step one, but it keeps everything from creasing and helps shadow blend.
- Mascara. A lengthening black mascara that separates lashes without clumping is ideal; brown-black is lovely for softer daytime versions.
- Cotton swabs and a little cleanser. For tidying edges and fallout.
If you're curious about which colors flatter your eyes most, my guide to natural eyeshadow colors that look great on everyone is a lovely place to pick your first palette shades.
How To Do a Smoky Eye: 8 Easy Steps
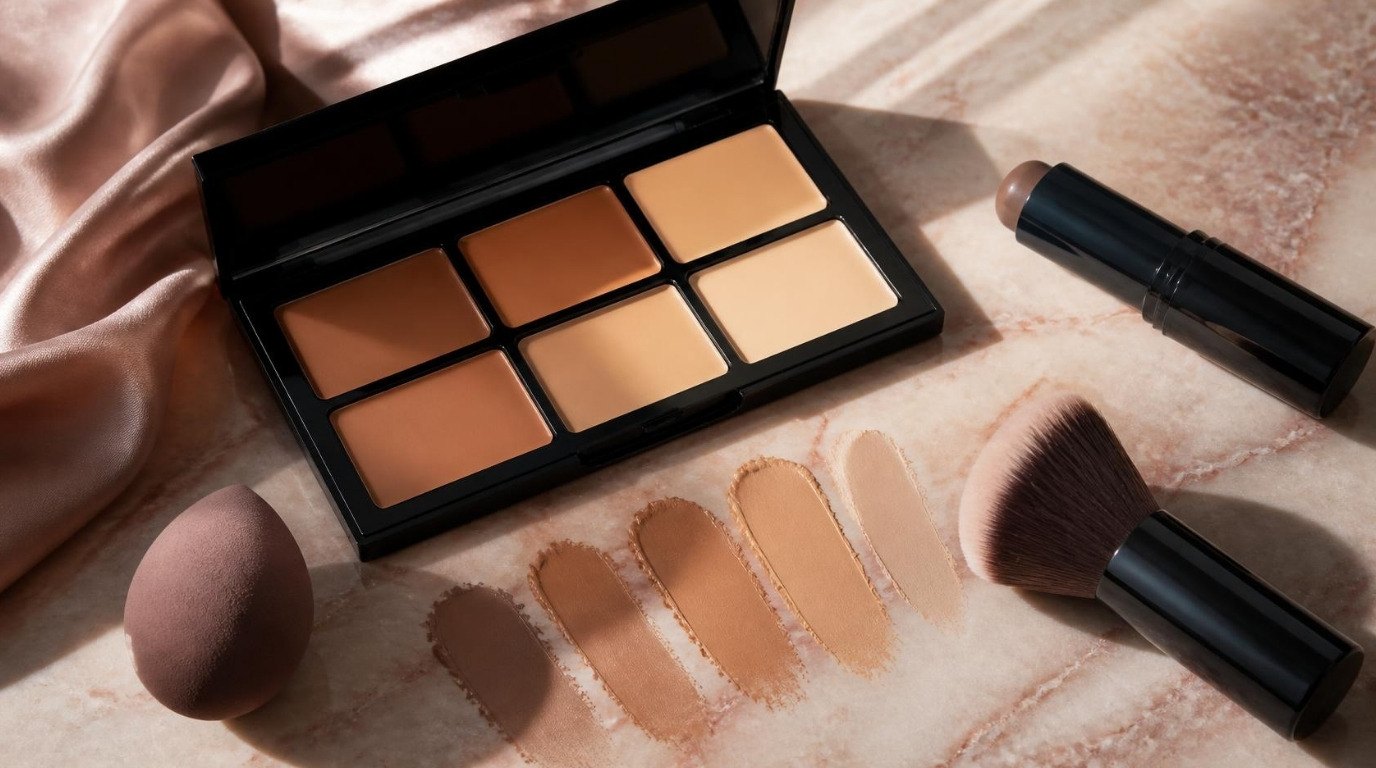
Give yourself fifteen unhurried minutes the first time, ideally in daylight by a window. After a few tries it takes closer to seven. Do your eyes before foundation and concealer, so any fallout can be wiped away without ruining your base (more on that below).
1. Prime Your Lids
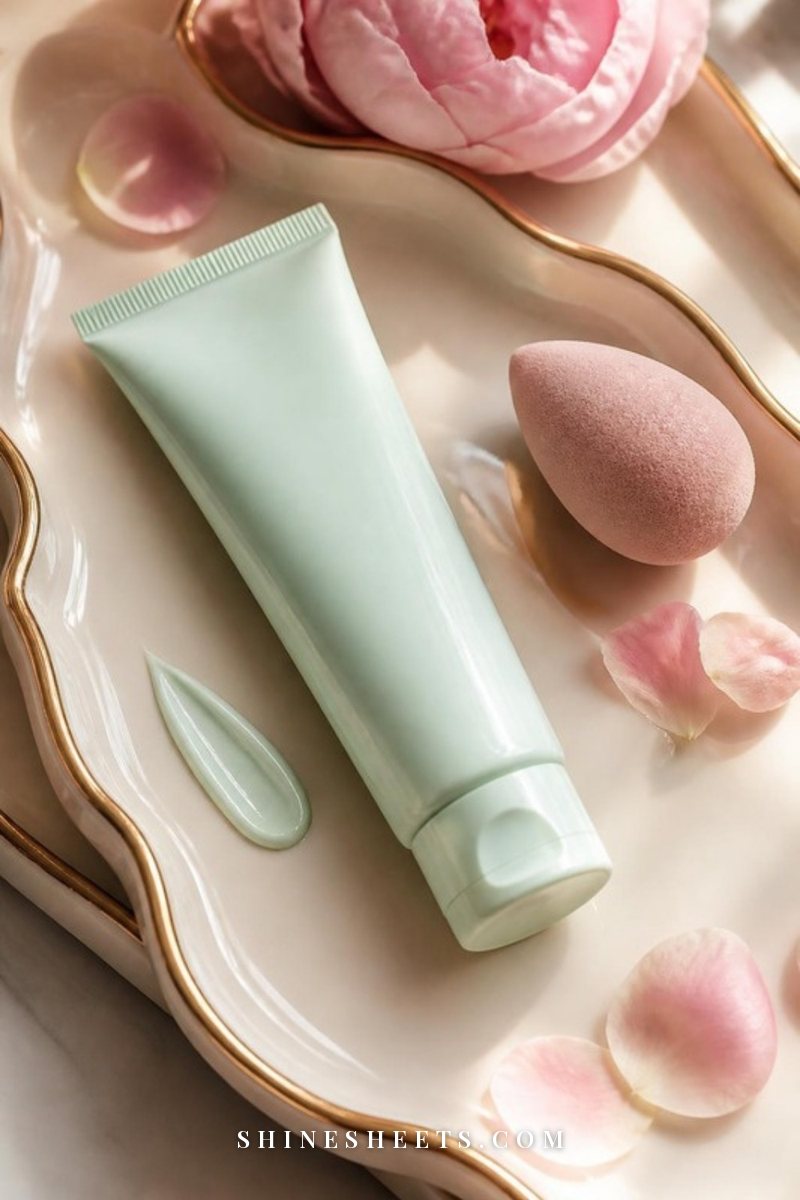
Pat a thin layer of eyeshadow primer from lash line to brow bone with your ring finger. A rice-grain amount per eye is plenty. Let it sit for about thirty seconds until it feels slightly tacky rather than wet.
My lids get a little oily (thank you, combination skin), and without primer my shadow creases by lunchtime. A long-wear eyeshadow primer gives the shadow something to grip, so colors look richer and blend more evenly. My guide to makeup primer explains how to match a face primer to your skin type too, if you want the rest of your makeup to last as well.
2. Sweep a Transition Shade Into the Crease
Take your fluffy blending brush and dip it into a soft matte shade one or two tones deeper than your skin, like a light caramel or warm beige. Tap off the excess. Then sweep it back and forth in your crease using small windshield-wiper motions, letting it extend just slightly above the crease line.
This shade is your safety net. It creates a soft blur that the darker colors will melt into later, so nothing ever looks like a stripe. Keep it light; you can always build.
3. Pat the Mid Shade on Your Lid
Switch to the flat shader brush and pick up a medium brown. Pat it onto the mobile lid, from the lash line up to just under the crease. Patting (rather than swiping) packs the color on with less fallout and makes it look smooth.
Concentrate the color on the outer two-thirds of the lid and let it soften as you move toward the inner corner.
4. Smudge the Dark Shade Along the Lash Line
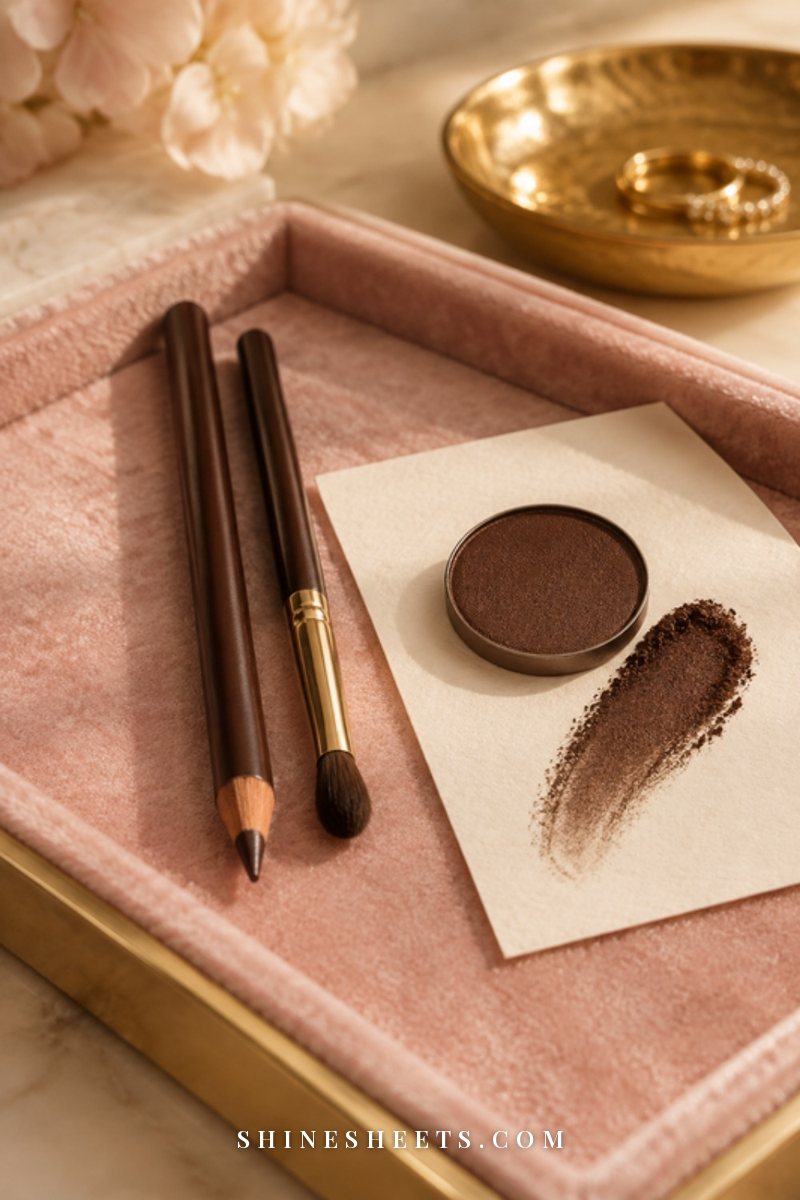
This is the step that makes it "smoky." You have two options, and both work beautifully:
- Pencil method (easiest): Draw your kohl pencil along the upper lash line, as close to the lashes as you can. Don't worry about a neat line. Within thirty seconds, take the small pencil brush and smudge it upward and outward in short strokes.
- Shadow method: Press a deep brown shadow along the lash line with the pencil brush, then wiggle it upward into the lid color.
For extra depth, do both: pencil first, then press a matching dark shadow on top to set it. If drawing along the lash line still feels shaky, my guide on how to apply eyeliner has a few steadying tricks that help here too.
5. Blend the Edges Until There Are No Harsh Lines
Take your clean fluffy brush (no new product) and blend where the lid color meets the crease color, using tiny circles and light pressure. Then blend the outer edge up toward the tail of your brow.
Step back from your vanity and look at your eye from arm's length. If you can see a clear edge anywhere, keep blending. This step usually takes longer than all the others combined, and that's completely normal. It's the difference between "smoky" and "bruised," so give it the time.
6. Brighten the Inner Corner
Dab a light cream, ivory or soft champagne shade into the inner corner of each eye with the tip of your pencil brush or a fingertip. It's a tiny touch, but it opens the eye and keeps a deeper look from feeling heavy.
7. Smudge Under the Lower Lash Line
Take whatever is left on your pencil brush (or a whisper of the mid shade) and run it under the lower lashes, starting at the outer corner and fading out by the middle of the eye. Then connect it to the upper wing at the outer corner so it looks like one soft frame.
Keep this lighter than the top. A thick lower line can drag the eye down, while a soft smudge makes it look smoky and finished.
8. Finish With Mascara
Curl your lashes if you like, then wiggle mascara from the root to the tips on the upper lashes. Two thin coats look better than one thick one. A light coat on the lower lashes is optional; for daytime, I often skip it.
Now you can do your foundation, concealer, brows and lips. Keep the lips soft (a nude, a rosy balm or a sheer pink) and let the eyes be the star.
Smoky Eye Colors Beyond Black
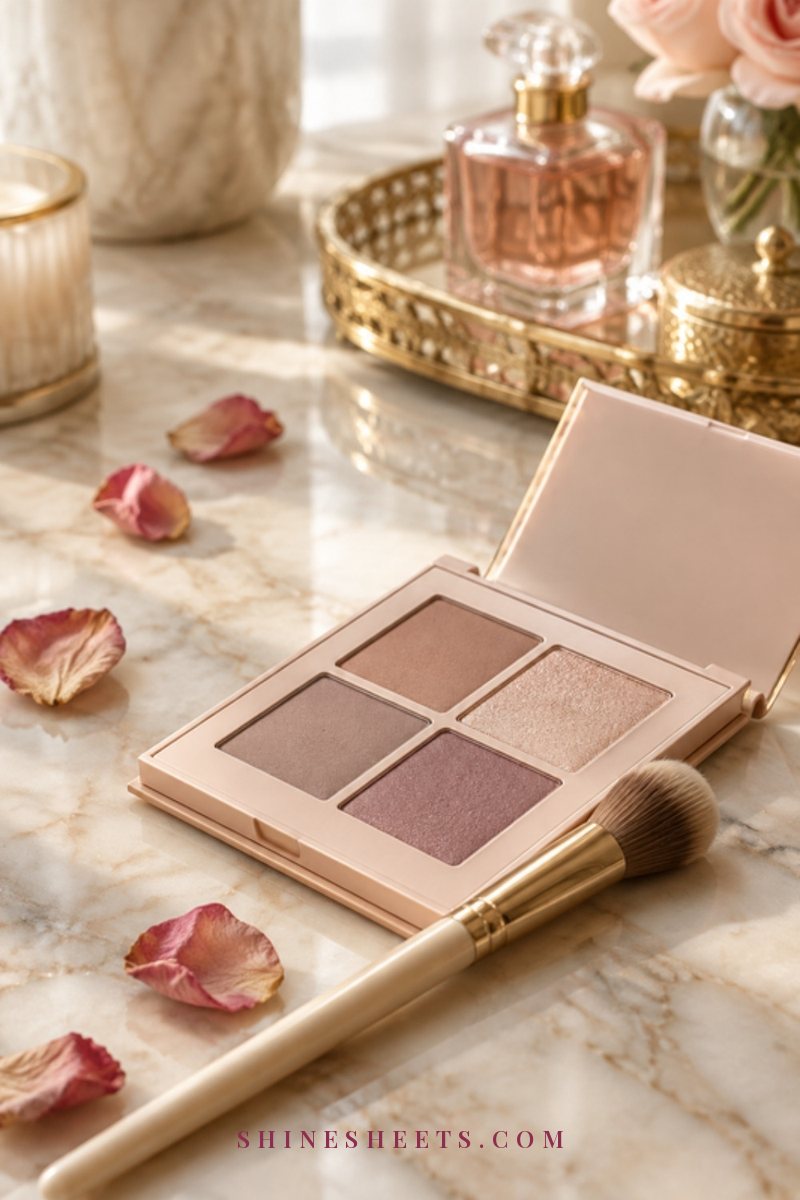
Once the technique feels natural, changing the color is the easiest way to make a smoky eye feel new. The steps stay the same: light shade in the crease, medium on the lid, deepest at the lash line. Only the family changes. Here's a quick table to help you choose, with a softer day version and a deeper evening version for each:
| Shade family | Best for | Day version | Evening version |
|---|---|---|---|
| Soft brown | First-timers, every eye color, everyday wear | Caramel crease, light brown lid, brown pencil smudged thin | Add a deep espresso shadow on top of the pencil and extend the outer corner |
| Taupe | Cool or neutral skin tones, a polished office look | Greige crease, taupe lid, no lower lash line | Deep cool brown at the lash line, full lower smudge, two coats of mascara |
| Plum | Green and hazel eyes, adding gentle color | Mauve crease, sheer plum on the outer lid only | Aubergine shadow over a dark brown pencil, plum smudged under the eye |
| Champagne | Mature or hooded lids, a bright, soft-focus effect | Champagne shimmer patted on the lid over a beige crease | Same lid, plus a bronze shade blended into the outer V |
| Charcoal or black | Classic glamour, special evenings, when you've practiced a few times | Not really a day look; try a soft gray pencil smudge instead | Gray crease, charcoal lid, black pencil at the lash line, very well blended |
Screenshot this and keep it with your palette. When you're not sure what to wear, pick a row and follow it.
How To Avoid and Fix Fallout
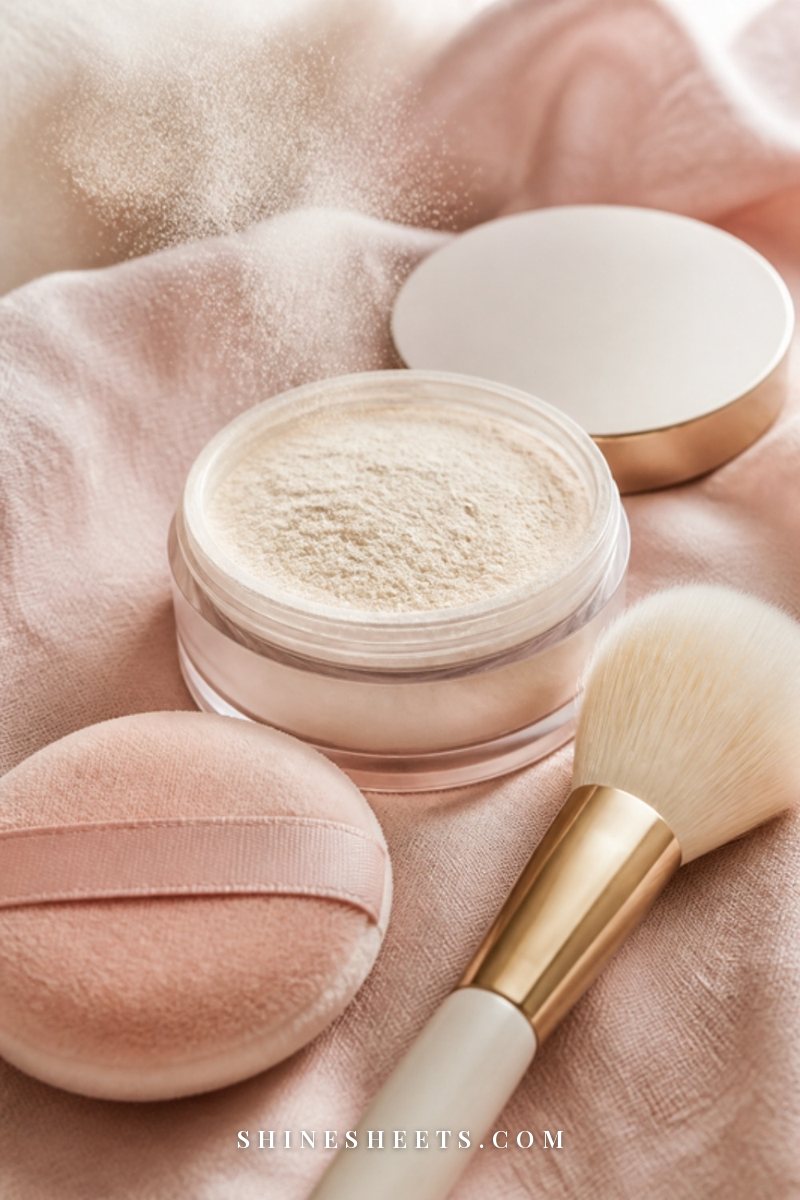
Fallout is the dark dust that drifts onto your cheeks while you work. It happens to everyone, especially with deeper shades. A few simple habits keep it under control:
- Do your eyes first. This is the biggest one. With bare skin underneath, fallout wipes away cleanly before foundation goes on.
- Tap your brush. After dipping into a dark shade, tap the handle on the edge of the palette once or twice to knock off loose pigment.
- Pat dark shades, don't swipe. Pressing deposits color with much less dust.
- Use a powder shield. If you prefer to do your base first, dust a generous layer of translucent powder under your eyes before shadow, then sweep it away (fallout and all) with a big fluffy brush when you're done.
- Clean edges with a swab. Dip a cotton swab in a drop of micellar water or moisturizer and roll it along any edge that got too wide. Rolling is gentler than wiping and won't smear the gradient.
Smoky Eye for Hooded Eyes
If your lid folds over and hides when your eyes are open, the usual "put it in the crease" advice can disappear completely. A few small adjustments fix that:
- Look straight ahead while you place the transition shade. Put it slightly above your natural crease, on the part of the lid you can actually see with your eyes open.
- Keep the deepest color tight to the lash line and smoke it upward and outward, toward the tail of the brow, rather than straight up.
- Choose matte for the dark shades and save shimmer for the center of the lid, where it catches light when you blink.
- Prime well. Hooded lids touch the skin above them, so primer matters even more for preventing creasing.
My full guide to makeup tips for hooded eyes goes deeper, with liner shapes and placement tips that work beautifully with this look.
Day vs Evening Intensity

The best part of learning one smoky eye properly is that you can turn it up or down like a dimmer switch. Same steps, different pressure.
For Daytime
- Use only two shades: transition and mid. Skip the darkest shadow.
- Smudge the pencil very thin, almost invisible, just to thicken the lash line.
- Keep the lower lash line to the outer third, or skip it.
- One coat of brown-black mascara.
For Evening
- Layer the dark shadow over the pencil to deepen and set it.
- Extend the outer corner slightly toward the brow tail for a lifted shape.
- Bring the smudge along the full outer half of the lower lash line.
- Two coats of mascara, plus a soft shimmer pressed onto the center of the lid with a fingertip.
A small honest admission: I find it very easy to keep adding "just a little more" in the evening and end up far deeper than I planned. Light changes everything, so check your finished look by a window (or at least under the light you'll be in) before you head out, and remember that a softer version is always easier to deepen than a heavy one is to undo.
Common Smoky Eye Mistakes (and Easy Fixes)
These are the five that trip up almost every beginner, and each one has a quick fix:
- Starting with the darkest shade. Dark first leaves you nothing to blend into. Always build from light to dark.
- Too much product on the brush. Tap off excess every time. Building in thin layers looks smoother than one heavy layer.
- Stopping before it's blended. If you can see an edge, keep going with a clean fluffy brush.
- A heavy lower lash line. Keep the bottom lighter than the top so the eye looks lifted, not tired.
- Forgetting the rest of the face. A smoky eye with bare, uneven skin can look unfinished. Even a little concealer, blush and a soft lip pull it together.
How To Remove a Smoky Eye Gently
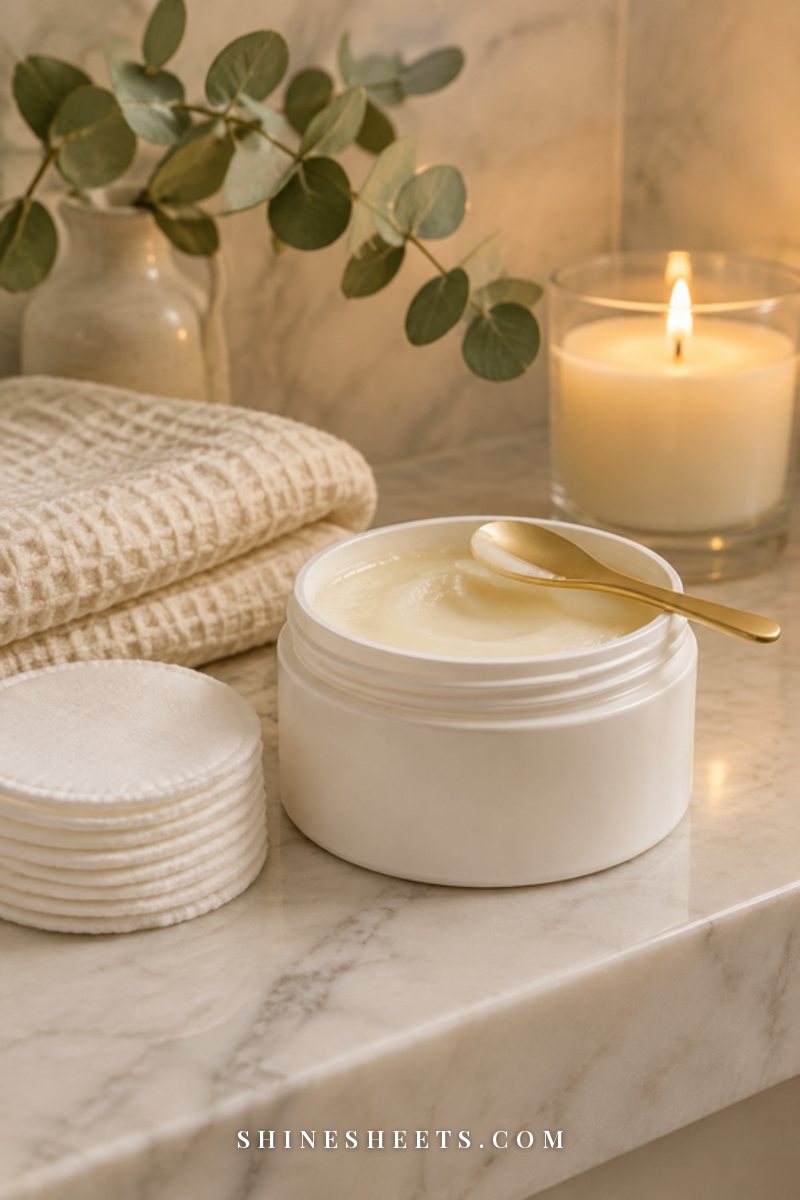
Deep shadow and kohl cling, and scrubbing at the delicate skin around your eyes is the last thing you want. A cleansing balm is the gentlest way I know to take it off. Look for a fragrance-light, oil-based balm that melts on contact; well-loved Korean balms work beautifully here.
- Scoop a pea-sized amount with the spatula and warm it between your fingertips.
- Close your eyes and press the balm over your lids and lashes. Massage in slow circles for about thirty seconds, letting the shadow and pencil dissolve.
- Add a splash of lukewarm water to turn it milky, then massage for a few more seconds.
- Rinse well, or press a damp, soft cotton pad over the eye for ten seconds and gently wipe downward.
- Follow with your usual gentle cleanser so no oily film is left behind.
If your eyes are sensitive (mine can be), patch test any new balm or pencil on your inner arm first, and stop using anything that stings, itches or makes your eyes water. Toss pencils and mascara that smell off, and never share eye products.
And one more small habit: after you've taken it all off, rinse your blending brushes with a little gentle soap once a week so they keep blending softly. Dirty brushes hold old pigment and make the next look muddy.
Final Thoughts
A smoky eye isn't a test of steady hands. It's a soft, forgiving look that gets better every time you practice, and the first few tries are allowed to be a little uneven. Start with brown, take your time on blending and let the rest come naturally.
Before long you'll reach for it on an ordinary evening, light a candle, put on something soft and feel a little bit like a classic film star. That's the kind of glamour that's always worth fifteen minutes.