Beginner nail art isn't about a steady hand or a drawer full of tools. It's about choosing designs that forgive you. A single dot, a clean tape line or a soft half-moon looks polished even when your wobbly non-dominant hand is doing the work, and that's exactly where to start.
The other secret is that pretty nail art sits on top of healthy nails. Good prep, thin layers and patient drying do more for the final look than any fancy technique. When the base is smooth and glossy, even the simplest accent looks expensive.
This guide to nail art for beginners walks you through prep, the few tools you actually need (a dotting tool and nail tape do most of the work), eight easy designs with step-by-step instructions in sheer pink, nude, white, blush and gold, a quick table to help you choose, plus drying times, sealing, fixing mistakes and cleaning your tools.
Put on something you love listening to, pour a cup of tea and let's keep it simple and elegant.
Prep Your Nails First
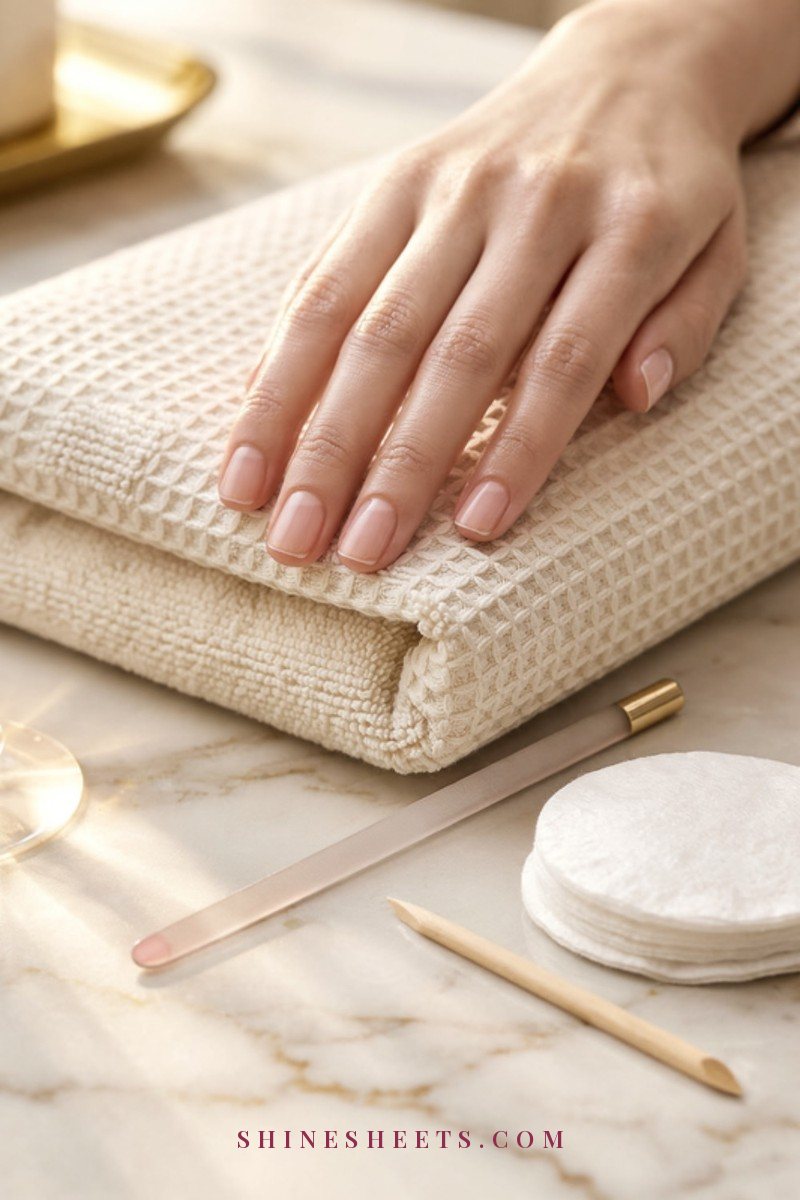
Ten minutes of prep is the difference between nail art that lasts a week and nail art that chips by tomorrow. Here's the order I'd follow:
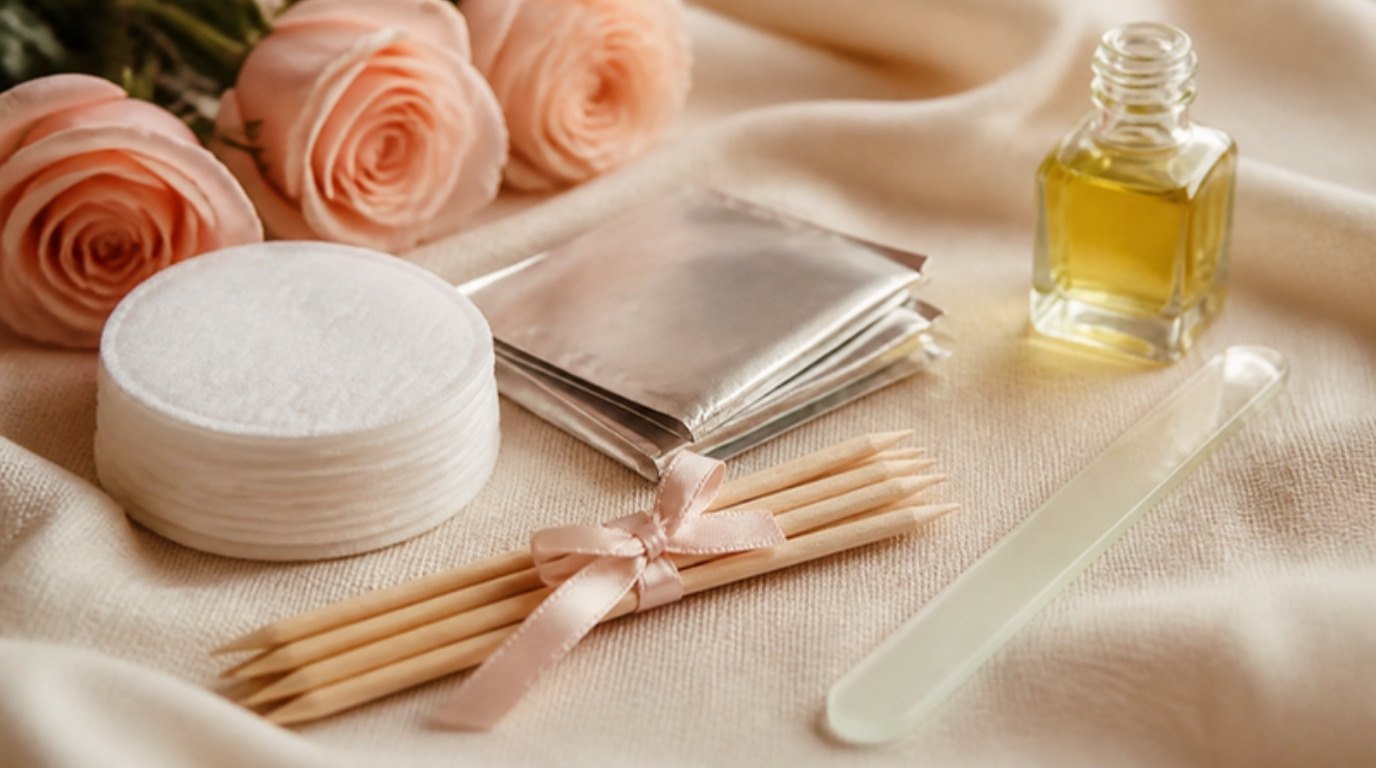
- Remove old polish completely. Use a remover-soaked cotton pad pressed on the nail for 10 seconds, then wipe in one direction. If you have gel, remove it properly with a soak-off method, never by picking or peeling. Peeling gel takes layers of your nail with it.
- Wash and dry your hands. Oils and lotion keep polish from gripping. Dry thoroughly, including around the nail edges.
- Shape with a gentle file. File in one direction, not back and forth, to avoid splitting. Short, soft square or round shapes are easiest for beginner designs. My guide on how to file and shape your nails has the full technique.
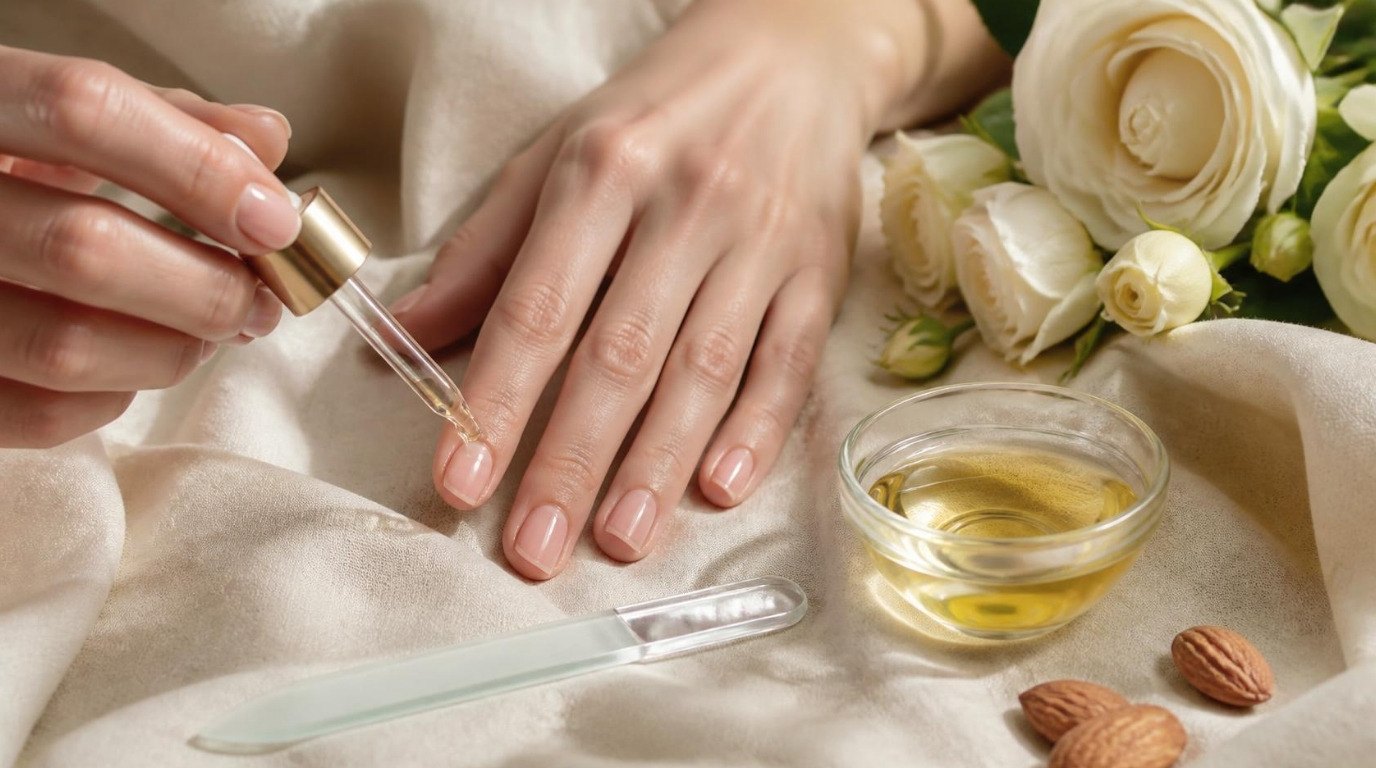
- Push back cuticles gently. After a warm wash, use a soft cuticle pusher or an orange wood stick to ease the cuticle back. Don't cut live skin. If yours need more care, my cuticle care guide explains how to keep them soft without cutting.
- Wipe the nail plate. A quick swipe with a little remover or rubbing alcohol on each nail removes the last bit of oil.
- Apply a base coat. One thin layer protects your nails from staining (especially under gold or darker shades) and helps everything stick. Let it dry for 2 minutes.
If you'd like the full step-by-step routine before adding designs, start with my at-home manicure guide, then come back here for the fun part.
The Tools You Need for Easy Nail Art
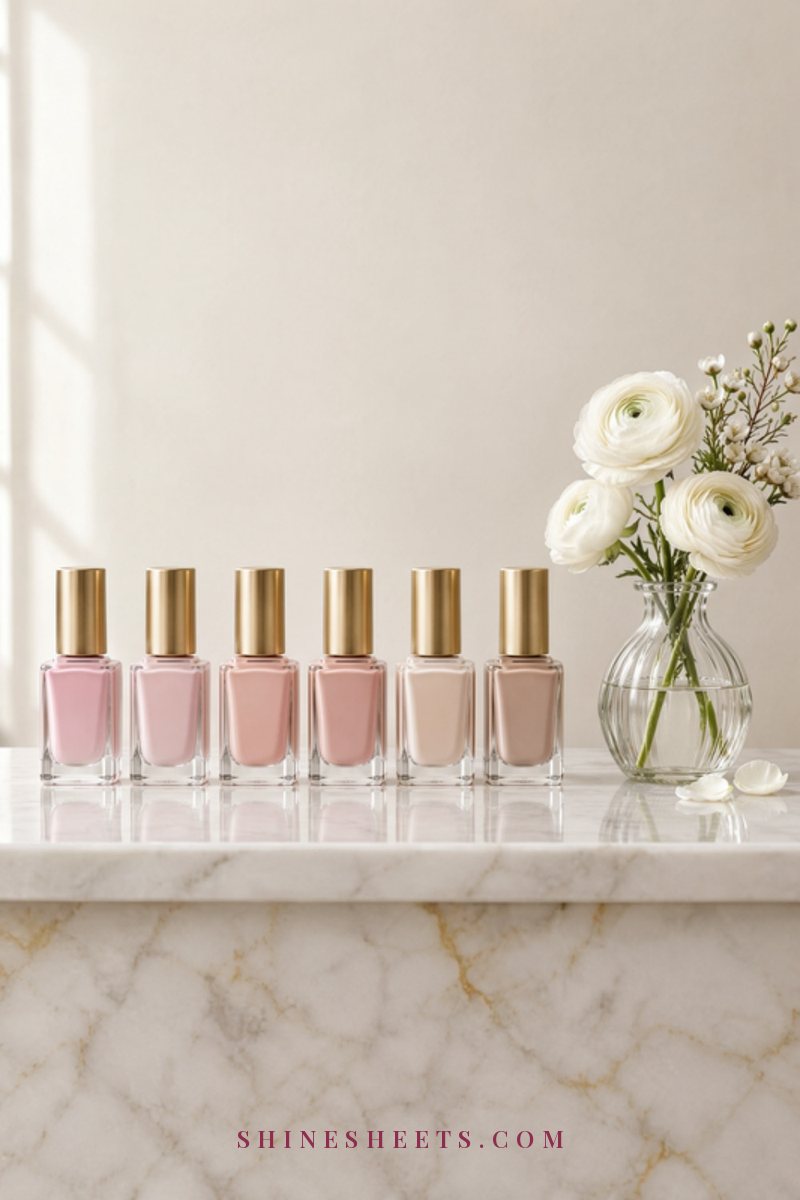
You don't need a full kit. These five things cover every design in this guide:
A Dotting Tool
A dotting tool is a pen-shaped stick with a small metal ball on each end. Bigger balls make bigger dots; smaller balls make micro dots. A double-ended dotting tool set with four or five sizes gives you every option. Dip it into a small puddle of polish (not straight into the bottle), touch the nail, lift straight up. That's it.
Nail Striping Tape
Thin adhesive tape (1–2 mm wide) that you stick on a dry nail to mask off clean lines. You can leave metallic tape on as the design itself or peel it off after painting to reveal a crisp line. A roll of gold nail striping tape is the most versatile, because gold works with every soft shade.
A Thin Nail Art Brush
A fine liner brush helps with half-moons, French tips and any freehand lines. Look for short, firm bristles, as long floppy ones are harder to control. A small fine nail art brush set usually includes a liner, a flat brush and a detail brush.
A Toothpick Backup
No dotting tool yet? The blunt end of a toothpick makes tiny dots, and the head of a bobby pin makes medium ones. They work surprisingly well for a first try.
A Clean-Up Brush With Remover
A small flat brush (an old, clean lip or concealer brush works) dipped in remover is your eraser. Use it to sharpen edges around the cuticle and wipe away little slips before they dry.
Choose Your Design: Quick Guide
Here's how the eight designs compare. Start with any design marked "Very easy," then work your way down the table.
| Design | Main tool | Colors | Difficulty |
|---|---|---|---|
| Single dot accent | Dotting tool (medium) | Nude base, white or gold dot | Very easy |
| Scattered micro dots | Dotting tool (small) | Sheer pink base, white dots | Very easy |
| Tape line | Striping tape | Blush base, gold tape | Very easy |
| Double parallel lines | Striping tape | Milky white base, gold tape | Easy |
| Half-moon base | Thin brush or round sticker | Nude base, white half-moon | Easy |
| Negative-space stripe | Striping tape (peeled off) | Clear base, blush stripe | Medium |
| Soft French tip with tape | Striping tape as a guide | Sheer pink base, white tip | Medium |
| Gold micro accent | Dotting tool (smallest) or tape snippet | Nude or blush base, gold | Easy |
8 Easy Nail Art Designs for Beginners
Each design starts the same way: base coat, then two thin coats of your base color, drying about 2 minutes between coats. Let the color dry for at least 10 minutes before adding tape, because tape on soft polish leaves marks. Dots can go on after about 5 minutes.
1. Single Dot Accent
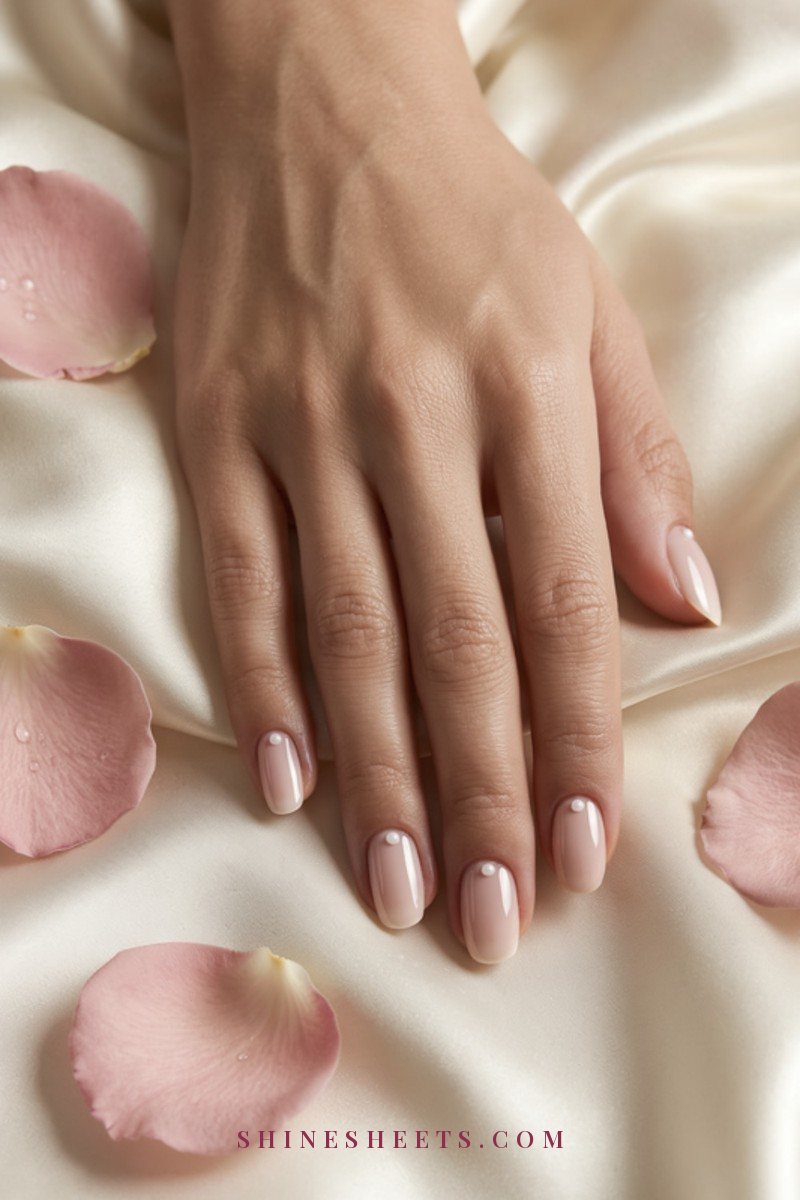
The perfect first design: one dot on each nail, or one dot on just your ring fingers. It's minimal, modern and almost impossible to get wrong.
- Paint two coats of nude and let them dry for 5 minutes.
- Drop a little white or gold polish onto a piece of foil or a plastic lid.
- Dip a medium dotting tool, then touch it to the center of the nail, near the cuticle, about a third of the way up.
- Lift straight up without pressing or dragging.
- Re-dip for every nail so each dot is the same size.
Tip: practice five dots on paper first. It helps you feel how much pressure gives a round dot.
2. Scattered Micro Dots
Tiny dots scattered across a sheer base look like a delicate print. A sheer pink base is lovely here, and a sheer pink nail polish forgives streaks better than an opaque shade.
- Paint two thin coats of sheer pink and let them dry for 5 minutes.
- Use the smallest end of your dotting tool, dipped lightly in white.
- Place 4–6 dots per nail in an irregular pattern, keeping them a little apart.
- Re-dip after every two dots so they stay small and even.
Keep the dots slightly away from the edges, as dots right at the tip wear off first.
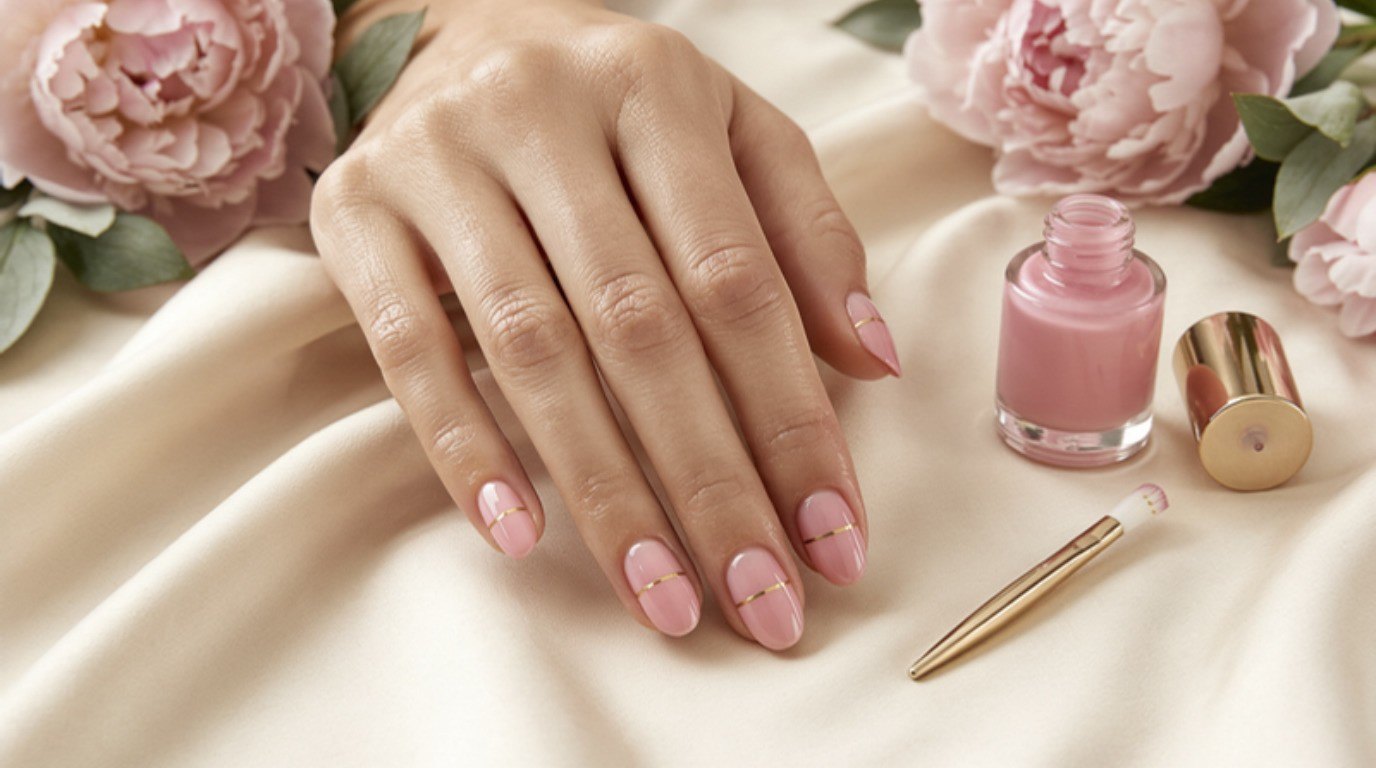
3. Tape Line
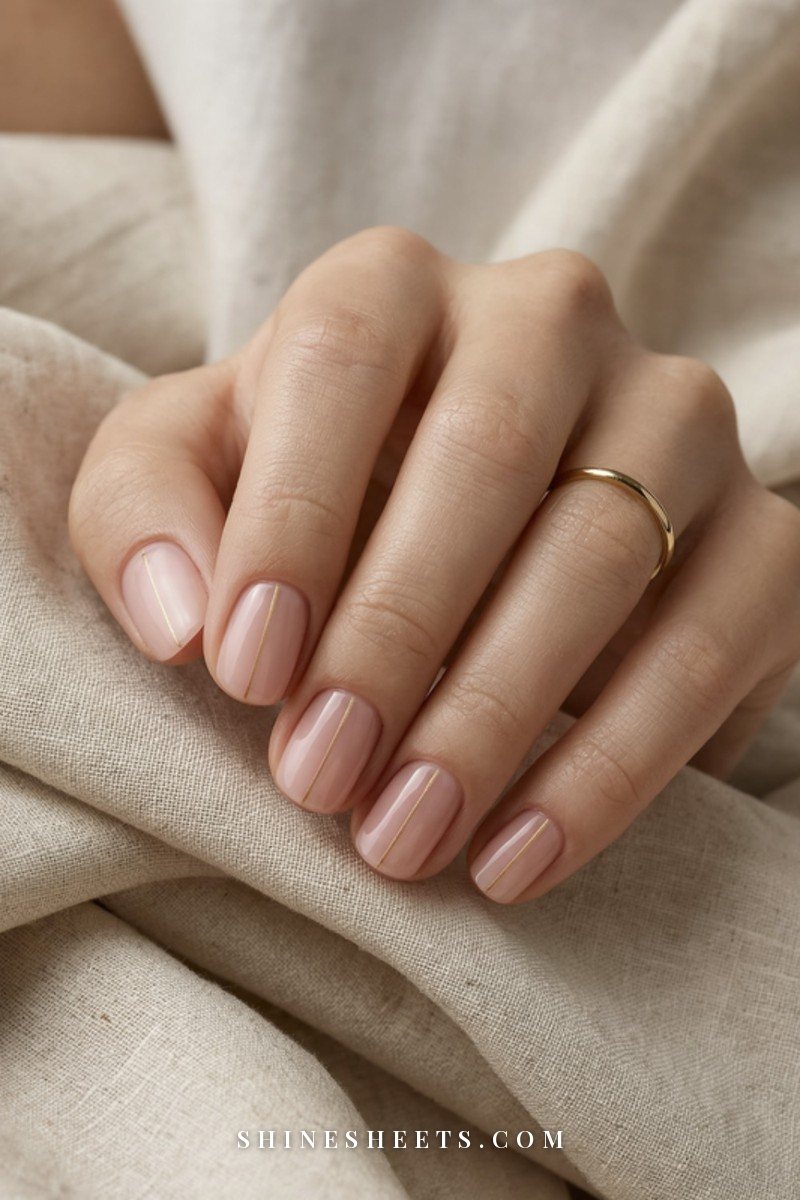
A single gold line down the center (or across the nail) is the most elegant beginner design there is. You leave the tape on as part of the look.
- Paint two coats of blush and let them dry fully, at least 10 minutes.
- Cut a piece of gold striping tape a little longer than your nail.
- Press one end near the cuticle (leave a hair of space), lay it down the nail and smooth it gently.
- Trim the excess at the tip with small scissors or press it with a file and snap it off.
- Seal with two layers of top coat, covering the tape ends well so they don't lift.
4. Double Parallel Lines
Two thin lines side by side look graphic but still soft. A nude and white polish duo gives you a milky white base and a nude for other designs.
- Paint two coats of milky white and dry for 10 minutes.
- Place one strip of gold tape vertically, slightly off center.
- Place a second strip parallel to it, 1–2 mm apart. Use the first line as a guide and look straight down at the nail to keep them even.
- Trim, then seal with top coat.
Variation: run both lines horizontally near the tip for a softer, more classic look.
5. Half-Moon Base
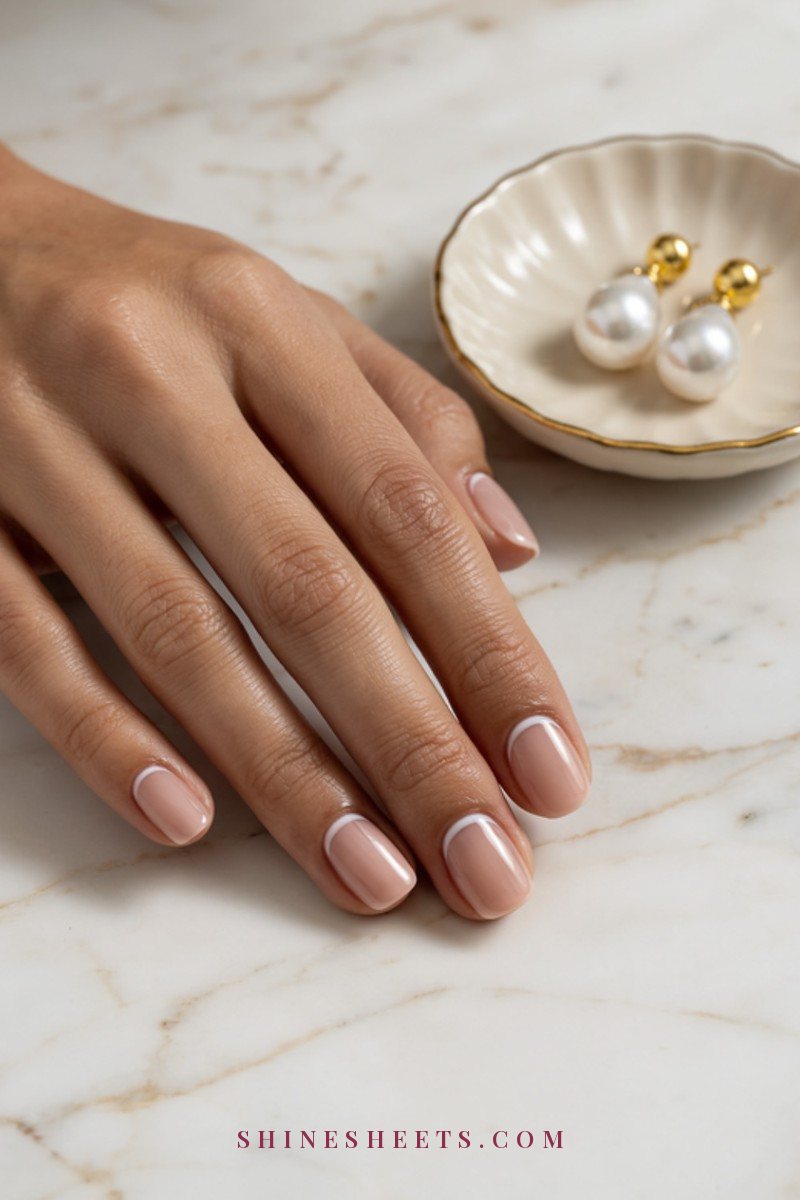
A half-moon (a curved shape at the base of the nail) is a vintage Old Hollywood detail I adore. Here's the easiest way to paint it.
- Start with a nude base and let it dry for 10 minutes.
- With a thin brush dipped in white, paint a curve that follows your cuticle shape, about 2–3 mm from the cuticle line.
- Fill the area between the curve and the cuticle with white, using light strokes.
- Clean the edges with your clean-up brush.
Alternative: reverse it. Leave the half-moon bare (just base coat) and paint the rest of the nail nude or blush. Round reinforcement stickers from a stationery store make a perfect guide for this; stick one at the base, paint, then peel while the polish is still slightly wet.
6. Negative-Space Stripe
Negative space means leaving part of the nail bare (or clear), and it looks very fresh. This design uses tape as a mask that you peel off.
- Apply base coat and one clear coat; let it dry for 10 minutes.
- Place two strips of striping tape about 3 mm apart, across or down the nail.
- Paint blush between the strips (and over them slightly).
- Peel the tape away right away, while the polish is still wet, pulling slowly toward the tip.
- Let it dry, then seal with top coat.
Peeling while wet is the key. If you wait until it's dry, the polish cracks along the edge.
7. Soft French Tip With Tape
The classic French manicure, made easier with tape as a guide. A sheer pink base and a soft white tip always look fresh.
- Paint one or two coats of sheer pink and dry for 10 minutes.
- Place a strip of tape across each nail just below where you want the tip to start, leaving the tip area exposed. For a soft curve, use two short strips angled into a gentle "V," or follow the natural smile line with a curved guide.
- Paint white over the tip.
- Peel the tape away slowly while the white is still wet.
- Seal with top coat.
Keep the tip thin, 1–2 mm on short nails, for a modern, delicate look.
8. Gold Micro Accent
A tiny gold detail on a soft base is like a piece of jewelry for your nails. It works on any of the designs above, too.
- Start with a nude or blush base, dry for 10 minutes.
- Choose one accent: a single gold micro dot near the cuticle, a tiny 3 mm snippet of gold tape placed diagonally, or a thin gold line along the edge of a half-moon.
- Press gently so it lays flat, then seal.
Keep it to one accent per nail, or just on the ring finger. Restraint is what makes gold look elegant instead of busy.
How To Practice Before You Paint
A few minutes of practice makes your first real design so much calmer. Paint a few thin layers of polish onto a piece of clear tape stuck to a plastic lid, or onto an old set of press-on nails, and try each design there first.
- Practice dots in rows of five, re-dipping each time, until they all look the same size.
- Lay three strips of tape side by side to learn how the tape bends at the edges.
- Paint your non-dominant hand first, while you still have the most patience, then do your dominant hand.
- Rest your painting hand's pinky on the table for support; a steady wrist matters more than a steady finger.
Ten minutes of this, once, is usually enough to feel the rhythm.
Drying Time Between Layers
Patience is the most underrated tool. Rushed layers are the reason most nail art smudges. A simple timing guide:
- Base coat: 2 minutes before color.
- Between color coats: 2–3 minutes. Thin coats dry faster and smoother than thick ones.
- Before dots: 5 minutes.
- Before tape: at least 10 minutes, so the tape doesn't leave dents.
- Before top coat: 3–5 minutes after the last design layer.
- Fully hard: traditional polish can take a few hours to cure completely, so be gentle that evening (no hot showers or dishwashing right away if you can help it).
For more ways to speed things up without smudging, see my guide on how to make nail polish dry faster.
How To Seal Nail Art With Top Coat
Top coat protects the design and makes tape and dots look smooth and glossy. A quick-dry top coat is worth having for nail art in particular, because it cuts the waiting.
- Load the brush, then float the top coat over the design rather than pressing, so you don't drag the dots or lines.
- Cap the free edge: swipe the brush lightly across the tip of the nail. This one step prevents chips.
- Over tape, use two thin layers instead of one thick one, and make sure the tape ends are fully covered.
- Refresh with a thin layer of top coat every 2–3 days to keep the shine and stop lifting.
My guide on how to make nail polish last longer has more habits for a chip-resistant week.
How To Fix Nail Art Mistakes
Every beginner makes mistakes (I still do). Most of them are fixable in seconds:
- Polish on your skin: wipe it with the clean-up brush dipped in remover, ideally before it dries.
- A dot came out too big: let it dry, then turn it into a feature by adding a matching dot on the opposite hand, or dab it off with a remover-dampened brush tip and repaint.
- A crooked tape line: if the polish underneath is dry, simply peel the tape off and place a new piece.
- A smudge: if it's small, a tiny dot of the base color can cover it. If it's large, remove the polish on that nail and start fresh. It's one nail, not the whole set.
- Uneven French tips: clean up the line with a thin brush dipped in remover, sliding along the edge.
Give yourself permission for "good enough." From a normal distance, no one sees the little imperfections you notice up close.
Cleaning Your Nail Art Tools
Clean tools make cleaner designs, and they last much longer.
- Wipe dotting tools with a remover-soaked pad right after each use, before the polish dries on the ball.
- Swish brushes in a little remover, then wipe them on a paper towel, reshape the bristles with your fingers and lay them flat to dry.
- Keep striping tape in a small zip bag so the edges don't collect dust and lint.
- Close polish bottles tightly and wipe the neck so they open easily next time.
Nail Health Comes First
Nail art is meant to be fun, and it's most fun on nails that feel good. A few gentle habits keep them healthy:
- Always use a base coat, especially under deeper pinks or gold.
- Never peel or pick polish or gel off; remove it properly with remover or a soak-off method.
- Paint in a well-ventilated room with a window open, and take breaks if the smell bothers you.
- Give your nails a few polish-free days every now and then, and massage in cuticle oil each evening.
- If you notice redness, swelling, pain or changes in your nails, pause polish and check with a doctor or dermatologist.
Final Thoughts
The prettiest nail art often looks like it took no effort at all: one dot, one gold line, a whisper of white at the tip. Start with the easiest design in the table, give each layer its drying time and seal it well.
With a little practice, these small details become a lovely ritual, a quiet half hour that ends with ten little reasons to smile every time you look at your hands.