Nail polish doesn't dry slowly because you're impatient. It dries slowly because it dries from the top down, and every extra layer of thickness traps solvent underneath a surface that already feels dry. That's why a manicure can feel fine to the touch and still dent the moment you reach into your bag.
This guide is all about how to make nail polish dry faster without smudges, dents or sheet marks. You'll find 8 methods that actually help, a table comparing how much time each one saves, a quick myth-check on the hairdryer and the freezer, and a simple plan for the first hour so all that careful painting survives.
A little patience is still part of it (I won't pretend otherwise), but the right habits turn a long, nervous wait into a short, calm one.
Why Nail Polish Takes So Long To Dry

Regular nail polish dries by evaporation. The solvents that keep it liquid in the bottle slowly escape into the air, and as they leave, the film of color hardens. Anything that slows that evaporation slows your manicure:
- Thick layers. The top skins over first, and the solvent below has to work its way out through it. One thick coat can take far longer to harden than two thin ones.
- Humidity. Damp air, a steamy bathroom or a rainy day all slow evaporation. Painting right after a shower is one of the slowest choices you can make.
- Old, thickened polish. As a bottle ages, some solvent escapes every time you open it. The polish gets gloopy, goes on thicker and dries unevenly.
- Too little time between coats. Painting a fresh layer over a wet one traps even more solvent, and the whole stack stays soft.
- Oil or lotion on the nail. Polish clings poorly to an oily surface and can stay tacky longer.
Most of these are easy to change before you open the bottle, which is exactly where faster drying begins.
Surface-Dry vs Fully Cured: What's the Difference?

This is the part most of us were never told. There are really two stages of dry:
Surface-dry means the top feels smooth and not sticky. With thin coats, that usually happens in about 10 to 20 minutes. It's when you can carefully do light things, like turning a page.
Fully hardened means the whole film, top to bottom, is set. That can take several hours, and with thick layers it may take most of a day. Until then, polish can still dent from pressure, pick up fabric texture or smear under warm water.
Most of the tips below speed up surface drying and protect the polish while the layers underneath finish. Knowing the difference also explains why your nails felt dry at 9 p.m. and had pillow prints by morning.
How To Make Nail Polish Dry Faster: 8 Methods That Work
You don't need all eight every time. Thin coats and a good top coat do most of the work, and the rest are lovely extras for when you're short on time.
1. Paint Thin Coats
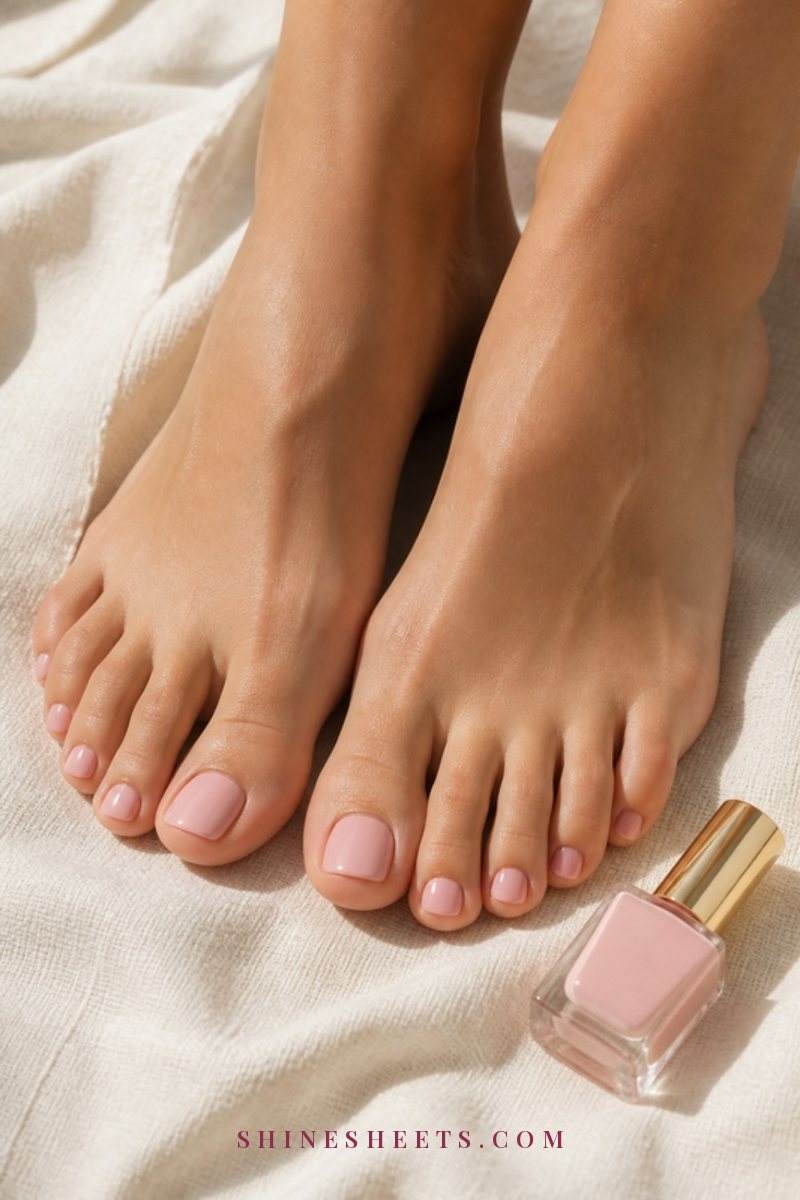
This is the most important method, and it costs nothing. Wipe one side of the brush on the bottle neck so you're left with a small bead of polish, then paint in three strokes: one down the center, one along each side. If you can see a little streakiness after the first coat, that's perfect. The second coat fills it in.
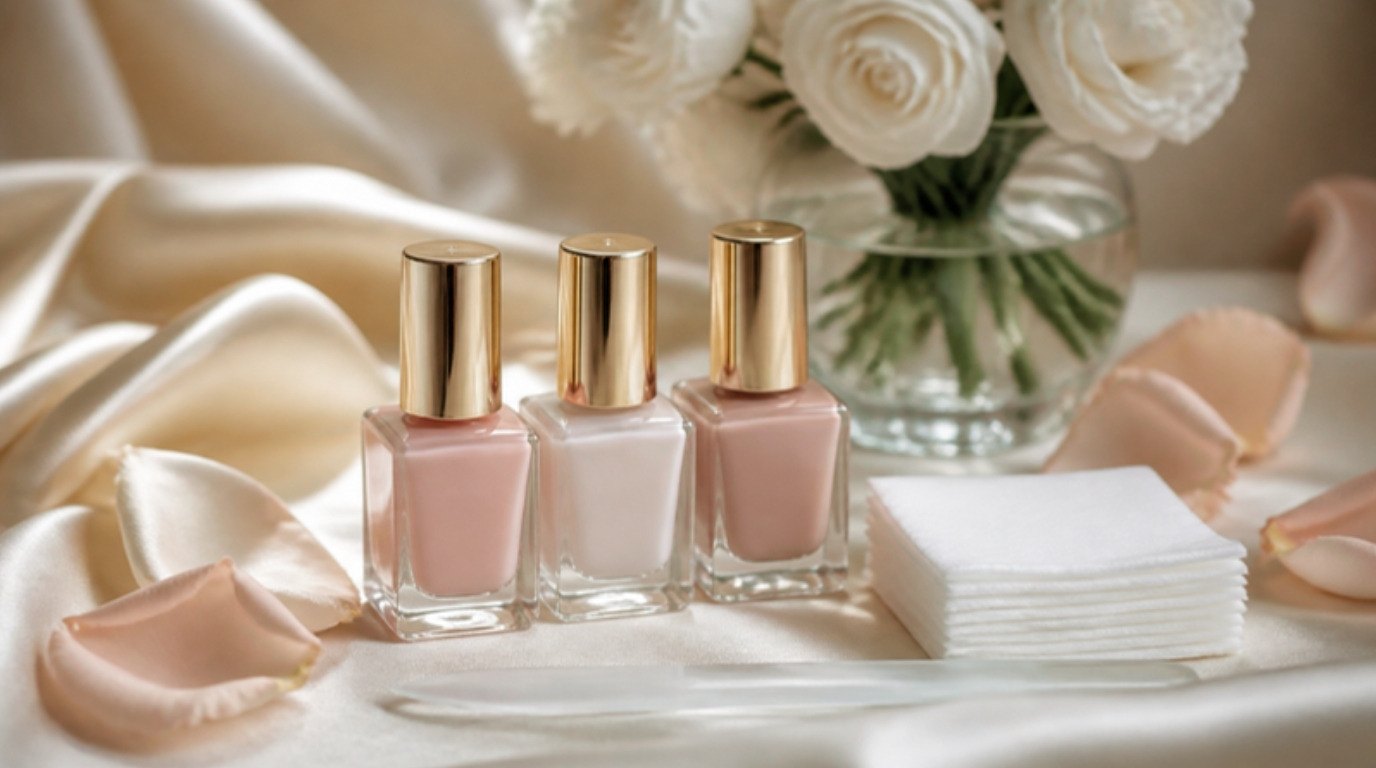
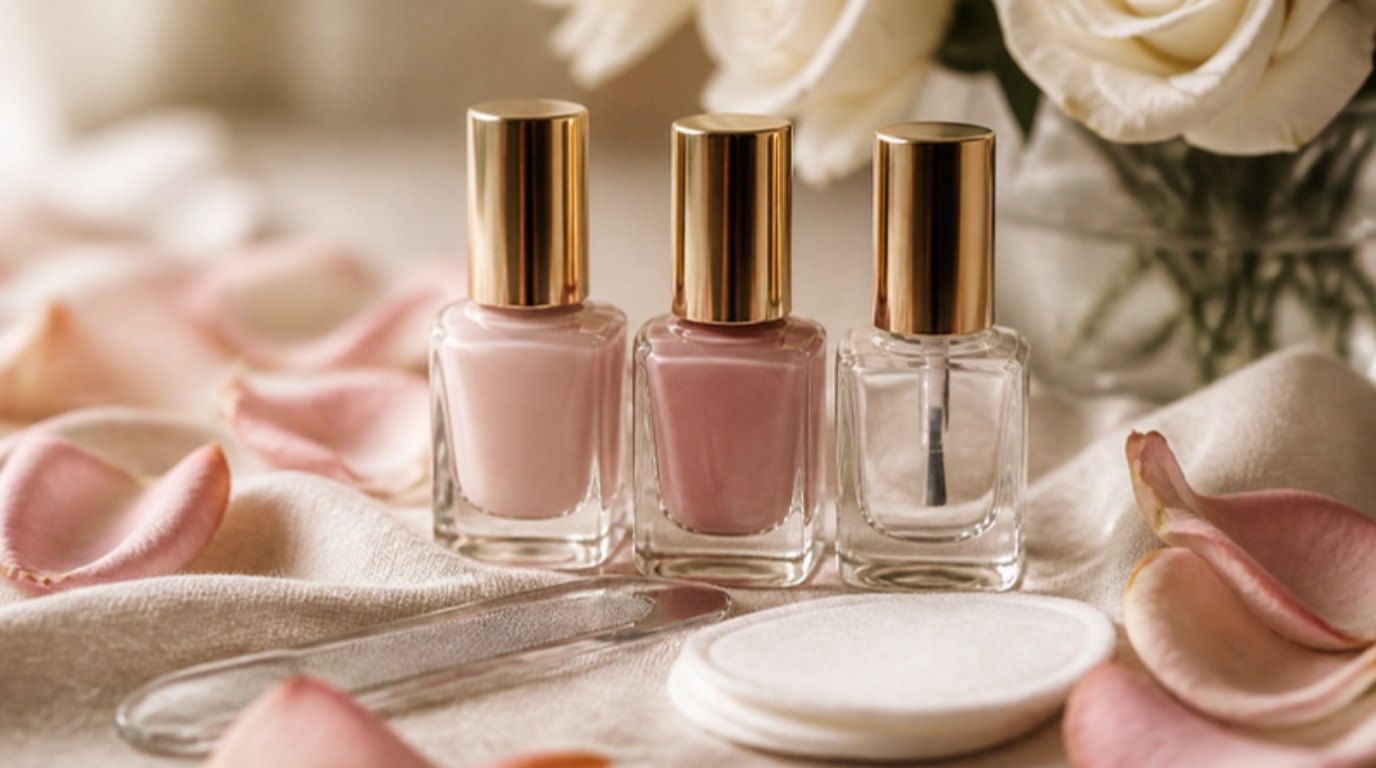
A soft pink nail polish or a sheer nude is especially forgiving here, because sheer shades look polished in thin layers and don't show small unevenness the way a dark color does. If you want a refresher on shaping before you paint, my guide on how to file your nails walks through it gently.
2. Wait 2 Minutes Between Coats
Give each thin layer about 2 minutes before adding the next one. That's enough for the surface solvents to flash off, so the second coat doesn't drag or trap the first one underneath.
An easy rhythm: paint all ten nails with base coat, then start the color on the first hand. By the time you finish the second hand, the first one is ready for its next coat. Waiting longer is fine. Waiting less is what causes wrinkles and soft layers.
3. Finish With a Quick-Dry Top Coat
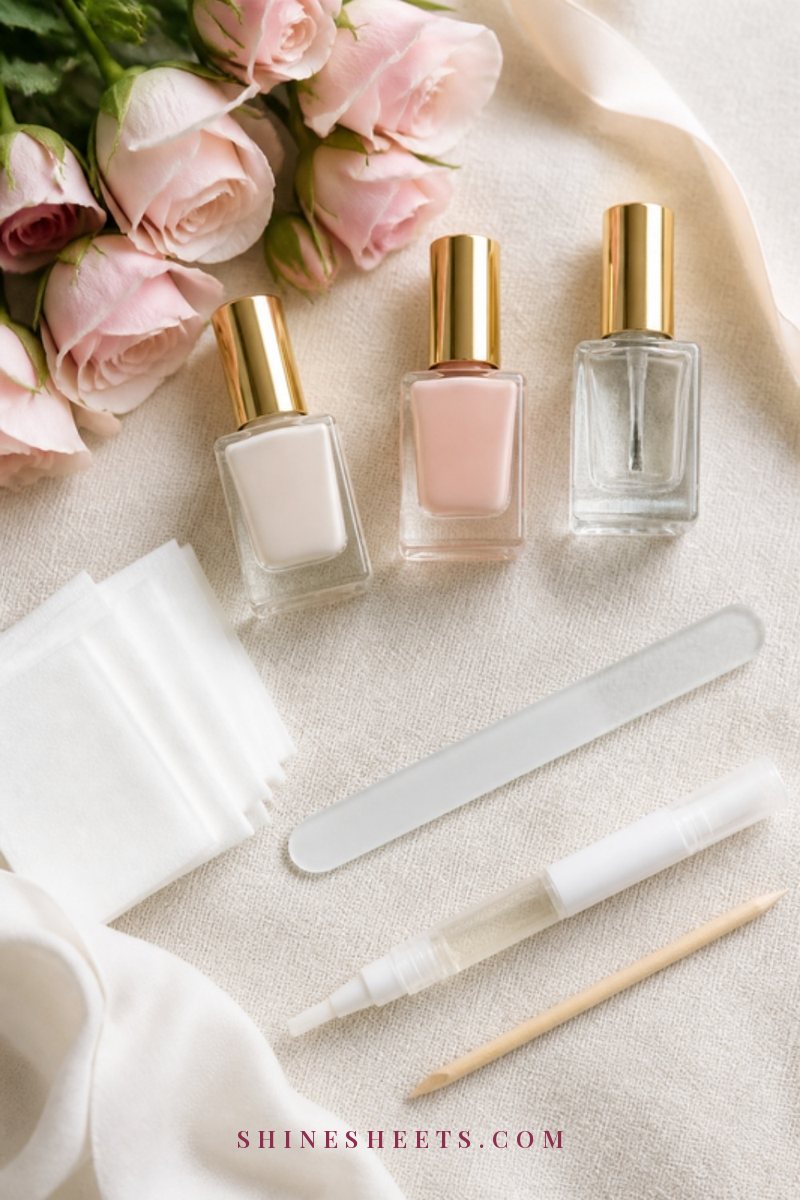
A good top coat is the single biggest speed-up for regular polish. A quick-dry top coat is made to penetrate the layers underneath and help them set together, so the whole manicure hardens faster and feels smooth sooner.
Apply it once the color is surface-dry, with a generous but not flooding bead, and sweep a little across the tip of each nail to seal the edge. Look for a formula described as fast-drying and non-yellowing. Quick-dry top coats can thicken faster than other polishes, so keep the cap tightly closed.
4. Add Nail Drying Drops
Nail drying drops are thin, slippery liquids, usually oil- or silicone-based, that you drip onto each nail once the top coat has had a minute or two. They speed up the surface and, just as usefully, leave a light protective film that helps fabric and fingers slide off instead of denting the polish.
One drop per nail is enough. Let it sit for a minute, and wash your hands gently once your manicure is fully set to remove any slick residue.
5. Use Cool Air, Not Hot
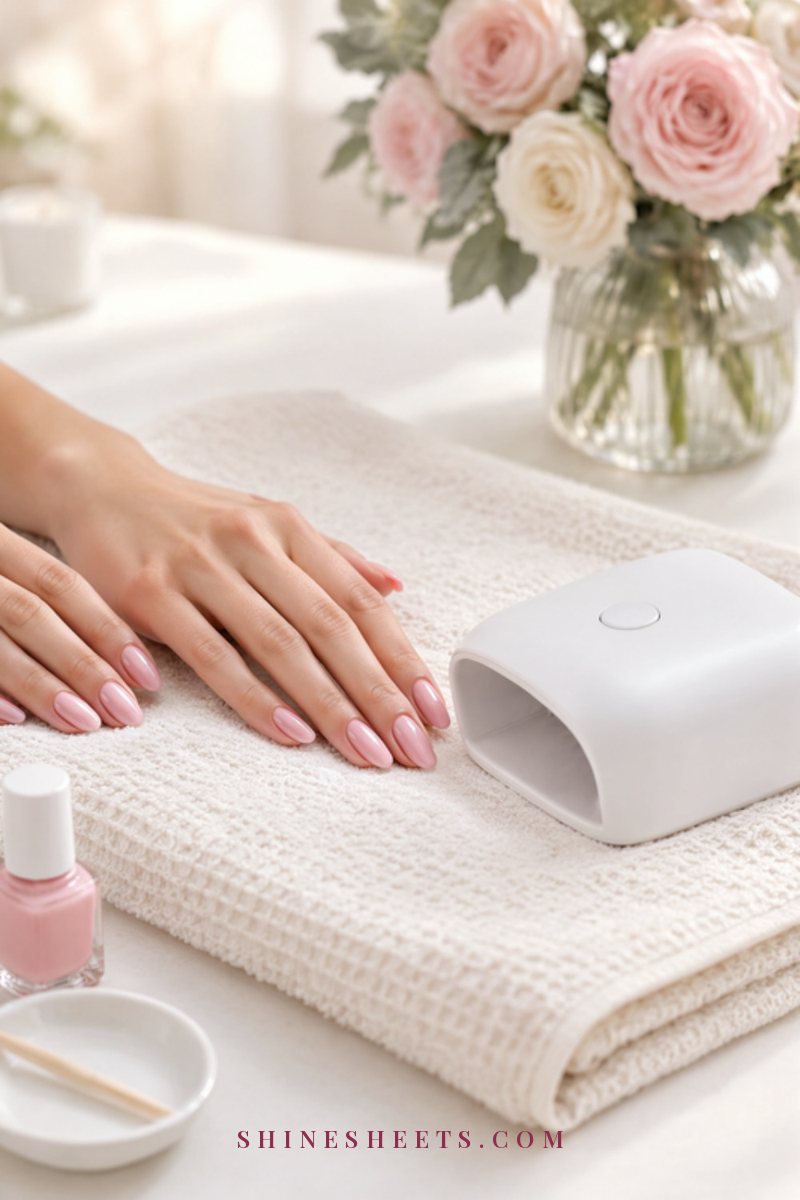
Moving air helps solvents evaporate faster, so a gentle breeze across your nails really does speed things up. The key word is cool. A small cool-air nail fan is a simple pick for this, or sit near an open window on a dry day or in front of a regular fan on its low setting.
Rest your hands flat and still, fingers slightly apart, for about 5 to 10 minutes. Keep the air at a gentle speed, since a strong blast right after painting can ripple a wet surface.
6. Try a Cold Water Dip After a Few Minutes
This one is popular for a reason: cold water can help firm up the surface of the polish. The timing matters, though. Wait about 2 to 3 minutes after your last coat, so the surface has already started to set, then dip your nails into a bowl of cold water (a few ice cubes are fine) for 2 to 3 minutes.
Lift your hands out slowly and let them drip dry, or pat the skin around the nails very gently. Don't touch the nails themselves. If you dip too soon, the water can leave tiny dimples in soft polish, so when in doubt, wait a little longer.
7. Protect the Surface With a Light Layer of Oil
After about 5 minutes, brush or drip a little cuticle oil over each nail and the skin around it. The oil doesn't make polish dry faster on its own, but it creates a slippery layer that protects the surface while it hardens, which means fewer dents and fabric marks. It also softens your cuticles, which makes the whole manicure look finished.
Just don't apply oil before you paint or between coats, because polish won't stick well to an oily surface. My guide on cuticle care has more on keeping that skin soft day to day.
8. Use Fresh Polish, Not Thickened Polish
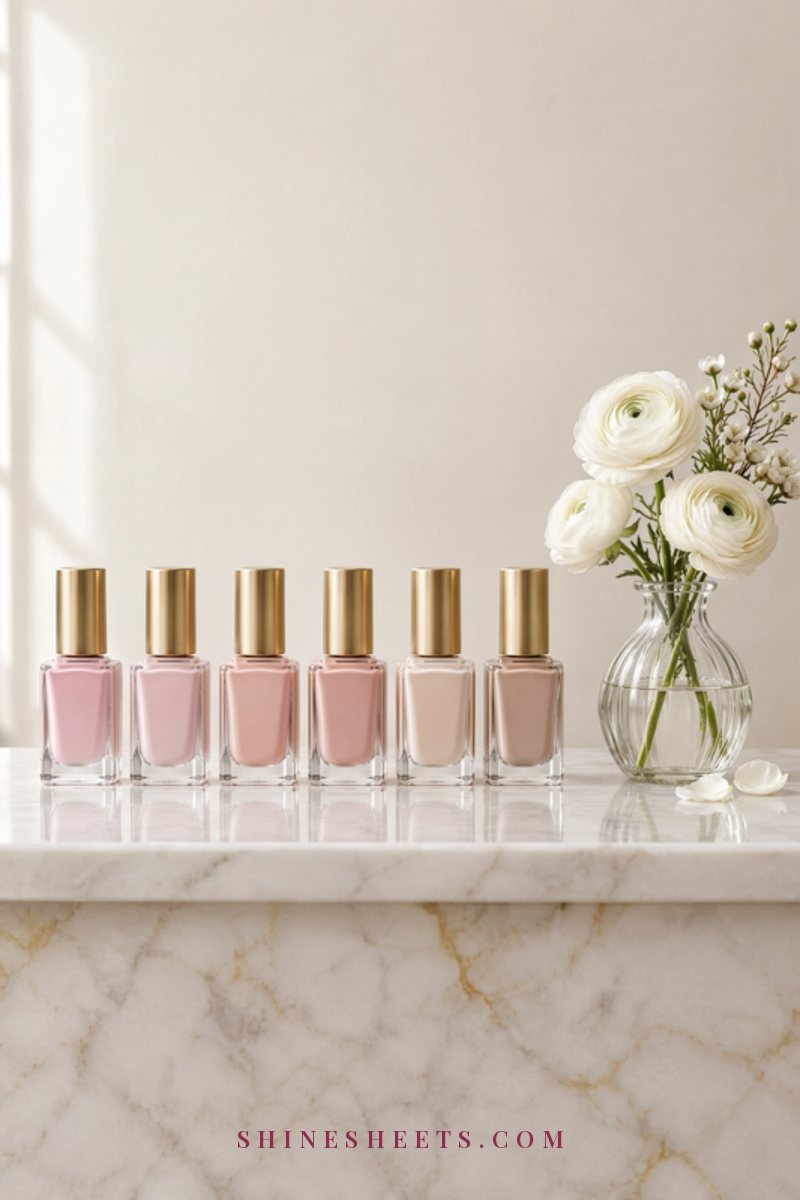
If your polish strings off the brush, looks gloopy or takes ages to dry, the bottle has probably lost some of its solvent. Thick polish goes on in heavier layers, and heavy layers are slow layers.
You can often bring it back with a few drops of nail polish thinner. Add two or three drops, close the cap and roll the bottle between your palms (rolling instead of shaking also keeps air bubbles out). Avoid adding remover or acetone to polish, since it can change the formula and make it dry patchy. If a bottle has separated badly or smells off, it's time to let it go.
To keep polish fresh longer, wipe the bottle neck clean so the cap seals tightly, and store bottles upright somewhere cool and away from sunlight.
A Simple Fast-Dry Manicure Routine, Start to Finish
Here's how the methods fit together in one calm evening. From bare nails to safely surface-dry, it takes about 30 minutes, and most of that is sitting still with a cup of tea.
- Prep (5 minutes). Remove old polish, wash and dry your hands, shape your nails and wipe each one with remover or alcohol so the surface is clean and oil-free. Skip hand cream for now.
- Base coat (2 minutes, then wait 2). One thin layer on all ten nails, sweeping a little across each tip.
- First color coat (3 minutes, then wait 2). Thin, three strokes per nail, a tiny bit streaky is fine.
- Second color coat (3 minutes, then wait 2 to 3). Another thin layer to even everything out.
- Quick-dry top coat (2 minutes). Seal the tips, then rest your hands flat.
- Cool air or a cold dip (5 to 10 minutes). Sit in front of a gentle fan, or wait 2 to 3 minutes and then dip into cold water.
- Drops or oil (1 minute). One drop per nail to protect the surface while the layers underneath keep hardening.
After that, your nails are safe for light tasks. Give them the rest of the hour before anything rough, and they'll stay smooth and glossy.
Nail Polish Drying Methods Compared
Here's how the methods stack up, so you can pick the ones that suit your evening. Time saved is a rough estimate and depends on your polish, the room and how thick your coats are.
| Method | How it works | Time saved | Best for |
|---|---|---|---|
| Thin coats | Less solvent trapped in each layer, so it evaporates faster | Biggest overall difference | Every manicure |
| 2 minutes between coats | Lets each layer flash off before the next one goes on | Prevents soft, slow layers | Two-coat color, sheer shades |
| Quick-dry top coat | Helps the layers underneath set together | Surface-dry in minutes rather than a long wait | Weeknight manicures |
| Drying drops | Speeds up the surface and adds a slippery protective film | A few minutes, plus fewer dents | Painting right before bed or going out |
| Cool air | Moving air carries solvent away from the nail | A few minutes | Humid days, slow-drying shades |
| Cold water dip | Cold firms the outer layer of polish | A few minutes | When you need to use your hands soon |
| Light layer of oil | Cushions the surface while it hardens | Mostly protection, not speed | Avoiding dents and fabric marks |
| Fresh polish | Goes on thinner and dries more evenly | Noticeable with old, thick bottles | Bottles that feel gloopy |
My favorite combination for a busy evening is simple: thin coats, a quick-dry top coat and a few minutes of cool air. Add drops or oil if you're painting close to bedtime.
Myth-Check: The Hairdryer and the Freezer
The hot hairdryer. Heat feels like it should help, but warm air can soften polish, cause tiny bubbles and leave a cloudy or wrinkled surface. It's also uncomfortable on skin. If you want to use a hairdryer, switch it to the cool setting, hold it well back and keep the speed low.
The freezer. Sticking your hands in the freezer is mostly still, cold air. Without any movement, it doesn't carry solvents away the way a fan does, and it's an awkward way to spend ten minutes. A bowl of cold water, timed correctly, is a better option if you like the cold method.
Blowing on your nails. Gentle blowing moves a little air, but your breath is warm and damp, so the effect is small. A fan or an open window does the same job better.
How To Avoid Smudges and Dents

Faster drying helps, but the first hour is still when most damage happens. A little planning protects all that careful work.
- Plan your timing. Paint when you won't need your hands for the next 30 minutes or so. Use the bathroom, get your tea, find the remote and put your phone where you can reach it without digging in a bag first.
- Do toes and hands separately. Painting toes after fingers is the fastest route to a smudged thumb. Do your toes first and let them set, or save them for another evening.
- Avoid these for the first hour: hot showers and baths, washing dishes, digging in bags or pockets, tying shoelaces, doing up buttons and zips, and putting on tights.
- Be careful with fabric. Knits, towels and bedding leave texture prints in soft polish. Rest your hands on a smooth surface while you wait.
- Sleeping on fresh polish. Try to finish painting at least 2 hours before bed. Add drying drops or a layer of oil before you sleep, keep your hands outside the covers if you can, and remember that a smooth pillowcase is kinder than a textured one.
For a polish that also stays chip-free all week once it's dry, my guide on how to make nail polish last longer picks up right where this one ends.
How To Fix a Small Smudge in Two Minutes
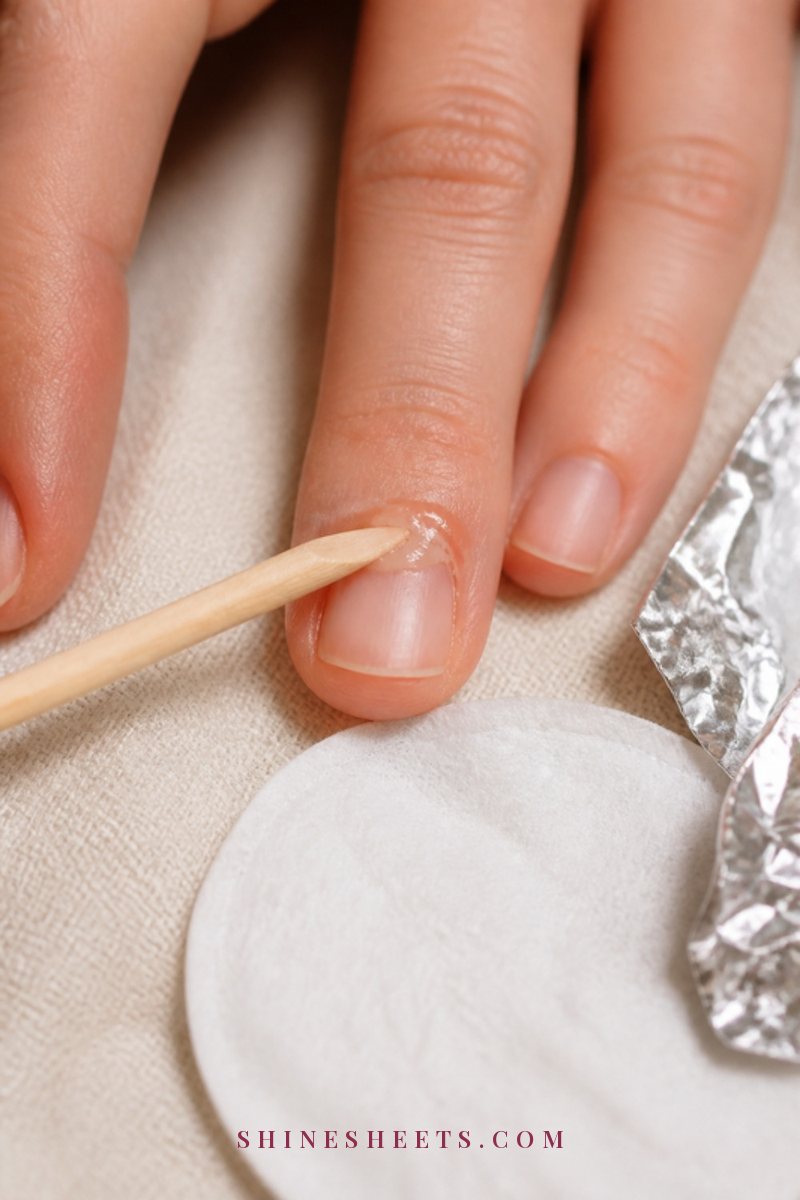
A small smudge doesn't mean starting over. Wait until the polish is tacky rather than wet, then choose the fix that matches the damage:
- A light smudge or fingerprint: lightly dampen your fingertip with a tiny bit of polish remover and gently pat the area to smooth it. Let it dry for a minute, then add one thin layer of color over that nail and finish with top coat.
- A dent: brush a thin coat of color straight over the dent, which softens the area and lets it level out. Wait 2 minutes, then seal with top coat.
- Polish on the skin: dip a small flat brush or a pointed cotton swab in remover and trace around the nail edge once the polish is surface-dry.
- A deep smear across the nail: remove polish from that one nail, then repaint it with thin coats. It's faster than trying to rescue it.
Keeping a small cleanup brush and remover on your manicure tray makes these fixes quick. If you want the full step-by-step for a tidy routine from start to finish, my at-home manicure guide has it all in one place.
A Quick Word on Ventilation and Safety
Nail polish, top coats, thinners and removers all release strong fumes, and they're flammable. Paint in a well-ventilated room, ideally with a window open, and keep bottles away from candles, open flames and heat. Close every cap tightly when you're done, and store everything out of reach of children and pets.
If your skin around the nails gets red, itchy or irritated after a new product, stop using it and talk to a doctor or dermatologist. Some people are sensitive to certain polish ingredients, and that's worth checking rather than pushing through.
Final Thoughts
Faster-drying polish mostly comes down to thin coats, a little patience between layers and a good top coat to finish. Add cool air, drops or a touch of oil when you need extra help, and plan the first hour so your hands can rest.
Once you know the difference between surface-dry and fully set, painting your nails stops feeling like a race. It becomes a calm little ritual, and the smooth, glossy result is your reward.