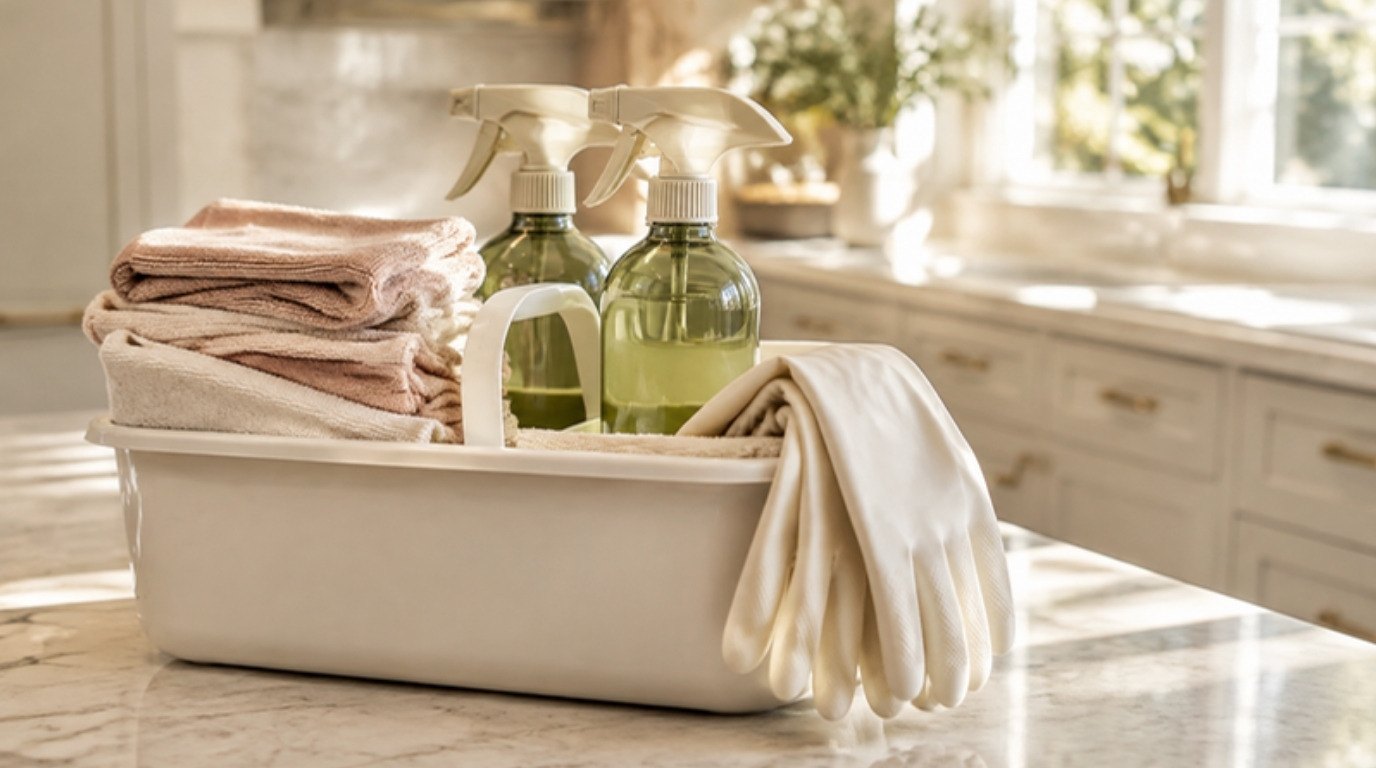
A great move-out clean isn’t about scrubbing harder than usual. It’s about cleaning in the right order, in the places an inspector actually looks, and giving yourself enough days that it never turns into a late-night panic with an old toothbrush and a bucket of regret.
This is a calm, room-by-room guide to move-out cleaning: a one-week timeline, a simple supply kit, exactly what to do in the kitchen, bathroom, bedrooms and living areas, the 10 often-missed spots that cost people their deposit, and a table showing how long each room takes and what landlords often check.
It took me a couple of moves to learn that deposits are rarely lost in the big, obvious places. They’re lost in the little corners nobody thinks about until a stranger with a clipboard opens the oven door. The good news: those corners are quick once you know where they are.
Why a Thorough Move-Out Clean Matters

There are three good reasons to do this properly, and only one of them is money.
- Your deposit. Most leases say the home should be returned in the same condition you received it, minus normal wear and tear. Grease, limescale, sticky shelves and dusty vents usually aren’t “wear and tear” – they’re cleaning, and a landlord can charge for it.
- The inspection. A walk-through goes much more smoothly when there is nothing to point at. You’ll feel calmer, the conversation stays friendly, and you leave with a clear conscience.
- Kindness to the next person. Someone is going to carry their boxes into this space and want to feel at home on their first night. Leaving it fresh is a small, lovely thing to do for a stranger.
Before you start, dig out your lease and any move-in report or photos you took when you arrived. They tell you what “the same condition” actually means for your place – and whether your lease asks for anything extra, like professional carpet cleaning.
Your One-Week Move-Out Cleaning Timeline
Cleaning a full home in one day while also moving furniture is exhausting. Spreading it over a week means each day holds one or two calm jobs instead of everything at once.
Seven Days Before
- Read the lease cleaning clause and look over your move-in photos (15 minutes).
- Gather your supplies so nothing sends you to the store mid-scrub.
- Take “before” photos of every room, including any damage that was already there.
- Start eating down the fridge and freezer so they’re nearly empty by cleaning day.
- Book carpet cleaning now if your lease requires it – good companies fill up fast.
Four to Five Days Before
Clean as you pack. Every time you empty a closet, a cabinet or a bookshelf, wipe it before you close the box. Rooms you’ve already packed (a guest room, a hallway closet) can get their walls, light fixtures and windows done now, while you still have energy.
Two Days Before
This is oven and freezer day. Apply your oven cleaner or paste in the evening so it can work overnight, and unplug the freezer to defrost (more on both below). Wash curtains or blinds if they’re staying with the home.
Moving Day and the Day After
Once the furniture is out, every room becomes easy to clean. Do bathrooms and the kitchen first, then bedrooms and living areas, and finish with the floors, walking backward toward the front door. Take your “after” photos last, when the light is good.
Your Move-Out Supply Kit
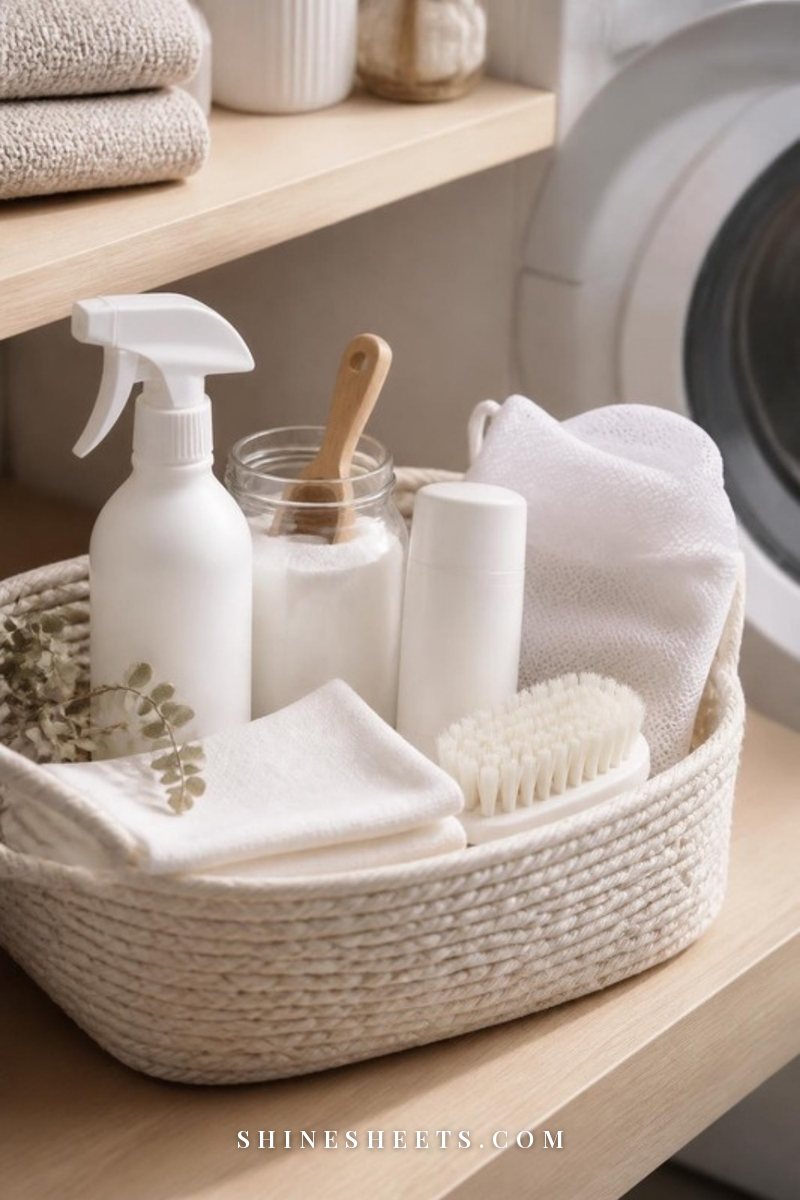
You don’t need a cupboard full of specialty products. A small, well-chosen kit covers almost everything, and keeping it all together in one carrier saves a surprising amount of walking back and forth.
- A carrier for everything. A white cleaning caddy with a handle keeps sprays, cloths and brushes together so you can move from room to room in one trip.
- Cloths, lots of them. A set of soft microfiber cleaning cloths (at least 12) lets you use a fresh one for each room and a dry one for buffing. Wash them on warm without fabric softener so they keep grabbing dust.
- Refillable sprays. Two or three glass spray bottles for a dish-soap solution, a vinegar-and-water mix for glass and limescale, and plain water for rinsing. Label them with a piece of tape so you never mix them up.
- Gloves. A pair of long rubber cleaning gloves protects your hands from oven cleaner and hot water – look for ones with a cuffed edge so drips don’t run down your arm.
- Reach. An extendable microfiber duster handles ceiling corners, tops of cabinets and light fixtures without a wobbly chair.
- Scrubbers. A small grout brush set, a non-scratch sponge and an old toothbrush for tracks and corners.
- For scuffs. A few melamine eraser sponges for marks on walls, door frames and light switches (test first – more on that below).
- Basics: dish soap, white vinegar, baking soda, an all-purpose cleaner, a toilet cleaner, trash bags, paper towels, a vacuum with a crevice tool and a mop.
The Golden Rules: Top to Bottom, Empty Rooms First
Two rules make everything faster. First, clean top to bottom: ceiling corners, then light fixtures, then walls, then surfaces, then baseboards, then floors. Dust and drips fall down, so working upward means cleaning the same spot twice.
Second, clean empty rooms first. A room without furniture takes about half the time, because you’re not lifting, moving and working around things. If you’re moving out in stages, clean each room the moment it’s empty and close the door behind you so it stays done.
One small extra: open a window in every room you clean. Fresh air helps with fumes, helps floors dry, and honestly makes the whole job feel lighter.
Kitchen: The Room That Takes Longest
Kitchens hold grease in places you can’t see from standing height, which is exactly why landlords check them first. Give yourself three to five hours here, and start with the jobs that need soaking time so they work while you do the rest. If your kitchen hasn’t had a real scrub in a while, my guide on how to deep clean your kitchen goes deeper on every surface.
Inside the Oven
The oven is the single most-checked appliance at move-out. Remove the racks and soak them in the bathtub in hot water with a few squirts of dish soap (lay an old towel down first to protect the tub). For the oven itself, either follow the label on a commercial oven cleaner exactly – gloves on, window open – or spread a thick paste of baking soda and water over the cool interior, avoiding the heating elements, and leave it overnight.
Next day, wipe the paste away with a damp cloth, spritz any white residue with vinegar (it will fizz), and wipe again. Don’t forget the inside of the door glass and the rubber seal. For stubborn burnt-on spots, the step-by-step method in how to clean your oven walks you through it without harsh scrubbing. If your oven has a self-clean cycle, check the manual first and stay home while it runs.
The Fridge and Freezer
Unplug the freezer (or the whole fridge, if it’s yours to empty) and let it defrost for two to four hours with towels on the floor. Take out shelves and drawers and wash them in warm soapy water – let cold glass shelves reach room temperature first so they don’t crack. Wipe the inside with warm water and a little dish soap, then dry thoroughly and leave the door propped open so it doesn’t smell musty.
If you can, pull the fridge forward and vacuum the floor and the coils behind it. That patch of floor is one of the most surprising things people find on inspection day.
Cabinets, Drawers and the Range Hood
Empty every cabinet and drawer, vacuum out crumbs, then wipe inside, outside, the edges and the handles with a soapy cloth. Sticky cabinet fronts near the stove often need a second pass. Use your duster or a damp cloth on the tops of upper cabinets – that is where grease and dust mix into a fuzzy layer.
For the range hood, pop out the metal filter and soak it in very hot water with dish soap and a spoonful of baking soda for 15 to 20 minutes, then scrub gently with a soft brush and rinse. Wipe the underside of the hood while it soaks.
Sink, Counters and Backsplash
Scrub the sink with a non-scratch sponge and a little baking soda, paying attention to the drain ring and the area behind the tap. Wipe counters and backsplash with your soap solution, then buff dry. Run the dishwasher empty on a hot cycle, and before that, pull out and rinse the filter at the bottom – it’s a small job that makes a big difference to the smell.
Bathroom: Where Inspectors Look Closely
Bathrooms show neglect quickly, so this is where you want to be thorough. Plan on 90 minutes to three hours, depending on how much limescale you’re dealing with. Ventilate well, wear gloves, and start with anything that needs to soak.
Limescale on Taps and Shower Glass
Soak paper towels in white vinegar and wrap them around taps and showerheads, or tie a small bag of vinegar around the showerhead with a rubber band. Leave it for 30 to 60 minutes, then scrub with an old toothbrush and rinse. For shower glass, spray a vinegar-and-water mix (half and half), leave it for 10 to 15 minutes, wipe, rinse and buff dry. Skip vinegar on natural stone like marble or travertine – it can etch the surface. If the spots are stubborn, my guide to removing hard water stains has gentle options for every surface.
Grout and Tile
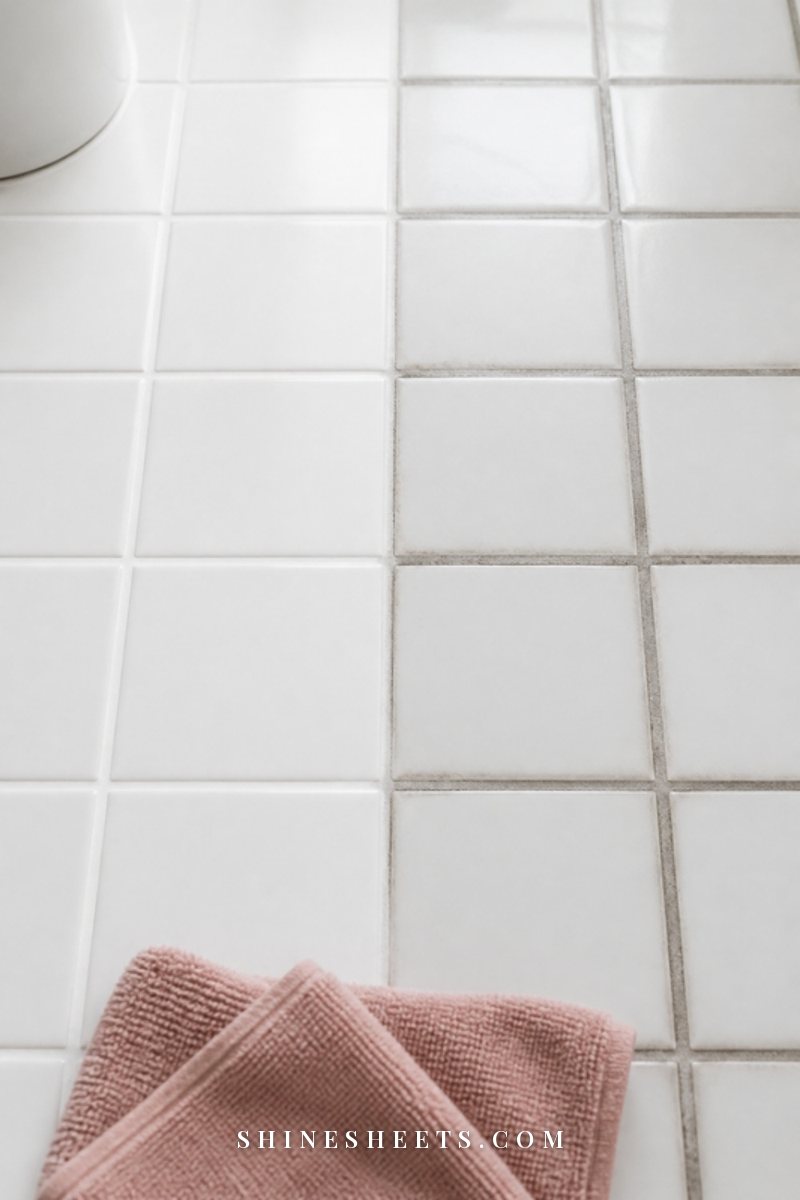
Make a paste of oxygen bleach powder and warm water (follow the label ratio), brush it onto the grout lines, leave it for 10 to 15 minutes, then scrub with a grout brush and rinse well. For tiles, your all-purpose cleaner and a microfiber cloth are usually enough. Look for dark spots in the corners of the shower and along the bottom edge of the tub – that’s where mildew likes to hide.
If a silicone seal is stained deep inside, it may not come clean, and that’s often considered wear rather than dirt. Mention it during the walk-through instead of scrubbing it to shreds.
The Toilet, Including the Base
Squeeze toilet cleaner under the rim and let it sit for 10 minutes while you clean the outside. Wipe from the top down: the tank lid, the handle, the seat (both sides), the hinges, the outside of the bowl, and then the base and the floor around it. Pop off the little bolt caps at the base and wipe under them – it’s the spot nobody remembers. Brush the bowl last and flush.
Mirror, Vanity and Cabinets
Clean the mirror with a vinegar spray and a dry microfiber cloth, wiping in an S-shape from top to bottom so you don’t leave streaks. Empty the vanity and medicine cabinet completely, wipe the shelves, and check for old toothpaste dots on the sink edge and dried product rings on shelves. Run hot water down the drain and pull out any hair from the stopper.
Bedrooms and Living Areas
These rooms are usually the quickest – one to two hours each once they’re empty – but they’re where small marks and dust lines suddenly become obvious without furniture to hide them.
Walls and Scuffs
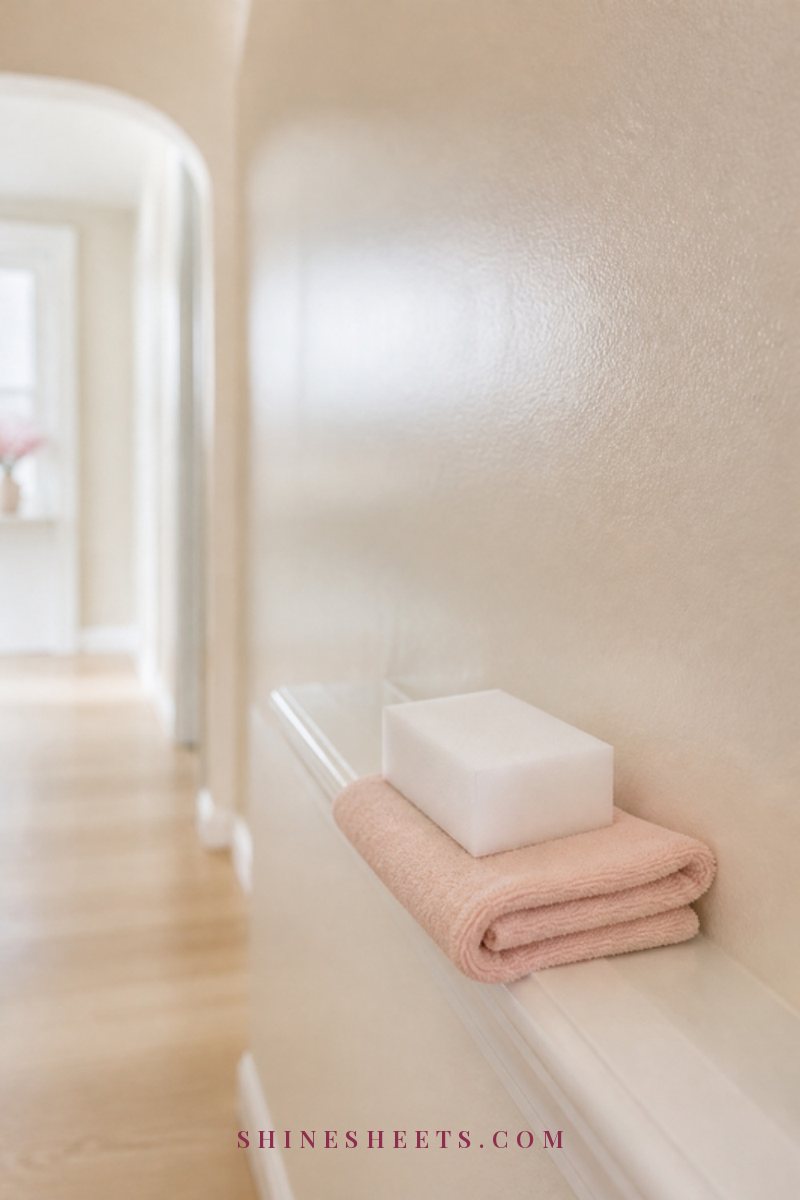
Dust the walls first with your extendable duster, then go after marks. A slightly damp melamine sponge takes off most scuffs, but test it in a hidden spot first: on flat or matte paint it can leave a shiny patch. Use light pressure and small circles. For greasy fingerprints around light switches, a drop of dish soap in warm water works well. My full guide on how to clean walls covers every type of paint and wallpaper.
Nail holes are a gray area. Some leases want small holes filled with spackle, others prefer you leave them alone. Check your lease or ask your landlord before patching – a badly matched touch-up can look worse than a tiny hole.
Baseboards and Door Frames
Vacuum along baseboards with a brush attachment first, then wipe them with a damp microfiber cloth and a little soap solution, and dry. Sitting on a cushion or a folded towel makes this much kinder to your knees. Wipe door frames, the edges of doors and the tops of doors while you’re at it. If your baseboards are scuffed or sticky, here’s how to clean baseboards quickly without crawling around for hours.
Windows, Sills and Tracks
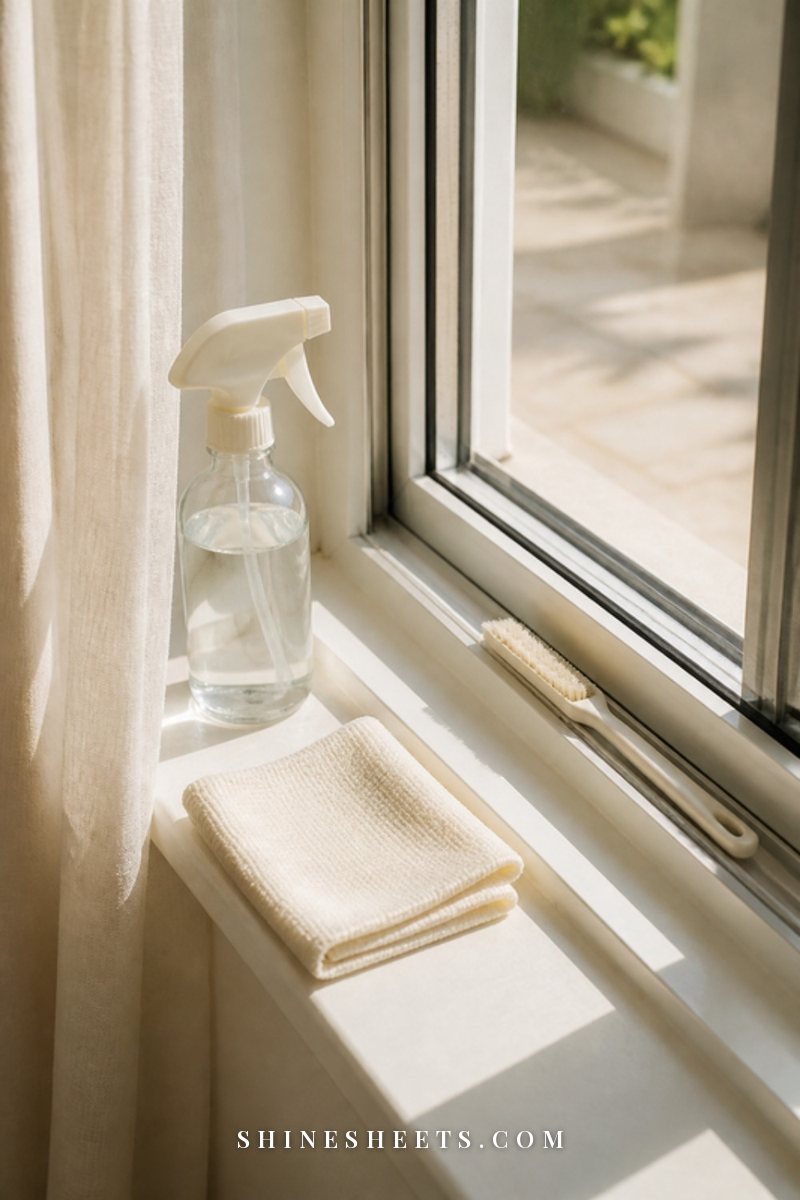
Vacuum window tracks with a crevice tool, then spray them with soapy water, wait five minutes, and scrub with an old toothbrush. Wrap a cloth around a butter knife to reach the narrow corners, then wipe dry. Wash the glass inside (and outside, if you can reach safely from the ground) with your vinegar spray and a dry cloth. Wipe the sills and, if blinds are staying, dust each slat or give them a gentle wash in the tub.
Light Fixtures and Ceiling Fans
Turn off the light and let the bulbs cool completely before you touch anything. Remove glass shades and wash them in warm soapy water, then dry them fully before putting them back. For ceiling fans, slip an old pillowcase over each blade and pull it back toward you – the dust stays inside the case instead of falling on your clean floor. Replace any bulbs that have burned out; many leases expect working lights.
Floors, Last of All
Vacuum every floor slowly, including the edges and corners with a crevice tool. For hard floors, mop with a well-wrung-out mop and a cleaner made for your floor type – hardwood and laminate need just barely damp, never wet. Start at the farthest corner of each room and work back toward the door so you don’t walk on the wet floor.
10 Often-Missed Spots Landlords Notice
These are small, quick and almost always forgotten. Give them one focused round at the very end, and you’ll be ahead of most people.
- Light switches and outlet covers. Spray your cloth (never the switch itself) with soapy water and wipe around the plates; my guide on cleaning light switches and doorknobs has the safe way to do it.
- Tops of doors and door frames. Run a damp cloth along the top edge – it’s usually gray.
- Air vents and return grilles. Vacuum with a brush attachment, then wipe the slats with a damp cloth.
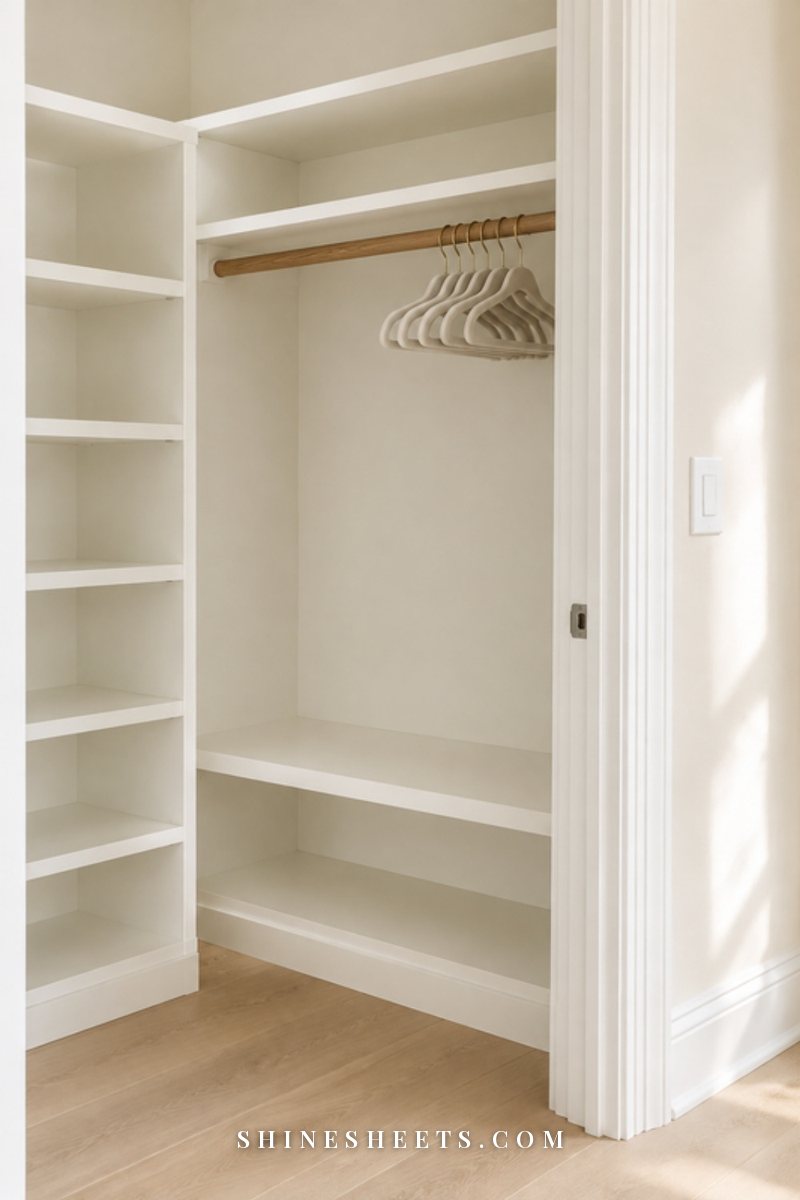
- Inside closets. Shelves, the rod, the corners of the floor and the inside of the closet door.
- Window tracks. Crumbs, dead bugs and dust settle here and inspectors do look.
- Behind and under appliances. The floor behind the fridge and the gap beside the stove.
- Tops of kitchen cabinets. A greasy dust layer that only shows from a ladder (or a tall landlord).
- The dishwasher filter and door seal. Rinse the filter and wipe the rubber edge.
- The toilet base and bolt caps. Pop off the caps, wipe under them, and clean the floor around the base.
- Ceiling corners. One sweep with an extendable duster takes away cobwebs you stopped seeing months ago.
Room-by-Room Time and Inspection Table
Use this to plan your days honestly. Times are for an empty, normally lived-in home cleaned by one person; add extra time if you’re dealing with heavy grease or limescale, and take some off if you’ve kept up with regular cleaning. Screenshot it for your moving week.
| Room | Main tasks | Time needed | Landlord often checks |
|---|---|---|---|
| Kitchen | Oven, fridge and freezer, cabinets inside and out, range hood filter, sink, dishwasher filter | 3–5 hours | Inside the oven, fridge shelves, greasy cabinet fronts |
| Bathroom | Limescale, grout, toilet including base, shower glass, vanity, drain | 1.5–3 hours | Toilet base, grout, water spots on taps and glass |
| Bedrooms | Walls, closets, baseboards, windows and tracks, light fixtures, floors | 1–2 hours each | Scuffs, closet shelves, window tracks |
| Living areas | Walls, baseboards, vents, light fixtures and fans, windows, floors | 1.5–2.5 hours | Wall marks, dusty vents, carpet stains |
| Entry and hallways | Door frames, light switches, floor edges, tops of doors | 30–60 minutes | Fingerprints on switches and doors |
| Closets and storage | Shelves, rods, floors, inside of doors | 20–40 minutes each | Anything left behind, dust on shelves |
| Balcony or patio | Sweep, wipe railings, remove plant pots and debris | 30–60 minutes | Leftover items, dirt in corners |
| Windows (whole home) | Glass inside and out, sills, tracks, blinds | 1–3 hours | Tracks and sills more than the glass |
For a typical one-bedroom apartment, that adds up to about 9 to 14 hours in total. Spread across the week, it’s two or three hours a day – very doable, especially with a good playlist and a cup of tea on the counter.
Photograph Everything Before You Hand Back the Keys
Your photos are your best friend if anything is questioned later. Once the home is clean and empty, walk through every room in daylight and take wide shots from each corner, then close-ups of the oven interior, the inside of the fridge, the bathroom fixtures, the floors and any pre-existing damage. A short slow video walk-through works well too.
Keep the photos in one folder with the date, alongside your move-in photos and a copy of your lease. If you can, do the final walk-through with your landlord or property manager in person and ask them to note anything they see then and there, rather than days later.
Before you leave, also check: all keys and remotes gathered, every cupboard and drawer empty, trash taken out completely (not left in the bin), windows closed and locked, lights off, and the thermostat set the way your lease asks.
A Quick Safety Note
Moving week is busy and tiring, which is exactly when accidents happen. A few simple rules keep you safe:
- Never mix bleach with ammonia or with vinegar. Both combinations release harmful fumes. Use one product, rinse the surface with water, and only then use another.
- Ventilate. Open windows and run the bathroom fan, especially with oven cleaner and bathroom products.
- Wear gloves for oven cleaner, toilet cleaner and anything with bleach.
- Test first. Try new products and melamine sponges on a hidden spot before using them on a visible surface.
- Power off light fixtures at the switch, and unplug appliances before cleaning inside or behind them.
- Use a steady step stool, not a chair, for high spots – and take breaks. Tired arms make for wobbly reaching.
Final Thoughts
Move-out cleaning feels huge when it’s one big blur, and surprisingly manageable when it’s a handful of small, ordered jobs spread across a week. Start early, work top to bottom, give the oven its overnight soak, and save a quiet half hour for the little spots everyone forgets.
Then take your photos, hand back the keys, and walk out knowing you left the place better than many people do. Your deposit has the best possible chance, and someone you’ll never meet gets a fresh, welcoming first night in their new home. That is a lovely way to close a chapter.