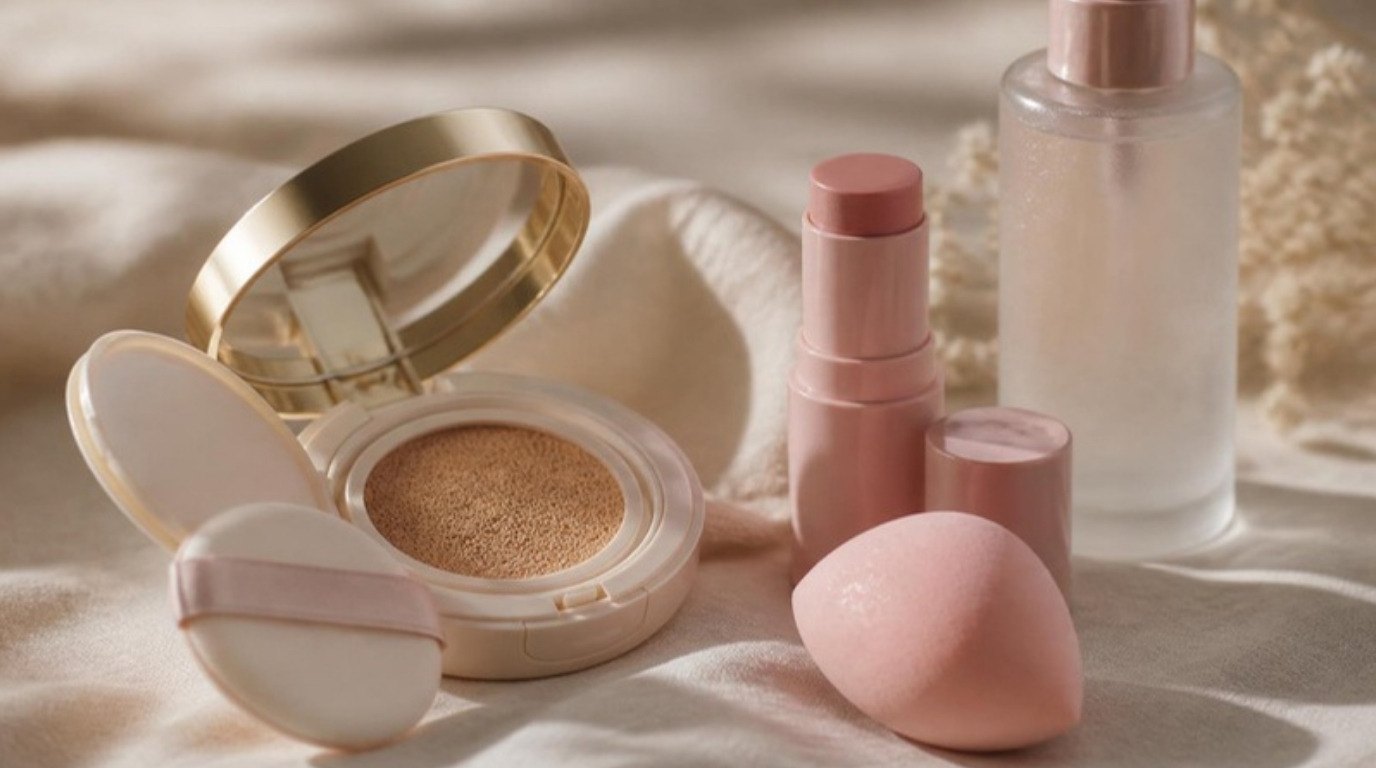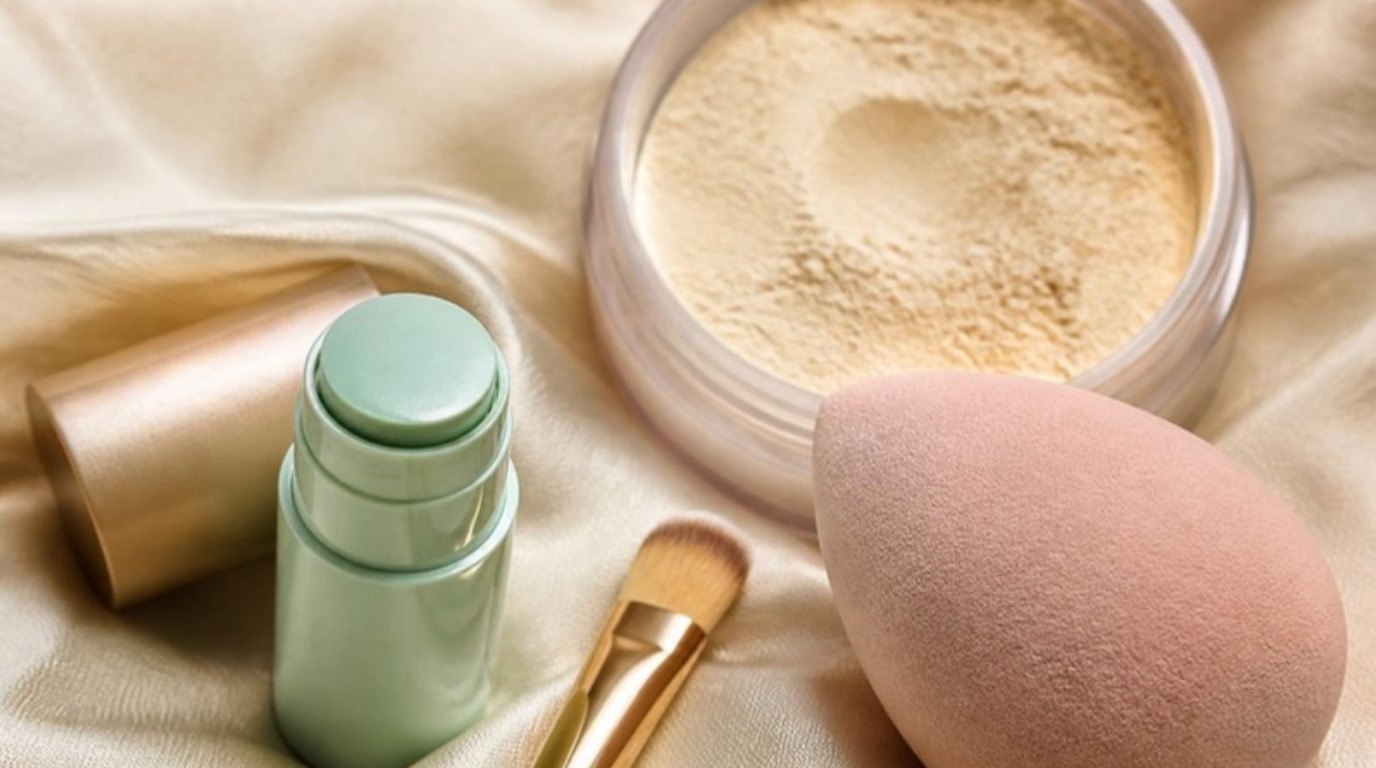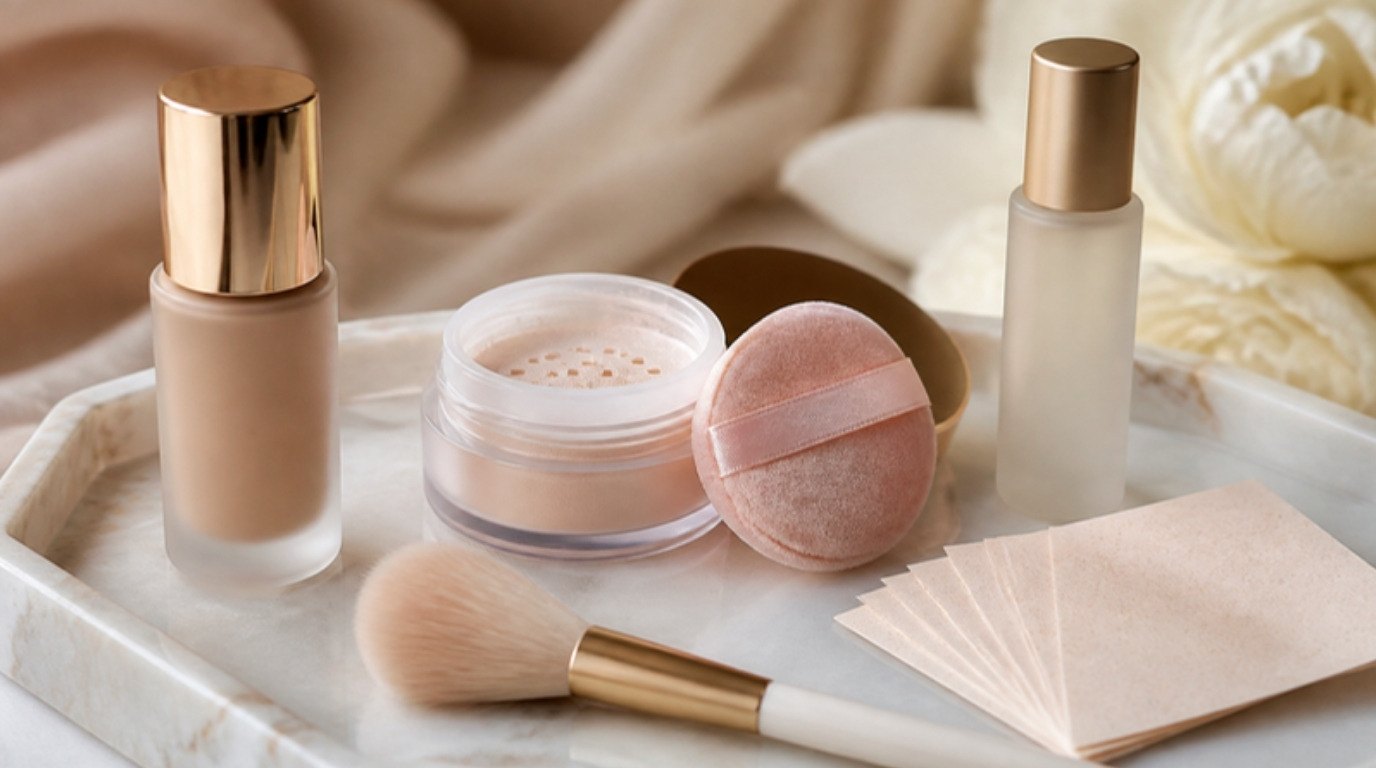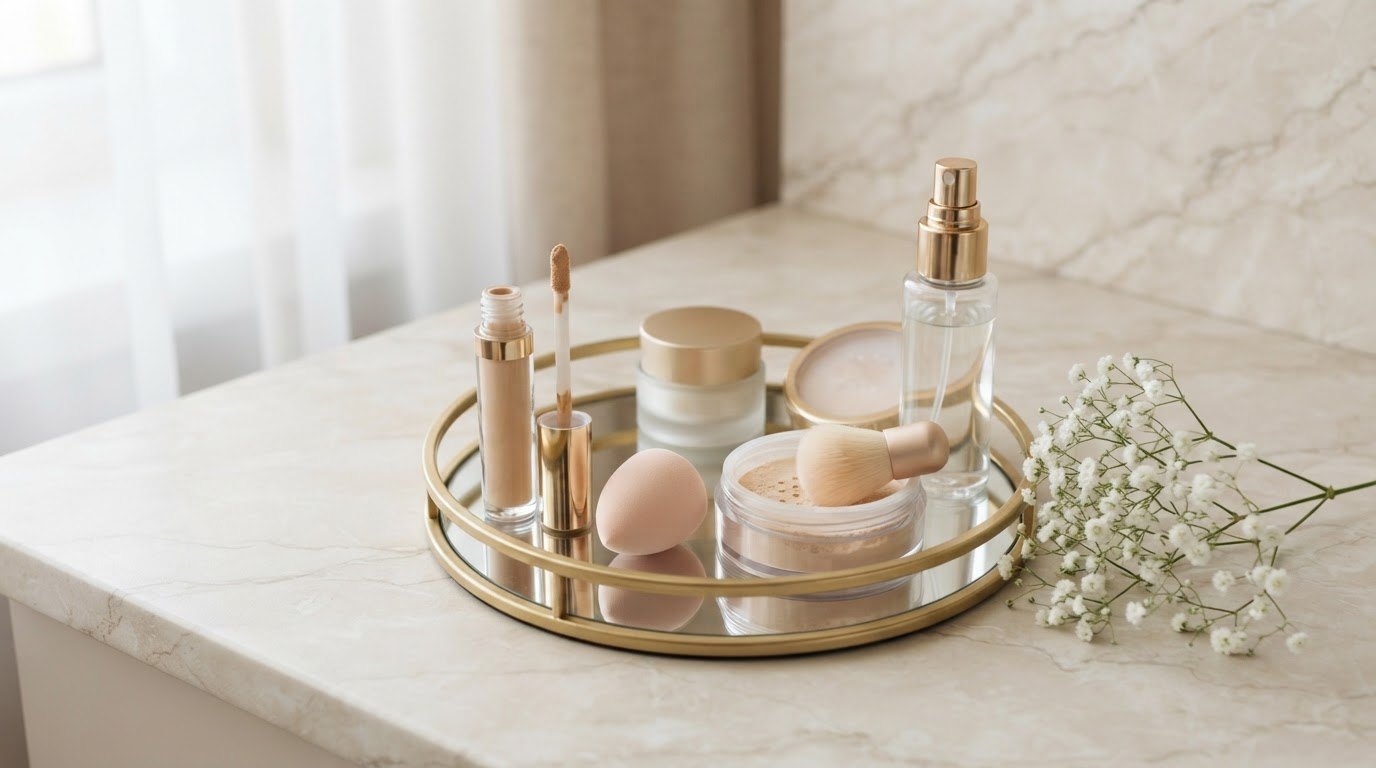
Textured skin doesn't need more coverage. It needs less product, placed more carefully. The thicker and more matte a base is, the more it settles around bumps and into pores, which is exactly what makes texture look more obvious. Thin layers, a satin finish and a pressing motion instead of a swiping one will do more for a smooth look than any full-coverage formula.
It also helps to remember that real skin has texture. Pores, the odd bump, a little scarring and a few dry patches are completely normal, and nobody looks at you as closely as you look at yourself in a magnifying mirror. The aim here isn't to erase your skin. It's to help makeup sit on it softly, so it looks like you on a good day.
This guide covers makeup for textured skin from start to finish: the main texture types and what each one needs, a quick "texture type → base + tool" table, the prep that makes the biggest difference, choosing a base, the stippling technique, concealer and powder placement, where shimmer works (and where it doesn't), plus setting and touch-ups through the day.
Know Your Texture Type
"Texture" is a big umbrella word, and different kinds behave differently under makeup. Most of us have more than one type, often in different areas of the face. I have combination, sensitive skin with a shiny T-zone, which means my nose and chin get visible pores by midday while my cheeks sometimes go a bit flaky in winter. Knowing which is which helps you treat each area on its own terms.
Small Bumps and Closed Comedones
These are the tiny, skin-colored bumps you feel more than see, often on the forehead and chin. They catch light from the side and can make foundation look patchy. Thin, flexible formulas and very little powder are your friends here.
Enlarged or Visible Pores
Usually on the nose, inner cheeks and chin, and often linked to oiliness. Pores look bigger when foundation sinks into them or when oil breaks through the base. A small amount of smoothing primer pressed into these areas helps a lot. My guide on pore care covers the skincare side, so the makeup has less work to do.
Dry Flakes and Rough Patches
Dry texture shows up as tiny flakes that grab onto foundation, especially around the nose, brows and mouth. The fix starts before makeup: gentle exfoliation a day or two ahead, plenty of hydration and a creamy, flexible base.
Scarring and an Uneven Surface
Acne scars, especially indented ones, create shadows rather than color differences. Makeup can soften how they look but can't fill them in fully, and that's okay. The trick is light-reflecting (not shimmery) finishes and very thin layers, because heavy product collects in the dips. If scarring bothers you a lot, a dermatologist can talk you through in-office options.
Texture Type → Base + Tool Table
Here's the quick version to screenshot. Find your main texture type, then match your base finish and tool to it. If you have more than one type, treat each zone separately – it's completely fine to use two different techniques on one face.
| Texture type | Best base finish | Best tool | Skip |
|---|---|---|---|
| Small bumps | Thin, satin, flexible foundation or skin tint | Damp sponge, pressed on | Thick matte foundation, heavy powder |
| Visible pores | Satin or soft-matte, light layer | Fingers to press primer, then dense brush stippled | Shimmer primers, rubbing in circles |
| Dry flakes | Hydrating, satin or natural finish | Damp sponge or fingers (warmth helps) | Mattifying primers, setting powder all over |
| Scarring | Light-reflecting satin, thin coverage built only where needed | Small dense brush or damp sponge tip | Glittery highlighter, thick layers |
| Oily texture in the T-zone | Soft-matte or satin, oil-control primer in T-zone only | Damp sponge, then tiny powder puff | Very dewy foundations on the nose and chin |
Prep: The Days Before
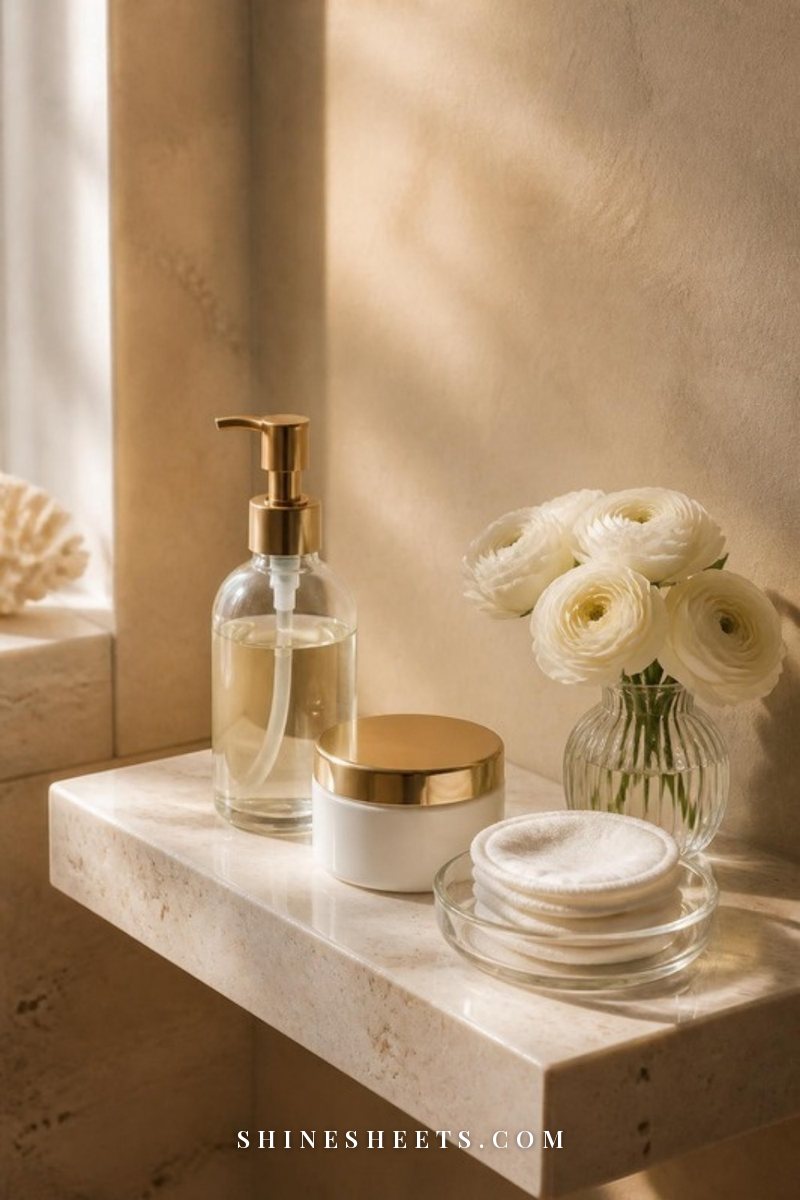
The smoothest makeup looks start with skincare, not with the first swipe of primer. Two or three days before an event (or simply as a weekly habit), focus on these:
- Gentle exfoliation, not scrubbing: A mild leave-on exfoliant one or two evenings a week softens flakes and small bumps. Avoid harsh grainy scrubs, which can irritate and make texture look redder. My guide on textured skin explains how to choose gently.
- Don't exfoliate the night before an event: If your skin is sensitive like mine, fresh exfoliation can leave it slightly pink and tender. Give it at least a day to settle.
- Hydrate consistently: A good moisturizer every morning and evening plumps the surface and makes fine dry lines less visible.
- Patch test anything new: New exfoliants, primers and foundations can all irritate. Try them on a small area of the jaw for a few days first.
Prep: The Morning Of
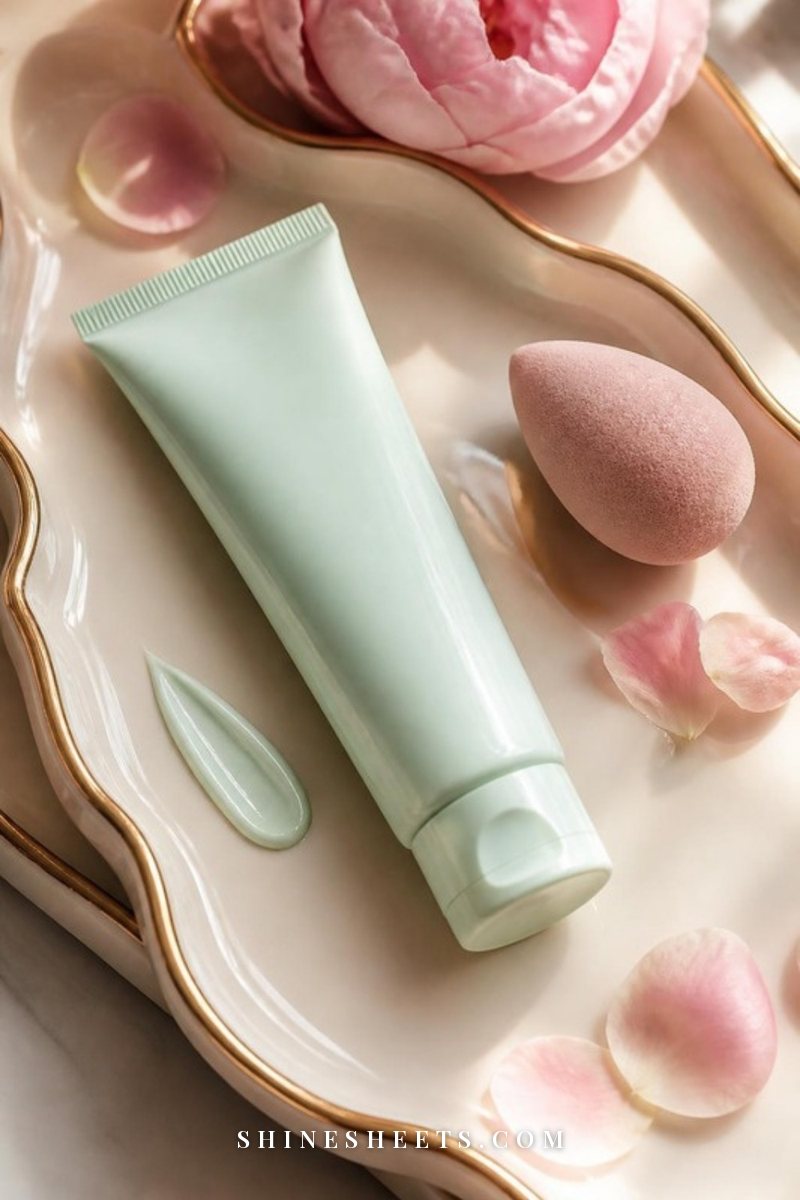
Morning prep is where a lot of texture problems are either solved or created. Here's the order that works best:
- Cleanse gently: Lukewarm water and a mild cleanser. Hot water and stripping cleansers make dry flakes worse.
- Hydrate: A light hydrating serum or moisturizer. Let it sink in for 3–5 minutes – this wait is the step everyone skips, and it's the reason foundation pills.
- Sunscreen: Apply your usual SPF and give it another couple of minutes to set.
- Primer only where needed: Press a tiny amount of a pore-filling primer into the T-zone, the inner cheeks or wherever pores and bumps show most. Press and pat with your fingertip; rubbing pushes it out of the pores you're trying to blur. Skip it on dry areas.
A rice-grain amount of primer per zone is enough. More doesn't blur more – it just gives foundation a slippery layer to slide around on.
Choosing the Right Base
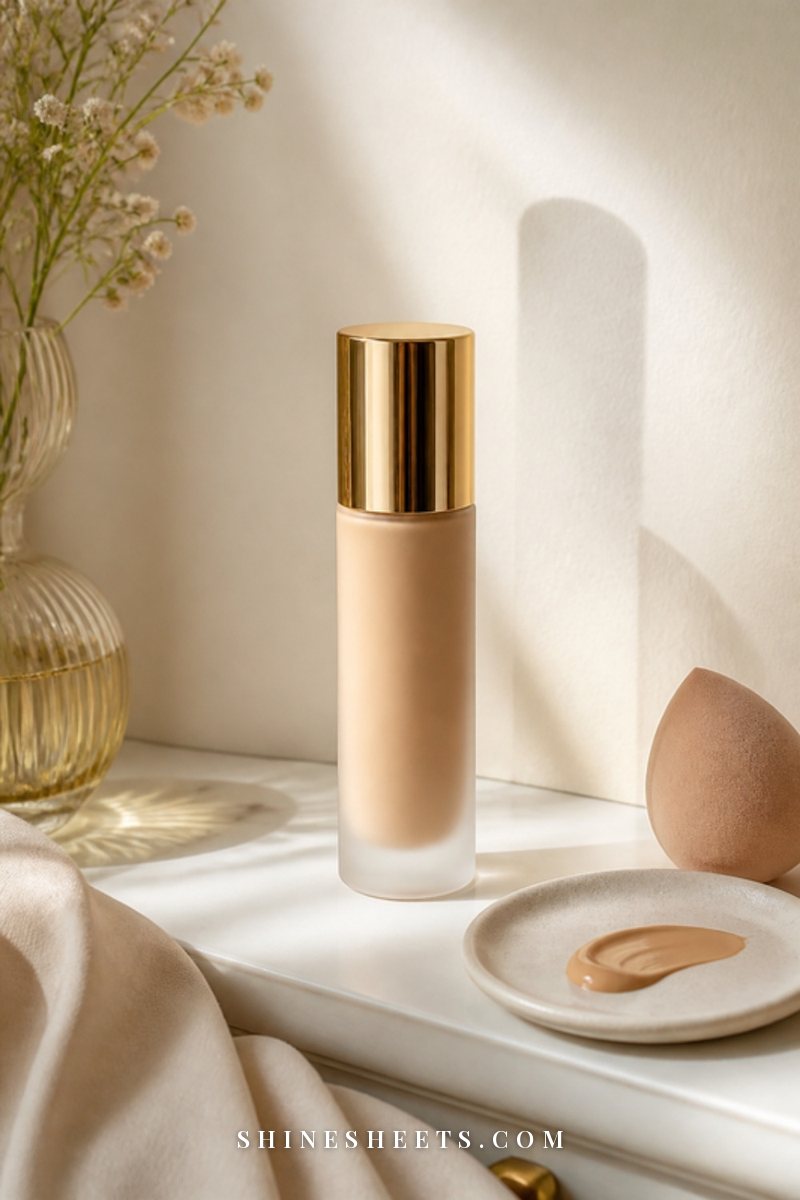
The finish of your foundation matters more than its coverage. Here's what to look for:
- Thin and flexible: A lightweight liquid foundation or a buildable skin tint moves with your skin rather than sitting on top of it.
- Satin finish: Satin sits between matte and dewy. It reflects a little light, which softens texture, without the shine that highlights every bump.
- Avoid very heavy matte: Thick matte foundations settle into pores and around bumps and can make dry patches look cracked by lunchtime.
- Avoid very dewy or shimmery bases: Visible shimmer catches the edges of every bump. A natural radiance is lovely; actual sparkle isn't, at least on textured zones.
- Medium coverage, built only where needed: Apply a light layer all over and add more just where you need it, instead of full coverage everywhere.
If your skin gets shiny, my guide to makeup for oily skin goes deeper into long-wear formulas and oil control for the T-zone.
How To Apply Foundation on Textured Skin
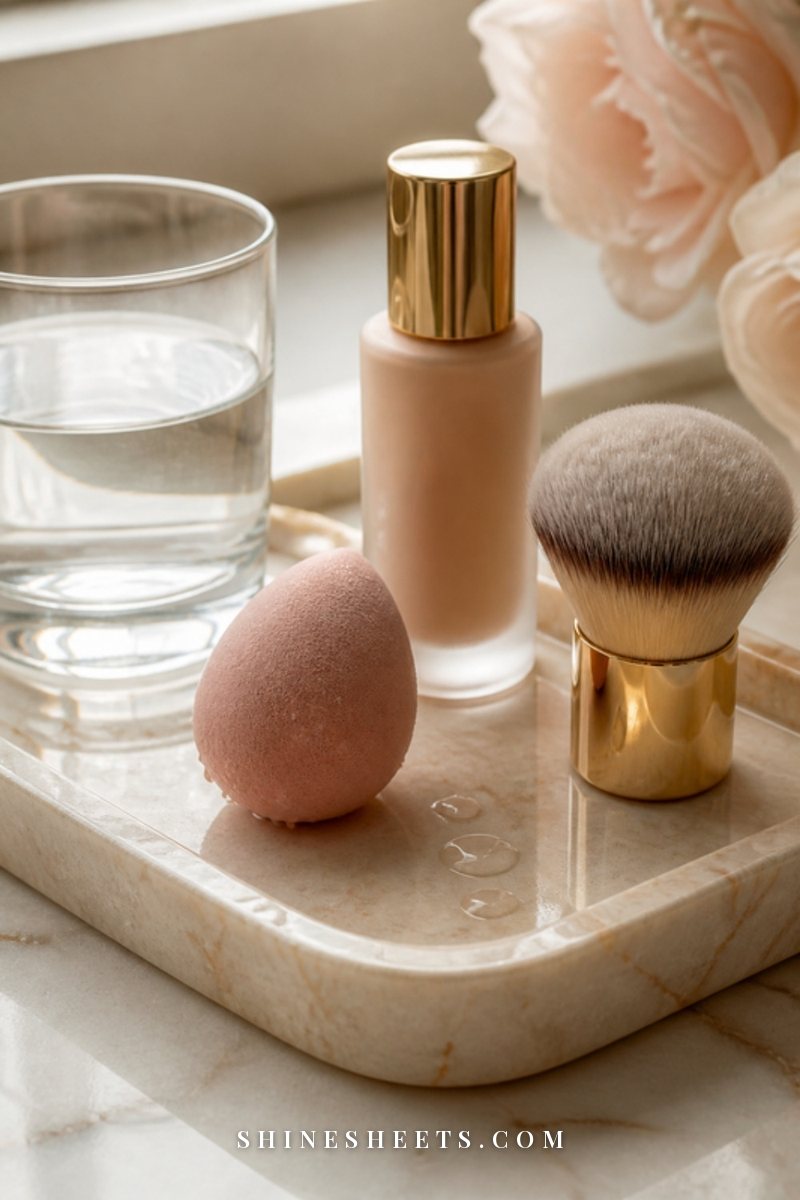
Technique is where the real smoothing happens. The key word is press.
Stipple, Don't Swipe
Swiping or buffing in circles drags product across bumps and leaves it piled up on one side of each one. Stippling – lightly bouncing a sponge or a dense brush against the skin – presses foundation into the surface evenly. It feels slower at first, but it uses less product.
Use a Damp Sponge
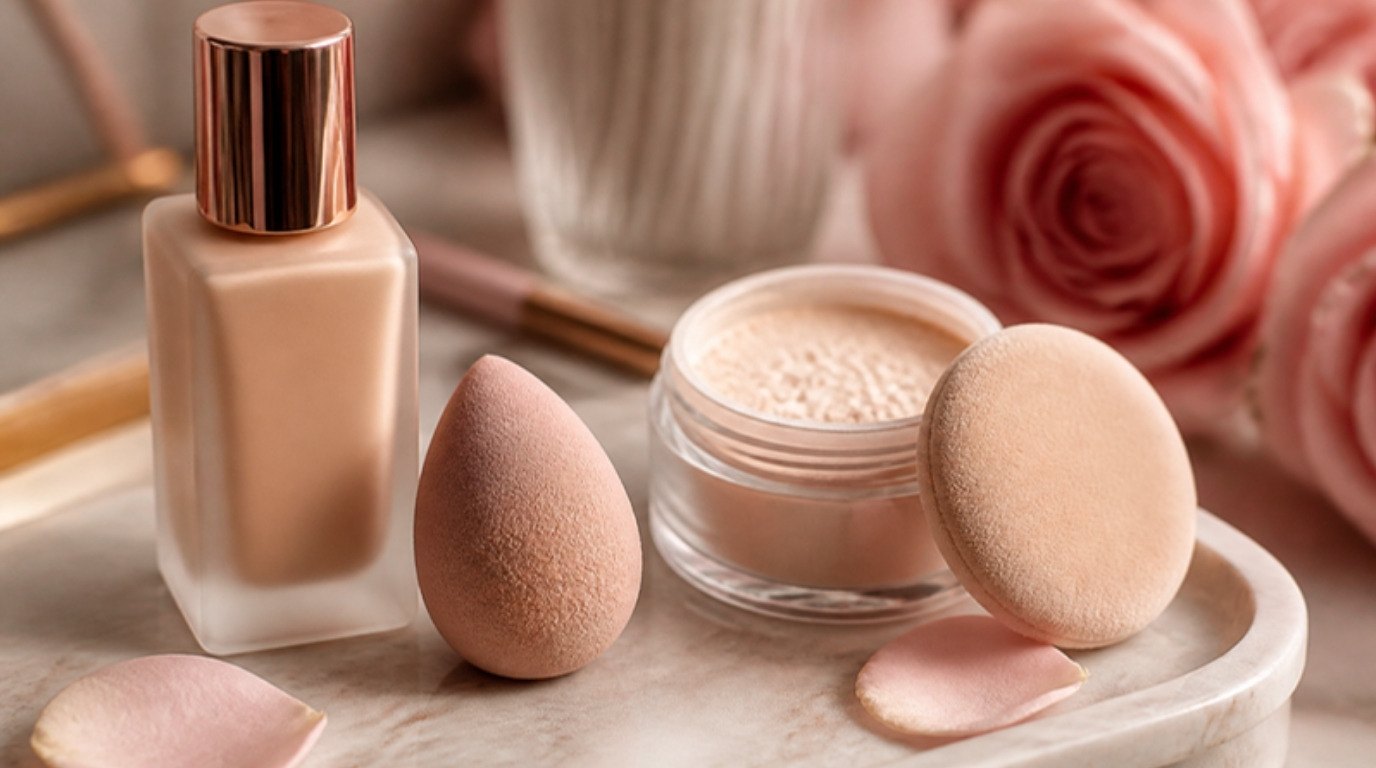
Run a makeup blending sponge under the tap, squeeze it out in a clean towel until it's damp but not dripping, and bounce it over the skin. The moisture sheers out foundation and gives a skin-like finish. Wash your sponge regularly, because a dirty one can add to breakouts.
Work in Thin Layers
- Dot a small amount of foundation on the center of the face only (about the size of a pea for a first layer).
- Stipple it outward with the damp sponge. The outer face usually needs very little.
- Wait 1–2 minutes so the first layer sets slightly.
- Add a second, tiny layer only on areas that need more evening out.
Two thin layers always look smoother than one thick one. My full guide on how to apply foundation has more on matching shades and blending at the jawline.
Concealer: The Spot Technique
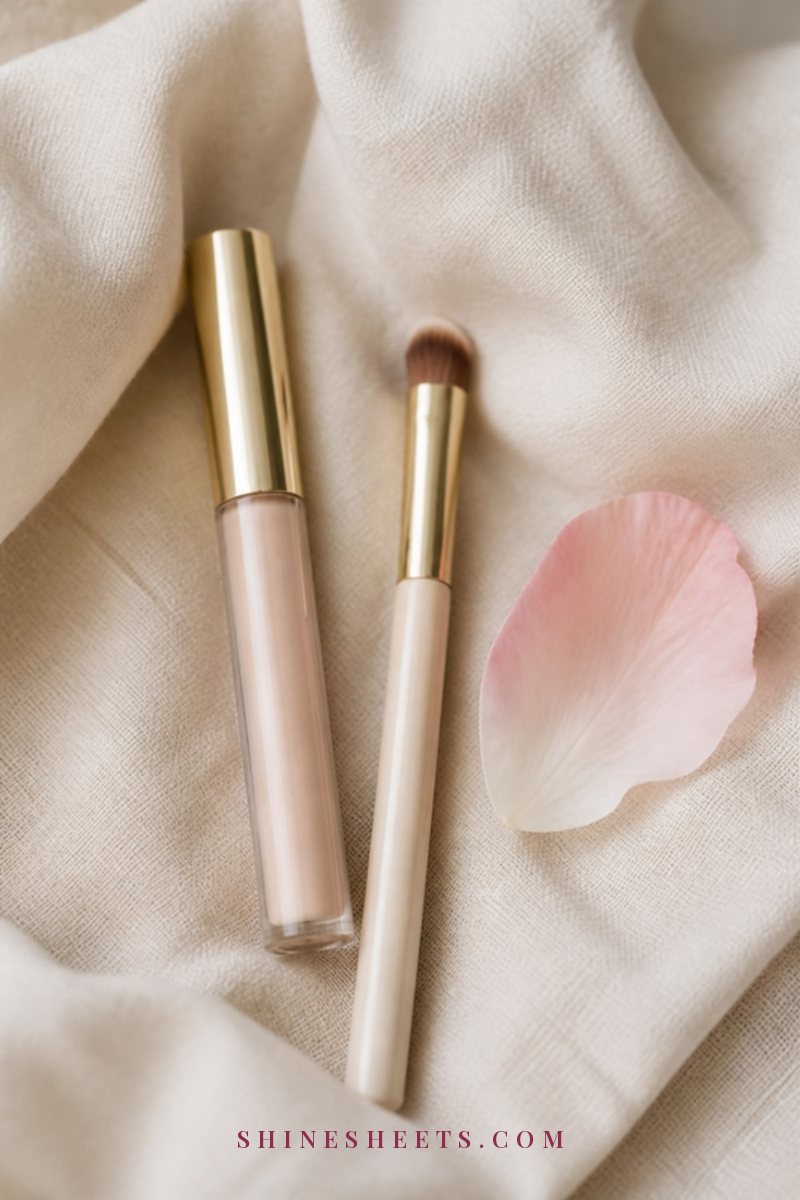
Concealer is where texture often gets louder, because we tend to pile it on. Use it only to correct color (redness, dark spots, under-eye shadows), not to "fill" bumps.
- Use a tiny amount: A dot no bigger than the spot itself.
- Apply with a small, dense brush: Tap it right on the center of the spot, then tap only the edges to blend. Leave the middle alone.
- Choose a thin, flexible formula: Very thick, matte concealers crack over bumps.
- Under the eyes, go lighter still: A thin layer in the inner corner and outer corner usually does more than a full triangle.
If concealer keeps settling into lines, my guide on how to apply concealer without creasing walks through the full routine.
Powder Only Where You Need It
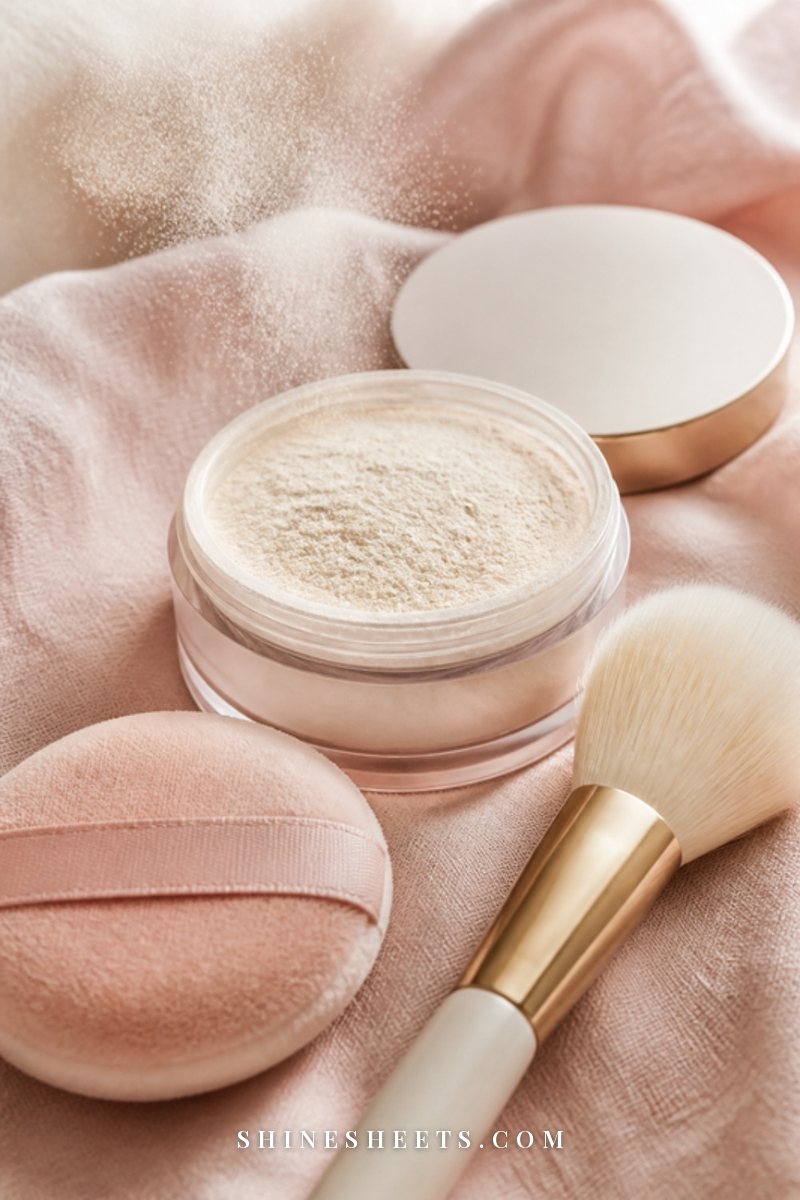
Powder is the biggest texture trap of all. A full face of powder makes every bump and pore look dry and visible. Instead:
- Use a finely milled translucent setting powder and press it on with a small puff or a small fluffy brush.
- Powder only where you get shiny or where makeup moves – usually the sides of the nose, the center of the forehead, the chin and under the eyes.
- Tap off the excess from the puff before it touches your face. You want a barely-there veil.
- Leave the high points of the cheeks unpowdered, so they keep a natural, soft reflection.
Skip Shimmer on Texture (Use It Here Instead)
Shimmer and glitter reflect light from every angle, which outlines bumps and pores. That doesn't mean giving up radiance – it just means moving it. Here's where to put it:
- A cream highlighter with a soft sheen (not visible particles) on the very top of the cheekbones, if that area is smooth for you.
- A touch on the inner corners of the eyes.
- The center of the eyelids.
- The cupid's bow, if it's smooth.
Avoid shimmer on the forehead, nose and chin if that's where your texture lives. A satin-finish cream blush looks fresher on textured cheeks than a sparkly powder one.
Setting Spray and Touch-Ups
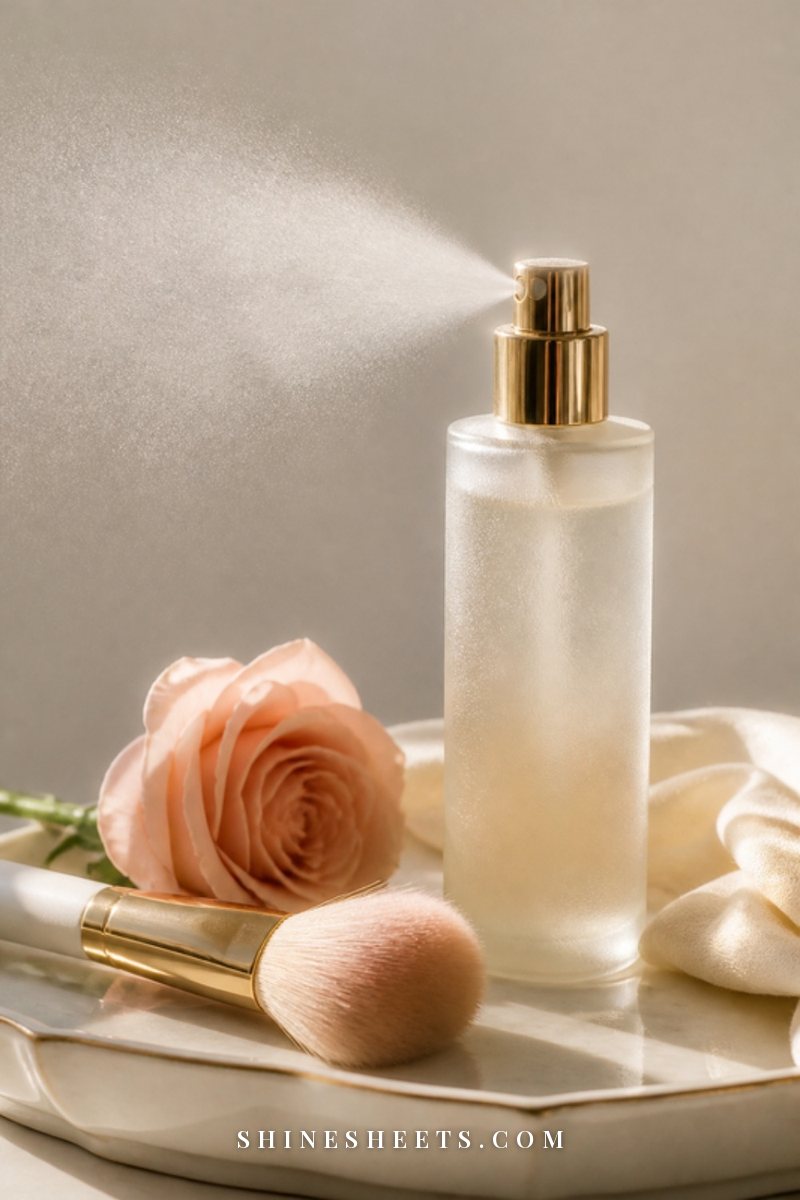
A fine mist of makeup setting spray at the end melts powder into the skin, so the whole look reads as one soft layer rather than several. Hold it at arm's length and mist in an X and a T shape, then let it dry without touching.
For touch-ups during the day:
- Blot first: Press a blotting paper on shiny areas. Never powder over oil, or it turns cakey.
- Smooth with a clean damp sponge: Press over any spots where makeup has separated. It redistributes the product without adding more.
- Add a tiny bit of concealer only if needed: Tap, don't layer.
- Finish with a light mist: A quick spray refreshes the finish and softens any dry-looking areas.
Zone by Zone: Where Texture Usually Lives
Treating your face as one surface is often the reason a base looks great in one area and cakey in another. A quick zone-by-zone approach fixes that:
- Forehead: Small bumps often gather here, especially along the hairline. Use the thinnest layer of foundation on the forehead (often just what's left on the sponge) and a light press of powder in the center only.
- Nose and inner cheeks: This is pore territory for most of us. Primer goes here, foundation is pressed rather than buffed, and powder is pushed gently into the sides of the nose with a folded puff.
- Around the mouth and chin: Often both oily and flaky at once. Moisturize well, let it sink in, and use a damp sponge with very little product. Check this area in daylight before you leave, because flakes show most here.
- Outer cheeks and jaw: Usually the smoothest and driest zone. These areas rarely need primer or powder, and a sheer layer of foundation is plenty.
- Under the eyes: Thin skin that creases easily. Skip primer, use the lightest concealer layer and set with a tiny bit of powder only if it creases.
Once you know your own map, your routine gets faster, and you'll use noticeably less product overall.
Blush and Bronzer on Textured Cheeks
Cheeks are often where texture and color meet, so the products you put there matter as much as your base.
- Cream or liquid blush first: Cream formulas melt into the skin and leave no powdery edges. Dab two or three dots on the apple and outer cheek, then tap them out with a fingertip or the damp sponge.
- Powder blush with a light hand: If you prefer powder, choose a matte or satin one and use a large, loose brush. Tap off the excess first and sweep with very little pressure.
- Bronzer as a soft shadow: Keep bronzer matte and diffuse it high, around the temples and along the cheekbones. Shimmery bronzers spread light across texture.
- Layer for longevity: On long days, a sheer cream blush topped with a whisper of matching powder blush lasts longer than either alone, without looking heavy.
A 10-Minute Smooth Base Routine
If you want the whole thing in one simple order, here it is. Once you've done it a few times, it really does fit into ten minutes:
- Minute 0–1: Cleanse gently and pat dry with a soft towel.
- Minute 1–2: Apply moisturizer, then sunscreen. Use the waiting time to do your brows or have your coffee.
- Minute 5: Press a rice-grain amount of primer onto pores and bumps only.
- Minute 6: Stipple a pea-sized amount of foundation from the center outward with a damp sponge.
- Minute 7: Spot-conceal with a small brush, tapping only the edges.
- Minute 8: Cream blush on the cheeks, pressed in.
- Minute 9: Press powder only on the T-zone and under the eyes.
- Minute 10: Mist with setting spray and let it dry untouched.
On days when your skin feels especially rough or reactive, it's perfectly fine to skip foundation altogether and just conceal a few spots, add cream blush and some mascara. That softer approach often looks fresher than a full base anyway.
Common Mistakes That Make Texture Look Worse
A few habits make texture more visible without us realizing. These are worth checking:
- Applying makeup right after skincare, before it has absorbed.
- Using too much primer, or layering several primers.
- Rubbing foundation in circles with fingers or a brush.
- Powdering the whole face, including dry areas.
- Using a full-coverage matte formula "to hide everything."
- Checking your skin in a magnifying mirror under harsh overhead light. Look in natural daylight at a normal distance instead – that's how everyone else sees you.
And one gentle reminder: if bumps are spreading, itchy or painful, or if you're struggling with breakouts and scarring, a dermatologist can help with the skin itself. Makeup works best as a soft finishing layer, not as the only fix.
Final Thoughts
Makeup for textured skin is really an exercise in restraint: thin layers, gentle pressing and products only where they're needed. Once you stop trying to cover everything, your base starts looking more like skin, and that's exactly what makes it look smooth.
Your skin is allowed to look like skin. A soft, satin finish that moves with your face will always be more flattering than a mask, and you deserve to feel lovely in it on any day.