Makeup for oily skin works best when you stop fighting your skin with more and more powder. The goal isn't to make your face completely matte from forehead to chin. It's to control shine where it actually shows up, keep some life everywhere else, and build a base thin enough that oil has less to break through. That small shift is the difference between makeup that looks fresh at 4 p.m. and makeup that looks flat by 10 a.m. and slippery by lunch.
I have combination skin with a T-zone that gets shiny by midday, so this is a topic close to my heart (and to my forehead). It took me a while to realize that the products mattered less than where they went and how much of each went on.
This guide covers makeup for oily skin step by step: prep that doesn't make you greasier, how to choose and apply foundation, concealer that stays put, strategic powder placement, cream versus powder blush and bronzer, setting spray, and how to do a quick midday touch-up that doesn't cake. There's also a "morning routine to midday fix" table you can screenshot for your makeup bag.
Why Oily Skin Changes the Makeup Rules
Oily skin produces more sebum, especially across the forehead, nose and chin. When that oil mixes with makeup, a few things happen: foundation separates around the nose, concealer slides into lines, powder turns patchy, and everything starts to look heavier as the day goes on.
The instinct is to pile on mattifying products. But layers of heavy foundation and powder give oil more to mix with, so they often break down faster and look cakey. The better approach is:
- Thin layers instead of one thick one.
- Targeted products (mattifying only where you get shiny).
- Setting in stages rather than one heavy dusting.
- Blotting before powdering during the day.
Oily skin also has a real upside: it tends to look naturally fresh, and many people with oily skin find their makeup never looks dry or flaky. You're not trying to erase that. You're just managing it.
It also helps to know that oiliness isn't constant. Many people notice more shine in warm, humid weather, during stressful weeks or at certain points in their cycle, and less in cold, dry months. Rather than buying a whole new routine for every phase, keep the same core products and simply adjust how much powder and primer you use, and how often you blot. If your skin feels tight in some areas and oily in others, compare notes with my guide to makeup for dry skin, since combination skin often needs a little of both.
Prep: The Step That Decides Everything
Most oily-skin makeup problems start before the foundation comes out. Five minutes of the right prep can add hours of wear.
Cleanse and Moisturize (Yes, Really)
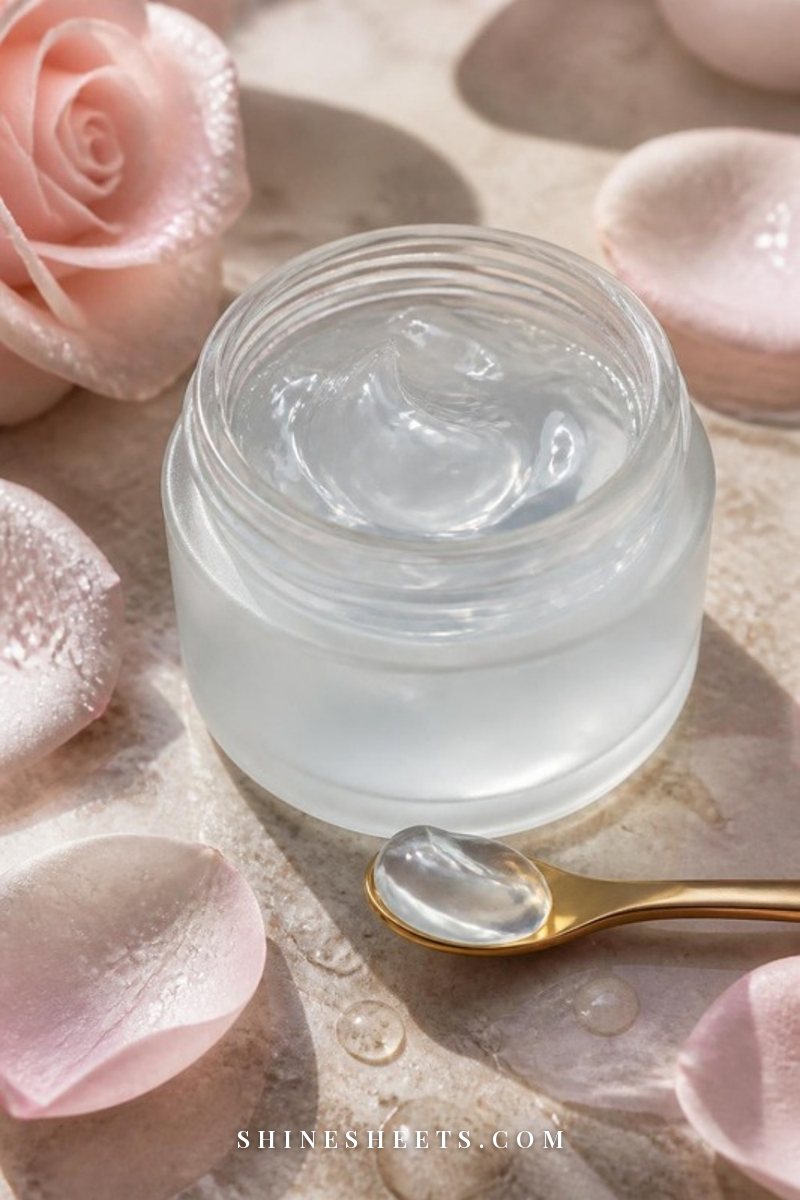
Start with a gentle cleanser, not a harsh, squeaky-clean one. Stripping your skin can make it feel tight, and some people find their skin looks oilier later in the day after over-cleansing.
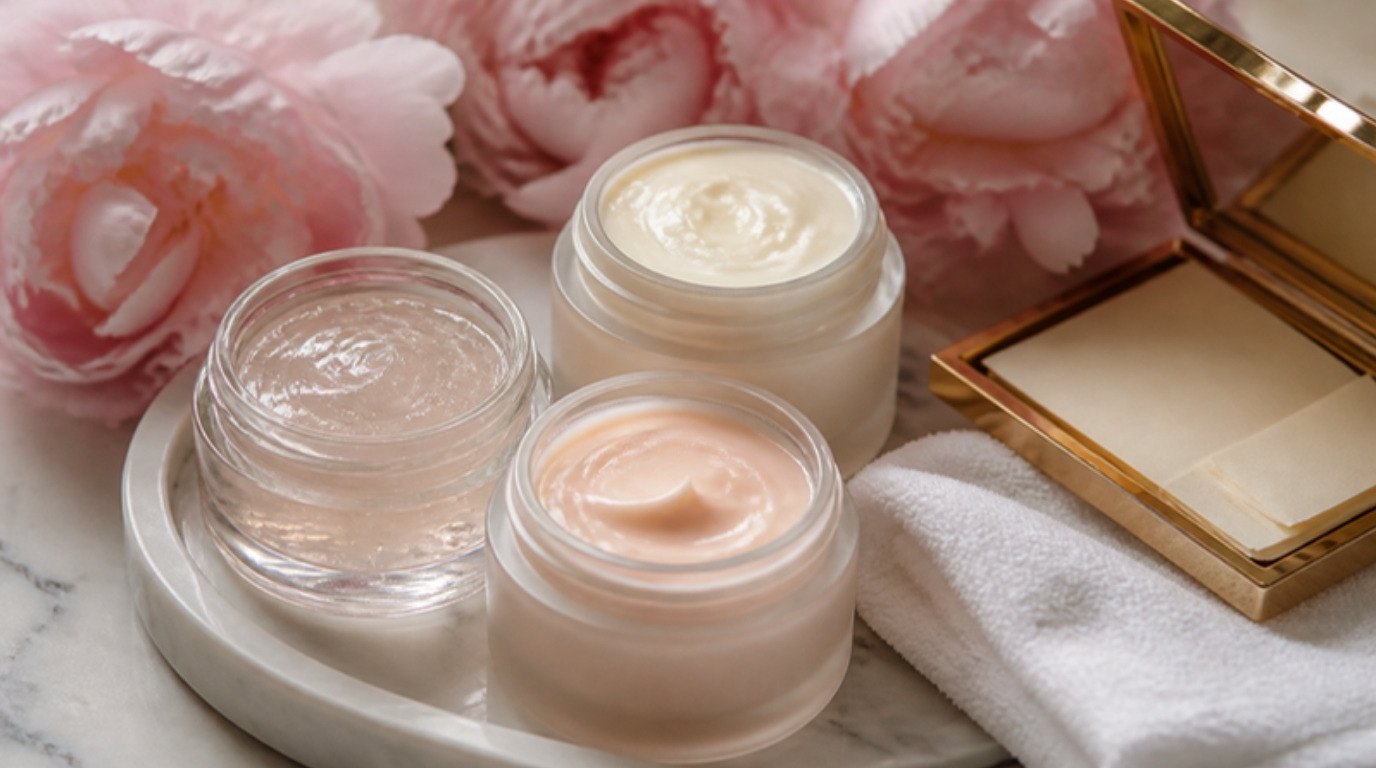
Then moisturize with a lightweight, oil-free gel or gel-cream. Skipping moisturizer to "save" your makeup usually backfires, because dehydrated skin can look both shiny and patchy at the same time. Let it sink in for three to five minutes before you continue (this is a good moment to make a cup of tea).
In the morning, finish with sunscreen. A lightweight or matte-finish formula is easiest under makeup. Give it a few minutes to set too.
Primer Only Where You Need It
A mattifying primer is useful, but you don't need it everywhere. Apply a thin layer only on your T-zone or wherever you get shiny first: usually the forehead, sides of the nose and chin. Press it in with your fingertips rather than rubbing.
If your cheeks are normal or dry, skip primer there or use a hydrating one. Using mattifying primer across your whole face is a common reason makeup looks flat.
A simple rule: mattify where you shine, hydrate where you don't.
Choosing a Foundation for Oily Skin
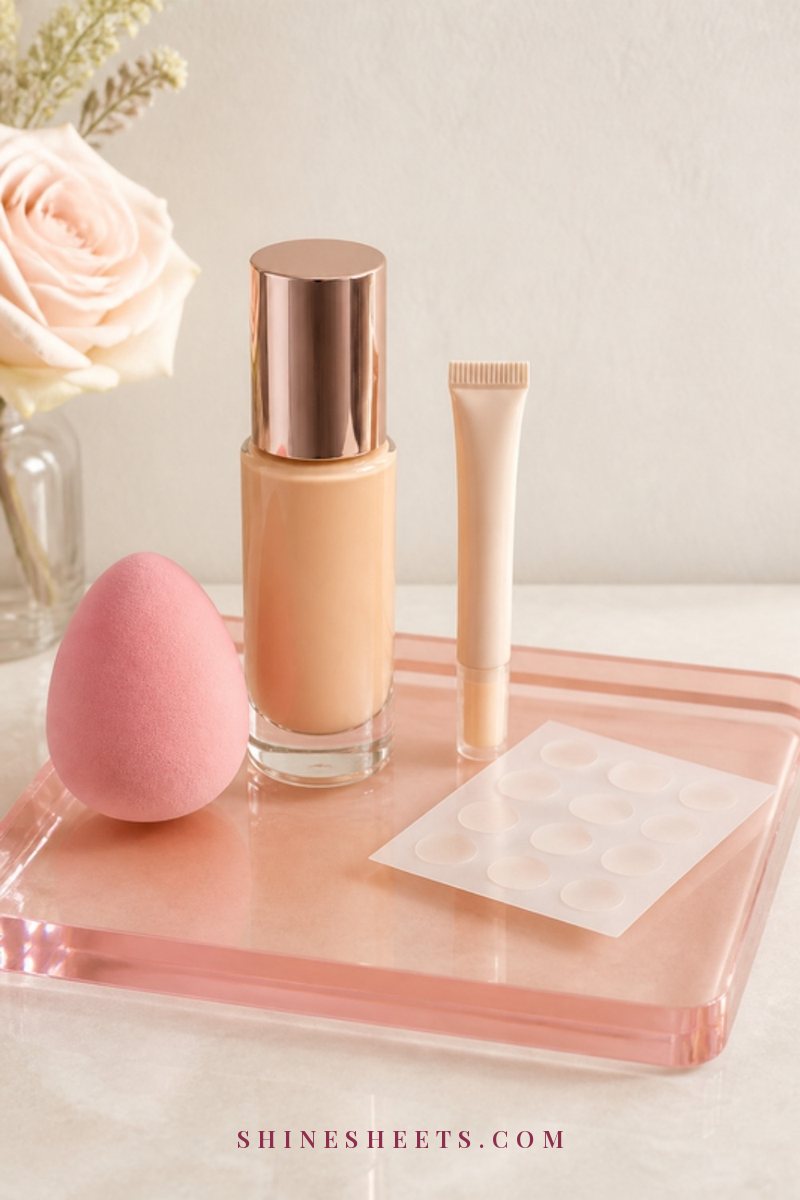
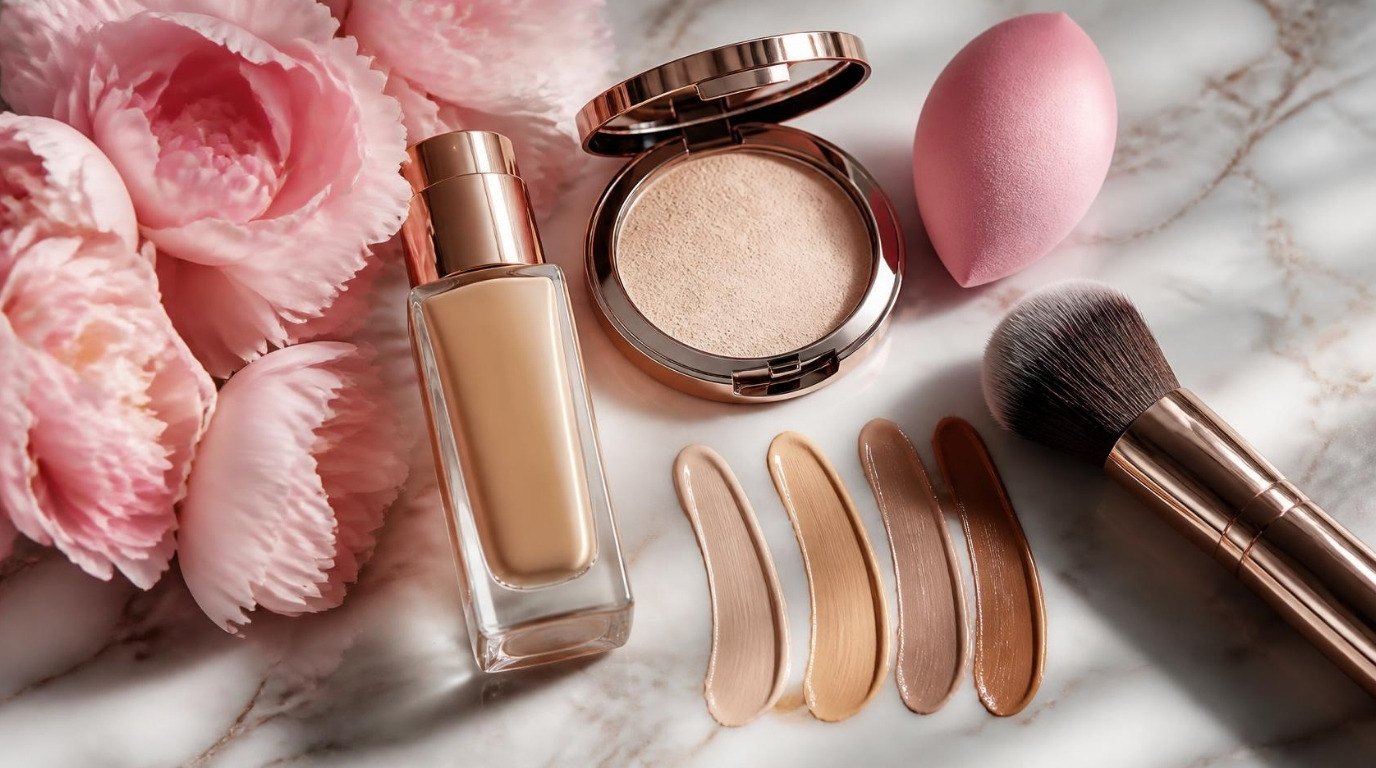
The best foundation for oily skin is one that's designed to last and that you can apply thinly. Look for:
- Long-wear formulas. These are built to resist oil and transfer.
- Matte or natural-matte finishes. Natural-matte is often the sweet spot: soft-focus, not dewy, not chalky.
- "Oil-free" on the label if you prefer lighter textures.
- Buildable coverage. Start sheer and add only where you need it.
A best-selling oil-free long-wear foundation from a well-known drugstore brand is a great place to start; many come in wide shade ranges and are easy to find. Swatch on your jawline in daylight to check the shade.
How to apply it:
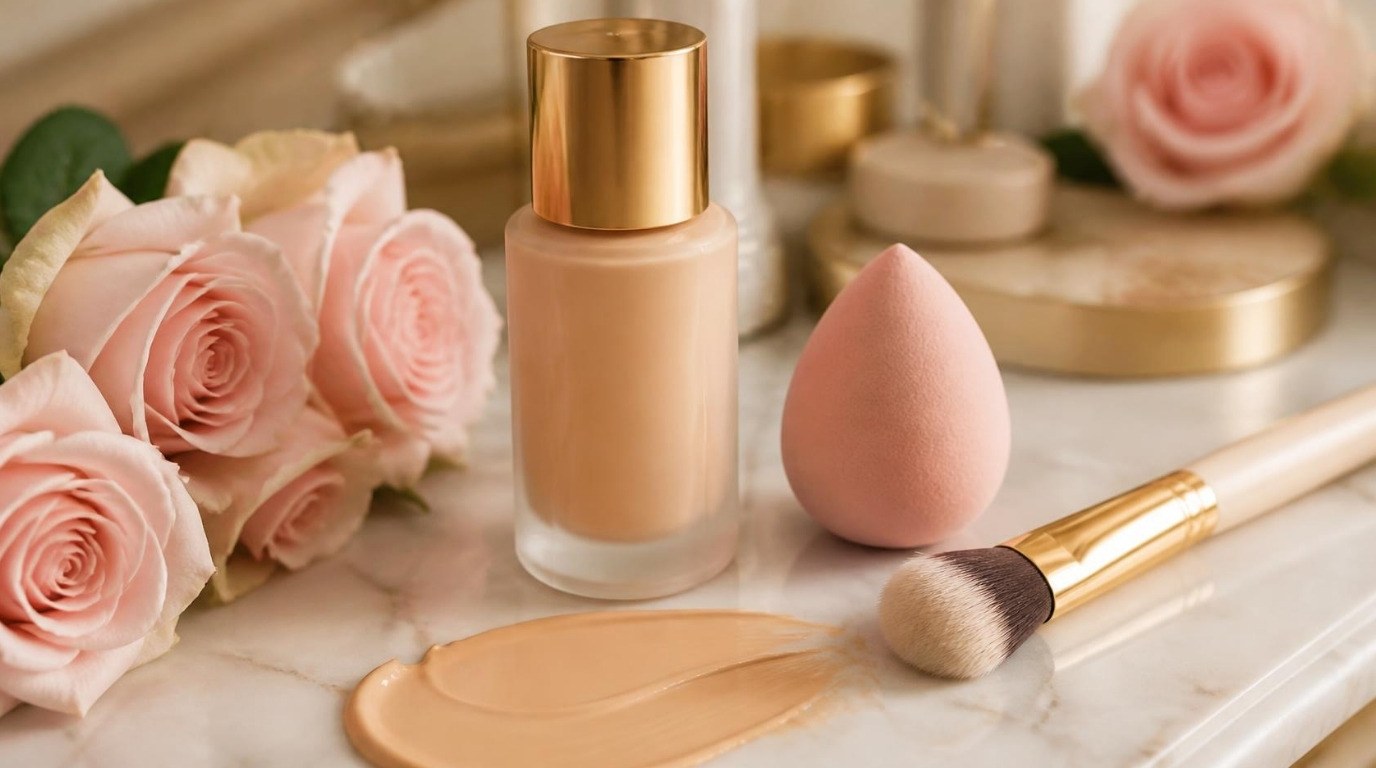
- Use about half a pump to start. You can always add more.
- Apply to the center of your face first and blend outward.
- Use a damp sponge or a dense brush to press (not swipe) it in. Pressing helps it grip and look thinner.
- Wait one to two minutes before adding a second thin layer only where you want more coverage.
For a full walkthrough of technique, my guide on how to apply foundation covers tools, amounts and blending, and these steps to make foundation last all day pair perfectly with an oily-skin routine.
Concealer That Doesn't Slide
Concealer on oily skin tends to crease or slide, especially around the nose and on blemishes. A few small habits help:
- Use less than you think. A tiny dot, tapped in with your ring finger or a small brush.
- Choose a long-wear concealer with a natural-matte finish for blemishes and redness.
- For under the eyes, a slightly more hydrating formula is fine, since that area is rarely oily.
- Set immediately with a tiny amount of powder on a small brush, especially around the nose.
- Wait before setting under the eyes. Let concealer sit for 30 seconds, smooth any creases with your fingertip, then set lightly.
Powder: Strategic, Not All Over
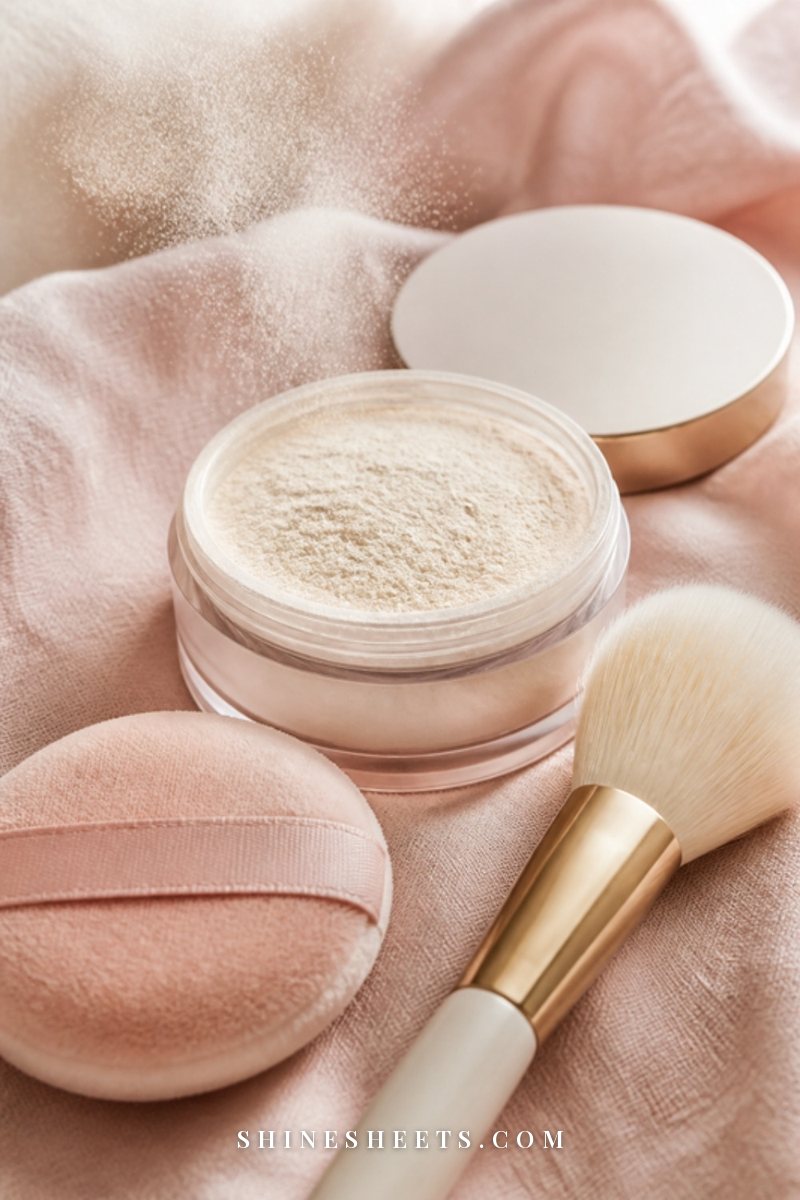
Powder is where many oily-skin routines go wrong. A heavy dusting all over can look flat and dry, and it tends to cake by afternoon. Instead, place powder exactly where you need it.
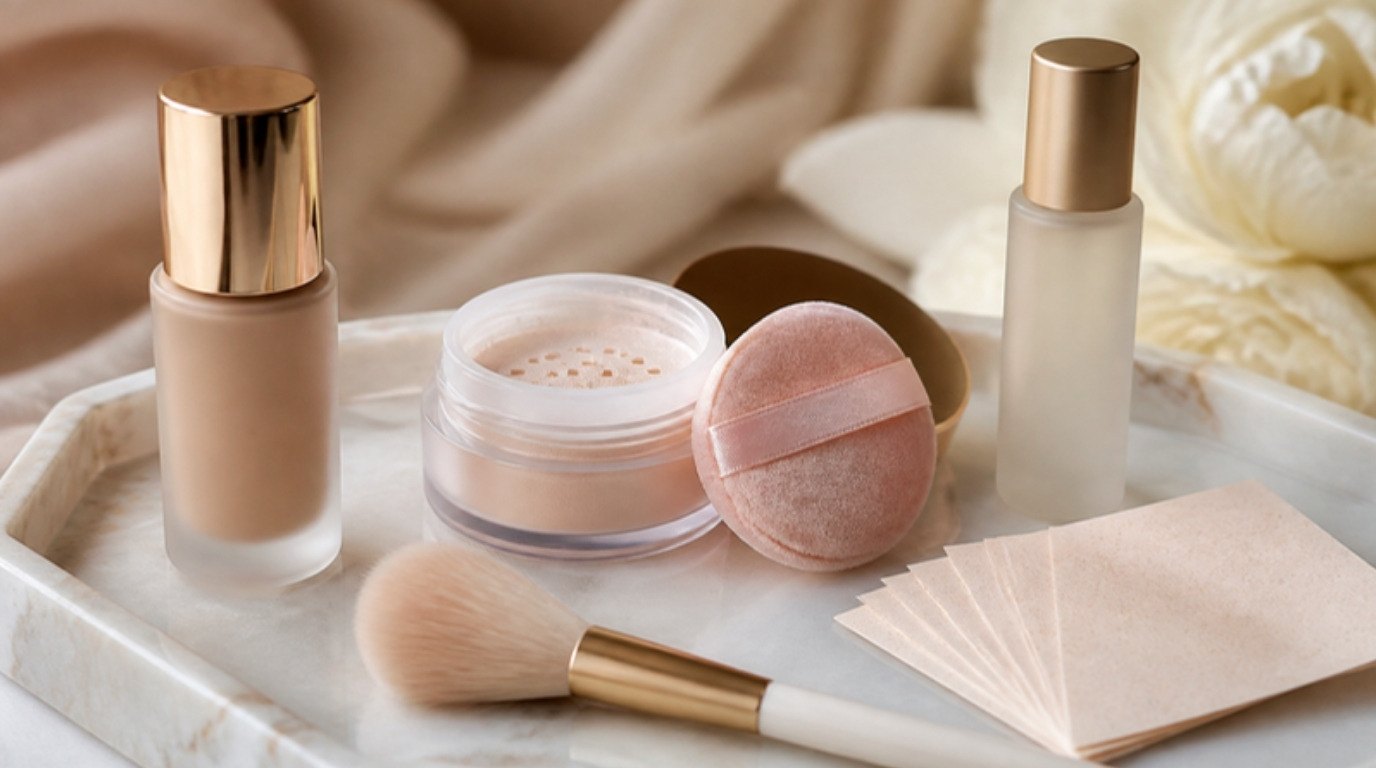
A translucent setting powder is the most versatile choice because it won't change your foundation color. Here's how to use it:
- Press, don't sweep. Use a velour puff or a dense brush to press powder into the T-zone, the sides of the nose, the chin and between the brows.
- Light touch on cheeks. Use a fluffy brush and whatever is left on it, or skip cheeks entirely if they're not shiny.
- Under the eyes, a very small amount on a small brush helps concealer stay put.
- Avoid the high points of your cheekbones if you want some natural radiance there.
Some people with very oily skin like "baking" (leaving a thicker layer for a few minutes, then dusting off). If you try it, keep it to small areas like under the eyes or around the nose, and use a light hand on the rest of the face.
Blush and Bronzer: Cream or Powder?
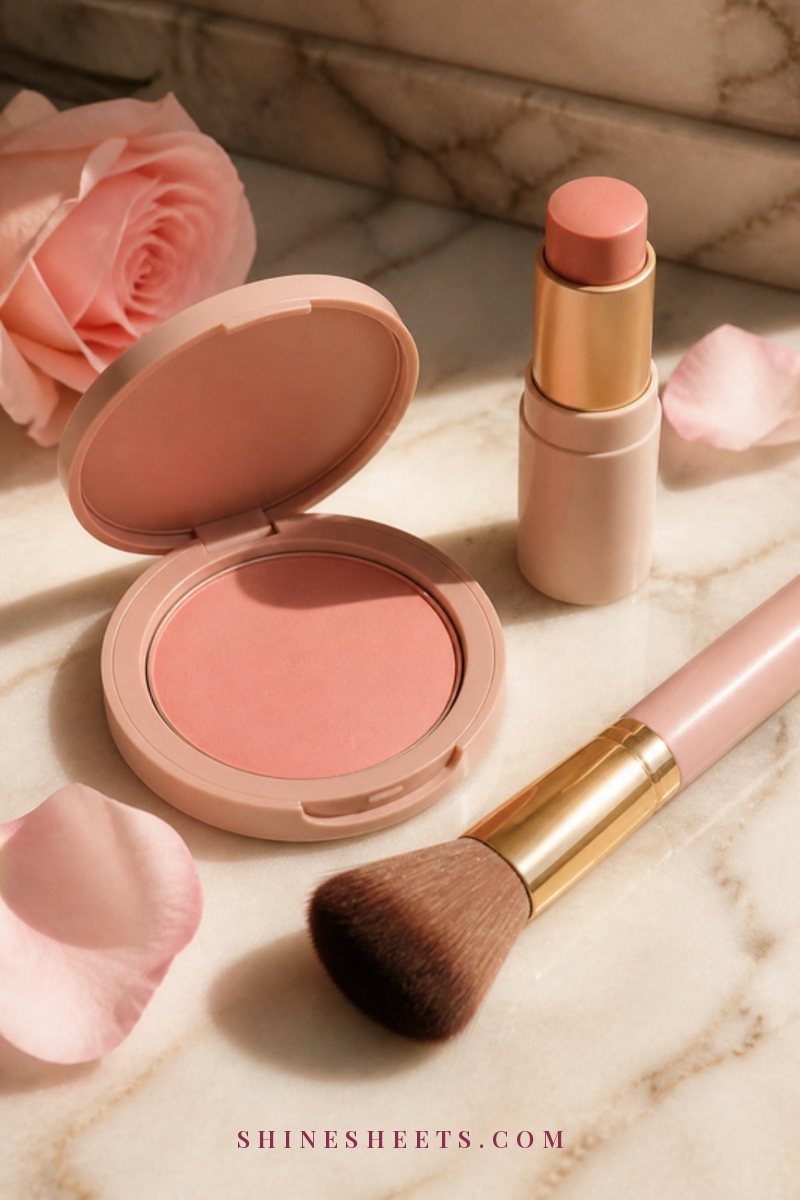
Both can work on oily skin, it's about order and amount.
- Powder blush and bronzer are the easiest choice for oily skin. Apply them after powder, with a light fluffy brush, so they blend smoothly instead of grabbing.
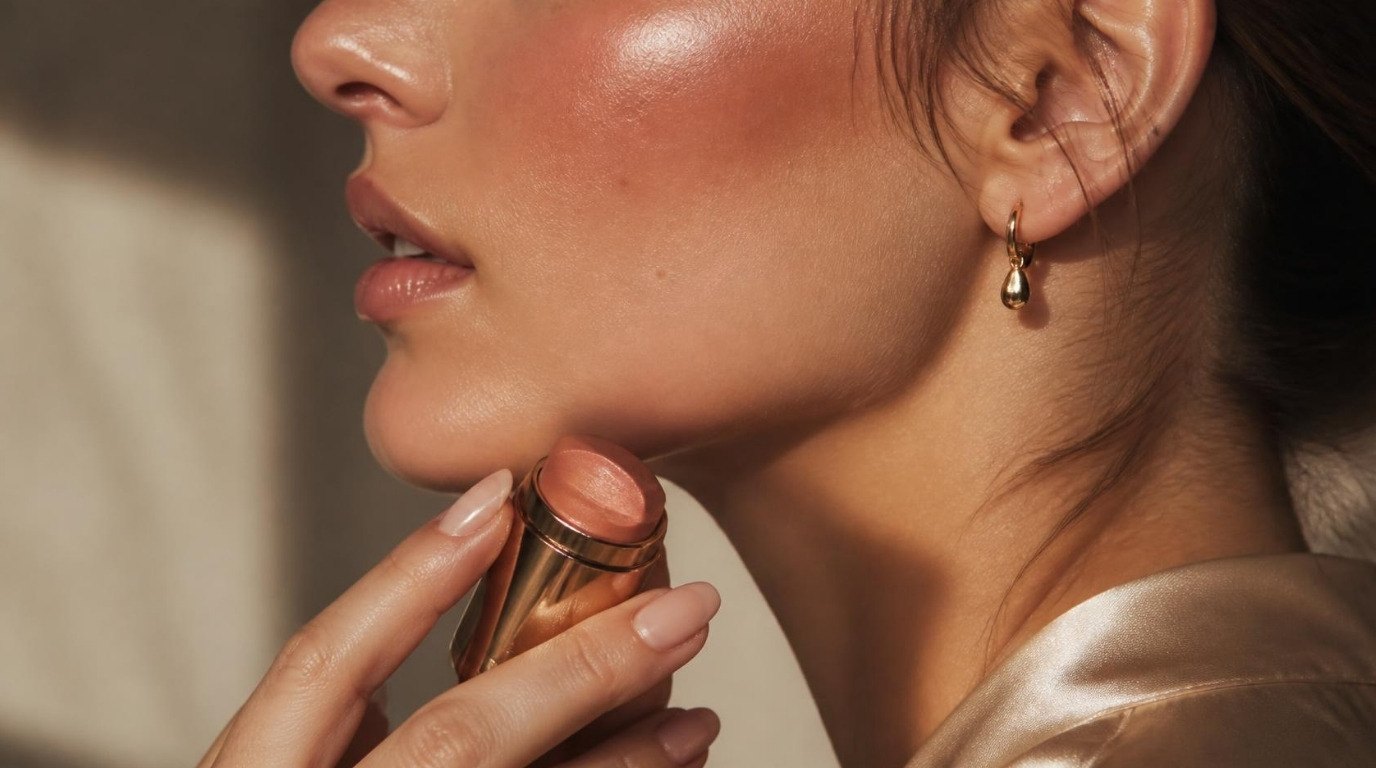
- Cream blush and bronzer look fresh and skin-like. Apply them before powder, right after foundation, using a sponge or fingertips in small tapping motions. Then set lightly.
- The layering trick: for all-day wear, apply a sheer cream blush, set with powder, then add a light veil of a matching powder blush on top. This "lock-in" is how makeup artists make color last on oily skin.
Matte or satin finishes generally look smoother on oily skin than very shimmery ones, which can emphasize texture and shine.
Setting Spray: The Final Lock
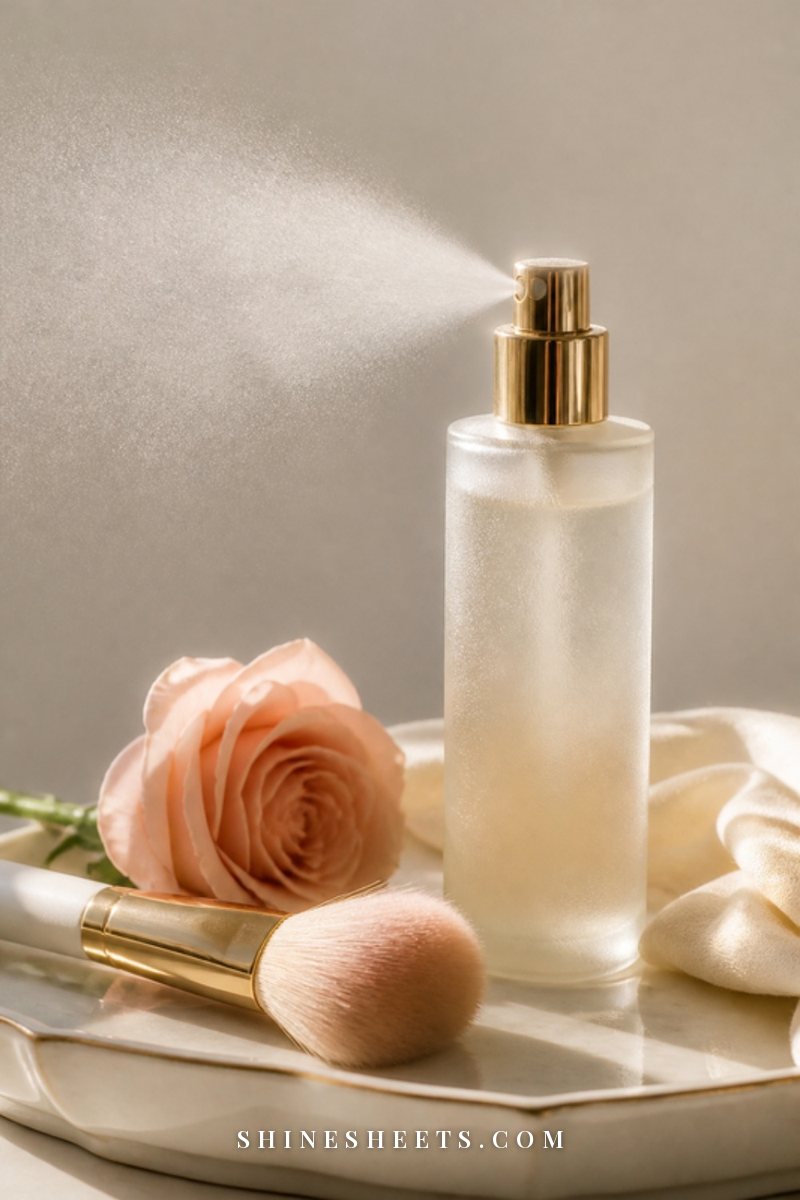
A long-wear setting spray melts powder into the skin so it looks less powdery and helps everything stay put. Look for mattifying or long-wear formulas rather than dewy ones.
- Hold the bottle about eight to ten inches from your face.
- Close your eyes and mist in an "X" and then a "T" shape.
- Let it dry completely without touching (about a minute).
Some people also like to mist a damp sponge with setting spray before applying foundation. It's worth trying if your base tends to break down quickly.
Morning Routine → Midday Fix
Here's the whole routine in one place, with the matching midday fix for each step. Screenshot it for your makeup bag.
| Step | Morning routine | Midday fix |
|---|---|---|
| Skin prep | Gentle cleanser, oil-free gel moisturizer, sunscreen; wait 3–5 minutes | Don't add more skincare on top of makeup; just blot |
| Primer | Mattifying primer on the T-zone only | Not needed; blotting does the job |
| Foundation | Thin layer of long-wear natural-matte foundation, pressed in | Blot, then press a tiny bit of foundation only where it has worn away |
| Concealer | Tiny dots, tapped in, set right away | Blot the area, then add a small dot and set again |
| Powder | Translucent powder pressed into the T-zone | Blot first, then a light press of powder on shiny areas only |
| Blush and bronzer | Cream before powder or powder after powder | A light sweep of powder blush if color has faded |
| Setting spray | Long-wear spray in an X and T pattern | A light mist after touch-ups to melt powder in |
How To Do Midday Touch-Ups
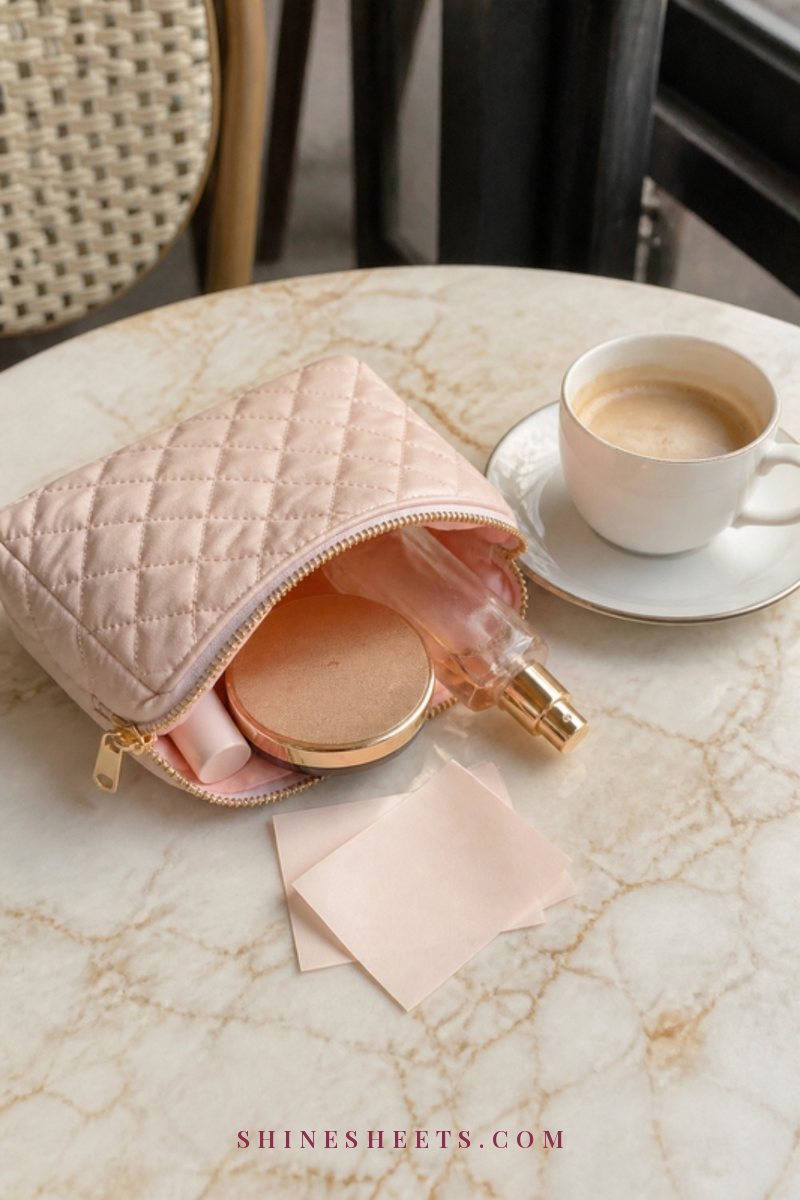
The most important rule of oily-skin touch-ups: blot first, then powder. Adding powder on top of oil is what creates that thick, cakey look by late afternoon.
- Blot. Press (don't rub) oil blotting papers onto shiny areas for a few seconds. Use a fresh sheet for each area.
- Check for patches. If foundation has worn away around the nose or chin, tap in a tiny amount with your fingertip.
- Powder lightly. Press a small amount of powder only on the areas that were shiny.
- Refresh color. A light sweep of blush if needed.
- Optional mist. A quick spritz of setting spray to take away any powdery look.
The whole thing takes under two minutes. Keep blotting papers, a small compact and a mini setting spray in your bag and you're set.
Keeping Some Radiance (Without Looking Greasy)
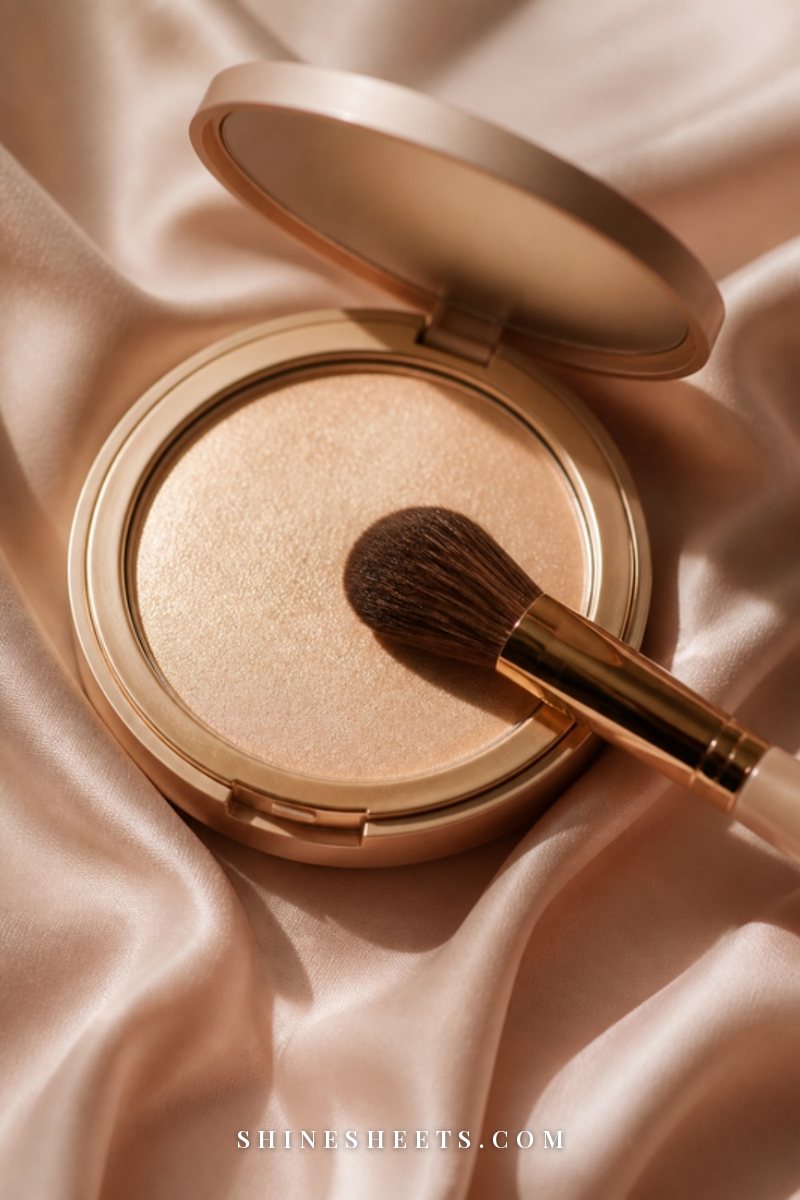
Fully matte skin can look flat, especially in photos. The trick is to place radiance deliberately, so it looks intentional rather than oily.
- Highlight only the high points: tops of the cheekbones, the inner corners of the eyes and a touch on the cupid's bow.
- Skip the nose and forehead, which are usually the first places to get shiny anyway.
- Choose a subtle, finely milled highlighter in powder form rather than chunky shimmer.
- Keep the rest of the face natural-matte so the highlighted areas stand out softly.
If you love a fresh, barely-there look, my guide to clean girl makeup shows how to keep things light, and you can adapt it with the oily-skin tips above.
A Five-Minute Everyday Version
Not every day calls for the full routine. On busy mornings, this pared-back version keeps shine in check and still looks polished:
- Oil-free gel moisturizer and sunscreen, then wait while you get dressed.
- Mattifying primer on the nose and forehead only.
- Concealer only where you need it (redness around the nose, a blemish, under the eyes), tapped in with your finger.
- Translucent powder pressed into the T-zone with a puff.
- A powder blush swept onto the cheeks, brows and mascara.
Skipping foundation entirely on some days is completely fine, and many people with oily skin find their makeup actually lasts longer this way, because there's simply less product for oil to break down. Tuck blotting papers into your bag and you're ready for the day.
Tools That Work Best on Oily Skin
The right tools make thin layers much easier, and thin layers are the whole game here.
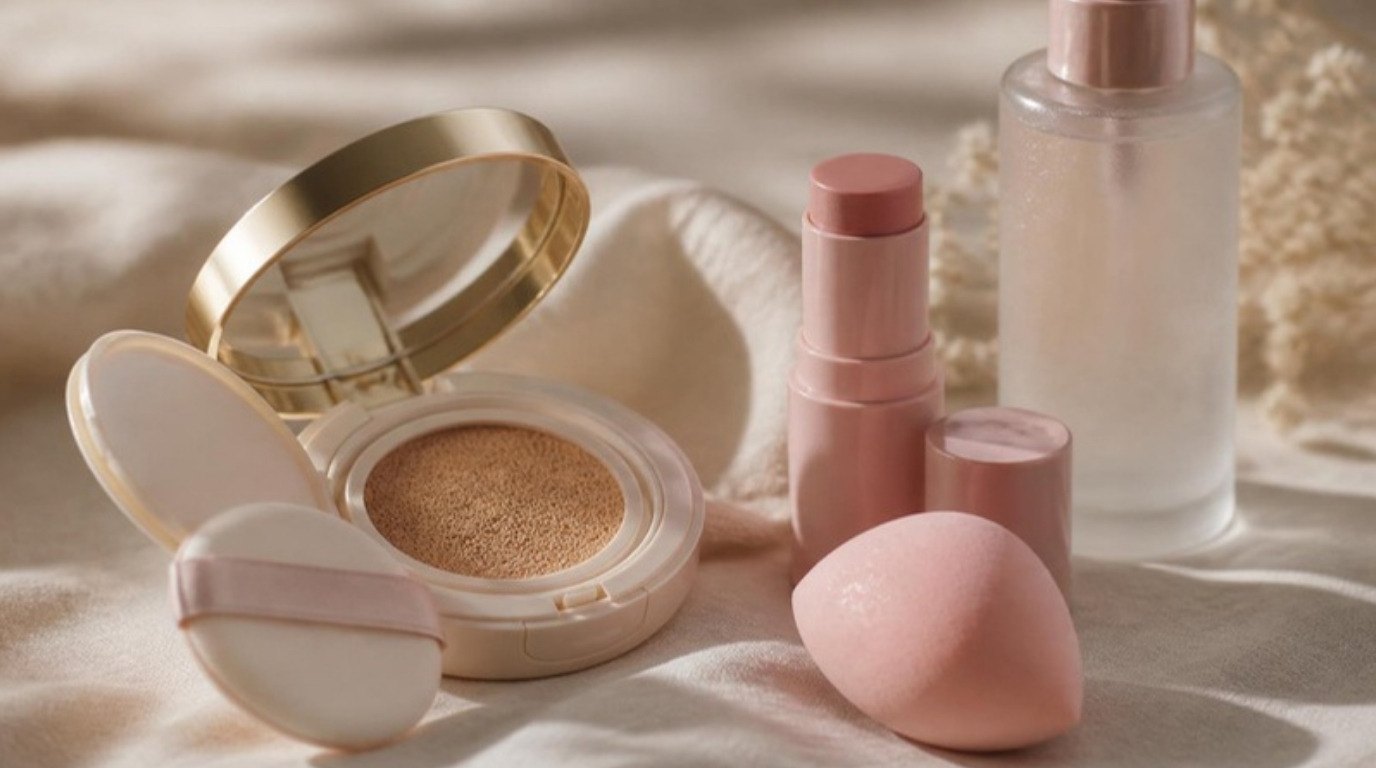
- A damp makeup sponge for foundation and concealer. It sheers products out and presses them into the skin. Squeeze it out well so it's damp, not wet.
- A dense flat or buffing brush if you prefer a little more coverage. Use small circular presses rather than long strokes.
- A velour powder puff for pressing powder into the T-zone. It places powder exactly where you want it, with less fallout.
- A small fluffy brush for powder around the nose and under the eyes.
- A large, loose brush for blush and bronzer, so color goes on soft rather than patchy.
Clean tools matter more for oily skin than for any other skin type, because oil builds up on sponges and brushes quickly. Wash sponges after every two or three uses and brushes once a week, and let them dry fully before the next use.
Adjusting for Combination Skin
Plenty of people with "oily skin" actually have combination skin: an oily T-zone with normal or even dry cheeks. If that sounds like you, treat your face as two zones:
- T-zone: mattifying primer, a little extra powder, blotting during the day.
- Cheeks: hydrating moisturizer, no mattifying primer, very little powder, and cream blush if you love a fresh finish.
- Foundation: a natural-matte formula usually works for both zones; just apply it more sheerly on the cheeks.
- Seasons: combination skin often shifts. In winter you may need more hydration everywhere; in warm months, more oil control.
It sounds fussy, but in practice it just means being a little more thoughtful about where each product goes. After a week it becomes automatic.
Removing Makeup at Night
A long-wear base deserves a thorough cleanse. Removing makeup well helps keep pores clearer, which in turn helps tomorrow's makeup sit better. A gentle evening routine looks like this:
- Start with a cleansing balm, cleansing oil or micellar water to dissolve long-wear makeup and sunscreen. Oil-based cleansers are fine for oily skin; they rinse away and don't leave skin greasy.
- Follow with your gentle water-based cleanser.
- Finish with a lightweight moisturizer, even if your skin feels oily. Skin that's well cared for at night is usually easier to manage in the morning.
Avoid scrubbing hard to "get everything off." Massaging gently for 30 to 60 seconds does a better job and keeps skin calm.
Mistakes That Make Oily Skin Look Oilier
- Skipping moisturizer. Dehydrated skin can look shinier and patchier.
- Too much foundation. Thick layers break down faster.
- Powdering over oil. Always blot first.
- Heavy creams and oils under makeup. Save richer products for your evening routine.
- Touching your face. It moves oil and makeup around more than you'd think.
- Dirty tools. Wash sponges and brushes weekly; old makeup and oil build up fast.
Shine and makeup breakdown are often connected to visible pores too. My guide to pore care covers skincare habits that make pores look smaller over time. And if oiliness comes with persistent breakouts or irritation, a dermatologist can help you find a skincare routine that suits your skin.
Final Thoughts
Makeup for oily skin isn't about erasing every bit of shine. It's about thin layers, smart placement and a quick, kind touch-up routine. Mattify where you shine, keep life where you don't, and blot before you powder.
With a few small adjustments, your makeup can look fresh from your morning coffee to your evening plans, and your skin can look like skin.