Textured skin rarely needs a tougher approach. It needs a softer, steadier one. Most of the bumps, rough patches and uneven spots you notice under bright bathroom light come from skin that is clogged, dehydrated or quietly irritated, and scrubbing at it tends to make all three worse.
The good news is that texture responds really well to patience. A calm barrier, a gentle chemical exfoliant a few nights a week, a slowly introduced retinoid and daily sunscreen will do more in two months than any "overnight smoothing" trick. My skin is combination and sensitive, with a shiny T-zone that loves to collect tiny bumps, and it took me a while to accept that less, done regularly, beats more, done in a panic.
This guide covers everything about textured skin: what it actually is, why it happens, a gentle seven-step approach, a "texture type → what helps" table so you can match the fix to your exact bumps, the habits worth dropping and makeup tips for the days you want your base to sit smoothly.
Think of it as a slow, kind reset rather than a project. Your skin is not a problem to fix overnight.
What Is Textured Skin?
"Textured skin" is a catch-all phrase for skin that doesn't look or feel smooth. It isn't a skin type or a diagnosis, and it shows up on oily, dry and combination skin alike. These are the five most common forms:
- Closed comedones. Tiny, skin-colored bumps, usually on the forehead, chin and jawline. You often feel them more than you see them, until foundation sits on top and makes every single one visible. They are clogged pores with a closed top, which is why they don't come to a head.
- Rough, dry patches. Areas that feel like fine sandpaper, often on the cheeks. This is usually a buildup of dead cells that aren't shedding evenly, plus dehydration underneath.
- Dry flakes. Little lifted bits around the nose, between the brows or on the chin that catch makeup. They tend to appear when the heating comes on or after too much exfoliating.
- Enlarged-looking pores. Pores that look stretched or shadowy, mostly on the nose and inner cheeks. They look bigger when they are filled with oil and debris, and smaller when they are clear and the skin around them is plump.
- Post-acne marks and shallow scars. Flat pink, red or brown marks left after breakouts (smooth to the touch but uneven to the eye) and shallow dents, which are true changes in the skin's surface.
Most faces have a mix. My T-zone collects closed comedones while my cheeks go rough in winter, so one product rarely fixes everything at once. That's exactly why the table further down matches each type to what helps.
One note: very small, hard, white bumps under the eyes or on the cheeks are often milia, which are tiny trapped cysts. Exfoliants don't clear them the way they clear comedones, and they should never be squeezed. A dermatologist can remove them safely in minutes.
What Causes Textured Skin?
Texture almost always has more than one cause working together. Knowing yours makes the gentle approach much easier to follow, because you stop reaching for random fixes. The six usual suspects:
- Slow cell turnover. Dead cells linger on the surface instead of shedding evenly. This becomes more noticeable with time and in dry, cold weather.
- Excess oil and clogged pores. Oil plus dead cells is the recipe for closed comedones, which is why they cluster in the T-zone.
- Dehydration and a weak barrier. When skin loses water faster than it can hold it, the surface looks crepey, dull and rough, and flakes appear.
- Over-exfoliation. Ironically, one of the most common causes. Irritated skin can look shiny and feel rough and bumpy at the same time.
- Sun exposure. Over time, UV light breaks down collagen and thickens the outer layer of skin, so the surface gets rougher and post-acne marks stay darker for longer.
- Picking and past breakouts. Squeezing turns a small bump into a mark that can last for months, and deeper breakouts can leave shallow scars.
Hormones, heavy pore-clogging products, friction (a phone pressed to your cheek, a hand resting on your chin) and stress can all add to the picture too.
If you recognized yourself in the over-exfoliation point, please don't feel bad. It is the most common mistake, and it comes from wanting smoother skin badly enough to try everything. The fix is usually to stop for a while, not to add more.
The Gentle Approach: 7 Steps To Smoother Skin
The order matters here. Barrier first, then exfoliation, then a retinoid, with hydration and sunscreen supporting everything. Give each new step two to four weeks before you add the next one, so you always know what's helping and what's irritating.
1. Start With Your Skin Barrier
Your skin barrier is the outer layer of lipids that holds water in and keeps irritants out. When it's compromised, exfoliants sting, moisturizers feel like they disappear and texture gets worse instead of better. Common signs: stinging when you apply a plain moisturizer, tightness after washing, redness around the nose and a surface that looks shiny and flaky at the same time.
If any of that sounds familiar, give yourself two weeks of a barrier-only routine. Pause every active (acids, retinoids, vitamin C, scrubs) and keep just three things: a gentle cleanser, a rich ceramide moisturizer morning and night, and sunscreen in the morning. Look for ceramides, cholesterol, fatty acids and glycerin on the ingredient list, and choose fragrance-free if your skin is sensitive like mine.
I resisted this step for a long time because it felt too boring to work. It turned out to be the one that made every later step possible. If you want a deeper look, I've written about the signs of a damaged skin barrier and how to restore it.
2. Cleanse Softly, Not Squeaky
That squeaky, tight feeling after washing isn't "clean", it's stripped. A stripped surface overproduces oil and dries out at the same time, which is a fast route to both comedones and flakes.
Choose a low-foam gel or cream cleanser, use lukewarm water and massage with your fingertips for 30 to 60 seconds. In the morning, a splash of water or a quick rinse is often enough for dry or sensitive skin.
In the evening, a soft muslin cloth wrung out in warm water and pressed gently over the face (pressed, not rubbed) helps lift cleanser and loosen loose flakes without grit. Use it once a day at most, and give each cloth a wash after every use. Pat your face dry with a clean towel instead of rubbing.
3. Choose a Gentle Chemical Exfoliant
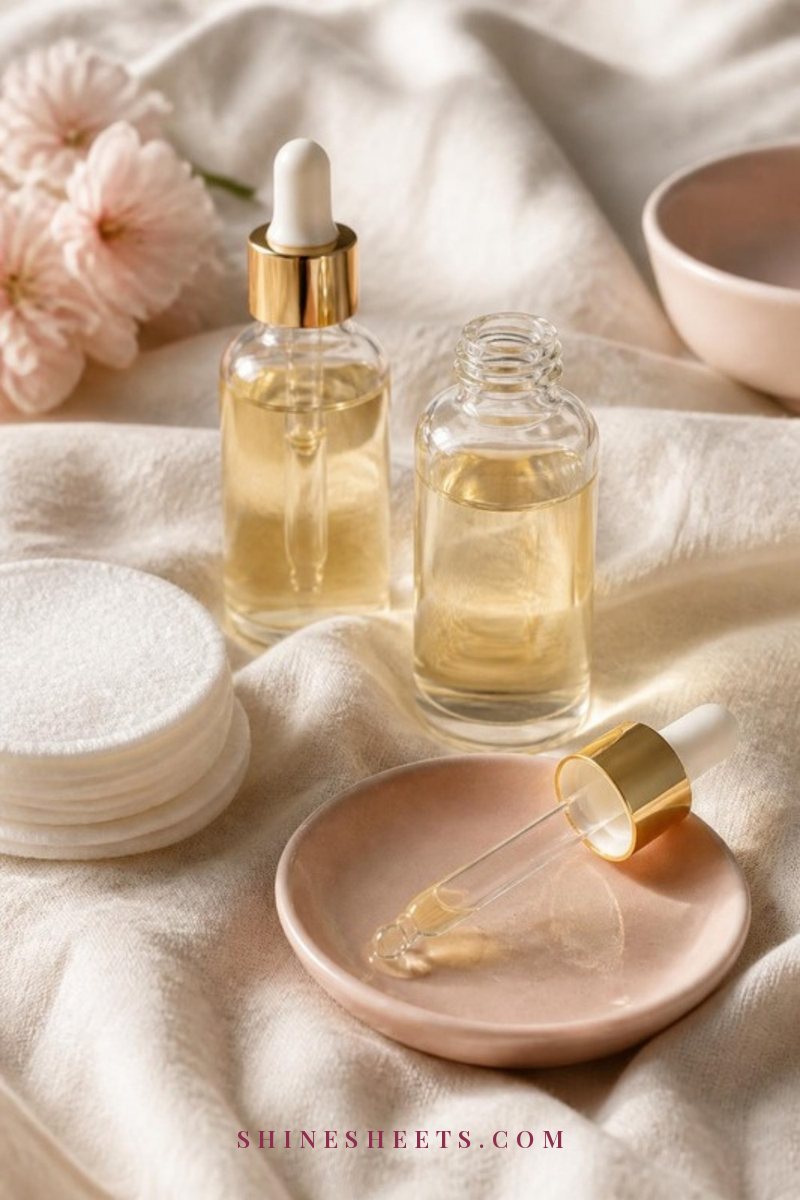
Chemical exfoliants loosen the bonds between dead cells so they shed evenly, with no rubbing involved. For textured skin, these three are the gentlest places to start:
- Lactic acid (an AHA). Exfoliates and hydrates at the same time, which makes it lovely for dry flakes and rough patches. Start with 5 to 10 percent. A gentle lactic acid serum on clean, dry skin in the evening is a calm first step.
- Mandelic acid (an AHA). A larger molecule that works slowly and evenly, so it suits sensitive skin and helps fade flat post-acne marks over time.
- Salicylic acid (a BHA). Oil-soluble, so it travels into the pore itself. This is the one for closed comedones and an oily T-zone. A 2% BHA liquid exfoliant swiped on with a cotton pad or pressed in with fingertips works well.
With combination skin, you don't have to choose just one. BHA on the T-zone and lactic acid on the cheeks (on different nights, or the same night on different zones) is a very workable split. Glycolic acid is also popular, but it's stronger and more likely to sting sensitive skin, so I'd save it for later, if at all. My AHA vs BHA guide walks through which one fits which skin type in more detail.
4. Keep Exfoliation to 2–3 Nights a Week
This is where most people go wrong, because the first results feel so good that it's tempting to exfoliate every night. Here's the pace I'd suggest:
- Weeks 1 and 2: one night a week.
- Weeks 3 and 4: two nights a week, with at least one rest night in between.
- From week 5: up to three nights a week, only if your skin is completely comfortable.
Apply your exfoliant to clean, dry skin, wait a minute or two and follow with moisturizer. Watch for signs of too much: stinging with products that never stung before, a tight, shiny look, new tiny bumps or patchy redness. If you notice any of them, stop for a week and go back to the barrier routine.
A little formula to remember: one active per night, moisturizer every night, and rest nights count as part of the routine. For more on pacing, here's how to exfoliate your face without overdoing it.
5. Add a Retinoid Slowly
Retinoids speed up cell turnover, help keep pores clear and, over months, soften shallow texture and fade marks. They are the most effective long-term tool for textured skin, and also the step most likely to irritate if you rush it.
Wait until your barrier feels calm and your exfoliant routine has been stable for about four weeks. Then start with a low-strength retinol two nights a week, on nights you are not exfoliating. Use a pea-sized amount for your whole face and keep it away from the corners of your nose, mouth and eyes. If your skin is sensitive, try the "sandwich": a thin layer of moisturizer, then the retinoid, then moisturizer again.
Increase to every other night after two or three weeks, if your skin is happy. Some people notice a short "purge" of small bumps in the first few weeks, especially where they already had closed comedones; this usually settles. Real smoothing takes 8 to 12 weeks, so be kind to yourself in the middle. If you're pregnant, breastfeeding or trying to conceive, talk to your doctor before using any retinoid. My gentle retinol start plan has the full week-by-week schedule.
6. Hydrate in Layers
Dehydrated skin looks rougher, shows pores more and flakes more easily, even if it's oily. Hydration plumps the surface so light reflects more evenly, which instantly makes texture look softer.
Layer thin, watery products first and thicker ones last: a hydrating toner or essence pressed into slightly damp skin, then a serum with hyaluronic acid or glycerin, then your moisturizer. On very dry areas only, you can add a thin layer of balm on top at night. Keep heavier balms and oils away from comedone-prone zones.
During heating season, a small humidifier next to the bed makes a real difference to morning flakes. Drinking enough water supports your skin overall, but what you put on top matters more for surface texture.
7. Wear SPF Every Morning
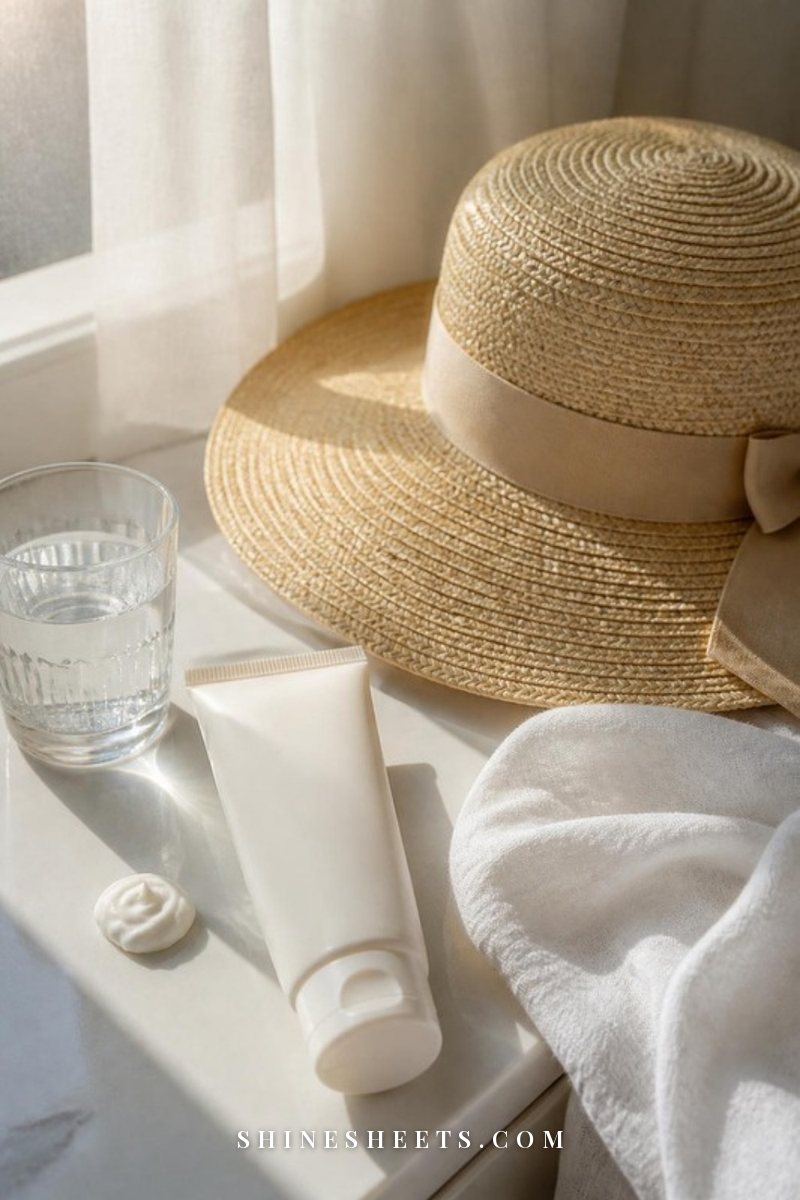
Sunscreen is the step that protects all your other work. UV light keeps post-acne marks darker for longer, gradually roughens the surface and undoes the progress from your exfoliant. Acids and retinoids also make your skin more sensitive to the sun, so daily SPF stops being optional the moment you start them.
Use a broad-spectrum SPF 30 or higher every morning, about two finger-lengths for your face and neck, and reapply if you're outside for long. A lightweight mineral sunscreen with zinc oxide is often the gentlest option for sensitive skin. Look for a sheer or tinted formula to avoid a white cast, or try one of the very light Korean sunscreens, which tend to sit well under makeup.
Texture Type → What Helps
This is the heart of the guide. Find the row that matches what you see in the mirror, and start there instead of treating everything at once. Screenshot it if it helps.
| Texture type | What it looks and feels like | What helps | Give it |
|---|---|---|---|
| Closed comedones | Tiny skin-colored bumps on the forehead, chin and jaw; felt more than seen | 2% BHA two or three nights a week, a retinoid later, a light non-comedogenic moisturizer, hands off | 6–8 weeks |
| Dry flakes | Lifted bits around the nose, brows and chin that catch makeup | Barrier repair, lactic acid once or twice a week, hydrating layers, a humidifier | 1–2 weeks |
| Rough patches | Sandpaper feel, usually on the cheeks | Two weeks of barrier care first, then lactic or mandelic acid twice a week | 3–4 weeks |
| Post-acne marks (flat) | Pink, red or brown spots where breakouts used to be | Daily SPF, mandelic acid, niacinamide, a retinoid, no picking | 8–12 weeks or longer |
| Enlarged-looking pores | Stretched, shadowy pores on the nose and inner cheeks | BHA, a retinoid, gentle oil control on the T-zone, good hydration | 6–8 weeks |
| Shallow acne scars | Small dents or uneven areas that stay the same in any lighting | A retinoid can soften them slightly; real change comes from dermatologist treatments | Professional advice |
If pores are your main concern, my guide to making pores look smaller without harsh scrubs goes deeper into that one row.
A Simple Weekly Routine for Textured Skin
Once all the steps are in place (remember, that takes a couple of months, not a weekend), a full week can look like this:
- Every morning: gentle cleanse or water rinse, hydrating serum, moisturizer, SPF.
- Monday evening: cleanse, exfoliant (BHA on the T-zone, lactic on the cheeks), moisturizer.
- Tuesday evening: rest night. Cleanse, hydrating layers, moisturizer.
- Wednesday evening: cleanse, retinoid, moisturizer.
- Thursday evening: rest night.
- Friday evening: cleanse, exfoliant, moisturizer.
- Saturday evening: cleanse, retinoid, moisturizer.
- Sunday evening: rest night, with an optional hydrating sheet mask.
If your skin feels tight or stingy, drop one active night that week. Nothing is lost by slowing down. If you have an oily T-zone and drier cheeks, my skincare routine for combination skin shows how to adjust products by zone.
What To Avoid: 6 Habits That Make Texture Worse
Sometimes the fastest progress comes from what you stop doing. These six habits are worth dropping:
- Gritty scrubs. Jagged particles cause tiny tears and irritation, which leads to more roughness. If you love the physical feeling of exfoliating, a warm muslin cloth pressed gently is plenty.
- Too many actives at once. Vitamin C, an AHA, a BHA and a retinol in one evening is a recipe for an angry barrier. One active per night, always.
- Picking and squeezing. Closed comedones don't have an opening, so squeezing pushes debris deeper and leaves a mark that lasts far longer than the bump would have. A hydrocolloid patch over anything tempting keeps fingers away.
- Hot water on your face. Very hot showers and steaming strip oils and leave skin tight and flaky. Lukewarm is your friend.
- Switching products every week. Texture changes slowly. Give a new routine at least four to six weeks before you judge it.
- Skipping moisturizer because you feel oily. Oily skin can be dehydrated too, and skipping moisture often makes the shine and the bumps worse.
Makeup Tips for Textured Skin
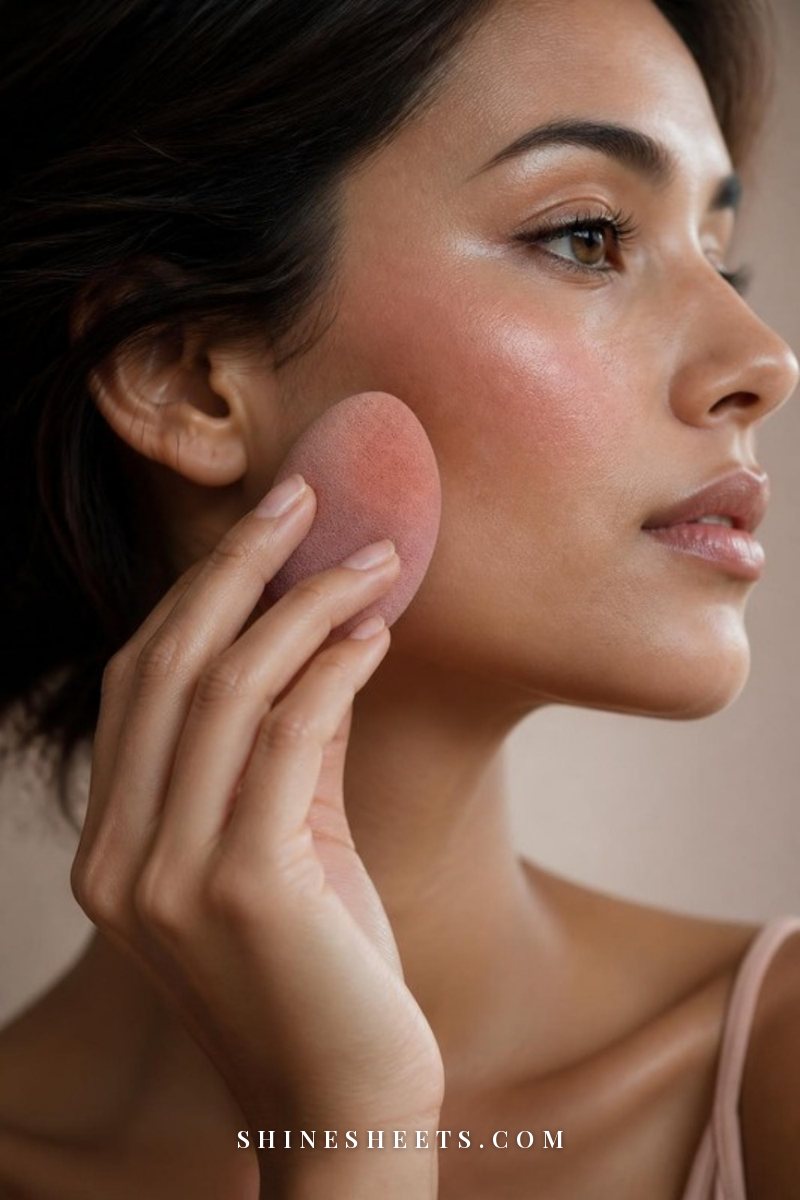
Makeup can't erase texture, and it doesn't need to. The goal is a base that moves with your skin instead of settling into every bump. These six tips make the biggest difference:
- Prep, then wait. Moisturize, then give it two or three minutes to settle before primer or foundation. Makeup on a damp, slippery surface slides and collects in pores.
- Use primer only where you need it. A pore-blurring silicone primer pressed (not rubbed) into the nose, inner cheeks and forehead fills in tiny dips so foundation glides over them. A pea-sized amount is enough.
- Go thin, then build. Start with a skin tint or a light foundation, apply a small amount with a damp sponge using pressing motions, and add a second thin layer only where you want more coverage. Two thin layers always look smoother than one thick one.
- Choose cream over powder. Cream blush and cream bronzer melt into the skin instead of clinging to dry patches. Keep powder for the T-zone, finely milled and pressed on lightly with a fluffy brush.
- Place highlighter carefully. Shimmer and glitter magnify bumps. Put highlighter only on smooth areas, like the very top of the cheekbones, or swap it for a dewy balm.
- Finish with a mist. A fine facial mist pressed in with clean hands melts any powdery edges and makes the base look more like skin.
And one honest reminder: bathroom lighting and phone cameras show texture far more harshly than anyone sees it across a table. Other people notice your face, not your pores.
When To See a Dermatologist
Most texture improves with a gentle routine, but some bumps need a professional. Book an appointment if your bumps are itchy, painful, spreading or deep and cystic; if you have red, rough patches that burn (this can be rosacea, eczema or perioral dermatitis, which acids can make worse); if your texture is mostly shallow scars; or if nothing has changed after three months of a consistent routine.
A dermatologist can offer prescription-strength retinoids, azelaic acid, professional peels and treatments for scarring that go well beyond what's possible at home. This guide is general information, not medical advice, so please check with a professional if you're unsure what you're dealing with.
Final Thoughts
Smoother skin isn't won with force. It comes from a calm barrier, the right gentle exfoliant on the right nights, a slow retinoid and sunscreen that you actually wear, all repeated long enough to work.
Start with the row in the table that looks most like your skin, pick one small step for this week and let the rest wait. Your skin will meet you halfway, and the patience you give it now is the kindest thing in the whole routine.