Most makeup that reads "older" isn't about the face at all. It's about texture, placement and finish. A little too much powder, blush sitting a touch too low, a brow drawn with a ruler-sharp edge – each one is tiny, but together they pull the eye toward lines and shadows instead of toward your skin, your eyes and your smile.
The good news is that every one of these habits has an easy, gentle fix. You don't need a new face, a dramatic routine or a drawer full of new products. Usually you need one technique change and, sometimes, one swap from a dry formula to a creamier one.
This guide walks through the most common makeup mistakes that age you, why each one does it and the exact fix, from skin prep to lipstick. At the end you'll find a "swap this for that" table you can screenshot and keep near your makeup bag. Nothing here is about looking younger for anyone else. It's about looking fresh, lifted and soft – like you, on a well-rested day.
One small honest admission before we start: I made almost every mistake on this list at some point, and the fixes still surprise me with how much difference they make.
Why Some Makeup Habits Read Older Than They Need To
Skin changes over time, and that's simply life. It tends to get a little drier, a little thinner, and fine lines and texture become more visible. Makeup that worked beautifully on very bouncy, oily skin can start to sit differently, and that's where most of these "mistakes" come from. They aren't wrong, they're just habits that haven't caught up with your skin.
Almost every fix in this guide follows three simple principles:
- Hydration over coverage. Skin that looks moisturized reads fresh. Thick layers of product read heavy.
- Lift over drag. Placing color slightly higher and blending upward draws the eye up. Color placed low, or blended downward, does the opposite.
- Soft edges over sharp ones. Diffused lines look natural and youthful. Hard lines – on brows, lips or eyes – look drawn on.
Keep these three in the back of your mind and you'll start spotting the small changes on your own. If you'd like a full routine built around them, my guide to makeup for mature skin goes step by step.
12 Makeup Mistakes That Age You (and the Easy Fix for Each)
Read through all twelve, then pick the two or three that feel most familiar. Changing just those is usually enough to notice a fresher face in the mirror within a week.
1. Heavy Matte Foundation
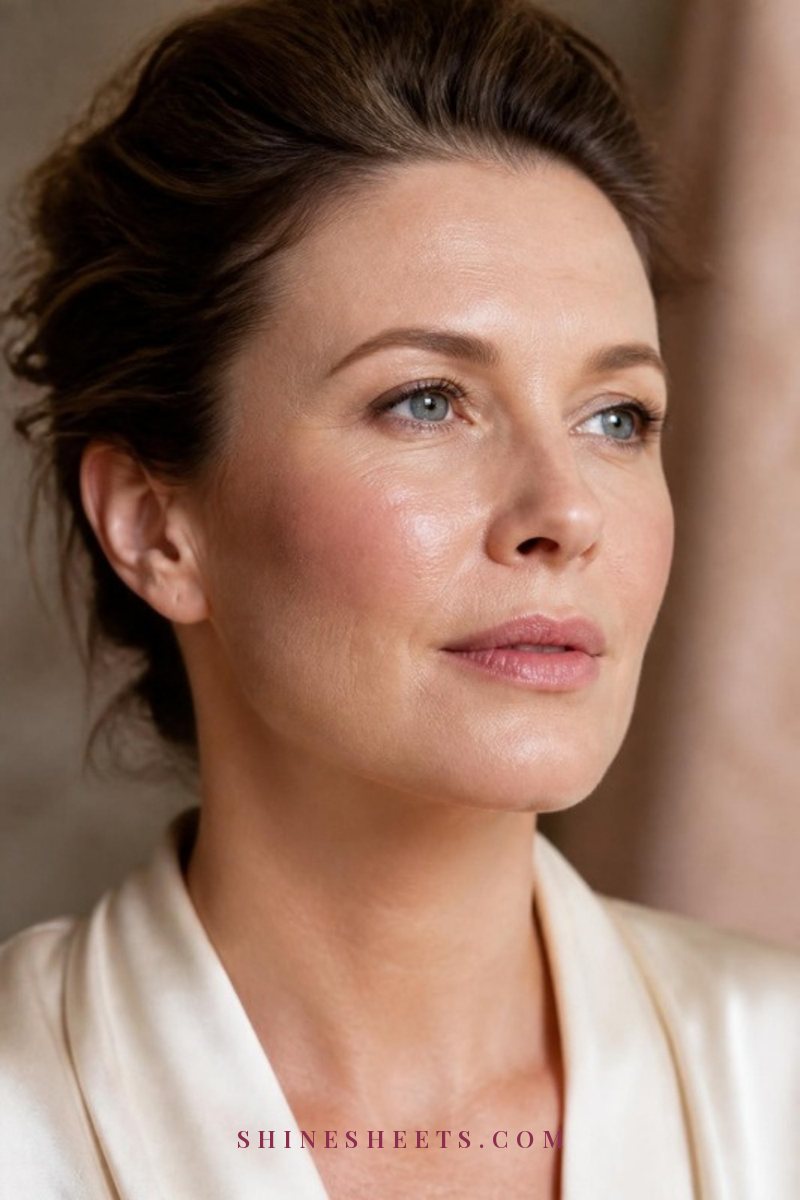
Why it ages: Full-coverage matte foundation sits on top of the skin like a layer. It flattens the natural light your skin reflects, and it collects in fine lines and around the nose within an hour or two. The face starts to look masked rather than glowing.
The easy fix: Switch to a sheer, satin or "natural" finish and use less of it. A pea-sized amount is plenty for the whole face. Apply it to the center of your face first (around the nose, chin and between the brows) and blend outward with a damp sponge, letting it fade to almost nothing at the hairline and jaw.
A lightweight satin skin tint is a lovely middle ground: enough to even out redness, light enough that your real skin shows through. Look for words like "radiant," "satin" or "luminous" on the label and avoid "matte," "oil-free" or "24-hour" if your skin leans dry. Then use concealer only where you still need it, instead of building more foundation everywhere. My step-by-step guide on how to apply foundation covers the sponge technique in detail.
2. Too Much Powder Everywhere
Why it ages: Powder soaks up moisture and oil, which is exactly what makes skin look plump. A full face of powder settles into every line and makes texture look more obvious, especially under the eyes and around the mouth.
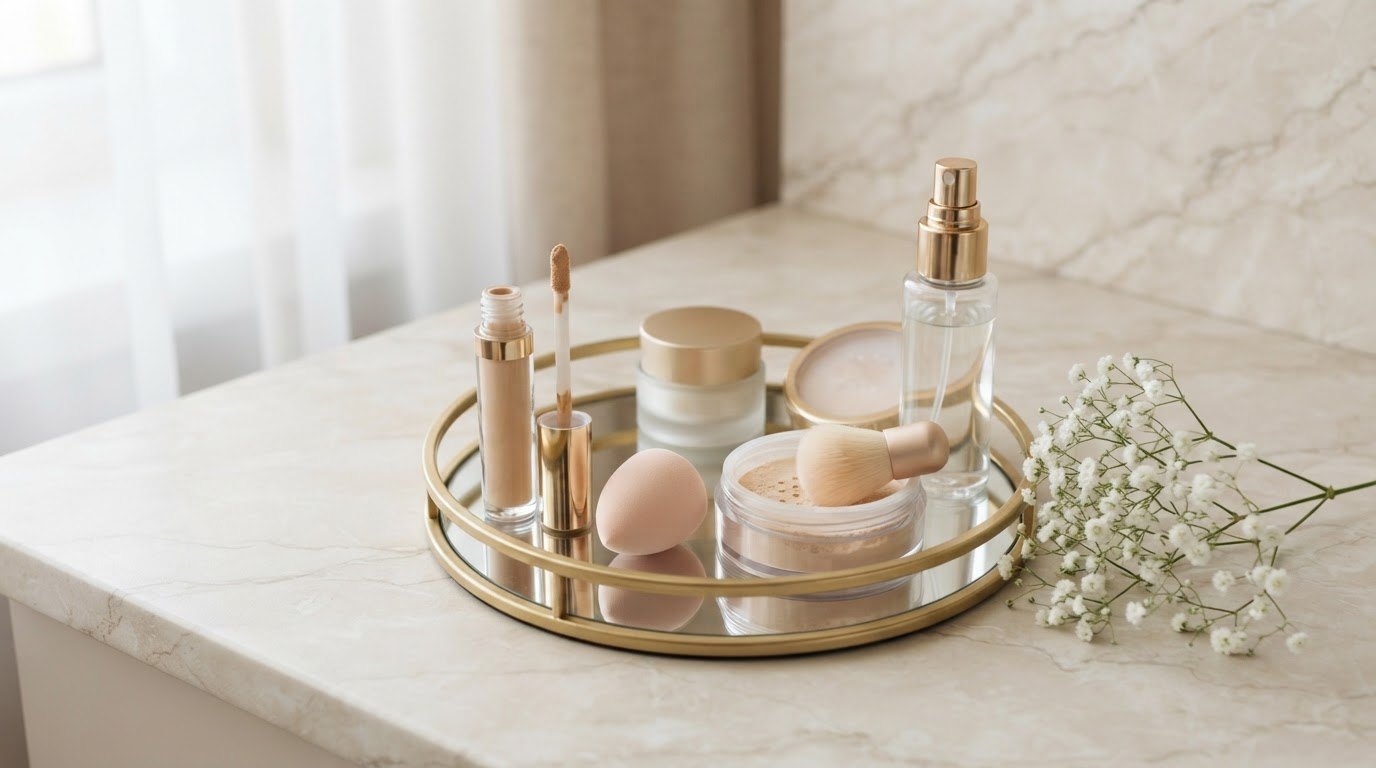
The easy fix: Powder only where you actually get shiny. For me, with combination skin, that's a shiny T-zone – the sides of the nose, the center of the forehead and the chin. Leave cheeks and under-eyes alone. Use a small fluffy brush, tap off the excess on the back of your hand, and press (don't sweep) a whisper of finely milled translucent powder onto those spots only.
If you already powdered too much, mist your face with a hydrating spray and press it in with clean fingers. It melts the powder back into the skin in about thirty seconds.
3. Skipping Skin Prep
Why it ages: Makeup can only look as smooth as the skin underneath. On dehydrated skin, even the most beautiful foundation clings to dry patches and turns flaky by lunch.
The easy fix: Give your skin five minutes before makeup. A simple order:
- A hydrating serum or toner patted onto damp skin.
- Your usual moisturizer, massaged in for about a minute.
- Sunscreen, then wait two or three minutes while you do your brows.
- A thin layer of primer only where makeup tends to slide or cling.
A hydrating makeup primer with ingredients like glycerin or hyaluronic acid helps foundation glide instead of grip. Skip heavy silicone "pore-blurring" primers all over the face; they can look chalky on drier skin. Use those only on the T-zone if you love them.
4. Under-Eye Concealer That's Too Light or Too Thick
Why it ages: A concealer two shades lighter than your skin creates a gray, ashy "reverse raccoon" effect, and a thick layer creases into every fine line under the eye. Both make the eye area look more tired, not less.
The easy fix: Choose a shade that matches your skin or is at most one shade lighter, with a peach or warm undertone if you have dark circles. Apply it only to the inner corner and the darkest spot (usually a small triangle near the nose), not in a big swoosh under the entire eye. Tap it in with your ring finger, which naturally uses the lightest pressure.
Formula matters as much as shade. A creamy, hydrating under-eye concealer moves with the skin instead of cracking. Set it with the tiniest amount of powder pressed on with a damp sponge, or skip powder completely on dry days. I wrote a whole guide on how to apply concealer without creasing if this is the one that bothers you most.
5. Harsh, Dark Lip Liner
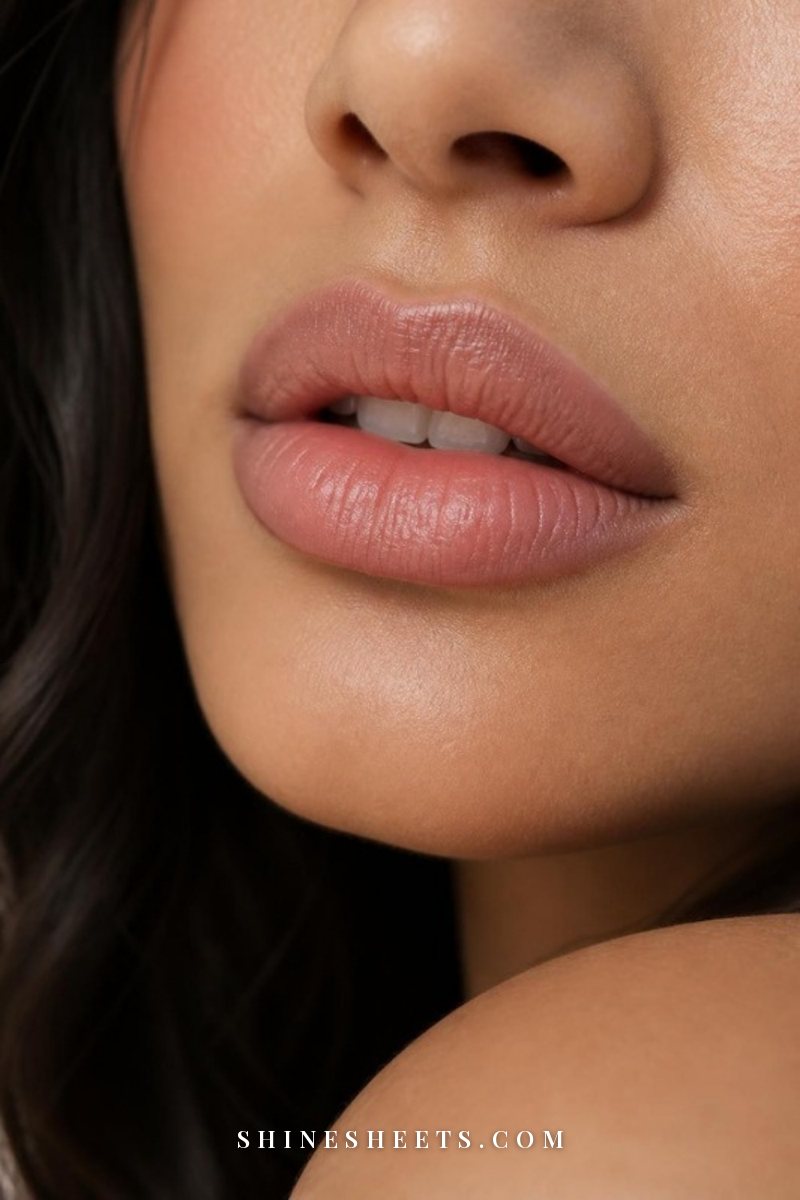
Why it ages: A liner noticeably darker than the lipstick creates a visible ring around the mouth. As the lipstick wears off during the day, the outline stays behind, and it can also draw attention to fine lines above the lip.
The easy fix: Pick a liner that matches your natural lip color or your lipstick, not one three shades deeper. Line just on (or a hair outside) your natural lip line at the cupid's bow and the center of the bottom lip, then softly fill in the whole lip with the liner. Blur the edges with a clean fingertip before adding lipstick. The liner now acts as a long-wearing base instead of a frame.
If you love a defined lip, a soft nude-rose liner with a matching pink lipstick gives shape without any hard edge.
6. Over-Drawn, Sharp or Very Thin Brows
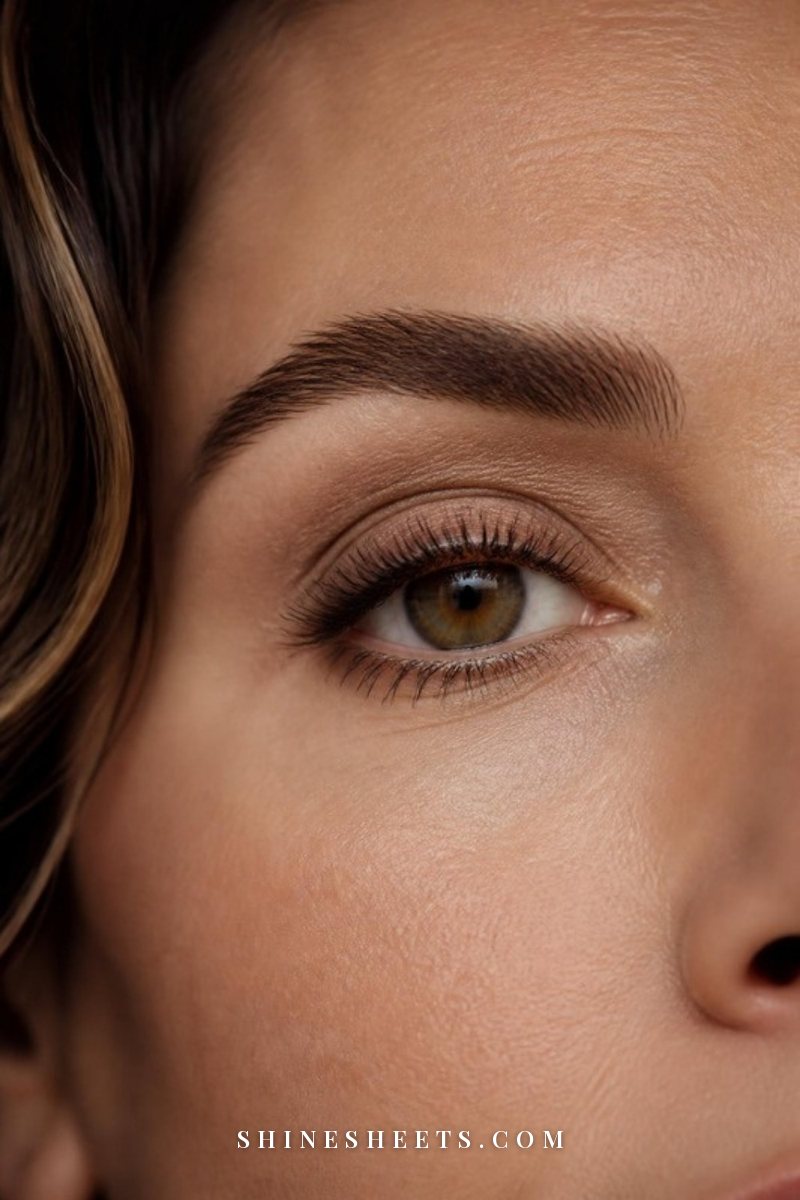
Why it ages: Brows frame the whole face. Very thin brows, or brows filled in with a block of dark pencil and a crisp edge, look drawn on and can make the eyes look smaller and the face harsher. Brows also naturally get a little sparser over time, so an old over-plucked shape becomes more noticeable.
The easy fix: Go softer and fuller rather than darker. Brush the hairs up first. Then use a fine pencil or powder one shade lighter than your hair to draw small, hair-like strokes only where there are gaps, mainly at the front and along the bottom edge. Keep the front of the brow the lightest and softest part, and never draw a hard line along the top.
To finish, a tinted brow gel brushed upward adds color to the hairs you have and holds them in place for a fluffy, lifted look. It's honestly the fastest brow upgrade there is. For more on finding your natural shape, see my guide to natural brows.
7. Heavy Liner on the Lower Lash Line
Why it ages: Dark liner along the bottom lashes pulls the eye downward and can make shadows under the eyes look deeper. It also tends to smudge into fine lines by the afternoon, which reads as tiredness.
The easy fix: Keep the definition on the top lash line. Press a soft brown pencil or dark shadow between the upper lashes (called tightlining) for a fuller lash line without a visible stripe. If you want a little lower definition, use a soft brown or taupe shadow on the outer third only, smudged with a small brush so there's no hard edge. Leave the inner half of the lower lash line bare for an open, awake look.
8. Shimmer or Glitter on Crepey Lids
Why it ages: Shimmer reflects light from every little fold and texture, which spotlights exactly what you'd like to soften. Chunky glitter can also flake into the under-eye area during the day.
The easy fix: Use a matte or soft satin shadow across the lid and crease – warm taupe, soft brown and muted rose shades are flattering on almost everyone. If you love a little sparkle (I do, it's my Old Hollywood heart), place a dab of fine satin shimmer only in the center of the lid, right above the pupil, and tap it on with a fingertip. That one spot of light makes the eye look rounder and brighter without highlighting texture. It's the same trick makeup artists use for a soft, wide-awake eye.
9. Blush Placed Too Low
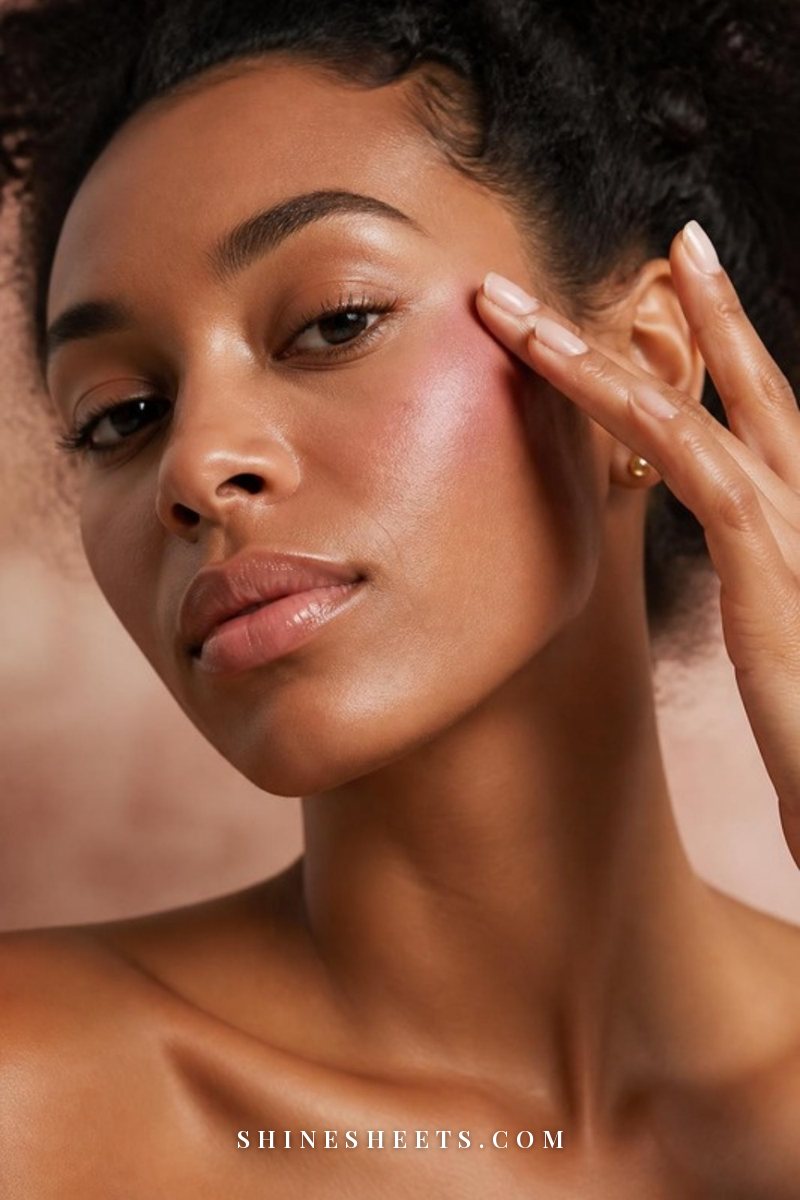
Why it ages: Blush placed on the apples of the cheeks (and blended down toward the mouth) was the classic rule for years. But as the cheeks naturally soften, that low placement drags the face down instead of lifting it.
The easy fix: Place your blush higher. Find the top of your cheekbone, roughly in line with the outer half of your eye, and blend upward and outward toward your temple. A simple formula: start two finger-widths away from your nose, never lower than the bottom of your nose, and always blend up.
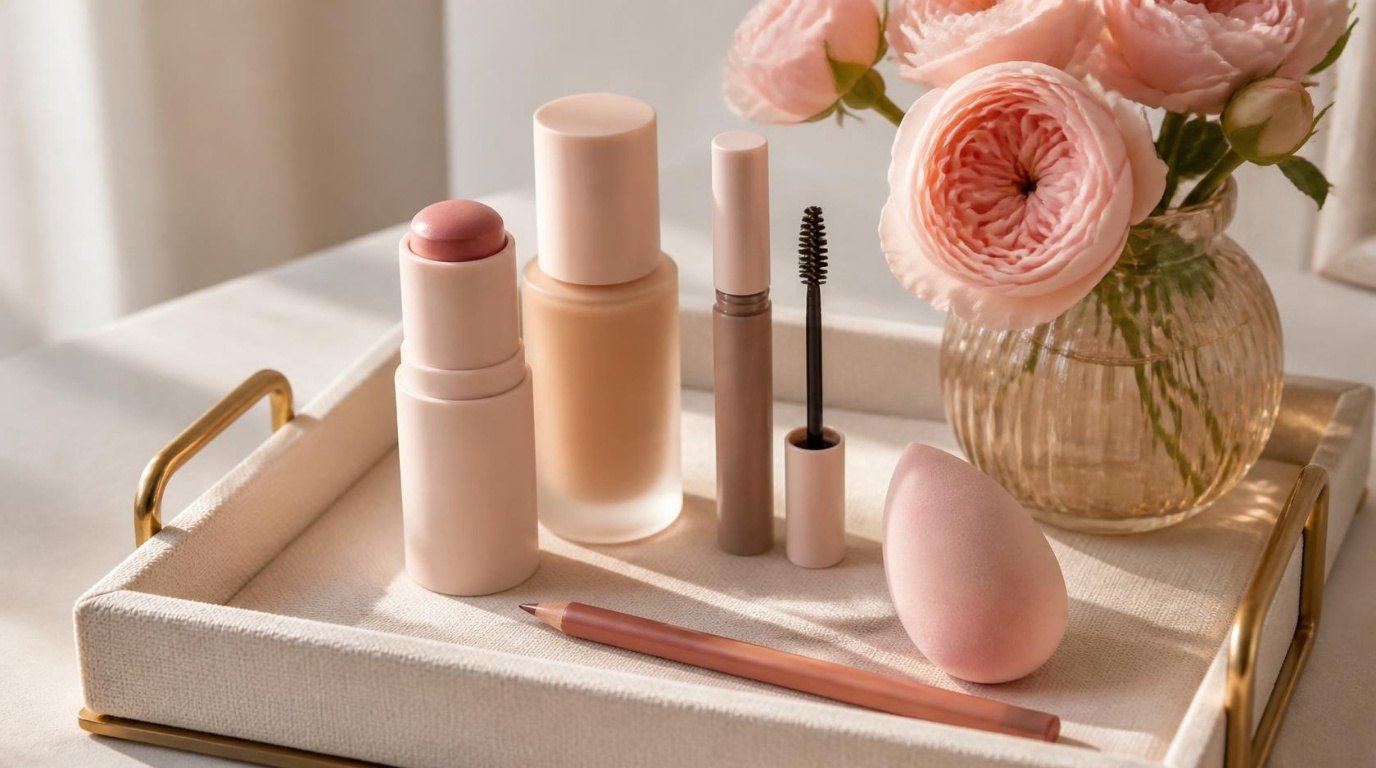
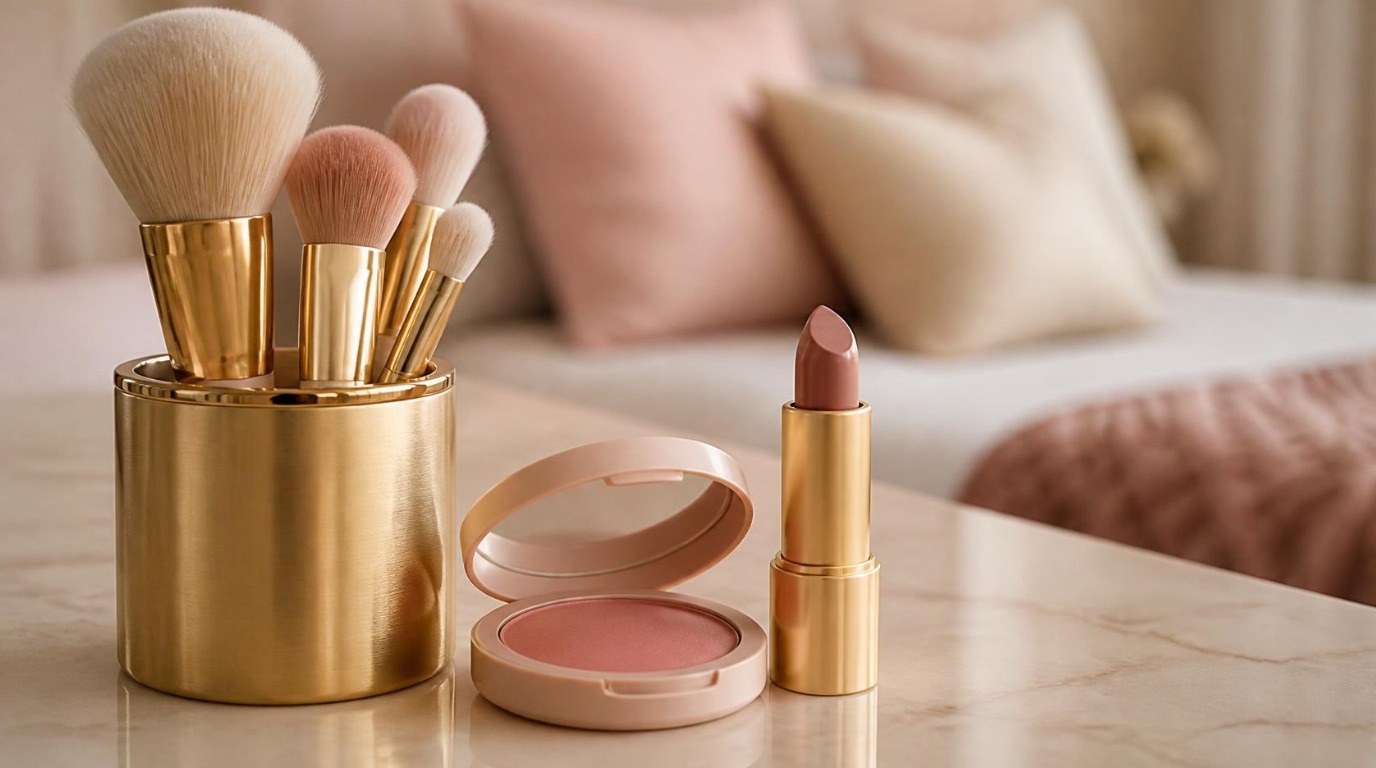
Cream blush is especially flattering here because it melts into the skin instead of sitting on top. A pink cream blush stick is the easiest to use: swipe two small dots onto the cheekbone and tap upward with your fingers. My blush placement guide shows exact spots for every face shape.
10. Using Bronzer Instead of Blush
Why it ages: Bronzer adds warmth and shape, but without any pink or rose it can leave the face looking flat, muddy or a little tired. Fresh skin has natural color in the cheeks, and that flush is one of the strongest signals of health and energy.
The easy fix: Use both, in the right order and the right places. A light sweep of a soft, matte bronzer goes where the sun naturally hits (top of the forehead, upper cheekbones, a touch on the jaw). Then add blush on top, slightly higher, so you get warmth and a healthy flush at once. If you only have time for one product, choose blush.
11. Dry, Flat Matte Lipstick
Why it ages: Lips get a little thinner and drier over time, and very matte, long-wear liquid formulas emphasize every vertical line. They can also make lips look smaller and flatter.
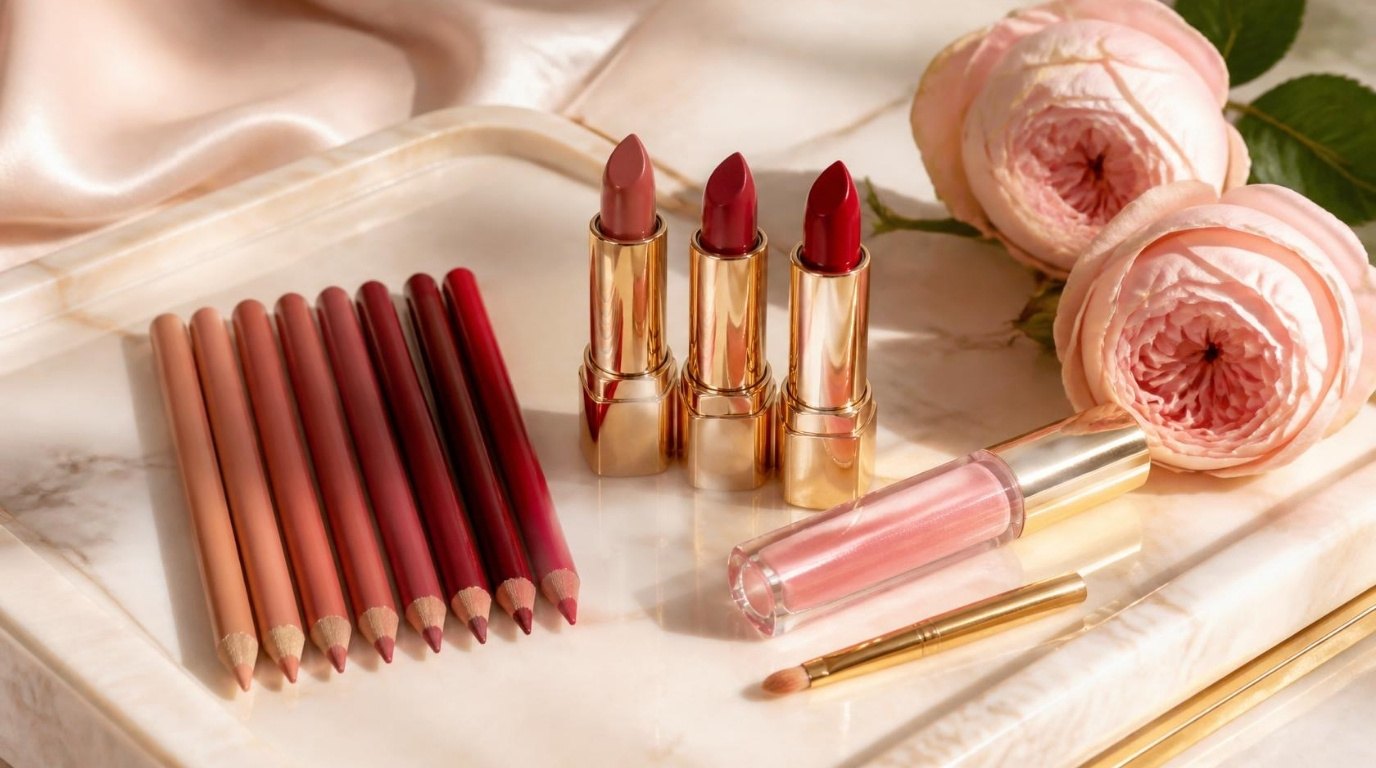
The easy fix: Choose satin, cream or balm formulas, ideally a shade or two brighter than your natural lip color. Prep with a lip balm while you do your skin, blot it off, then apply lipstick straight from the bullet and press your lips together. A satin lipstick in a soft nude-pink is the most universally fresh choice: it adds color and a gentle sheen without looking shiny or sticky. Add a tiny dab of clear balm to the center of the bottom lip for a fuller look.
12. Clumpy Mascara and a Mismatched Neck
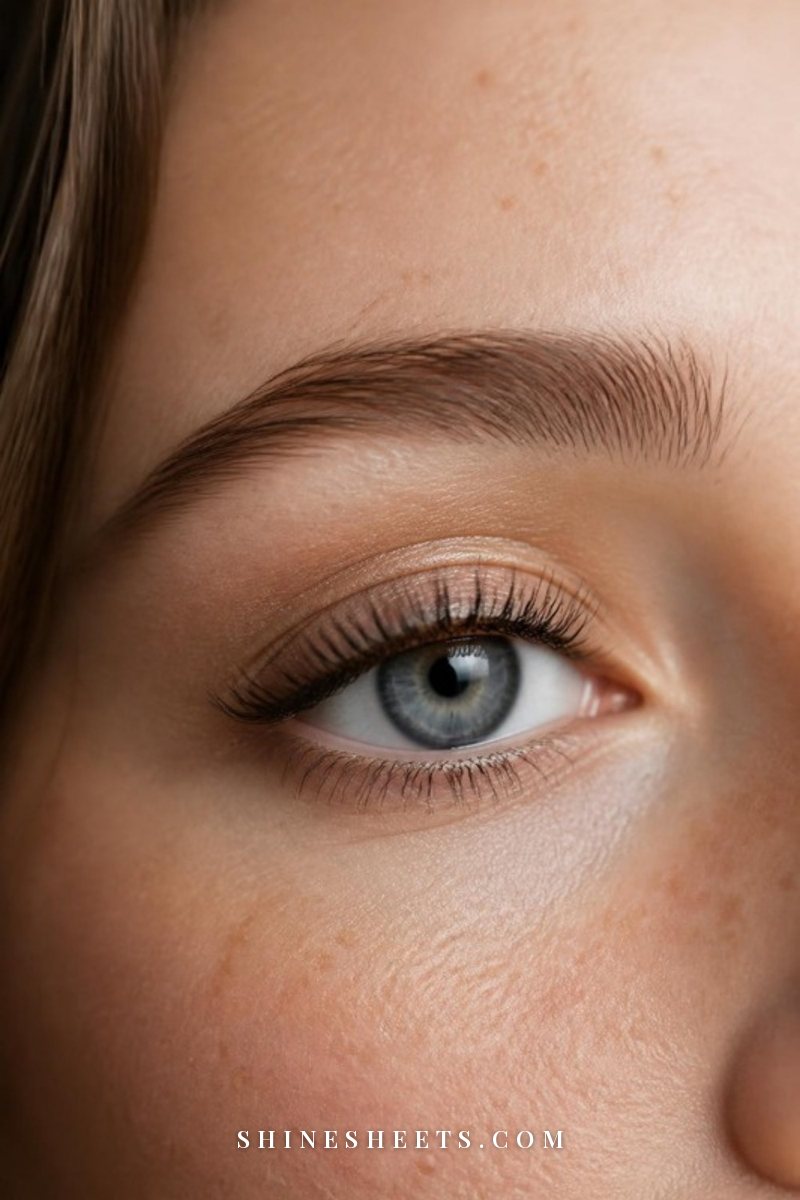
Why it ages: These two are small, but they're the details people notice up close. Clumped lashes look heavy and spidery, and they pull the eye down. And foundation that stops abruptly at the jaw creates a visible line between a lighter, flatter face and a warmer neck.
The easy fix for lashes: Curl your lashes first, then wiggle the wand at the base and pull it straight up. Two thin coats beat one thick one. Comb through with a clean spoolie while the mascara is still wet, and replace your mascara every three months (an old, dried-out tube is the number one cause of clumps). My mascara tips guide goes into curling and wand angles.
The easy fix for the neck: Match your foundation to your jaw and neck, not your cheek, and check it in daylight by a window. Blend the last bit of product down past the jawline with your sponge. A light dusting of bronzer or the same skin tint on the neck makes everything flow together.
Swap This for That: Your Fresh-Face Cheat Sheet
Here's everything in one place. Screenshot it and keep it on your phone for the next time you're doing makeup in a hurry.
| Instead of this | Try this fresh fix | Why it works |
|---|---|---|
| Full-coverage matte foundation | Sheer satin skin tint, a pea-sized amount | Lets real skin and natural light show through |
| Powder over the whole face | Pressed powder on the T-zone only | Keeps cheeks and under-eyes plump and dewy |
| Makeup on bare, dry skin | Serum, moisturizer, SPF, hydrating primer | Gives foundation a smooth base to glide on |
| Very light, thick under-eye concealer | Creamy concealer, true shade, inner corner only | Brightens without creasing or looking gray |
| Dark outlined lips | Liner matching lips, filled in and blurred | No ring when lipstick fades |
| Thin, sharp, blocky brows | Hair-like strokes plus tinted brow gel | Soft, full brows lift the whole face |
| Dark liner on the lower lash line | Tightlining the top lashes | Opens the eye instead of dragging it down |
| Shimmer all over the lid | Matte lid plus satin dot in the center | Brightness without highlighting texture |
| Blush on the apples, blended down | Cream blush high on the cheekbone, blended up | Instant lift toward the temples |
| Bronzer only | Light bronzer plus blush on top | Warmth and a healthy flush together |
| Dry matte liquid lipstick | Satin lipstick a shade brighter than your lips | Fuller-looking, softer lips |
| Thick, clumpy mascara | Curl, two thin coats, comb through | Separated lashes that open the eye |
| Foundation stopping at the jaw | Shade matched to the neck, blended down | One seamless, natural tone |
You don't need to change all thirteen rows. Pick the first two that made you think "oh, that's me" and start there.
A 10-Minute Fresh-Face Routine That Puts It All Together
If you'd like one simple routine that avoids every mistake above, here's the order I'd follow on an ordinary weekday:
- Prep (3 minutes): hydrating serum, moisturizer, sunscreen. Do your brows while it sinks in.
- Brows (1 minute): brush up, fill small gaps with light strokes, finish with tinted gel.
- Skin (2 minutes): a pea-sized amount of skin tint blended from the center outward, down past the jaw.
- Concealer (1 minute): inner corners and any redness only, tapped in with your ring finger.
- Cheeks (1 minute): cream blush high on the cheekbones, blended upward.
- Eyes (1 minute): curl lashes, tightline the top lash line, two thin coats of mascara.
- Lips and powder (1 minute): satin lipstick, then a whisper of powder on the T-zone only.
That's it. No contour, no setting spray marathon, no ten brushes. On days when I want a bit more drama, I simply deepen the lip or add a soft winged liner, and the fresh base still does the heavy lifting.
A Few Gentle Reminders
Before you go reorganize your makeup bag, a few things I want you to hold onto:
- None of these are rules. If you adore a matte red lip or a sharp cat-eye, wear it. These fixes are for when something feels "off" and you can't tell why.
- Lighting matters more than you think. Do your makeup facing a window when you can. Bathroom lights from above create shadows that make you add more product than you need.
- Old products behave differently. Dried-out concealers, clumpy mascaras and crumbly powders cause half the problems on this list. Check your bag every few months.
- Clean tools help. A dirty sponge or brush deposits product unevenly. Wash your sponge once a week and your brushes every couple of weeks.
- Skin care is still the foundation. Makeup looks freshest on well-cared-for skin. Sunscreen every day and a good moisturizer do more for a soft, smooth base than any primer.
If a product ever stings, burns or leaves your skin red and itchy, stop using it and give your skin a few calm days. Sensitive skin (mine included) often reacts to fragrance and heavy long-wear formulas, so a gentler swap is always worth it.
Final Thoughts
Fresh makeup isn't about hiding anything. It's about letting your skin, your eyes and your expressions be the first thing people see. A little less powder, blush placed a little higher, a softer brow and a creamier lip – small changes that make you look rested, lifted and completely like yourself.
Start with one swap this week, enjoy how it feels, and add the next one when you're ready. Your face has been telling your story beautifully all along, and good makeup simply lets it shine.