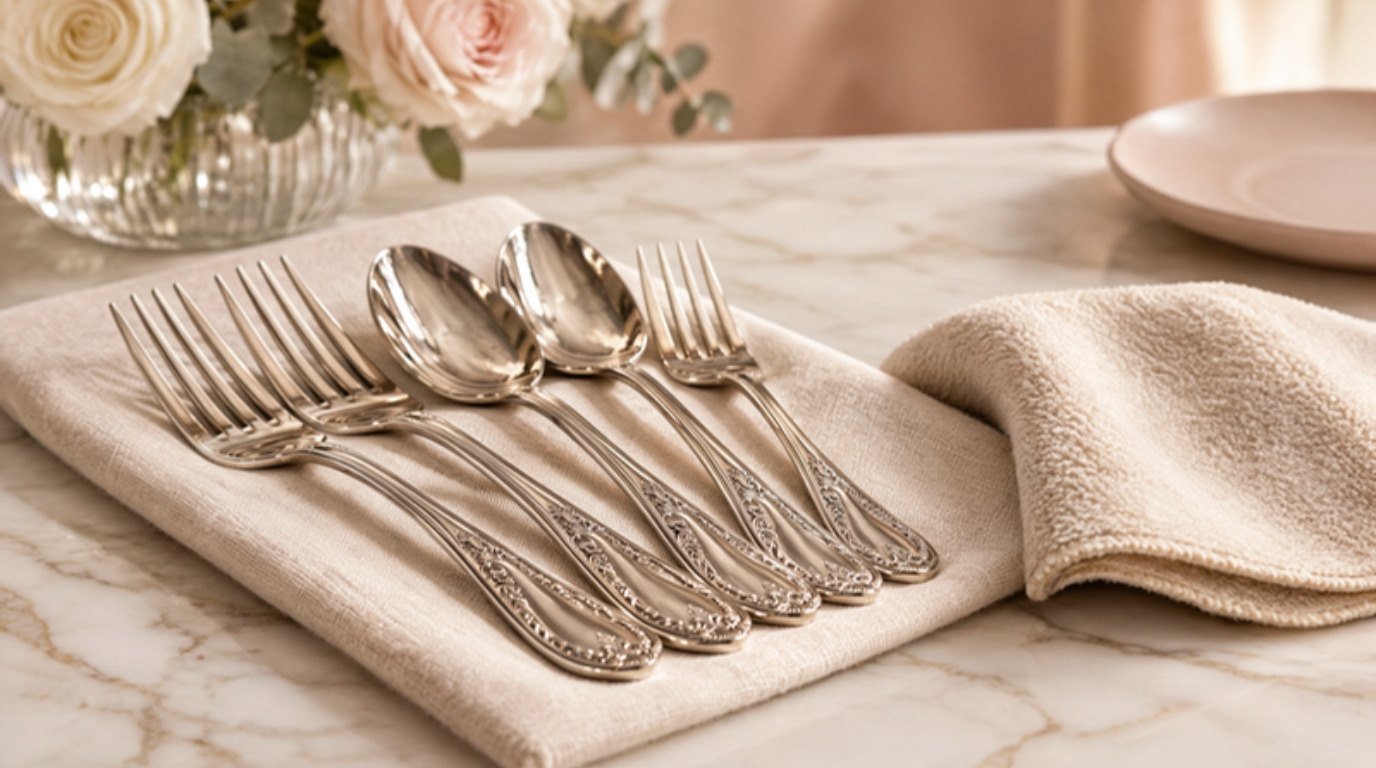
Tarnished silver is not ruined silver. That dark, smoky film is only a thin surface layer, and in most cases it lifts away with warm water, a soft cloth and a little patience. The real secret to beautiful silverware is not scrubbing harder. It is choosing the gentlest method that works and then storing your pieces so the tarnish comes back slowly.
Whether you have a drawer of everyday silver-plated forks, a set of sterling that came down through the family or one lonely serving spoon you love, the same calm approach applies. Start soft, step up only when you need to and always finish with a thorough rinse and an immediate dry.
This guide covers how to polish silverware at home: why silver tarnishes, how to tell sterling from plated, four methods in order from gentlest to strongest, a quick comparison table, serving pieces and trays, the five mistakes that cause real damage and how to store everything so you polish less often.
Put on some music, lay a towel on the counter and let's make your silver shine again.
Why Silver Tarnishes
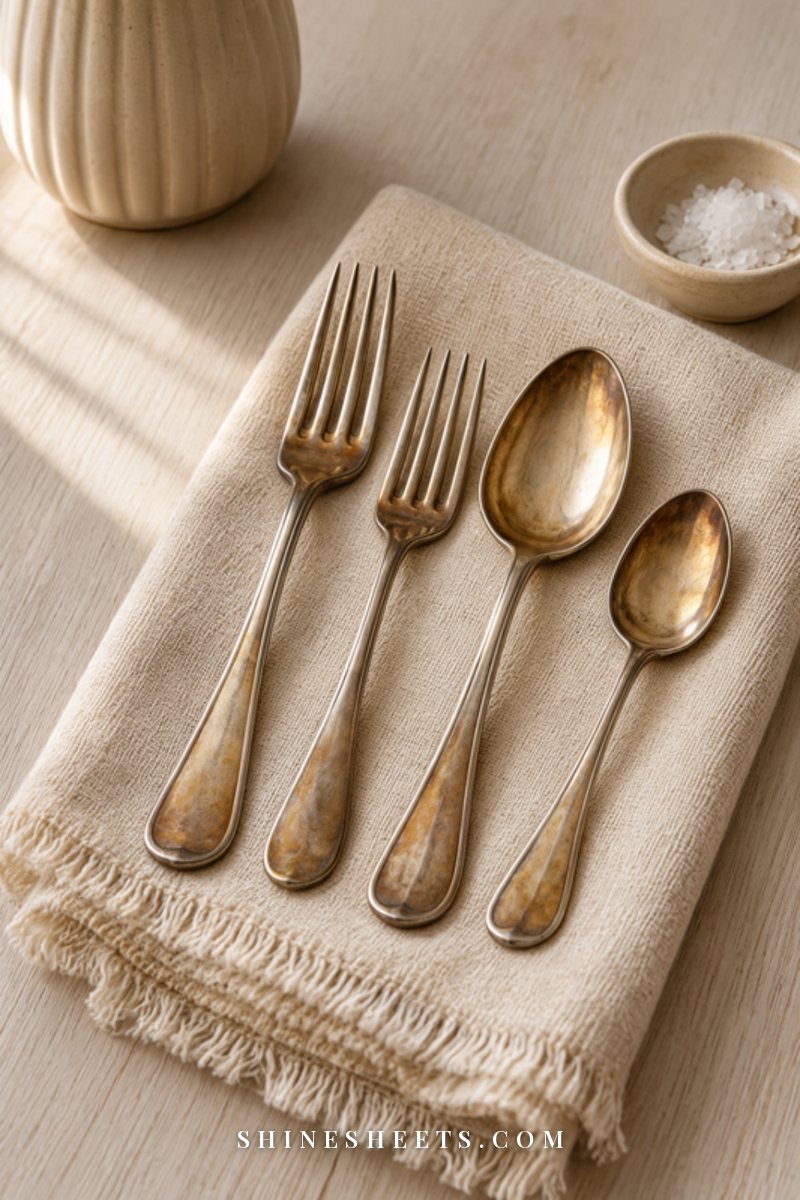
Tarnish is a reaction between silver and sulfur compounds in the air. The result is silver sulfide, a thin film that starts out as a faint golden haze, turns brown and eventually looks almost black. It does not eat through your silver the way rust eats through iron. It just sits on top.
Some everyday things speed it up a lot:
- Sulfur-rich foods. Eggs, mayonnaise, mustard, onions and some dressings leave dark marks quickly, especially if they sit on a spoon overnight.
- Rubber. Rubber bands, rubber-lined drawer mats and rubber gloves contain sulfur and can leave dark lines or spots on silver.
- Humidity. Damp kitchens, steamy dishwashers and pieces put away slightly wet all tarnish faster.
- Certain materials. Wool felt, some cardboard boxes and paper that is not acid-free can release sulfur compounds over time.
- Salt. Salt left on silver (think salt cellars and spoons) can cause spotting and even small pits.
The lovely flip side? Silver that is used regularly, washed and dried well tends to tarnish less than silver hidden in a drawer for years. Using your nice forks is part of caring for them.
Sterling vs Silver-Plated: Know What You Have
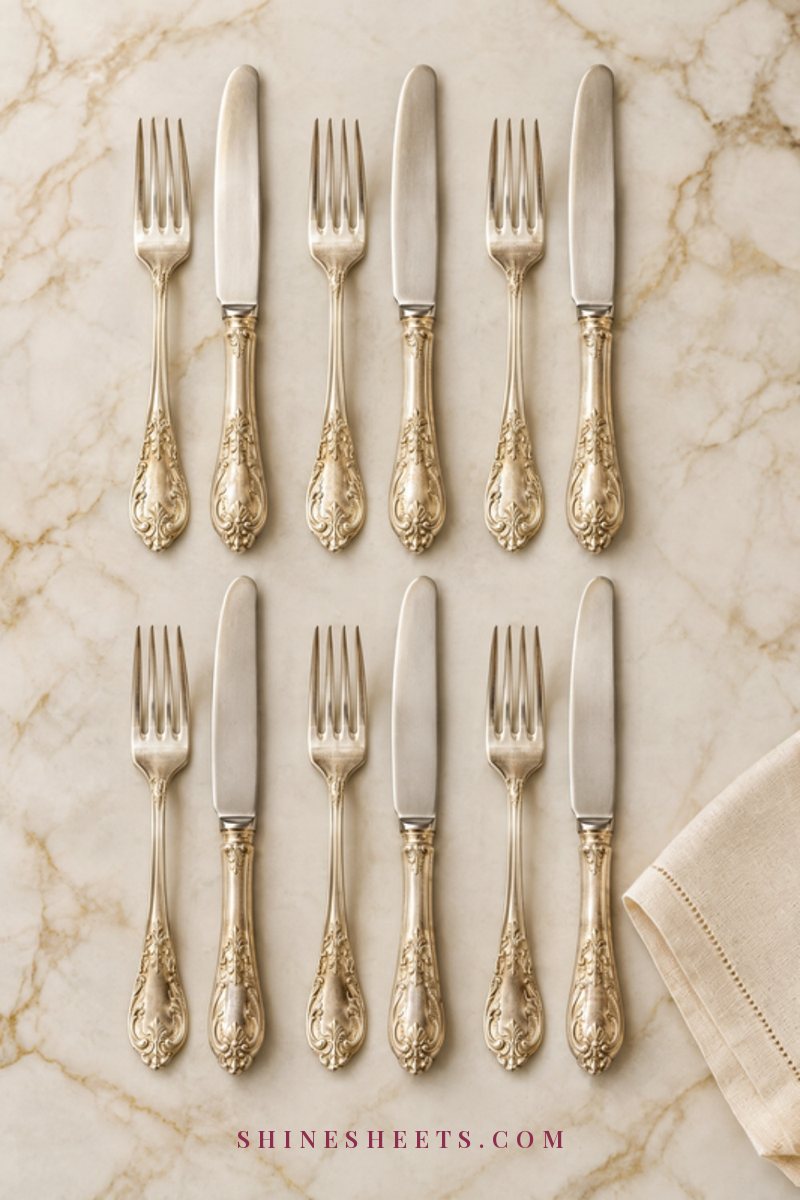
Before you polish anything, it helps to know which kind of silver you are holding, because they need slightly different handling.
- Sterling silver is 92.5 percent silver all the way through. You can polish it many times over the years without wearing through. Pieces are often stamped "sterling," "925" or with a small row of hallmark symbols on the back of the handle.
- Silver-plated pieces have a thin layer of silver over a base metal, often brass, copper or nickel silver. Look for marks like "EP," "EPNS," "silver plate" or "plated." Each polish removes a tiny amount of that top layer, so plated pieces need a lighter touch and less frequent polishing.
A quick clue: if you see a coppery or yellowish tone peeking through on the tips of fork tines or the back of a spoon bowl, that is base metal showing where the plating has worn. Be extra gentle there and skip pastes on those spots entirely.
If you are not sure, treat the piece as plated. Gentle never hurts sterling, but harsh can definitely hurt plate.
What You Need
You do not need a cupboard full of special products. Most of this is already in your kitchen:
- Mild, fragrance-free dish soap and warm water
- Baking soda and aluminum foil (for the bath and paste methods)
- A heat-safe dish for the bath, such as a glass baking dish (glass makes it easy to see what is happening)
- Several soft, lint-free cloths, like white microfiber cloths or old cotton T-shirts
- A silver polishing cloth treated with a mild polishing compound, for buffing and quick touch-ups
- A soft-bristled toothbrush (soft or extra soft only) for patterns and engraving
- Soft cotton gloves, so you do not leave fingerprints on freshly polished pieces (and never rubber gloves, which can tarnish silver)
- Kitchen tongs or a wooden spoon for lifting pieces out of hot water
Silver Polishing Methods at a Glance
Here is the whole guide in one table. Always start at the top and move down only if the gentler method did not do enough.
| Method | Best for | Time | Avoid on |
|---|---|---|---|
| 1. Warm soapy wash and soft dry | Light haze, fingerprints, food residue, regular upkeep | 5–10 minutes | Nothing; safe for all silver (just keep wood, bone or pearl handles out of soaking water) |
| 2. Aluminum foil and baking soda bath | Moderate to heavy tarnish on plain cutlery, many pieces at once | 2–10 minutes in the bath, plus rinsing and drying | Hollow or glued handles, pieces with stones, wood, bone or pearl, and patina you want to keep in engraved details |
| 3. Baking soda paste with a soft cloth | Stubborn spots, a few individual pieces | 5–15 minutes per piece | Worn plating, very fine or matte finishes, frequent use on plated silver |
| 4. Polishing cloth buff | Final shine, light tarnish, quick touch-ups before guests | 1–3 minutes per piece | Nothing in particular; use a separate cloth for silver and for gold |
Most of the time, methods 1 and 4 are all you need. Methods 2 and 3 are for silver that has been tucked away for a while.
One more gentle note before you start: a little darkness in the recessed parts of a pattern is often there on purpose. Many silversmiths and collectors like that soft contrast because it makes the design stand out. If you love that look, skip the bath for patterned pieces and polish only the raised surfaces with your cloth, so the details stay beautifully defined.
How To Polish Silverware, Step by Step
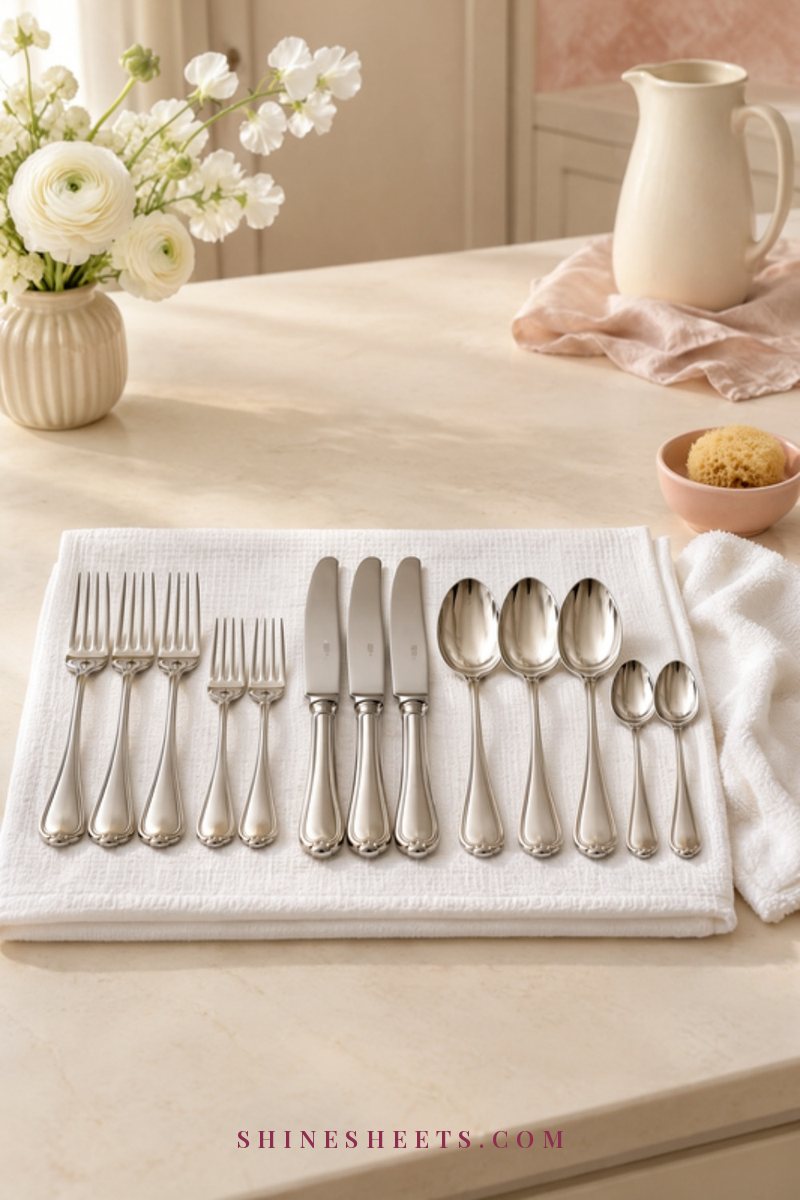
Work in a calm, clear space. Lay a soft towel on the counter so pieces do not knock against the sink or each other, and only do a handful at a time so nothing sits wet for long.
Method 1: Warm Soapy Wash and Soft Dry
This is always step one, even if you plan to polish afterward, because it removes food residue and grease that would otherwise get rubbed into the silver.
- Fill a plastic basin or the sink (lined with a towel) with warm water and a few drops of mild dish soap.
- Wash each piece gently with a soft cloth or sponge. Use the soft toothbrush on patterns and between fork tines.
- Rinse in clean warm water.
- Dry immediately and thoroughly with a soft cotton or microfiber cloth. Do not let silver air-dry, since water spots and lingering moisture both encourage tarnish.
If a piece has a wood, bone or mother-of-pearl handle, wash only the silver part and keep the handle out of the water.
Method 2: The Aluminum Foil and Baking Soda Bath
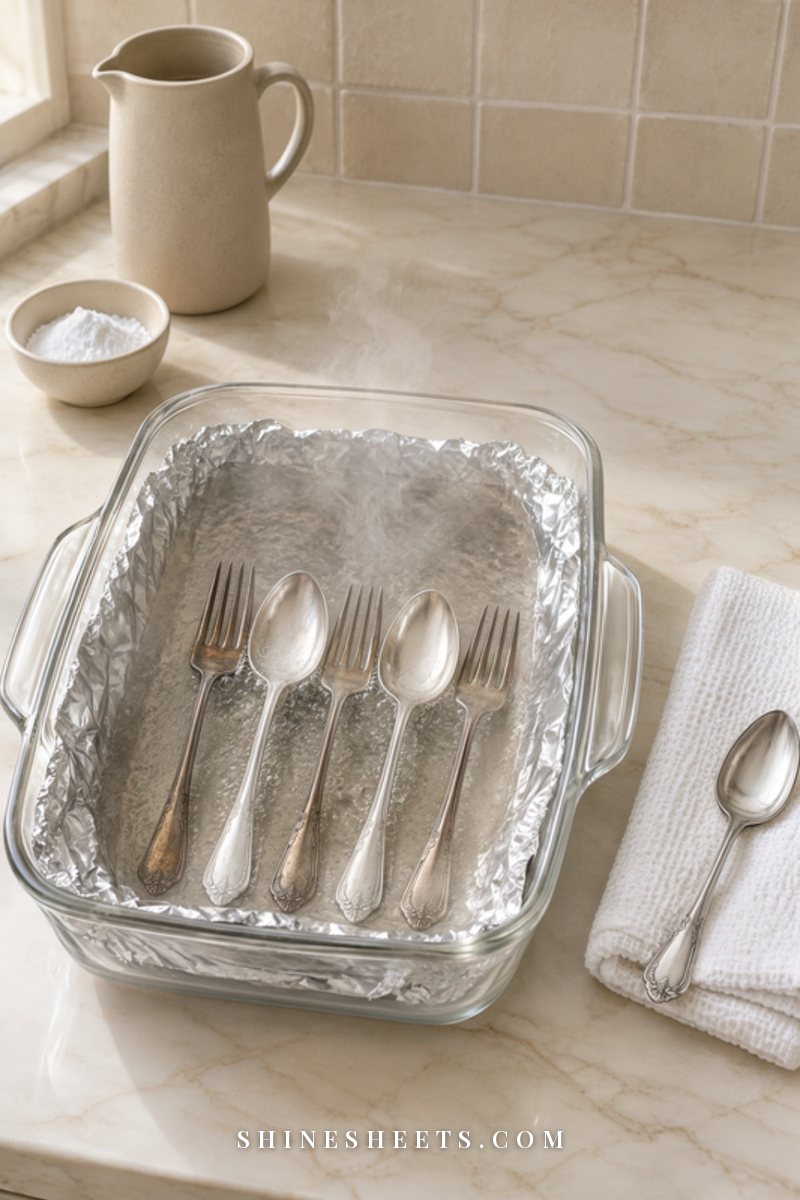
This method feels a bit like magic. Instead of rubbing tarnish off, a simple chemical reaction between the aluminum, the baking soda and the silver sulfide turns much of the tarnish back into silver. It is perfect for a whole drawer of plain cutlery.
- Line your glass baking dish with aluminum foil, shiny side up.
- Lay the silver pieces in a single layer so each one touches the foil.
- Sprinkle about 2 tablespoons of baking soda per quart (about 1 liter) of water you will use over the pieces.
- Carefully pour in just-boiled water until the silver is fully covered. It will fizz a little.
- Leave light tarnish for 2–3 minutes and heavier tarnish for up to 10 minutes. For very dark pieces, you can repeat with fresh water rather than leaving them longer.
- Lift each piece out with tongs (it will be hot), rinse in clean warm water and dry right away with a soft cloth.
- Finish with a quick buff using your polishing cloth.
A few kind warnings. You may notice a faint rotten-egg smell, which is the sulfur leaving the silver, so open a window. Keep the hot water away from little hands and pets. And skip this method for pieces with hollow or glued handles (many older knives have hollow handles filled with cement that hot water can loosen), anything with stones, wood, bone or pearl, and pieces where you love the dark patina in engraved details, because the bath removes that too.
Method 3: Baking Soda Paste With a Soft Cloth
For stubborn spots that the bath did not lift, or for a single piece that does not need the whole setup, a gentle paste works well.
- Mix 3 parts baking soda with 1 part water into a smooth paste, about the texture of toothpaste.
- Test first on a hidden spot, like the back of a handle.
- Apply a small amount with a damp soft cloth and rub in straight, gentle back-and-forth lines, following the length of the piece. Avoid circles, which can leave swirl marks.
- Use the soft toothbrush very lightly on patterned areas.
- Rinse thoroughly in warm water so no paste stays in crevices.
- Dry immediately and buff.
Baking soda is mildly abrasive, so keep this method for occasional use, especially on silver-plated pieces. If you see coppery or yellowish base metal starting to show, stop.
Method 4: Polishing Cloth Buff
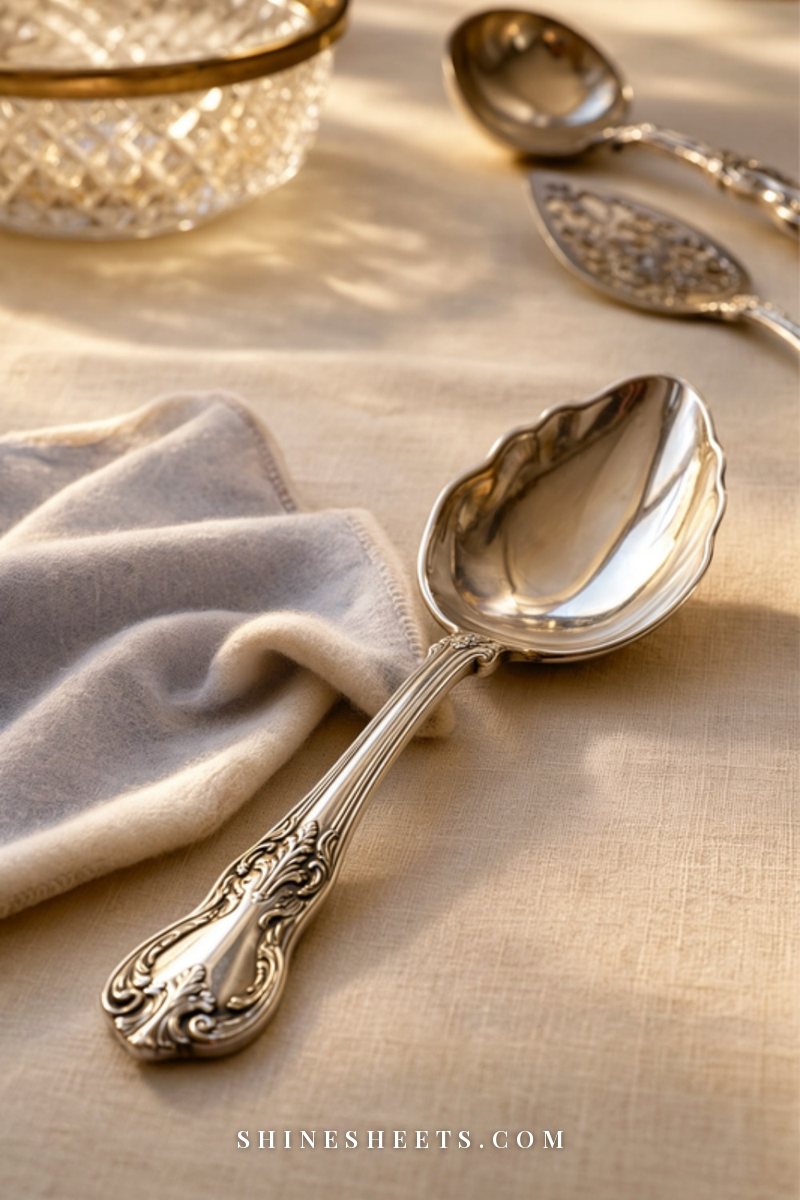
The polishing cloth is the finishing touch and the everyday helper. These cloths are usually treated with a fine polishing compound on one layer and a soft buffing layer on the other.
- Make sure the piece is clean and completely dry.
- Rub with the treated side using light, straight strokes until the haze lifts. The cloth will turn gray or black, which is normal.
- Switch to the clean buffing side (or a fresh microfiber cloth) and buff to a soft shine.
Do not wash a treated polishing cloth, because that rinses out the compound. Simply keep using it until it is fully black and stops working, then replace it. And keep separate cloths for silver and gold jewelry. Speaking of which, if your rings and chains need some love too, my guide to cleaning jewelry at home covers silver, gold and pearls.
Polishing Serving Pieces and Trays
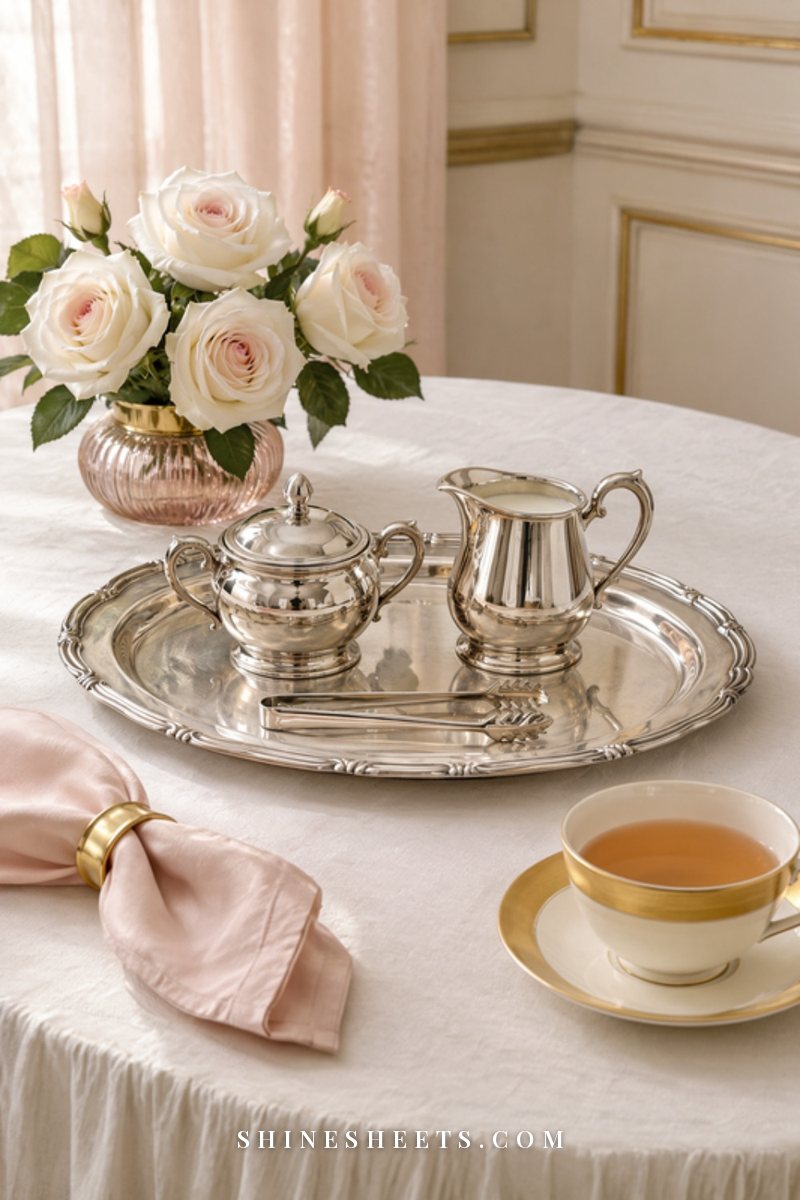
Larger pieces follow the same order of methods, with a few adjustments:
- Trays. Most trays are too big for a bath. Wash with warm soapy water, dry, then work in sections with a polishing cloth or a little paste, rinsing and drying each section as you go. Pay attention to the raised rim and any engraving, where tarnish collects.
- Teapots and coffee pots. Many have wooden or insulated handles and finials, so never submerge them. Wash the inside with warm soapy water, rinse well and leave the lid off for a few hours so the inside dries completely.
- Bowls, candlesticks and platters. Candlesticks are often weighted or filled at the base, so wipe rather than soak. If there is old wax, soften it with a hairdryer on low and wipe it away with a soft cloth before polishing (never scrape).
- Salt cellars and spoons. Empty them after every use and wash promptly, since salt can pit silver.
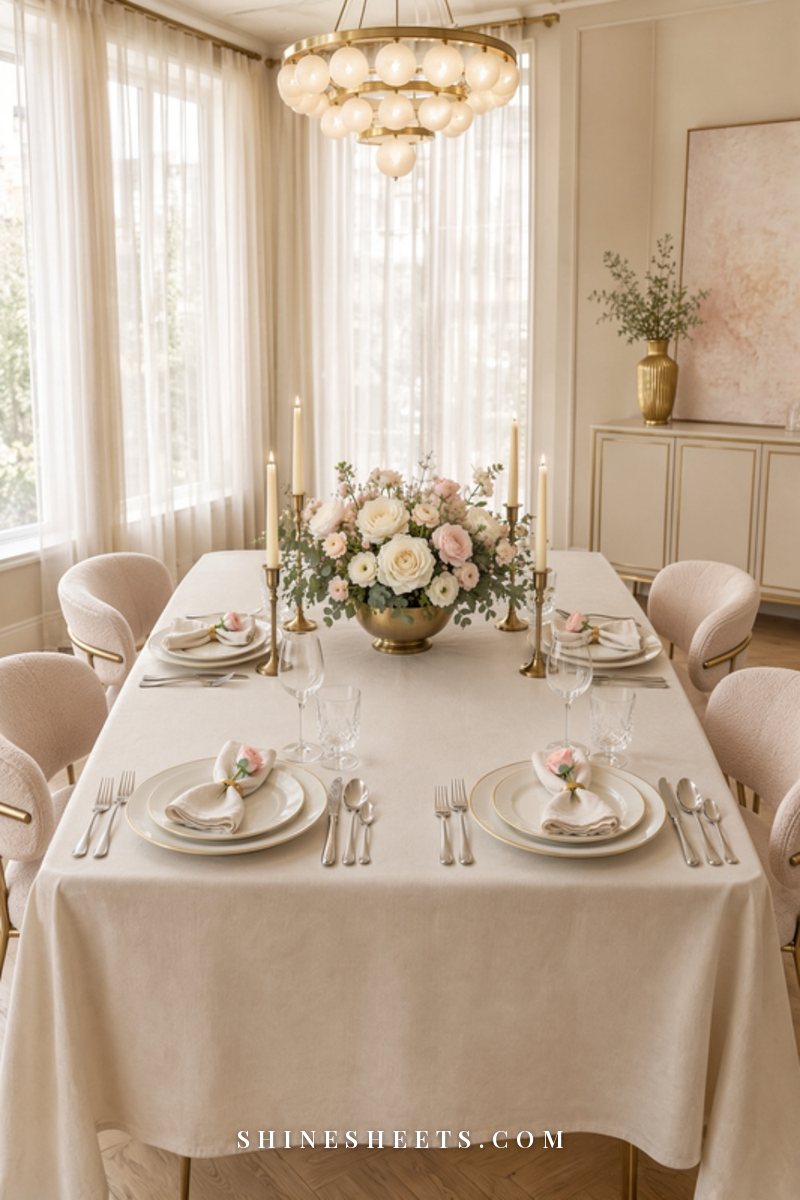
If you are polishing serving pieces for a special dinner, I love setting them out the day before so the table feels half-done already. My guide to cozy, elegant table setting ideas has lots of ways to make polished silver the quiet star of the table.
5 Mistakes That Damage Silver
Silver is sturdy, but these five habits cause the kind of damage polishing cannot fix:
- Using harsh abrasives. Scouring powders, steel wool, rough sponges and whitening toothpaste can leave fine scratches and wear through silver plating quickly.
- Reaching for bleach or mixing cleaners. Chlorine bleach can pit and discolor silver permanently, so keep it away from silver entirely. And as a general home safety rule, never mix bleach with vinegar or ammonia, because the combination releases harmful gases.
- Putting heirlooms in the dishwasher. Harsh detergent, high heat and long wet cycles can dull silver, loosen glued handles and wear plating. Mixing silver and stainless steel in the same basket can also cause dark spots where they touch. Hand wash your special pieces.
- Letting silver air-dry or sit wet. Water spots and moisture trapped in crevices both speed up tarnish. Always dry right away.
- Polishing too hard and too often. Every polish removes a tiny layer, which matters most on plated pieces. Gentle, regular washing and drying means you rarely need heavy polishing at all.
If you prefer simple, natural cleaners around the house, my guide to natural cleaning combos that actually work also lists the mixtures you should never combine.
How To Store Silver To Slow Tarnish
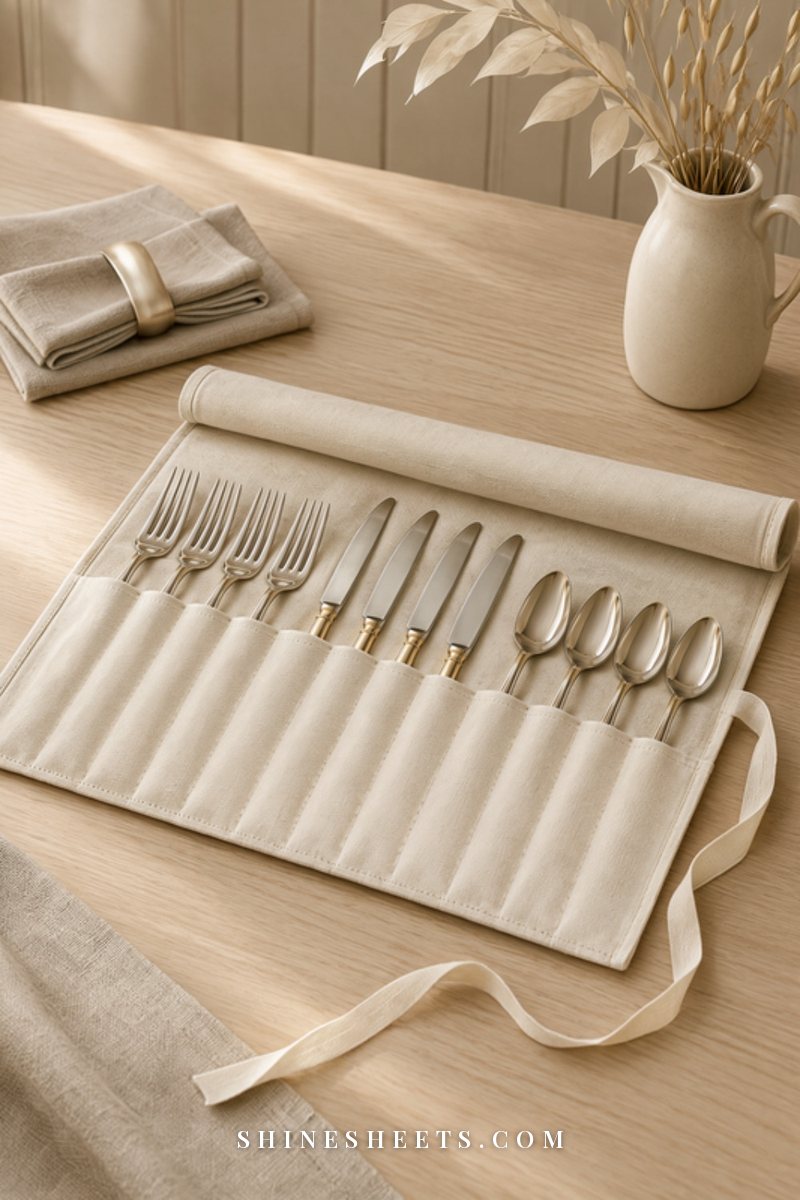
Good storage is what turns polishing from a monthly job into a once-or-twice-a-year one. The goal is simple: keep air, moisture and sulfur away.
- Anti-tarnish fabric. A cream anti-tarnish flatware storage roll with separate slots keeps pieces from scratching each other and slows tarnish for a long time. Lined drawer inserts and bags made from anti-tarnish cloth work the same way.
- Airtight bags. For pieces you use rarely, a zip-top bag with as much air pressed out as possible (plus an anti-tarnish strip, if you have one) is a simple, budget-friendly option.
- A piece of chalk. Plain white chalk tucked into the drawer or box absorbs a little moisture. Replace it every few months.
- Acid-free tissue. Wrap special pieces in acid-free tissue before bagging them. Avoid newspaper, regular cardboard, wool and rubber.
- A dry spot. Store silver away from the dishwasher, sink and stove, where steam and humidity collect.
For everyday silver you reach for often, a pretty divided organizer makes sense. A cutlery tray with gold accents keeps forks, knives and spoons separated so they do not rub, and it looks lovely when you open the drawer. If your drawers need a bigger reset, my guide to kitchen drawer organization walks through every drawer.
A Simple Silver Care Rhythm
You do not need a big polishing day every month. A small rhythm keeps everything beautiful:
- After every use: Rinse off food, especially eggs, mayonnaise and salt, within a few hours. Hand wash in warm soapy water, rinse and dry right away.
- Every month or two (for silver you use): A 1–3 minute buff per piece with your polishing cloth.
- Once or twice a year (or before a special gathering): Check stored pieces. Wash, use the bath or paste only where tarnish is heavy, buff, and put everything back into anti-tarnish storage.
Plan any deeper polishing a few days before a dinner party rather than the same afternoon. It takes the pressure off, and freshly polished silver stays bright for weeks if it is stored well.
If your kitchen also has stainless steel that needs the same streak-free care, here is my guide to cleaning stainless steel appliances. Just remember to keep the two metals apart in the sink and the dishwasher.
Final Thoughts
Polishing silverware is one of those quiet, satisfying jobs. A warm wash, a soft cloth and the right method for each piece are all it takes to bring back that soft, glowing shine, and good storage keeps it there.
Start gentle, rinse well, dry right away and enjoy using your silver instead of saving it. Beautiful things are meant to be part of everyday life, and a well-loved fork with a little history is a lovely thing to set on any table.