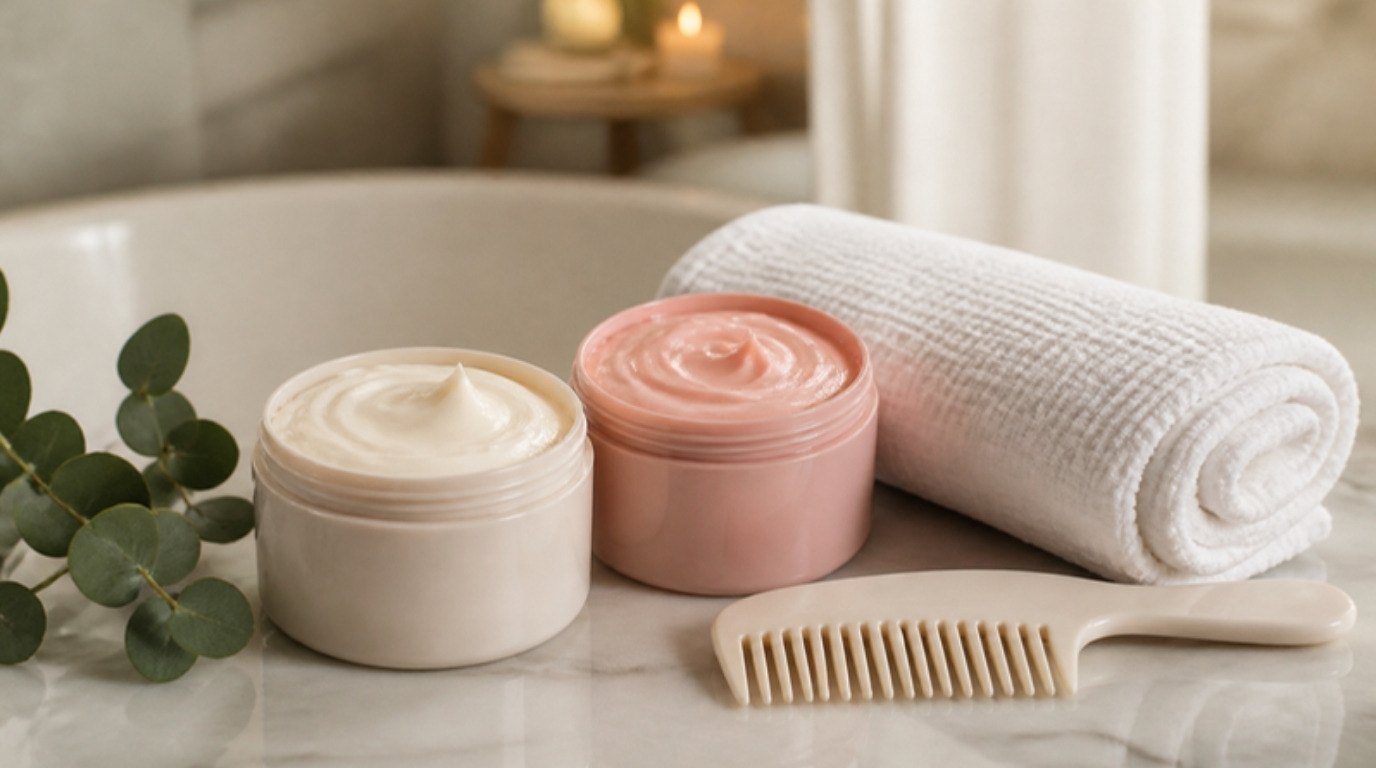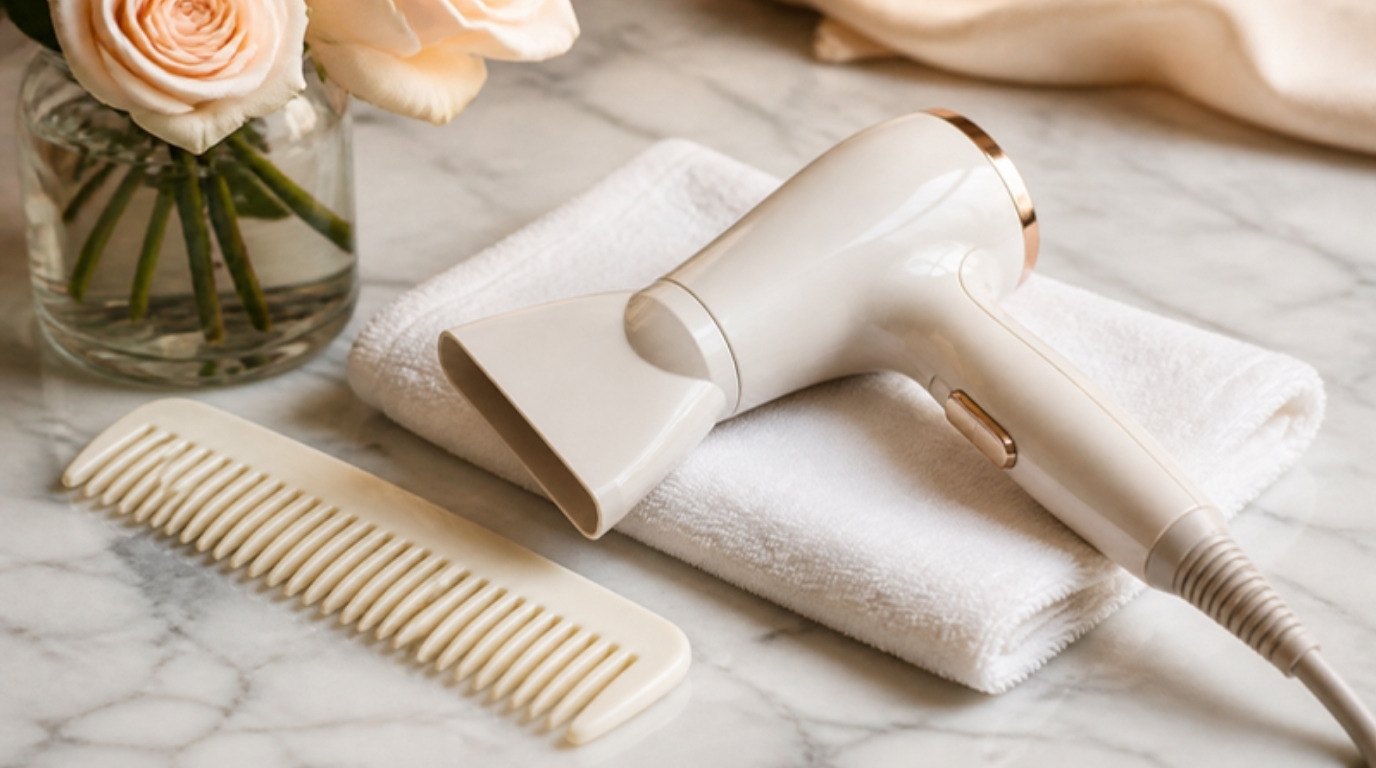
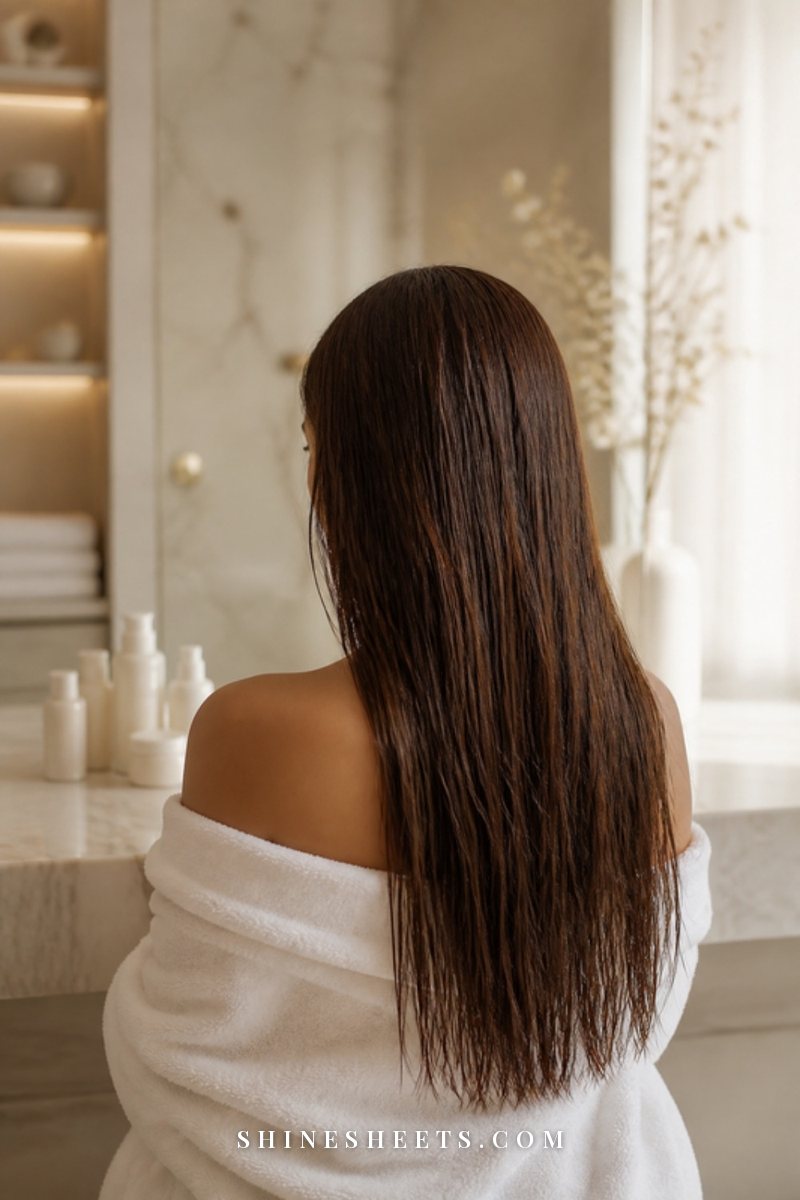
Wet hair is at its most fragile. The strands swell as they soak up water, the cuticle lifts a little, and everything you do in the next twenty minutes (rubbing, tugging, blasting with heat) lands on hair that's easier to stretch and snap than it will be once it's dry. That's why the way you dry your hair matters almost as much as the products you put on it.
The good news is that drying gently isn't complicated or slow. It's mostly a handful of small swaps: a softer towel, a comb instead of a brush, medium heat instead of maximum, and knowing when to step away and let the air do some of the work. It took me a while to accept that "faster" and "hotter" aren't the same thing, but my ends have been much happier since.
This guide covers how to dry your hair without damage, whether you air-dry, blow-dry or do a bit of both. You'll find the honest answer to air-drying vs blow-drying, seven gentle steps, air-drying tips, diffusing for curls, what to do about sleeping on wet hair, a drying table by hair type, the tools worth having and the mistakes that quietly cause breakage.
Air-Drying vs Blow-Drying: The Honest Answer

You'll hear both sides: "never use heat" and "air-drying is secretly worse." The truth sits in the middle. Both can be gentle, and both can be harsh, depending on how you do them.
Air-drying avoids heat completely, which is lovely for ends that are already dry or color-treated. The catch is time. Hair that stays soaking wet for hours keeps that swollen, stretchy state for longer, and some hair (especially very thick or high-porosity hair) can feel rough or tangly after a long air-dry. Air-drying is kindest when you remove a good amount of water first and keep your hands off while it dries.
Blow-drying shortens the time your hair spends wet, which is a plus. The risk is heat that's too high, too close or too concentrated in one spot. Done at medium heat, with the dryer moving and a heat protectant on, it can be every bit as gentle as air-drying.
My rule of thumb: let your hair air-dry as much as your schedule allows, then finish with low or medium heat if you want a smoother result. A hybrid approach gives you the best of both, and it's what most of the steps below are built around.
How To Dry Your Hair Without Damage: 7 Gentle Steps
Think of this as a routine you can shorten or stretch depending on the day. On a busy morning you might do steps 1 to 3 and walk out the door with damp hair. On a slow Sunday you'll go all the way to the cool shot.
1. Squeeze, Don't Rub
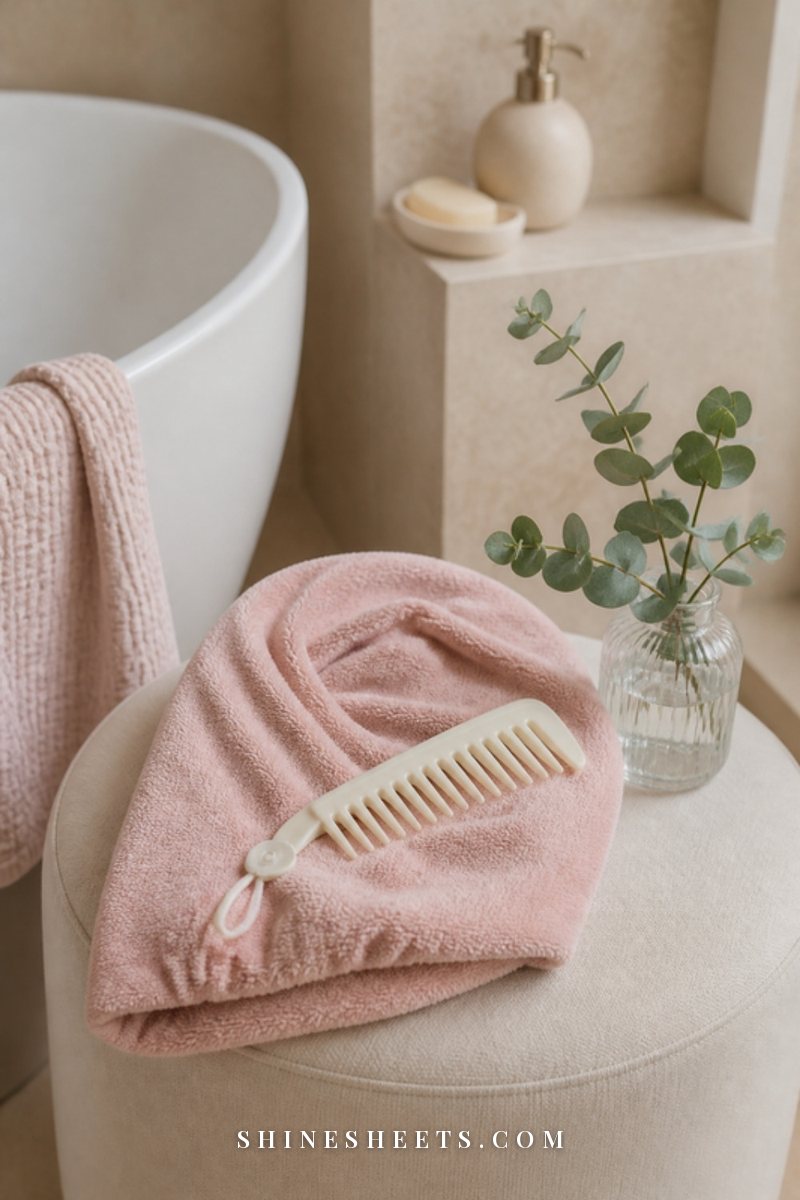
Before you even step out of the shower, gently squeeze the water out of your lengths with your hands, like wringing out a delicate sweater (press, don't twist). Then reach for something soft.
A regular bath towel has rough loops that catch on the cuticle, especially when you rub it back and forth across your head. Instead, wrap or blot with a soft microfiber hair towel or an old cotton t-shirt. Press sections of hair into the fabric for a few seconds each, working from the roots down. Keep the towel turban on for 5 to 10 minutes at most; leaving it on for an hour can stretch the hairline and keeps the hair wet for longer than needed.
2. Detangle From the Ends Up
Wet hair stretches before it breaks, so this is where most of the snapping happens. Use a wide-tooth comb (or your fingers) and start at the very ends. Hold the hair above the section you're combing so the pull doesn't travel up to the scalp, then work upward a few inches at a time.
If you hit a knot, stop and loosen it with your fingers instead of pulling through. A little conditioner or detangling spray helps a lot here. My full guide to detangling hair without breakage goes through it section by section if your hair knots easily.
3. Apply Heat Protectant Every Time
If any heat is going to touch your hair today, heat protectant goes on now, while the hair is damp and combed. Mist it evenly through the mid-lengths and ends (they're the oldest, most fragile part of each strand), then comb once more to distribute it.
Look for a lightweight heat protectant spray that lists a temperature on the bottle and doesn't feel sticky. Fine hair usually prefers a mist; thick or coarse hair often likes a cream. I explain the differences in my guide to choosing and using a heat protectant.
4. Let It Air-Dry 60–80% First
This single step does more for your hair than any fancy dryer. Wet hair needs a lot of heat to dry. Damp hair needs much less. If you let your hair air-dry until it's roughly 60 to 80 percent dry (it feels cool and slightly damp, but not wet), the blow-dry portion becomes short and gentle.
Easy ways to fit this in: shower before you do your skincare and makeup, wash your hair in the evening and finish in the morning, or simply rough-dry on the coolest setting with your fingers while you get ready. Ten to twenty minutes of air time is usually plenty for medium-length hair.
5. Use Medium Heat and Point the Nozzle Down
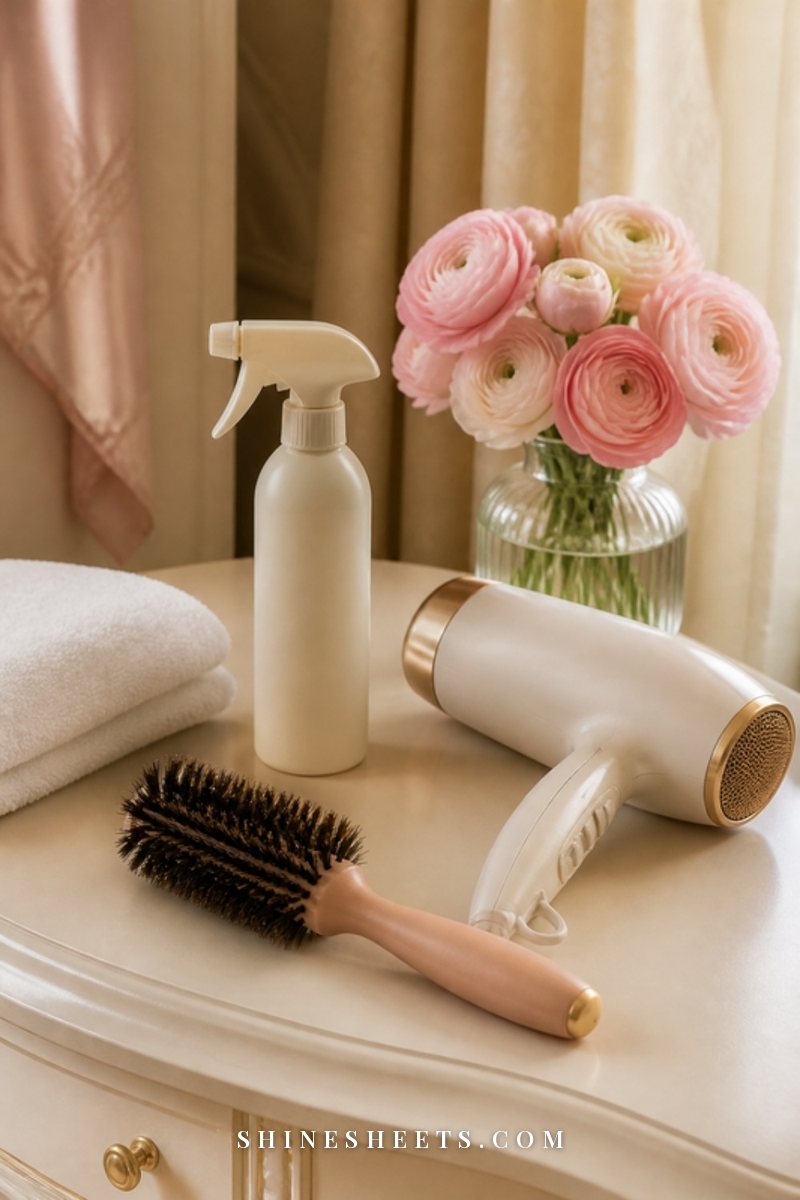
Maximum heat feels efficient, but it's the setting most likely to leave hair brittle and dull. Medium heat with a strong airflow dries almost as quickly and is much kinder. I'd simply skip the highest setting altogether.
Clip on the concentrator nozzle and point the airflow down the hair shaft, from roots to ends. That direction helps the cuticle lie flat, which means less frizz and more shine. Pointing the air up or sideways roughs up the cuticle and makes hair look puffy.
6. Keep the Dryer Moving, About 6 Inches Away
Heat damage usually comes from one spot getting hit for too long. Hold the dryer about 6 inches (roughly 15 cm) from your hair and keep it moving in small, steady sweeps. If you're using a brush, keep the dryer moving along with it rather than parking it on one section.
Work in sections: roots first (they hold the most water), then mid-lengths, then ends last and briefly. The ends dry fastest and need the least heat. When a section feels dry and cool to the touch, move on. Over-drying, going over hair that's already dry, is a sneaky cause of rough ends.
7. Finish With a Cool Shot
Once your hair is about 95 percent dry, switch to the cool shot button and go over everything once, nozzle still pointing down. Cool air helps the cuticle settle, sets the shape and stops you from accidentally over-drying. It also takes the heat out of your scalp, which feels lovely after a long blow-dry.
Leave the last bit of moisture to evaporate on its own. Hair that's blasted to "bone dry" often feels crisp rather than soft.
A quick word on brushes: if you like a smooth finish, wait until your hair is at least 80 percent dry before bringing in a brush, and choose one with flexible bristles or a mix of boar and nylon. A round brush with a metal barrel gets very hot under the dryer, so give your hair a break from it on most days and keep the dryer at medium when you do reach for it.
How To Air-Dry Without Frizz or Breakage
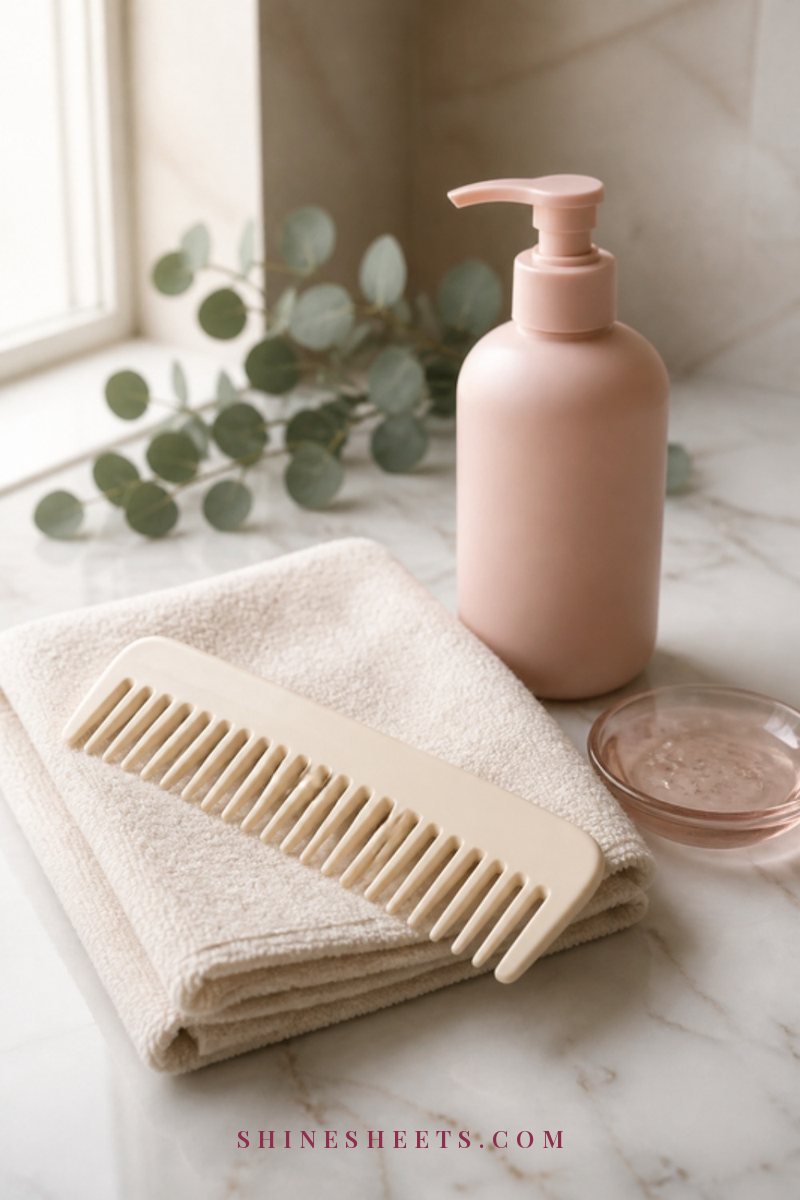
Air-drying is easy, but a few habits make the difference between soft, smooth hair and a frizzy, tangled result.
- Add a leave-in on damp hair. A light leave-in conditioner on the mid-lengths and ends helps hair stay soft as it dries and makes the next detangle easier. Use a few sprays or a pea-sized amount for fine hair, more for thick or curly hair.
- Hands off. This is the hard one. Touching, scrunching and playing with drying hair is the fastest route to frizz. Set it, then leave it.
- Don't tie it up wet. Wet hair stretched into a tight elastic is under extra tension. If you need it off your face, use a soft scrunchie loosely, or a large claw clip that doesn't pull.
- Give it air. Hair dries faster (and more evenly) when it's not trapped under a hood, hat or thick scarf. If it's cold outside, wash earlier so it has time to dry indoors.
- Plop if you have curls. Lay a cotton t-shirt flat, flip your curls onto it, and wrap the fabric up into a soft bundle for 10 to 20 minutes. It soaks up extra water without disturbing the curl pattern.
For the whole picture of what to do between towel and finished hair, my after-shower hair routine walks through the order of products step by step.
Using a Diffuser for Curly and Wavy Hair
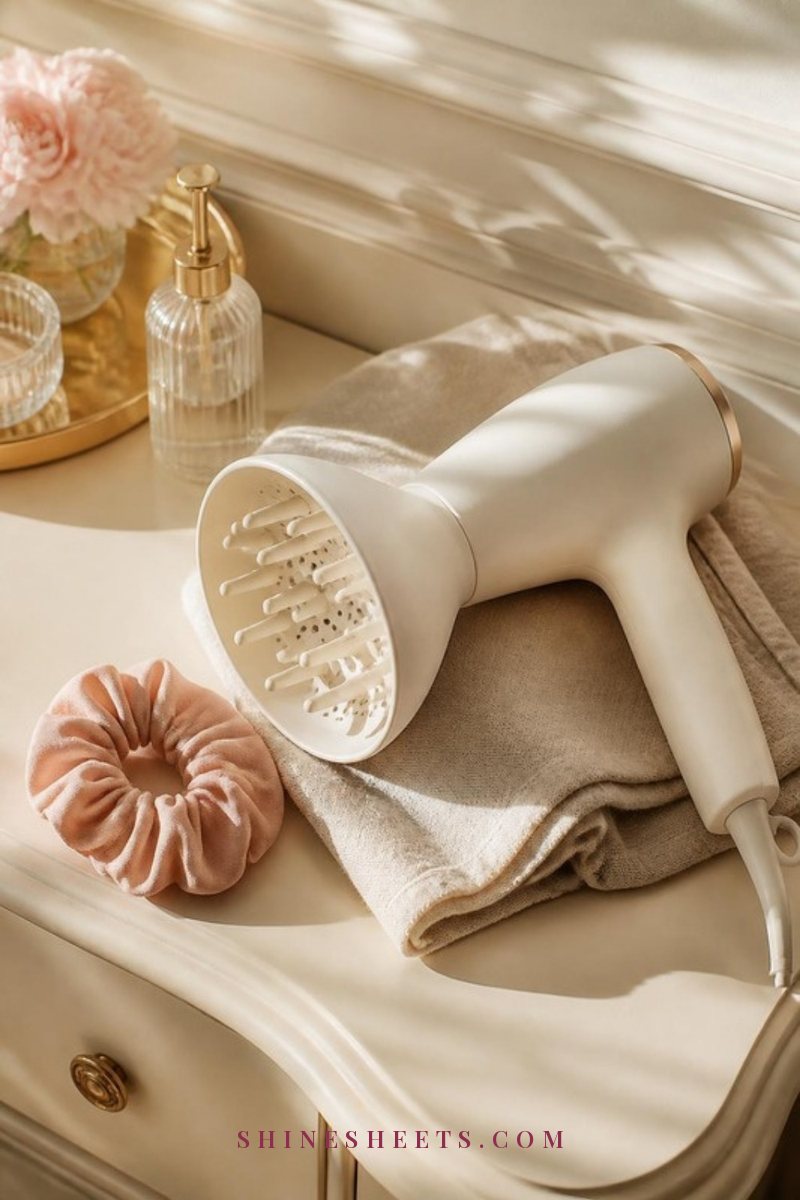
A diffuser spreads the airflow over a wide area, so it dries curls and waves without blowing them apart. It's the gentlest way to speed up drying for textured hair.
Start with your leave-in and any curl cream already applied. Set the dryer to low airflow and low or medium heat. Then cup a section of hair into the diffuser bowl, bring it gently up toward your scalp, hold for 20 to 30 seconds and lower it again. Move around your head section by section. Try to avoid moving the diffuser around constantly while it's touching your hair, which ruffles the pattern and creates frizz.
Many people diffuse to about 80 percent dry and let the rest air-dry. Once fully dry, you can gently scrunch out any stiffness from your products with a tiny bit of oil on your palms.
Is It Okay To Sleep on Wet Hair?
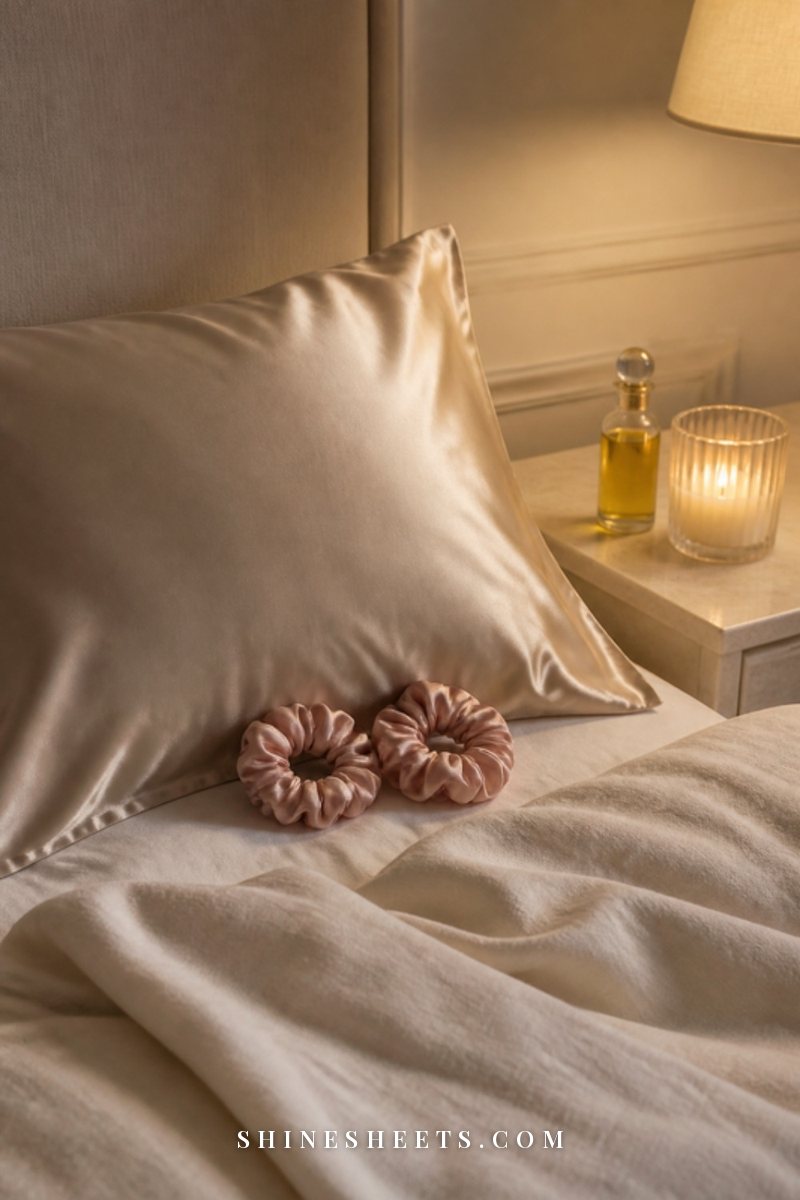
Once in a while, it's fine. Making it a nightly habit isn't ideal, though. Soaking-wet hair rubbing against a cotton pillowcase for eight hours is under a lot of friction while it's at its weakest, and you'll often wake up to tangles, kinks and frizz. A damp scalp kept warm all night also isn't the freshest environment.
If evening washing suits your routine, here's how to make it gentler:
- Wash at least an hour or two before bed so hair is mostly dry by the time you lie down.
- Rough-dry on a cool setting for a few minutes if it's still very wet.
- Put on a little leave-in so ends don't dry out overnight.
- Sleep on a satin pillowcase, which lets hair glide instead of catching.
- Gather lengths into a loose, low scrunchie or a soft bonnet so they don't tangle.
If you're curious whether silk or satin is worth it, I compare them in my post on silk pillowcase benefits.
Drying Hair by Type: A Quick Table
Every head of hair dries differently. Find your row, then adjust the steps above to suit it. If you're somewhere in between (say, fine but wavy), borrow from both rows.
| Hair type | Best method | Heat setting | Helpful tool | Amber's tip |
|---|---|---|---|---|
| Fine, straight | Short air-dry, then quick blow-dry at the roots | Low to medium | Concentrator nozzle | Use a light mist protectant only; heavy creams flatten fine hair. |
| Thick or coarse | Air-dry 60–80%, then blow-dry in sections | Medium | Ionic dryer, sectioning clips | Dry the underneath layers first; they take longest. |
| Wavy | Plop or air-dry, finish with a diffuser if needed | Low to medium | Diffuser, cotton t-shirt | Scrunch in leave-in while soaking wet, then hands off. |
| Curly or coily | Plop, then diffuse or air-dry | Low | Diffuser, microfiber towel | Never comb once drying starts; detangle only while wet with conditioner. |
| Color-treated or bleached | Mostly air-dry, short finish with heat | Low to medium | Heat protectant, ionic dryer | Keep heat away from ends; they're the most porous part. |
| Damaged or breaking | Air-dry with leave-in; heat only when needed | Low or cool | Wide-tooth comb, satin pillowcase | Give your hair a few weeks off heat while you trim and repair. |
Screenshot the table if it helps, and keep it as a little reminder on wash days.
The Tools That Actually Make a Difference
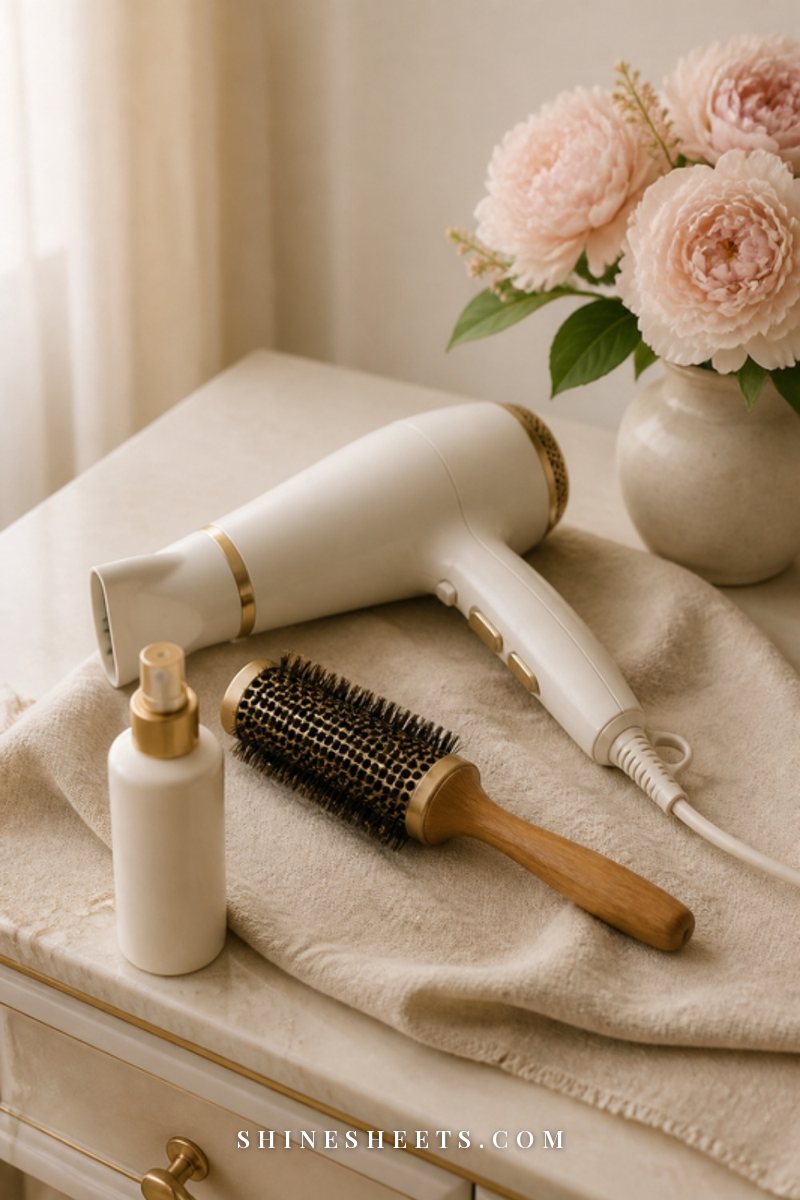
You don't need a drawer full of gadgets. A few well-chosen basics do most of the work:
- An ionic dryer with attachments. Ionic dryers tend to dry hair faster and leave it smoother, which means less time under heat. Look for an ionic hair dryer with a diffuser and concentrator, several heat and speed settings, and a true cool shot button.
- A concentrator nozzle. That flat attachment that usually comes in the box. It directs the air down the hair shaft instead of everywhere at once.
- A diffuser. Essential for curls and waves, helpful for anyone who wants volume without a brush.
- A microfiber towel or cotton t-shirt. Soft, absorbent, gentle on the cuticle.
- A wide-tooth comb. For detangling wet hair without stretching it.
- Sectioning clips. They keep the part you're not drying out of the way, so you're not going over the same hair twice.
A note on wattage: you don't need the most powerful dryer on the shelf. Strong airflow matters more than very high heat, because moving air is what carries the water away. If your current dryer only has "hot" and "hotter," upgrading to one with a real medium setting is one of the kindest things you can do for your ends.
Clean the filter on the back of your dryer every month or two, too. A clogged filter makes the motor run hotter, and that extra heat ends up on your hair.
6 Drying Mistakes That Quietly Cause Damage
These are the habits I see most often, and they're all easy to swap out.
- Rubbing with a rough towel. The back-and-forth motion roughs up the cuticle and creates frizz and split ends. Squeeze and blot instead.
- Going straight to maximum heat. It feels faster, but medium heat with good airflow is nearly as quick and far gentler.
- Brushing soaking-wet hair hard. Tugging a tight brush through wet hair stretches and snaps it. Comb from the ends with a wide-tooth comb, and save brushing for when hair is mostly dry.
- Blow-drying hair that's dripping. You'll spend twice as long under heat. Let it air-dry partway first.
- Holding the dryer too close. Touching the nozzle to your hair, or parking it on one spot, concentrates heat. Keep it moving, about 6 inches away.
- Sleeping on soaking-wet hair every night. Occasional is fine. Every night adds friction and tangles. Dry it partway first and sleep on satin.
If your hair is already feeling straw-like or snapping easily, start with my guide on how to fix heat-damaged hair, and give it a few gentle weeks. If you notice sudden shedding, thinning patches or an irritated scalp, that's worth checking with a dermatologist rather than blaming your dryer.
Final Thoughts
Drying your hair without damage isn't about giving up your dryer or waiting hours for your hair to dry. It's about treating wet hair like the delicate thing it is: a soft towel, a patient comb, a little less heat and a little more air.
Pick one change this week (maybe just swapping your towel or turning the dial down to medium) and notice how your ends feel in a month. Small, gentle habits add up to soft, healthy, shiny hair, and you deserve to enjoy it.