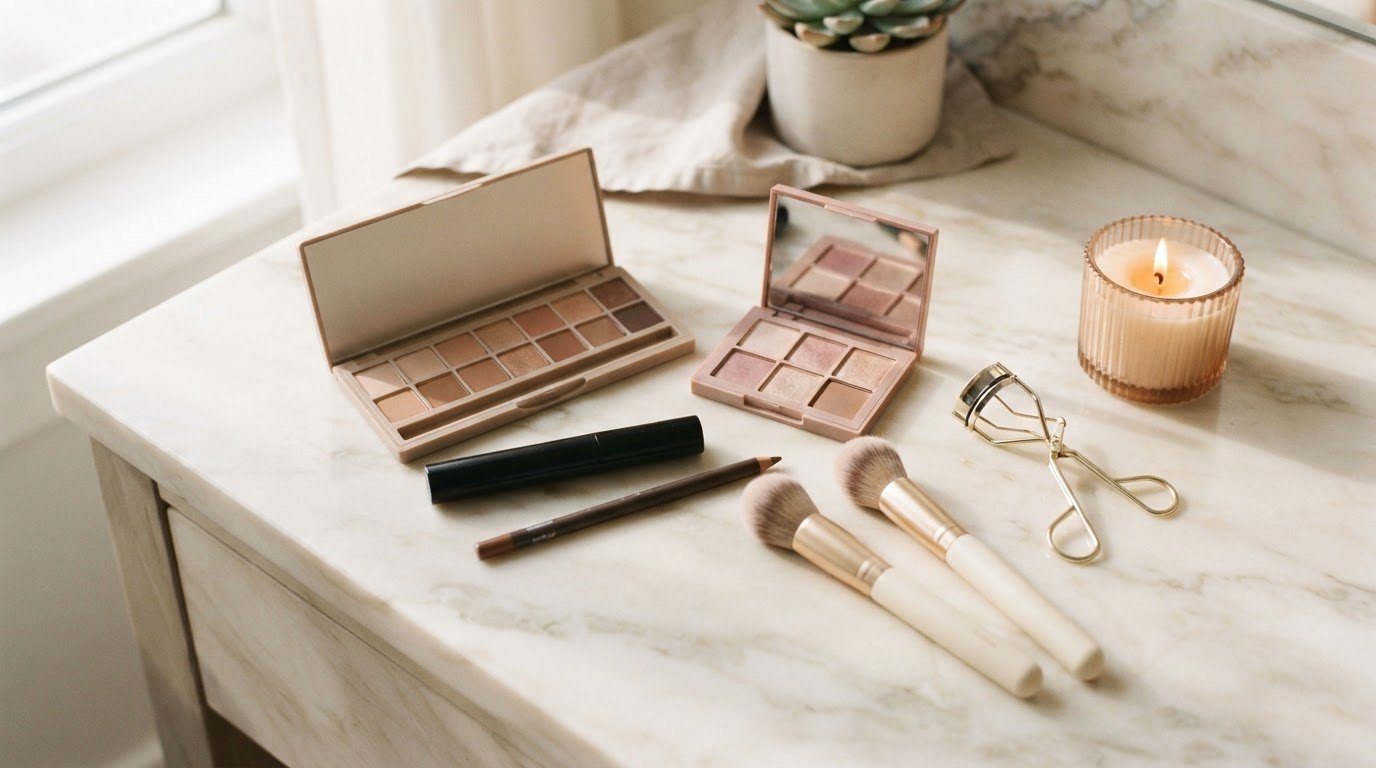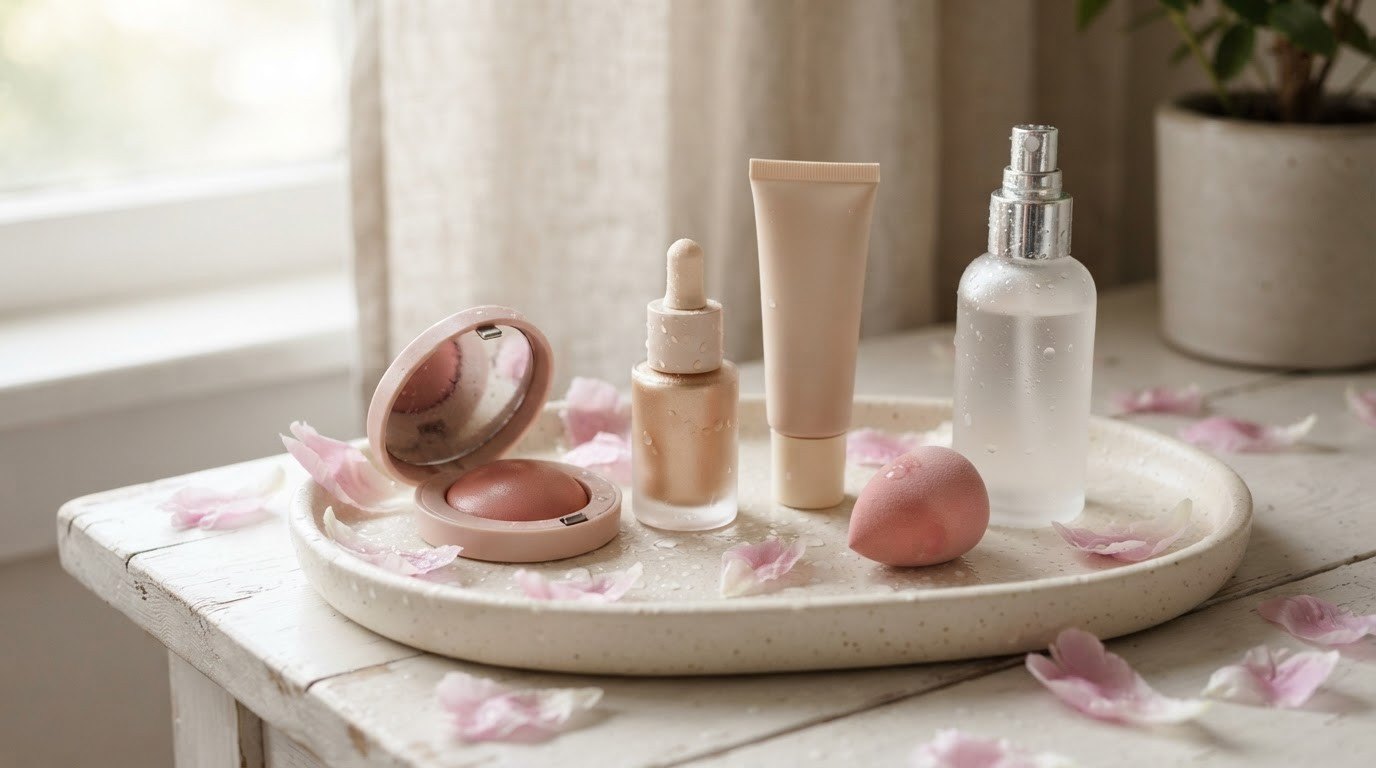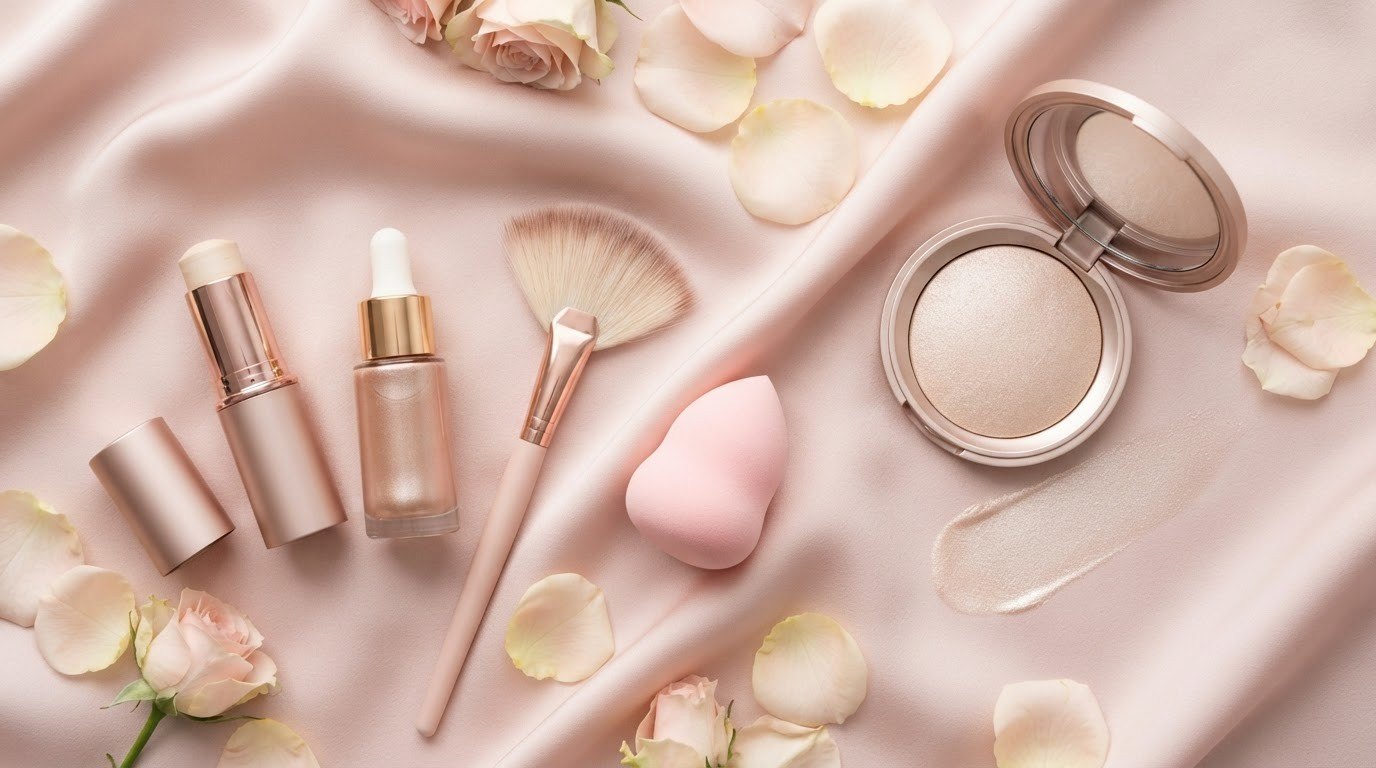
Highlighter works best when it looks like light, not like makeup. The secret isn't the formula or the shade. It's placement: a little product on the exact spots where light would naturally land on your face, and nothing on the places where shine shows texture. Get the placement right, and even a drugstore highlighter looks expensive.
Most highlighter mistakes come from putting it in the "standard" spots without thinking about your own face shape, skin type or the look you want. Highlighter on the apples of the cheeks can look lovely on one person and widen another. A stripe down the nose is beautiful on dry skin and makes an oily T-zone look greasy by noon.
This guide covers highlighter placement from every angle: a placement map with what each spot does and who it suits, where to place it by face shape and by goal (lifted, fresh or evening), where to skip it, how cream, powder and liquid formulas differ, a step-by-step for a skin-like finish and a "too much shine" fix-it list for the days you overdo it.
Grab your highlighter and stand by a window. Natural light is the most honest guide you'll ever have.
The Golden Rule: Highlight Where Light Already Hits
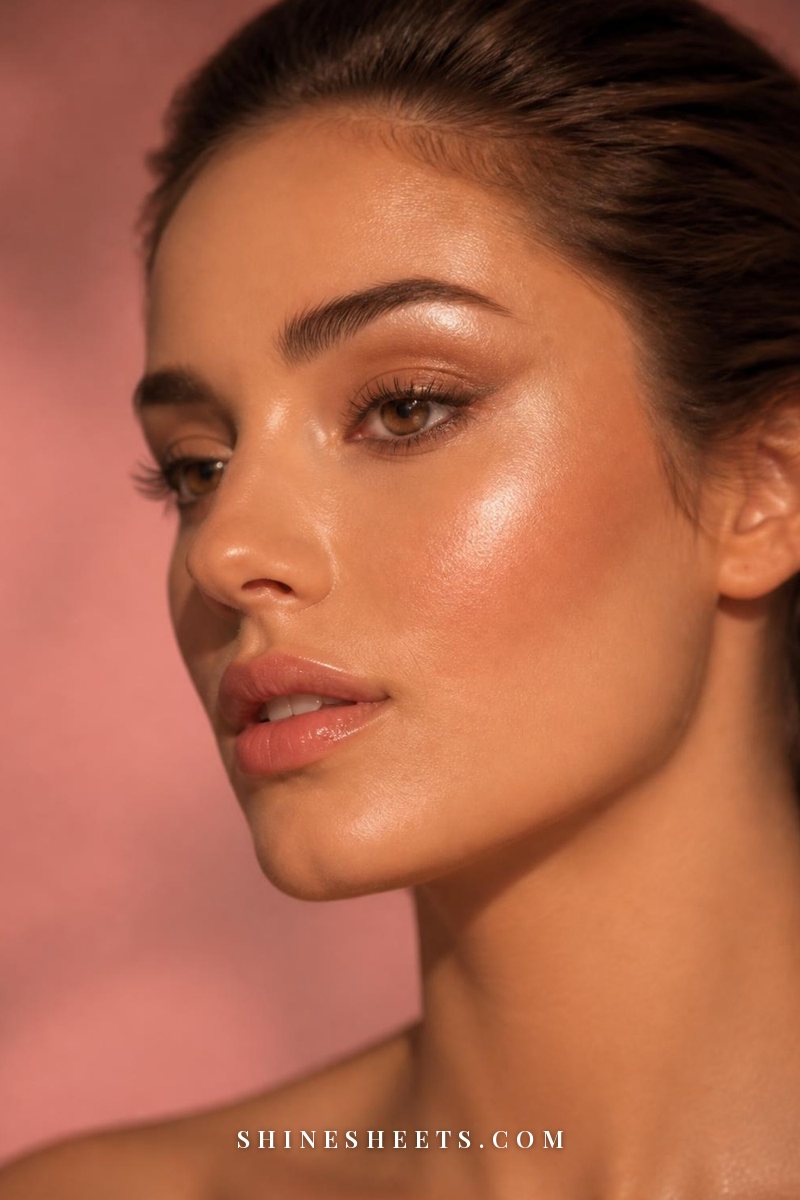
Stand facing a window and look at your face in natural light. The places that catch the brightest light are the high points: the tops of your cheekbones, the bridge of your nose, the brow bone, the center of your forehead, the cupid's bow and the chin. Those are your natural highlight spots, and a highlighter simply makes them a little brighter.
The reverse is just as useful. Highlighter draws the eye and adds dimension, so anywhere you put it will look more forward and more noticeable. That's why it's lovely on the high points and less flattering on anything you'd rather soften, like texture or an area that gets shiny on its own.
A small honest admission: my skin is combination and sensitive, with a T-zone that gets shiny by mid-afternoon. For a long time I put highlighter right down the center of my nose, then wondered why my face looked oily instead of radiant. Moving it just to the high cheekbones changed everything.
The Highlighter Placement Map
Use this map to choose your spots. Most everyday looks need only two or three of them, not all nine. Screenshot it and keep it next to your makeup bag.
| Spot | Effect | Who it suits | Skip if… |
|---|---|---|---|
| Top of the cheekbones | Lifts and defines; the classic radiant look | Almost everyone | You have visible texture or large pores right on the cheekbone; use a tiny amount higher up |
| Brow bone (under the arch) | Lifts the eyes and makes brows look neater | Hooded or deep-set eyes, anyone wanting an awake look | Your lids get oily; a matte bone shade may be kinder |
| Inner corner of the eyes | Brightens and makes eyes look more open | Close-set or tired-looking eyes | You have wide-set eyes and want to balance them |
| Cupid's bow | Makes the top lip look fuller and more defined | Thin upper lips, natural lip looks | You have fine lines above the lip |
| High bridge of the nose | Makes the nose look slimmer and straighter | Normal and dry skin | Your T-zone is oily; keep it to a tiny dot or skip |
| Tip of the nose | A soft, youthful, button effect | Fresh, natural looks | You'd like the nose to look shorter |
| Center of the forehead | Adds dimension and a healthy look | Dry skin, evening looks | Your forehead gets shiny or has breakouts |
| Center of the chin | Balances the face and brings it forward | Round or heart-shaped faces | You have a prominent chin |
| Collarbones and shoulders | A soft, dressy finish for evenings | Strapless or off-shoulder outfits | You're wearing a high neckline (it won't show) |
If you're not sure where to start, pick the top of the cheekbones and the inner corners of your eyes. Those two spots look beautiful on almost everyone, and they're very hard to overdo.
Highlighter Placement by Face Shape
Face shapes are a loose guide, not a strict rule, and most faces are a blend of two. Use these as starting points, then adjust for what looks right in your own light.
Oval Face
Balanced proportions mean you can highlight almost anywhere. Focus on the tops of the cheekbones, swept slightly up toward the temple, and a touch on the cupid's bow. Keep it simple and let your natural structure do the work.
Round Face
Place highlighter high on the cheekbones and sweep it up toward the temples in a lifted line, rather than onto the apples of the cheeks. A small dot on the center of the chin and a thin line on the high bridge of the nose add length. Avoid wide circles on the cheeks, which can add width.
Square Face
Soften strong angles by keeping highlighter toward the center of the face: the tops of the cheekbones (closer to the eyes), the center of the forehead and the center of the chin. Skip the jawline and outer edges of the forehead.
Heart-Shaped Face
Your forehead is wider and your chin narrower, so bring light to the lower half. Highlight the tops of the cheekbones, the cupid's bow and the center of the chin. Keep the forehead highlight minimal or skip it.
Long Face
Add width rather than length. Sweep highlighter outward along the cheekbones toward the ears, rather than up toward the temples, and skip the chin and the long line down the nose.
Highlighter works hand in hand with contour and blush, because all three shape the face together. If you'd like to build the full picture, my guides on contour for beginners and blush placement use the same face-shape approach.
Highlighter Placement by Goal
Sometimes the question isn't your face shape but the look you're going for. Here are three easy maps for three different moods.
For a Lifted Look
Keep everything high and angled upward. A thin sweep on the very top of the cheekbones toward the temple, a touch under the brow arch and nothing on the lower half of the face. This is the best option if you want to look rested.
For a Fresh, Everyday Look
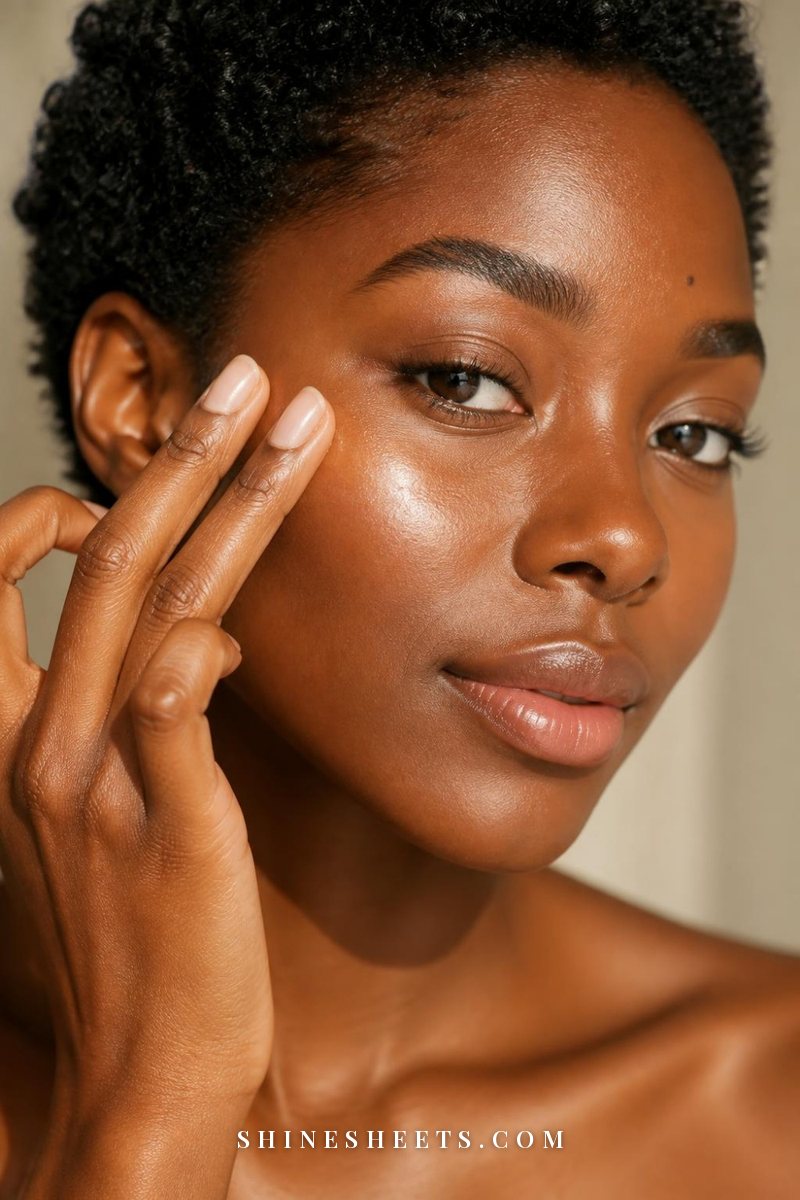
Use a cream or liquid formula, pressed in with your fingertips: the tops of the cheekbones, the inner corners of the eyes and a tiny dot on the cupid's bow. It reads as healthy skin rather than makeup, which pairs beautifully with the clean girl makeup look.
For an Evening Look
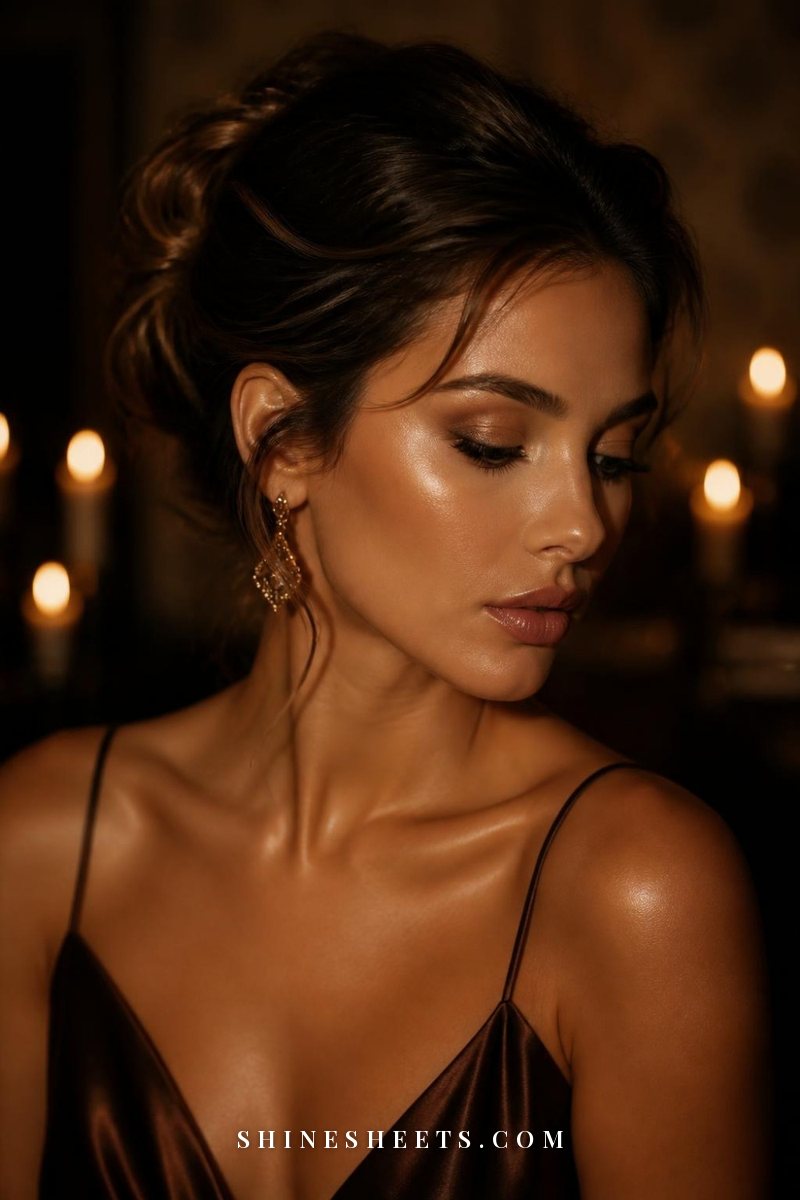
Evenings are where you can turn it up a little. Layer a powder over a cream on the cheekbones, add the brow bone and the high bridge of the nose, and finish with a whisper on the collarbones. Candlelight and warm lighting are very forgiving, and a bit more radiance looks lovely in photos. It's very Old Hollywood, which I'll always have a soft spot for. For a full evening face, my soft glam makeup guide builds on this.
Where Not To Put Highlighter
Highlighter makes anything it touches look more prominent. That's lovely on cheekbones and not so lovely on these spots:
- Areas with visible texture. Large pores, fine lines and bumpy skin look more noticeable under shine.
- Active breakouts. Shine draws the eye straight to a blemish, and fingers or brushes can spread bacteria. Keep highlighter well away until it heals.
- The center of the nose on oily skin. Your T-zone already makes its own shine by afternoon. Adding more can tip it from radiant to greasy.
- Under the eyes, if you have fine lines or texture. Use a luminous concealer instead of a shimmer.
- The apples of the cheeks, if you have a round face. It can make cheeks look fuller.
- Anywhere you've contoured. Highlighter on top of contour cancels it out. Keep them side by side, not layered.
If breakouts or oiliness are making makeup tricky in general, a steady routine helps more than any product. My skincare routine for combination skin is a good place to start.
Cream vs Powder vs Liquid Highlighter
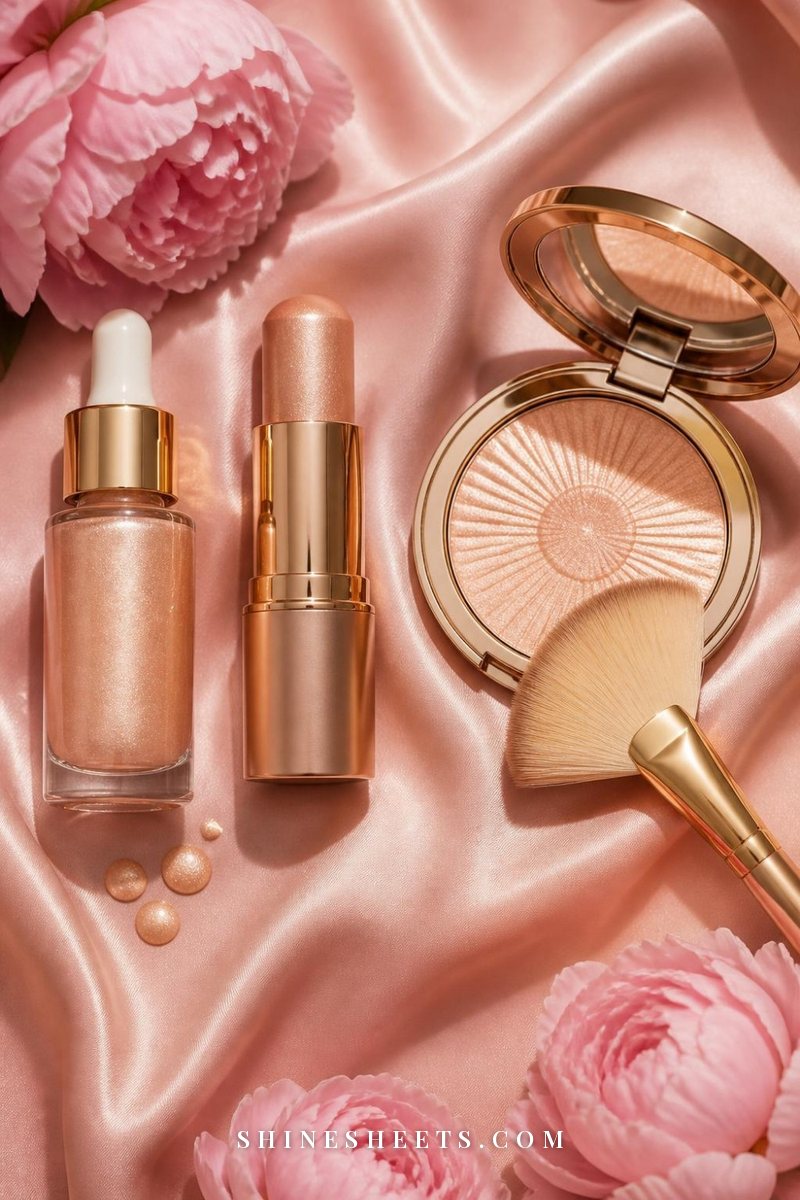
The right formula depends on your skin type and how you like to apply makeup. Here's how they compare.
Liquid Highlighter
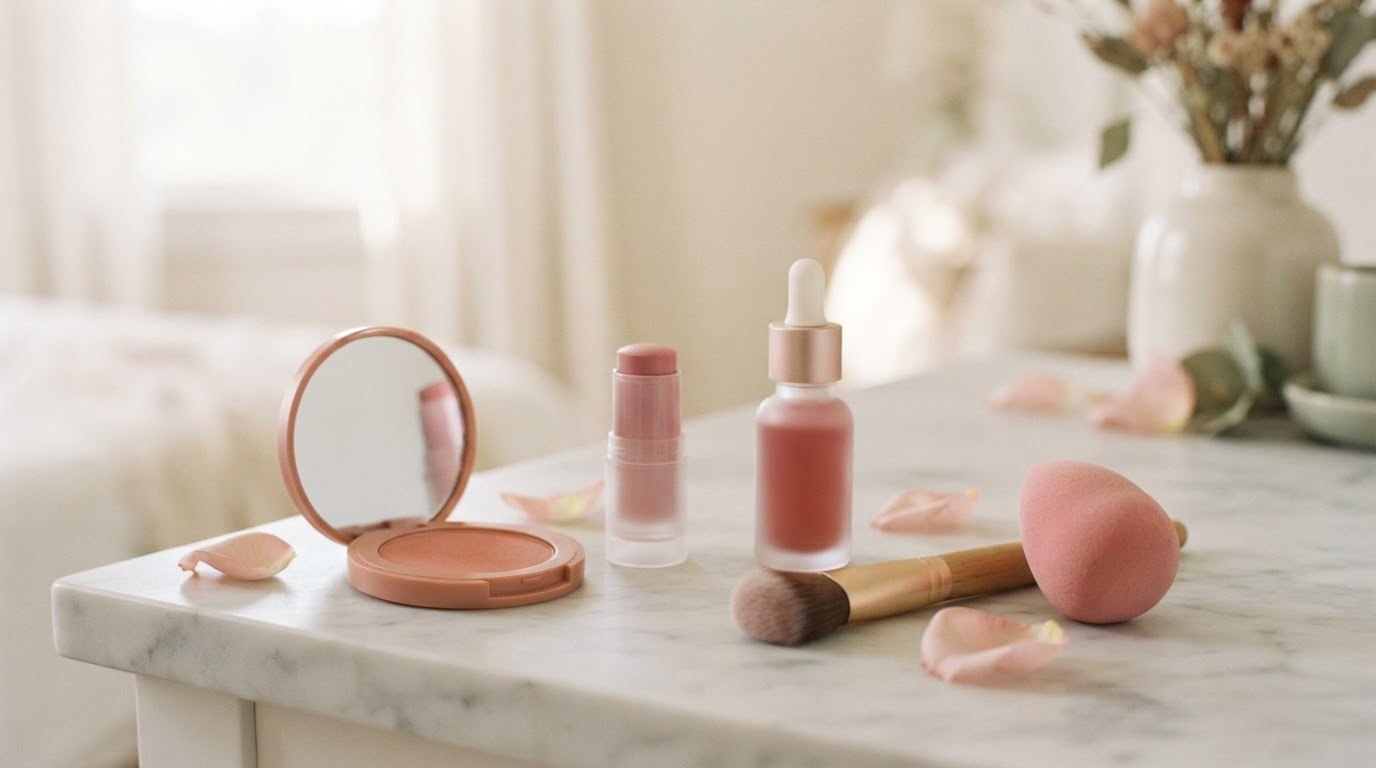
The most versatile option. You can dot it on top of foundation, or mix a drop into moisturizer or foundation for an all-over lit-from-within finish. Liquid highlighter drops are best for normal and dry skin and for anyone who wants a natural finish. Start with half a drop; a little goes a long way.
Cream Highlighter
Melts into skin and looks the most like real skin. A cream highlighter stick is easy to swipe on and tap in with a fingertip, which makes it perfect for quick mornings. Best for normal, dry and mature skin. Apply it before any powder, or it can lift and look patchy.
Powder Highlighter
The longest-lasting and the most forgiving for oily and combination skin. It sits on top of powder makeup without moving it. Choose a finely milled formula rather than chunky glitter, and apply it with a light, fluffy brush so it doesn't look stripey.
My combination skin does best with a cream on the cheekbones (the drier part of my face) and nothing at all down the center. If your skin is similar, that split approach is worth trying.
Highlighter Placement by Skin Type
Your skin type changes how highlighter behaves through the day, so it's worth adjusting both the placement and the amount.
Dry Skin
Lucky you: highlighter tends to look the most natural on dry skin, because it adds the radiance your skin might be missing. Creams and liquids are your best friends. You can be a little more generous with placement, including the forehead and the high bridge of the nose. Just make sure your skin is well moisturized first, since shimmer clings to dry patches.
Oily Skin
Keep highlighter to the very top of the cheekbones and the brow bone, and skip the T-zone completely. Powder formulas last longest, and a light dusting of translucent powder before you apply helps it stay put. By afternoon, blot first, then decide whether you need a touch more.
Combination Skin
Treat your face like two zones. Cream or liquid on the drier cheeks, nothing (or a very tiny dot) down the center. This split approach gives you radiance where you want it without adding to the midday shine.
Sensitive Skin
Choose simple, fragrance-free formulas where you can, and introduce one new product at a time. Fingertips are often gentler than brushes, as long as your hands are clean. If anything stings, itches or leaves redness, wash it off and give your skin a break.
Mature Skin
Satin and cream finishes look softer than shimmer, which can settle into fine lines. Focus on the tops of the cheekbones and the brow bone, and skip under the eyes. A drop of liquid highlighter mixed into foundation gives a beautiful, all-over healthy finish without any visible sparkle.
How To Apply Highlighter So It Looks Like Skin
This is the part that makes the difference between "glowy skin" and "glitter on top of foundation." Follow these steps in order.
- Start with prepped skin. Moisturize and let it sink in for a minute. Highlighter looks best on smooth, hydrated skin, and patchy on dry spots.
- Apply base makeup first. Foundation, concealer and any cream blush or contour go on before highlighter.
- Choose your two or three spots. Use the placement map. Less is almost always more.
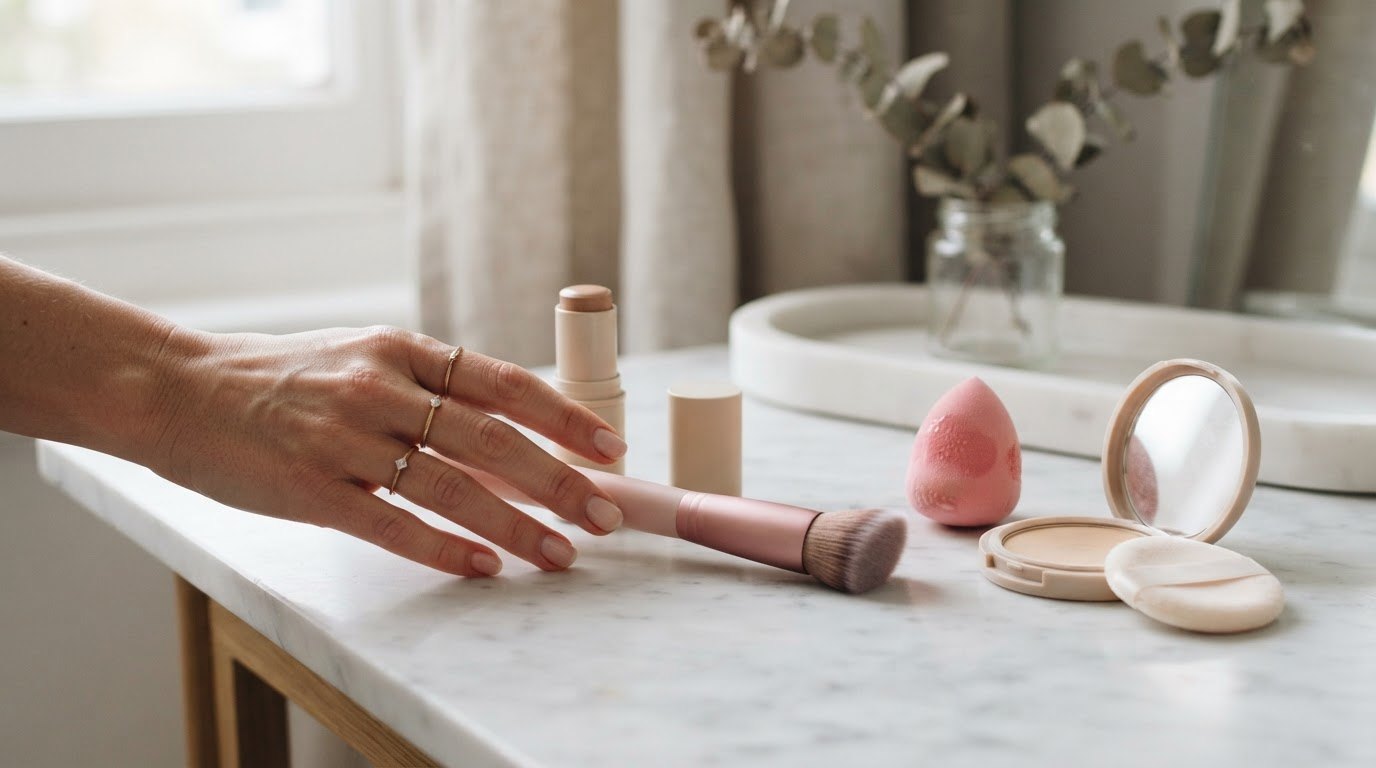
- Use the right tool for the formula. Fingertips or a damp pink beauty blending sponge for creams and liquids (body warmth melts them in); a soft fan brush for powders, which places a sheer layer instead of a stripe.
- Tap, don't swipe. Press product in with gentle tapping motions. Swiping moves foundation and leaves lines.
- Blend the edges. There should be no visible start or end. Use a clean finger or the clean side of your sponge to soften the edges.
- Check in daylight. Turn your head side to side by a window. Shine should only appear as you move, not sit there like a stripe.
- Set gently. A light mist of dewy setting spray melts the layers together so everything looks like skin.
Too Much Shine? 6 Quick Fixes
We've all looked in a bright bathroom light and realized the highlighter is a lot. Don't wipe everything off. Try one of these:
- Press a clean beauty sponge over the area. It lifts excess product without disturbing your foundation.
- Tap a little foundation over the top. A tiny amount on a fingertip, pressed on the edges, softens shine instantly.
- Dust a sheer layer of translucent powder. Use a fluffy brush and the lightest touch. It mutes shimmer without making it disappear.
- Blend blush up into it. Brushing a little blush over the lower edge of the highlight blurs the line and makes it look more natural.
- Use a blotting paper on the T-zone. If the shine is partly your own oil, blot first, then decide whether you still need to tone down the highlighter.
- Mist and press. A spritz of setting spray, then pressing with clean fingertips, melts powdery highlighter so it looks like skin instead of sparkle.
If shimmer still looks like too much in daylight, it might be the formula rather than the amount. A finer, more satin finish often solves it.
How To Choose Your Highlighter Shade
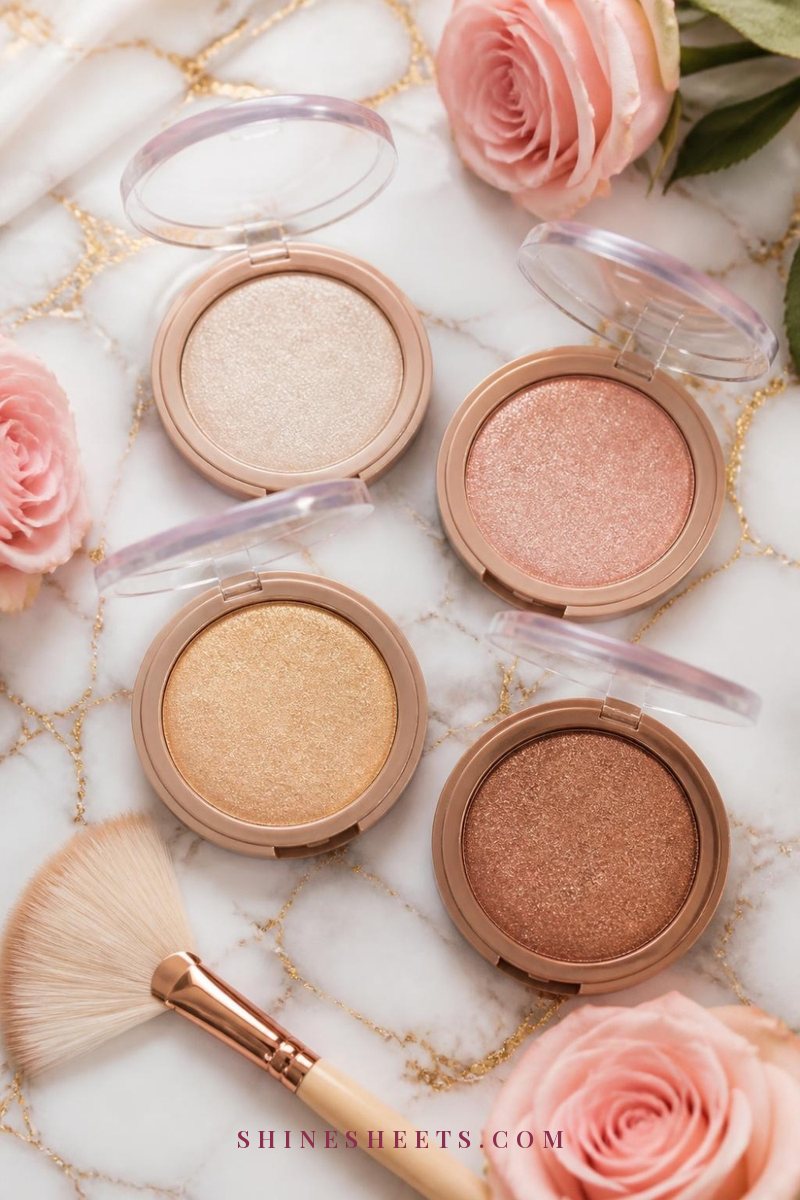
Placement matters most, but the wrong shade can make even perfect placement look a little off. The goal is a highlighter that looks like your own skin catching the light, not a separate color sitting on top.
- Fair skin: Champagne, pearl or a very soft pink. Avoid bright white, which can look gray or chalky.
- Light to medium skin: Soft peach, rose gold or a light champagne. These look warm and natural in daylight.
- Medium to tan skin: Soft gold, apricot or a warm peach. Gold tones bring out warmth without looking ashy.
- Deep skin: Rich gold, copper, bronze or a deep rose. Very pale highlighters can look frosty, so lean into warmer, richer shades.
To test a shade, swatch it on the back of your hand, then look at it by a window, not under store lights. If it disappears into a soft sheen as you tilt your hand, it's a match. If it looks like a stripe of color, keep looking.
A Few Small Highlighter Habits Worth Keeping
- Clean your brushes and sponges weekly. Old product builds up and turns highlighter patchy, and it's kinder to sensitive skin.
- Store creams and liquids with the lids tightly closed, away from a sunny windowsill, so they keep their texture.
- Patch test new products on your jawline first if your skin is sensitive, and stop using anything that stings or itches.
- Keep a small cream highlighter in your bag. One fingertip tap on the cheekbones at the end of a long day makes you look instantly fresher.
Final Thoughts
Highlighter isn't about shimmer. It's about knowing your own face and placing a little light exactly where it looks best. Start with two spots, blend until you can't see the edges and check yourself by a window.
Once you know your map, it becomes the easiest step in your makeup routine, and the one that makes your skin look rested, fresh and quietly radiant every single day.