Taking down Christmas decorations feels hard mostly because nobody plans it. Putting them up comes with music, excitement and a spare weekend. Packing them away happens on a gray afternoon in January, when everyone is tired and the boxes from last year have mysteriously shrunk. The result is the familiar chaos: tangled lights, a broken ornament or two and a pile of "I'll sort it later" bins that you open next December with a sigh.
The fix is simple: a little order. When you gather your supplies first, work in the same sequence every time and label as you go, the whole house can be packed up in one calm afternoon. Even better, next year's decorating becomes faster, because everything comes out of the boxes exactly the way it went in.
This guide covers how to take down Christmas decorations without the chaos: when to do it, what to gather, the order that works room by room, a packing order table you can screenshot, how to declutter as you pack, how to label and store everything and a few small safety notes. Put on a playlist, make a cup of tea and let's get the house back to calm.
When To Take Down Christmas Decorations
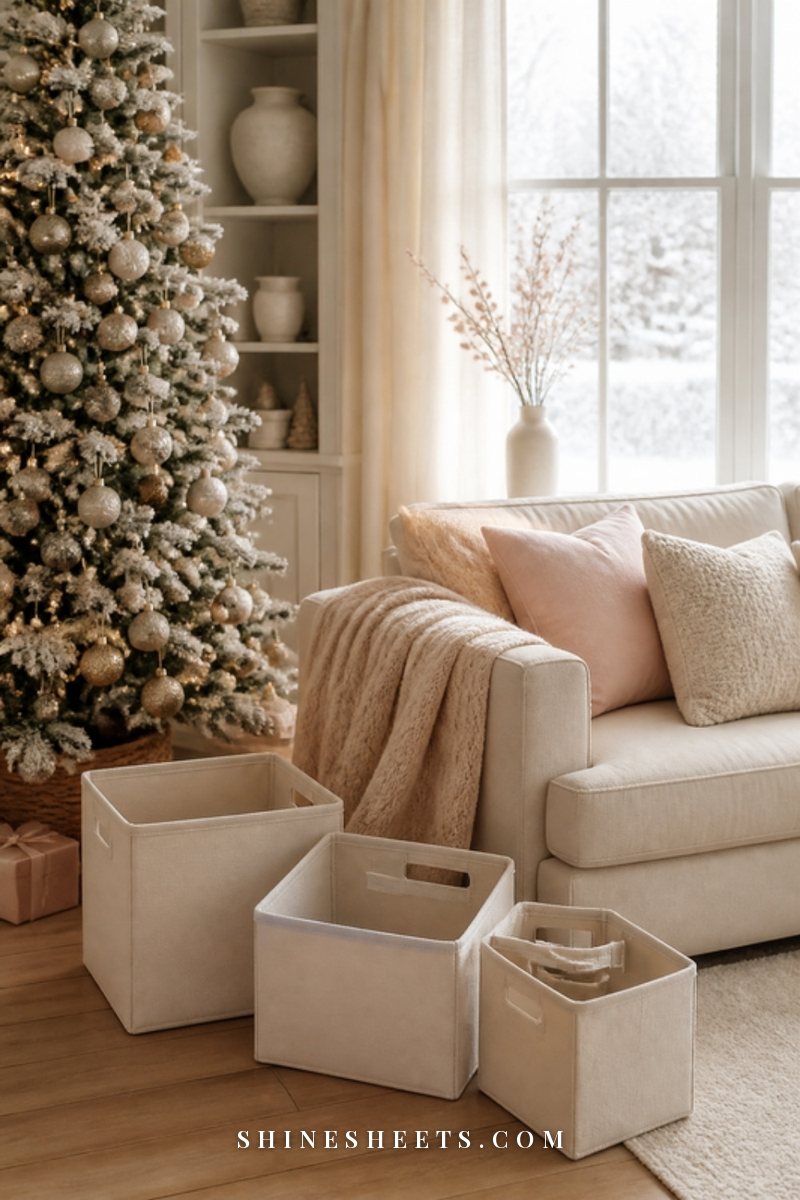
There's no single right date. Some families pack up on New Year's Day for a fresh start, many wait until the first weekend of January, and others follow the tradition of keeping decorations up until Twelfth Night or Epiphany on January 6th. Whatever you choose is fine. The best time is simply the moment the decorations start to feel like clutter instead of joy.
A few practical tips for picking your day:
- Block out three to four hours. That's enough for an average home with one tree. Add an hour for every extra decorated room or outdoor display.
- Choose daylight. You'll see stray hooks, needles and glitter far better, and outdoor lights are much safer to take down before dark.
- Check the weather for outdoor decor. Pick a dry, mild day if you can. Wet decorations packed away damp are the main cause of mildew and rust.
- Real tree? Don't wait too long. A cut tree dries out over the weeks after Christmas and becomes a fire risk, so it's usually the first thing to go.
I like doing it on a quiet weekend morning rather than in a rush after work. It feels less like a chore and more like closing a chapter.
What To Gather Before You Start
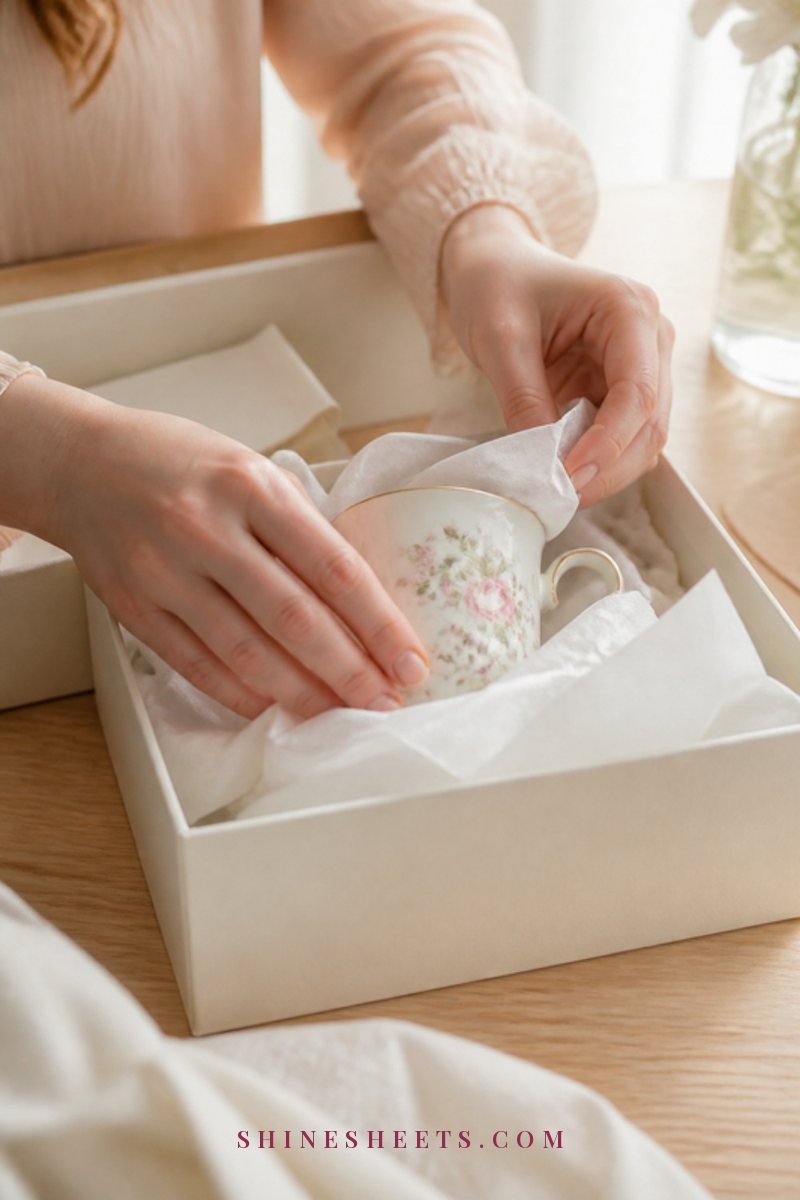
Half the chaos comes from hunting for a box halfway through. Gather everything first and put it in one spot. Here's what I'd collect:
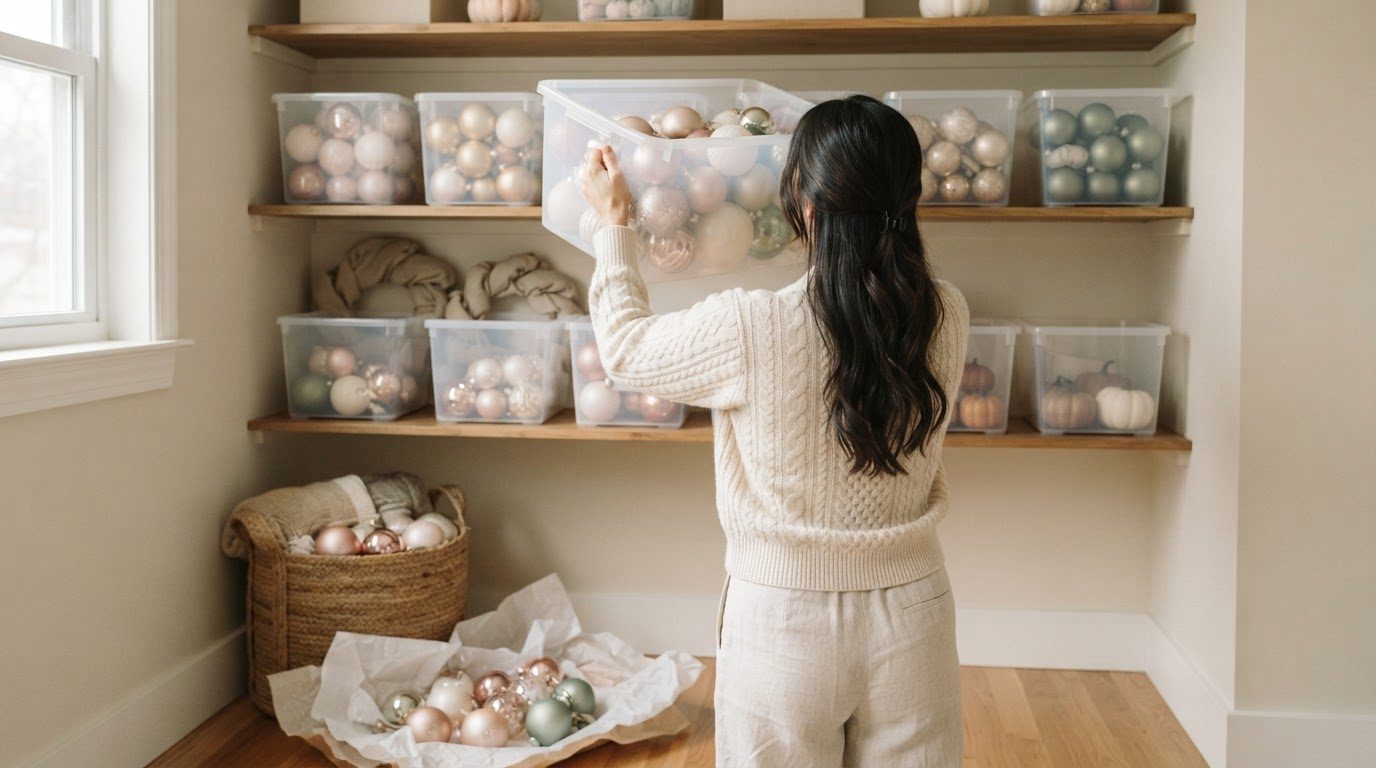
- Storage bins. Clear stacking storage bins with secure lids are the easiest choice, because you can see what's inside without opening them. Look for latching lids and a size you can lift comfortably when full (around 50 to 70 liters is the sweet spot).
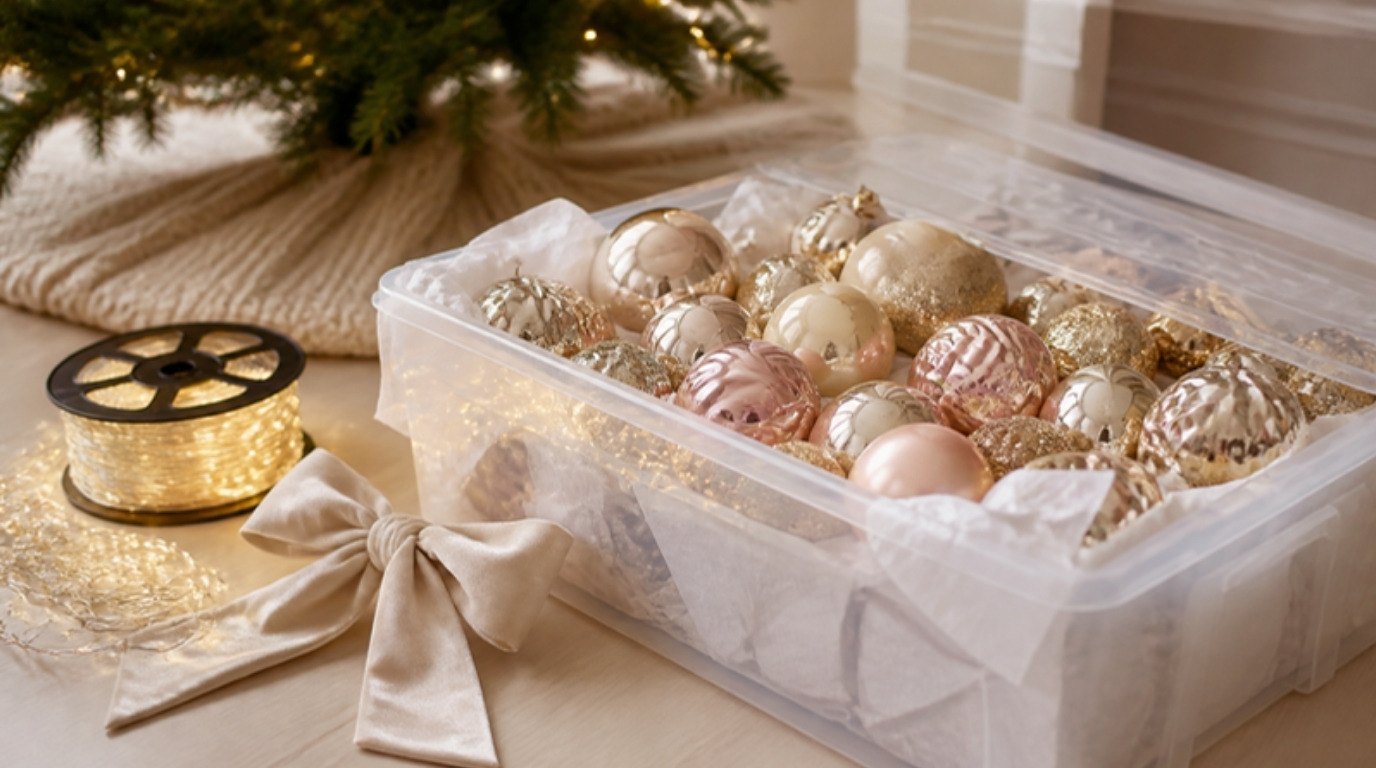
- An ornament box. A divided ornament storage box keeps each bauble in its own little cell. Look for one with adjustable dividers and stackable trays so large and small ornaments both fit.
- Tissue paper. Acid-free white tissue paper is gentle on glass, painted and vintage pieces and won't yellow or transfer color over the months in storage.
- Zip bags in a few sizes. For hooks, spare bulbs, fuses, small figurines and the tiny bits that always go missing.
- A light reel or cardboard. More on this below. It's the single best way to prevent next year's tangle.
- Labels. A small label maker gives you neat, readable labels that won't fade, but masking tape and a marker work perfectly well too.
- A basket, a trash bag and a donation bag. For collecting small decor and sorting as you go.
- A sturdy step stool, a vacuum and a microfiber cloth. For high spots, needles and dust.
If you're still figuring out the best long-term containers, my roundup of easy storage solutions for seasonal decor compares bins, bags and shelving ideas for every kind of space.
Pick One Staging Area
Choose one clear space where everything gets sorted before it goes into a box: the dining table, a guest bed covered with an old sheet or a cleared corner of the living room floor. Lay the empty bins out there with lids off, and put the tissue, bags and labels within reach.
A staging area stops decorations from being packed wherever they happen to be, which is how a snow globe ends up in a box of lights. Everything travels to one spot, gets sorted by type and then goes into the right container. It also gives you a clear picture of how much you actually own, which makes decluttering much easier.
The Packing Order Table
This is the plan I wish someone had handed me years ago. Each row shows the item, the best way to pack it, the container it goes in and what to write on the label. Screenshot it and keep it open on your phone while you work.
| Item | How to pack | Container | Label |
|---|---|---|---|
| Small decor and figurines | Wrap each in tissue, fragile pieces on top | Clear bin with padding on the bottom | "Living Room: Small Decor, Fragile" |
| Mantel garland and candle holders | Loosely coil garland, wrap holders in tissue | Large flat bin | "Mantel: Garland and Candles" |
| String lights | Test, then wind around a reel or cardboard, plug ends taped | Light reel or a dedicated bin | "Tree Lights: Warm White, Working" |
| Ornaments | Hooks off, one per cell, glass ones in tissue | Divided ornament box | "Tree: Ornaments, Fragile" |
| Wreaths | Remove hangers, fluff, keep flat | Round wreath bag | "Front Door: Wreath" |
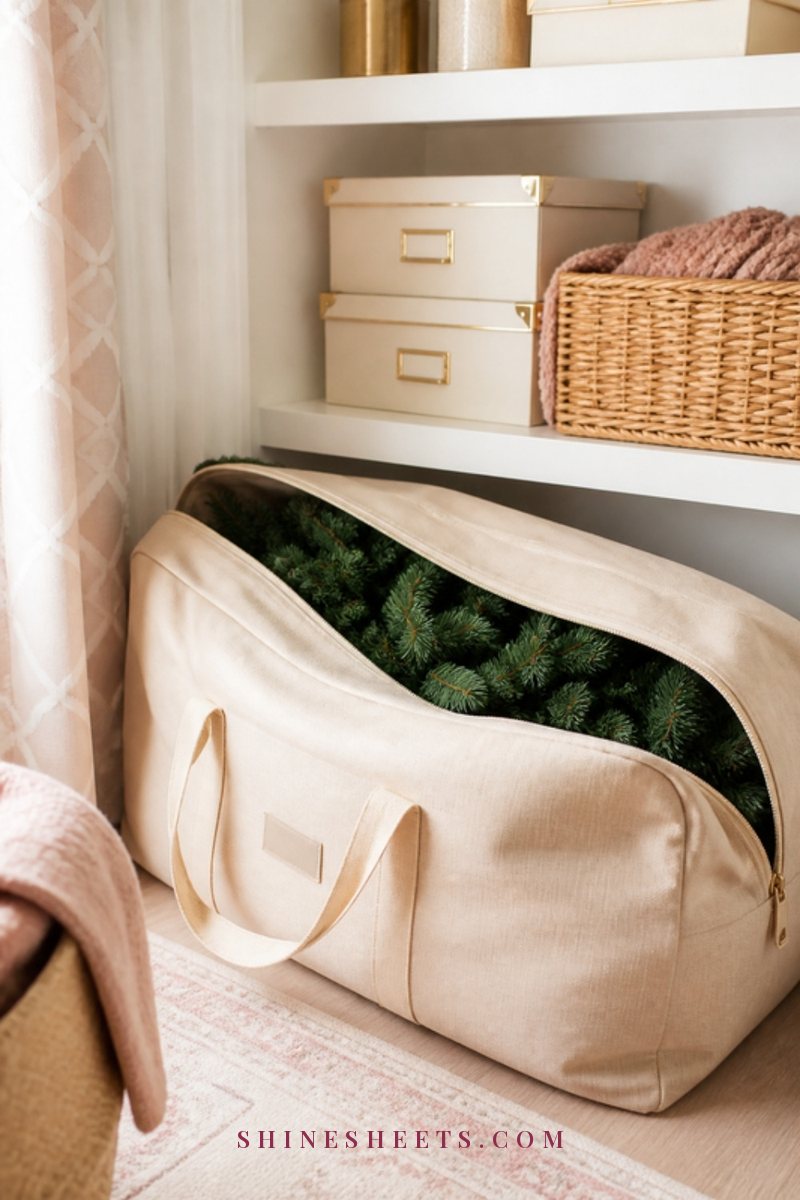
| Artificial tree | Separate sections, fold branches up | Tree storage bag | "Living Room: Tree" |
| Textiles (stockings, tree skirt, pillow covers) | Wash or air out, fold | Fabric bin or vacuum bag | "Textiles: Stockings and Covers" |
| Things you use first | Extension cords, hooks, tree stand, timers | Small bin marked to open first | "OPEN FIRST" |
Notice the last row. An open-first bin with the tools you need on decorating day is one of the kindest gifts you can give your future self.
The Order That Works: 6 Steps
Working in a set order keeps you from undoing your own progress. The idea is to go from small and scattered to big and bulky, so the floor stays clear for the tree at the end.
1. Unplug Everything, Then Walk the House With a Basket
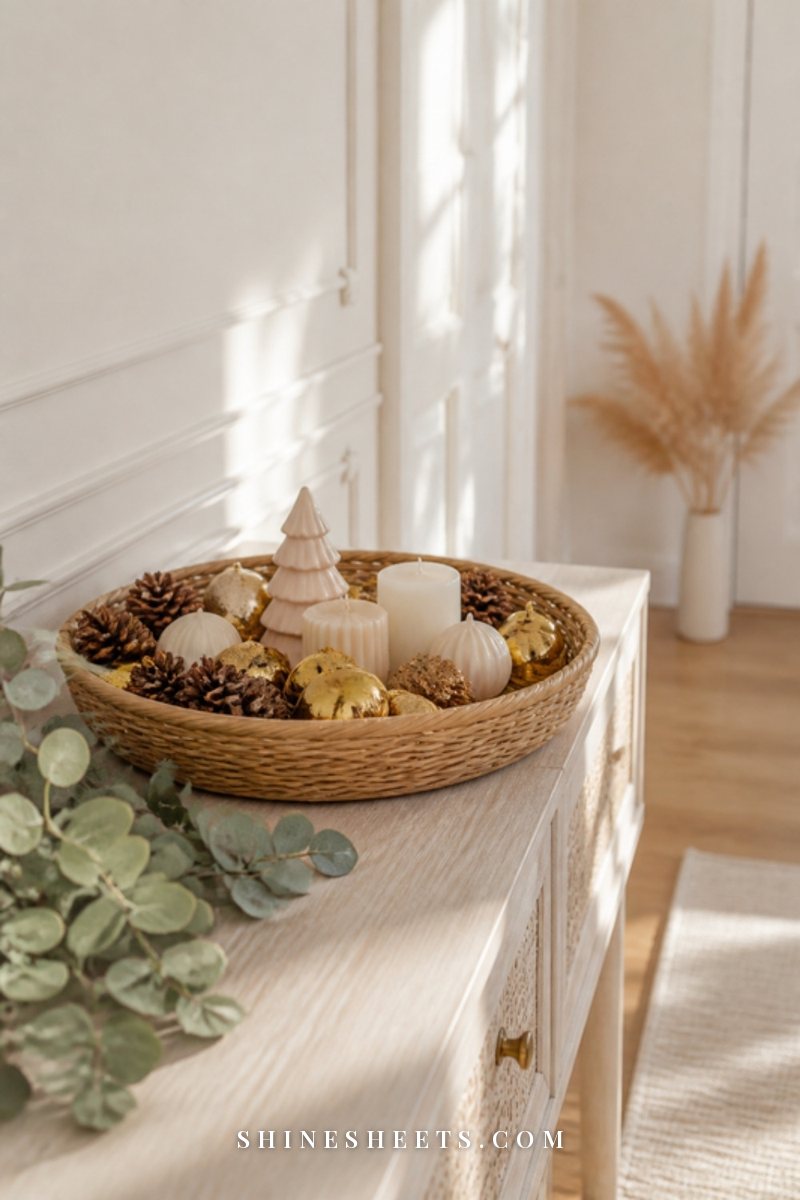
Start by unplugging every light, timer and battery candle in the house. It's safer, and it stops you yanking on a cord that's still live. Then take a basket and walk through each room collecting the small things: figurines, snow globes, candle holders, little trees, holiday hand towels, festive cushions and the odd bell on a door handle.
Bring the full basket to your staging area and sort by room or type. Small decor is the easiest to forget and the easiest to break, so getting it out of the way first means nothing gets knocked over while you work on the bigger pieces.
2. Clear the Mantel and Tables

Next, move to the surfaces that carry bigger arrangements: the mantel, the dining table centerpiece, the console in the hallway, shelves and windowsills. Take garlands down carefully, unhooking rather than pulling, and coil them loosely into a large bin. Tight coils crush faux greenery and bend the wire.
Wrap candle holders and vases in tissue. Throw away burned-down candles and keep the good ones together in a small box, ideally somewhere cool so they don't soften. Once a surface is clear, give it a quick wipe with a damp microfiber cloth. Holiday dust and glitter are real, and a clean surface makes the room feel instantly fresh.
3. Take Down and Wrap the Lights
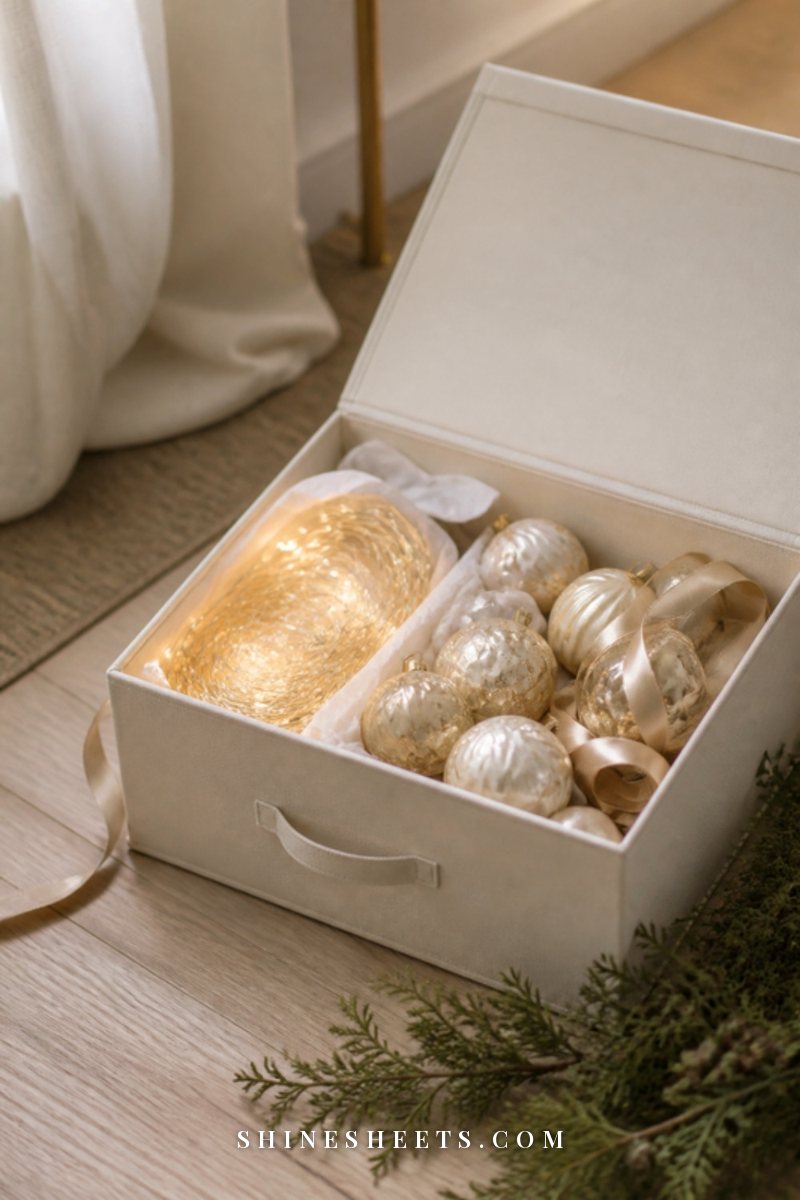
Lights cause most of the holiday tangles, so give them a few extra minutes. Before you wrap them, plug each strand in for a moment to check it works. Toss any strand with dead sections, frayed wires or cracked sockets. It's not worth the risk, and you'll forget which one was faulty by next year.
Then wind each working strand around a light storage reel or a rectangle of sturdy cardboard with a small notch cut at each end to hold the plug. Wrap loosely, not tightly, so the wires and bulbs don't strain. Tape the plug end to the reel so you can find it instantly next year. Label each reel by where it goes and how long it is: "Tree, 30 ft" or "Porch Railing."
For outdoor lights, wait for a dry day, use a steady ladder with someone holding it and unclip rather than pull. Let any damp strands dry indoors for a day before you pack them.
4. Pack the Ornaments

Take ornaments off the tree from the top down, so you're never reaching across the branches you've already cleared. Remove the hooks as you go and drop them into a zip bag, because hooks left on tangle together and scratch delicate finishes.
Sort ornaments into your divided box by size and fragility. Glass, vintage and handmade pieces get a sheet of tissue each. Heavier, unbreakable ornaments go in the bottom tray, delicate ones on top. If a beloved ornament is chipped or cracked, set it aside to repair rather than packing it as is.
A small habit that helps: pack your sentimental ornaments in their own labeled section. They're the ones you'll want to unwrap slowly next December, with a cup of tea, before the rest go up.
5. Store the Wreaths
Wreaths get squashed when they're tossed into a bin. Take off any hangers or ribbons that might snag, give the branches a gentle fluff and lay each wreath flat in a round wreath storage bag. Look for a padded one with a sturdy zipper and handles so you can hang it on a hook or slide it onto a shelf.
Fresh wreaths and garlands made from real greenery can't be stored, so add them to your green waste or compost. If you have wreath hangers, keep them in the open-first bin so the front door is quick to decorate next year.
6. Take Down the Tree
The tree comes last because it's the biggest job and it needs the most floor space.
Artificial tree: Remove the tree skirt and anything still hanging, then take the tree apart section by section from the top. Fold the branches upward toward the trunk (the reverse of how you shaped them) and slide each section into a tree storage bag with a sturdy zipper, handles and room for the stand. Pre-lit trees need a little extra care: keep the plugs and connectors easy to reach and never force a section into a tight bag. Next year, my guide on how to fluff an artificial Christmas tree so it looks full will get it looking lush again in no time.
Real tree: Check your town's pickup dates, as many areas collect and recycle trees in early January. Before you move it, slide a large old sheet or a tree removal bag under and around it to catch the needles on the way out. Remove the stand, empty any leftover water and dry it before storing. Then vacuum thoroughly, ideally twice over a couple of days, because needles keep turning up in corners.
Declutter as You Pack: Keep, Donate, Toss
Packing up is the easiest moment of the whole year to declutter decorations, because everything is already in your hands. Use three simple piles in your staging area:
- Keep: Pieces you used and loved this year, sentimental items and anything in good working order.
- Donate: Decor that's in good condition but didn't make it out of the box, duplicates and items that no longer fit your style. Charity shops are often happy to take decorations, though some prefer them closer to the season, so check first.
- Toss: Broken lights, shattered ornaments, burned-out candles, crushed bows and anything faded or moldy.
A simple rule that works well: if you didn't put it out this year and you didn't miss it, let it go. Fewer decorations mean fewer bins, faster decorating and more room for the pieces that truly feel like Christmas. For more sorting ideas around the house, my list of what to declutter before the new year goes room by room.
Label by Room and Pack an Open-First Bin
Labels are where future you will thank present you. Instead of vague words like "Christmas Stuff," label each bin with the room it belongs to and what's inside: "Living Room: Mantel Garland, Candle Holders," "Kitchen: Towels, Tray, Mugs," "Front Door: Wreath, Hanger." Put labels on at least two sides so you can read them however the bins are stacked.
Then pack your open-first bin. Fill it with the tree stand, extension cords, hooks, timers, spare bulbs and fuses, scissors, tape and a pen. Add a note of anything you want to replace or buy next season. Label it in big letters and store it at the front, so on decorating day it's the first thing you reach.
Where To Store Christmas Decorations
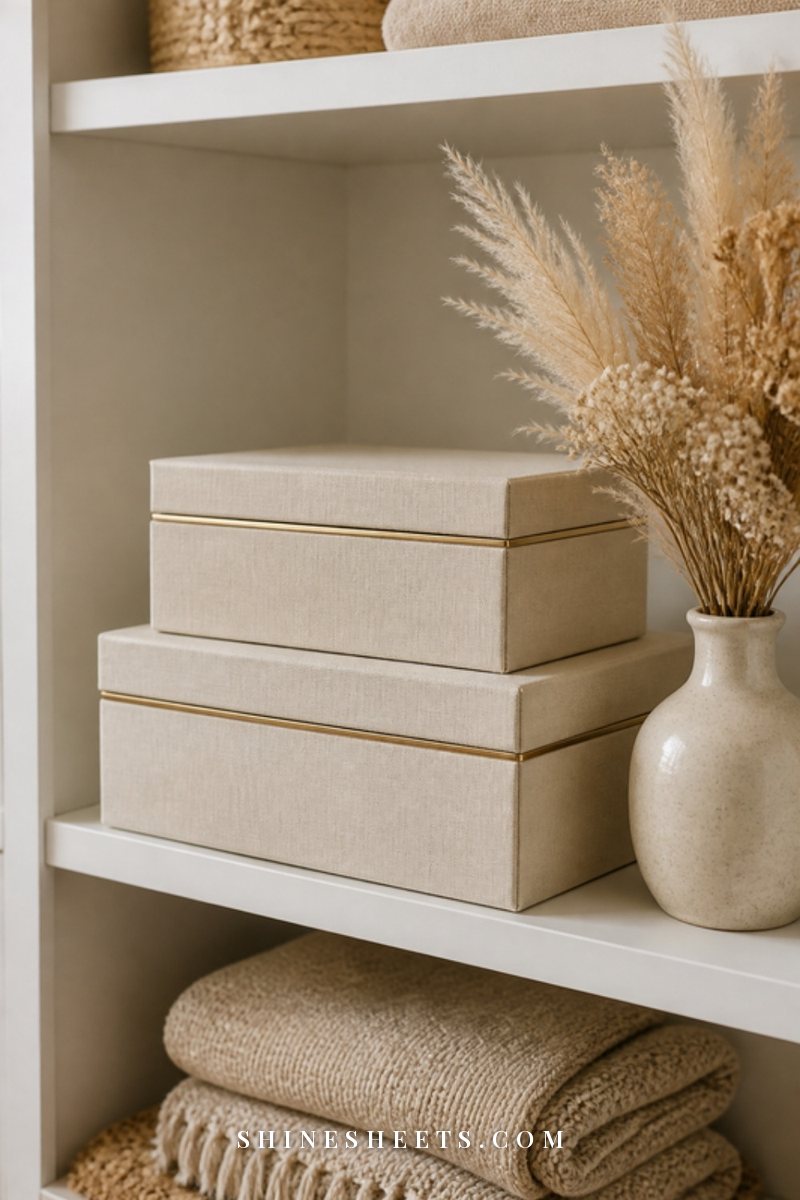
Where your bins live matters as much as how you pack them. Heat melts candles and warps plastic, damp causes mildew and rust, and big swings in temperature make glass ornaments crack. Aim for somewhere cool, dry and steady:
- Best: An indoor closet, under a bed, a dry basement shelf or a spare room.
- Okay with care: A garage or attic, if the bins are well sealed, raised off the floor and away from direct sun and heating vents.
- Avoid: Damp basements with no airflow, spots next to the furnace or water heater and anywhere that floods.
Store the heaviest bins on the bottom and the lightest, most fragile ones on top. Keep candles separately in a cool place, since attics and garages can soften them in summer. And make sure every bin is fully dry before you close the lid.
Stay Safe While You Pack Up
A few simple safety notes, because decorating injuries tend to happen on the way down too:
- Always unplug lights before you touch or remove them.
- Use a sturdy step stool or ladder instead of a chair, sofa arm or wobbly box, and have someone steady it for outdoor work.
- Wear gloves when handling broken glass ornaments, and wrap shards in newspaper before throwing them away.
- Lift heavy bins with your legs, not your back, and don't overfill them.
- Get a dried-out real tree out of the house promptly, as dry needles burn very quickly.
Keep a Little Winter Coziness
One reason the house can feel bare after the decorations come down is that everything disappears at once. You don't have to go from twinkle to empty overnight. Keep a few winter touches that aren't specifically Christmas: warm white fairy lights in a glass jar, pinecones in a bowl, white candles, a chunky knit throw, a bundle of eucalyptus or a few white tulips in a vase.
If you'd like more ideas for this in-between season, my guide to winter decor after the holidays has gentle ways to keep the house warm and inviting through January. And once the bins are away, my January home reset is a lovely next step for giving each room a fresh start.
Final Thoughts
Taking down Christmas decorations doesn't have to end in tangled lights and mystery boxes. With your supplies gathered, one staging area, a simple packing order and clear labels, the whole house can be packed away in a single calm afternoon.
Close the last lid, light a candle and enjoy the clean, quiet space. Next December, when you open the bin marked "open first" and everything is exactly where you left it, you'll be very glad you took the time.