A well-organized medicine cabinet isn't about rows of matching jars. It's about being able to find the right thing quickly when you feel awful, knowing that nothing in there is expired, and being sure it's stored somewhere safe for everyone in your home. Calm and safe first, pretty second.
It also might surprise you that the bathroom medicine cabinet isn't always the best home for medicines at all. Heat and steam from showers can affect many of them, which is why a simple system often means splitting things between the bathroom and a cooler, drier spot.
This guide to medicine cabinet organization walks you through decluttering and checking expiration dates, how to dispose of old medicines safely, sorting into easy categories, choosing the right spot, containers and labels, small cabinet solutions, a simple first aid kit and keeping kids and pets safe. There's also a category table with what to keep, where to store it and how often to check it.
One note before we start: this is about organizing and storing, not about which medicines to take or how much. For anything about dosing or what's right for you, your pharmacist and doctor are the best people to ask.
Why the Bathroom Medicine Cabinet Isn't Always the Best Spot
It's called a medicine cabinet, so it feels natural to keep medicines there. But bathrooms are one of the warmest, most humid rooms in the house. Every hot shower sends a cloud of steam into the air, and that moisture and heat can cause some medicines to lose their effectiveness faster than they should.
Most medicine labels say something like "store in a cool, dry place" or "store at room temperature," and a steamy bathroom often doesn't qualify. Tablets can absorb moisture, creams can separate, and some products simply break down sooner.
That doesn't mean your bathroom cabinet has to sit empty. It's a great home for things you use daily that tolerate humidity well, like toothpaste, floss, a small amount of skincare and bandages for quick fixes. Medicines, vitamins and backup stock are often better in a cool, dry place such as a bedroom dresser, a high kitchen cabinet away from the stove, or a hall or linen closet shelf.
Always follow the storage instructions on each label, and if something needs to be refrigerated, keep it in the fridge. When in doubt, a pharmacist can tell you exactly how a specific medicine should be stored.
Step 1: Take Everything Out and Check Dates
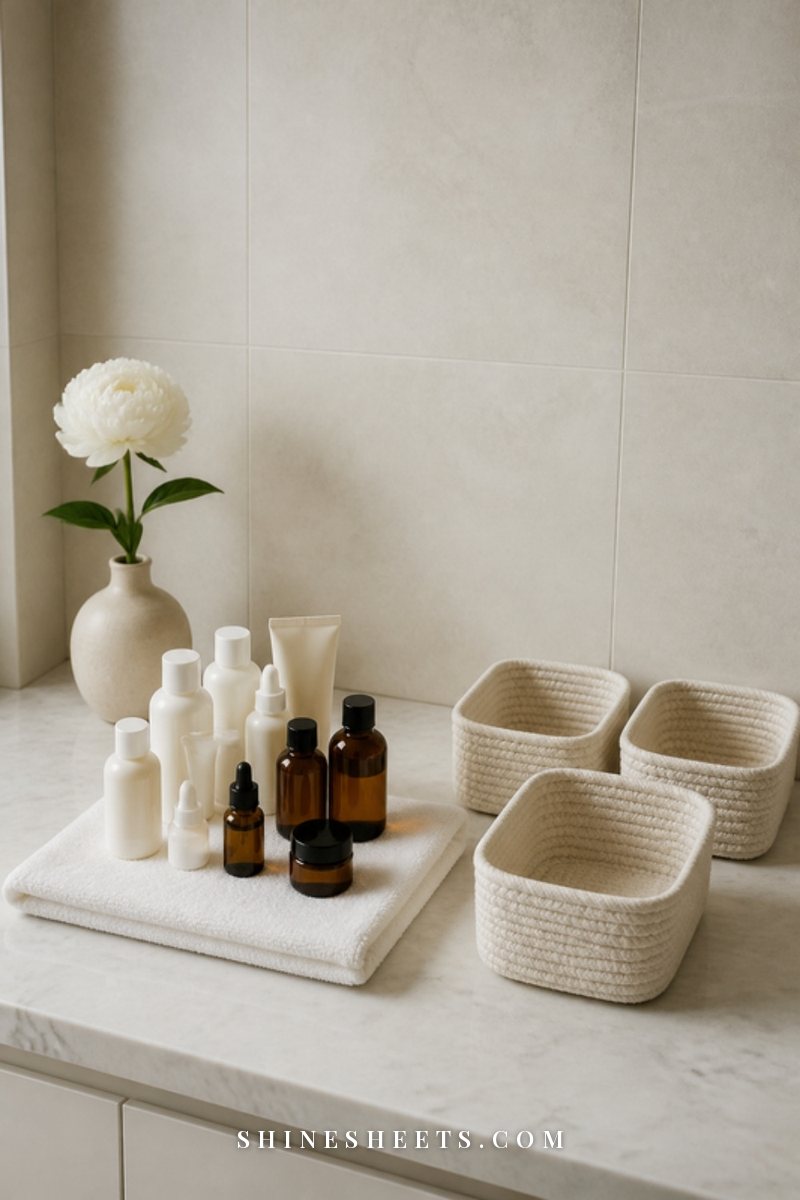
Set aside about 30 minutes. Gather every medicine, vitamin, ointment and first aid item from around the house into one place: the bathroom, your nightstand, your purse, the kitchen drawer, the car. Lay a clean towel on a table or counter and empty everything onto it.
Then go through each item one by one:
- Check the expiration date. Set aside anything past its date. Expired medicines may not work as well, and some can change over time.
- Check the condition. Even before the date, set aside anything that has changed color, smell or texture, tablets that are crumbly or stuck together, and creams that have separated.
- Check the label. If you can't read the name, the strength or the instructions, it's time to let it go. Never guess what's in an unlabeled bottle.
- Check if you still need it. Leftover prescriptions from an old illness, products you tried once and didn't like, or duplicates of the same thing can go.
- Wipe the cabinet. While it's empty, give the shelves a quick clean with a mild all-purpose cleaner and dry them completely.
Don't forget skincare and cosmetics. Many have a "period after opening" symbol (a small open jar with a number and an "M," which tells you how many months a product lasts once opened). My guide on how long skincare lasts after opening explains how to read it.
Step 2: Dispose of Old Medicines Safely
This is the part people often skip, and it matters. Old medicines shouldn't simply be tossed in the trash as they are or poured down the sink. Here's the safest way to handle them:
- Use a drug take-back option first. Many pharmacies have drop-off kiosks or envelopes for unused medicines, and many communities hold take-back days. Ask at your pharmacy counter, or check your local police department or city website for permanent drop-off locations.
- Don't flush medicines unless the label says to. A small number of medicines come with instructions to flush them if no take-back option is available, because they could be especially dangerous if found by someone else. For everything else, flushing isn't recommended.
- If there's no take-back option, the general household guidance is to mix medicines (without crushing tablets) with something unappealing like used coffee grounds or cat litter, seal it in a bag or container, and put it in your household trash.
- Remove personal information. Scratch out or peel off your name and prescription details from empty bottles before recycling or throwing them away.
- Ask about special items. Needles, inhalers and some other items need their own disposal method. Your pharmacist can tell you what to do.
Put everything for disposal in one bag right away, so it doesn't drift back into the cabinet.
Step 3: Sort Into Simple Categories
Once you've cleared out the old things, sort what's left into a handful of categories. The goal is that anyone in your home could find the right bin in a few seconds, even half-asleep with a headache.
Daily Medicines and Vitamins
Anything you take regularly: prescriptions, daily vitamins and supplements. These get the most convenient spot, ideally somewhere cool, dry and easy to reach at the time of day you take them. A weekly pill organizer can be helpful if your doctor or pharmacist suggests one.
First Aid
Bandages, gauze, medical tape, antiseptic wipes, antibiotic ointment, a thermometer, tweezers and small scissors. These do fine in the bathroom and are good to keep together in one kit you can grab quickly.
Cold, Flu and Allergy
Pain relievers, fever reducers, cough and cold remedies, allergy medicines, throat lozenges and saline spray. Keep these together so you're not searching through everything when you're feeling miserable.
Skincare and Treatments
Spot treatments, hydrocortisone cream, prescription creams, lip balm, aloe gel and sunscreen. These are often fine in the bathroom, but check each label, since some prescription creams prefer cooler storage.
Dental and Personal Care
Toothpaste, floss, mouthwash, a backup toothbrush, contact lens supplies and razors. These are the true bathroom regulars and the best use of your actual medicine cabinet.
A small extra for households with more than one person: give each person's daily medicines their own labeled bin or basket, so nobody ever grabs the wrong bottle in a sleepy morning rush. Color-coded bins (one soft blush, one sage, one cream) make this even easier to see at a glance.
If you have a few items that don't fit, a small "occasional" bin works for things like motion sickness remedies or travel-size extras.
How Much To Keep (and What You Probably Don't Need)
One of the quiet reasons medicine cabinets overflow is that we keep far more "just in case" stock than we'll ever use before it expires. A calmer approach:
- One open package of each everyday remedy and, at most, one unopened backup. Bulk packs are only a bargain if you finish them before the date.
- No duplicates with the same active ingredient. Many cold and flu products share ingredients with plain pain relievers. Read the labels, and ask a pharmacist if you're unsure which ones overlap, so you're not storing (or taking) the same thing twice.
- Travel sizes in one pouch. Hotel toiletries and mini samples multiply quickly. Keep a small pouch for trips and let the rest go.
- Old "maybe" items out. If you haven't reached for something in a year and it isn't part of a first aid kit, it probably doesn't need cabinet space.
Fewer items means you can actually see what you have, and you'll notice expiration dates long before they become a problem.
The Medicine Cabinet Category Table
Here's the whole system in one place. Screenshot it and use it as your guide whenever you put new things away.
| Category | What to keep | Where to store | Check how often |
|---|---|---|---|
| Daily medicines and vitamins | Current prescriptions, daily vitamins, a pill organizer if used | Cool, dry spot out of reach (bedroom or high kitchen cabinet away from heat) | Monthly, when refilling |
| First aid | Bandages, gauze, tape, antiseptic wipes, ointment, thermometer, tweezers, scissors | One kit in the bathroom or hall closet | Every 3 months |
| Cold, flu and allergy | Pain and fever relievers, cough and cold remedies, allergy medicine, lozenges, saline spray | Cool, dry closet shelf, up high or locked | Every 6 months, before cold season |
| Skincare and treatments | Spot treatments, hydrocortisone, prescription creams, aloe, sunscreen | Bathroom cabinet unless the label says otherwise | Every 3–6 months |
| Dental and personal care | Toothpaste, floss, mouthwash, backup brush, lens supplies, razors | Bathroom medicine cabinet | Monthly |
| Backup stock | Unopened extras of daily essentials | Labeled bin in a linen closet | Every 6 months |
| Disposal bag | Expired or unneeded medicines waiting for take-back | Sealed bag, up high, until drop-off | Drop off within a few weeks |
Step 4: Choose the Right Spot
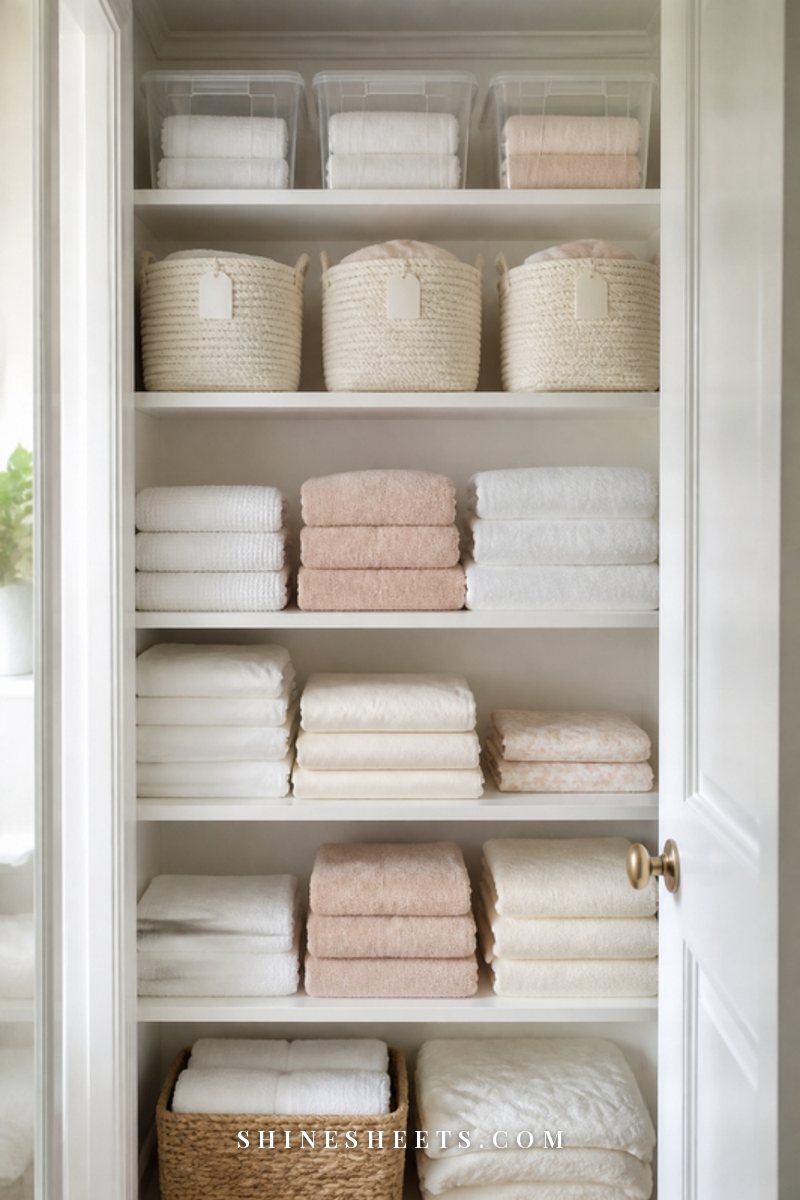
With your categories sorted, decide where each group will live. A few guidelines make this easy:
- Cool and dry: away from the shower, the stove, the dishwasher, sunny windowsills and the car, where temperatures swing a lot.
- Up high: above the reach of small children, even if you don't have kids yourself, because little visitors happen.
- Locked if needed: especially for prescription medicines, strong pain relievers and anything that could be misused.
- Close to where you need it: a small first aid kit in the bathroom and another in the kitchen is wonderfully practical.
- Away from food and cleaning products: never on the same shelf as cleaning supplies or snacks. If you're setting up your cleaning cabinet too, my guide on how to organize cleaning supplies safely keeps everything clearly separate.
For many homes, a linen closet shelf is the perfect "medicine closet": cool, dry, high and easy to reach. My linen closet organization guide shows how to make room for a medicine bin alongside towels and sheets.
Step 5: Containers and Labels That Make It Easy
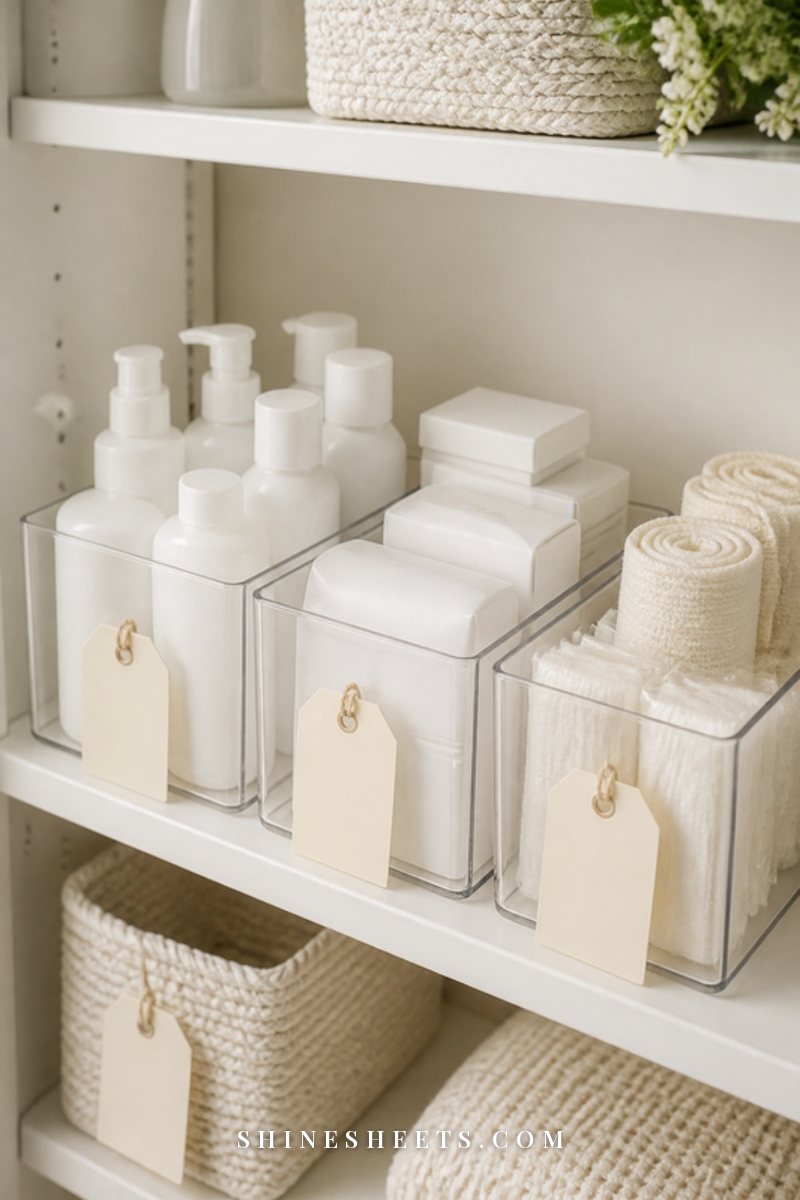
Now for the satisfying part. The right containers keep categories from mixing and let you see what you have at a glance.
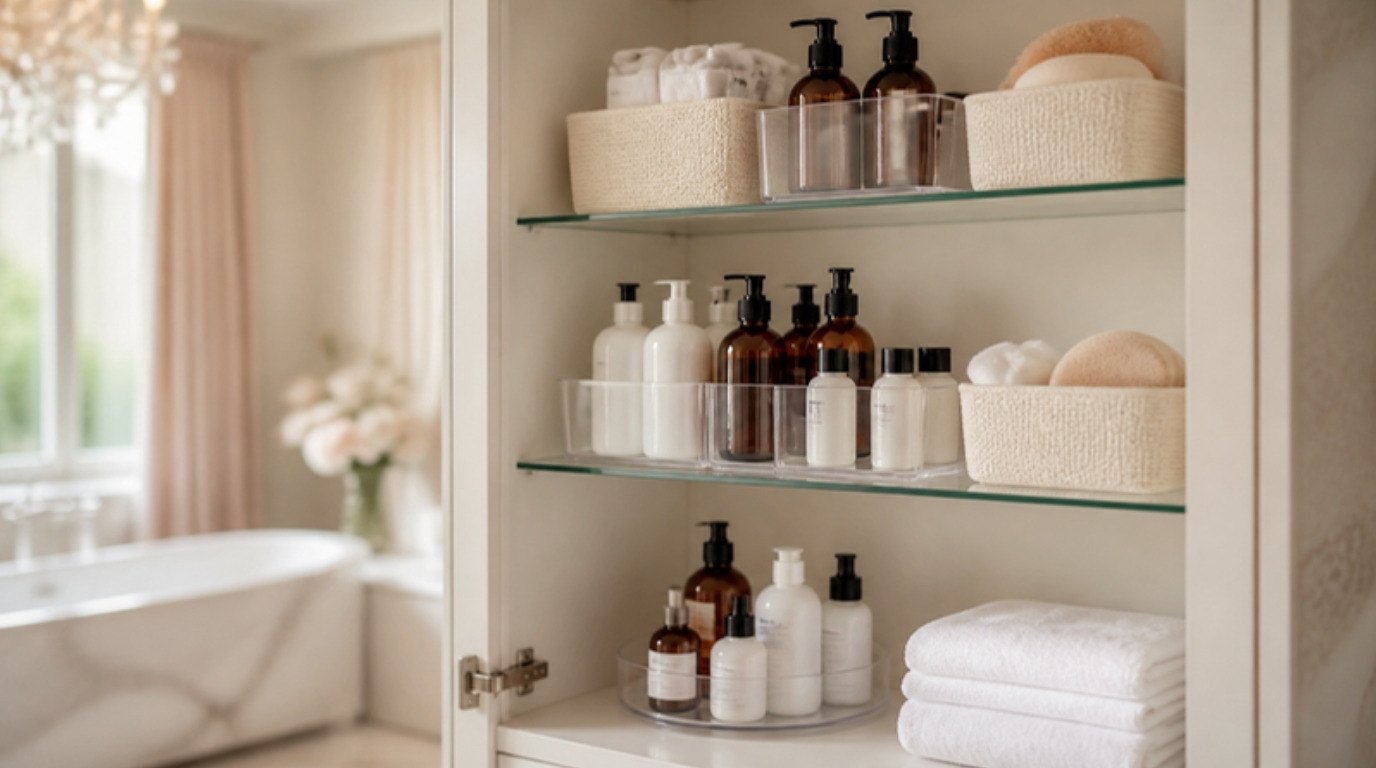
- Clear bins for visibility. Clear acrylic organizer bins let you see every bottle without digging, and they're easy to wipe clean.
- Baskets for a softer look. If your medicines live in a visible closet, small woven baskets look calm and hide visual clutter, as long as each one is clearly labeled.
- Labels on everything. Label each bin by category ("Cold and Flu," "First Aid," "Daily"). A compact label maker makes clean, waterproof labels in seconds.
- Keep original packaging. Don't move medicines out of their original bottles or boxes. The label holds the name, strength, instructions, warnings and expiration date, and mixing tablets into one container is how mistakes happen.
- Lids for anything risky. Bins with lids add one more step for curious little hands.
Tip: label the front and the top of each bin, so you can read it whether it's on a high shelf or pulled out on a counter.
How To Organize a Small Medicine Cabinet
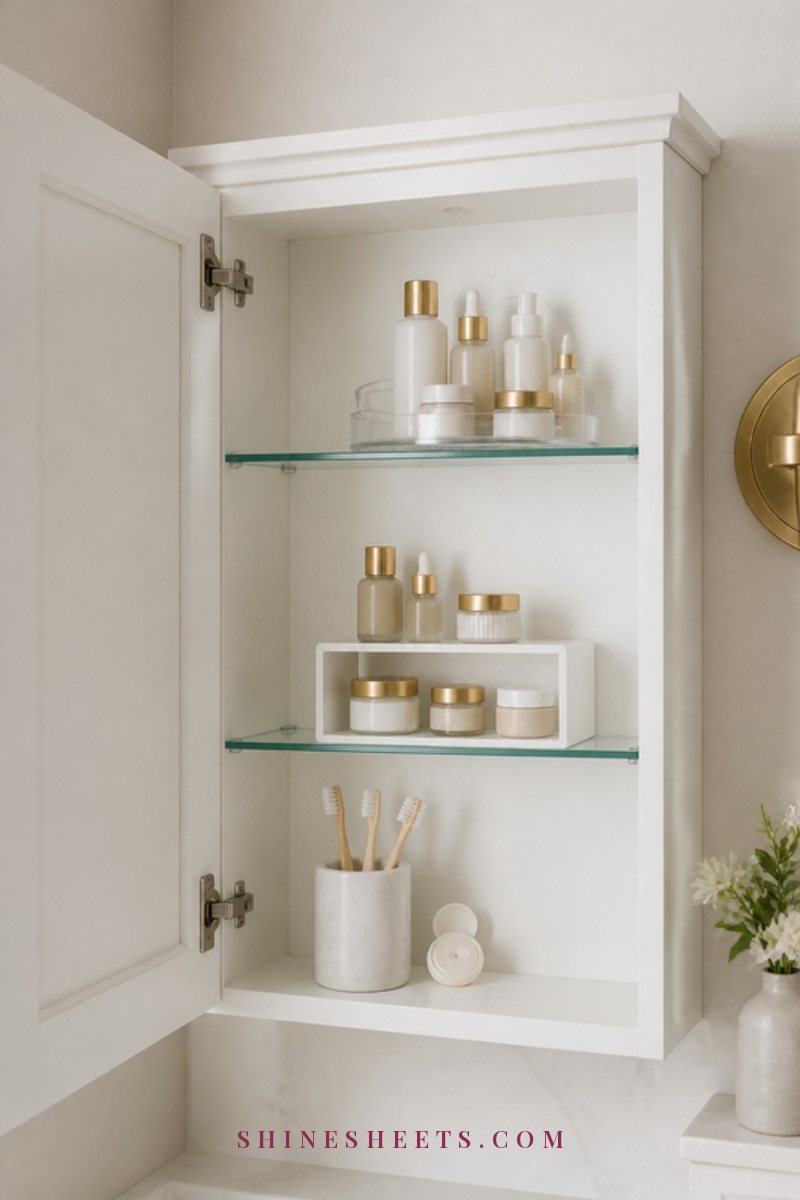
Small bathroom cabinets fill up fast. A few tricks make every inch count:
- Use a turntable. A small lazy susan turntable on a deep shelf brings items from the back to the front with one spin. Perfect for bottles of mouthwash, lotions and toiletries.
- Add a shelf riser. Cabinet shelf risers create a second level so short items don't hide behind tall ones.
- Tallest at the back, smallest in front. A simple rule that makes everything visible.
- Use the door. Small adhesive bins or magnetic strips on the inside of the door can hold tweezers, nail clippers and bobby pins.
- Keep only daily items here. Move backups, bulk packs and medicines to a cooler closet. Your cabinet will feel twice as big.
- Use the space under the sink wisely. It's fine for extra toilet paper and towels, but keep medicines out of it, since pipes can leak and it's within easy reach of kids. My under-sink organization ideas show what works there instead.
If your whole bathroom feels short on space, these organization ideas for small bathrooms can help free up room around the cabinet as well.
Build a Simple First Aid Kit
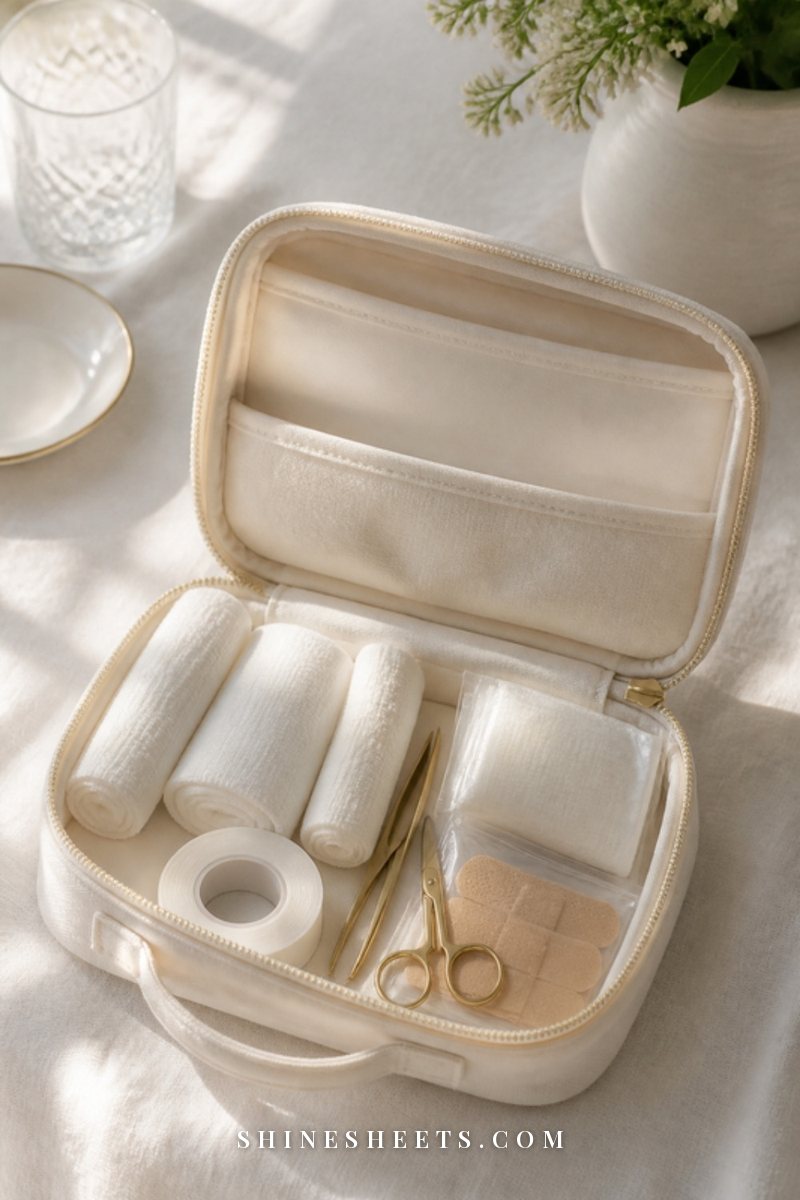
A small, well-stocked first aid kit means you're not scrambling for a bandage while someone's finger is bleeding. You can buy a ready-made home first aid kit and add to it, or build your own in a lidded box. Basics to include:
- Adhesive bandages in several sizes
- Sterile gauze pads and a roll of medical tape
- Antiseptic wipes
- Antibiotic ointment
- A digital thermometer
- Tweezers and small scissors
- Disposable gloves
- An instant cold pack
- Hydrocolloid blister plasters
- A small card with emergency numbers and any important allergies in your household
Keep one main kit at home and consider a mini version for your car or travel bag. Check it every few months and restock anything you've used.
A Small Medicine Pouch for Your Bag and Travel
Part of a calm system is not having random blister packs floating around the bottom of your purse. A tiny, zippered pouch keeps the essentials together and makes it easy to check what you're carrying.
- Keep items in their original packaging, or carry a small strip with the label still attached, so you always know what each one is and when it expires.
- Pack a few bandages, a small pack of tissues, lip balm, hand sanitizer and anything you personally need during the day.
- For trips, carry prescription medicines in your hand luggage in their original labeled containers, and bring a little more than you'll need in case of delays.
- Check your bag pouch every time you do your monthly cabinet check, and keep it out of reach when you're visiting homes with children.
A car is a poor place for medicines, because it gets very hot in summer and very cold in winter. Take your pouch inside with you.
Keeping Kids and Pets Safe
Even if children and pets don't live with you, it's worth setting up your space as if they might visit. Many medicines that are harmless for adults can be dangerous for little bodies.
- Store medicines up high and out of sight, ideally in a locked box or cabinet.
- Close child-resistant caps fully every time, until you hear the click. Child-resistant doesn't mean childproof.
- Don't leave medicines on nightstands, counters or in handbags where kids can reach them. Guests' bags can be a risk too.
- Never call medicine "candy" to children.
- Be extra careful with pets: some common human medicines are toxic to dogs and cats, even in small amounts. Pick up dropped tablets right away.
- Keep pet medicines separate from human medicines, in a clearly labeled bin.
- Save your local poison control center number in your phone and on your first aid card.
If you ever think someone (or a pet) has swallowed something they shouldn't, contact poison control or your vet immediately, and have the product packaging with you.
Keep It Organized: A Simple Check Routine
The best system is one you maintain in a few minutes. Here's an easy rhythm:
- Monthly: a two-minute glance at daily medicines and dental care. Toss empties and add refills to your list.
- Every three months: restock the first aid kit and check skincare and treatments.
- Twice a year: a full check of expiration dates. Many people pair it with changing the clocks or the start of cold season.
- Whenever you buy something new: put it in the right bin straight away, with the newest items at the back so older ones get used first.
- When an illness ends: put leftover prescription medicines in the disposal bag rather than saving them "just in case," unless your doctor tells you otherwise.
Final Thoughts
Medicine cabinet organization is one of those small projects that quietly takes care of you. When you're unwell, tired or worried about someone you love, everything you need is right where it should be, safe, labeled and in date.
Start with one afternoon: check the dates, clear out the old, and give each category its own little home. Your future self, curled up with a cold and a cup of tea, will be so grateful.