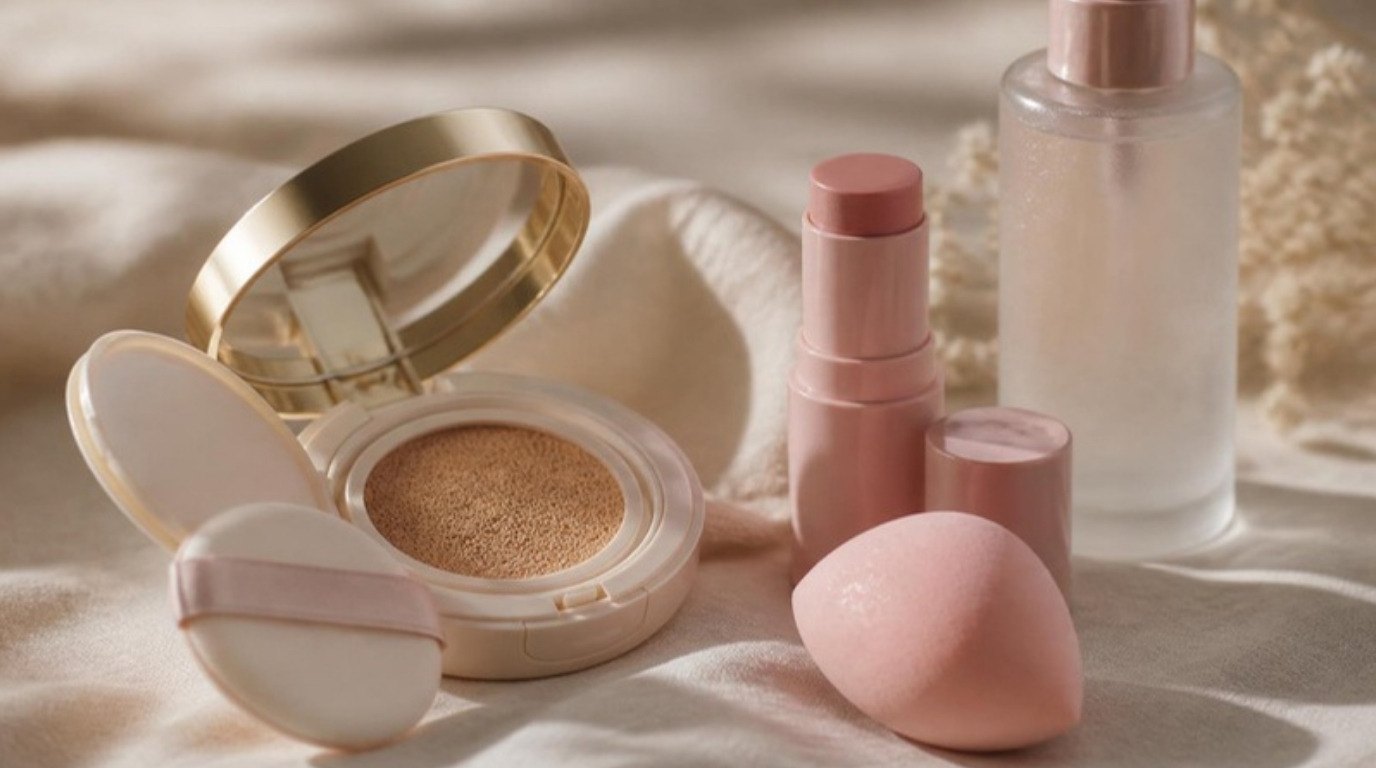
Makeup that lasts all night isn't about piling on more product. It's about thin layers, the right order, and giving each step a minute to settle before the next one goes on. Get those three things right and your face can survive dinner, a crowded dance floor and a hundred flash photos without melting into your collar.
Holiday parties are tough on makeup in a very specific way: warm rooms, cold air outside, hugs, drinks, candlelight and a camera at every turn. A look that holds up beautifully at the office can be gone by the second hour of a party. The good news is that long wear is mostly technique, and most of it costs nothing.
This guide walks you through a complete holiday party makeup routine built for staying power: skin prep, foundation and concealer, the cream-then-powder trick, eyes, brows and lips that last, setting spray, an hour-by-hour wear table with quick fixes, a small touch-up kit, tweaks for oily and dry skin, and how to take it all off gently at the end of the night.
Give yourself about 45 minutes the first time. Once you know the order, it gets much faster.
Why Party Makeup Fades (and What Actually Helps)
Makeup usually breaks down for three reasons: oil coming through from underneath, friction from the outside (hands, scarves, hugs, napkins) and too much product sitting on top, which slides and creases instead of gripping.
That means every step below follows the same idea. Prep the skin so it's balanced, apply each product in a thin layer, lock creams with a light dusting of powder, and set everything so it moves with your face. It sounds like a lot of steps, but each one is small. If you want the deeper reasoning on base products, my guide on making foundation last all day covers it in detail.
A quick kind note before you start: if you're trying a new primer, foundation or setting spray for the party, patch test it on your jaw or inner arm a day or two before. Party night is not the time to discover a reaction.
Step 1: Prep Skin So Makeup Has Something To Hold
Long wear starts before any makeup touches your face. Skin that is too dry makes foundation cling to flakes. Skin that is too slick makes it slide. You want somewhere calm in the middle.
Moisturize, Then Wait
Cleanse gently, then apply a lightweight moisturizer. The step most people skip is the wait: give it a full 5 to 10 minutes to absorb before primer. Use the time to do your hair, pick earrings or make a cup of tea. If you go straight in while your moisturizer is still wet on top, everything you layer over it will move around more.
Press a clean tissue lightly on your face before the next step. If it picks up shine, give it a couple more minutes.
Grip or Hydrating Primer All Over
Next, a thin layer of primer. A grippy or hydrating makeup primer is a pick for most skin types, especially in winter, because it gives foundation a slightly tacky surface to hold onto while keeping skin comfortable. One pea-sized amount is enough for the whole face. Let it sit for a minute until it feels a little tacky.
Mattifying Primer on the T-Zone Only
If your forehead, nose and chin get shiny by mid-evening (mine do, my skin is combination and sensitive), tap a small amount of mattifying primer on just those areas. Keep it off the cheeks, where it can make skin look flat and dry. This "zone priming" is one of those quiet tricks that makes the biggest difference in photos.
Step 2: Long-Wear Foundation in Thin Layers
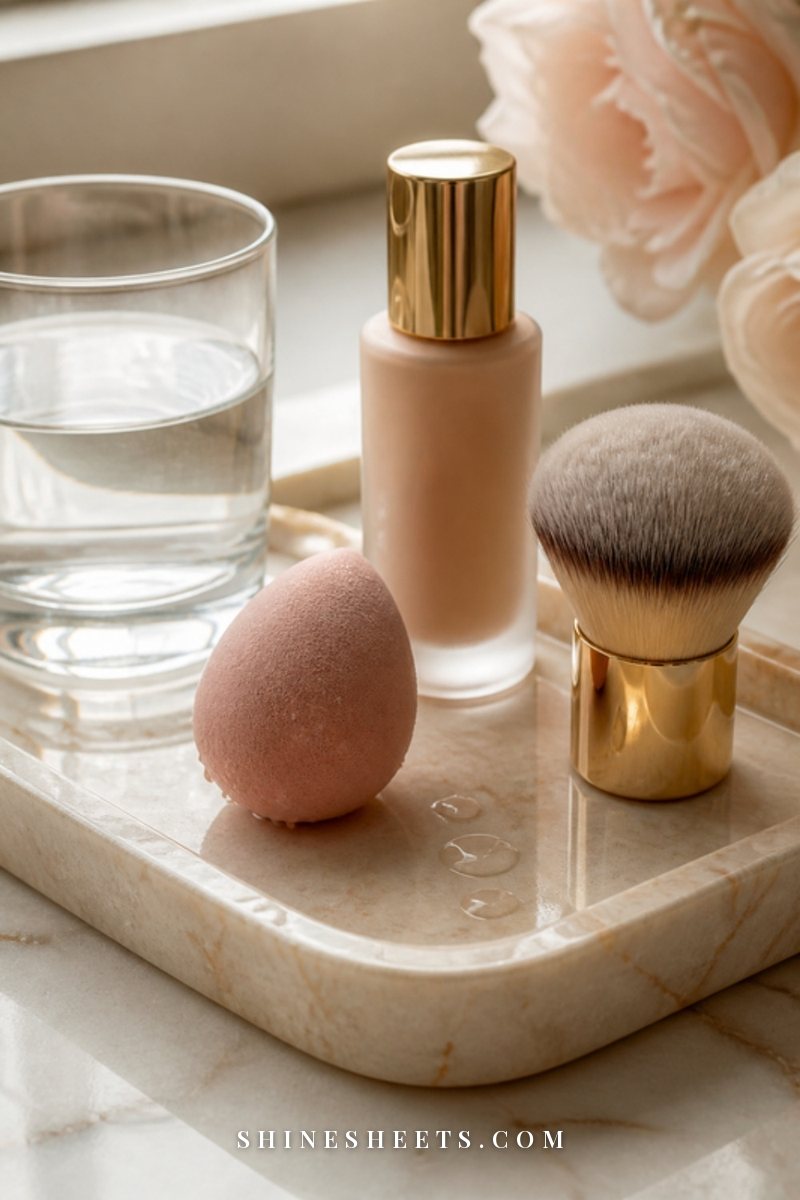
Long-wear formulas are made to grip and stay, but they also set fast, so they look best in thin layers rather than one heavy coat.
- Start in the center. Put a small amount on the back of your hand and apply it to the center of your face first, where most redness sits.
- Blend outward. Use a damp sponge or a dense brush and blend toward the edges, pressing rather than wiping.
- Wait one minute. Let the first layer set before deciding whether you need more.
- Add a second thin layer only where needed, usually around the nose and chin.
When choosing, look for a long-wear liquid foundation with a natural or satin finish (full matte can look flat in party lighting, very dewy can turn shiny by hour three) and a shade that matches your neck, not your hand. Check it in daylight by a window, since warm indoor bulbs make most shades look more golden.
Step 3: Concealer, Set With a Little Powder
Concealer is where creasing usually starts, especially under the eyes. Use less than you think: a few small dots, not a big triangle. Tap it in with your ring finger or a small sponge and wait about 30 seconds.
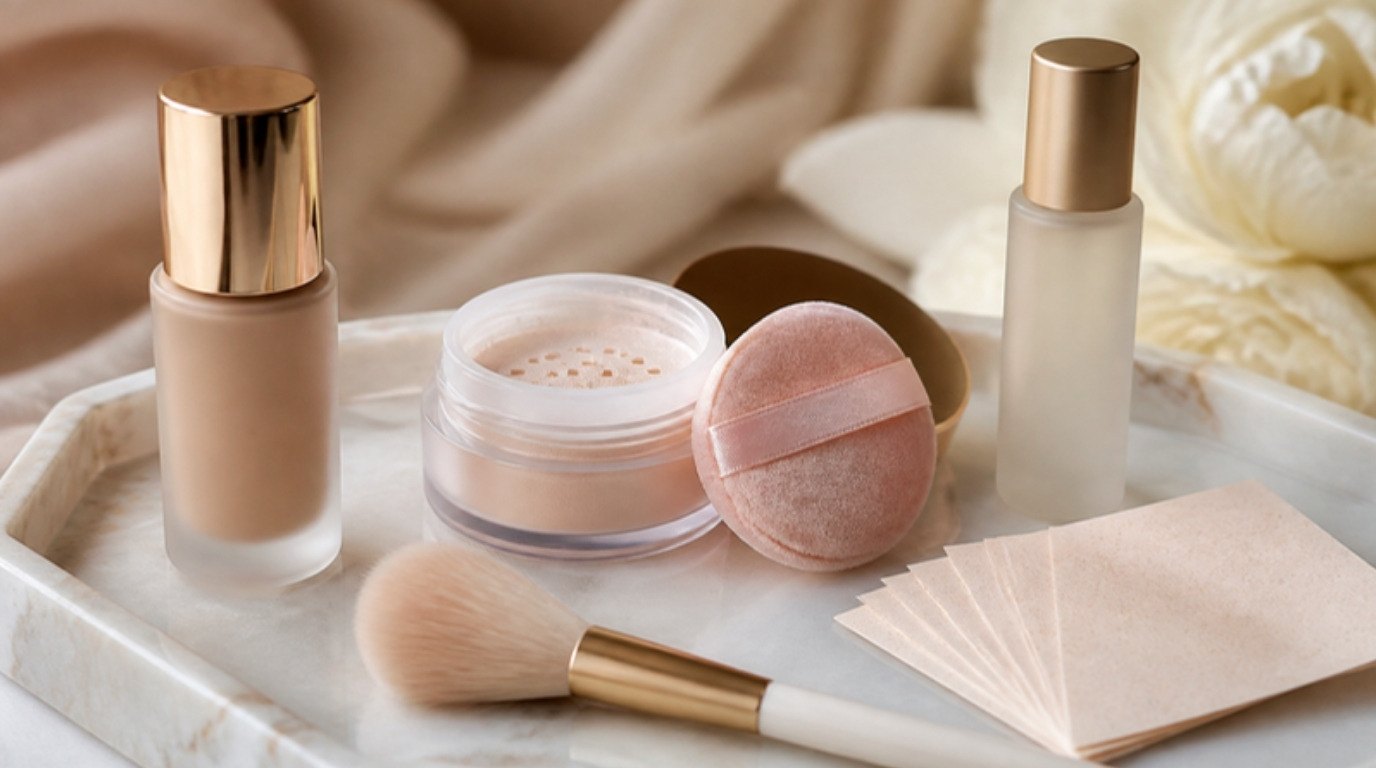
Then set it with a very small amount of translucent powder on a fluffy brush or a small puff, pressed (not swept) under the eyes and anywhere else you concealed. Before you powder, gently look up and smooth away any lines that have already formed. My full guide on concealer without creasing has more on this if your under-eyes are fussy.
Step 4: Creams First, Powder Over
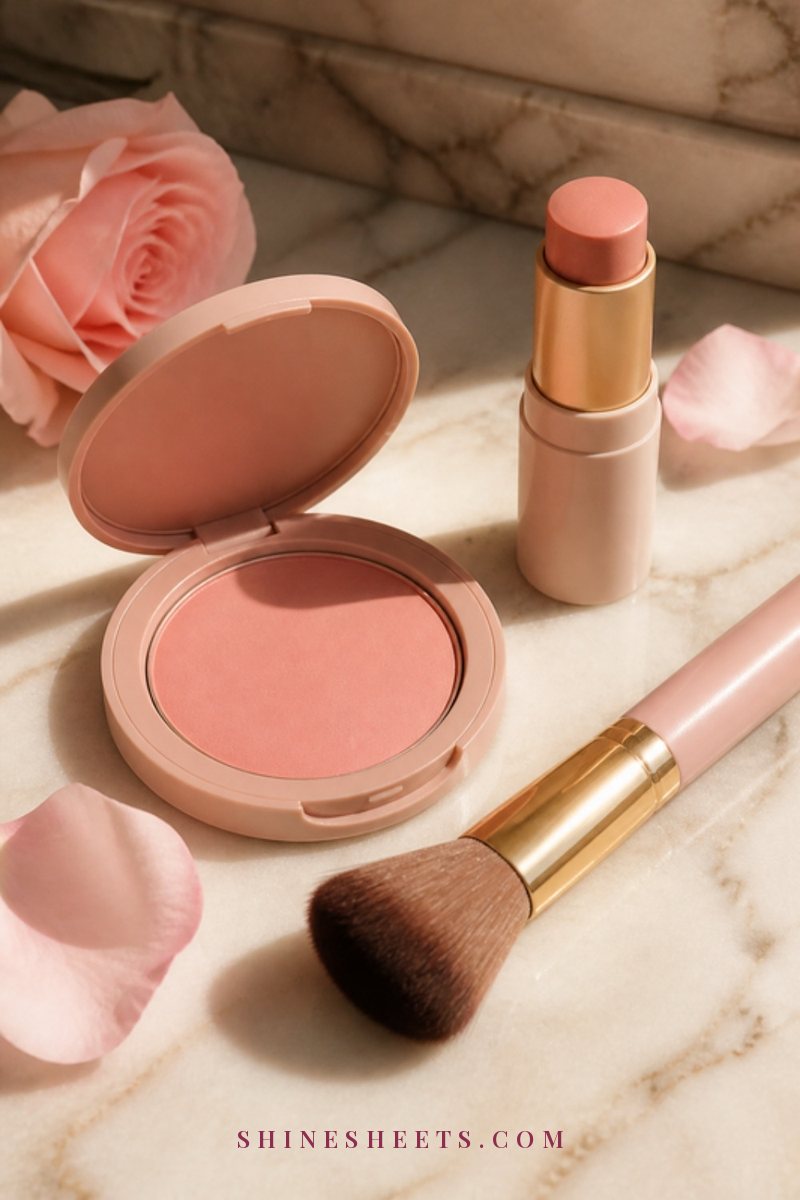
This is the single best trick for color that lasts all night: layer a cream product first, then lock it with the matching powder on top.
- Cream blush first. Dab a little cream blush on the apples and blend upward toward the temples with fingertips. Creams melt into the skin and look natural.
- Powder blush on top. Lightly dust a powder blush in a similar shade over it with a soft brush. The powder sets the cream so it doesn't fade or slide.
- Same rule for bronzer or contour. Cream underneath, a whisper of powder on top.
- Highlighter last, and sparingly. A touch on the high points of the cheeks catches candlelight. Too much reads as shine in flash photos.
Never put cream over powder, by the way. It drags and turns patchy. Creams go first, always.
Step 5: Eyes That Survive Dancing
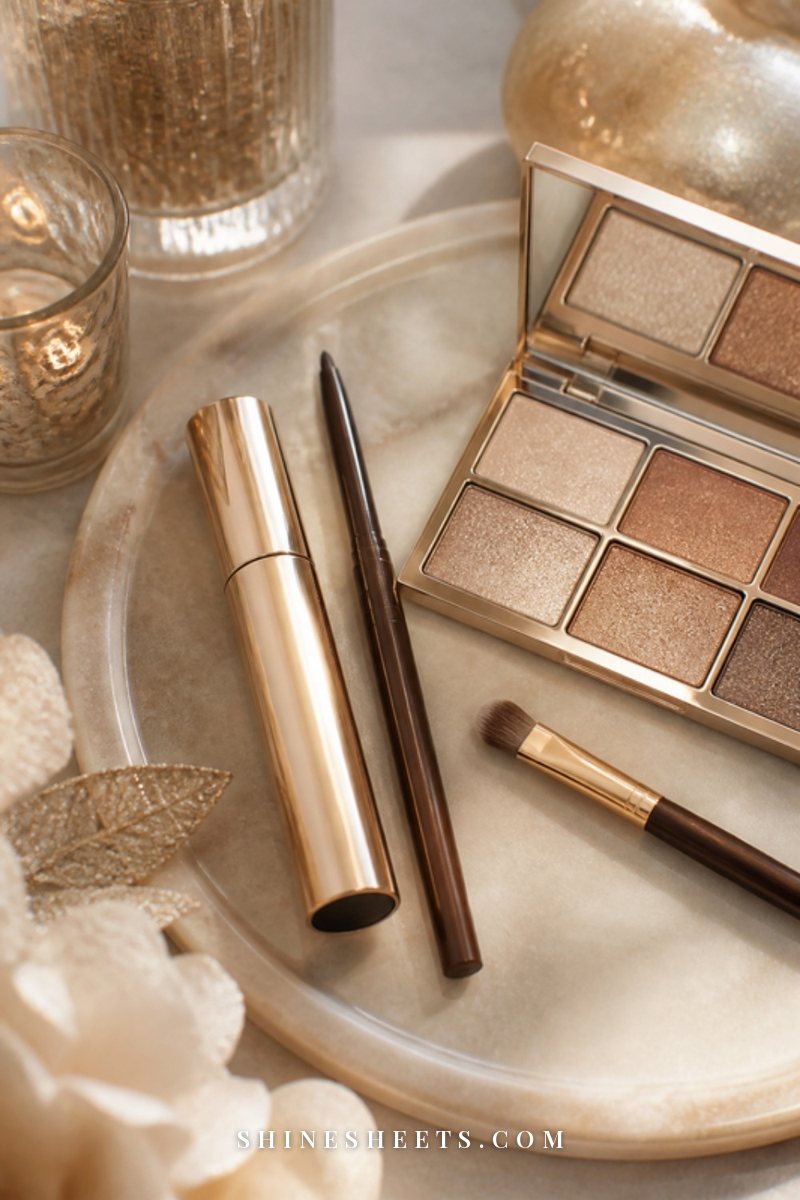
Warm rooms and laughing until you cry are the two main threats here. Each part of the eye gets its own small upgrade:
- Eyeshadow primer. A thin layer on the lids keeps shadow from creasing and makes colors look truer. Let it dry for 30 seconds.
- Shadow in thin layers. Build with a fluffy brush rather than packing on a lot at once. A soft champagne or bronze shimmer looks festive and forgiving.
- Waterproof liner. A waterproof pencil or gel along the upper lash line holds far better than a regular formula. Smudge it slightly for a soft look that won't show wear.
- Tubing mascara. A tubing mascara wraps each lash in tiny polymer "tubes" instead of painting it, so it doesn't smudge into panda eyes from warmth or happy tears, and it slides off with warm water at the end of the night.
Skip mascara on the lower lashes if you tend to get smudges there. It's the first thing to wander.
Step 6: Brows That Stay Put
Brows quietly frame the whole look, and they fade faster than you'd expect, especially if you rub your forehead or wear a hat on the way.
Fill sparse spots with light, hair-like strokes of a fine pencil, then brush a clear or tinted brow gel through, combing up and slightly outward. Let it set for a minute before you touch anything. Gel locks both the hairs and the pencil underneath so they survive hours of warm rooms.
Step 7: Lips That Last Through Dinner
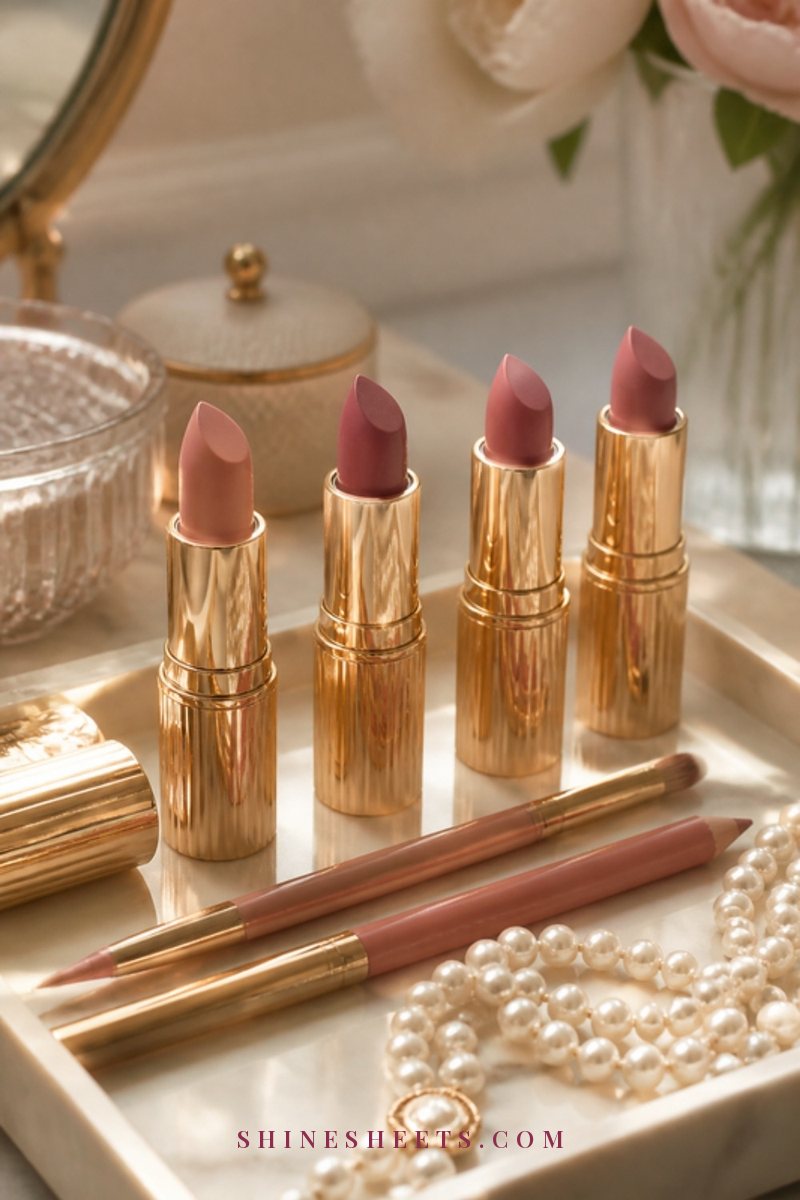
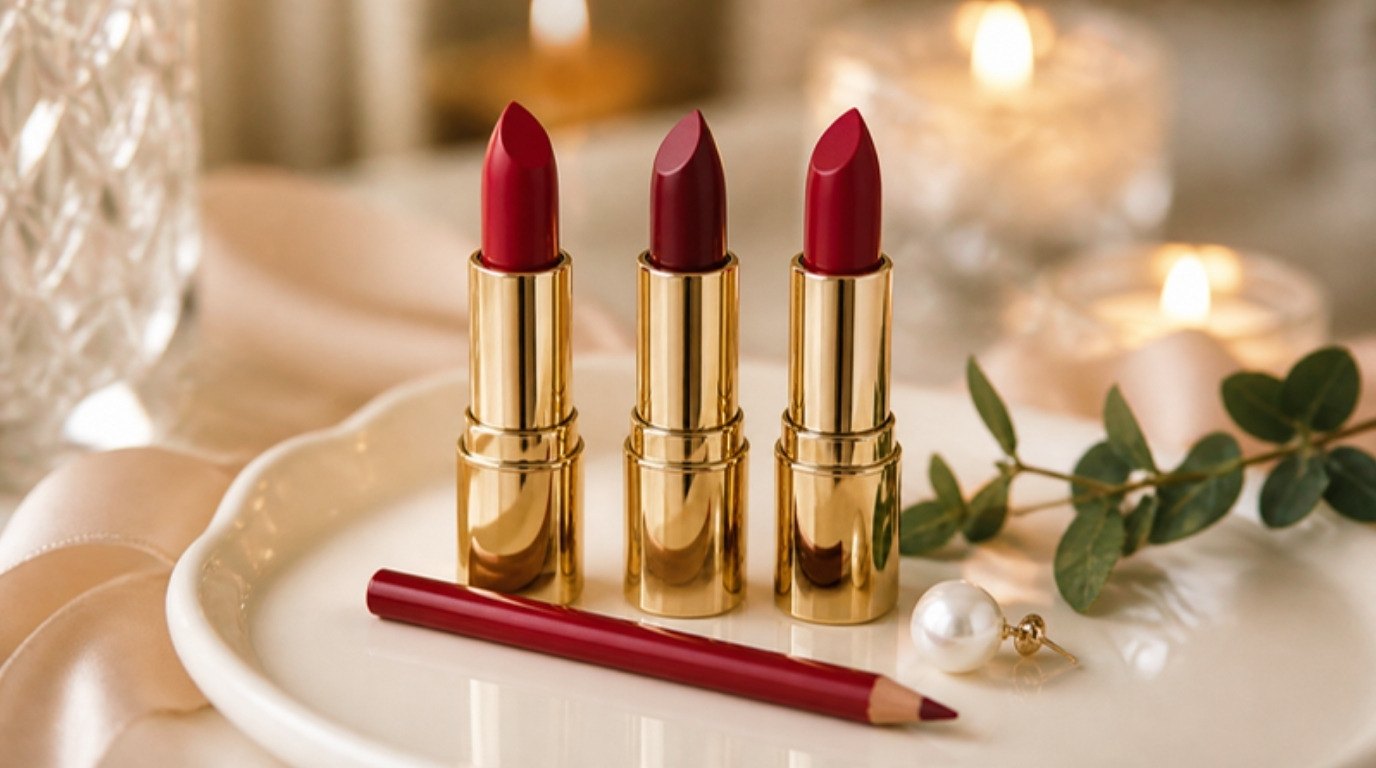
Lipstick is the first thing to go at a party, thanks to glasses, napkins and food. This layering method makes it last through dinner and fade evenly instead of leaving a lonely ring of liner:
- Prep. Apply a thin lip balm 10 minutes earlier, then blot off any excess so the surface isn't slippery.
- Line, then fill the whole lip. Trace the outline with a lip liner close to your lipstick shade, then fill in the entire lip with it. The liner becomes a long-wearing base.
- Long-wear lipstick. Apply a thin layer of long-wear lipstick over the liner.
- Blot. Press a tissue between your lips gently.
- Layer again. Apply a second thin coat. Two thin layers with a blot in between last far longer than one thick swipe.
Red is a holiday classic for a reason (very Old Hollywood, which I adore), and if you're going that way, my guide to red lipstick for the holidays helps you choose the right shade for your undertone.
Step 8: Setting Spray at the Start and the End
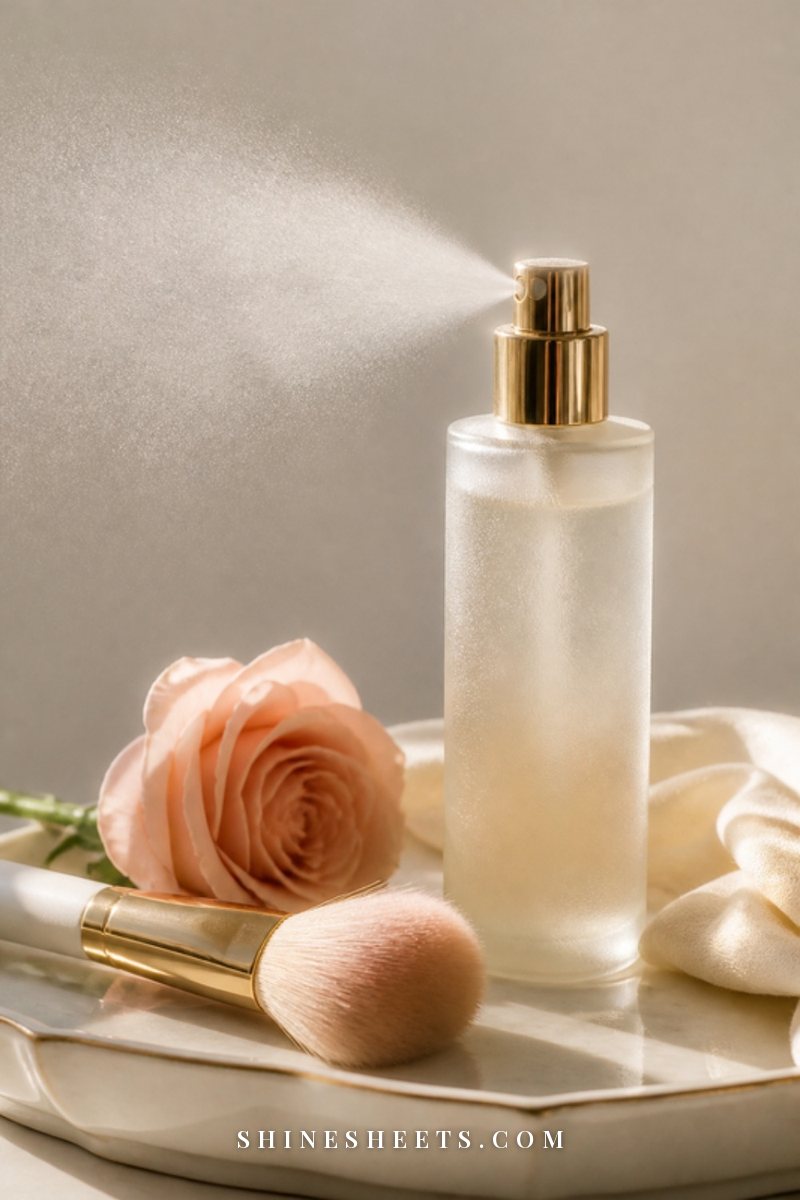
Setting spray works best as bookends. Mist it lightly after primer, before foundation, so the base grips better. Then mist again once your whole face is done, holding the bottle about 8 to 10 inches away and spraying in an X and a T shape. Let it dry on its own without fanning or touching.
A good long-lasting makeup setting spray melts away any powdery look and helps everything move with your face for hours. If you're unsure whether you need powder, spray or both, my guide on setting powder vs setting spray explains the difference simply (for a long party, most skin types do best with both, in small amounts).
The Hour-by-Hour Wear Table
Even the best routine changes over a long night. Here's what usually fades, and when, plus the quick fix that takes under a minute. Screenshot it so you have it in the restroom.
| Hour | What usually fades | Quick fix |
|---|---|---|
| Arrival | Nothing yet, but cold air can make skin feel tight | Leave it alone; let your face warm up for a few minutes before touching anything |
| Hour 1 | Lipstick center after the first drink | Tap one thin layer of lipstick on the center of the lips |
| Hour 2 | Shine on the forehead, nose and chin | Press a blotting paper on the T-zone, no rubbing |
| Hour 3 | Lipstick after dinner; slight creasing under the eyes | Re-line and fill lips, then lipstick; smooth under-eyes with a clean fingertip |
| Hour 4 | Blush softens; foundation thins around the nose | Dab a touch of cream blush and press a little powder around the nose |
| Hour 5 | Smudging under the lower lashes; shine returns | Clean under the eyes with a dry cotton swab, then blot again |
| Hour 6 and later | Overall softer, lived-in look | One light pass of powder on the T-zone and a final coat of lipstick |
Notice what's missing from the fixes: piling on more foundation. A blot and a tiny bit of powder almost always looks better than another layer of base.
Your Small Touch-Up Kit
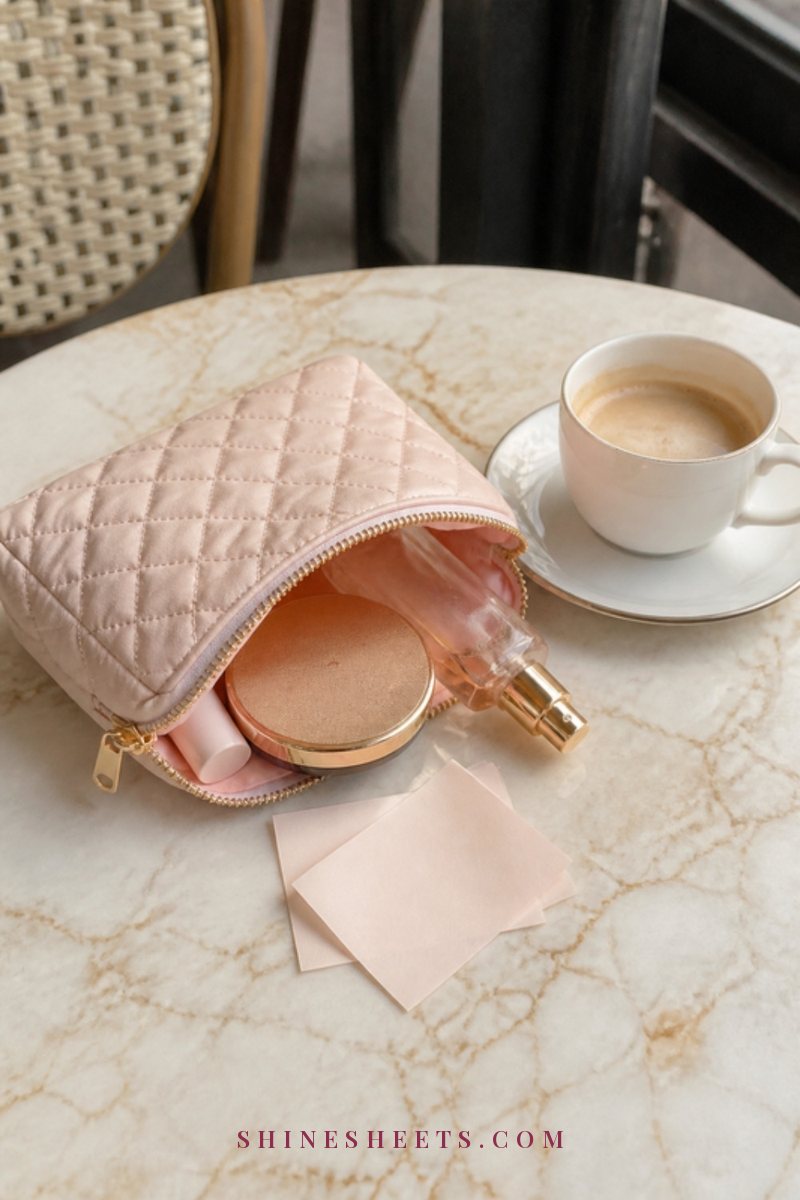
You don't need to bring your whole vanity. Five things fit in the smallest evening bag:
- Blotting papers. A small pack of oil blotting papers lifts shine without disturbing makeup or adding product.
- Pressed powder. A compact with a small puff, for pressing (not buffing) onto the T-zone after blotting.
- Your lipstick. The exact one you're wearing. Liner too, if there's room.
- Cotton swabs. Two or three, for cleaning up smudges under the eyes or at the edge of the lip.
- A small lip balm. For the end of the night, or if lips start feeling dry under long-wear lipstick.
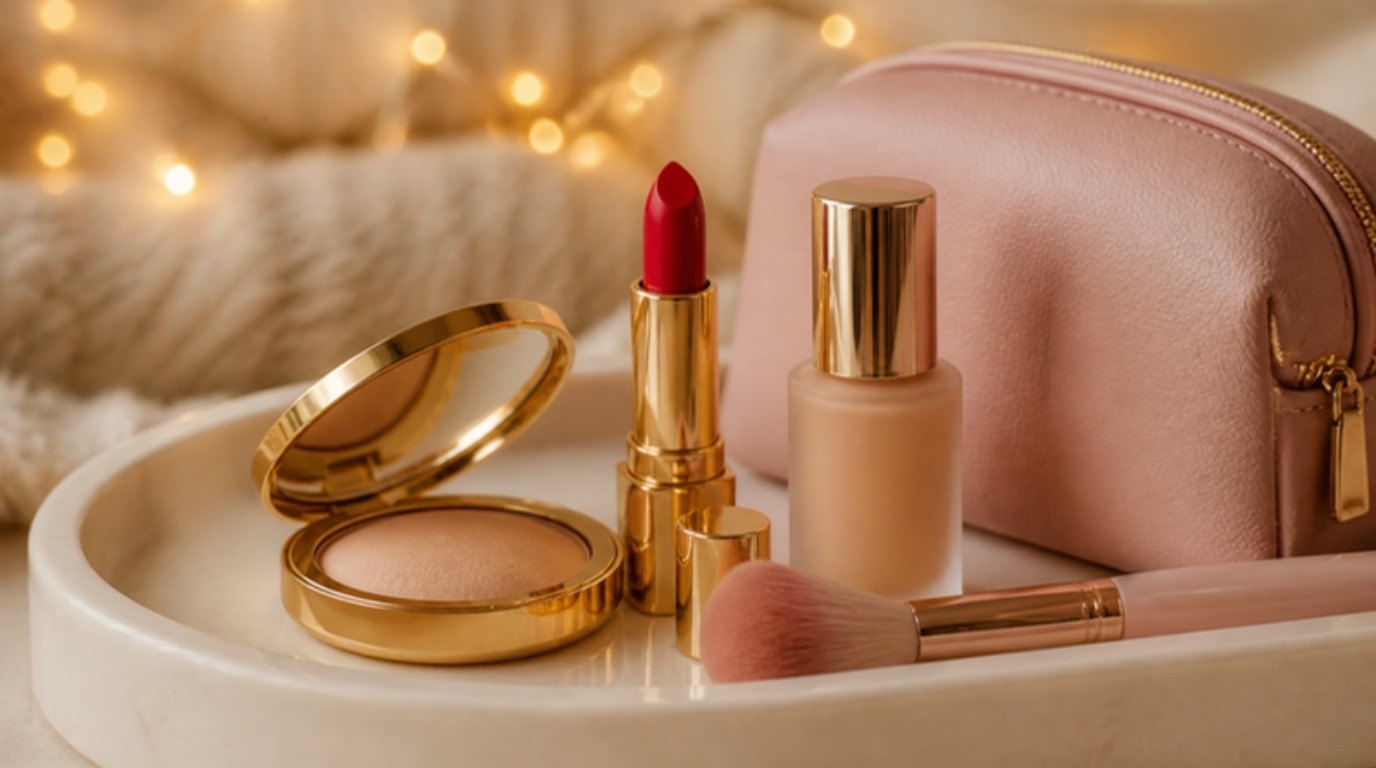
Keeping it all in one soft blush pink makeup bag means you can grab it and go in two seconds, without digging past your keys in a dim restroom.
Small Habits That Protect Your Makeup During the Party
Technique gets your makeup out the door looking lovely. A few tiny habits during the evening decide how it looks at midnight. None of them require you to be careful all night, they just become automatic after a party or two.
- Hands off your face. Resting your chin in your hand or touching your cheeks while you talk is the biggest cause of patchy foundation. If you notice yourself doing it, simply fold your hands or hold your glass.
- Dab, don't wipe. When you use a napkin at dinner, press it gently against your lips instead of wiping side to side. Your lipstick will thank you.
- Sip water between other drinks. Staying hydrated helps your skin look fresher by the later hours, and a straw keeps lipstick off the rim.
- Air-kiss when you hug. It's a sweet holiday habit anyway, and it keeps foundation off sweaters (yours and theirs).
- Check in once, not constantly. One quick touch-up visit every couple of hours is plenty. Constant fiddling adds product and wears the base down faster.
- Step out of the heat for a minute. If the room is very warm and you feel shine coming through, a minute in a cooler hallway helps your skin settle before you blot.
And if a little fading happens anyway, let it. A slightly softer, lived-in face at the end of a lovely night looks warm and real in photos, which is exactly how a holiday party should look.
Tweaks for Oily vs Dry Skin
The routine above works for most faces, but small adjustments make a big difference depending on your skin type.
If Your Skin Gets Oily
- Choose a gel or oil-free moisturizer, and still give it the full wait before primer.
- Use the mattifying primer on the T-zone and a light powder there after foundation.
- Pick a natural-matte or soft-matte long-wear foundation over a dewy one.
- Blot before you powder during the night, never the other way round, or powder cakes.
If Your Skin Runs Dry
- Use a richer moisturizer, and give it the full 10 minutes to sink in.
- Skip the mattifying primer entirely and stick to a hydrating one.
- Powder only where you truly need it, like under the eyes and around the nose.
- Use a dewy or hydrating setting spray, and a satin foundation rather than matte.
If you're combination like me, borrow from both: hydrating everywhere, mattifying in the T-zone only. For a more festive frosted look later in the season, my guide to New Year's Eve makeup builds on this same base.
Gentle Removal at the End of the Night
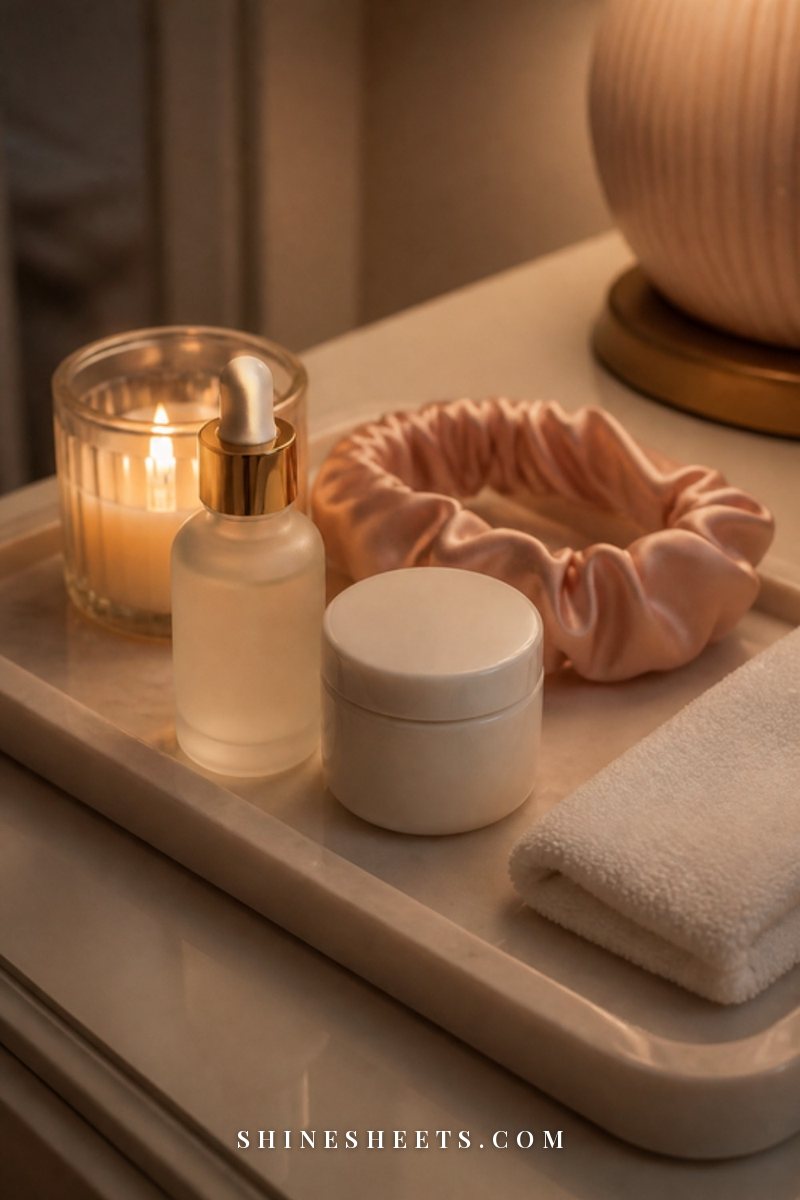
Long-wear makeup is made to hold on, so it deserves a gentle, thorough goodbye. Even if it's late and you're tired, this takes five minutes:
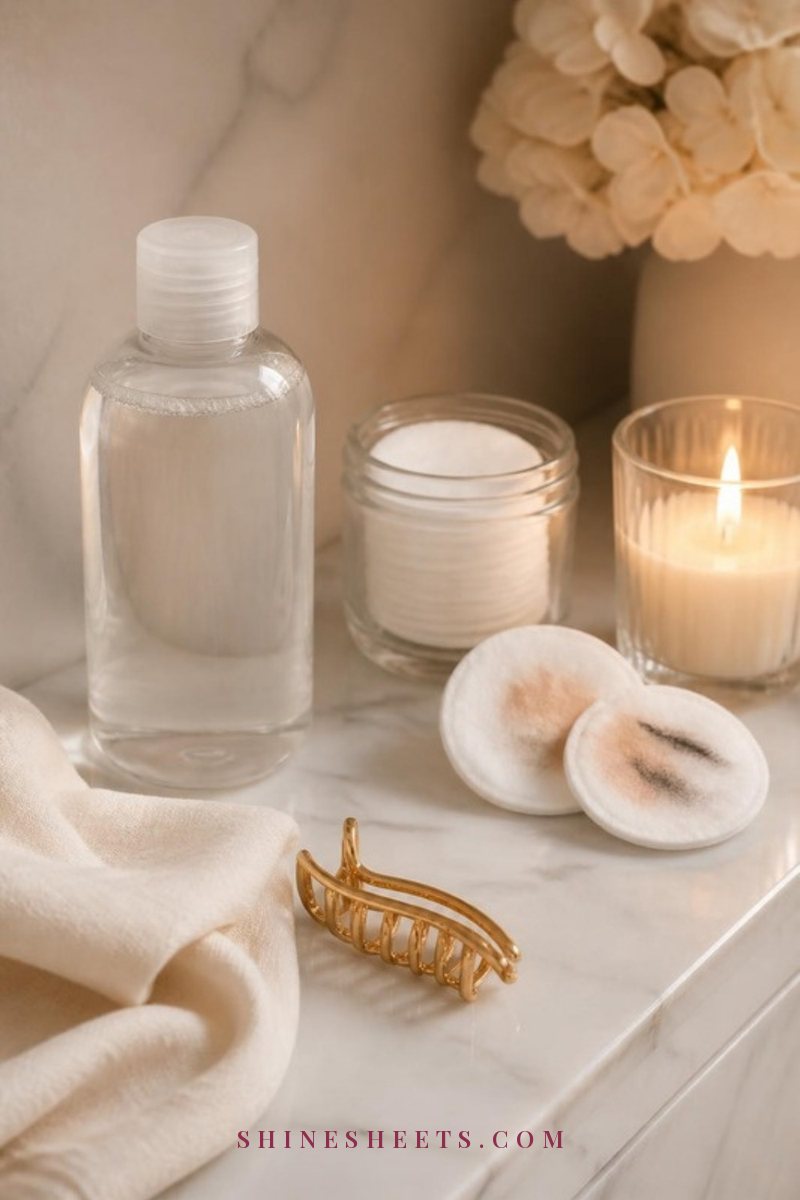
- Melt it first. Massage a cleansing balm or oil onto dry skin for about 60 seconds. It dissolves long-wear foundation and lipstick without scrubbing.
- Eyes gently. Hold a cotton pad with a little cleanser on closed lids for 10 seconds before wiping. Tubing mascara will slide off with warm water.
- Second cleanse. Follow with a gentle water-based cleanser to remove any residue.
- Moisturize. Finish with your usual night moisturizer and a lip balm.
Please don't tug at your eyes or scrub with makeup wipes, which can irritate sensitive skin. If you notice redness, itching or bumps that don't settle in a day or two after a new product, stop using it and see a dermatologist.
Final Thoughts
Party makeup that lasts all night comes down to a few patient habits: let your moisturizer settle, keep every layer thin, lock creams with powder, and set it all with a light mist. Then tuck a tiny kit into your bag and let yourself forget about your face for a while.
The best part of a holiday party isn't how perfect your makeup stays. It's the laughing, the hugs and the photos you'll love looking back on. With this routine, you get to enjoy all of it and still look lovely when the last song plays.