A glossy, chip-free gel manicure at home is less about talent and more about patience with thin layers. Gel stays wet until the lamp cures it, which means you can take your time, fix a wobbly edge and clean up mistakes before anything sets. That is the part beginners love once it clicks.
This guide walks you through gel nails at home from completely bare nails to a shiny finish: the small kit you actually need, eight clear steps with cure times, a quick-reference table, the beginner mistakes that cause lifting, and how to keep your skin and nails safe along the way.
If you have ever painted regular polish and watched it smudge ten minutes later, you are going to enjoy this. Give yourself about an hour for your first set (it gets much faster), sit somewhere with good light and let it be a calm little evening project.
What You Need for Your First Gel Manicure

You do not need a professional station. A basic kit covers you for months, and most of these pieces last for years. Here is what to gather before you start:
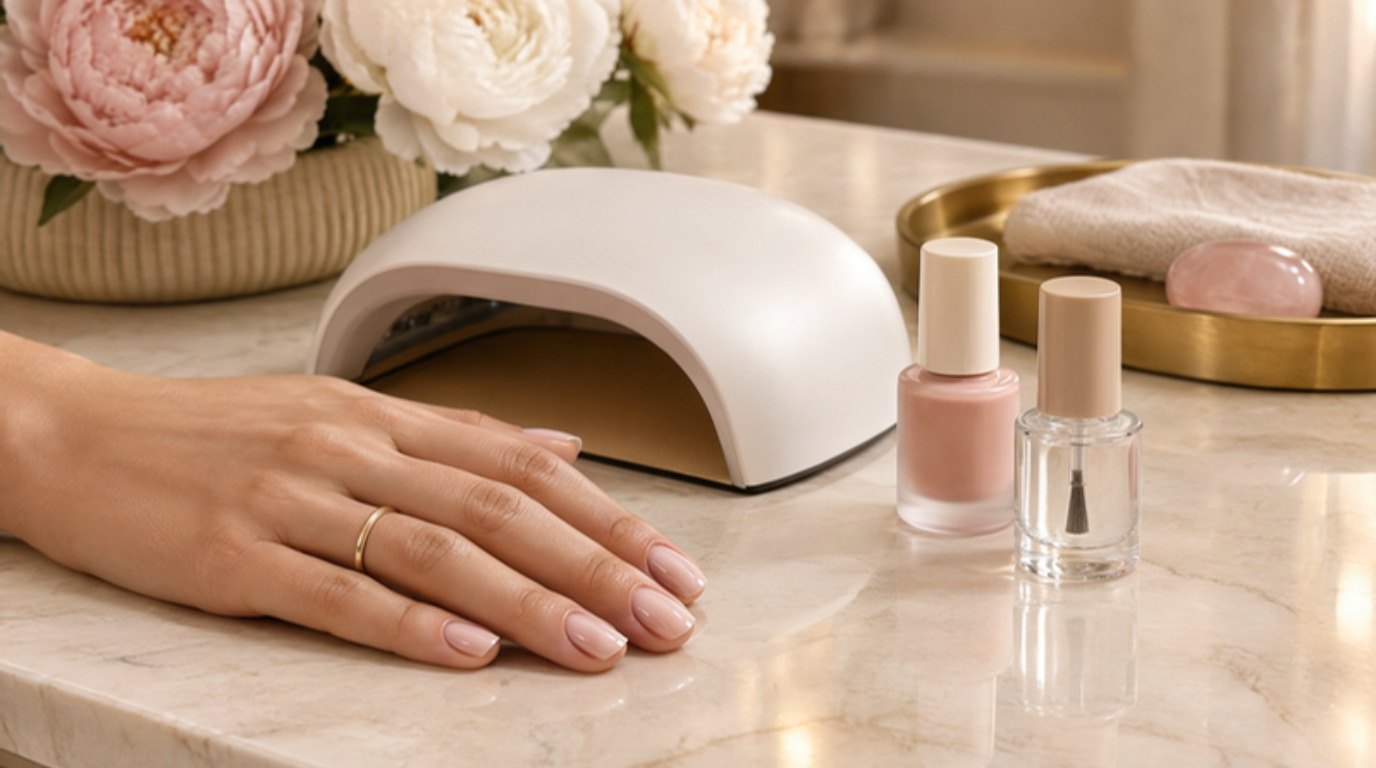
- A lamp. A compact LED nail lamp is the easiest pick for beginners. Look for one with a timer (30, 60 and 90 seconds are the usual buttons), enough room to lay your whole hand flat and, ideally, a low-heat mode. LED lamps cure most gel polishes much faster than older UV-only lamps.
- Base and top coat. A gel base and top coat set is the foundation of a set that lasts. The base grips your natural nail, the top coat seals the color and gives that glassy shine. A "no-wipe" top coat skips the sticky layer at the end.
- One color you love. For a first try, I'd choose a soft blush gel polish. Sheer, milky pinks are forgiving: small streaks and uneven edges barely show, and the look is clean and polished (very Old Hollywood starlet off duty).
- Wipes and a cleanser. Lint-free nail wipes matter more than you would think. Cotton pads leave fuzz that gets trapped in gel. Pair them with isopropyl alcohol or a gel cleanser.
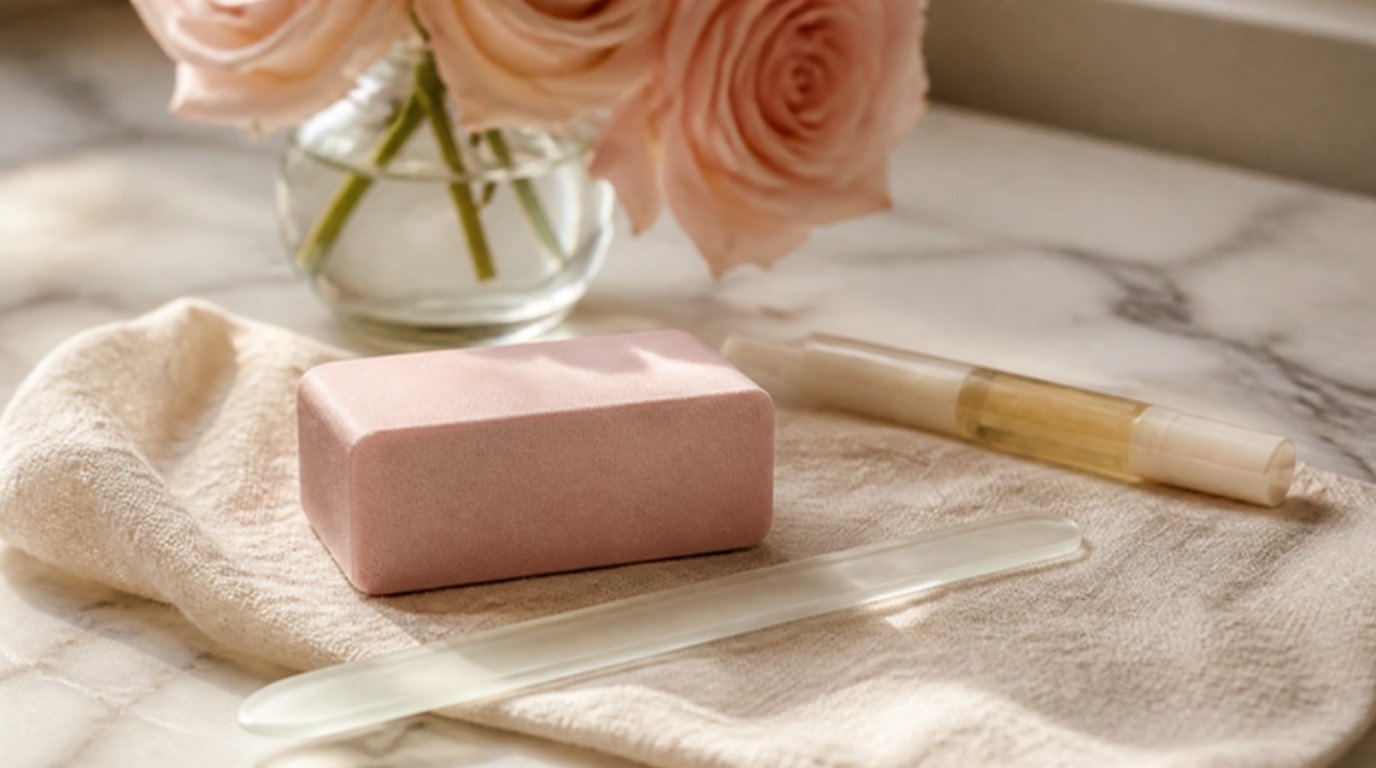
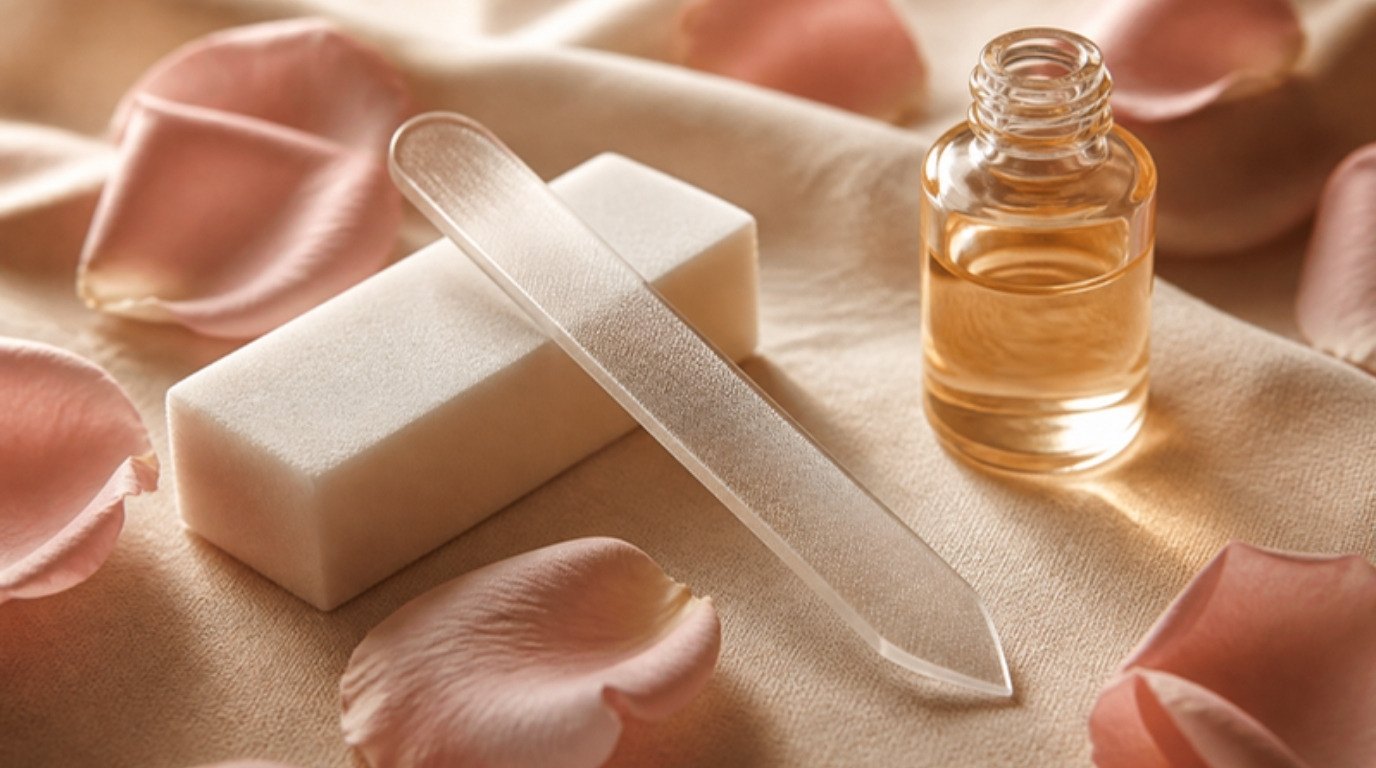
- A gentle file and buffer. A glass nail file seals the edge as it shapes and is kinder to thin nails than rough emery boards. A soft buffer block (180 grit or finer) takes care of the shine.
- Small helpers. A cuticle pusher or orange wood stick, a few clean-up sticks or a small flat brush, and cuticle oil for the end.
- Skin protection. Fingerless UV-protective gloves or a broad-spectrum sunscreen on the backs of your hands. More on this in the safety section.
One small note before you start: gel polishes and lamps from different brands do not always play perfectly together. If possible, keep your base, color and top coat from the same line, and always follow the cure times printed on the bottle over any general guide (including this one).
Gel Nails at Home: 8 Steps From Bare Nails to Glossy Finish
Start with clean, dry, bare nails. Wash your hands, dry them well and wait about ten minutes so the nail plate is not still holding water (damp nails are one of the quiet reasons gel lifts). If you are taking off an old set first, do it gently and come back another day if your nails feel thin.
Paint one hand at a time and cure four fingers together, then the thumb on its own. Thumbs tend to tilt in the lamp, and a tilted thumb cures unevenly.
1. Push Back Your Cuticles
Gel only sticks to the nail plate, never to skin. Any thin, see-through cuticle tissue sitting on the nail will make the edge lift within days.
- Soften the area with a warm, damp towel for about a minute (skip a long soak, it swells the nail).
- Use a cuticle pusher at a low angle and gently push the skin back toward your finger.
- Lightly sweep the surface near the cuticle line to lift the clear film stuck to the nail.
- Do not cut living skin. If a hangnail is hanging loose, snip only that tiny loose piece.
If your cuticles need extra love between manicures, my guide to soft, neat cuticles without cutting has a simple weekly routine.
2. Shape Your Nails

Shape before anything goes on, because filing after curing can crack the gel at the tip. Short, soft-square or oval shapes are the easiest to paint and the least likely to chip.
- File in one direction, from the side toward the center, with light strokes.
- Keep both sides straight so the nail is not weakened at the corners.
- Check from the side and the top in good light. Even shapes make the polish look neater, too.
3. Buff Off the Shine
This is the step most people overdo. You are not thinning the nail, you are only removing the natural gloss so the base coat has something to grip.
Go over the whole nail surface with a soft buffer, using five or six feather-light passes. The nail should look matte, not scratched or white. Pay a little attention to the area near the cuticle and the sides, where lifting usually starts. Then brush away all the dust with a soft brush or a dry wipe.
4. Dehydrate and Wipe

Natural oils on the nail are invisible but powerful, and they are the main enemy of good adhesion. Soak a lint-free wipe in isopropyl alcohol or gel cleanser and wipe each nail firmly, including the sides and under the free edge.
From this moment on, try not to touch your nails, your face or your hair. Even a quick tuck of a strand behind your ear can put oil back on the nail. If your nails are very oily or you have had lifting before, a nail dehydrator or bond-type primer (used exactly as the bottle says) can help.
5. Apply a Thin Base Coat and Cure
Wipe most of the gel off the brush on the bottle neck. You want a coat so thin it almost looks like you missed spots.
- Place a small dot near the center of the nail, then brush it toward the cuticle (leaving a hair-thin gap from the skin) and down to the tip.
- Cap the free edge: lightly run the brush along the very tip of the nail so the gel wraps over the edge. This seals the end and is the best chip protection you have.
- Check for gel on your skin or sidewalls and clean it with a clean-up stick before curing.
- Cure four fingers, then the thumb. With an LED lamp this is often 30 to 60 seconds; with UV-only lamps it can be around 2 minutes. Follow your bottle.
The base coat may feel a little tacky after curing. That is normal: the sticky layer helps the next coat grab on, so do not wipe it.
6. Paint Two Thin Color Coats, Curing Each One

Gently roll the bottle between your palms instead of shaking it, which adds tiny bubbles. Then paint your first color coat as thin as the base.
- Use three strokes: one down the middle, then one down each side.
- Cap the free edge again.
- Clean any color off the skin, then cure.
- The first coat will look streaky. That is expected, do not try to fix it by adding more polish.
- Apply a second thin coat the same way, cap the edge, clean up, cure again.
Two thin coats always look better and last longer than one thick coat. Very sheer shades may need a third thin coat for even color, and that is fine as long as each one is cured on its own.
If you feel a sudden hot pinch in the lamp (called a heat spike), slide your hand out for a few seconds and then put it back. Thinner coats and a low-heat mode make this much less likely.
7. Seal With Top Coat and Cure
The top coat can be a tiny bit fuller than your color layers, because it is what gives that smooth, glassy finish. Still, keep it controlled so it does not flood the cuticle.
Brush it over the whole nail, cap the free edge one last time, clean any spill on the skin and cure. Top coats often need a little longer, around 60 seconds in an LED lamp, but again, the bottle wins.
8. Wipe the Sticky Layer If Needed
Some top coats leave a slightly tacky film after curing (it is called the inhibition layer). If yours does, press a lint-free wipe soaked in alcohol or cleanser onto each nail and wipe in one firm stroke. A no-wipe top coat skips this step and should already feel smooth and dry.
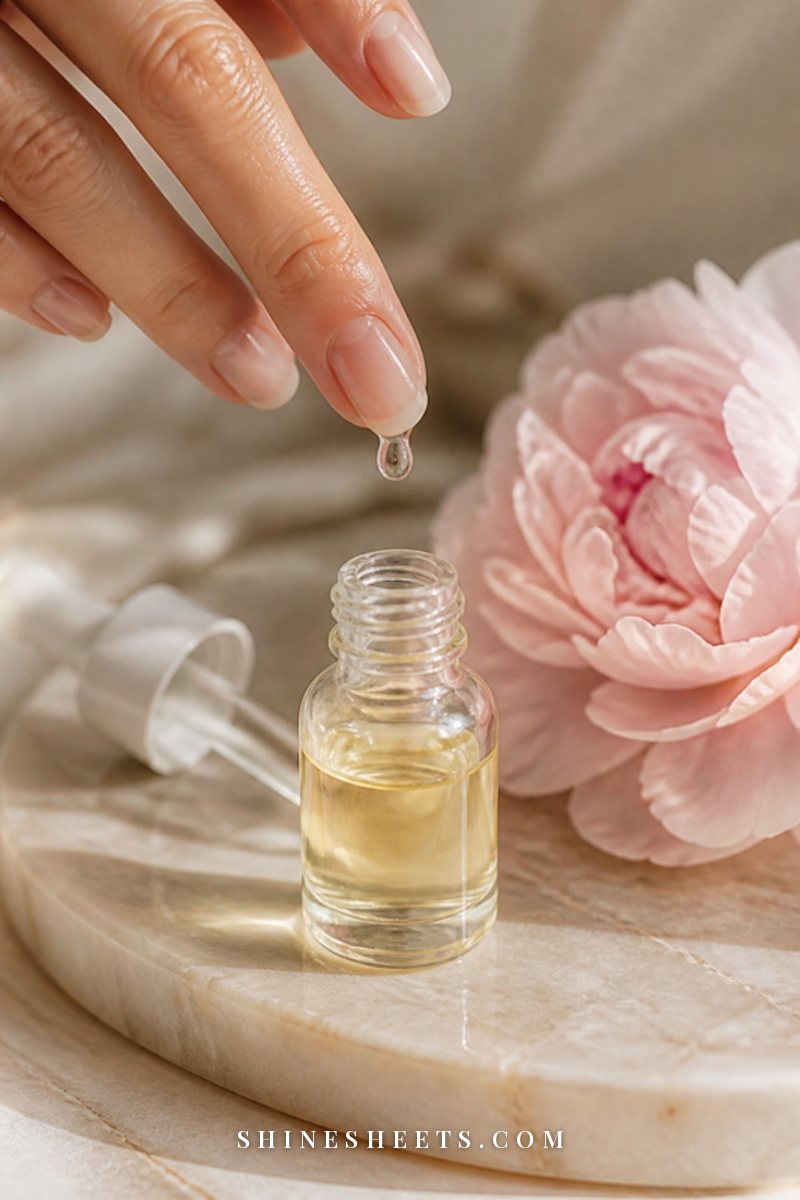
Finish with a drop of cuticle oil around each nail and massage it in for a few seconds. It softens the skin, makes the manicure look salon-fresh and helps the nail stay flexible underneath the gel.
Your Gel Manicure at a Glance
Here is the whole routine on one screen. Screenshot it and keep it next to your lamp for your first few sets. Cure times are typical ranges only, so always check the bottle and your lamp's instructions.
| Step | Product | Cure time (LED / UV) | Common mistake |
|---|---|---|---|
| 1. Push back cuticles | Cuticle pusher, warm damp towel | No cure | Leaving clear cuticle film on the nail |
| 2. Shape | Glass nail file | No cure | Sawing back and forth or filing after curing |
| 3. Buff off shine | Soft buffer (180 grit or finer) | No cure | Buffing too hard and thinning the nail |
| 4. Dehydrate and wipe | Lint-free wipe, alcohol or cleanser | No cure | Touching your face or hair afterward |
| 5. Base coat | Gel base coat | 30–60 sec / about 2 min | Thick coat, skipping the free edge |
| 6. Color, coat one | Gel color | 30–60 sec / about 2 min | Trying to fix streaks with more polish |
| 6. Color, coat two | Gel color | 30–60 sec / about 2 min | Gel on the skin left uncleaned |
| 7. Top coat | Gel top coat | About 60 sec / 2 min or more | Flooding the cuticle area |
| 8. Wipe sticky layer | Lint-free wipe, alcohol or cleanser | No cure | Using cotton pads that leave fuzz |
The little pattern you might notice: almost every mistake in the right-hand column comes down to rushing or using too much product. Slow and thin is the whole secret.
Common Beginner Mistakes (and Easy Fixes)

A first gel set that peels after three days is not a sign that you are bad at this. It almost always comes from one of these four things, and each one is easy to fix next time.
Coats That Are Too Thick
Thick gel cures on the surface but can stay soft underneath, which leads to wrinkling, peeling and that bubbly look. Wipe the brush on both sides before every nail and aim for layers so thin they look slightly see-through. If a coat wrinkles in the lamp, it was too thick.
Polish on the Skin
Gel that touches your cuticle or sidewalls creates a ledge that lifts within days. Uncured gel on skin can also, over time, lead to irritation or an allergic reaction for some people. Before every cure, look at each finger from the side and clean any spill with a clean-up stick or small brush dipped in alcohol. It takes ten extra seconds and saves the whole manicure.
Skipping the Cap on the Free Edge
The tip of the nail takes every knock, tap and keyboard press. Without a capped edge, gel starts to chip there first. Run the brush lightly along the tip after the base, every color coat and the top coat.
Under-Curing
A layer that has not had enough light can feel fine but stays weak, peels in sheets and is more likely to irritate skin. Use the full cure time, keep your fingers flat and close to the light, cure thumbs separately and wipe the inside of your lamp every so often, since dust and drips can block the light. If you are mixing brands, a few extra seconds rarely hurts, but too short does.
Want your first set to go the distance? My guide on how to make gel nails last longer covers the everyday habits that keep a finished manicure intact for two weeks or more.
UV Lamp Safety: Protect Your Skin

Nail lamps give off a short burst of ultraviolet light, and while each session is brief, regular manicures add up over months and years. My skin is on the sensitive side, so I like to treat this part the way I treat sunscreen on a cloudy day: a small habit that is simply worth doing.
- Cover the backs of your hands. Apply a broad-spectrum sunscreen about 20 minutes before you start (keep it off the nail plate itself, or wipe the nails again before your base coat), or wear fingerless gloves that leave only your nails exposed.
- Use the time your polish needs, no more. Follow the cure times on the bottle rather than doubling them just to be sure.
- Keep gel off your skin. Repeated contact with uncured gel is the most common reason people develop a sensitivity to it.
- Stop if your skin reacts. Itching, redness, swelling, little blisters around the nails or a nail loosening from the bed are signs to remove the gel gently, take a break and talk to a doctor or dermatologist before trying again.
- Skip gel on broken skin. Wait until any cuts, splits or irritated cuticles have healed.
A gentle reminder: if you notice a deep break into the nail bed, bleeding, warmth, pus or a spreading redness around a nail, put the manicure aside and see a doctor. Pretty nails can always wait.
How Long Gel Lasts and When To Take It Off
A well-applied set usually lasts around two weeks, sometimes three. Beginners often get closer to one week at first, and that is completely normal while you find your rhythm with thin coats.
A few signs it is time to remove it:
- You can see a clear gap of regrowth at the cuticle.
- An edge has started to lift and catch on your hair or sweaters.
- The color has chipped at the tip and water could get underneath.
Lifted gel can trap moisture, so it is kinder to your nails to take the whole set off than to keep it on another week.
Gentle Removal: Never Peel It Off
I know how tempting a lifted corner is. But peeling gel pulls away the top layers of your natural nail with it, and that is how nails end up thin, bendy and sore. Gel polish should be soaked off.
The short version: file away the shiny top coat, soak cotton in acetone, wrap each nail for about 10 to 15 minutes, then gently nudge off the softened gel with an orange wood stick. Work in a ventilated room away from candles or any open flame, and finish with cuticle oil and hand cream since acetone is drying. My full guide on how to remove gel polish at home without damage walks through every step.
How To Give Your Nails a Break

Gel itself does not have to wreck your nails, but rough removal, heavy buffing and back-to-back sets with no rest can. A short pause every few manicures lets you see how your natural nails are really doing.
- Every two or three sets, leave your nails bare (or wear a sheer regular polish) for about a week.
- Massage in cuticle oil once or twice a day and wear gloves for dishes.
- Keep nails short while they recover. Short nails bend and snap less.
- If your nails feel weak or are peeling in layers, give them a longer break.
My gentle routine to repair your nails after gel is the one to follow if they need a little rescuing. And if you are still deciding what kind of manicure suits you best, the comparison of builder gel vs gel polish vs acrylics explains how they differ in strength, removal and upkeep. On rest weeks, a simple at-home manicure with regular polish keeps your hands looking cared for.
Final Thoughts
Your first gel manicure at home will probably not be perfect, and it does not need to be. A tiny bump near one cuticle or a slightly streaky pinky is just part of learning. By your third set, the steps start to feel automatic, and the thin coats come naturally.
Go slowly, protect your skin, never peel, and give your nails a break now and then. That is really all it takes to enjoy glossy, salon-fresh nails from your own sofa, with a cup of tea cooling nearby while the lamp does its work.