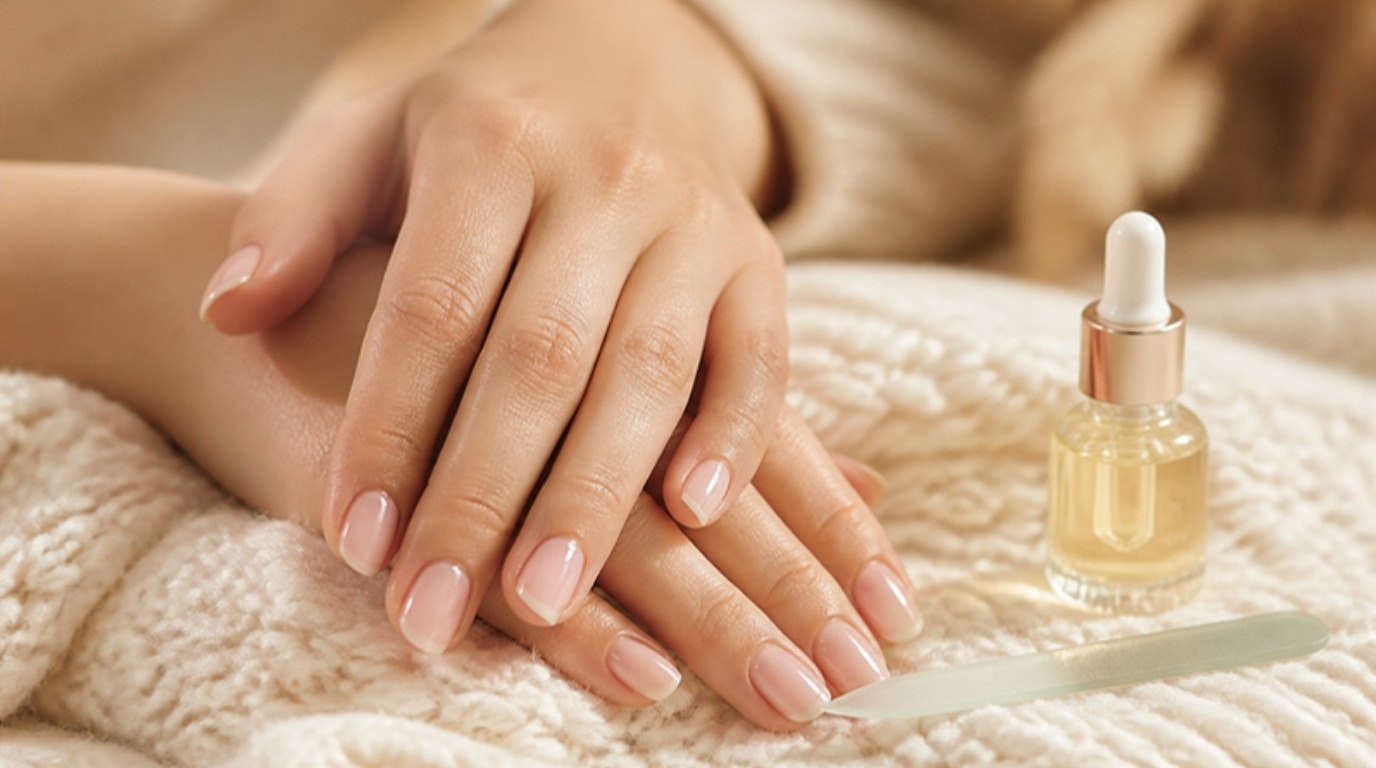
Buffing is the quietest little nail trick there is. No polish, no drying time, no chips by Thursday, just smooth nails with a soft, healthy-looking shine that lasts for days. The catch is that buffing works by gently smoothing the very top of the nail, so the real skill isn't how hard you buff. It's knowing when to stop.
Done lightly and not too often, buffing evens out tiny ridges, helps nails look polished in a natural way and makes a bare manicure feel finished. Done too hard or too often, it thins the nail plate and leaves nails bendy and sensitive. The difference comes down to pressure, direction and a few strokes per side.
In this guide, I'll walk you through how to buff your nails for a natural shine: why it works, how often is safe, what you need, a side-by-side guide to the classic four-sided buffer, the full step-by-step routine, how to handle ridges or weak nails, how to buff your toenails and how to get shine without buffing at all. Keep a four-sided nail buffer block nearby and let's start with the why.
Why Buff Your Nails?
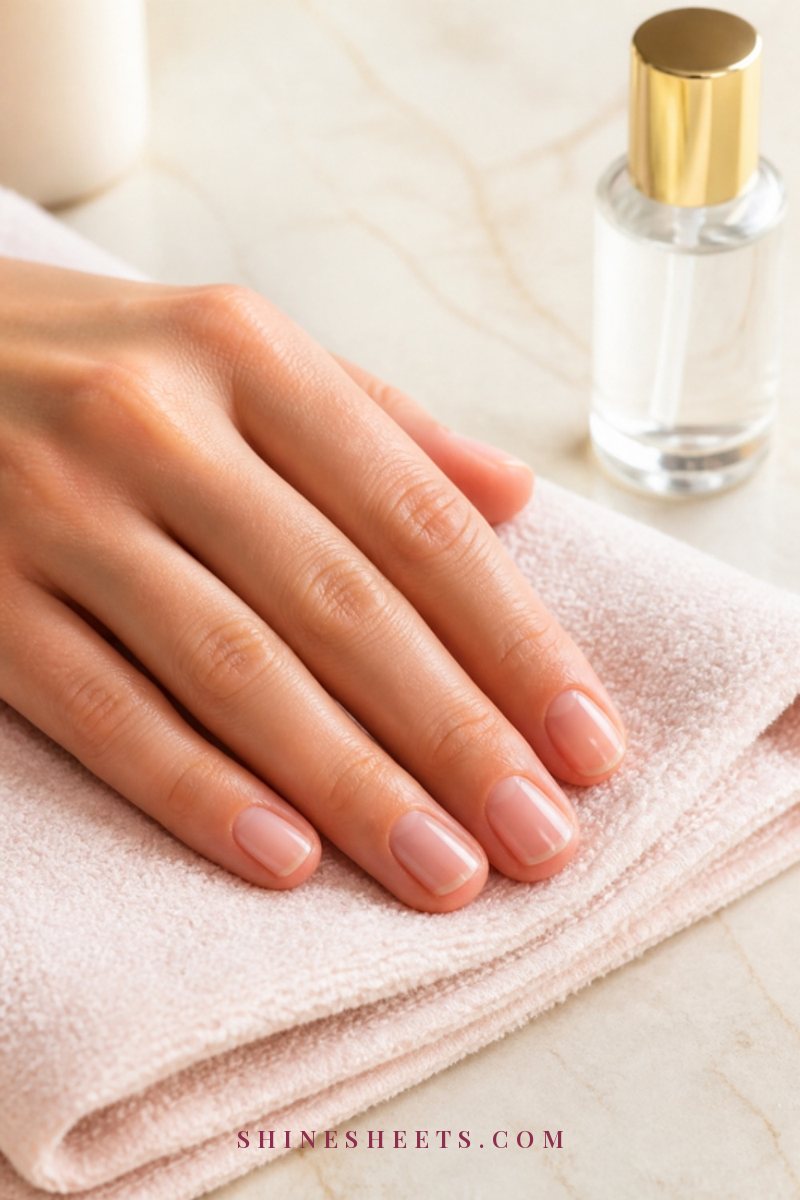
The surface of a natural nail is never perfectly flat. It has faint ridges, tiny dips and a slightly matte finish that catches light unevenly. Buffing lightly smooths that top layer so light reflects evenly, which is what reads as shine.
Here's what a gentle buff can do for you:
- Smooth small ridges. Fine vertical lines become much less visible.
- Give a natural shine. Nails look like they're wearing a sheer clear coat when they're not.
- Make a bare manicure look finished. It's a lovely option for weeks when you want a polish break.
- Help polish sit more smoothly. A very light pass with the smoothing side can help base coat go on evenly over a slightly bumpy surface.
- Tidy the look of hands fast. Five minutes, no drying time, nothing to chip.
What buffing can't do is make nails stronger or grow faster. It's a cosmetic finish, not a treatment. If you're working on length and strength, my guide on how to grow your nails longer and stronger covers the routine that actually helps with that, and buffing can sit on top of it once in a while.
How Often Should You Buff Your Nails?
This is the part most people get wrong, so I'll be really clear: buff the surface of your nails every 2–4 weeks at most. Each buffing session removes a microscopic layer of the nail plate. That's fine occasionally, but your nails grow slowly (fingernails take roughly four to six months to grow out completely), so the thinned part stays with you for a long time.
A few simple guidelines:
- Healthy, average nails: a full four-side buff every 3–4 weeks.
- Strong, thick nails with visible ridges: every 2–3 weeks is usually fine.
- Thin, peeling or bendy nails: only the shine side, very lightly, once a month, or skip it.
- Between sessions: keep the shine going with cuticle oil instead of buffing again.
If your nails ever feel thin, warm, sore or flexible after buffing, that's your sign to stretch the time between sessions.
What You Need
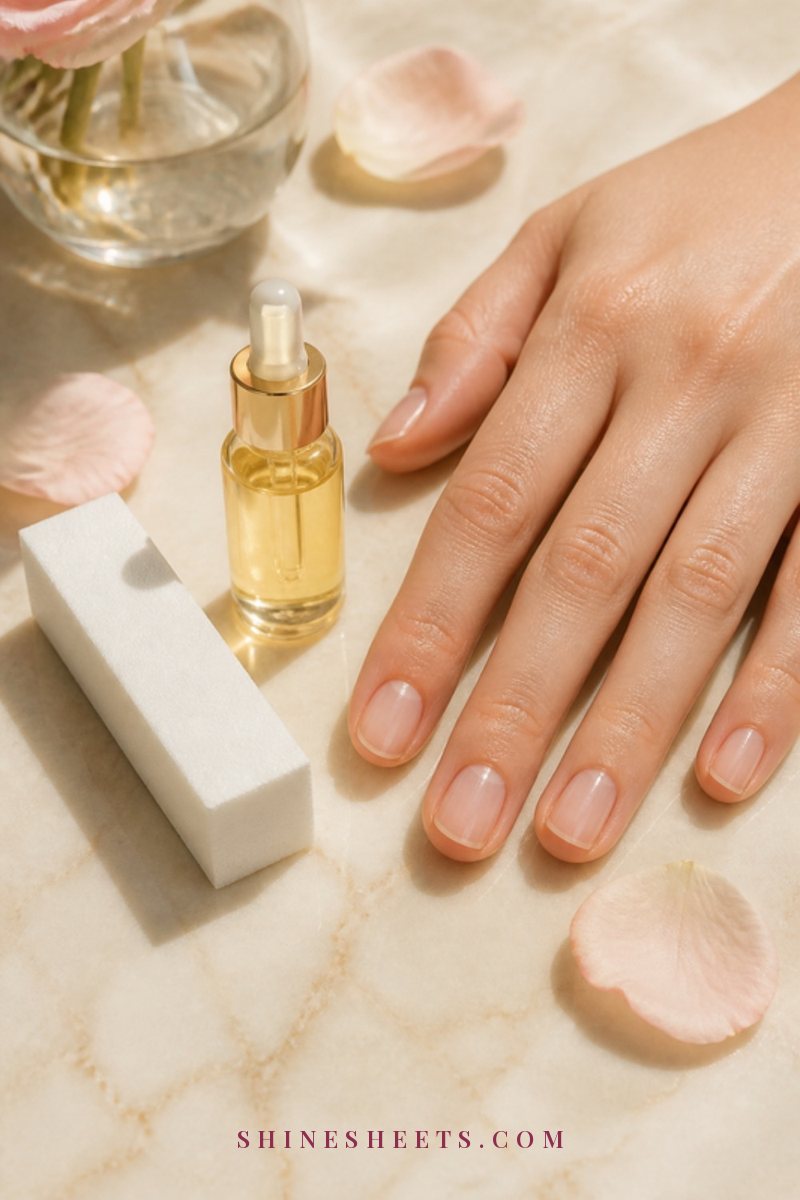
The kit is small and inexpensive. Here's what I'd gather:
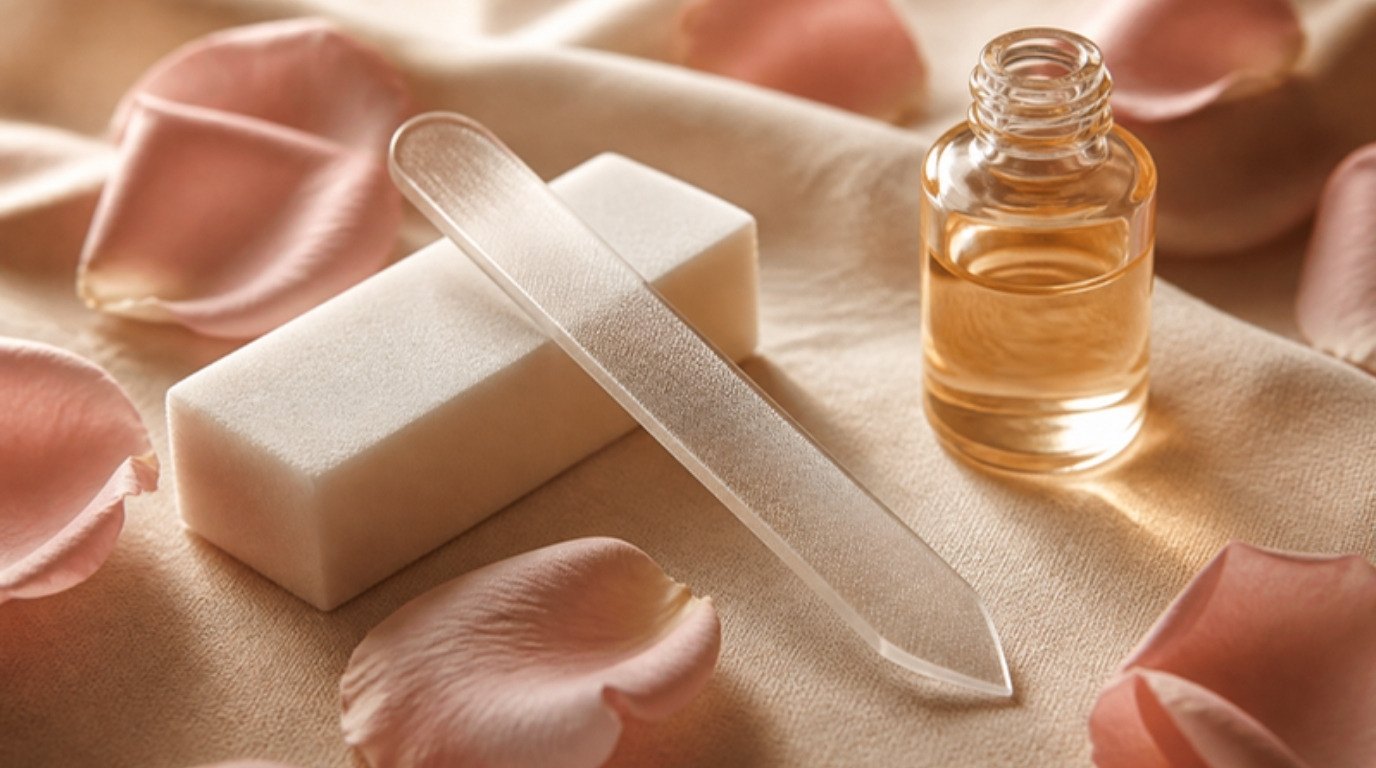
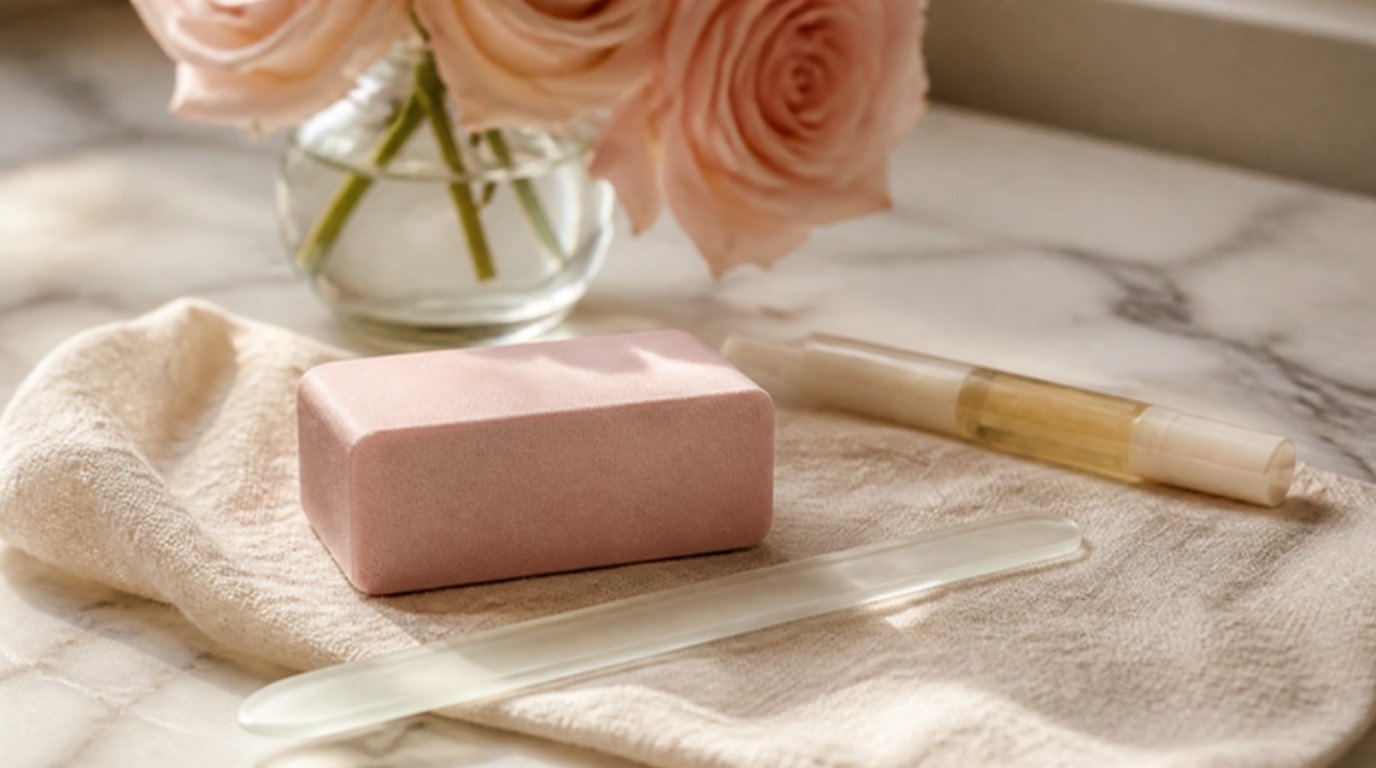
- A four-sided buffer block. Each side has a different texture, usually numbered or color-coded from coarsest to finest. Look for one with soft, cushioned sides rather than a hard block, because the cushion gives you more control and less pressure.
- A gentle file for shaping. A glass nail file is a good pick here because it seals the free edge as it files and is easy to wash.
- Cuticle oil. A cuticle oil pen is the easiest kind to keep on a desk or in a bag.
- Hand cream. Anything you like that absorbs well.
- A soft nail brush. Useful for cleaning nails before you start and brushing away dust after.
- Nail polish remover (optional). Only if you need to take off old polish first. Choose a gentle, acetone-free one if your nails tend to be dry.
- A small towel. To rest your hands on and catch the dust.
Replace your buffer block when the shine side stops producing shine or the surfaces look worn and dirty, usually after a few months of regular use. Buffers are hard to sanitize, so keep yours just for you.
The 4-Side Buffer Guide
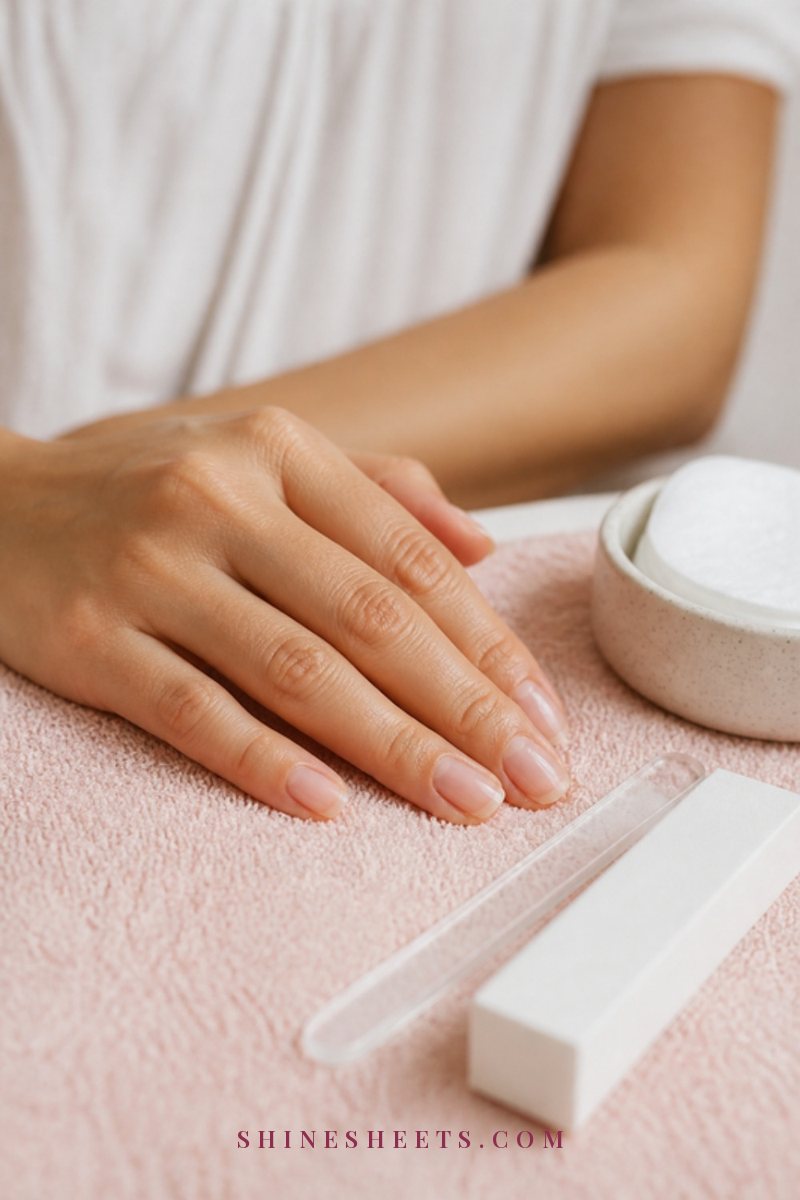
Four-sided buffers look simple, but the order matters. Every brand labels them a little differently (numbers 1 to 4, or words like file, buff, smooth, shine), so check yours. The coarsest side always comes first and the smoothest side comes last. Screenshot this table so you have it next to you the first few times:
| Side | Grit and purpose | Strokes per nail (approx.) | How it should feel |
|---|---|---|---|
| 1. File / even | Coarsest side. Mainly for tidying the free edge. On the surface only for noticeable ridges. | 0–5 feather-light strokes on the surface | Slightly gritty. If it feels scratchy or warm, stop. |
| 2. Smooth | Medium grit. Softens the lines left by side 1 and evens out fine ridges. | About 10 | Smooth with a faint drag. Nail looks matte and even. |
| 3. Refine | Fine grit. Erases the scratches from side 2 and prepares the nail for shine. | About 10 | Almost silky. A soft sheen starts to appear. |
| 4. Shine | Finest, almost velvety side. Polishes the surface to a glossy finish. | 10–15 | Silky and fast. Nail turns glossy, never warm. |
The golden rule for every side: light pressure, one direction, and stop the moment the nail looks even. These numbers are a starting point, not a target to hit.
How To Buff Your Nails Step by Step
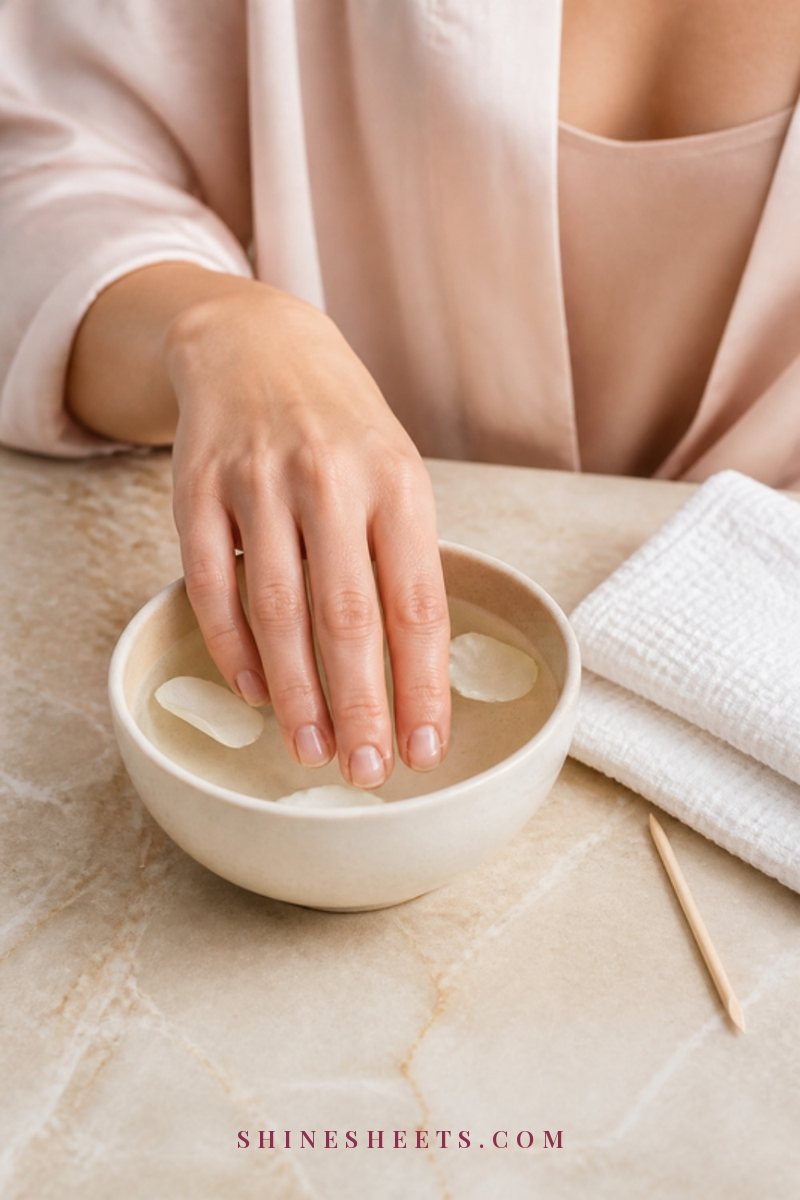
Set aside about 15 minutes the first time. Once you know the rhythm, it takes closer to 10. Sit somewhere with good light, put a towel down and keep your tools within reach.
Step 1: Start With Clean, Dry Nails
Remove any polish and wash your hands with gentle soap. Use the soft nail brush to clear anything under the free edge, then dry your hands completely. Nails are softer and more fragile when wet, and buffing damp nails can cause peeling, so give them at least 10 minutes to dry fully after washing.
Skip the cuticle oil for now. Oil makes the surface slippery and the buffer won't work evenly.
Step 2: Shape First
File your nails to the shape and length you want before any buffing. Hold the file at a slight angle under the edge and file from the side toward the center, in one direction rather than sawing back and forth. If shaping is new to you, my guide on how to file and shape your nails walks through each shape and the exact technique.
Shaping first means you won't create new rough edges after the surface is already polished.
Step 3: Side 1 – Even Out the Surface (Only If Needed)
Here's where restraint matters most. Use the coarsest side mainly to smooth the free edge after filing. Only bring it onto the nail surface if you have ridges you can clearly feel with a fingertip.
If you do, hold the buffer flat, use feather-light pressure (about the pressure you'd use to stroke a petal) and make 3–5 strokes from the base of the nail toward the tip. Then stop and look. Most nails need far less than you'd think. If your nails are thin, skip this side on the surface completely.
Step 4: Side 2 – Smooth
Switch to the medium side. Make about 10 light strokes per nail, again in one direction, from cuticle area to tip. Cover the whole surface, including the sides near the edges, rolling the buffer slightly to follow the curve of the nail.
The nail should now look evenly matte, without shiny patches or visible scratches.
Step 5: Side 3 – Refine
The third side removes the faint lines left by side 2. Make about 10 strokes per nail with the same light pressure. You'll see a soft sheen starting to come through, which tells you the surface is ready for the final side.
Brush away the dust with your soft nail brush before moving on, so you're not polishing particles into the surface.
Step 6: Side 4 – Shine

This is the satisfying side. Make 10–15 quicker strokes per nail. You can go slightly faster here, but keep the pressure light and pause between nails. The shine side is where friction heat builds most easily, so if a nail feels warm, move on to the next one and come back later.
By the end, your nails should have a glossy, clear-coat look. If one nail looks duller, give it a few extra strokes on this side only, never on the coarser sides.
Step 7: Finish With Oil and Hand Cream
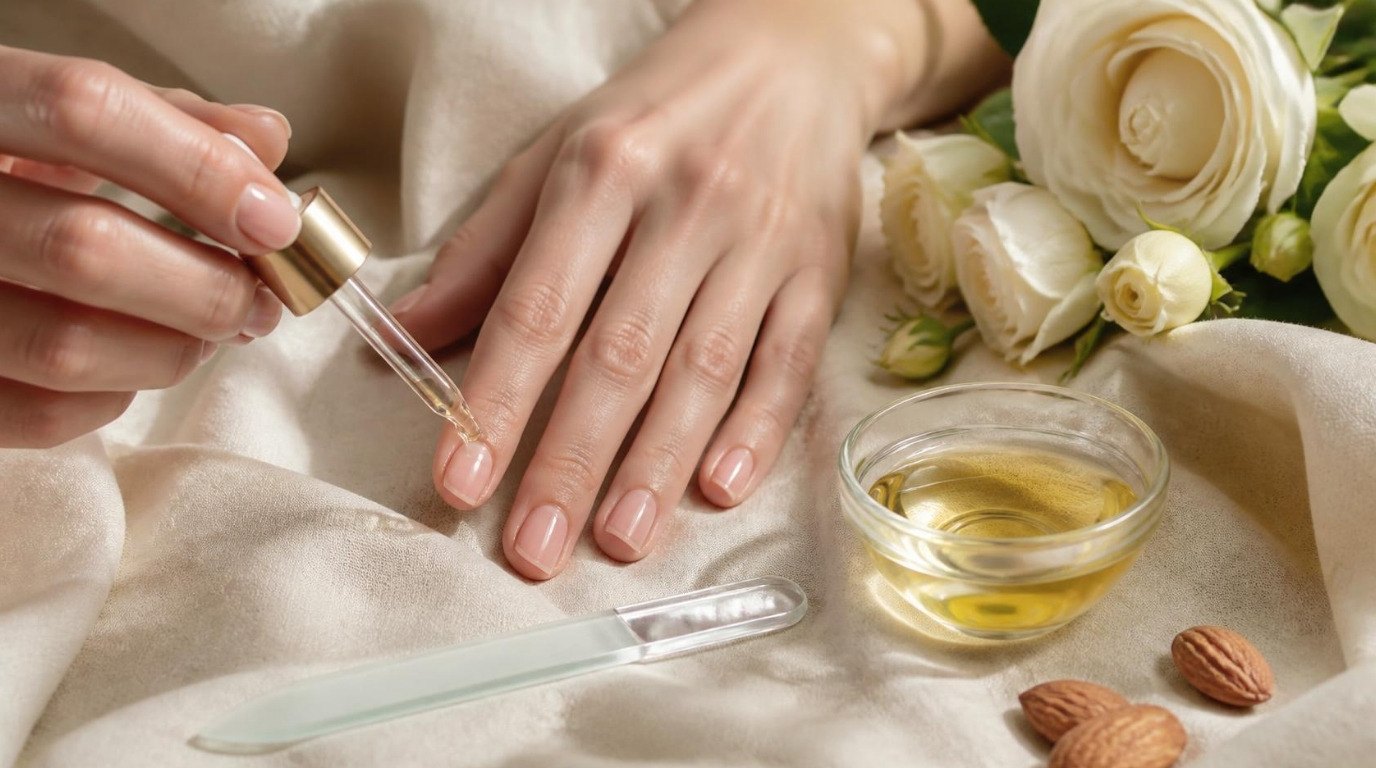
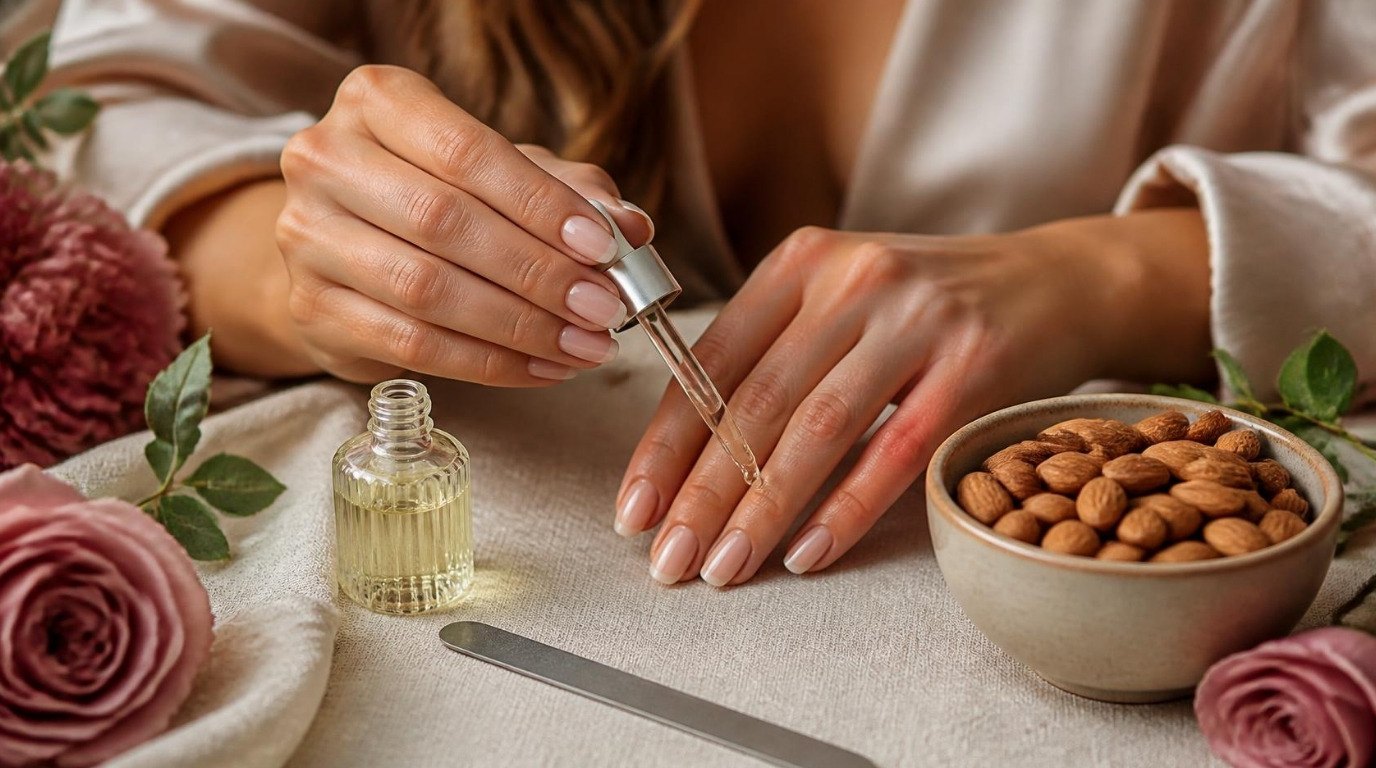
Wash your hands quickly with lukewarm water to remove any remaining dust, pat dry, then massage a drop of cuticle oil into each nail and the skin around it. Follow with hand cream. A nourishing shea butter hand cream works nicely here because it softens the cuticles while the oil sinks in.
New oil or cream? Patch test it on your inner arm for a day first if your skin tends to react. If you'd like to make this part of a fuller routine, my at-home manicure guide shows how buffing fits in with soaking, cuticle care and a sheer polish.
Aftercare: Keeping the Shine

The shine from buffing usually lasts several days to about a week, and good aftercare stretches it out without more buffing:
- Oil once or twice a day. Cuticle oil keeps the nail flexible and the surface looking glossy. Bedtime is the easiest moment to remember.
- Cream after every hand wash. Water and soap dry out nails and the skin around them.
- Wear gloves for chores. Dishwashing and cleaning sprays dull the shine fast.
- Push back cuticles gently after a shower. Softened skin moves easily, and neat cuticles make buffed nails look even more polished. My cuticle care guide covers how to do this without cutting.
- Refresh with the shine side only. If you'd like a quick boost mid-month, 5–6 light strokes on the shine side is enough. Save the full four-side buff for every few weeks.
Buffing Nails With Ridges
Fine vertical ridges are very common and tend to become more visible over time, and dryness makes them stand out more. Buffing can soften how they look, but the aim is to blur them, not to sand them flat.
Here's how I'd approach ridges:
- Use side 1 only on the most raised ridges, with 3–5 feather-light strokes, then move straight to sides 2, 3 and 4.
- Accept "less visible" as the goal. Trying to remove ridges completely means taking off too much nail.
- Keep nails moisturized daily. Hydrated nails show ridges less.
- For extra smoothing without more buffing, try a ridge-filling base coat on weeks you wear polish.
Horizontal ridges, deep grooves, dents, a dark streak, lifting, or nails that suddenly change color or shape are a different story. Don't buff those away. Show them to a doctor or dermatologist, because nails can reflect what's happening in the rest of the body.
Buffing Weak, Thin or Peeling Nails
If your nails bend easily, peel in layers or feel sensitive, buffing should be very gentle or skipped for a while. Thin nails don't have layers to spare.
- Skip sides 1 and 2 completely. They're too abrasive for thin nails.
- Use only side 4, lightly, once a month. A few strokes give shine without removing much.
- Seal peeling edges with a fine file. File the tip gently in one direction instead of buffing the surface.
- Switch to shine without buffing (see below) until the nails grow out stronger.
Nails often feel thin after gel or acrylics. If that's where you are, give them a few weeks of rest first. My sister guide on repairing your nails after gel covers what to do in those first weeks, and buffing is best saved for after that recovery.
How To Buff Your Toenails
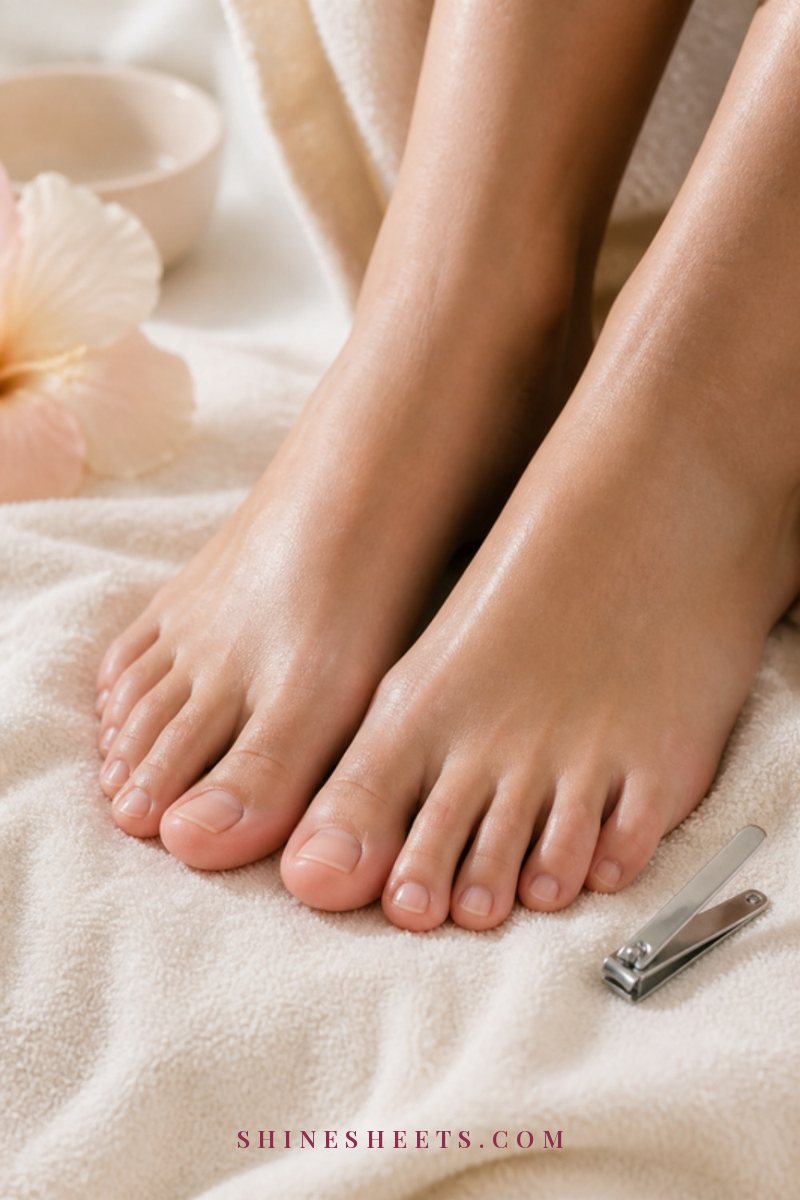
Toenails are thicker and grow even more slowly than fingernails, and they can be buffed with the same block. The routine is slightly different:
- Soak your feet in warm water for 5 minutes to soften the skin, then dry them very well, especially between the toes. Wait another 10 minutes so the nails aren't damp.
- Clip and file the nails straight across, softening the corners only slightly. Straight edges help prevent ingrown nails.
- Buff the big toenails first, using the same order: side 1 only if needed, then sides 2, 3 and 4 with about 10 light strokes each.
- For smaller toenails, side 3 and side 4 are usually enough.
- Finish with cuticle oil and a rich foot cream.
Thickened, yellowed, crumbly or painful toenails shouldn't be buffed at home. Those are worth a visit to a doctor or podiatrist instead.
How To Get Shiny Nails Without Buffing
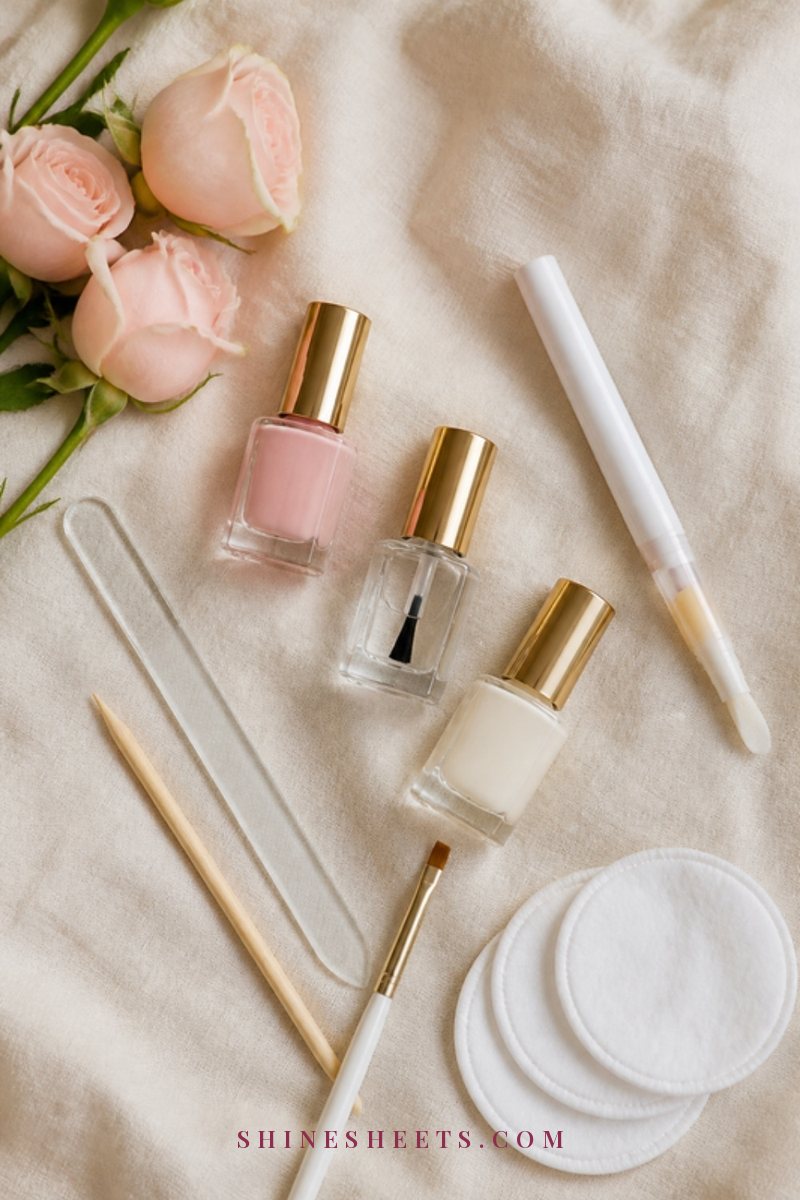
Some weeks you want the shine without touching the nail surface at all, and that's a perfectly good choice. These options give a similar finished look:
- A clear base coat or strengthener. One thin coat looks like freshly buffed nails and protects the surface. A clear nail strengthener is a pick for weeks when nails feel soft. Remove it with a gentle remover and give nails a polish-free day every week or two.
- Cuticle oil on its own. Massaging oil into the nails gives a soft, healthy sheen for a few hours, especially before bed.
- A sheer pink or milky polish. One coat blurs ridges and makes nails look even and glossy.
- A quick shine-side pass only. If you want the buffed feeling with minimal removal, 5 light strokes on the finest side is plenty.
Curious whether a strengthener is right for you? My guide on nail strengtheners explains how they work and how to use them without making nails brittle.
7 Buffing Mistakes To Avoid
Most buffing problems come from doing too much rather than too little. Here are the mistakes worth knowing:
- Too much pressure. Let the buffer do the work. Pressing hard thins the nail fast and can make it sensitive for weeks.
- Buffing until it feels hot. Friction heat is a warning sign. Pause, move to another nail and keep strokes light.
- Sawing back and forth. Work in one direction, base to tip, with the buffer flat.
- Buffing too often. Every 2–4 weeks at most for a full buff. Oil is your in-between shine.
- Buffing wet or oily nails. Damp nails are softer and peel easily, and oil makes the buffer slip.
- Buffing over gel or to remove gel. Buffing off gel polish is how many people end up with paper-thin nails. Remove gel properly first, then let nails rest before buffing.
- Using side 1 on the whole nail every time. The coarsest side is for edges and stubborn ridges only, not for the routine shine.
Keep the buffer clean between sessions with your soft nail brush (a gentle soft nail brush is useful for both your nails and the block), and store it somewhere dry.
Final Thoughts
Buffed nails have a quiet, polished kind of elegance, a little bit Old Hollywood in the best way: clean, glossy and completely natural. The secret is gentleness. Light pressure, one direction, a handful of strokes per side and plenty of oil afterward.
Give your nails a full buff every few weeks, let cuticle oil keep the shine going in between, and you'll have hands that look cared for every single day without a drop of polish.