A French manicure looks effortless, but the secret to clean tips isn't a steady surgeon's hand. It's good prep, thin coats and choosing the tip method that suits your skill level today. Most wobbly smile lines come from rushing the base or using the wrong tool, not from a lack of talent.
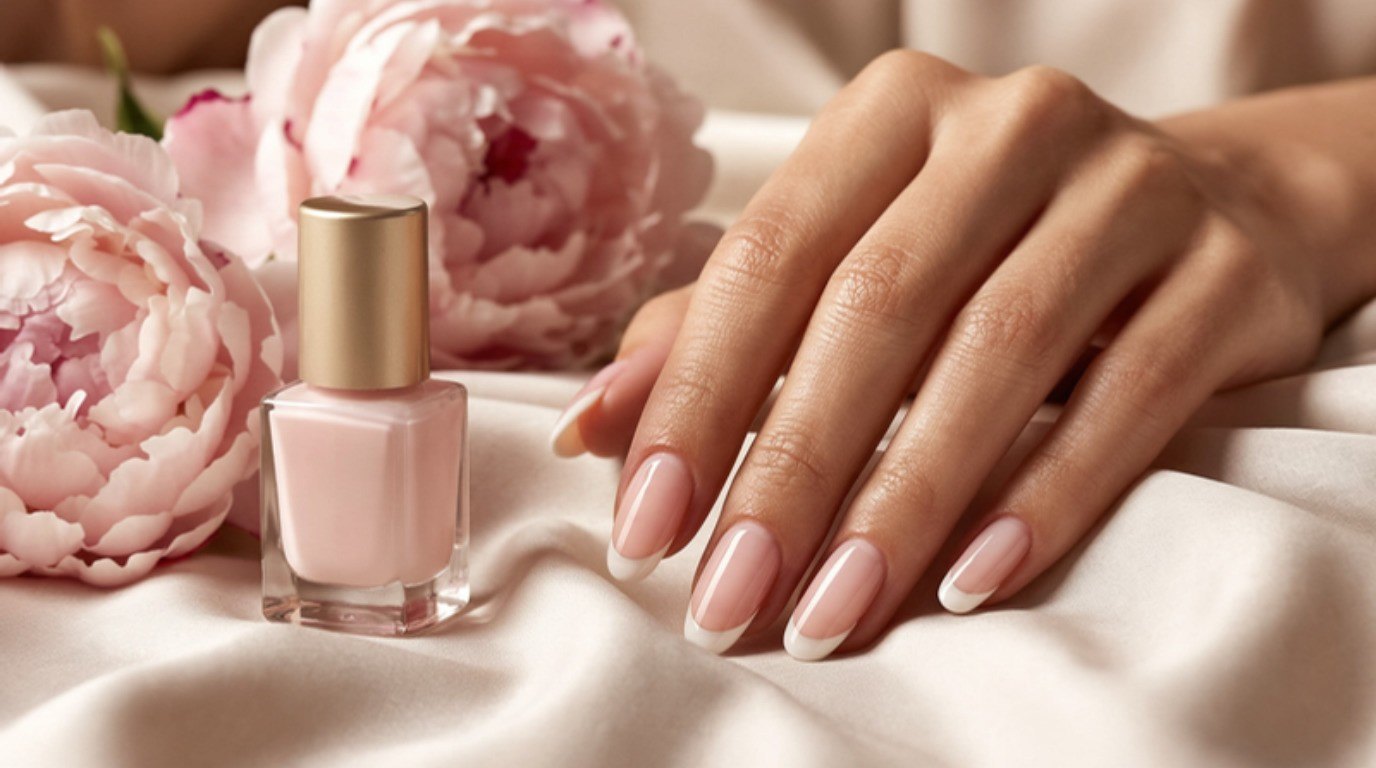
The classic French has stayed elegant for decades for a reason: it makes nails look clean, polished and a little Old Hollywood without shouting. It also forgives a lot, since a sheer pink base hides small imperfections and a soft white tip doesn't have to be perfectly bright to look beautiful.
This guide to a French manicure at home walks you through the tools, the prep that makes everything easier, how to choose your base, tip color and tip thickness, four ways to paint the tips (with a comparison table), a full step by step for the easiest method, how to fix uneven tips and match both hands, a few soft variations and how to make it last.
What You Need for a French Manicure at Home
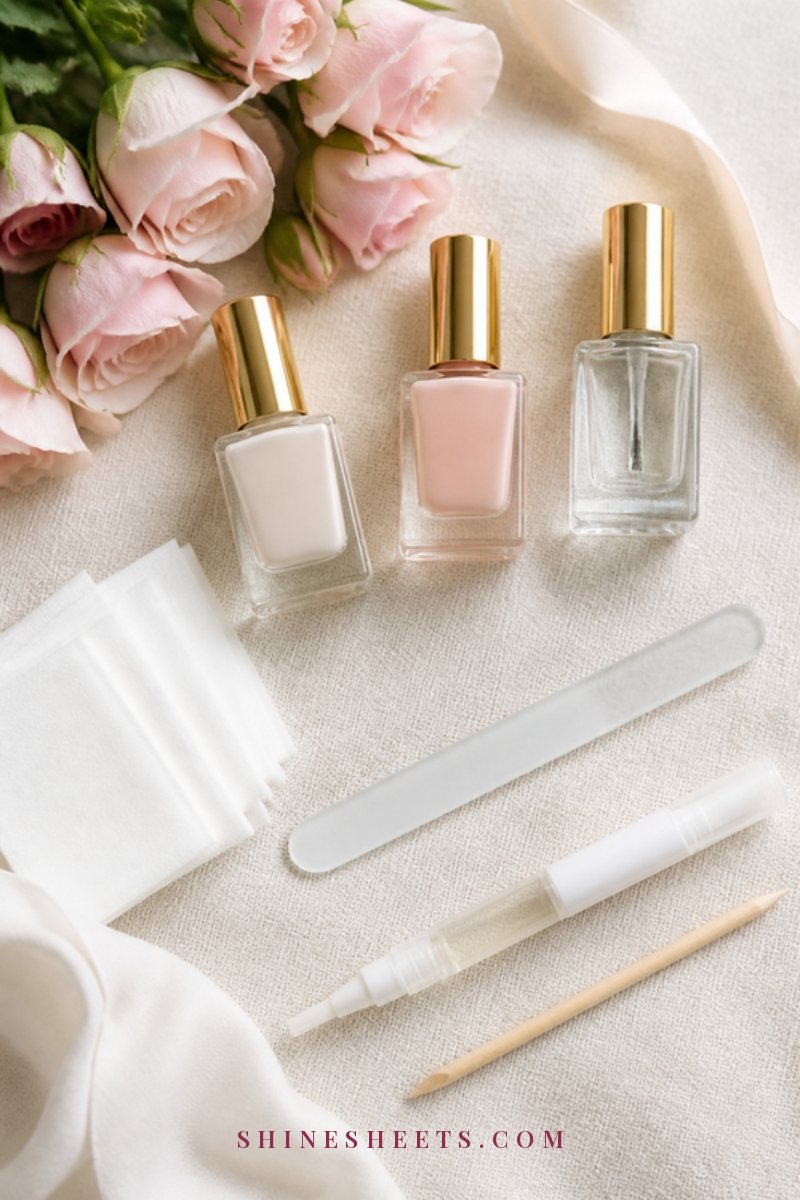
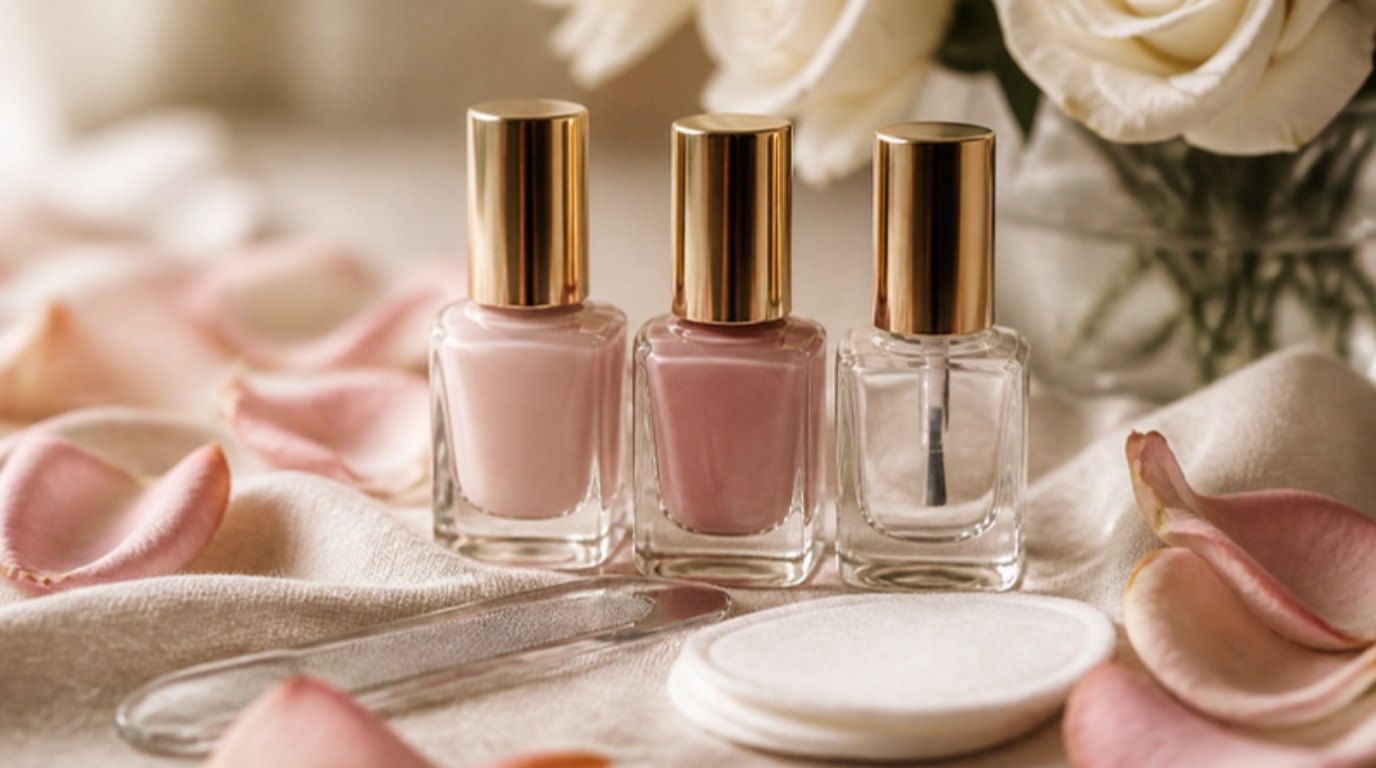
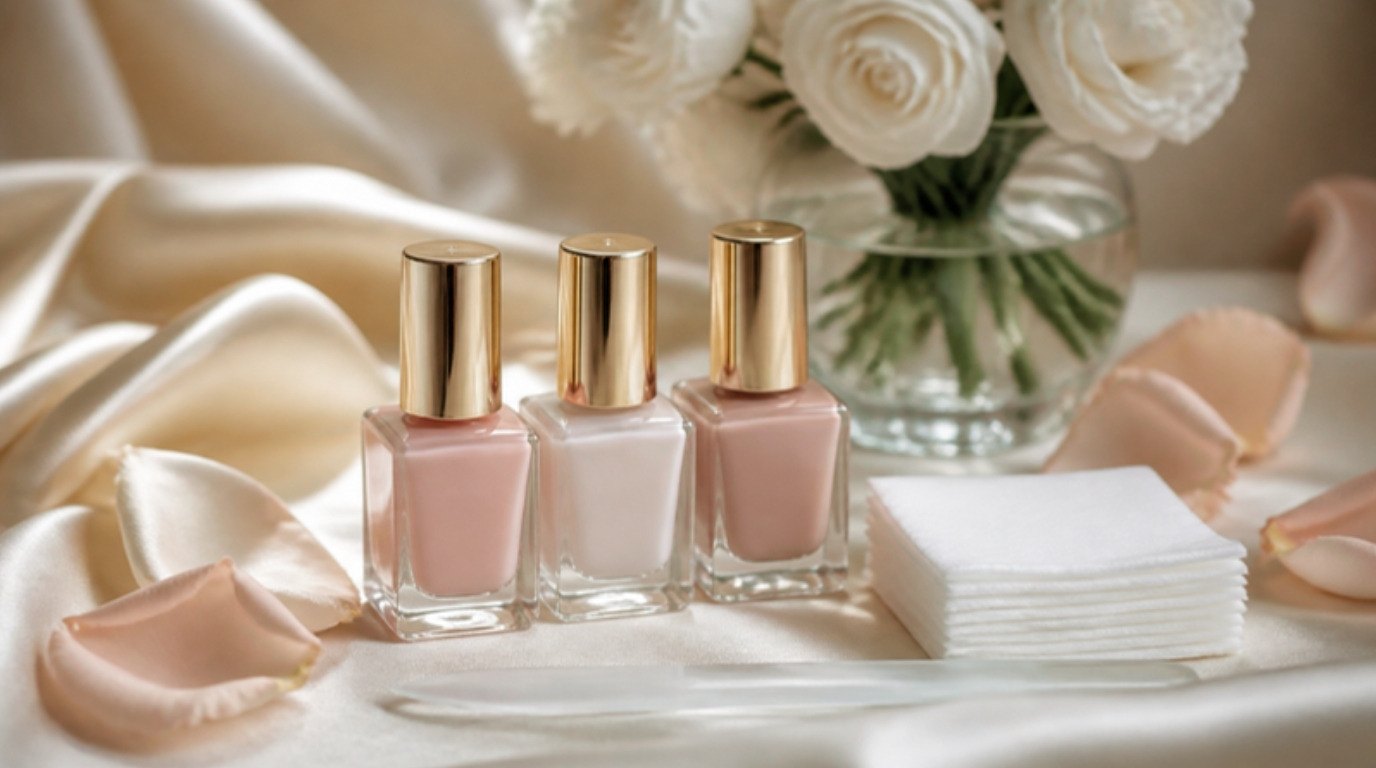
You don't need a professional kit. A simple, tidy setup works beautifully:
- A nail file (glass or a fine-grit file) and a soft buffer.
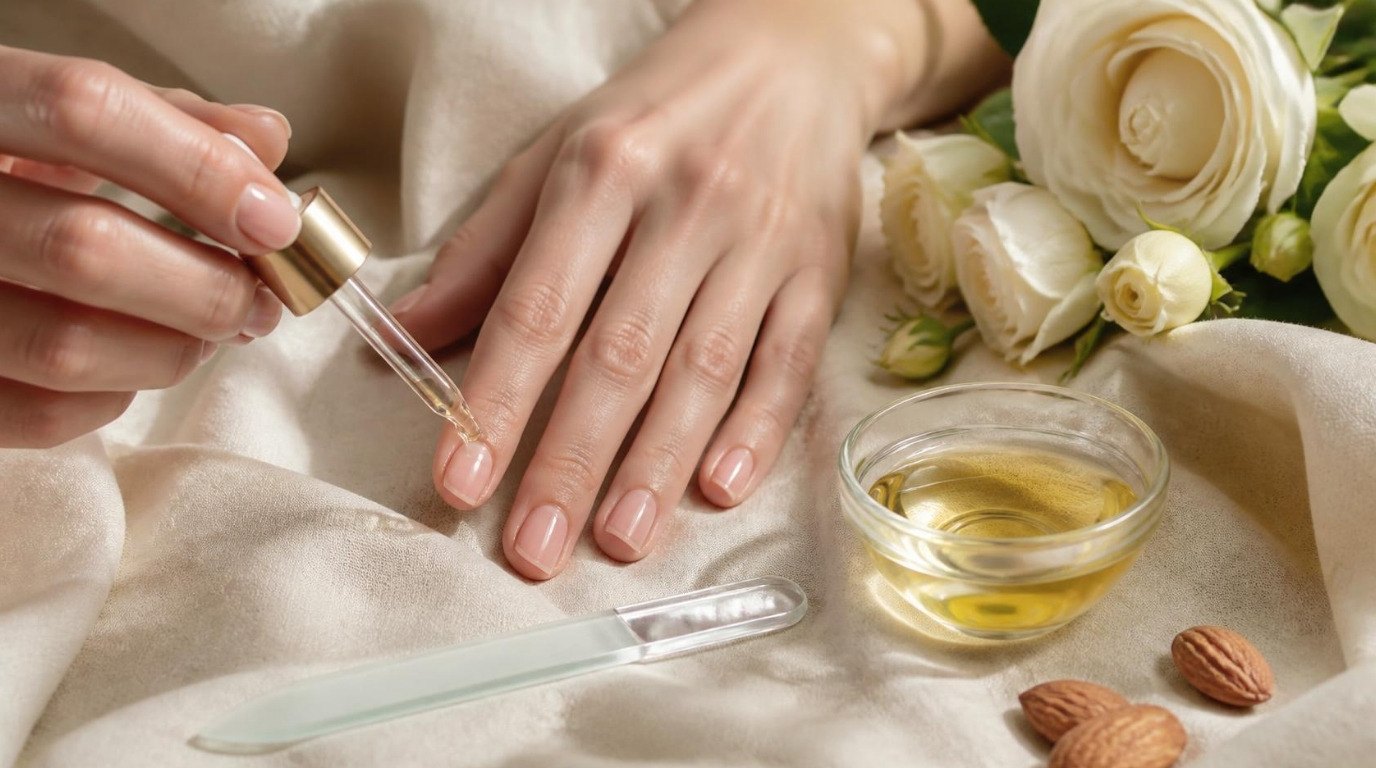
- A cuticle pusher or an orange wood stick, plus cuticle oil.
- Nail polish remover and lint-free pads or cotton.
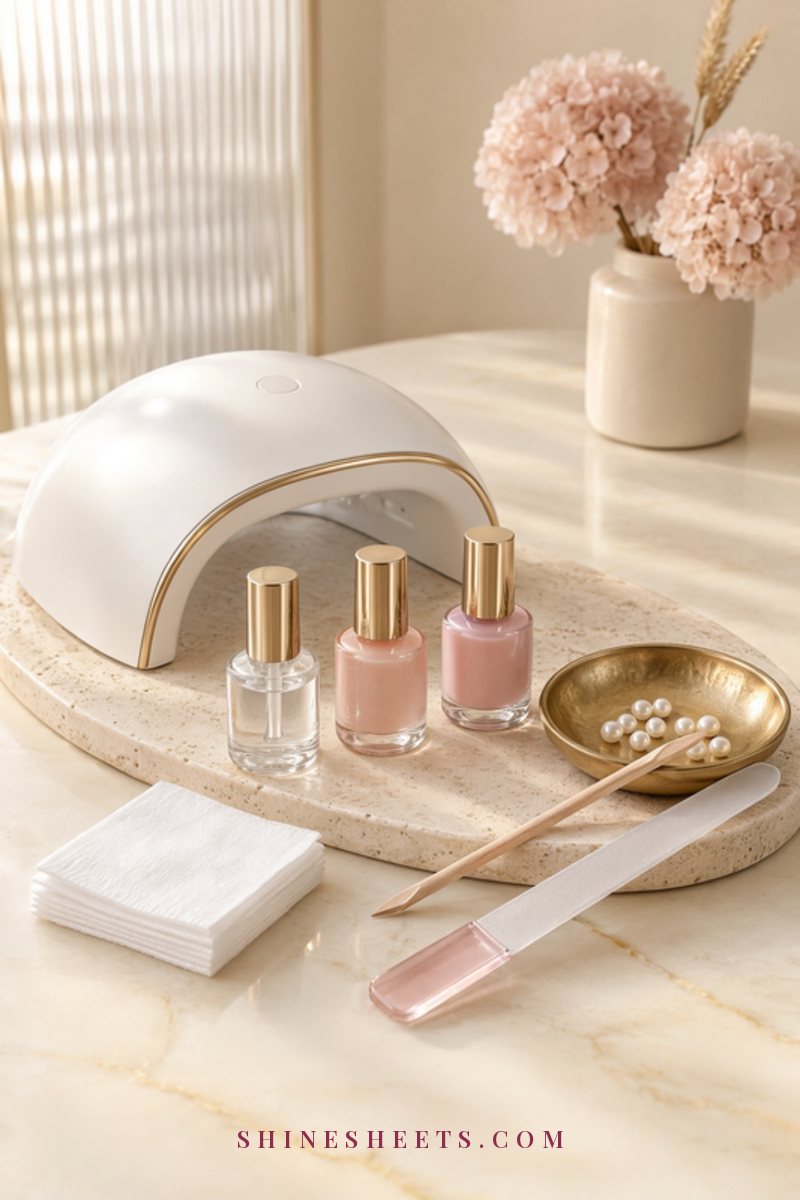
- A base coat to protect your nails and help polish grip.
- A sheer base color. A sheer pink nail polish is the classic choice; a milky nude works too.
- A tip color. A soft white tip polish with a creamy, opaque formula is easier than a stark, streaky white.
- A tip tool for your chosen method: a fine brush, guide stickers or a silicone stamper.
- A small flat clean-up brush dipped in remover for crisp edges.
- A glossy top coat.
Work in a well-ventilated room with a window cracked open, and keep polish and remover away from candles or anything with a flame. Polish fumes add up quickly in a small bathroom.
Prep: The Step That Makes Tips Look Clean
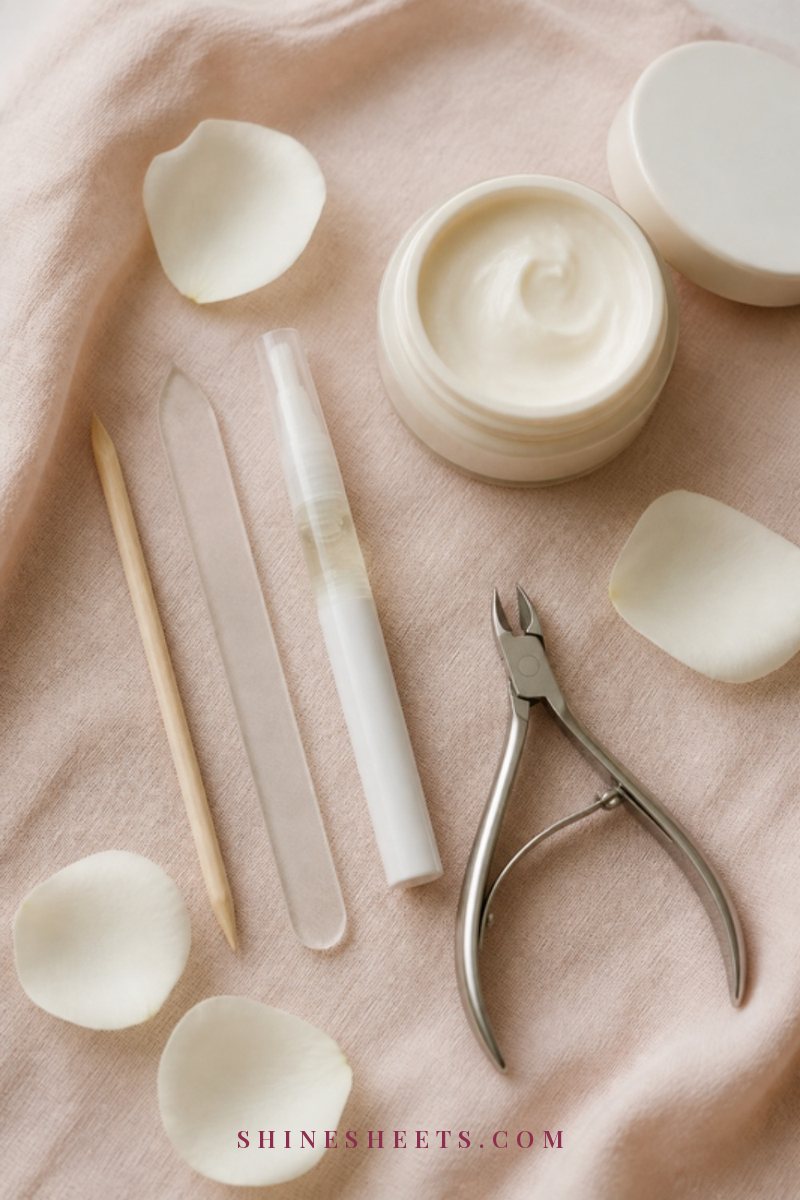
A French manicure shows every bump and edge, because the eye goes straight to the tip line. Good prep takes about fifteen minutes and makes the painting part far less frustrating.
- File a soft shape. Rounded, soft square (squoval) or soft almond all suit a French. File in one direction from the side toward the center, not back and forth, so the edge doesn't fray. Make all ten the same length. My guide on how to file and shape your nails has the full technique.
- Care for your cuticles gently. After a warm shower or a short soak, push cuticles back softly with a pusher. Don't cut living skin; only trim loose hangnails. If your cuticles need extra love, my cuticle care guide explains how to keep them neat without cutting.
- Buff lightly. One or two light passes with the fine side of a buffer removes shine and small ridges, so polish sits smoother. Over-buffing thins the nail, so stop as soon as the surface looks evenly matte. My guide on how to buff your nails shows the gentle way to do it.
- Cleanse. Wipe each nail with remover to take off oil and dust. Skip cuticle oil from this point until the end, or the polish won't grip.
- Apply a base coat. One thin layer protects your nails from staining and helps everything last longer. Let it dry for two minutes.
Choosing Your French Look
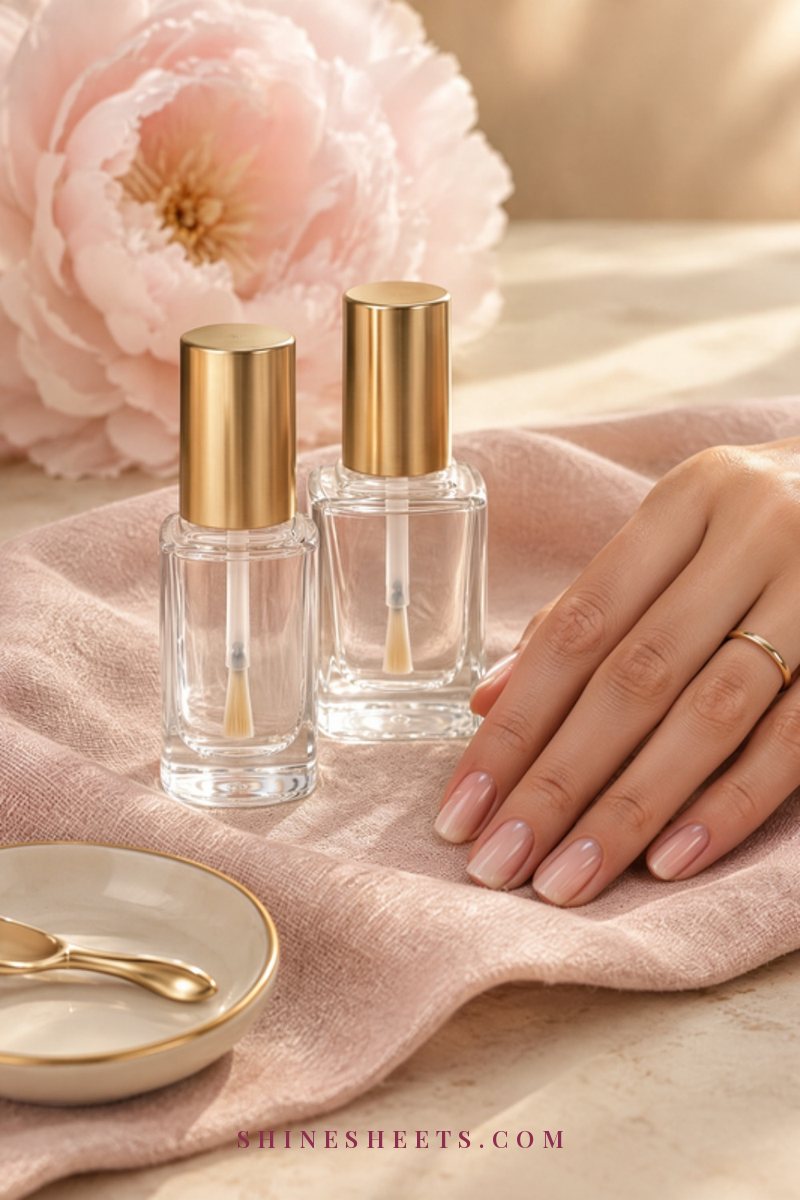
A French manicure is a simple formula, but small choices change the whole feel, from classic and crisp to soft and barely there.
The Base Color
Sheer pink gives the classic, clean look and flatters most skin tones. Milky nude or sheer beige reads softer and more modern. If your skin has warm undertones, a peachy-pink base often looks fresher; cooler undertones tend to suit a rosy or bluish pink. One or two thin coats is usually enough: you want a translucent wash, not full coverage.
The Tip Color
Bright white is the most traditional, but it shows every wobble. A soft white, off-white or milky white is more forgiving and looks a little more expensive. For a quieter French, a tip in cream or a slightly deeper nude is barely noticeable and very pretty.
Tip Thickness by Nail Length and Shape
The tip should follow the natural free edge of your nail and stay in proportion:
- Short nails: a very thin tip, about 1 to 2 millimeters. A thick tip on a short nail makes it look even shorter.
- Medium nails: around 2 to 3 millimeters, following your natural smile line.
- Longer nails: up to the free edge, or slightly thinner for a more refined look.
- Round and almond shapes: a curved smile line that mirrors the tip.
- Square and squoval shapes: a slightly flatter curve with clean corners.
When in doubt, go thinner. A thin tip always looks elegant, and you can thicken it later if you want more contrast.
4 Ways To Paint French Tips
There's no single right way. Pick the method that matches your hands and patience today, and remember that most people end up mixing two (for example, stickers plus a clean-up brush).
1. Freehand With a Thin Brush
Freehand gives the most natural, custom smile line, but it takes practice. Use a fine nail brush with long, thin bristles, wipe most of the polish off on the bottle neck, and paint from one side of the tip to the center, then from the other side to the center. Rest your painting hand's little finger on the table for stability, and turn the nail rather than your wrist.
Tip: the polish brush itself works for freehand on longer nails if you press it flat and sweep across in one movement.
2. Tape or Guide Stickers
Curved French tip guide stickers give you an even line on every nail and are the easiest choice for beginners. Ordinary tape works for straight or slightly angled tips. The key is a completely dry base, so the sticker doesn't pull up the polish underneath, and removing the guide while the white is still wet.
3. Silicone Stamper
With a soft silicone stamper, you paint white polish onto the stamper's edge, then gently press the tip of your nail into it at an angle. It's fast and fun, and great for shorter nails, but it takes a few tries to control how deep the tip goes. Clean the stamper with remover between nails for crisp results.
4. Clean-Up Brush To Carve the Smile Line
This is less a method on its own and more the secret behind salon-crisp tips. Paint the white a little sloppy, covering slightly more than the tip you want, then dip a small flat brush in remover and "carve" the smile line by wiping away the excess in a curve. It's surprisingly forgiving, because you're removing polish rather than trying to place it perfectly.
French Manicure Methods Compared
Here is the whole decision in one table. Screenshot it before your next nail evening if you like.
| Method | Skill level | Best for | Common mistake |
|---|---|---|---|
| Freehand with a thin brush | Intermediate | Custom, natural smile lines; all nail lengths | Too much polish on the brush, which floods the tip |
| Tape or guide stickers | Beginner | Even tips on every nail; medium and long nails | Applying stickers to a base that isn't fully dry |
| Silicone stamper | Beginner to intermediate | Quick tips on short nails | Pressing too deep, which makes thick, uneven tips |
| Clean-up brush carving | Beginner | Fixing and sharpening any method | A brush that's too wet with remover, which smears the base |
Step by Step: The Guide Sticker Method
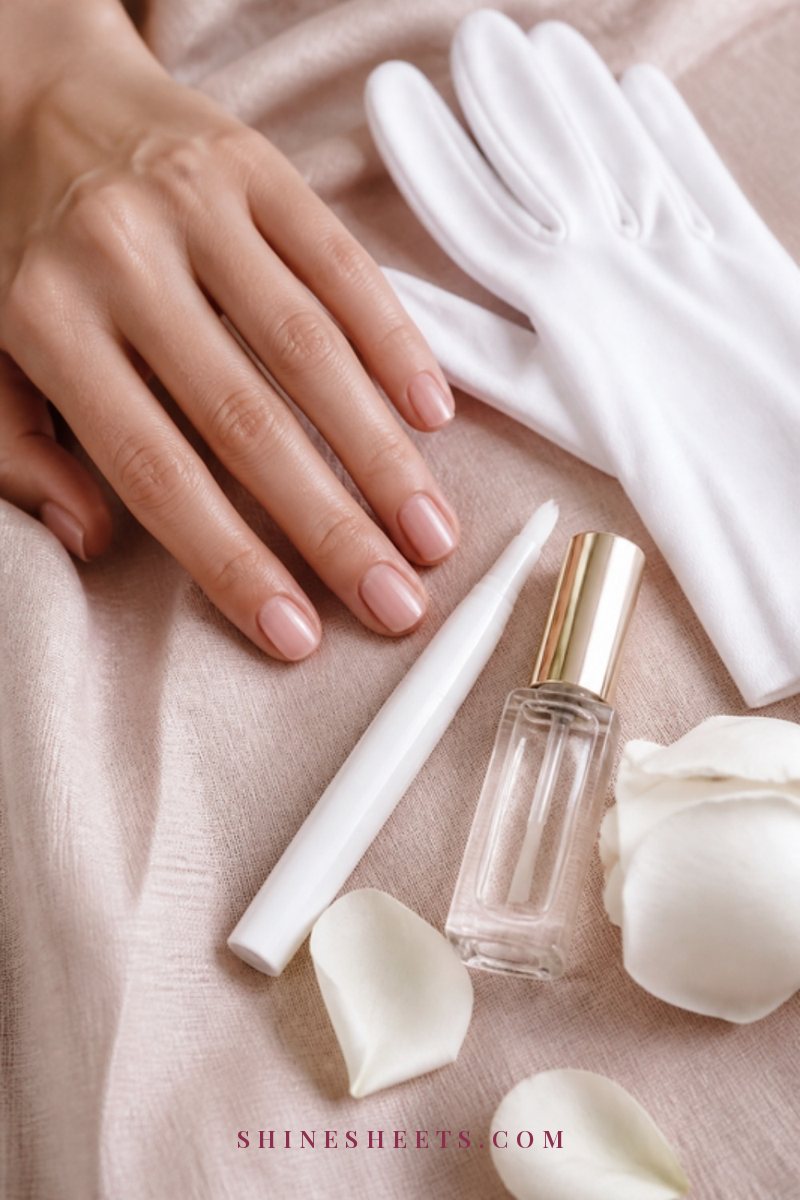
If this is your first French manicure, start here. It's the most predictable method and gives you clean, matching tips on the first try.
- Prep your nails as described above, ending with a thin base coat.
- Apply your sheer base color. One or two thin coats, two minutes between each. Let it dry completely, at least ten to fifteen minutes, before any sticker touches it. This is the step most people rush.
- Place the guide sticker. Position it just below where you want the tip to start, following your natural free edge. Press the edges down firmly so polish can't seep under.
- Paint the tip. Apply one thin coat of soft white over the tip, brushing from the sticker edge toward the end of the nail. Swipe the brush along the free edge too, to "cap" it.
- Remove the sticker right away. Peel it off slowly while the white is still wet, pulling away from the tip, for the cleanest line.
- Repeat for a second coat if needed. Let the first white coat dry for a few minutes, place a fresh sticker in the same spot and add a second thin coat only if the white looks streaky.
- Clean up. Use a small brush dipped in remover to sharpen the smile line and tidy any polish on the skin.
- Seal with top coat. Wait about five minutes, then apply a glossy top coat over the whole nail, capping the free edge.
Plan on about forty-five minutes for your first full set, including prep and drying time. That sounds long, but most of it is waiting, and the waiting is exactly what keeps the stickers from lifting the base. Once you've done it a few times, it usually drops to around half an hour. Keep your hands still and away from bags, zips and hair for at least twenty minutes after the top coat, since polish can feel dry long before it's fully set.
For a full refresher on the rest of the routine, my guide to an at-home manicure step by step covers soaking, shaping and finishing in more detail.
How To Fix Wobbly or Uneven Tips
Every French manicure has a wobbly nail or two at first. Here are the calm fixes:
- Wavy smile line: carve it smoother with the clean-up brush, removing just the high points rather than redoing the whole tip.
- One tip thicker than the others: trim it down with the clean-up brush, or thicken the others very slightly to match.
- Streaky white: let it dry, then add a second very thin coat. Thick single coats streak and drag more.
- White on the skin: tidy with a remover-dipped brush before top coat.
- Sticker pulled up the base: fix the dent with a tiny dab of base color, let it dry fully and try again with a lighter press.
- A smudge after top coat: if it's small, smooth it gently with a fingertip lightly dampened with remover, then add another thin layer of top coat.
And a gentle reminder: from a normal conversation distance, nobody sees the tiny flaws you see from ten centimeters away.
Matching Both Hands
Your non-dominant hand is easy; your dominant hand is the tricky one. A few things help both look like a pair:
- Paint your dominant hand first while you're freshest, then do the easier hand.
- Use guide stickers on the hard hand even if you freehand the other.
- Compare as you go. After each nail, hold both hands side by side and check the matching finger.
- Keep the tip depth the same on matching fingers, even if your nail beds are slightly different shapes.
- Turn your hand, not the brush. On your dominant hand, rotate the nail toward the brush and keep the brush steady.
Soft Variations To Try
Once the classic feels easy, a few small twists keep the French feeling fresh while staying minimal and elegant.
Micro French
A micro French is an ultra-thin tip, often just 1 millimeter along the free edge. It's perfect for short nails and looks very clean and modern. A fine brush or the clean-up carving method gives the most control. Because the tip is so thin, it also grows out gracefully and is very forgiving if one line is a hair off.
Nude Tips
Swap the white for a slightly deeper nude or soft beige over a sheer pink base. From a distance it simply looks like healthy, polished nails, and it's wonderfully low-maintenance as it grows out.
Thin Gold Line
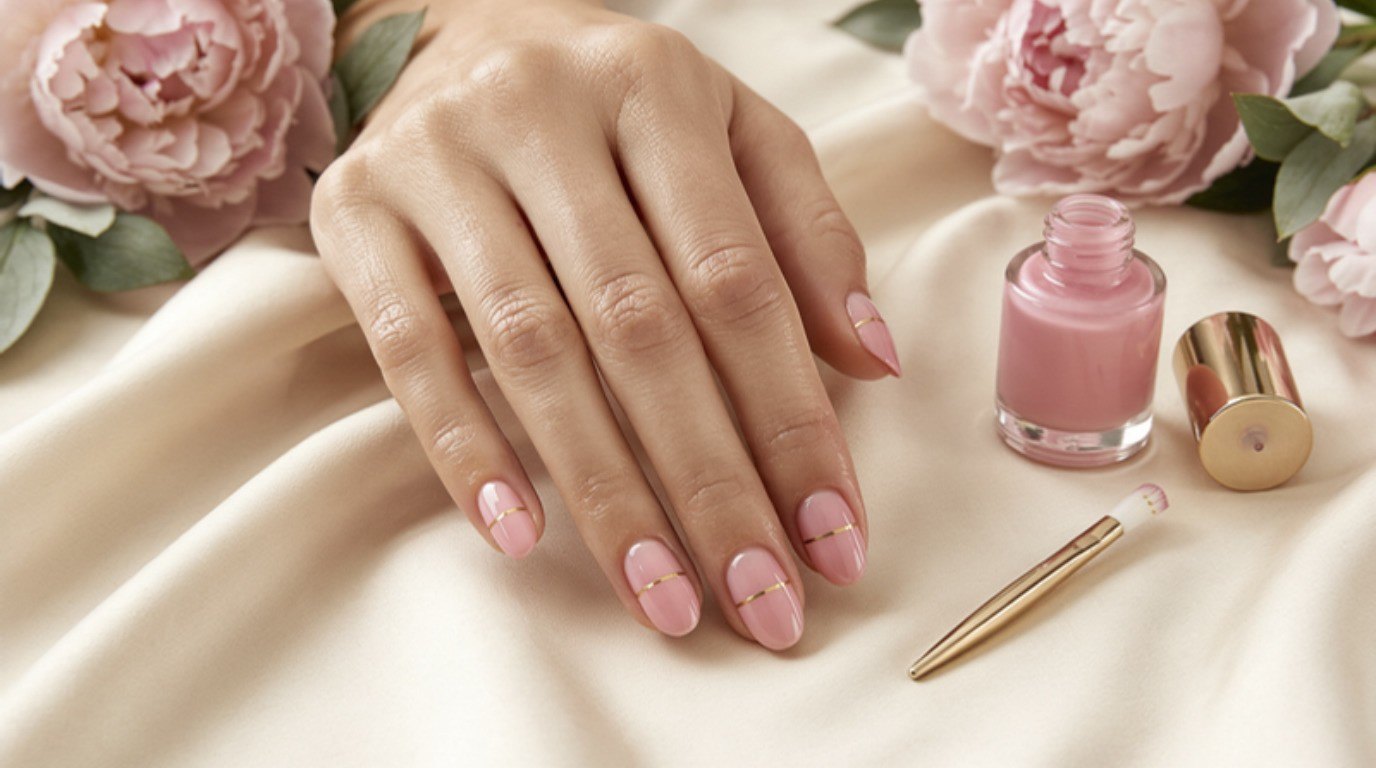
Add a hairline of gold polish just under the white tip, or use it instead of white on a nude base. Keep it very thin with a fine brush. It's a soft, Old Hollywood touch for an evening out without changing the classic feel.
6 French Manicure Mistakes To Avoid
Most French manicure frustration comes from a handful of small habits. Skip these and your tips will look cleaner straight away.
- Skipping base coat. Without it, polish chips faster and pigments can stain the nail. A sheer base also needs something smooth to sit on.
- Painting thick coats. Thick sheer pink turns streaky and slow to dry, and thick white tips look heavy. Two thin coats always beat one thick one.
- Rushing the dry time before stickers. If the base isn't fully dry, the guide lifts it and leaves dents. Give it at least ten to fifteen minutes.
- Making the tips too thick for short nails. A wide white band on a short nail visually shortens it. Thinner is almost always more flattering.
- Forgetting to cap the free edge. Swiping polish and top coat along the very edge of the nail seals it and prevents the white from chipping first.
- Using cuticle oil too early. Oil on the nail before polish stops it gripping. Save it for the very end, once your top coat is dry.
If your nails tend to be thin, peeling or ridged, give them a week or two of bare care with oil and a gentle buff before your next French. Healthier nails hold polish better, and the sheer base looks prettier on a smooth surface.
Top Coat and Making It Last
A French manicure looks best glossy and fresh. To keep it that way:
- Use a good glossy top coat and cap the free edge. A glossy top coat smooths the line between base and tip and makes the white look less streaky.
- Refresh the top coat every two to three days for extra shine and chip protection.
- Wear gloves for dishes and cleaning; hot water and detergents shorten wear.
- Use cuticle oil every evening once the polish is fully dry, to keep the skin around your nails soft.
- Don't peel or pick off polish. It takes layers of the nail with it. Remove it gently with remover instead.
My guide on how to make nail polish last longer has more chip-preventing habits.
A gel note: the same French techniques work with gel polish under a lamp, and gel lasts longer. Just never peel or pick off gel, because it pulls away the top layers of your natural nail. Follow a gentle soak-off routine like the one in my guide on how to remove gel polish at home without damage, and give your nails a break between gel sets.
Final Thoughts
A French manicure at home is less about perfect hands and more about a calm little routine: tidy prep, thin coats, the right tip tool and a clean-up brush for the finishing touch. Your first set might not be flawless, and that's completely fine. By the third, the smile lines start to come naturally.
Put on some music, make a cup of evening tea and give yourself an unhurried half hour. Clean, glossy tips are one of the simplest ways to feel quietly put together all week.