Facial cupping is gentler than it looks. On the face, it's not about leaving cups in place or chasing dramatic marks. It's a light, gliding massage with a tiny bit of suction, done over well-oiled skin and always kept moving. Done that way, it can feel wonderfully relaxing and leave your face looking a little fresher and less puffy for a while.
It also comes with a lot of big promises online, from "natural face lifts" to "detoxing" your skin. The honest picture is softer than that, and I think it's much more useful to know what facial cupping can and can't do before you start, so you enjoy it for what it is.
This guide covers facial cupping at home from start to finish: what it is, how it differs from body cupping, what to realistically expect, who should skip it, a step-by-step routine through six areas of the face, a simple map of cup sizes and directions and how often to do it. Think of it as a calm little ritual rather than a treatment.
What Is Facial Cupping?
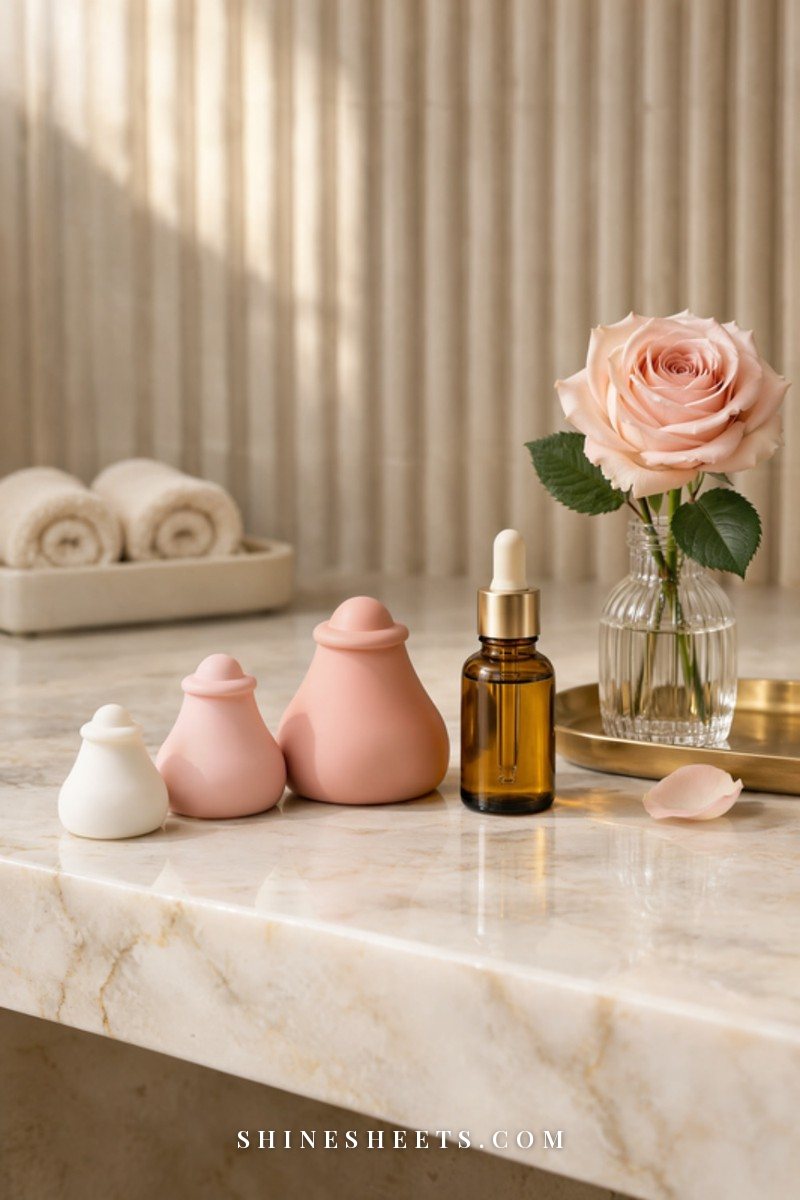
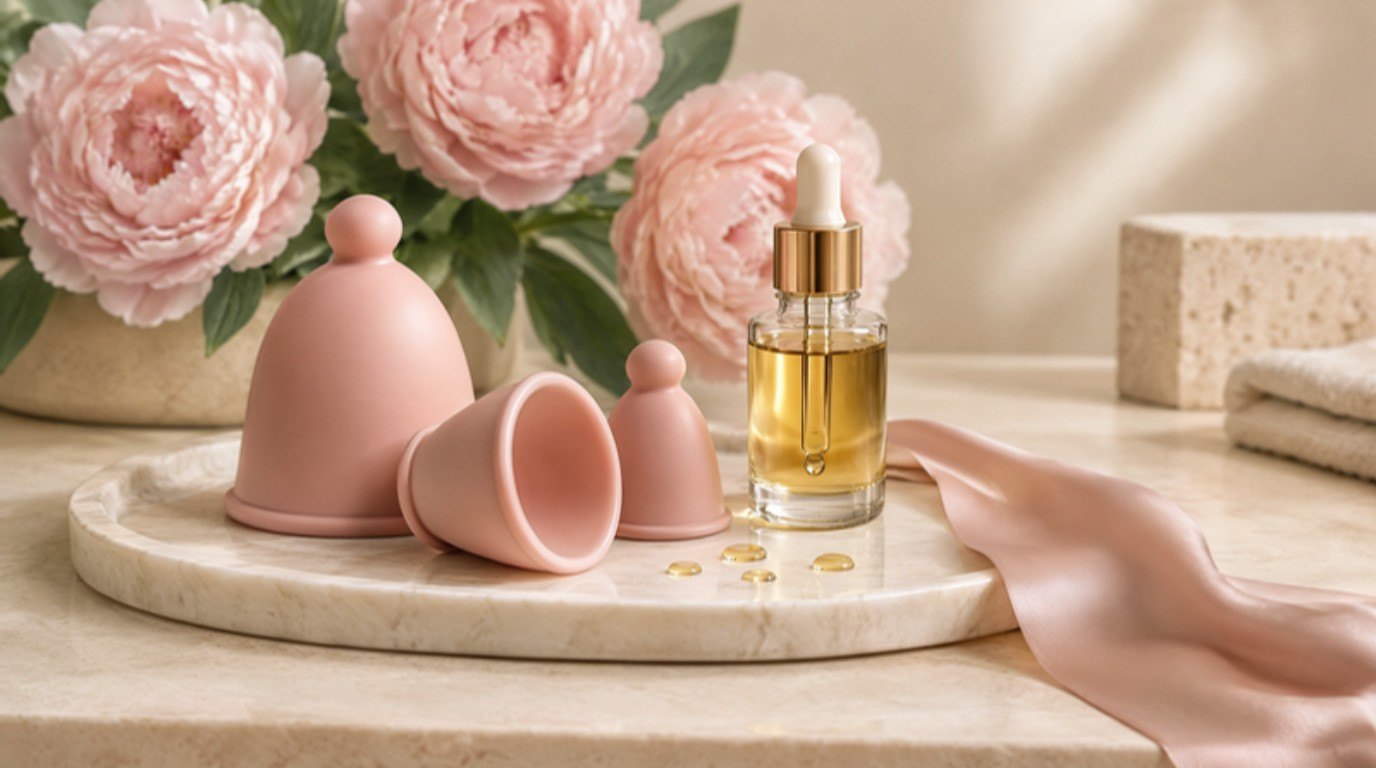
Facial cupping uses small, soft cups, usually made of silicone or glass with a rubber bulb, to create light suction on the skin. You gently squeeze the cup, place it on skin that's been coated with facial oil, release a little so it grips softly and then glide it slowly across the face.
That gliding suction lifts the skin very slightly instead of pressing it down, which is what makes it feel different from a regular face massage. Many people describe it as a pleasant pulling sensation, a bit like a gentle kneading from the inside out.
Cupping has a long history in traditional practices, but facial cupping as most of us know it is really a modern at-home beauty ritual. Sets usually come with two to four cup sizes: a small one for delicate areas like under the eyes and between the brows, and larger ones for the cheeks, jaw, forehead and neck.
Facial Cupping vs Body Cupping
This is the most important difference to understand, because it's where most mistakes happen.
- Body cupping often uses stronger suction and leaves cups in place for several minutes on the back or shoulders. Those round marks people sometimes show off come from that static, stronger suction.
- Facial cupping uses much lighter suction and the cups never stay still. You keep them moving the whole time, gliding for a second or two, releasing and starting again.
- The goal is different too. On the body, cupping is usually about muscle tension. On the face, it's about a soothing massage, a temporarily depuffed look and relaxation.
The one rule to remember: never leave a cup sitting in one place on your face. Facial skin is thin and the tiny blood vessels near the surface break easily, so static suction can leave marks or bruises that take days to fade.
What To Expect From Facial Cupping (and What Not To)
Let's be honest with each other here. Facial cupping hasn't been studied much, and most of the dramatic claims you'll see aren't backed by good evidence. That doesn't make it useless. It just means it's best enjoyed for the gentle, short-term things it does well.
What you can realistically expect:
- A slightly less puffy look, especially around the eyes and jaw, in the morning.
- A fresh, rosy look right after, which usually fades within an hour or so.
- Skin that feels soft and nourished, mostly thanks to the facial oil and the massage.
- A real sense of relaxation, particularly around the jaw and forehead where many of us hold tension.
What not to expect:
- A lasting "lift" or a change in the shape of your face.
- Removing toxins from your skin. Your liver and kidneys handle that job beautifully on their own.
- Erasing wrinkles, scars or pigmentation.
- A replacement for sunscreen, a good moisturizer or advice from a dermatologist.
If you go in expecting a calming five to ten minutes and a nice morning look, you'll probably enjoy it. If you go in expecting a face lift, you'll likely be disappointed and tempted to use more suction than you should.
Who Should Skip Facial Cupping
Facial cupping is gentle, but it isn't for every skin on every day. Please skip it, or wait, if any of these apply to you:
- Broken, irritated or sunburned skin. Suction on damaged skin can make things worse and slow healing.
- Active acne, especially inflamed or cystic spots. Gliding over breakouts can spread bacteria and irritate them. Work around them or wait until they calm down.
- A rosacea flare or very reactive redness. Suction brings blood to the surface, which is the last thing flushed skin needs. My guide to calming redness on the face is a better place to start on those days.
- Right after peels, laser, microneedling or injectables. Follow your provider's instructions and wait until they say massage is okay, which is often a couple of weeks for injectables.
- Visible broken capillaries in an area. Skip that spot completely.
- If you bruise easily or take blood thinners. Please ask your doctor before trying it, since even light suction can leave marks.
- Active skin infections such as cold sores, or any rash you haven't had checked.
If you have an ongoing skin condition, persistent redness or anything that worries you, a dermatologist is the right person to talk to before adding any new tool to your routine.
What You Need for Facial Cupping at Home
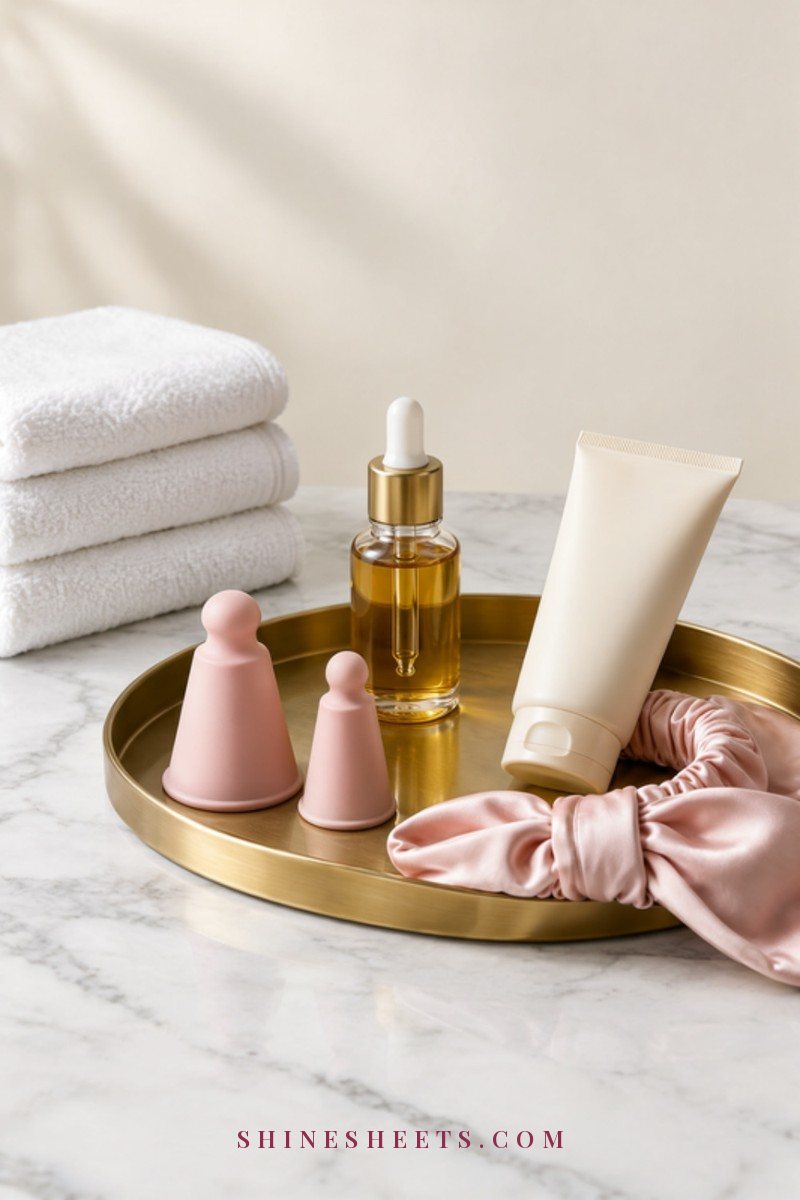
The kit is small and simple, which is one of the nicest things about this ritual.
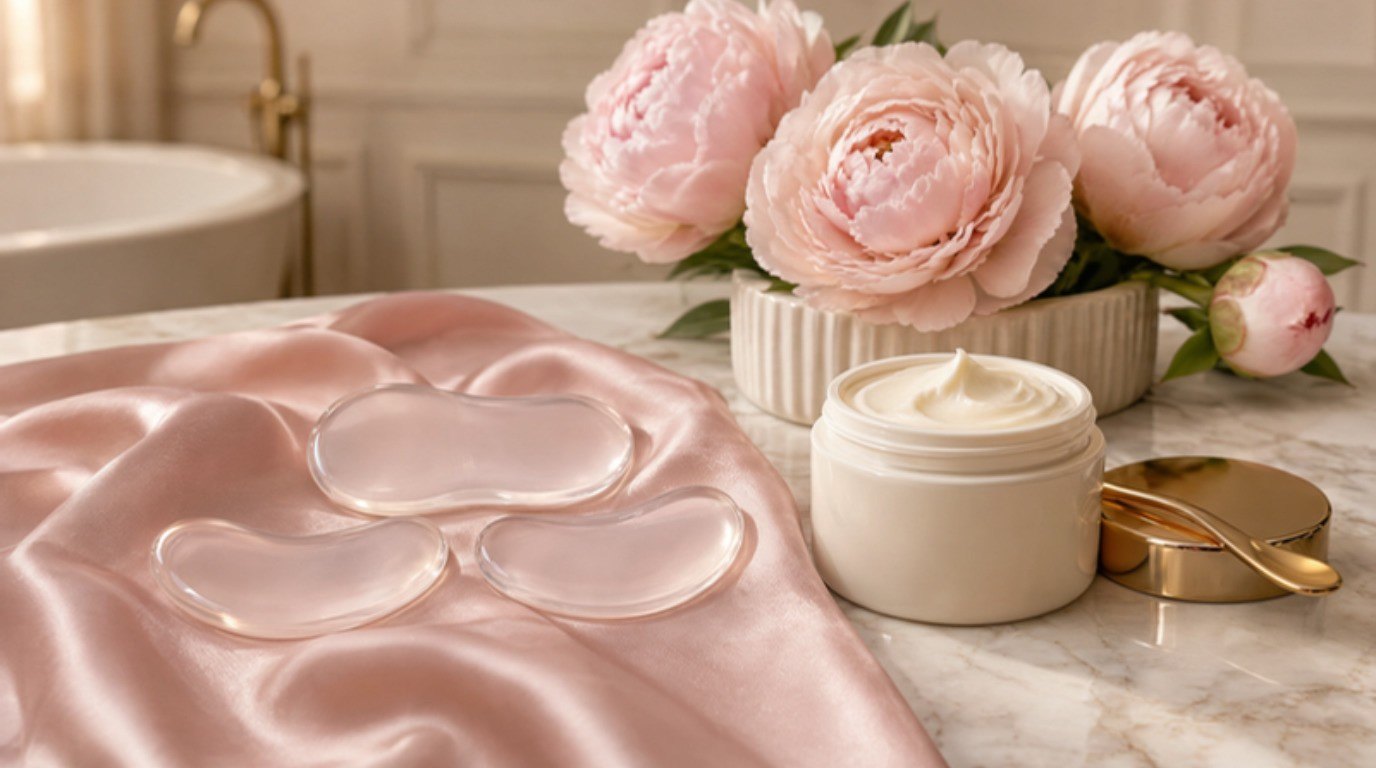
- Facial cups in at least two sizes. A silicone facial cup set with a tiny cup for the eye area and a medium or large one for the cheeks and jaw is the easiest place to start. Look for soft, flexible, medical-grade silicone that's easy to squeeze and easy to clean. Glass cups with rubber bulbs work well too, but they're more fragile.
- A facial oil with good slip. The cups need to glide without tugging. A lightweight facial oil such as squalane or jojoba is a pick for most skin types, including combination skin like mine. My guide to facial oils can help you choose one for your skin type.
- A gentle cleanser. Clean skin matters before any massage tool. A gentle cream cleanser that doesn't leave your skin tight is ideal.
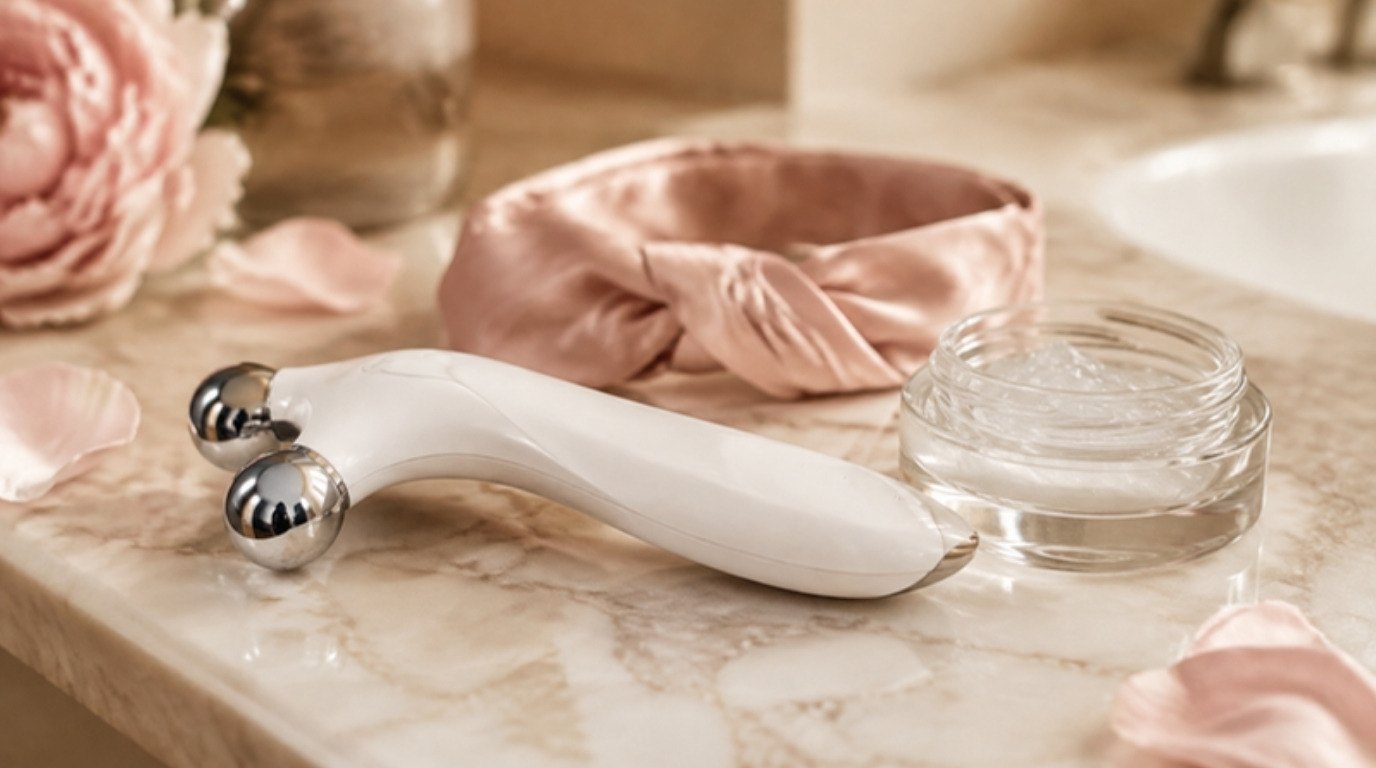
- Something to hold your hair back. A blush satin headband keeps hair out of the oil and is kind to your hair at the same time.
- A soft towel. Soft white face towels are handy for wiping your hands, the cups and any extra oil.
That's it. No fancy devices, no complicated steps.
How To Do Facial Cupping at Home: Step by Step
Set aside about ten to fifteen minutes the first few times, since learning the right suction takes a little practice. After that, the whole routine fits into five to ten minutes. I like it in the evening, after my tea and before journaling, when there's no rush.
Step 1: Cleanse and Prep Your Skin

Wash your face with a gentle cleanser and lukewarm water, then pat it dry. Wash your hands too, and make sure your cups are clean and completely dry.
Pull your hair back with a headband so it doesn't get oily. If your skin feels at all irritated or tight today, this is a good moment to decide to skip cupping and just moisturize instead.
Step 2: Apply Facial Oil Generously
Warm four to six drops of facial oil between your palms and press it over your face and neck. Use more than you would for regular moisturizing. The cups need a slippery surface, and dry patches are where tugging and marks happen.
If the cup starts to drag at any point, stop and add a drop or two more. If you're trying a new oil, patch test it first on a small spot near your jaw or behind your ear for a day or two.
Step 3: Practice the Right Suction
Before you start on your face, try the suction on the back of your hand or your forearm. Squeeze the cup, place it on the skin, then release only part of the squeeze. You want the skin to rise just slightly into the cup, with a light grip that glides easily.
- Too strong: the skin pulls up a lot, it stings, or the cup won't glide.
- Just right: a gentle tug, comfortable, the cup moves smoothly.
- Too weak: the cup falls off. Squeeze a little more before placing.
To release the cup, squeeze it again or slide a fingertip under the edge. Never pull it straight off your skin.
Step 4: Work Through 6 Areas of the Face
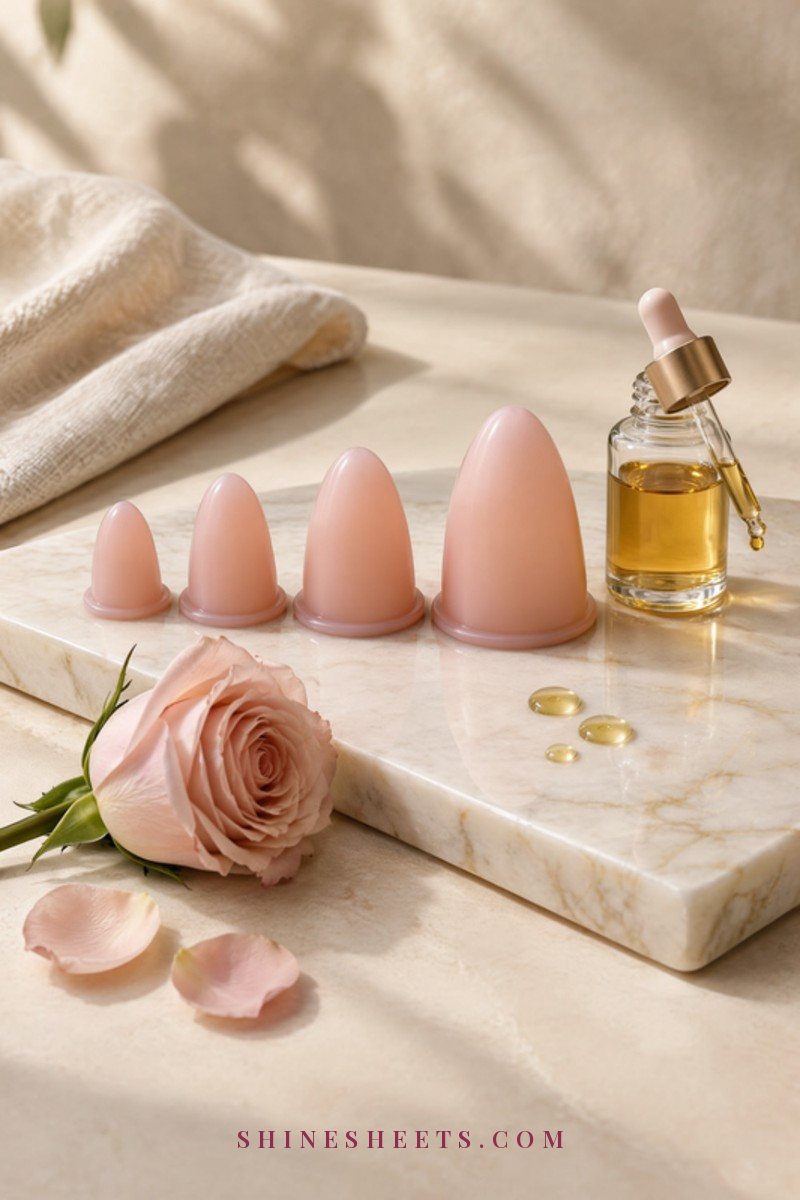
Move slowly and always glide outward and upward, keeping the cup moving the whole time. Each glide takes about one to two seconds, then you release, go back to the start and repeat. About three to five passes per area is plenty.
- Neck. With a medium or large cup, glide from the base of your neck up toward your jawline, working from the center out to the sides. Skip the front of the throat and stay very light here.
- Jawline. With a medium cup, start at your chin and glide along the jaw toward your ear. Do one side, then the other. This is where many of us hold tension, so go slowly.
- Cheeks. With a medium cup, start next to your nose and glide outward across the cheek toward your ear and temple. Do a few rows, from just above the jaw up to under the cheekbone.
- Under-eye. Switch to the smallest cup and use the lightest suction of the whole routine. Glide very gently from the inner corner, along the orbital bone, out toward the temple. Stay on the bone, never on the eyelid itself, and keep it to one or two passes.
- Forehead. With a small or medium cup, glide from the center of your forehead outward toward the temples, then from the brows up toward the hairline.
- Between the brows. With the smallest cup, make short upward glides from between the brows toward the forehead. This area often holds a lot of tension, and it's one of the most relaxing spots.
A gentle pink flush is normal and should fade within minutes. If you see red dots, purple marks or a flush that lingers, the suction was too strong or the cup stayed still for too long. Lighten up next time.
Step 5: Finish and Clean Your Cups
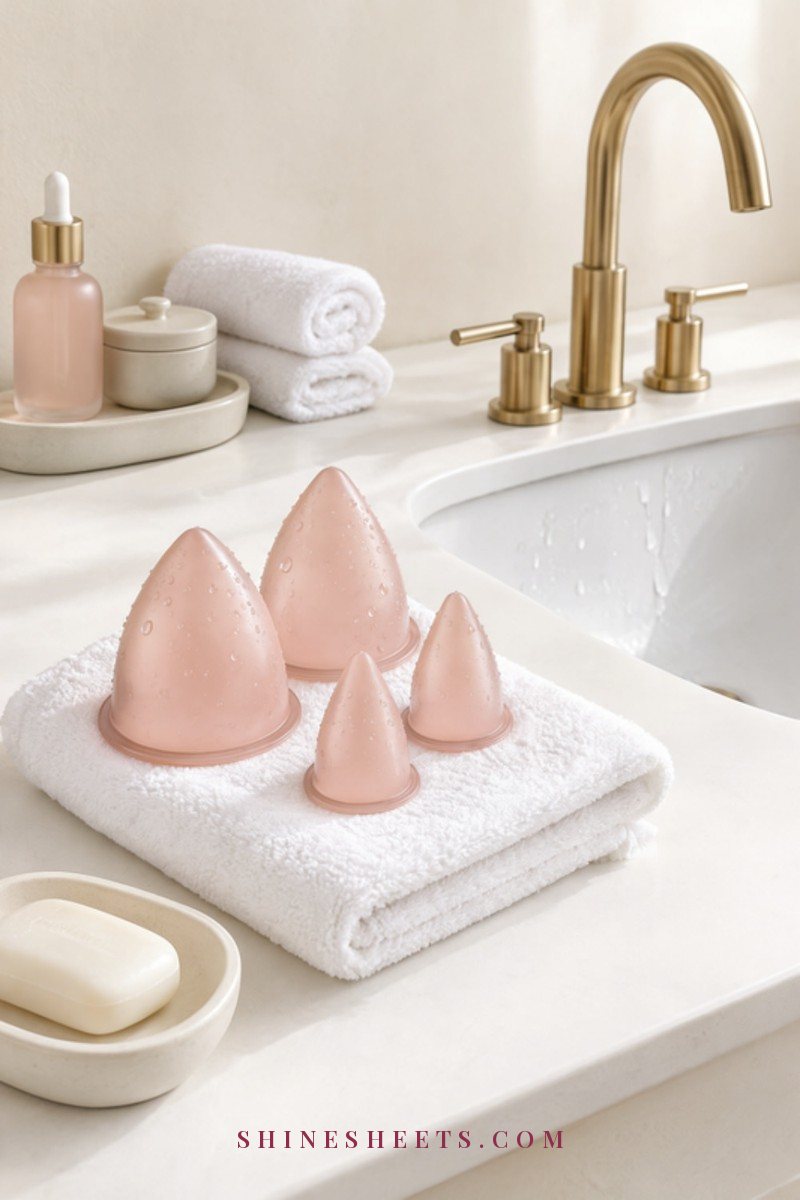
Press any leftover oil into your skin, or gently wipe off the excess with a soft towel if you have a shiny T-zone like me. In the evening, follow with your usual moisturizer. In the morning, finish with moisturizer and sunscreen.
Then wash your cups right away with warm water and a mild soap, rinse well and let them air dry on a clean towel. Store them in a clean pouch or container. Oily cups left in a drawer are a great home for bacteria, which is the last thing you want to glide back over your face.
Facial Cupping Map: Area, Cup Size, Direction and Time
Here's the whole routine in one simple table. Screenshot it and keep it next to your cups until the movements feel natural.
| Face area | Cup size | Direction | Time |
|---|---|---|---|
| Neck | Medium or large | From base of neck up toward the jawline, center to sides (skip the front of the throat) | About 1 minute |
| Jawline | Medium | Chin along the jaw toward the ear | About 1 minute per side |
| Cheeks | Medium | Beside the nose outward toward the ear and temple | About 1–2 minutes per side |
| Under-eye | Smallest | Inner corner along the bone out to the temple, lightest suction | About 30 seconds per side |
| Forehead | Small or medium | Center out to the temples, brows up to the hairline | About 1 minute |
| Between the brows | Smallest | Short upward glides toward the forehead | About 30 seconds |
All together, that's roughly five to ten minutes. You can always do just two or three areas on a busy day. The jaw and cheeks are a lovely short version.
How Often To Do Facial Cupping

For most people, one to three times a week is a comfortable rhythm. Start with once a week for the first two or three weeks so you can see how your skin responds, then add a session if you enjoy it and your skin stays calm.
- Sensitive skin: once a week, very light suction, shorter sessions.
- Normal or combination skin: two to three times a week works well for most.
- Morning or evening: mornings are nice for a depuffed look, evenings are nicer for relaxation. Choose whichever you'll actually keep.
Doing it every day isn't necessary and can irritate sensitive skin. More isn't better here. Consistency at a gentle pace is.
Where Facial Cupping Fits in Your Skincare Routine
Facial cupping slots in easily once you know the order. Think of it as the massage step, done on clean skin with oil, before your final moisturizing layers.
- Cleanse with a gentle cleanser and pat dry.
- Oil and cup for five to ten minutes.
- Remove the excess oil with a soft towel if your skin feels heavy, or leave a thin layer if it's dry.
- Apply your serum and moisturizer as usual. Thinner, watery products absorb better if you blot the oil first.
- In the morning, finish with sunscreen. Always the last step of the day's routine.
A few small things make it feel even more like a ritual. Breathe slowly while you work, in through the nose for four counts and out for six, and let your jaw soften as the cup glides along it. Keep your shoulders down. If your mind wanders to your to-do list, that's normal; just come back to the feeling of the cup moving.
Keep strong actives like retinoids or exfoliating acids for nights when you don't cup, since freshly massaged skin can feel more reactive to them. And if your skin ever stings or stays red after a session, give it a few days off and go lighter next time.
Common Facial Cupping Mistakes
Most problems with facial cupping come from doing a little too much. Here's what to watch for:
- Leaving the cup in place. The biggest mistake by far. Keep it moving, always.
- Using too much suction. If it stings, it's too strong. Comfortable is the goal.
- Not enough oil. Dragging a cup over dry skin tugs and can leave marks.
- Pulling the cup straight off. Release the suction first by squeezing or lifting the edge.
- Cupping over breakouts or irritated skin. Work around them or skip the session.
- Skipping cleaning. Wash the cups after every single use.
- Expecting dramatic results. This is a soothing ritual with a short-lived effect, and that's perfectly fine.
If you ever get bruising, stop, give your skin a break until it has fully healed and try again later with much lighter suction, or choose a different massage method instead.
Facial Cupping vs Gua Sha and Face Massage
Facial cupping is one of several gentle face rituals, and they each have a slightly different feel. Gua sha uses a flat stone tool that presses and glides, while cupping lifts the skin slightly with suction. A hands-only lymphatic drainage massage is the gentlest option of all and needs no tools.
If you'd like to compare, my article on gua sha benefits for beauty and relaxation explains that ritual, the lymphatic drainage face massage guide walks you through a five-minute tool-free routine and my comparison of gua sha vs jade roller vs ice roller helps you choose between other popular tools. Many people enjoy rotating them, for example cupping on one evening and gua sha on another, rather than layering several tools in one session.
Final Thoughts
Facial cupping is at its best when it's light, slow and kind. Clean skin, plenty of oil, gentle suction and cups that never stop moving are really all it takes. It won't reshape your face, but it can give you a fresher morning look and a few quiet minutes that feel just for you.
Start slowly, listen to your skin and let it be a small, calming part of your week. Your face will thank you for the gentleness more than for any amount of suction.