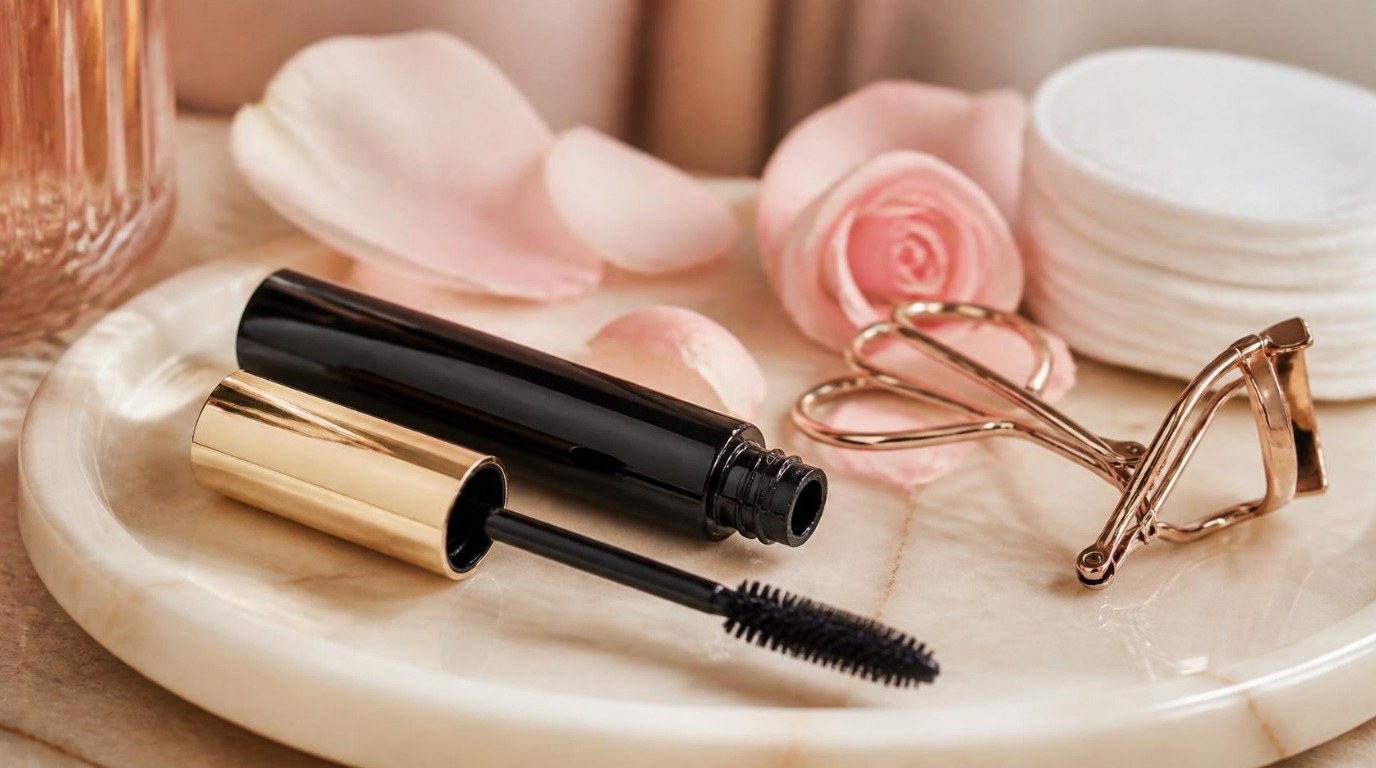
Curled lashes don't come from squeezing harder. They come from the right curler shape, a light touch and a few small presses instead of one big pinch. Most crimped, L-shaped or tugged lashes are a technique problem, not a lash problem – which is good news, because technique is the easiest thing in your makeup bag to change.
It took me a while to realize that the curler I kept fighting with simply didn't match the curve of my lid. Once that clicked, the whole step got calmer (and a lot less ouchy).
This guide is all about how to curl your lashes gently and safely: why lashes crimp or pull, how to choose a curler for your eye shape, a 6-step method, how to use heat without risk, fixes for straight, short and hooded lashes, a troubleshooting table and simple curler care. If you'd like the mascara side too, my mascara tips for longer, fuller lashes pick up right where this guide ends.
Why Lashes Crimp, Pull or Fall Flat
Before we fix anything, it helps to know what's actually going wrong. A good curl is a soft, sweeping C-shape that starts at the root and lifts gradually toward the tips. A crimp is a sharp bend – almost a right angle – that happens when all the pressure lands on one spot. And pulling happens when the curler grabs something it shouldn't (skin, or lashes that are glued together).
These are the most common reasons it goes wrong:
- The curler shape doesn't fit your eye. If the curve of the curler is rounder or flatter than your lash line, the pads can't touch all your lashes at once. Some get pinched, some get missed, and the edges catch skin.
- Too much pressure in one place. One hard squeeze at the root creates that sharp L-bend. Lashes need a few gentle presses along their length, not one big clamp.
- Curling after mascara. Mascara makes lashes stiff and slightly sticky. Clamping them afterward can bend them sharply, glue them to the pad and, in the worst case, pull them out as you open the curler.
- Old, grooved pads. The rubber pad gets a permanent dent over time. That dent becomes a hard edge, and a hard edge crimps.
- Pulling the curler away while it's closed. If you move your hand before you fully release, the lashes come along for the ride.
- Oily or damp lashes. Leftover eye cream, makeup remover or moisture makes lashes slip and drop the curl within minutes.
Almost every curling problem traces back to one of those six. The rest of this guide simply removes them one by one.
Choose the Right Curler for Your Eye Shape
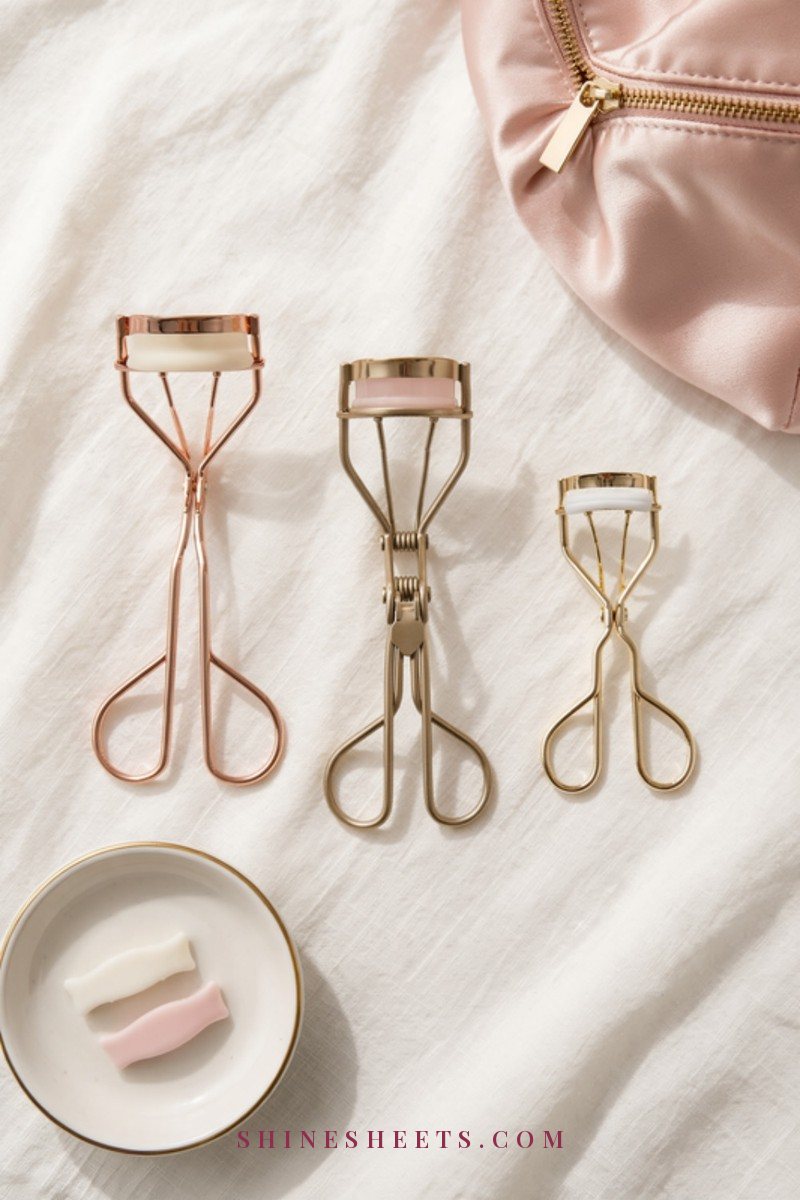
There's no single "best" lash curler – there's the one whose curve matches your lid. A quick way to check: hold the curler sideways in front of your closed eye (without clamping) and look at the gap between the curler's top bar and your lid. You want the curve to follow your lash line closely, without pressing into the corners or leaving big gaps in the middle.
Standard Curvature
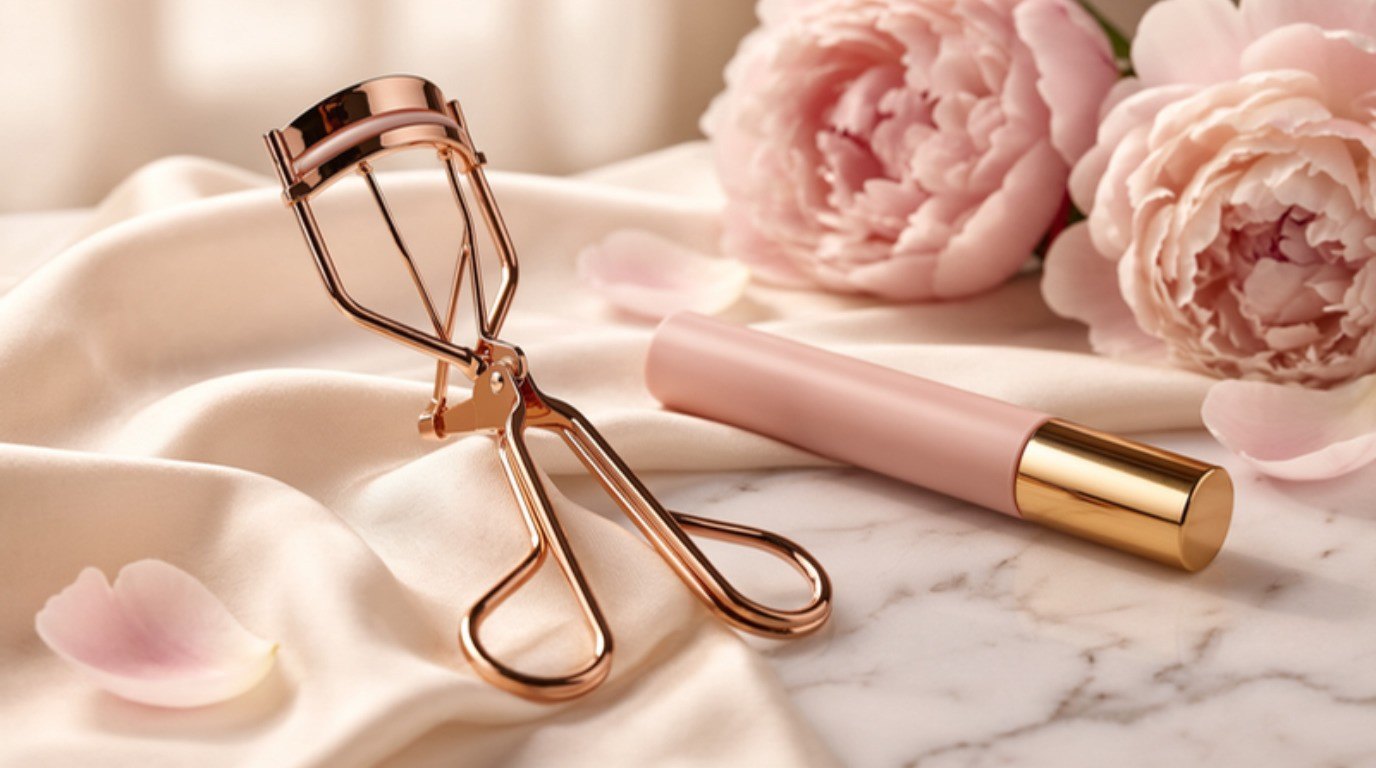
This is the classic, fairly rounded curve most curlers have. It suits eyes with a noticeable curve to the lid – many almond and round eyes fall here. If a standard curler grabs all your lashes from inner to outer edge without pinching your corners, you're done shopping. A sturdy rose-gold eyelash curler with a smooth hinge and a wide opening is a lovely everyday pick; look for one that closes evenly from both sides and comes with a spare pad.
Flatter Curvature
If your lid is flatter from side to side – common with monolids, many East Asian eye shapes and some deep-set eyes – a standard curler tends to pinch the inner and outer corners while missing the middle. A flatter, wider-arc curler presses more evenly across the whole lash line. If this is you, my monolid makeup guide has more shape-friendly eyeshadow and liner ideas to pair with your new curl.
Wide Curler for Larger or Wide-Set Eyes
Some curlers are simply longer. If your lashes spill past both ends of a standard curler, you'll end up curling in two or three sections and creating little kinks where they overlap. A wider frame lets you curl the whole lash line in one go, which gives a smoother, more even shape.
Mini Curler for Corners
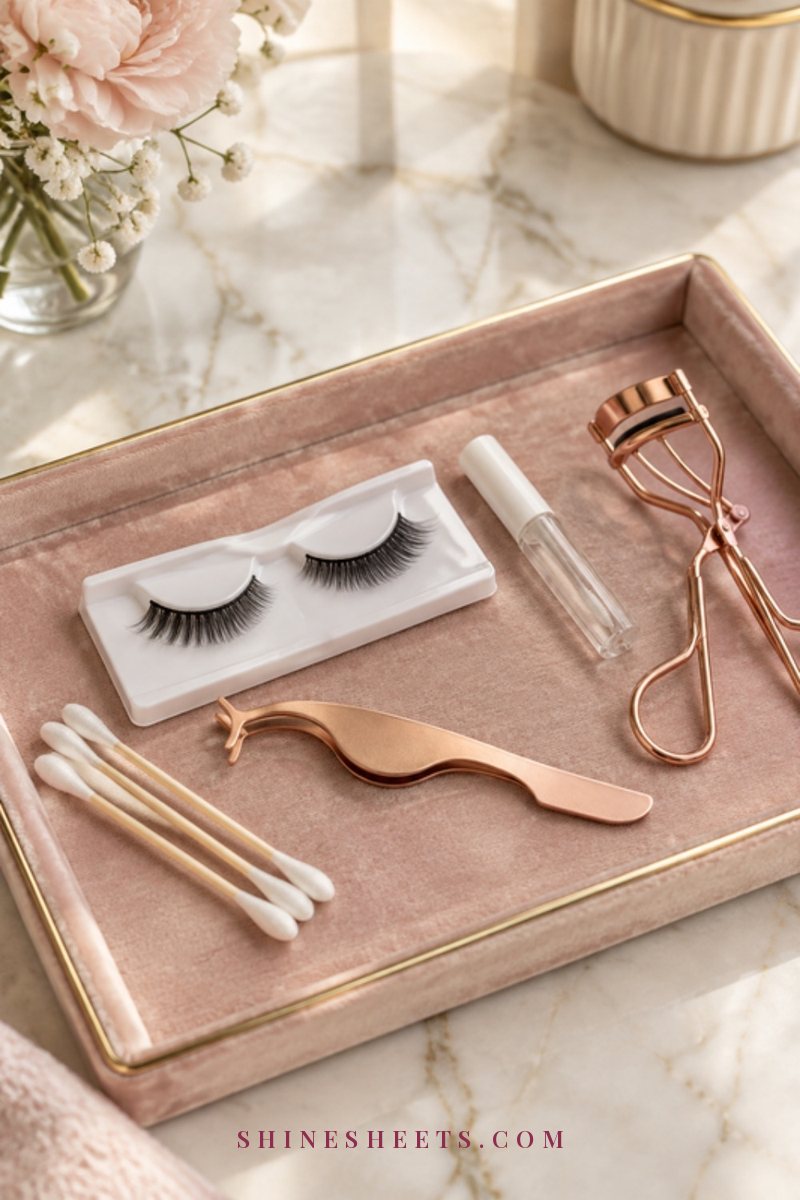
A mini curler is the secret weapon for the lashes a full-size curler can't reach: the tiny inner-corner ones and the long outer ones that often point straight out or down. It's also brilliant if your eye shape doesn't match any full-size curve, because you can curl in small sections. I'd choose a mini corner lash curler with a soft, replaceable pad and a comfortable finger grip – it should feel like a precision tool, not a toy.
If you're not sure, start with a standard curler for the middle of the lash line and a mini for the corners. That combination works for a surprising number of eye shapes.
How To Curl Your Lashes in 6 Steps
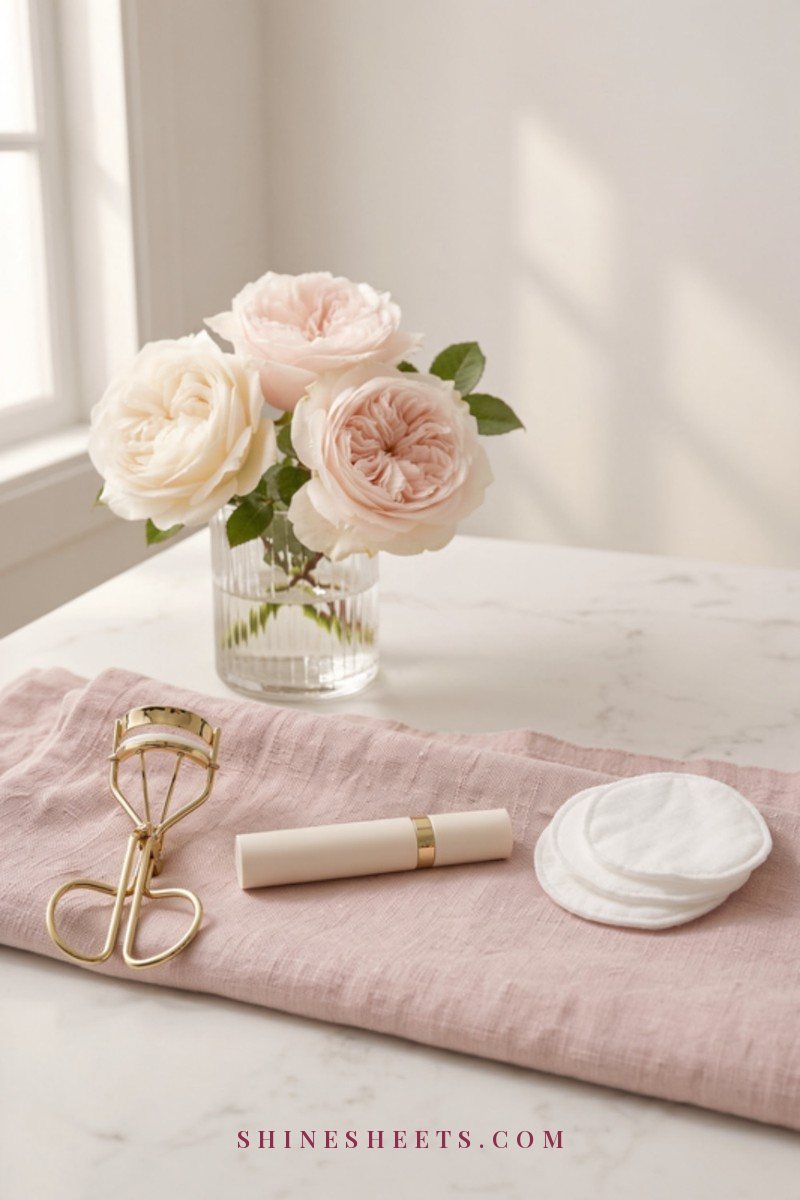
This is the gentle method I'd teach a friend. It takes about a minute for both eyes once you've done it a few times. Go slowly the first week – speed comes on its own.
1. Start With Clean, Dry Lashes
Curl on bare lashes, before any mascara. Remove last night's makeup completely, and if you've used eye cream, wait a few minutes or gently blot the lash line with a cotton pad so there's no slip. Lashes should be fully dry (curling straight after a shower rarely holds). If you like, apply eyeshadow first – some people find curling easier once the lid is already "done", and you won't smudge anything afterward.
2. Open the Curler at the Lash Base, Without Skin
Open the curler fully. Look down slightly into a mirror (looking down lifts the lid away from the lashes) and slide the lashes between the pad and the top bar. Bring the curler close to the root – about one or two millimeters from the lash line – but stop before the skin. Before you press, blink once gently. If you feel any tug on your lid, you've caught skin: open, move back a fraction and try again.
3. Press Gently and Hold for 5 Seconds
Close the curler with light, steady pressure – think "hug", not "clamp". Hold for about 5 seconds. You don't need to pump the handles or squeeze until your knuckles turn white; firm and still does the work. Then release completely before you move the curler. Opening fully, then moving, is the one habit that stops pulling for good.
4. Walk Up to Mid-Length
Slide the open curler about halfway along your lashes. Close gently again and hold for 3 to 5 seconds. Tilt your wrist slightly upward toward your brow as you do this – that small tilt is what turns three separate presses into one smooth curve.
5. Finish the Tips With Lighter Pressure
Move the curler out to just before the tips, tilt your wrist a little further up and press very lightly for 2 to 3 seconds. The tips are the finest, most fragile part of the lash, so this press should be barely more than resting the curler there. This three-stage "walk" (root, middle, tips) is what gives you a lifted C-curve instead of a crimp.
6. Lock It In With Mascara
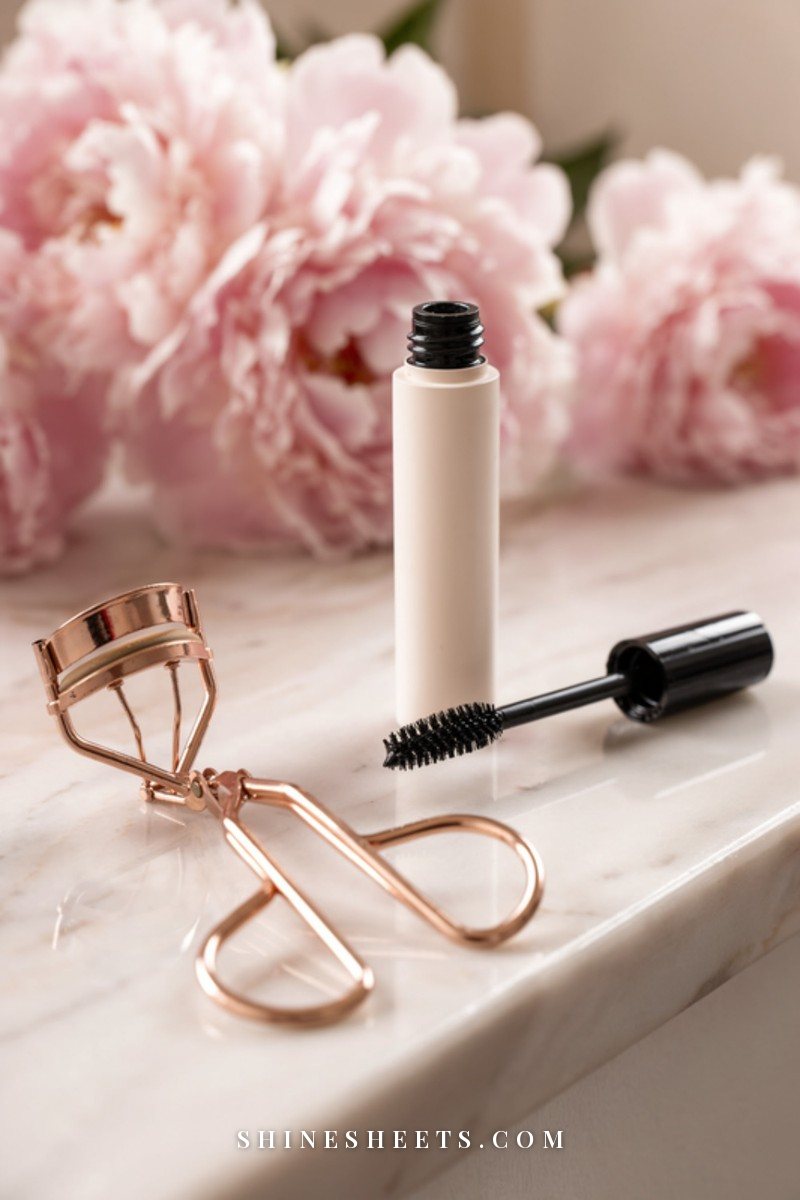
Apply mascara within a minute or two, while the curl is fresh. Wiggle the wand at the root and sweep upward. Lightweight formulas hold a curl better than heavy, wet ones that drag lashes down. If your curl usually drops by lunchtime, look for a tubing mascara – it wraps each lash in tiny water-resistant tubes, holds the lift well and slides off with warm water instead of heavy rubbing. My eye makeup for beginners guide shows where curling and mascara fit into a full, simple look.
One rule worth tattooing on your makeup bag: if you must touch up the curl after mascara, use the lightest pressure possible and never hold it closed on stiff lashes. Better yet, let the mascara dry completely and skip it.
Heated Curlers and Warming the Metal
Heat helps lashes hold a curl longer, the same way warmth helps hair hold a wave. It can be wonderful for very straight lashes – but your eyes are not the place to be careless.
There are two ways to add heat:
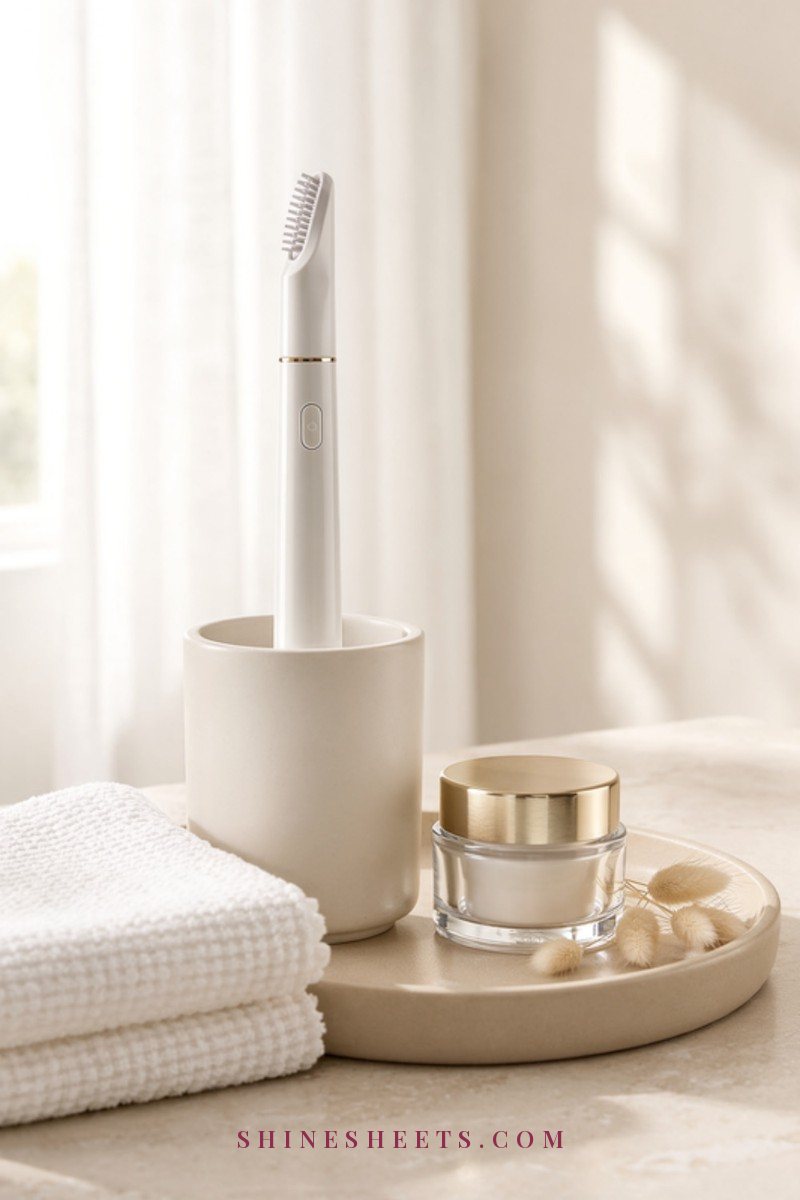
- A heated lash curler. These are usually wand-shaped or a small clamp with a gentle built-in heater. A rechargeable heated lash curler in white with a temperature indicator and an automatic shut-off is a sensible pick; look for low, adjustable heat settings rather than "extra hot".
- Warming a regular curler. Some people warm the metal with a hairdryer for a few seconds. If you try this, use the lowest setting, keep it to 2 to 3 seconds, and let it cool briefly.
Either way, follow these safety basics:
- Always test the heat on the inside of your wrist or the back of your hand first. It should feel comfortably warm, never hot. If you hesitate, wait.
- Keep the heated part away from your lid and lash line skin. Heat goes on the lashes only.
- Never warm a curler with a lighter, a candle or a flat iron. Uneven heat and open flames don't belong near your eyes.
- Skip heat entirely if you have lash extensions (unless your technician okays it), sore eyes or very sensitive skin.
A heated wand can also be run upward through lashes after mascara has dried, which is gentler than clamping a cold curler over mascara – just keep it moving and away from skin.
Lash Curling Troubleshooting Table
Screenshot this one for your vanity. Find your problem on the left, then work across.
| Problem | Why it happens | Fix | Eye shape note |
|---|---|---|---|
| Sharp L-shaped crimp | One hard squeeze at the root | Use three lighter presses (root, middle, tips) and tilt your wrist up as you go | Common on all eye shapes; worse with a grooved pad |
| Corners pinched or skin caught | Curler curve is rounder than your lid | Try a flatter or wider curler, or curl corners separately with a mini | Very common with monolids and flatter lids |
| Middle lashes missed | Curler curve is flatter than your lid | Switch to a standard, rounder curve | Often happens with round, very curved eyes |
| Lashes pulled out | Curler moved while closed, or curling over mascara | Release fully before moving; curl only bare lashes | Any eye shape |
| Curl drops within an hour | Oily or damp lashes, heavy mascara | Blot the lash line, curl dry lashes, use a lightweight or tubing mascara | Straight and downward-pointing lashes drop fastest |
| Outer lashes still point down | Full-size curler doesn't reach them | Add a mini curler for the outer third | Common with hooded and downturned eyes |
| Uneven curl between eyes | Different pressure or hold time on each side | Count the seconds out loud for both eyes | Any eye shape |
| Lashes stick to the pad | Leftover mascara or product on the pad | Wipe the pad after every use; replace if grooved | Any eye shape |
Fixes for Tricky Lashes
Some lashes just need a little extra strategy. None of these involve squeezing harder – promise.
Very Straight Lashes
Straight lashes often point forward or slightly down, and they're stubborn. A few things help:
- Do all three presses (root, middle, tips) and repeat the root press once more at the end, very lightly.
- Add gentle heat – a tested-warm curler or a heated wand – which helps the shape hold.
- Choose a lightweight, water-resistant or tubing formula and avoid heavy layers that weigh lashes back down.
- Give a primer a try. A thin lash primer coat, left to dry for 30 seconds, can help hold the lift.
If you'd love a curl that lasts for weeks, a professional lash lift is another route. If you ever book one, my lash lift aftercare guide walks you through keeping it healthy and long-lasting.
Short Lashes
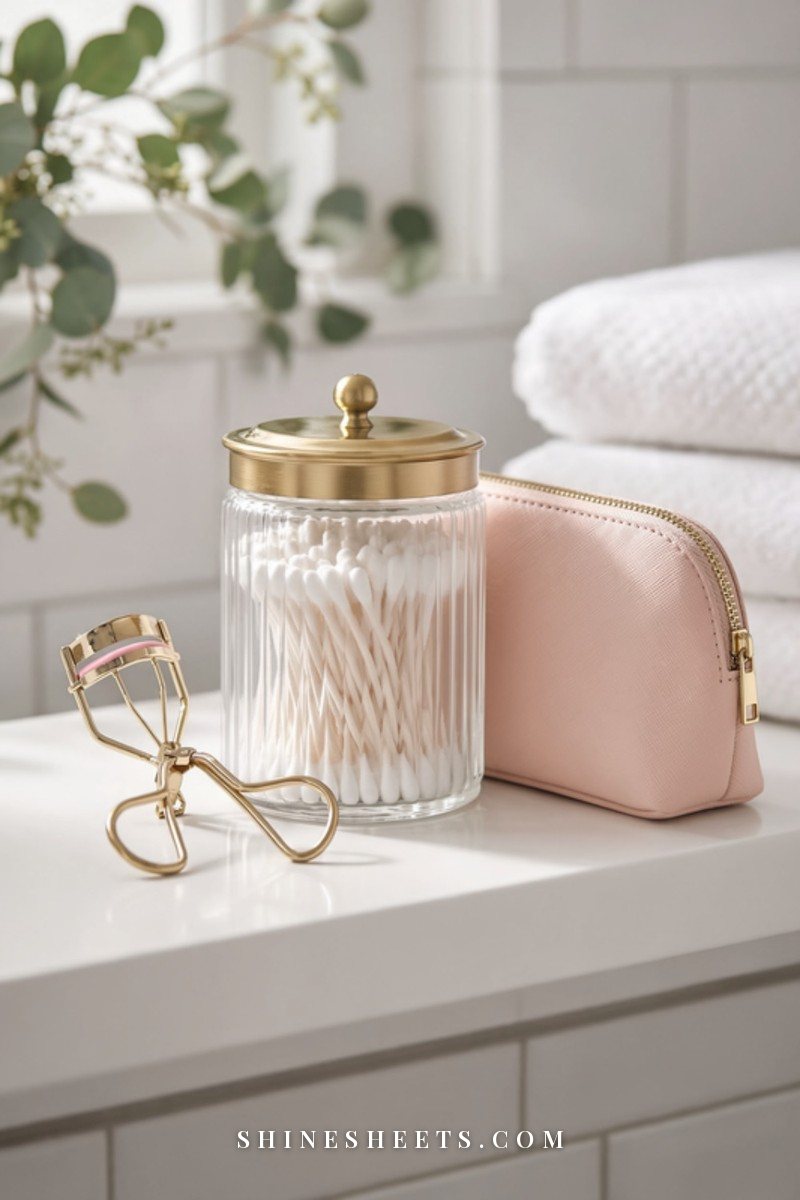
Short lashes are tricky because the curler pad is wider than the lashes themselves, so it's easy to catch skin. A mini curler gives you much more control. Work in sections – inner, middle, outer – and use just two presses (root and tips) instead of three. Keep the pressure especially light, since short lashes crimp quickly. Lightweight mascara with a small, slim brush helps you reach the root without smudging.
Hooded Eyes
With hooded eyes, the lid can fold down over the lash line, which makes it easy to pinch skin and hard to see what you're doing. Gently lift your brow with your other hand (or tilt your chin up while looking down into the mirror) so the lash base is visible. A curler with a flatter, slimmer top bar slips in more easily, and a mini works beautifully for the outer corners, which are often covered by the hood. A well-held curl is one of the easiest ways to open up hooded eyes – my makeup tips for hooded eyes show how to build on it with liner and shadow.
How To Care for Your Lash Curler
Your curler touches the delicate skin near your eyes every day, so a little care goes a long way – for hygiene and for a better curl.
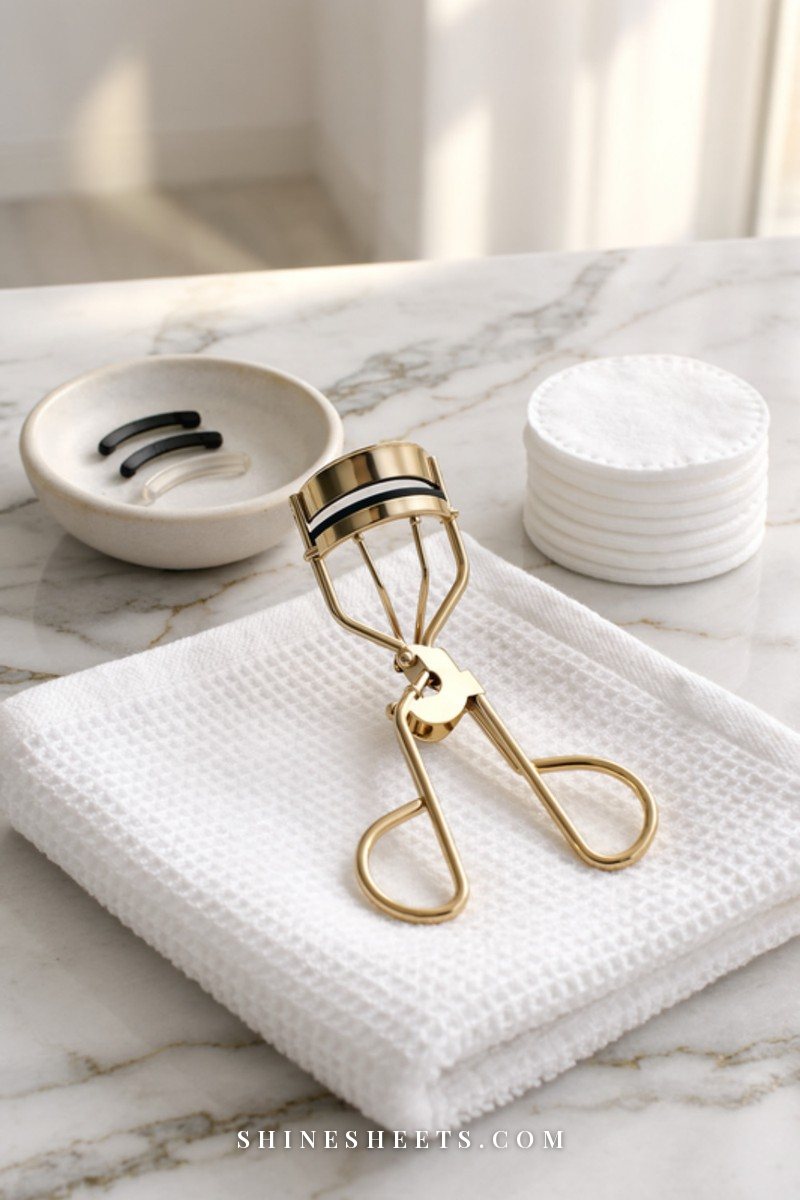
- Wipe it after every use. A cotton pad with a little micellar water or a gentle cleanser wiped over the pad and bar removes mascara and oils. Let it air dry.
- Deep clean once a week. Wipe the metal and pad with a cotton pad dampened with isopropyl alcohol, then let it dry completely before the next use.
- Replace the pad every 3 months, or sooner if you see a groove, crack or stiffness. Keeping a pack of replacement curler pads that fit your curler model makes this a 30-second job. Check that the pads match your curler's size before ordering.
- Check the hinge and frame. If the top bar is bent or the sides don't close evenly, replace the curler. A warped frame is one of the most common hidden causes of crimping.
- Never share your curler. Eye infections spread easily through shared makeup tools – this one stays yours.
- Store it dry and covered. A clean pouch or drawer keeps dust off the pad.
When To Stop and Skip Curling
Sometimes the kindest thing for your eyes is a day off. Skip curling (and eye makeup in general) if your eyes are red, itchy, swollen, watery or crusty, if you have a stye or any sign of infection, or right after an eye procedure. Lash extensions and lifts also have their own rules, so ask your technician before using a curler on them.
If irritation, pain, discharge or changes in your vision don't settle within a day or two, please see a doctor or an eye care professional rather than waiting it out. And if you notice lashes falling out in patches, that's worth a checkup too – it's not something a curler or mascara can fix.
A small honest note: curling won't make your lashes grow, and no curler can change their natural length. What it does is show off the lashes you already have – and that's usually more than enough.
Final Thoughts
Learning how to curl your lashes is really learning how to be gentle with them: the right curve for your eye, bare dry lashes, three soft presses and a clean pad. Give yourself a week of slow practice, and the curler will stop feeling like a tiny trap and start feeling like the easiest little lift in your routine.
A soft, lifted curl has a bit of Old Hollywood about it, and the best part is that it starts with nothing more than a minute of patience.