Makeup primer isn't a magic layer that every face needs. It's a problem-solver. When you choose one for the thing your skin actually does (gets shiny by noon, drinks up foundation, shows every pore, turns pink around the nose), it can make the rest of your makeup look smoother and last noticeably longer.
The catch is that "primer" covers a whole family of very different formulas. A mattifying primer on dry cheeks can look patchy, and a rich hydrating one on an oily T-zone can slide right off. The right match matters much more than the price or the hype.
This guide breaks down what makeup primer does, when you can skip it, the six main types and who each one suits, a match table for your skin type, the two-primer trick for combination skin, how to stop pilling, and exactly how to apply it so it actually works.
What Makeup Primer Actually Does
Primer sits between your skincare and your makeup. Depending on the formula, it does one or more of these jobs:
- Smooths. It fills in fine texture so foundation glides on instead of catching.
- Blurs pores. Silicone-based formulas soften the look of pores and uneven texture by diffusing light.
- Grips makeup. Slightly tacky "gripping" primers give foundation something to hold on to, so it lasts longer.
- Controls shine. Mattifying primers soak up oil through the day.
- Hydrates. Moisturizing primers add a dewy, plump layer so makeup doesn't cling to dry patches.
- Corrects or brightens. Tinted primers can tone down redness or add a soft luminous sheen.
What primer doesn't do: replace moisturizer, replace sunscreen (unless it clearly says it's a sunscreen with a stated SPF, and even then most people don't apply enough of it to rely on it alone), or change your skin long term. It's a makeup step, not a skincare treatment.
When You Can Skip Primer
Here's some permission: plenty of days don't need primer at all. You can comfortably skip it when:
- You're wearing only a tinted moisturizer, skin tint or concealer where you need it.
- Your moisturizer already leaves a smooth, non-greasy finish that foundation sits nicely on.
- You're running errands for a couple of hours, not heading into a long day or a big event.
- Your skin is irritated or freshly sensitized, and adding another layer feels like too much.
Primer earns its place on long days, on special occasions, in heat and humidity, in photos, and on skin that has one clear "issue" (shine, dryness, visible pores, redness) you'd like to quietly handle.
The 6 Main Types of Makeup Primer
Think of these as tools for different jobs. Most people need one or two, never all six.
Mattifying Primer for Oily Skin
Mattifying primers usually contain oil-absorbing powders (like silica) in a light, often silicone-based gel or lotion. They keep shine in check for longer and help foundation stay put instead of breaking up around the nose.
- Best for: oily skin, a shiny T-zone, humid weather.
- Texture: light gel, mousse or velvety lotion with a soft-matte finish.
- Tip: use it only where you get oily. On dry areas it can look flat.
An oil-control mattifying primer from a well-loved drugstore or K-beauty line is a smart place to start; look for "oil-free," "non-comedogenic" and "matte finish" on the label. For a complete shine-proof routine, see my guide to makeup for oily skin that stays matte all day.
Hydrating Primer for Dry Skin
Hydrating primers add a layer of moisture (think glycerin, hyaluronic acid or squalane) that keeps foundation from clinging to flakes and settling into fine lines. They usually leave a soft, dewy finish.
- Best for: dry or dehydrated skin, cold months, mature texture.
- Texture: milky lotion, gel-cream or light serum.
- Tip: moisturize first, then add the primer. It's a boost, not a substitute.
A hydrating face primer with hyaluronic acid is a pick for anyone whose foundation looks dry by lunch. My guide to makeup for dry skin covers the rest of the routine so you get dewy, not flaky.
Pore-Blurring Silicone Primer
These are the classic "smoothing" primers: silky, slippery formulas based on silicones such as dimethicone. They sit on top of the skin and fill in pores and texture visually, like a soft-focus filter.
- Best for: visible pores, uneven texture, normal to oily skin.
- Texture: velvety balm or slip-silky cream.
- Tip: press it into pores rather than rubbing, and use a tiny amount. Too much makes foundation slide.
A pore-blurring silicone primer works beautifully on the nose, between the brows and on the center of the cheeks. If you'd also like to care for pores long term, my gentle pore care guide explains what actually helps without harsh scrubbing.
Color-Correcting Primer for Redness
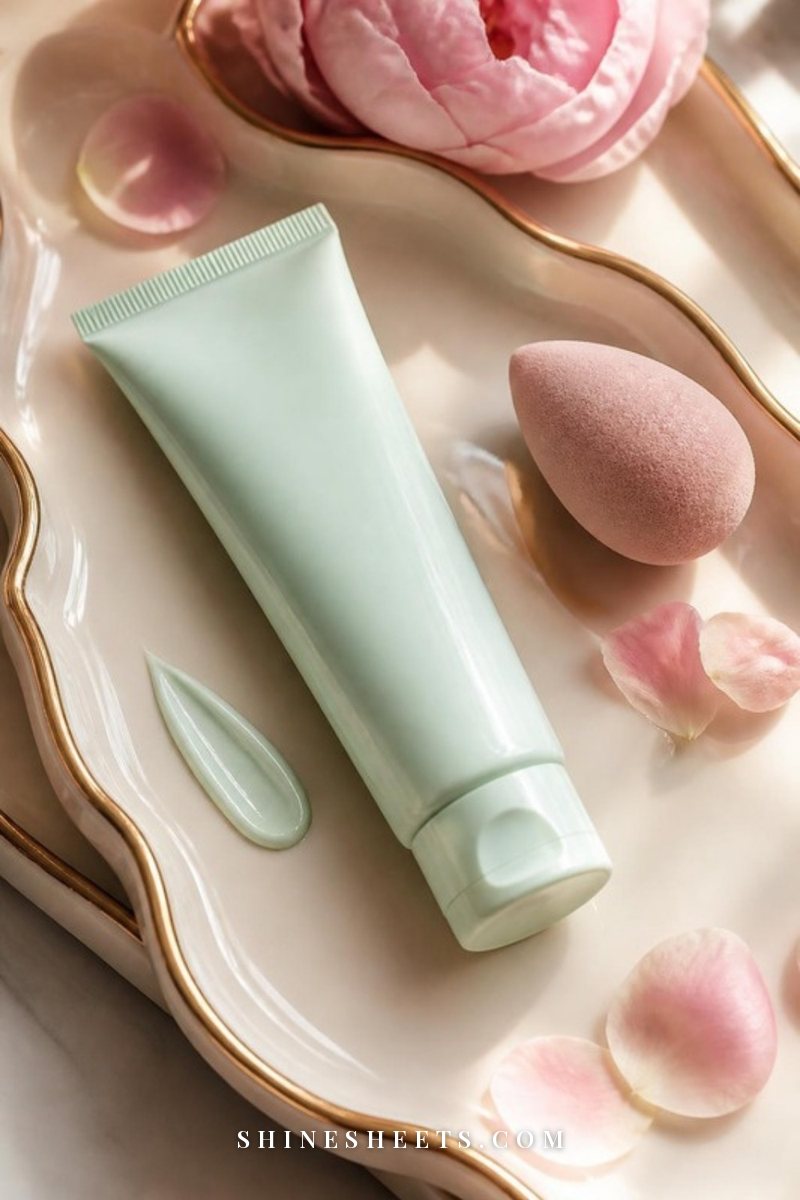
Color-correcting primers use a soft tint to balance the tone underneath your makeup. Green is opposite red on the color wheel, so a sheer green primer can calm the look of redness around the nose, cheeks and chin.
- Best for: general redness, flushed cheeks, sensitive skin that turns pink easily.
- Texture: sheer tinted cream; it should look barely green once blended.
- Tip: apply only to red areas, then use foundation in your normal shade on top.
A sheer green color-correcting primer is a pick for redness-prone skin. Look for fragrance-free formulas if your skin is sensitive. Persistent redness, burning or bumps are worth showing to a dermatologist, since primer only covers the look of it.
Illuminating Primer
Illuminating primers contain fine light-reflecting pearls for a lit-from-within sheen. They're more of a mood than a fix, perfect when you want skin to look fresh and awake.
- Best for: dull skin, normal to dry skin, light-coverage makeup days.
- Texture: pearly lotion or liquid.
- Tip: keep it to the high points (cheekbones, brow bone, bridge of the nose) if you're oily, or mix a drop into foundation for an all-over sheen. A whisper of glow on the cheekbones gives off a lovely Old Hollywood softness.
An pearly illuminating primer is a pick for days when you want your skin to look rested with very little makeup on top. Choose a fine, almost invisible shimmer rather than visible glitter, which can emphasize texture.
Gripping Primer for Long Wear
Gripping primers feel slightly tacky after they dry. That stickiness is the point: foundation "grabs" onto it and wears longer through busy days, events and long evenings.
- Best for: long days, weddings, photos, humid climates, normal and combination skin.
- Texture: watery or gel-like, drying down to a tacky film.
- Tip: let it sit a full minute before foundation, so it can set into that grippy layer.
Which Primer Your Skin Needs: The Match Table
This is the quick answer most people are looking for. Find your skin type or main concern, then match it to a primer type, the texture to look for and where to put it. Screenshot it for your next shopping trip.
| Skin type or concern | Primer type | Texture to look for | Where to apply |
|---|---|---|---|
| Oily skin | Mattifying | Light gel or mousse, soft-matte finish | T-zone first, then anywhere you get shiny |
| Dry or dehydrated skin | Hydrating | Milky lotion or gel-cream | Whole face, extra on dry patches |
| Combination skin | Mattifying plus hydrating | Gel on T-zone, lotion on cheeks | Split by zone |
| Visible pores or texture | Pore-blurring silicone | Velvety balm or silky cream | Nose, inner cheeks, between brows |
| Redness | Color-correcting (green) | Sheer tinted cream | Only red areas: around nose, cheeks, chin |
| Dull or tired-looking skin | Illuminating | Pearly lotion or liquid | High points, or mixed into foundation |
| Long days and events | Gripping | Watery gel that dries tacky | Whole face, thin layer |
| Sensitive skin | Simple hydrating or gripping | Fragrance-free, short ingredient list | Whole face after a patch test |
The Combination Skin Trick: Two Primers
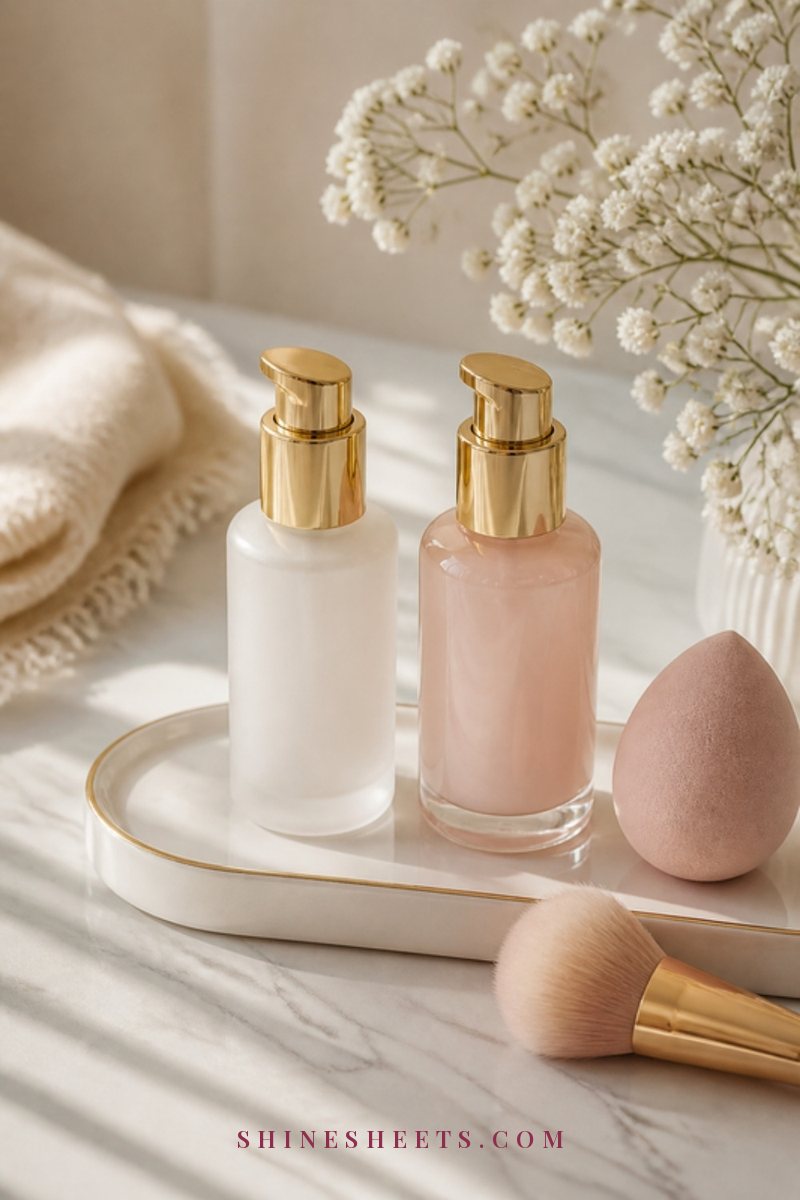
If your forehead and nose get shiny while your cheeks stay normal or dry, one primer will always be a compromise. The easy fix is two primers, each where it belongs. As someone with combination, sensitive skin and a very shiny T-zone, this is the approach that makes the most sense to me.
- Apply a thin layer of mattifying primer to your forehead, nose and chin.
- Apply a hydrating primer to your cheeks and the outer edges of your face.
- Blend the border softly with your fingertip so there's no visible line.
- Wait a minute, then apply foundation as usual.
Keep both primers in the same base family (more on that below), and use about half a pea of each, since you're covering smaller areas.
Why Primer Pills (and the Silicone vs Water Rule)
Pilling is when your makeup balls up into little crumbs as you blend. It's almost always one of three things:
- Mixing bases that don't get along. A silicone-heavy primer under a water-based foundation (or the other way around) can separate and roll.
- Not enough waiting time. Layering products before the one underneath has settled.
- Too much product, or rubbing back and forth.
The simple rule: match silicone with silicone, water with water. Check the first few ingredients. If you see dimethicone, cyclopentasiloxane or other words ending in "-cone" or "-siloxane" near the top, it's silicone-based. If water is first and silicones are absent or far down the list, it's water-based. Pair your primer and foundation accordingly, and pilling usually disappears.
How To Apply Makeup Primer Step by Step
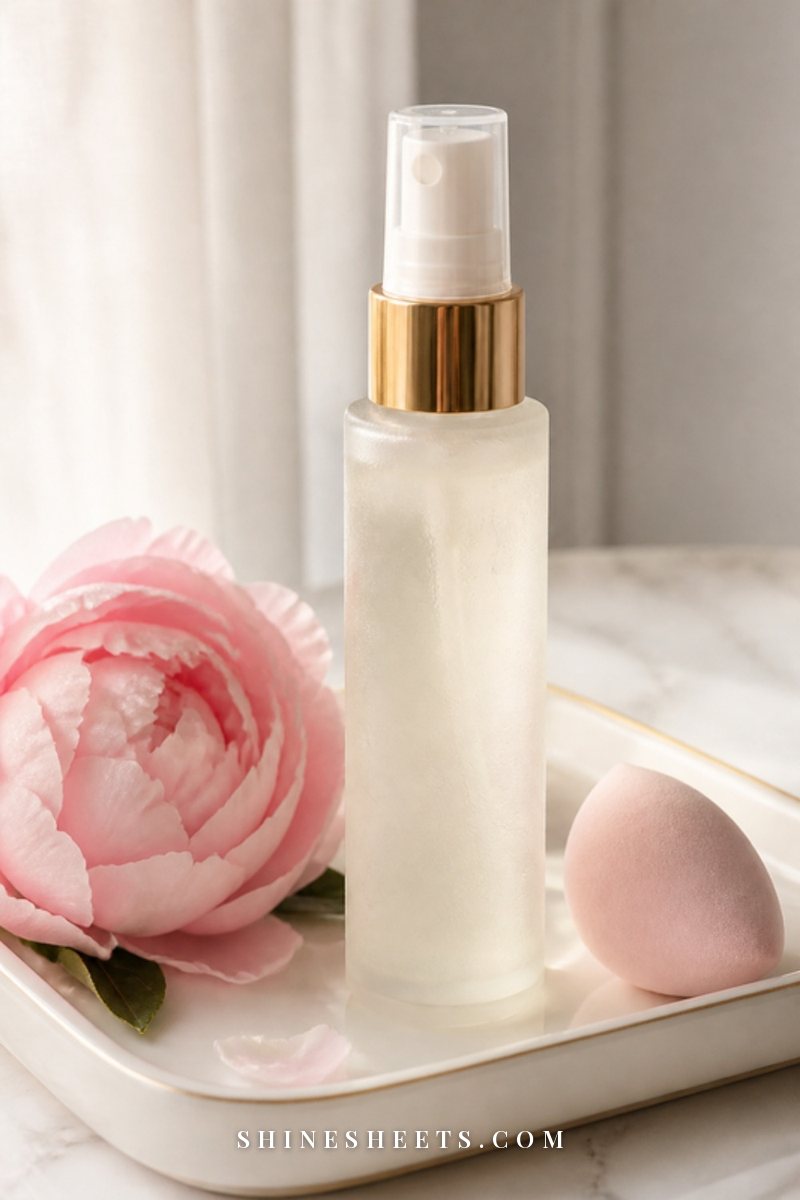
Good technique matters as much as the formula. Here's the order that works for most people:
- Cleanse and moisturize. Use your usual moisturizer and give it 1–2 minutes to sink in.
- Apply sunscreen in the morning. Use your full amount (roughly two finger-lengths, about a quarter teaspoon, for the face) and let it settle for another 1–2 minutes.
- Take a pea-size amount of primer. That's enough for the whole face. Warm it between two fingertips.
- Press and pat from the center outward. Start at the nose and inner cheeks, where pores and shine usually live, and press toward the hairline and jaw. Don't rub.
- Target, don't cover, if you can. Pore-blurring and mattifying primers often work best only where you need them.
- Wait about a minute. Let the primer set before foundation, especially gripping types.
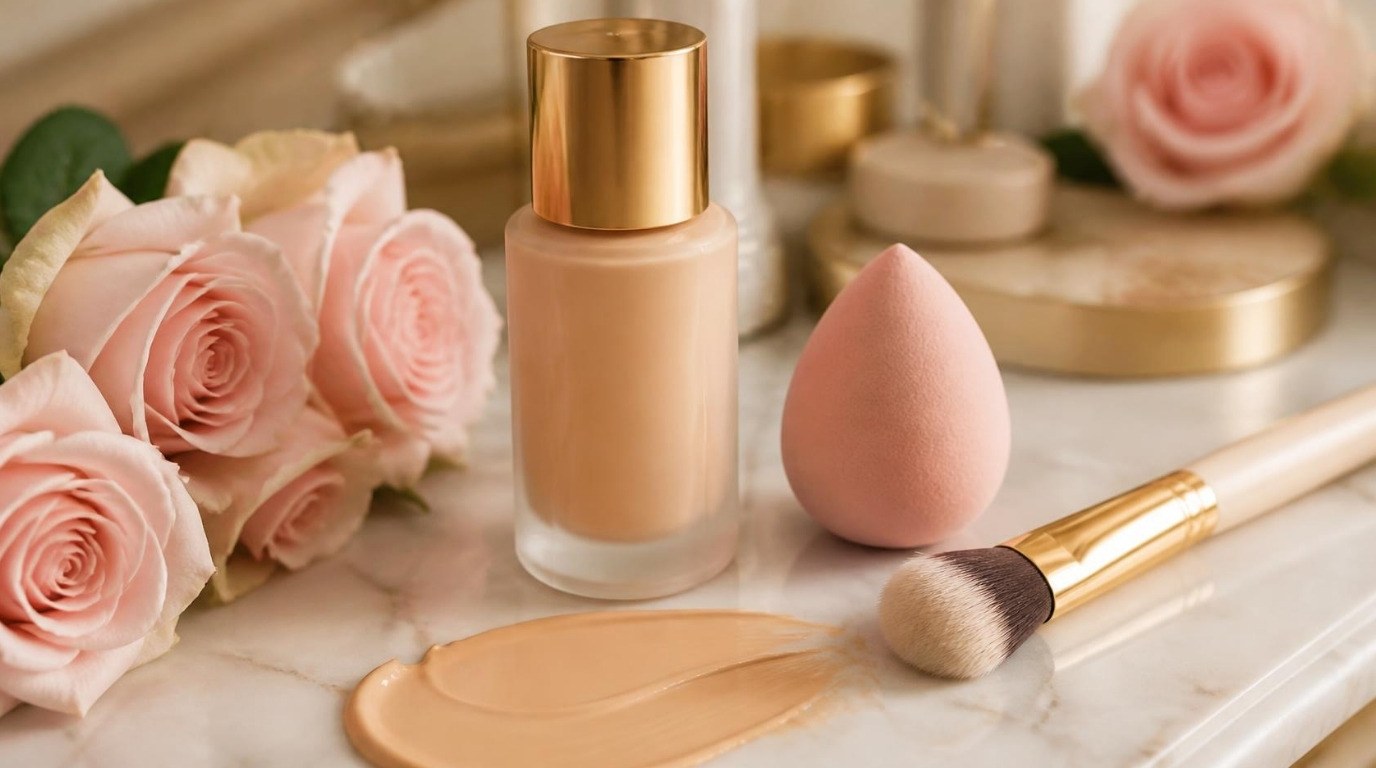
- Apply foundation with a light hand. A damp blush pink makeup blending sponge pressed (not swiped) over the top helps foundation fuse with the primer without lifting it.
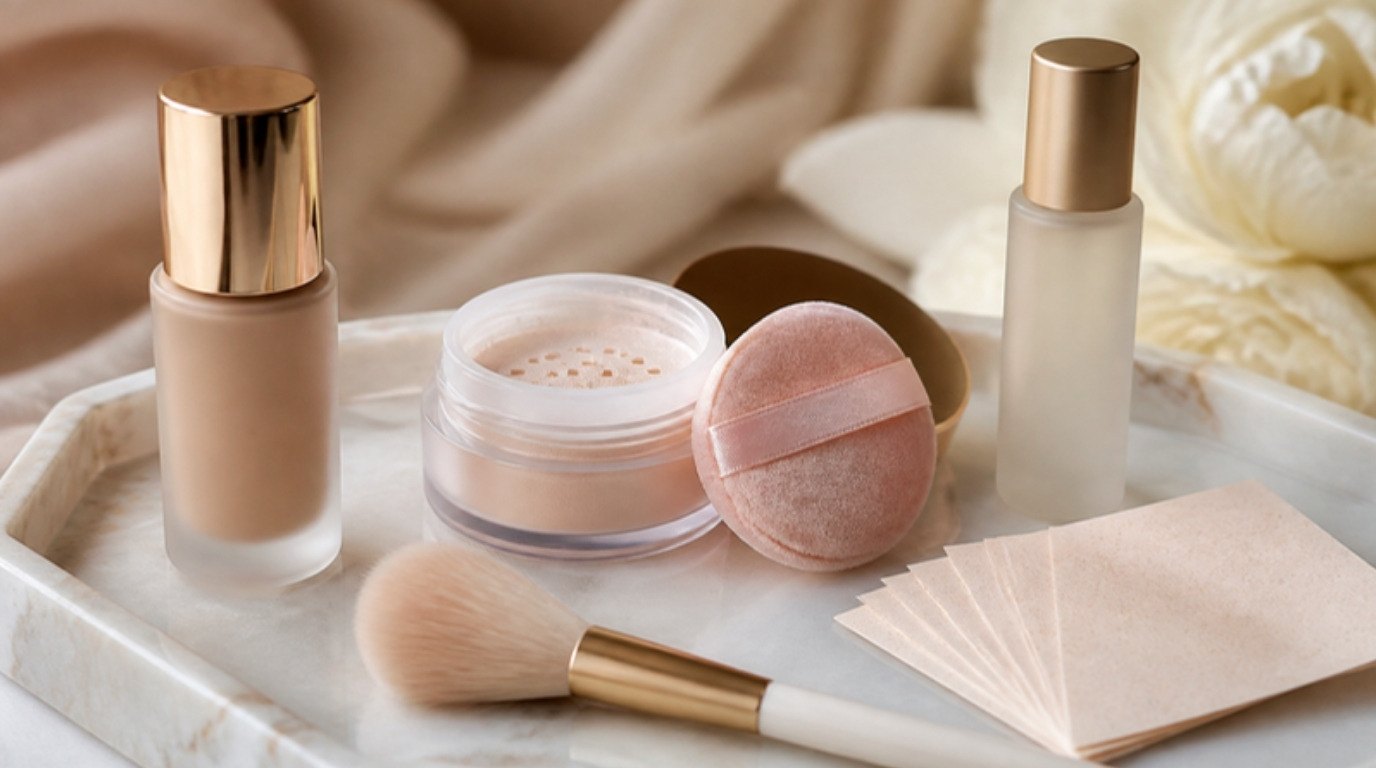
For the next layer, my guide on how to apply foundation so it looks like skin walks through tools, amounts and the finishing touches. And if you want to lock the whole thing in, here's how to choose between setting powder and setting spray.
5 Common Primer Mistakes
Most "primer doesn't work for me" stories come down to one of these:
- Using too much. More than a pea-size amount usually makes foundation slip and slide, especially with silicone formulas.
- Rubbing instead of pressing. Rubbing moves product around and can pill it. Pressing pushes it into texture where it actually blurs.
- Pairing the wrong bases. A silicone primer under a water-based foundation is the classic cause of pilling.
- Choosing for the wrong skin type. A mattifying primer on dry skin can look patchy; a rich hydrating one on an oily T-zone can turn greasy.
- Skipping the wait. Going straight from primer to foundation gives neither a chance to set properly.
Primer and Your Foundation Finish
Primer and foundation work as a team, so it helps to think about them together instead of separately. A few easy pairings:
- Matte foundation: pairs well with mattifying, pore-blurring or gripping primers. On drier areas, a thin hydrating primer underneath stops a matte formula from looking dry.
- Dewy or radiant foundation: pairs well with hydrating or illuminating primers on normal and dry skin. If you're oily, add a mattifying primer only to the T-zone so the dewiness stays on the cheeks.
- Skin tint or light coverage: often needs no primer at all, or only a touch of pore-blurring primer on the nose.
- Full coverage for events: a gripping primer underneath helps heavier formulas wear evenly for hours instead of fading in patches.
When you buy a new foundation, check its base too (silicone or water) and choose a primer from the same family. That small habit saves a lot of frustration in front of the vanity.
Where Primer Fits With Skincare and Sunscreen
Primer always goes on last in your skincare order and first in your makeup order. In the morning that looks like this: cleanser, any serum, moisturizer, sunscreen, then primer.
A couple of honest points about sunscreen. A primer with SPF is a nice bonus, but most of us apply only a thin layer of primer, far less than the amount needed to reach the SPF on the label. Keep a dedicated sunscreen underneath, and if you're outdoors, reapply about every two hours. Many people find that letting sunscreen settle fully before primer also helps prevent pilling, since sunscreens are often silicone-rich themselves.
If your moisturizer is rich and slow to absorb, give it a couple of extra minutes or blot gently with a tissue before primer. A greasy base underneath is one of the fastest ways to make even the best primer slide.
Primer for Special Situations
Some days ask a bit more from your makeup. Here's how to adjust:
- Hot, humid days: use a mattifying or gripping primer, keep the layer thin and finish with a light dusting of powder on the T-zone.
- Cold, windy months: lean on a hydrating primer, and add an extra drop to dry patches around the nose and mouth.
- Long workdays or events: a gripping primer over the whole face plus a mattifying one on the T-zone (if you're oily) gives the longest wear.
- Photos and flash: go easy on illuminating primers all over, as heavy shimmer can look shiny on camera. Keep it to the cheekbones.
- Eyelids: face primer can work in a pinch, but a dedicated eyeshadow primer usually grips shadow better and helps prevent creasing.
Patch Test and Choose Your Formula
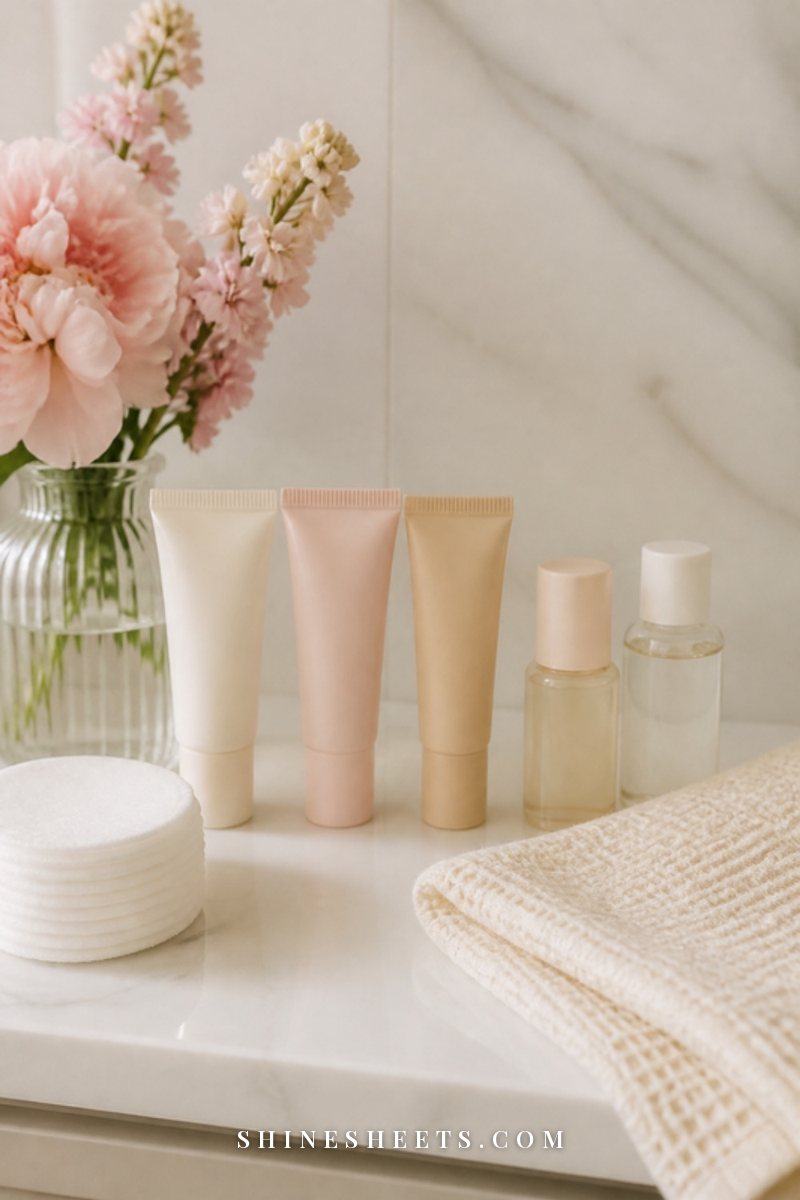
Primer stays on your skin all day, often under several other layers, so it's worth choosing carefully, especially with sensitive skin like mine.
- Stick with well-known best-sellers. Popular drugstore and K-beauty primers have long track records, clear ingredient lists and plenty of fragrance-free options.
- Patch test first. Apply a small amount behind your ear or along your jawline once a day for 3–5 days. Any itching, burning or bumps mean it's not for you.
- Check for fragrance if you're prone to irritation, and look for "non-comedogenic" if you break out easily.
- Remove it fully at night. Silicone primers can be stubborn, so a gentle cleansing balm or oil followed by your regular cleanser keeps pores happier.
If a product stings or your skin reacts, rinse it off with cool water and stop using it. A dermatologist can help if irritation doesn't settle within a few days.
Final Thoughts
The best makeup primer is simply the one that solves your skin's main problem. Oily needs matte, dry needs hydration, redness needs a little green, and combination skin is happiest with two.
Start with one pea-size amount, press it in, give it a minute and let your foundation do the rest. Once you find your match, your makeup looks smoother, lasts longer and feels a lot more like you, just a little more polished.