Pine needles are easiest to deal with before they ever hit the floor. Most of the mess a real tree makes comes from three things you can control: thirst, dry air and heat. Keep the tree drinking, keep it cool and give the needles somewhere soft to land, and the cleanup shrinks from a daily chore to a quick five-minute tidy.
The needles that do fall have a talent for hiding. They weave themselves into rug fibers, slip between sofa cushions, ride along on socks into the bedroom and turn up in the car in February. The trick is matching the right tool to each surface instead of attacking everything with the same vacuum and hoping for the best.
This guide covers how to handle Christmas tree needles from the day the tree comes home to the day it leaves: why trees shed, how to slow it down, six cleanup methods by surface, a quick table you can screenshot, how to remove sap gently, how to carry the tree out without a needle trail, plus pet, kid and electrical safety notes. It took me a few seasons to understand that the calm way is also the fast way.
Why Christmas Trees Drop Needles

A cut tree is still alive in a small way. It keeps pulling water up through the trunk and losing it through the needles, and when that balance tips, the needles let go. Some shedding is completely normal, especially in the first few days and on the inner branches. Heavy shedding usually points to one of these three causes.
Thirst
When a tree is cut, the trunk seals itself with sap within a few hours. If the base isn't freshly cut before it goes into the stand, water can't get in, and the tree slowly dries from the inside. A stand that runs dry for even half a day can let a new seal form, which is why one forgotten top-up can start a needle shower a week later.
Dry Air
Heated winter air pulls moisture out of needles all day and all night. The drier the room, the faster the tree drinks and the sooner it gives up. If your lips feel tight and your sweaters crackle with static, your tree feels it too. My guide to fixing dry air at home in winter has easy ways to add humidity that help both of you.
Heat
A radiator, fireplace, floor vent or space heater near the tree dries the closest branches first. You'll often see it on one side: a full, green front and a brittle, shedding back. Sunny south-facing windows can do a gentler version of the same thing.
How To Stop Needles Falling Before They Start

Prevention takes about ten minutes on day one and one minute a day after that. It's the best time investment of the whole season.
Get a Fresh Cut at the Base
Ask the seller to cut a thin slice, about half an inch to an inch, off the bottom of the trunk, or do it yourself at home with a hand saw. Cut straight across, not at an angle or in a V, so the trunk sits flat and drinks evenly. Then get the tree into water within a few hours, before the new sap seal forms.
Water a Real Tree Every Day
A fresh tree can drink a surprising amount in the first week, often more than a quart a day. Check the stand every morning, and keep the water above the base of the trunk at all times. A long-spouted watering can makes this easy to do without crawling under the branches. Plain tap water is all it needs (more on additives in the pet and kids section).
Keep It Away From Heat
Place the tree at least three feet from radiators, fireplaces, heaters, vents and candles. If your room is small, choose the spot farthest from the heat source and turn that radiator down a little. A cooler room keeps the needles supple for longer, and it's safer, because a dry tree catches fire quickly.
Put a Sheet or Tree Skirt Underneath
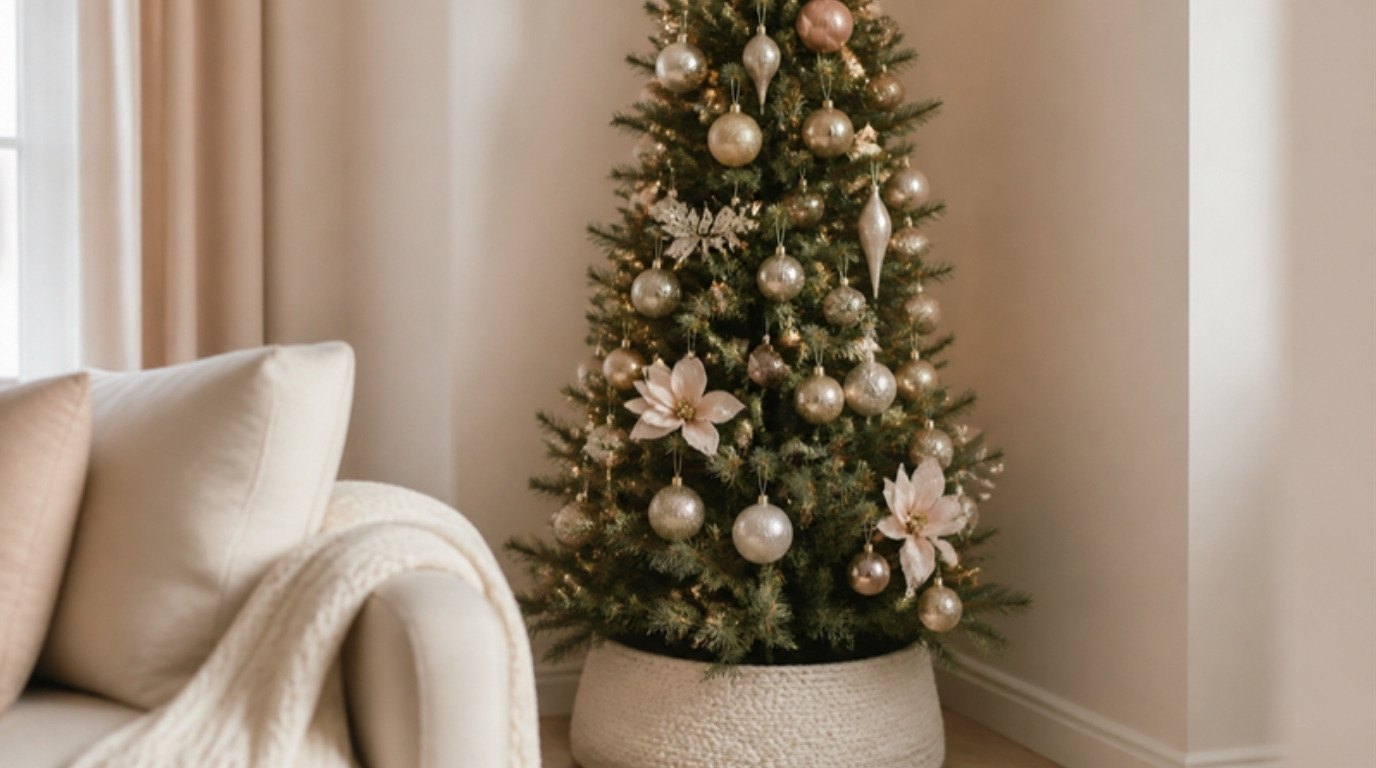
Before the tree goes up, spread an old flat sheet under the stand, then lay a soft white tree skirt over it. The sheet catches needles that fall inside the skirt, and on removal day it becomes your carry bag. A skirt with a smooth or short-pile surface is easier to shake out than a long, shaggy one, so I'd choose that if you have a busy household.
If you've picked an artificial tree instead, you'll still get a few stray plastic needles in the first week. My guide on how to fluff an artificial Christmas tree covers shaping it so fewer bits fall off while you work.
6 Ways To Clean Up Pine Needles by Surface
Needles are thin, slightly sticky and stiff, which means they either roll away from a broom or wedge themselves into fabric. Each of these methods is built for one kind of surface, so you can grab the right tool and be done in minutes.
1. Use the Hand-Held Vacuum Hose, Not the Beater Bar
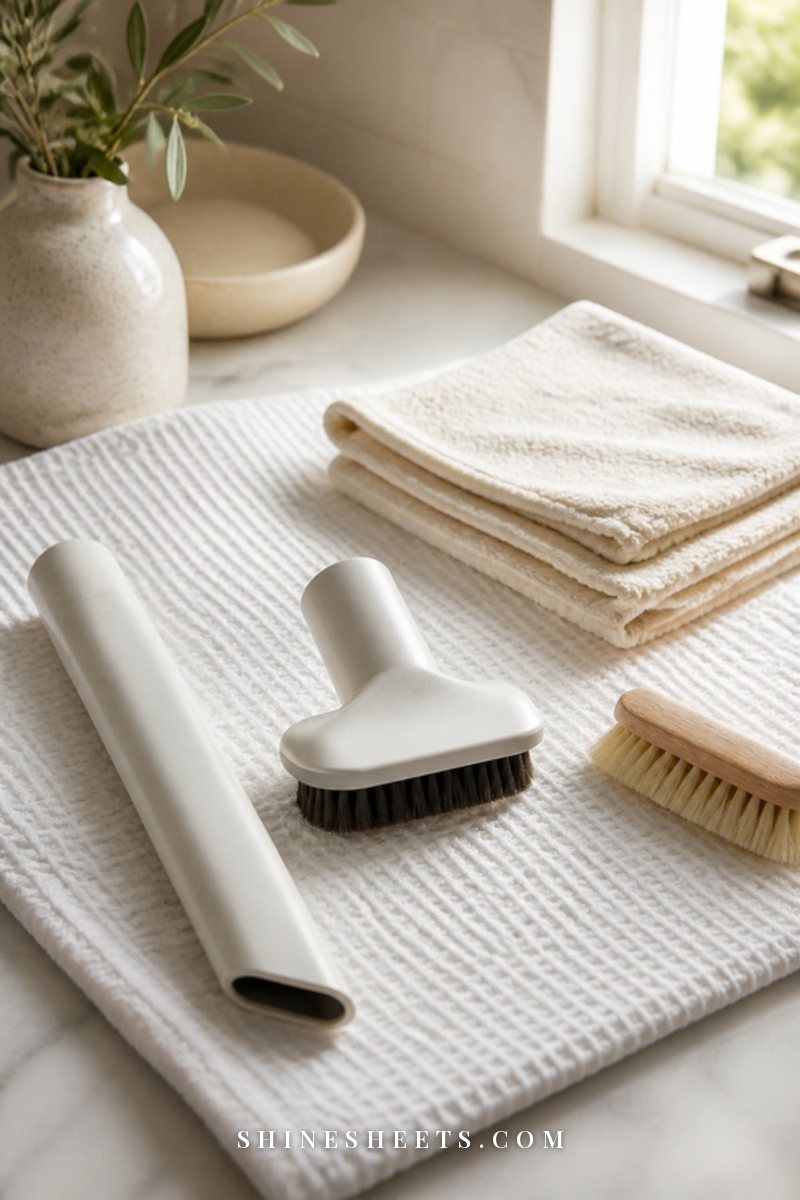
Pine needles love to wrap around a spinning brush roll, and long ones can jam it or get stuck in the hose bend. Switch to the hose with a crevice or upholstery tool, or turn the brush roll off if your vacuum allows it. Go slowly and against the direction the needles are lying, so the suction can lift them out of the fibers.
A cordless hand-held vacuum kept near the tree makes the daily tidy almost effortless: look for strong suction, a narrow crevice nozzle and a bin that's easy to empty, because sap can make needles cling. Empty the bin after each session so sticky needles don't build up, and give the filter a tap-out every few days. If the suction drops anyway, my guide to cleaning a vacuum cleaner and filter will bring it back.
Time needed: about 5 minutes for the area around the tree.
2. Lift Needles From Rugs and Sofas With Tape or a Lint Roller
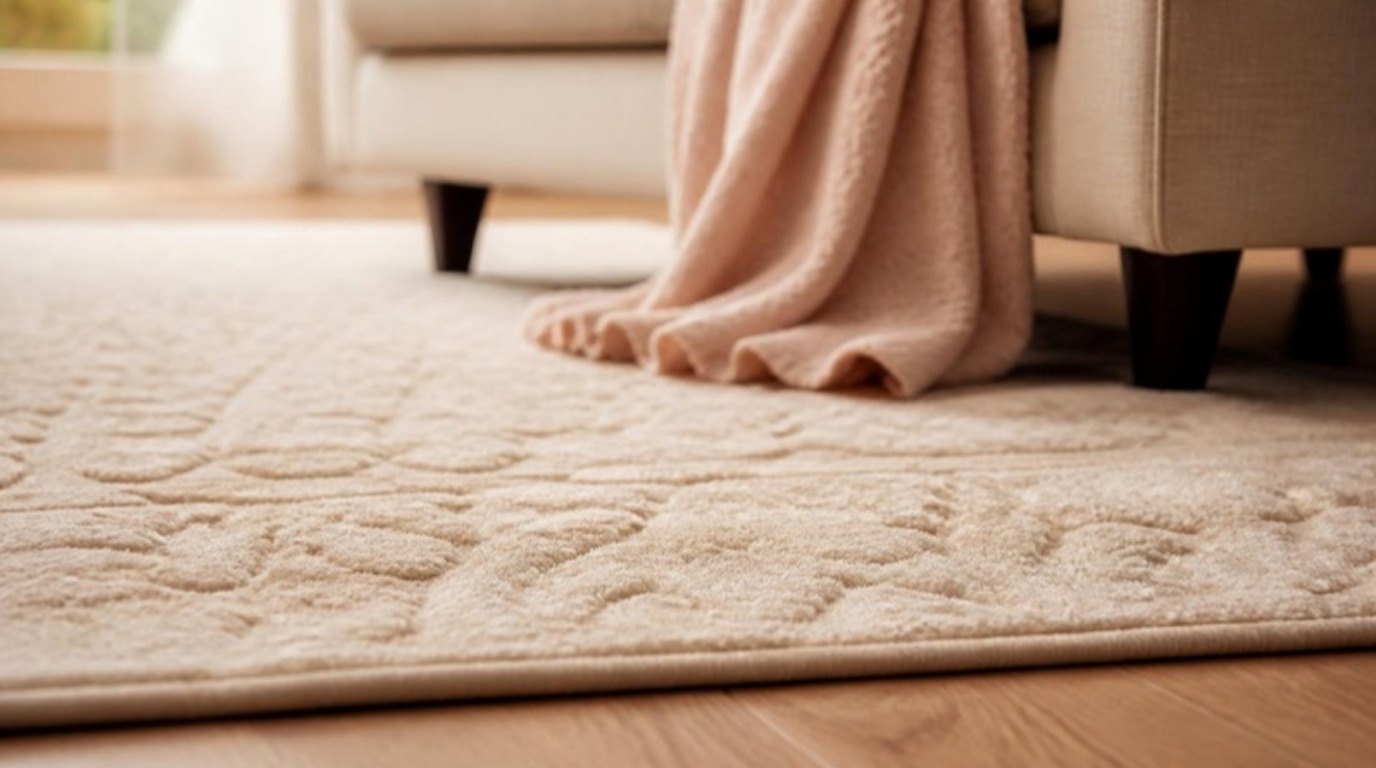
For the needles that weave into upholstery or a low-pile rug, a vacuum often just pats them down. Wrap wide packing tape around your hand, sticky side out, and press it firmly onto the fabric. Lift, don't wipe. Replace the tape as soon as it stops grabbing.
A lint roller with refill sheets does the same job faster on sofas, cushions and throws. Roll in short strokes in one direction and tear off a sheet whenever it looks full. It's also brilliant for the hem of your favorite sweater after a decorating session.
Time needed: 2 to 5 minutes per sofa or small rug.
3. Swipe With a Damp Rubber Glove
This one feels like a party trick. Put on a rubber cleaning glove, dampen it slightly under the tap and shake off the extra water. Sweep your gloved hand across the fabric in one direction, and the needles roll up into a little bundle you can pick up and toss. It works on upholstered chairs, fabric headboards, car mats and the edges of rugs where the vacuum can't quite reach.
Rinse the glove whenever it gets covered and keep it just damp, not wet, especially on delicate fabrics. Test on a hidden spot first if the fabric is velvet or silk.
Time needed: 2 to 3 minutes per chair.
4. Sweep, Then Wipe Hard Floors With Damp Microfiber
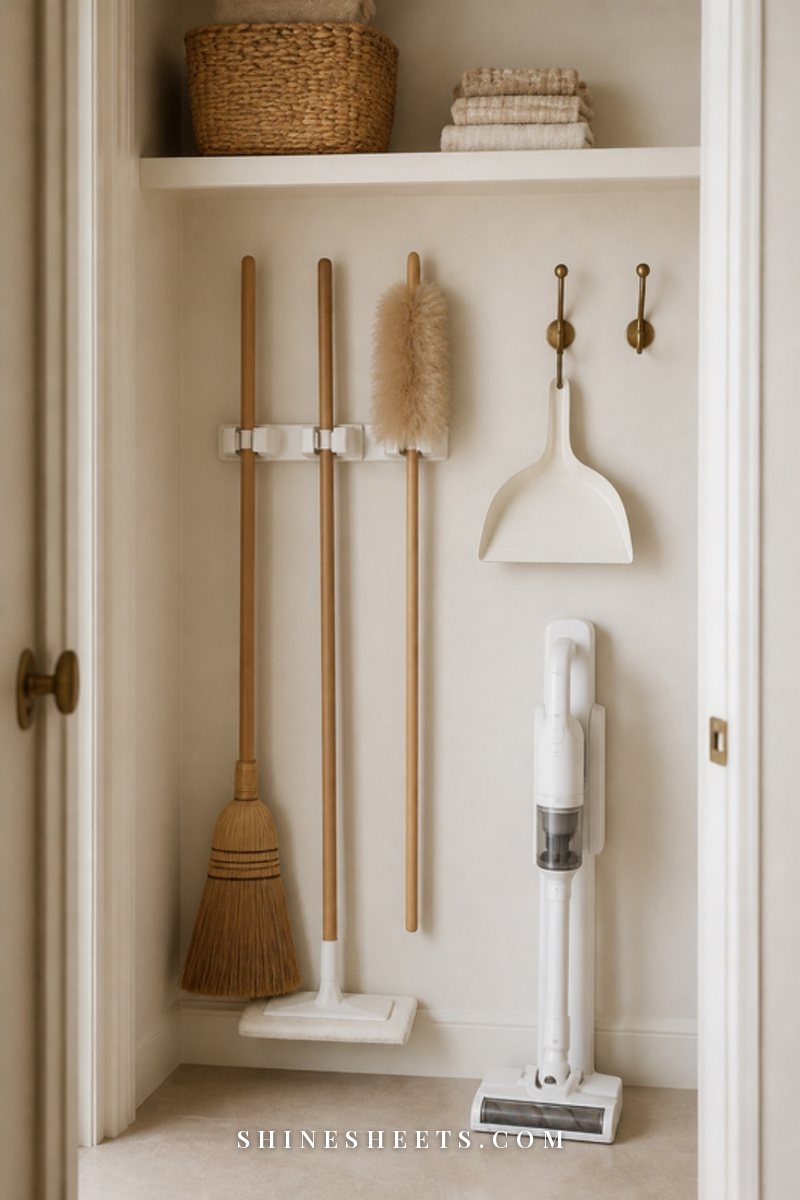
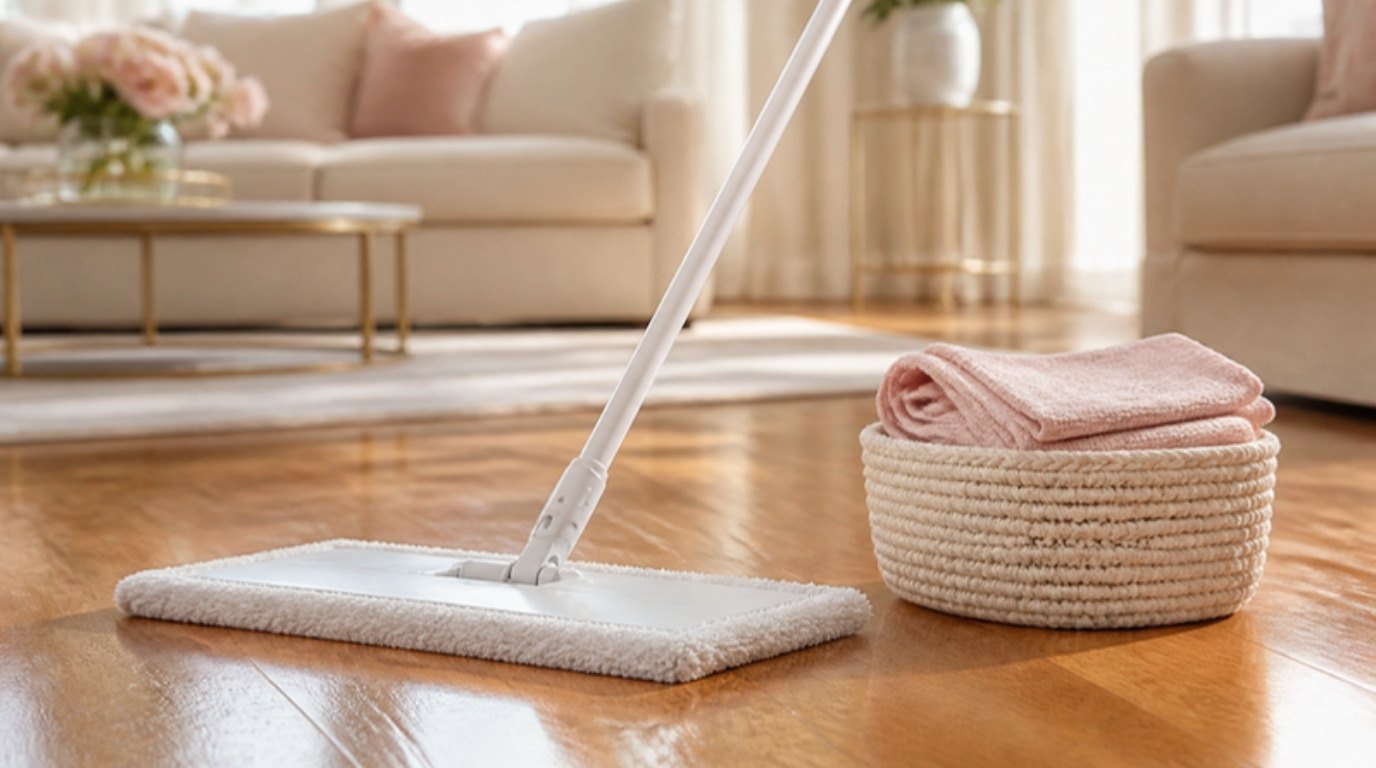
On wood, tile and laminate, start with a soft broom and short strokes toward the tree, not away from it, so you don't scatter needles across the room. Sweep them into a dustpan, then go over the floor with a damp microfiber cloth to collect the tiny bits and any sticky spots.
A set of sage microfiber cloths is worth having for this: look for a soft, dense weave that grabs fine debris without scratching. Wring the cloth until it's barely damp (wood floors hate puddles), and rinse it often.
Time needed: about 5 minutes for a living room floor.
5. Use a Rubber Broom on Carpet
If you have wall-to-wall carpet, a rubber broom is the unexpected hero. The rubber bristles create a little static and friction that drag needles (and pet hair) out of the pile into a neat line. Sweep in short, firm strokes toward one spot, then pick up the pile by hand or with the vacuum hose.
A cream rubber broom with a long handle is the pick here: look for flexible bristles and a squeegee edge on the back so it can also handle wet spills on hard floors. Rinse it under the tap when you're done, and it's ready for next time.
Time needed: 5 to 10 minutes for a medium carpet.
6. Brush Car Seats With a Stiff Brush
Bringing a tree home on the back seat or in the trunk leaves needles in the most annoying places. Use a stiff upholstery brush to flick needles out of the seat seams and floor mats toward the opening, then vacuum them up with the hose. For fabric seats, finish with the damp glove or packing tape trick. For leather seats, use a soft brush and a dry cloth only, so you don't scratch the surface.
Next year, lay an old sheet or blanket down before the tree goes in. It turns a 15-minute job into a quick shake out.
Time needed: 10 to 15 minutes per car.
Pine Needle Cleanup Table: Surface, Tool, Method, Time
Here's everything above in one place. Screenshot it and keep it on your phone for the season.
| Surface | Best tool | Method | Time needed |
|---|---|---|---|
| Around the tree stand | Hand-held vacuum with crevice tool | Slow passes against the needle direction, brush roll off | About 5 min |
| Sofa and cushions | Lint roller or packing tape | Press and lift in short strokes, change sheets often | 2–5 min |
| Upholstered chairs and fabric edges | Damp rubber glove | Swipe in one direction, roll needles into a bundle | 2–3 min |
| Wood, tile and laminate | Soft broom, then damp microfiber | Sweep toward the tree, wipe with a barely damp cloth | About 5 min |
| Wall-to-wall carpet | Rubber broom | Firm short strokes into one pile, pick up | 5–10 min |
| Car seats and mats | Stiff upholstery brush, then vacuum hose | Flick out of seams, vacuum, finish with tape on fabric | 10–15 min |
| Tree skirt | Your hands and the outdoors | Fold inward, shake outside, then lint roll | About 3 min |
How To Remove Tree Sap Gently
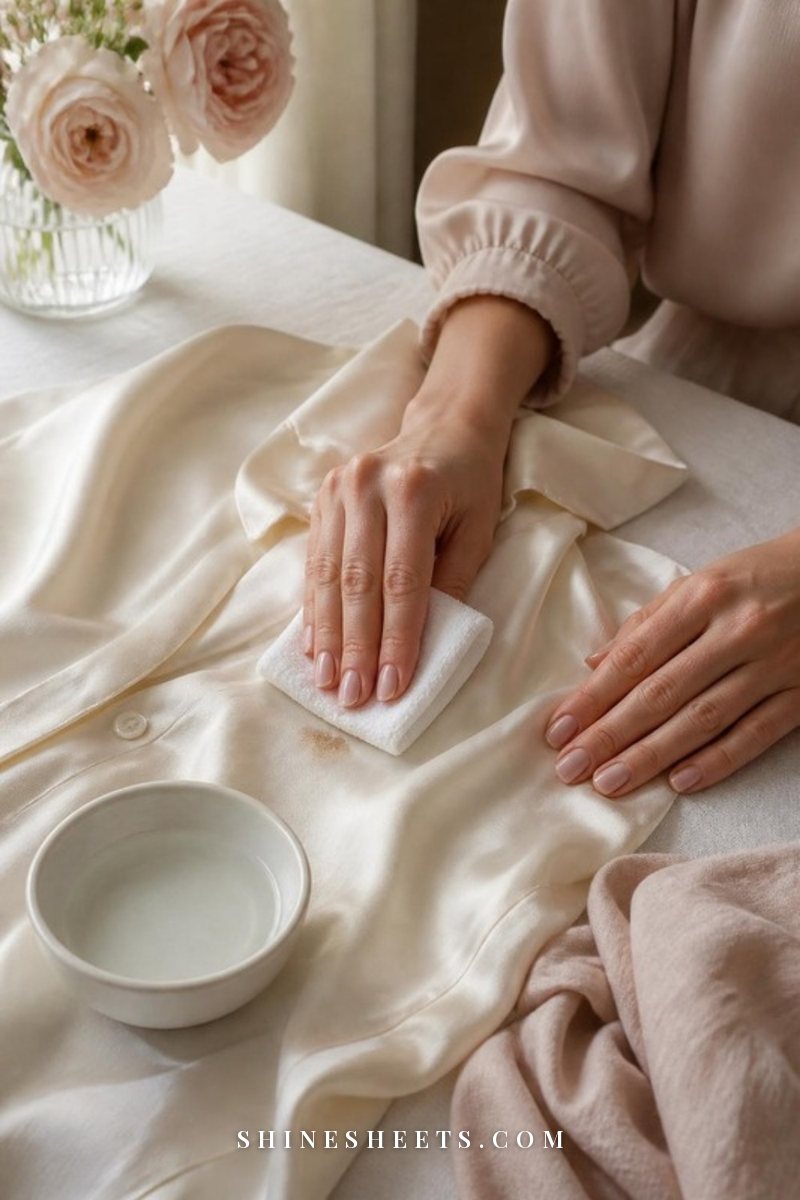
Sap is sticky, stubborn and somehow always ends up on your hands, the floor and the one cream throw you love most. Go gently, because most sap comes off with patience rather than force.
- Hands: rub a little vegetable oil or hand cream into the sticky spot for a minute, then wash with warm soapy water.
- Hard floors: let the sap harden, then lift it carefully with a plastic scraper or an old card. Wipe the spot with a cloth dampened in warm, soapy water and dry it straight away.
- Fabrics and rugs: harden the sap with an ice cube in a zip bag for a few minutes, then gently scrape off what you can. Dab the rest with a cotton pad and a little rubbing alcohol, testing on a hidden spot first, then blot with plain water.
- Clothes: treat the spot the same way, then wash as the care label says. Check the stain is gone before drying, because heat can set it.
Avoid rubbing alcohol on wood finishes, silk, acetate and anything delicate, and keep the window open a little while you work. Never mix cleaning products while you're at it.
How To Carry the Tree Out Without a Needle Trail
Removal day is when a dry tree drops the most needles at once, so plan it like a tiny moving day. If you're taking down everything at once, my guide on taking down Christmas decorations without the chaos helps you pack ornaments first, so the tree comes down last.
- Take off every ornament, light and hook. Run your hands along the branches, because stray hooks love to hide.
- Empty the stand. Soak up the water with an old towel or a large sponge so it doesn't spill when the tree tips.
- Wrap the tree in the sheet. Pull the old sheet that's been under the skirt up around the trunk and branches and tie or tape it closed. A large bag designed for tree removal works too.
- Carry it out trunk first. The branches fold back against the trunk instead of catching on door frames, so far fewer needles fall.
- Shake the skirt outside. Fold it inward toward the center, carry it out and shake it well away from the door.
- Vacuum the path. Do one slow pass along the route from the tree spot to the door, then you're done.
Check your local collection rules for recycling or composting the tree, and never burn it in a fireplace or wood stove.
Pets, Kids and Pine Needles
Pine needles are sharp enough to get stuck in paws and small feet, and curious pets and toddlers may try to chew them. Some tree types can upset a pet's stomach if eaten, and sharp needles can irritate the mouth.
- Pick up needles once a day, ideally every evening, so little ones and pets aren't exploring a fresh layer in the morning.
- Use plain water in the stand. Skip tree water additives, sugar, aspirin and other home tricks, because pets sometimes drink from the stand.
- A tree stand cover or a skirt tucked over the bowl keeps curious noses out of the water.
- Hang breakable ornaments higher and keep tinsel off the tree if you have a cat.
If you have a dog or cat who sheds, needles and fur tend to tangle together on rugs. My guide on removing pet hair from couches and rugs works beautifully for that mix. And if a pet seems unwell after chewing on the tree, call your vet.
Electrical Safety Around the Tree
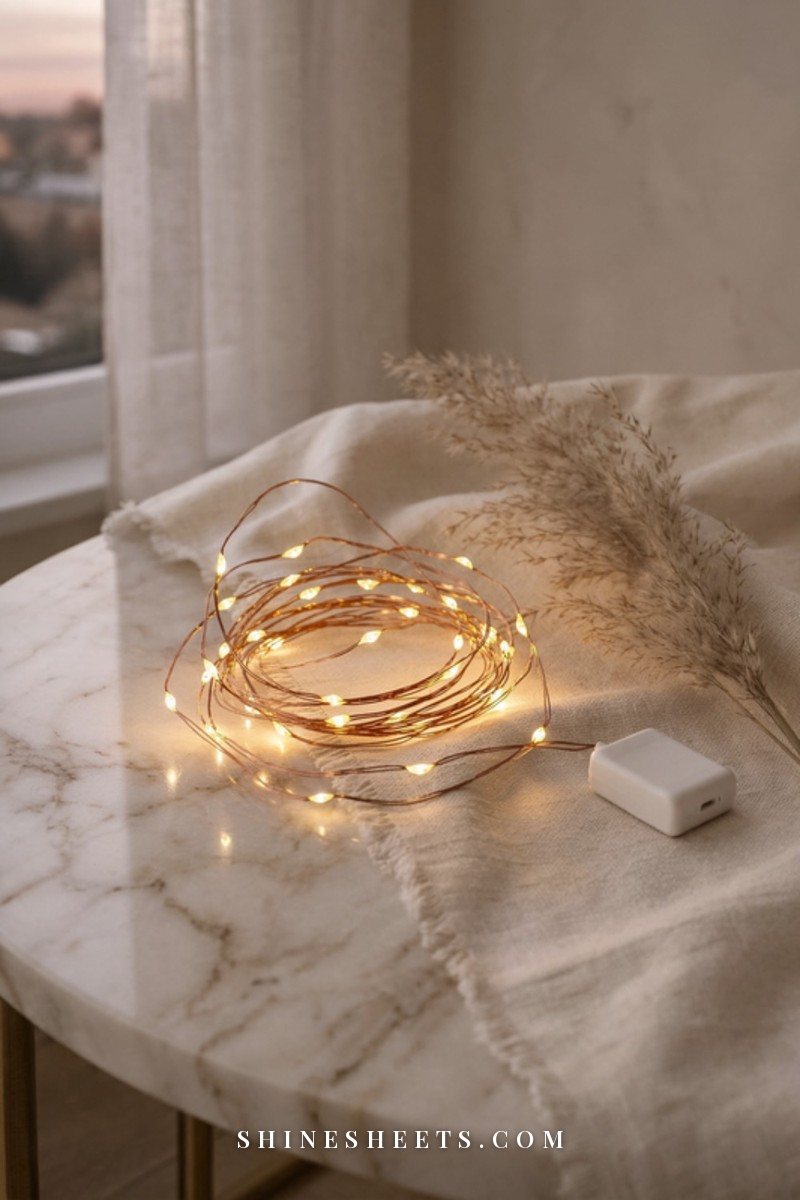
A tree, water and electricity live very close together for a few weeks, so a few habits keep everyone safe:
- Choose LED lights only. Warm white LED fairy lights run much cooler than old incandescent strings, which is safer for a drying tree. Look for lights marked as tested for safety by a recognized lab, with intact wires and no loose bulbs.
- Unplug before you clean. Always unplug the tree lights before vacuuming, mopping or topping up the water, and keep the plug and extension cord well away from the stand.
- Turn lights off at night and when you go out. A plug-in timer makes this automatic.
- Watch for a dry tree. If the needles snap instead of bending, or fall in showers when you touch a branch, it's time to take the tree down, even if it's earlier than you'd like.
- Keep candles away. Real flames never belong near a tree. Glass LED candles give the same warm look without the risk.
If you're planning the look for next year, my designer Christmas tree decorating guide covers lights and layers in a way that's easy to take apart later, too.
Final Thoughts
A real tree will always drop a few needles, and that's part of its charm. The goal isn't a perfectly needle-free floor every hour. It's a tree that stays fresh, a room that stays safe and a five-minute tidy that fits into your evening.
Water it every morning, keep it cool, give it a sheet to fall on and keep the right tool close by. Then make a cup of tea, switch on the lights and enjoy the tree you worked so hard to bring home.