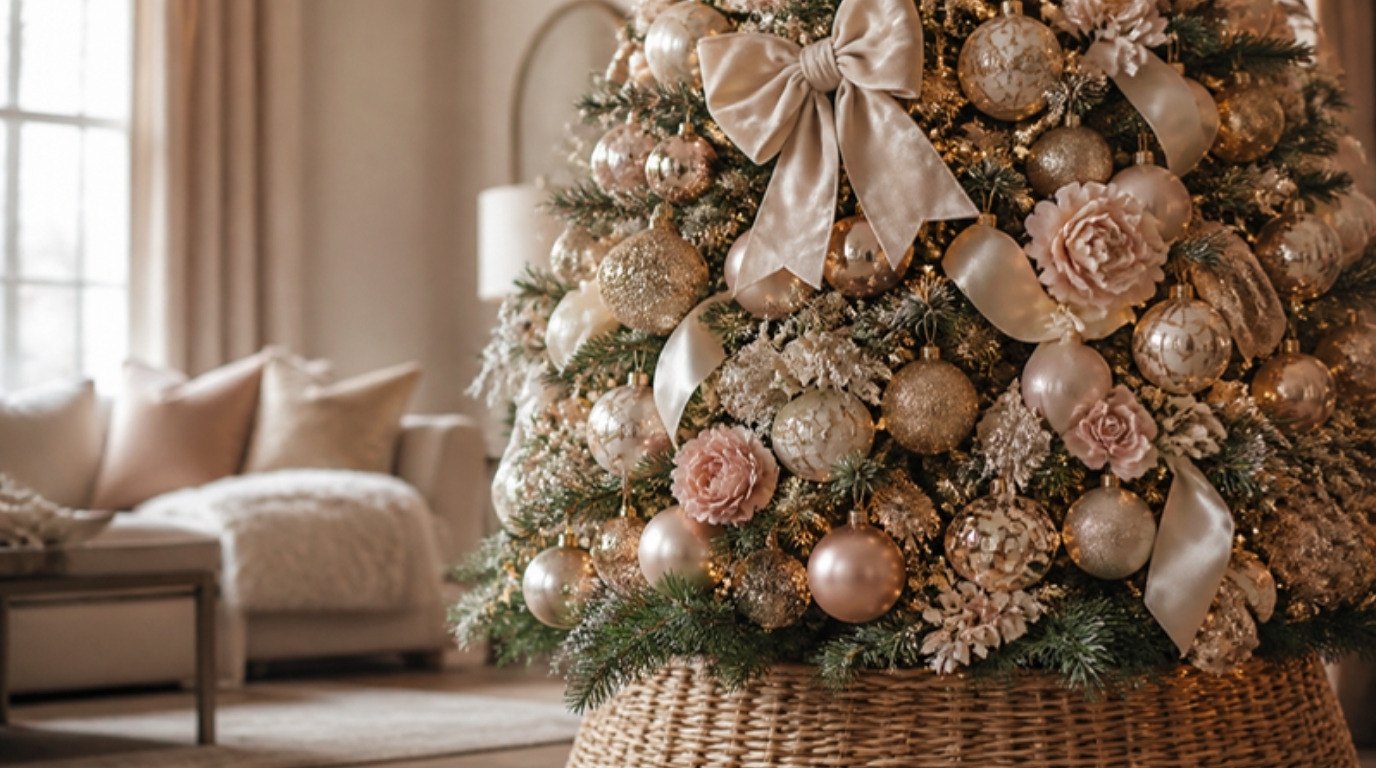
A designer Christmas tree isn't about expensive ornaments. It's about order and restraint. The trees that stop you in a hotel lobby or a beautiful shop window usually follow the same quiet rules: a clear color story, far more lights than you'd expect, layers added in a specific sequence, and ornaments tucked deep into the branches instead of all hanging on the tips.
Once you know that sequence, decorating stops feeling like a chaotic afternoon of untangling and starts feeling almost calm. You'll also find you need fewer new things than you thought, because a well-layered tree makes even simple ornaments look intentional.
This guide shows you how to decorate a Christmas tree like a designer, step by step: choosing a color story, the exact order of layers (with how many lights, ribbons and ornaments you'll need), the placement tricks that create depth, notes for small and real trees, the safety basics, and budget tips. There's also a designer tree formula table you can screenshot before you shop.
Start With a Color Story
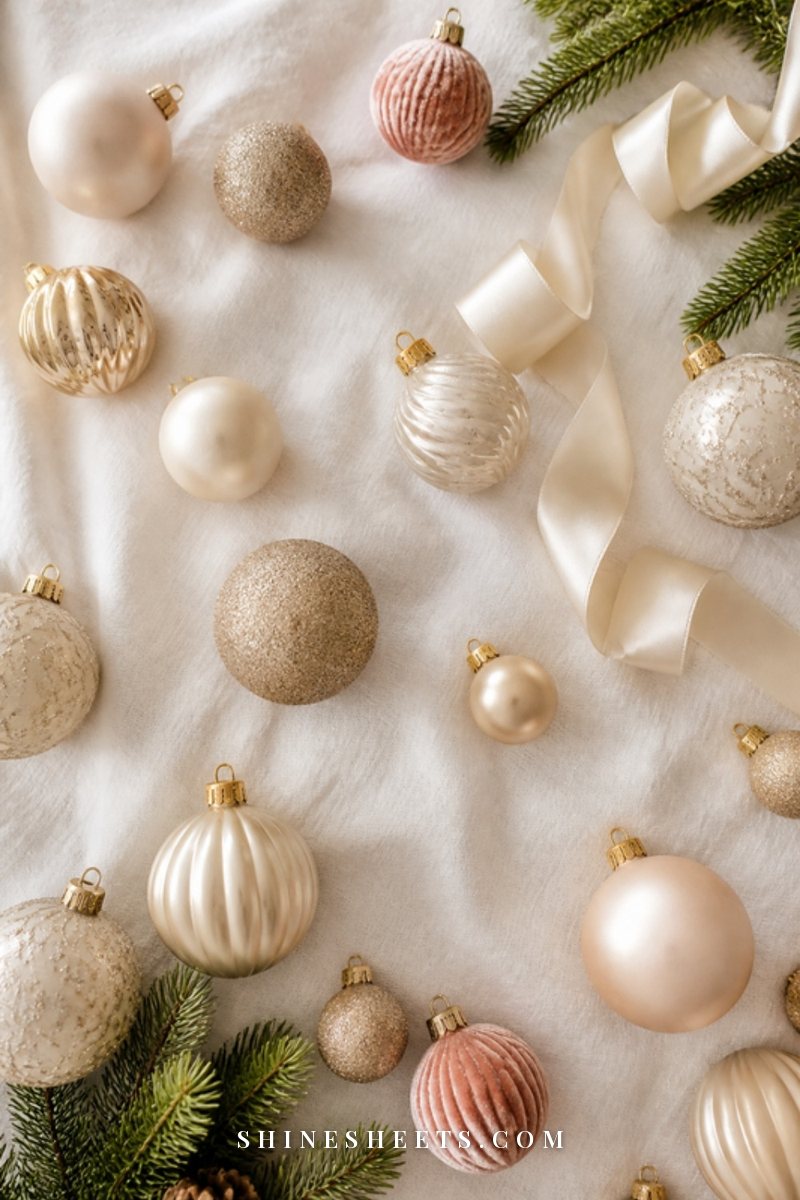
Before you open a single box, decide on your palette. This is the single biggest difference between a tree that looks collected and one that looks designed. Aim for two or three main colors plus one metallic, and let everything else stay in the box this year (you can rotate next year).
Here are four color stories that always work:
- Cream and gold. Ivory, warm white, champagne and soft gold. Timeless, bright and elegant, especially in neutral rooms. Add texture with velvet, pearl and glitter finishes.
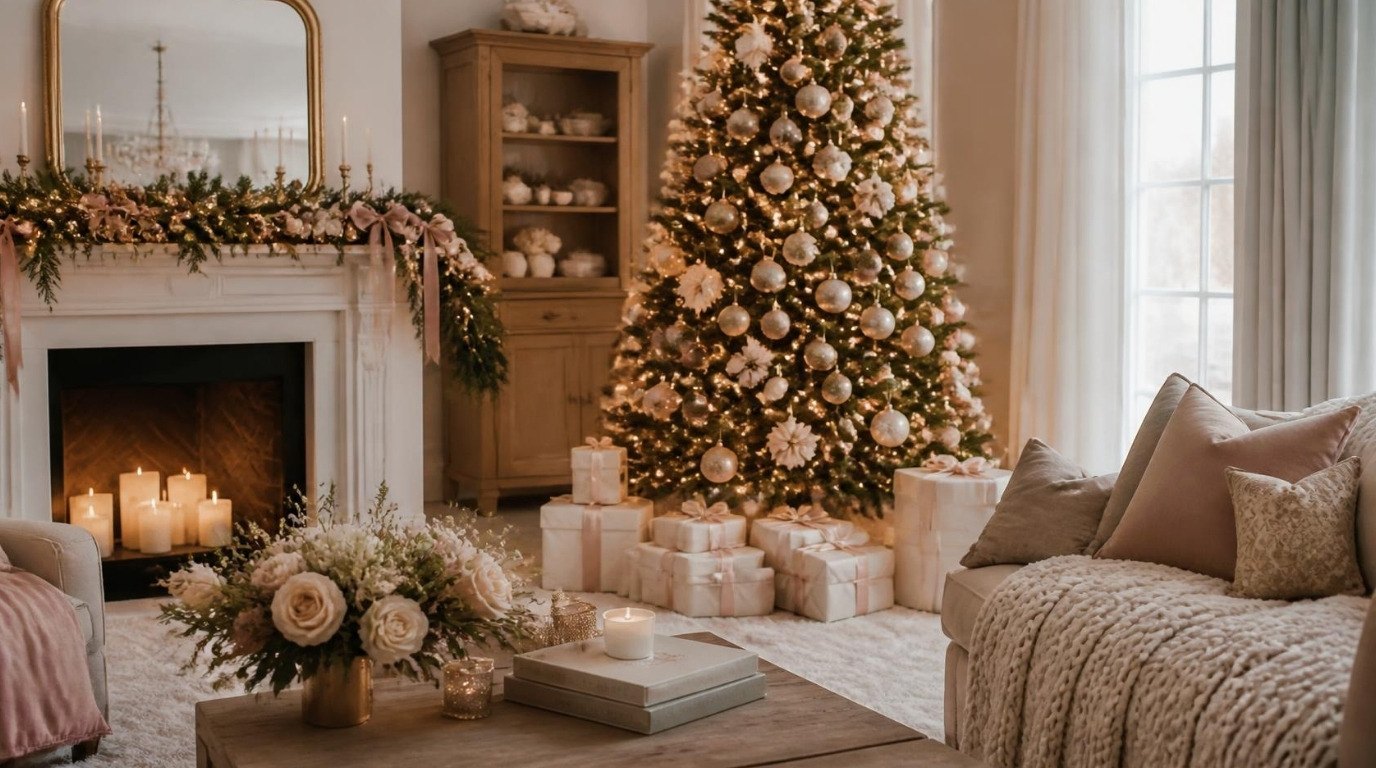
- Blush and champagne. Pale pink, dusty rose, champagne and a touch of rose gold. Romantic and soft, lovely with cream walls and Old Hollywood touches like satin bows.
- Natural and woodland. Cream, wood, sage, dried oranges, pinecones and linen ribbon. Relaxed and organic, great with real trees.
- Classic. Deep red, forest green and gold, kept elegant with velvet ribbon and matte finishes rather than shiny plastic.
A useful trick: lay a few candidate ornaments and ribbons together on a white sheet or table before committing. If anything jumps out as "not like the others," leave it aside. For more ideas on carrying the palette through your home, my guide to Christmas decor ideas has room-by-room inspiration.
The Designer Tree Formula
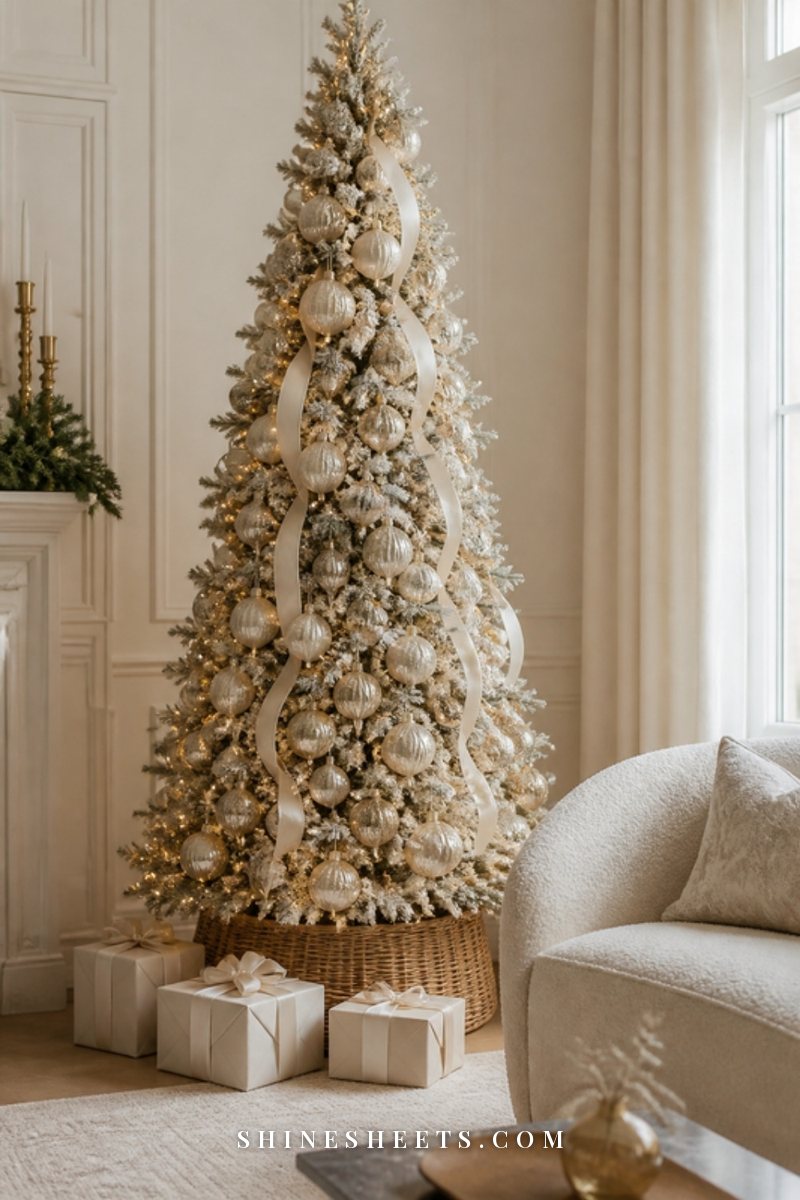
This is the table I'd keep open on my phone while shopping. Quantities are for a full 7-foot tree; for a 6-foot tree use about 80% of each amount, and for a 9-foot tree add about 40%.
| Layer | How many for a 7 ft tree | Designer tip |
|---|---|---|
| Lights | 700–1,000 warm white mini lights | Plan on roughly 100 lights per vertical foot; more is better than fewer |
| Ribbon or garland | 4–6 rolls of 2.5–4 inch wired ribbon (about 10 yards each) | Wired ribbon holds its shape; tuck the ends deep into the tree |
| Hero ornaments | 12–18 large pieces (4–6 inches) | Place first, in loose triangles, slightly inside the branches |
| Filler ornaments | 60–100 shatterproof balls (2–3 inches) | Mix matte, shiny and glitter finishes in the same colors |
| Picks and florals | 15–25 stems | Insert at an angle to fill gaps and add height |
| Small ornaments | 20–30 pieces | Hang toward the front tips at eye level where they'll be seen |
| Topper | 1 (star, bow or spray of picks) | Choose something proportional: about a tenth of the tree's height |
| Skirt or collar | 1, about 48–60 inches or a 26–30 inch collar | A collar looks tailored; a skirt looks soft and traditional |
Don't panic about the numbers. You don't need to buy everything at once. Lights and ribbon do most of the visual work, so if your budget is limited, start there.
The Order of Layers: 7 Steps
Decorating in the right order saves time and frustration, and it's the reason designer trees look full and balanced. Fluff your branches first (on a faux tree this alone can take an hour, so put on a Christmas movie and pour a cup of tea), then work through these steps.
1. Lights First
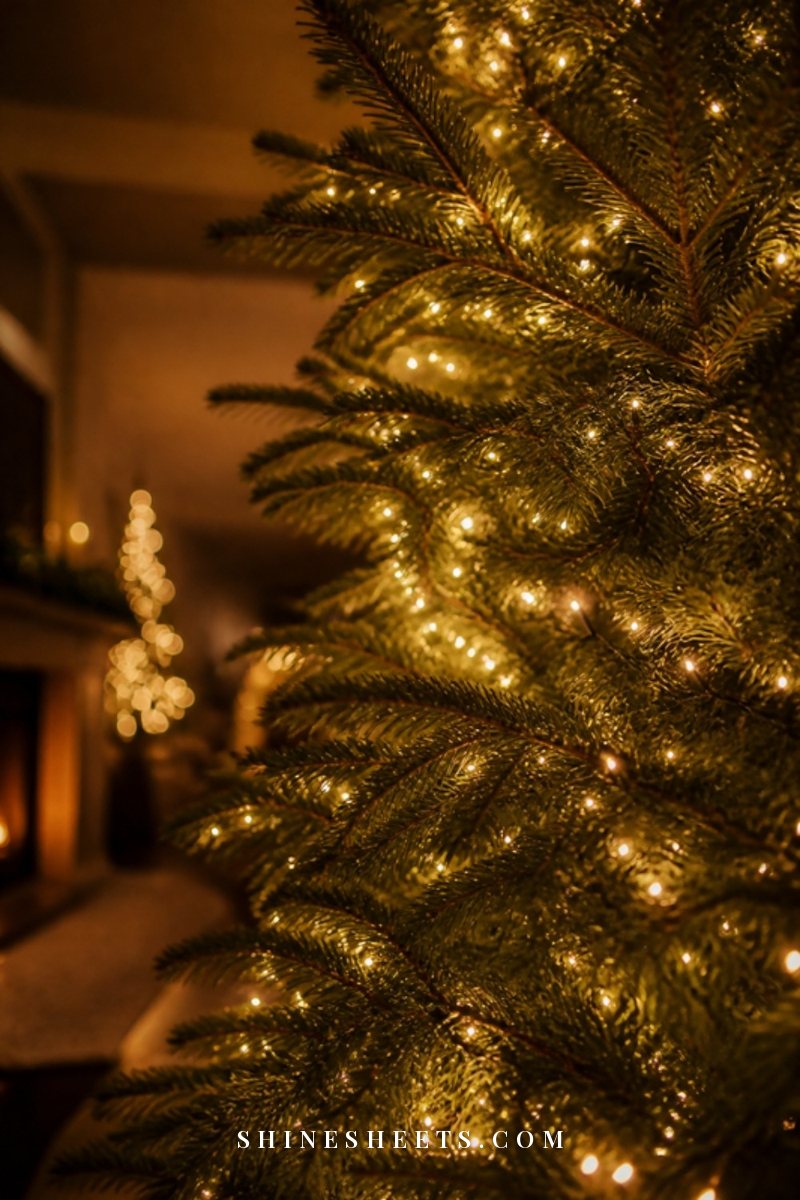
Lights go on before anything else, and they go into the tree, not just around it. Choose warm white tree lights for that soft, candle-like effect. Cool white can look clinical in a home.
- Test every strand before it goes on the tree.
- Start at the base near the outlet and work upward.
- Use the weaving method: run the strand from the trunk out along a branch to the tip and back toward the trunk, then move to the next branch. This lights the tree from the inside and creates depth.
- Work in vertical sections (think of the tree as three or four wedges) instead of spiraling around, which makes it much easier to keep the lights even.
- Step back and squint. Dark patches will show up immediately. Fill them now, not later.
Plan for about an hour for this step on a 7-foot tree. It's the least glamorous part and the one that matters most.
2. Garland or Ribbon
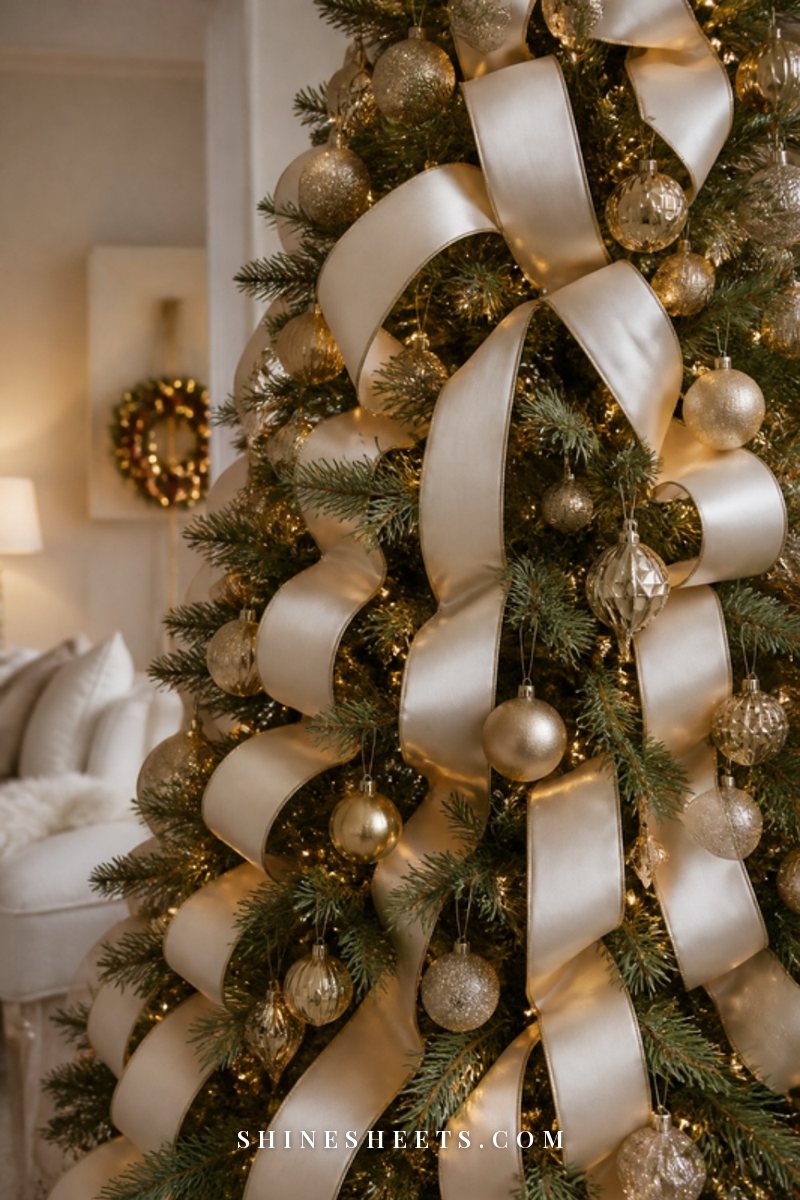
Ribbon is the designer's secret weapon. It adds movement, color and a finished look for very little money. A cream wired ribbon spool is the easiest place to start because it works with almost every color story.
Three easy styles:
- Vertical cascades. Start at the top and let ribbon fall down the tree in 4–5 loose lines, tucking it into the branches every 8–12 inches so it looks like it's weaving in and out.
- Loose swags. Drape ribbon in soft horizontal scallops, wider at the bottom.
- Ribbon tucks. Cut ribbon into 12–18 inch pieces, fold each into a loop and tuck the ends into the tree. Great for filling gaps.
Avoid wrapping ribbon tightly around the tree like a candy stripe; it flattens the shape.
3. Hero Ornaments
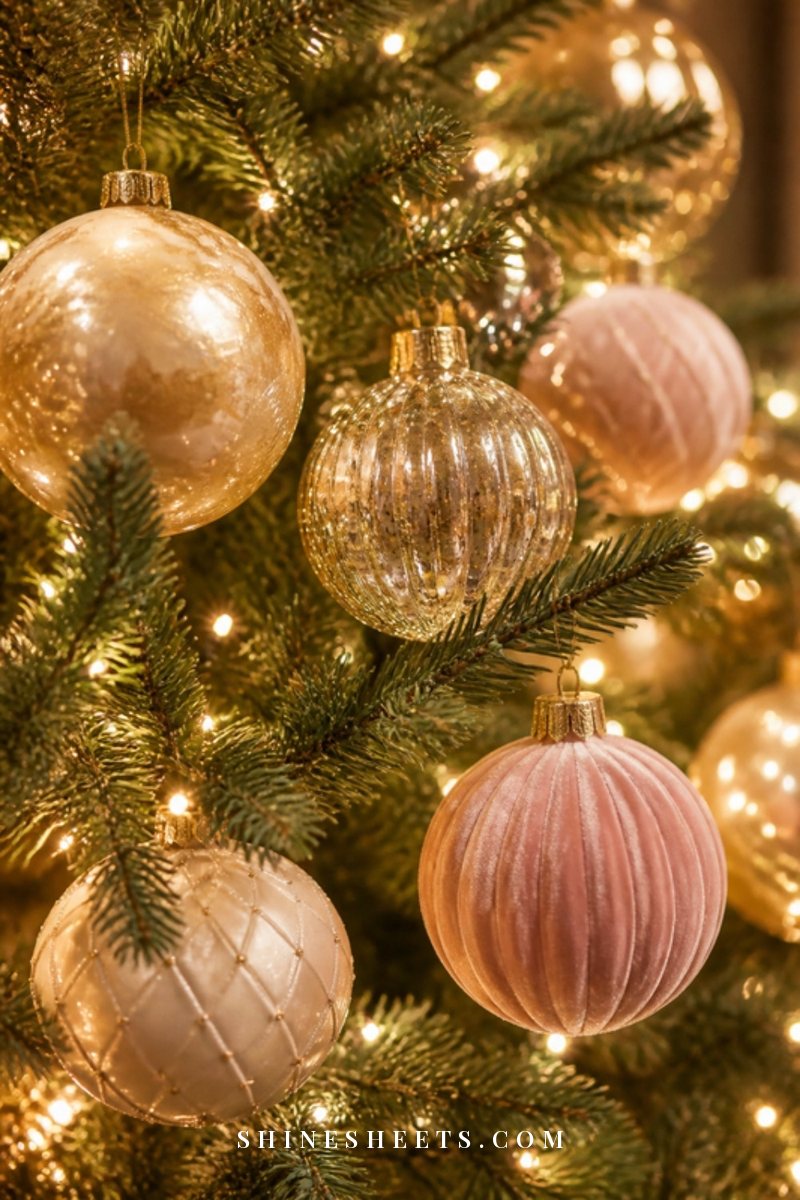
Hero ornaments are your biggest, most special pieces: oversized balls, velvet ornaments, finials or heirlooms. Place them before the filler so they get the best spots.
- Hang them in loose triangles across the tree so the eye moves around.
- Push about half of them slightly into the branches, not just on the tips.
- Keep the very largest pieces in the lower and middle sections, where the tree is widest.
A set of champagne gold ornaments in mixed finishes is a lovely base if you're starting from scratch.
4. Filler Ornaments
Filler balls are what make the tree look abundant. Hang them in two depths: about a third deep inside near the trunk (they reflect the lights and hide gaps) and the rest closer to the tips. Mix finishes in the same colors (matte, shiny, glitter, pearl) for interest without chaos. Shatterproof options are a smart choice in homes with pets or little visitors.
A good rhythm: hang all the filler balls of one color first, spread across the whole tree, then step back before adding the next color. Working color by color keeps you from accidentally clustering five gold balls in one corner. If a gap still looks hollow after the fillers, a cluster of three small balls wired together and pushed deep into the branches fills it instantly.
5. Picks and Florals
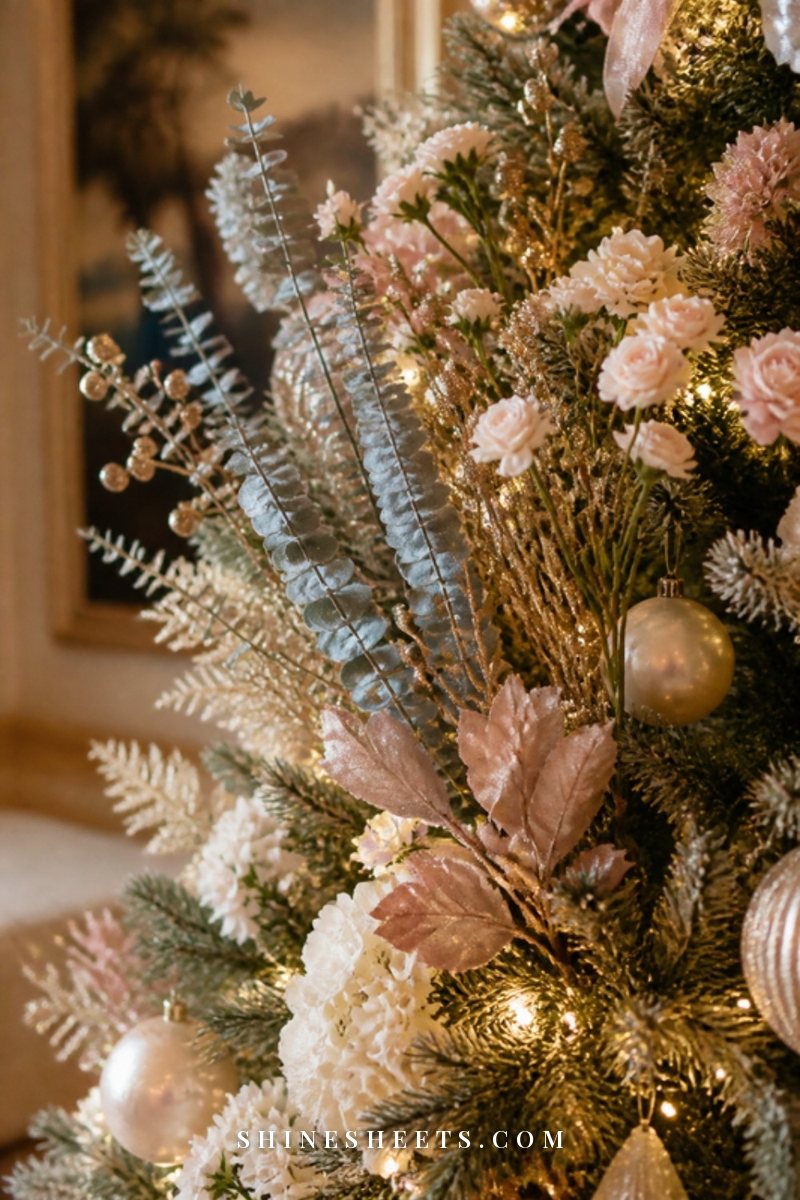
Picks are stems of berries, glittered branches, faux florals, eucalyptus or pinecones. They add texture and height, and they're how designers make a tree look lush.
- Insert them at an angle, pointing up and out, like they're growing from the tree.
- Cluster two or three together in some spots rather than spacing them evenly.
- Use taller picks at the top to make a natural "crown" around the topper.
6. The Topper
Your topper should feel proportional and match the color story. A star, a large bow or a spray of picks fanning upward all work. A bow is especially elegant: a cream velvet bow with long tails can be draped down the tree to tie in with your ribbon. Secure toppers with floral wire so they don't lean by New Year.
If you'd rather skip a traditional topper, try a spray: gather five to seven tall picks (glittered branches, eucalyptus or florals), wire them together at the base and fasten the bundle to the top stem so it fans upward. It looks soft, generous and very editorial, and it hides a slightly crooked top beautifully.
7. Tree Skirt or Collar
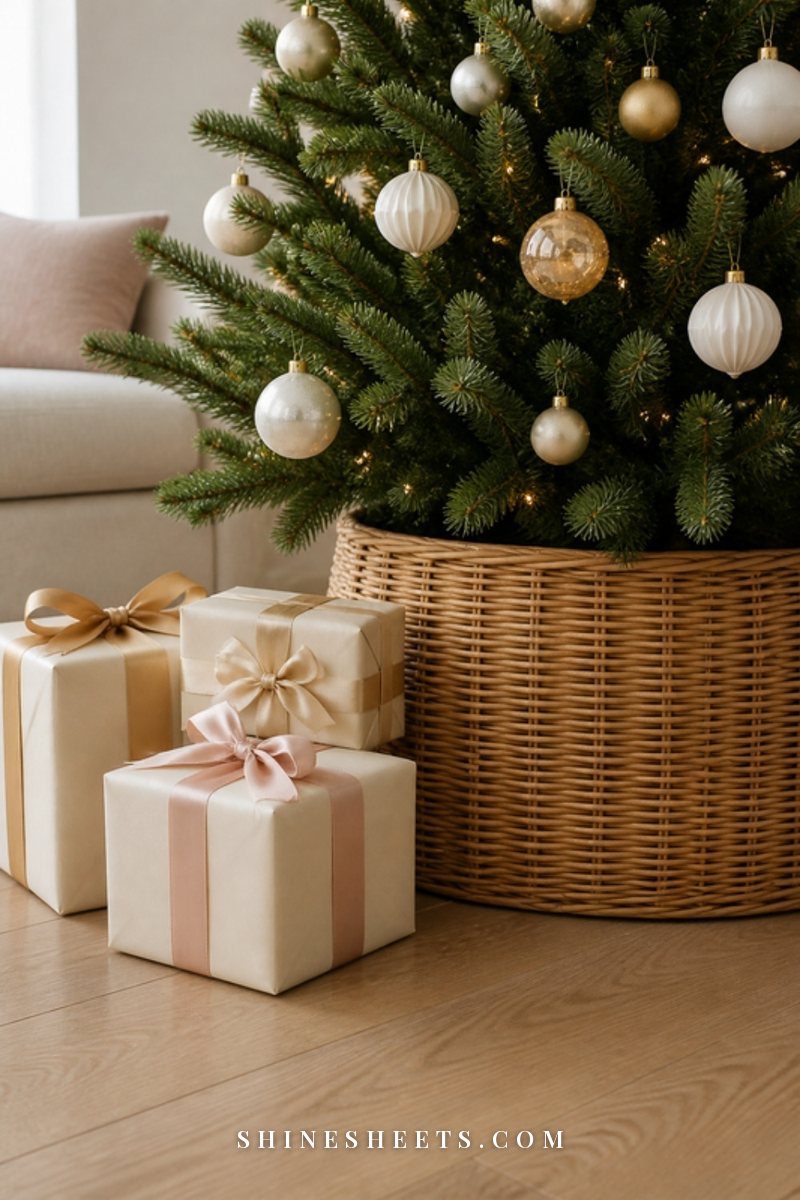
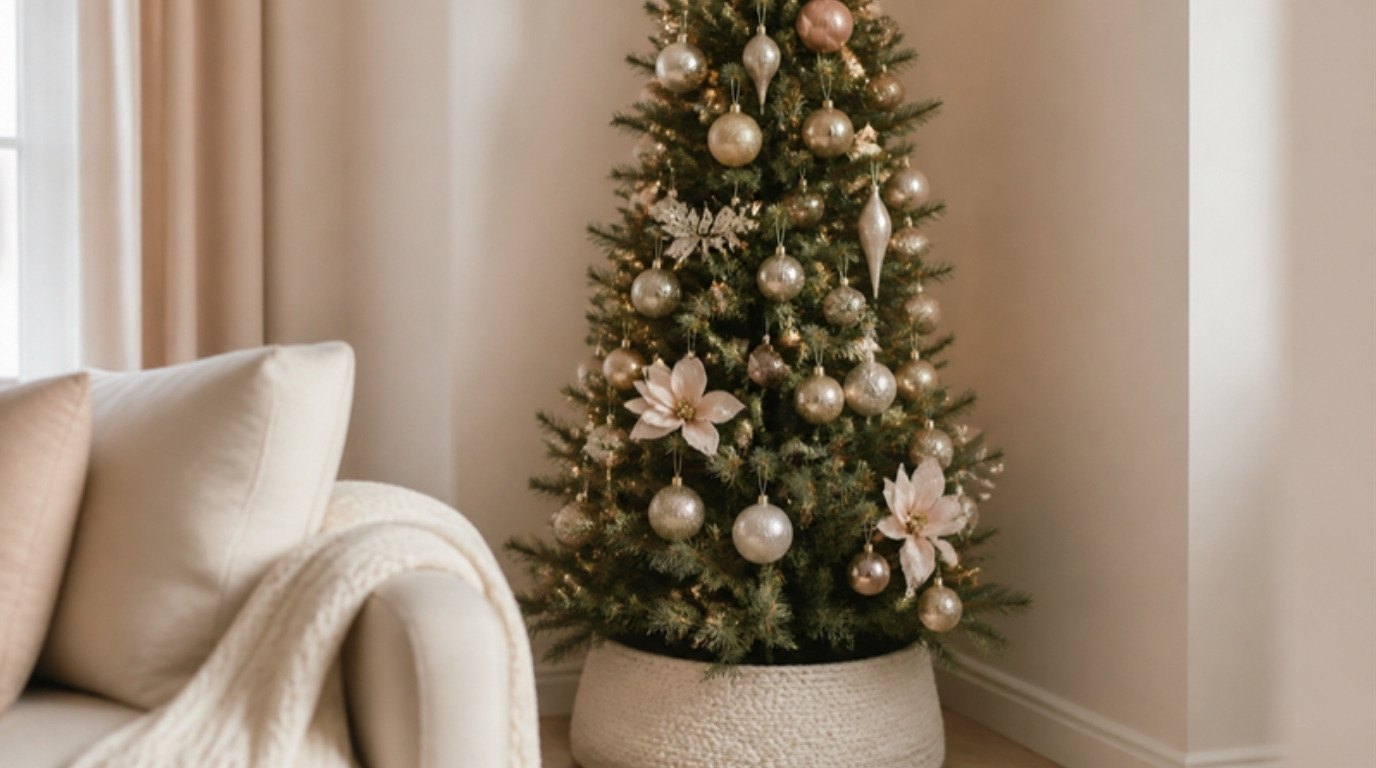
The base finishes the look and hides the stand. A skirt feels soft and traditional; a collar looks tailored and modern. A woven tree collar in cream or natural rattan works with almost every palette. Add a few gifts wrapped in your color story (even empty boxes) for a styled effect.
Placement Tricks Designers Use
These small habits make a bigger difference than any single ornament:
- Work inside-out. Every layer should have some pieces deep in the tree and some on the tips. That depth is what makes a tree look professional.
- Think in triangles. Whenever you place a standout item, place two more like it to form a loose triangle somewhere else on the tree.
- Decorate the side people see. If your tree sits in a corner, focus the best pieces on the front 270 degrees and use fewer, cheaper fillers at the back.
- Step back often. Every ten minutes, walk to the far side of the room. Things that look fine up close can look lopsided from a distance.
- Turn the room lights off. Check the tree with only its own lights on. Dark spots and heavy clusters jump out immediately.
- Edit at the end. Remove three or four ornaments that don't quite belong. Restraint reads as expensive.
Lighting the rest of the room softly makes the tree shine even more. My guide to lighting ideas covers lamps and warm bulbs that flatter a holiday room.
Common Mistakes To Avoid
Most trees that look "off" have one of these small issues, and all of them are easy to fix:
- Too few lights. The most common one by far. If the tree looks dull at night, add another strand before you add another ornament.
- Everything on the tips. When every ornament hangs at the very edge, the tree looks flat and the branches droop. Push a third of them inward.
- Too many colors. Five or six colors plus three metals reads as busy. Pull out anything outside your story.
- Even, polka-dot spacing. Perfectly evenly spaced ornaments look stiff. Loose triangles and small clusters look natural.
- Skipping the fluffing. On a faux tree, unfluffed branches show the trunk and make every layer harder.
- Forgetting the base. A bare plastic stand pulls the eye down. Even a simple folded throw around the base looks more finished.
A Calm Decorating Timeline
Designer trees take time, and rushing is where the frustration comes from. If you can, spread the work over a weekend:
- Day before: Bring the boxes out, test every light strand and sort ornaments by color and size into baskets.
- Morning: Set up and fluff the tree (or let a real tree settle), then add the lights. Take a break.
- Afternoon: Ribbon, hero ornaments and fillers, stepping back every ten minutes.
- Evening: Picks, topper, collar and the final edit, with the room lights off so you can see the tree at its best.
Warm the room, play music you love and treat it as an event rather than a chore. If your space tends to feel chilly in December, my tips for keeping a warm home in winter make long decorating afternoons much more pleasant.
Notes for Small Trees
A tabletop or 4–5 foot tree can look just as polished. Scale everything down: smaller ornaments (1.5–2.5 inches), narrower ribbon (1.5 inches) and about 100 lights per foot still. Pick one color story and keep it tight. A small tree in a woven basket or on a side table with a few wrapped boxes beneath can feel like a little boutique display.
On small trees, the ratio of ribbon to ornaments matters even more. One or two ribbon cascades plus a handful of hero ornaments usually look more elegant than dozens of tiny baubles. A slim pencil tree in an entryway or bedroom can follow exactly the same seven layers, just with fewer of everything.
Real vs. Faux Notes
Real trees have natural gaps and a wonderful scent. They hold fewer heavy ornaments, so lean on ribbon, lighter ornaments and picks. Let a fresh tree settle for a day before decorating so the branches drop into shape.
Faux trees need serious fluffing: separate every tip and bend some up, some out and some down so it looks natural. Pre-lit faux trees save time, but you'll often still want to add one or two extra strands for that designer brightness.
Christmas Tree Safety Basics
A beautiful tree should also be a safe one. A few simple habits:
- Use lights rated for indoor use and certified by a recognized testing lab, and replace any strand with frayed wires or broken sockets.
- Water real trees every day. A dry tree catches fire far more easily. Check the stand each morning; fresh trees can drink a lot in the first week.
- Keep the tree at least three feet from heat sources such as fireplaces, radiators, space heaters and candles.
- Turn tree lights off when you go to bed or leave the house. A plug-in timer makes this easy.
- Don't overload outlets and follow the manufacturer's limit for how many strands can be connected end to end.
The National Fire Protection Association has a helpful page on winter holiday fire safety if you'd like the full list.
Budget Tips for a Designer Look
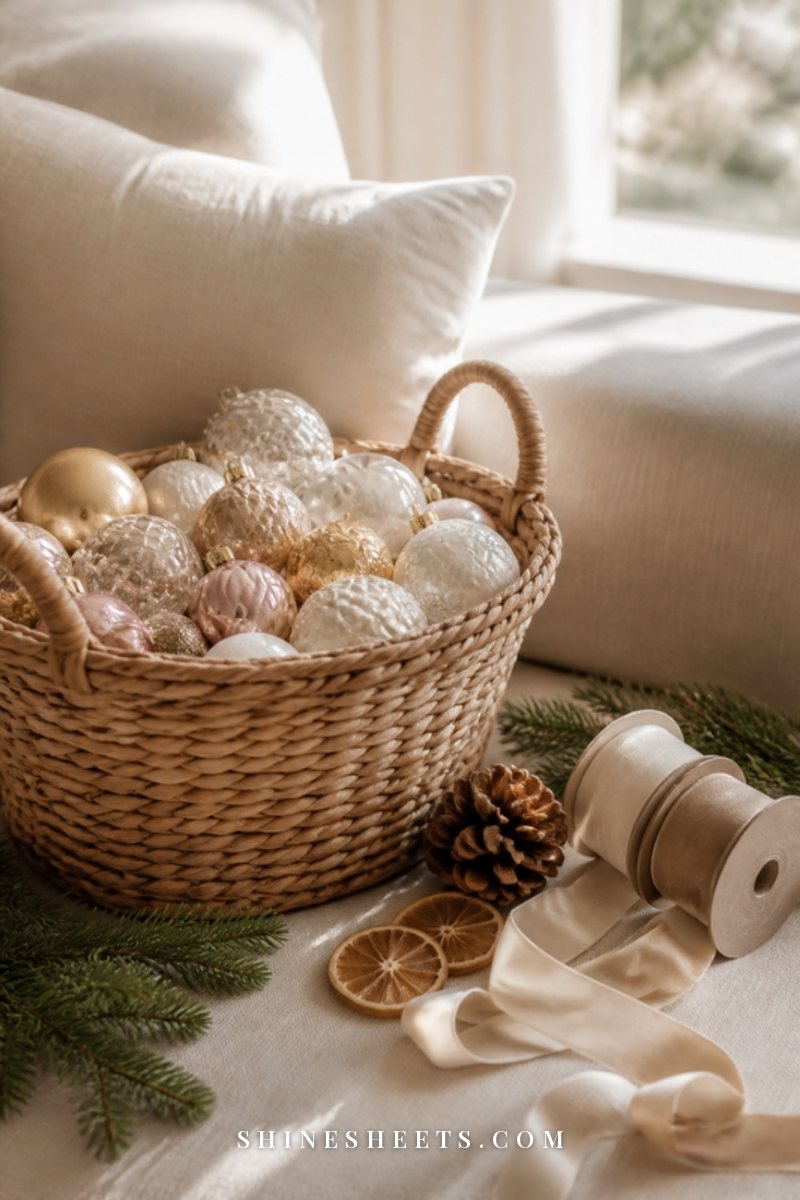
- Spend on lights and ribbon first. They create most of the effect for the least money.
- Buy filler balls in bulk sets in two shades of your palette rather than many individual ornaments.
- Shop your home. Dried orange slices, pinecones from a walk, cuttings from garden branches and leftover fabric bows all work beautifully.
- Spray-paint old ornaments in one metallic to unify a mismatched collection (do it outdoors, with good ventilation).
- Shop after Christmas for next year: ribbon and ornaments are often deeply discounted in the days after.
- Rotate color stories. Store ornaments by color in labeled bins so you can switch palettes in future years without buying everything new.
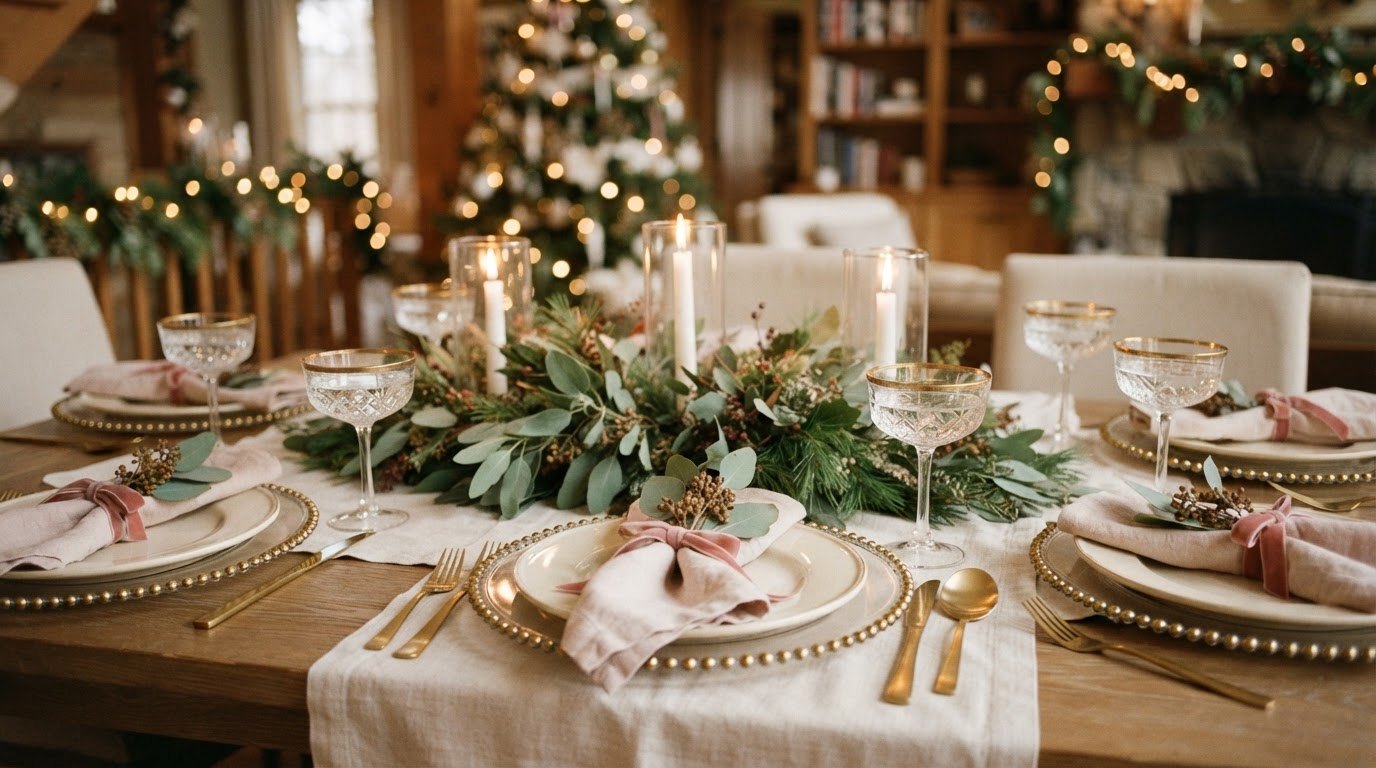
Once your tree is done, carry the same colors onto the table with my Christmas table setting ideas, and for the rituals that make the season feel special, browse these cozy Christmas traditions.
Storing Your Decorations for Next Year
A designer tree next December starts with how you pack it away this January. Wrap light strands around a piece of cardboard or a hanger so they don't tangle. Roll ribbon back onto its spool or around a paper towel tube. Store ornaments by color in lidded bins with dividers, and keep picks upright in a tall box so they don't crush. Write a quick note of what you used and what you wish you'd had, and tuck it into the top bin. Future you will be very grateful.
Final Thoughts
Decorating a Christmas tree like a designer comes down to a few calm choices: a clear palette, generous lights woven deep, ribbon for movement, and ornaments layered from the inside out. Give yourself an unhurried afternoon, put on some music, and let the tree come together one layer at a time.
The most beautiful trees aren't the most expensive ones. They're the ones decorated with intention, and that's something every home can have.