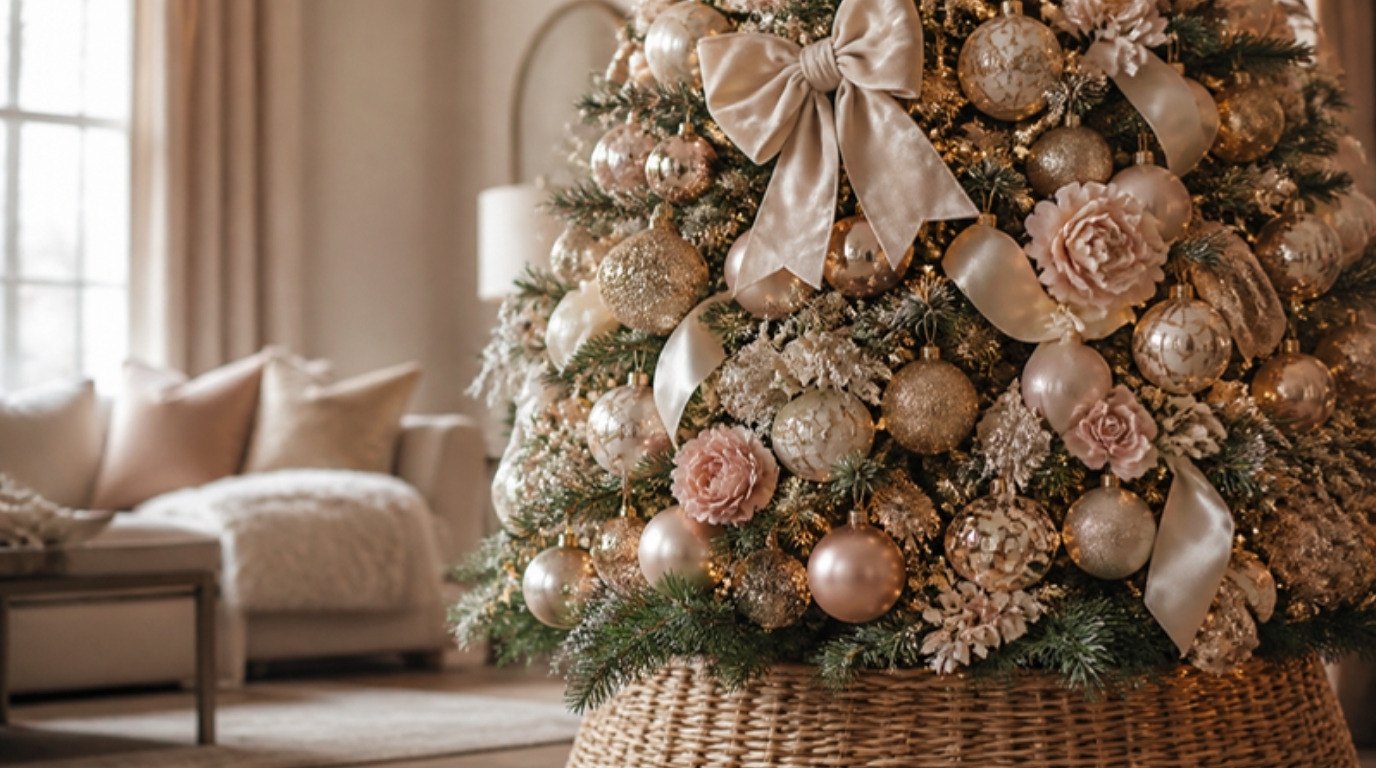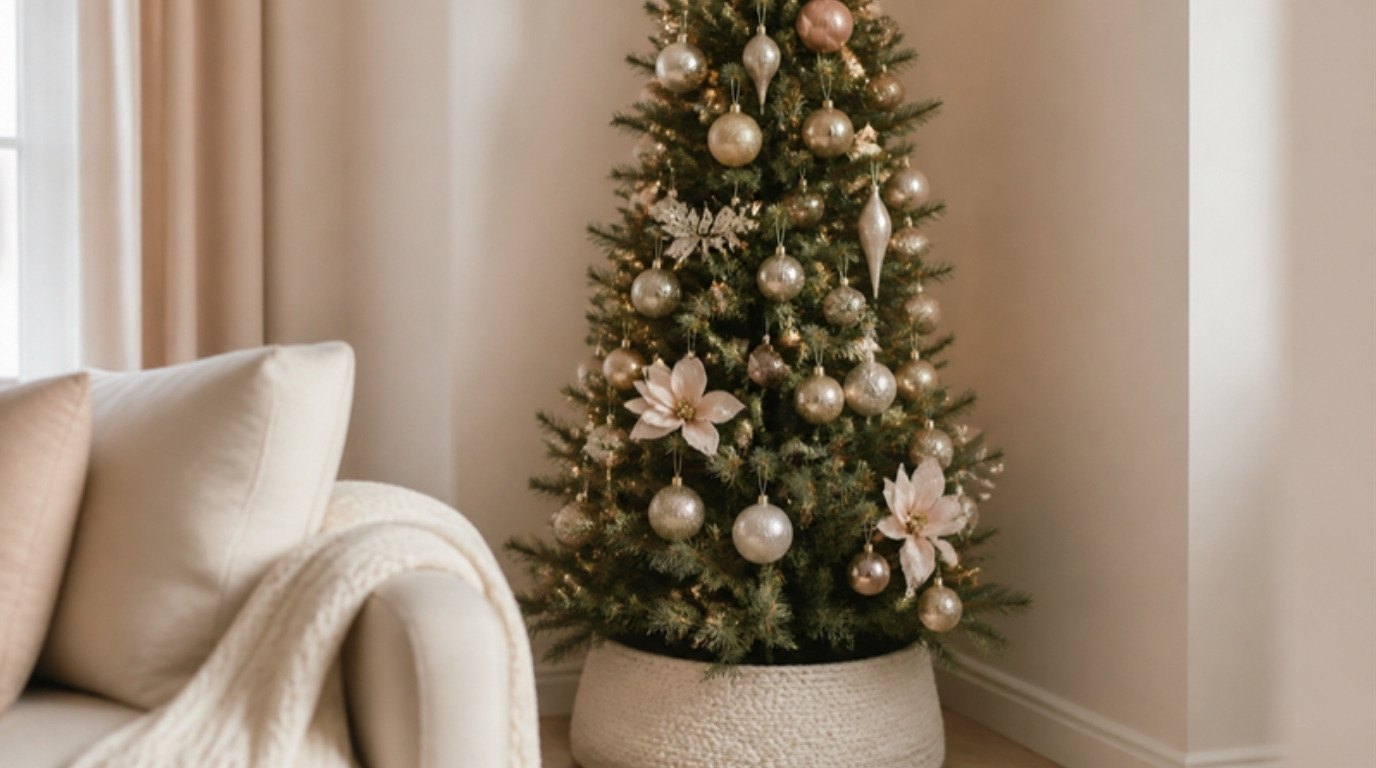
An artificial Christmas tree almost never looks full straight out of the box, and that isn't a sign you bought the wrong one. Every tree is packed flat and tight, so the branches arrive pressed against the trunk. The full, lush look in the photos comes from shaping, not from the tree itself.
The good news is that fluffing is simple once you know the order: let the branches relax, start at the bottom, shape from the trunk outward and check your work from across the room. It takes a little patience, but no special talent.
This guide covers exactly how to fluff an artificial Christmas tree so it looks full: why trees look flat, how to prep, a six-step fluffing method, a table with fluffing times and the best trick for each tree height, ways to make your tree look even fuller with lights, ribbon and picks, simple safety notes and how to store it so next season is easier.
Put on some music and make a cup of tea. This is a slow, satisfying job.
Why Artificial Trees Look Flat Out of the Box
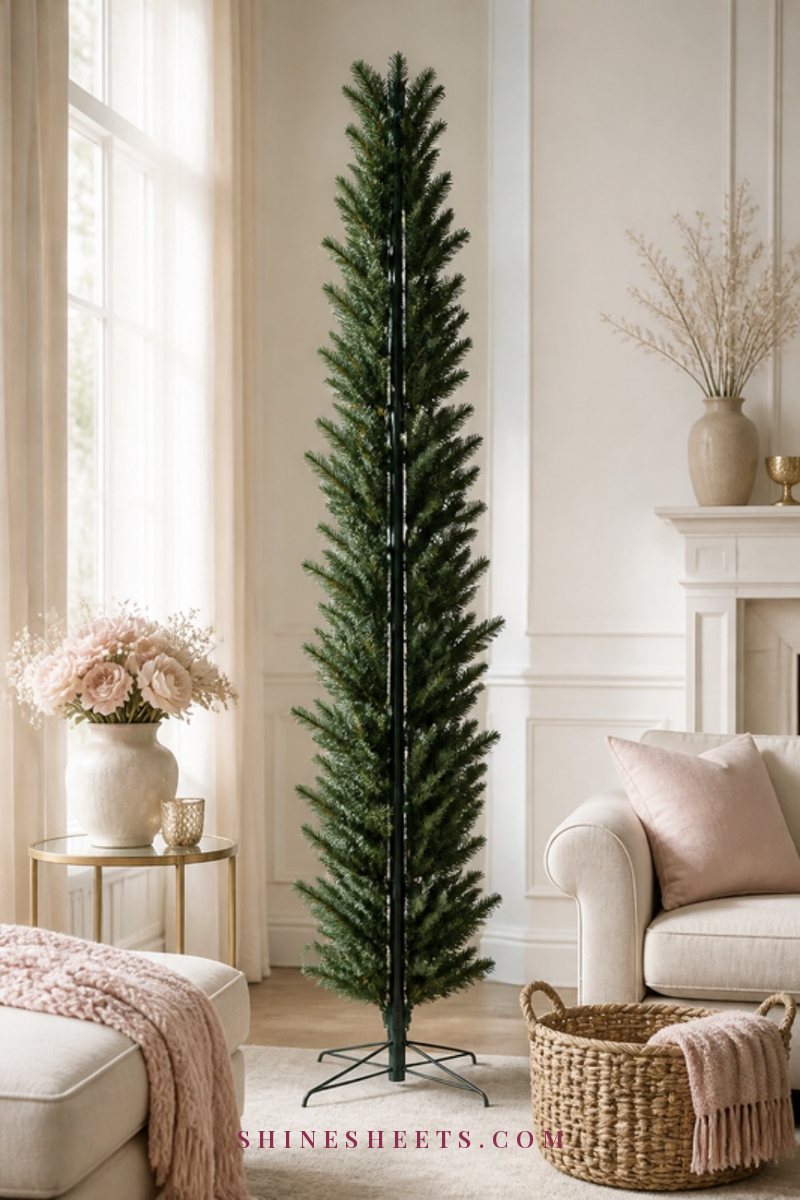
Artificial trees are folded and compressed for shipping and storage. Each branch is made of many smaller tips wired to a central stem, and in the box all of those tips are squeezed together in one flat direction. When you first set the tree up, you're seeing the shape of the box, not the shape of the tree.
A few things make the flat look worse:
- Skipping the inner branches. Most people fluff the outer tips and leave the inside bare, so you can see straight through to the trunk.
- Fanning every tip in the same direction. Tips that all point flat and outward look like a row of paddles rather than a tree.
- Working top-down. If you start at the top, you end up knocking and flattening the sections you've already done.
- Rushing. A tall tree has hundreds of tips. Quick fluffing shows.
Fix those four things and almost any tree looks fuller and more expensive.
Before You Start: Let the Branches Relax
If your tree is new or has been stored in a cold space, take it out of the box or bag and let the sections rest for one to two hours before you start shaping. Set them up in their stand (or lay the sections on a clean floor) in a room at normal temperature. Compressed branches soften and start to open a little on their own, which makes the fluffing easier and kinder to the wire.
This is a good moment to check the lights if your tree is pre-lit. Plug each section in briefly to make sure the strands work before you've spent an hour shaping around a dead section.
What You Need Before You Start
Fluffing is easier and much more comfortable with a little prep. Gather these before the first branch:
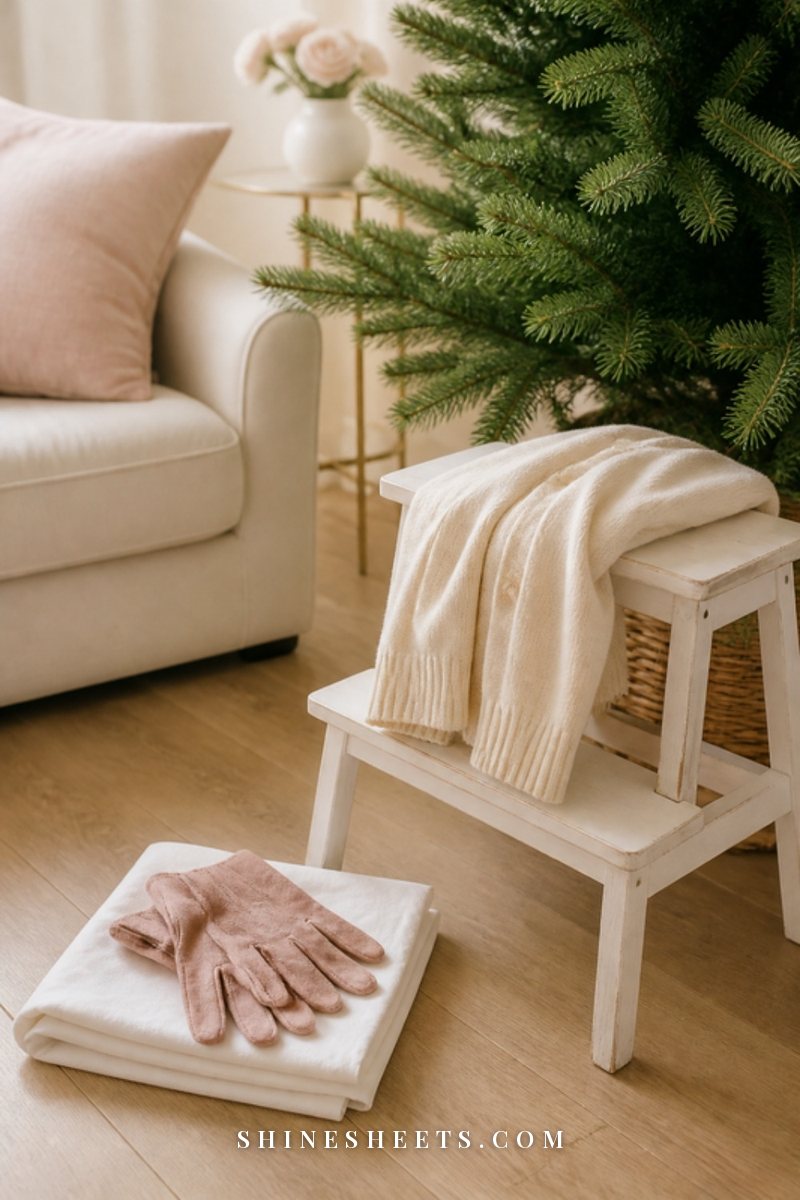
- Gloves. Artificial needles and wire tips can scratch and leave your hands sore. A pair of blush gardening gloves with a soft, grippy palm protects your hands while still letting you feel the tips. Look for a snug fit, so you can bend small tips easily.
- Long sleeves. Your forearms brush the branches the whole time, so a soft long-sleeved top saves you from the itchy, scratched-up feeling.
- A sheet on the floor. Older trees shed little bits of needles and dust. An old bedsheet under the tree catches it all, and you just fold it up and shake it outside afterwards.
- A step stool. For anything over about 6 feet, you'll need to reach the top safely. A sturdy, stable step stool beats standing on a chair every time.
- Time and a podcast. Fluffing goes much faster when you're not watching the clock.
The 6-Step Fluffing Method
Follow these steps section by section. If your tree comes in three or four parts, you can fluff each section before stacking the next one on, which makes the lower branches much easier to reach.
1. Start at the Bottom and Work Up

Always begin with the lowest tier of branches and work your way up, one row at a time. This keeps you from bumping finished branches as you move, and it lets you build the tree's shape from a wide, full base. If your tree is in sections, set up only the bottom section first, fluff it completely, then add the next one.
2. Shape the Inner Tips Nearest the Trunk First
On each branch, start with the tips closest to the trunk, then move outward toward the end. These inner tips are what hide the pole and give the tree depth. Gently separate each one from its neighbors and bend it away from the stem. It feels like extra work, but it's the single biggest difference between a tree that looks see-through and one that looks dense.
3. Fan Each Branch Tip: Up, Down and Sideways
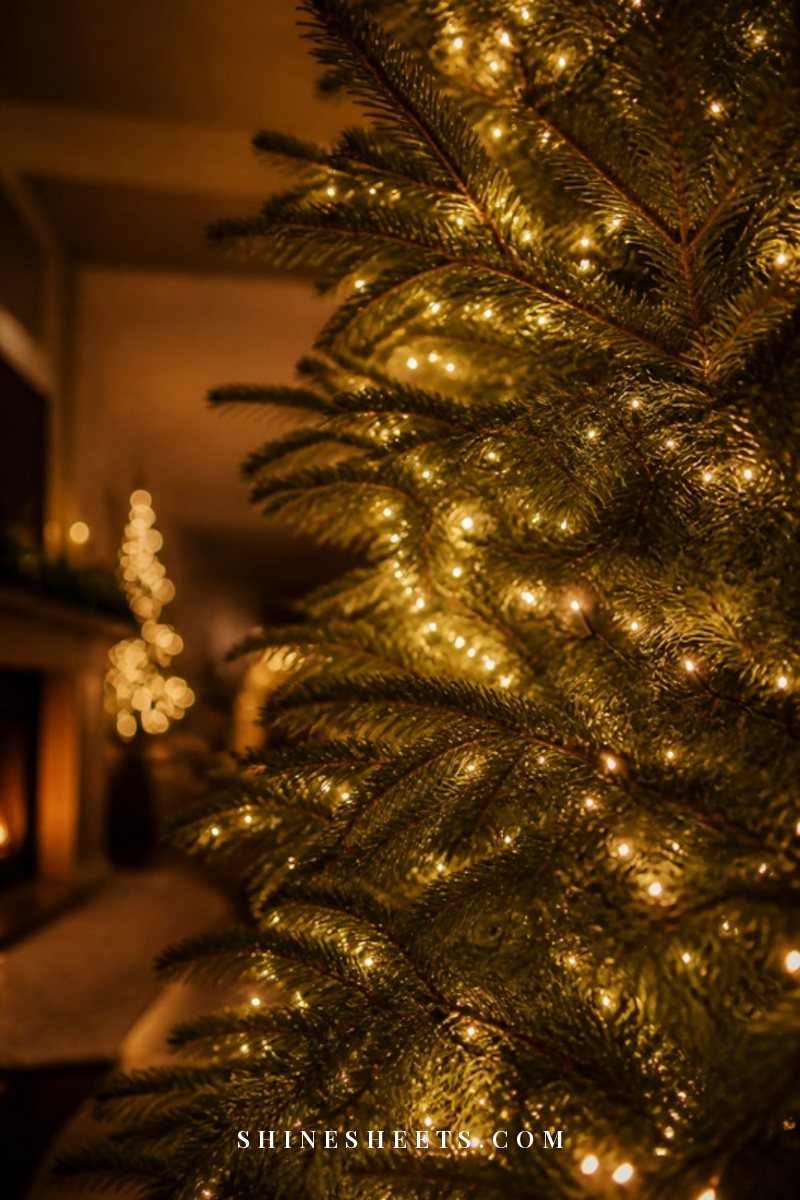
This is the real secret. Instead of bending every tip flat and outward, alternate the direction:
- Bend one tip slightly up.
- Bend the next slightly down.
- Bend the next one sideways to the left, then one to the right.
- Repeat the pattern along the whole branch.
The tips should look a little like an open hand with the fingers spread in every direction. That variety fills the air space between branches and creates the soft, full look of a real tree.
4. Angle the Outer Tips Slightly Up
Once a branch is fanned, take the very end tip and angle it gently upward, about 30 to 45 degrees. Real fir branches tend to lift at the ends, so this small curve makes the whole tree look more natural and gives ornaments a natural little "shelf" to rest on later.
5. Rotate Branches To Fill Gaps
Most hinged branches can swivel slightly left or right where they attach to the pole. If you see a gap, rotate the neighboring branches toward it before fluffing more tips into it. Small adjustments of an inch or two often close a gap completely.
6. Step Back and Check From 6 to 8 Feet Away

After every row or two, step back about 6 to 8 feet and look at the tree. Then check it from a few angles: straight on, from each side, and from where you'll usually be sitting. Squinting a little helps, because gaps show up as dark patches. Fix any holes, then carry on to the next row. Do one final check at the end, ideally in the evening light you'll see the tree in most.
How Long It Takes: Fluffing Time by Tree Size
Fluffing time depends on height, branch count and how compressed the tree is. Here's a realistic guide, plus the trick that helps most at each size. Screenshot it for next season.
| Tree height | Approximate time | Best trick |
|---|---|---|
| 2–3 ft (tabletop) | 10–20 minutes | Fluff it at the table at eye level, then place it. |
| 4 ft | About 30 minutes | Focus on the inner tips; small trees look sparse fastest. |
| 5–6 ft | 45 minutes to 1 hour | Fluff each section before stacking the next one. |
| 6.5–7 ft | 1 to 2 hours | Check from 6–8 feet away after every two rows. |
| 7.5 ft | 1.5 to 3 hours | Split it over two sessions: bottom half one evening, top half the next. |
| 9 ft and taller | 3 to 4 hours or more | Use a sturdy step stool and get a second pair of hands for the top. |
A new tree usually takes longer the first year, because the tips are stiffer. Once it's been shaped, later seasons tend to go faster.
How To Make Your Tree Look Even Fuller
Once the branches are shaped, a few decorating tricks add even more depth. If you'd like a full step-by-step on dressing the tree afterwards, my guide on how to decorate a Christmas tree like a designer takes it layer by layer.
Tuck Lights Deep Into the Branches

Lights wrapped only around the outside sit on the surface. Instead, work them in toward the trunk: run the strand along a branch toward the pole, then back out along the next branch, and repeat. The tree looks lit from within, which makes it read as denser. Warm white fairy lights on a thin green or clear wire disappear into the needles and give a soft, candle-like light. Look for LED strands marked for indoor use, with a gentle warm tone rather than a cool blue-white. A rough guide is about 100 lights per foot of tree height if you want it bright and full.
Weave In Ribbon
Ribbon fills the visual space between branches beautifully. A champagne velvet ribbon in a 2.5-inch width looks rich and soft against green. Cut it into 12 to 18-inch lengths, tuck one end deep into the branches, let a soft loop puff out, and tuck the other end in a few inches further along. Space the loops in a loose diagonal or at random, rather than neat rows. Wired ribbon holds its shape best.
Fill Gaps With Floral Picks
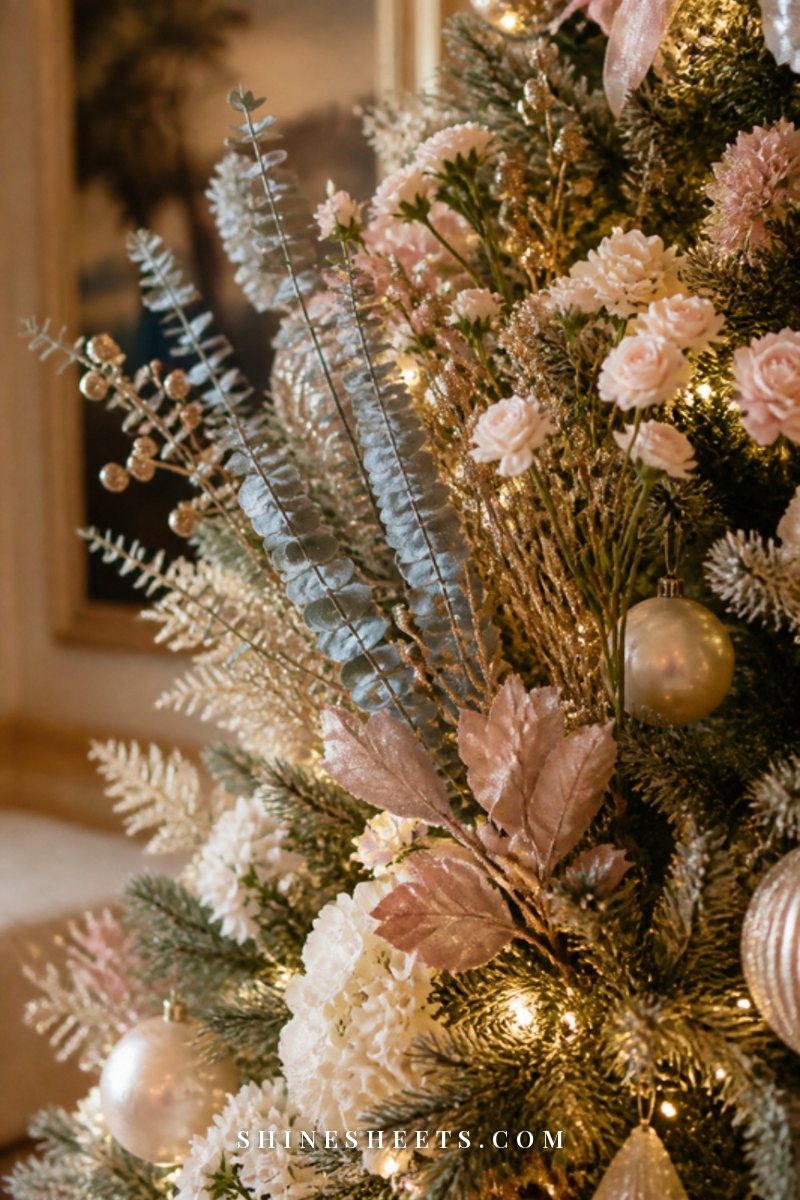
Floral picks are the quickest fix for a stubborn gap. Push the stem deep into the branch so only the decorative top shows. Gold floral picks with sprays, berries or leaves add sparkle and texture at the same time. Look for picks in gold, cream or champagne tones with bendable stems, so you can angle them into place. Add a few dried eucalyptus or cream berry picks for a softer, more natural feel.
Finish the Base With a Tree Collar
A bare metal or plastic stand pulls the eye straight down. A cream tree collar covers the stand neatly and makes even a modest tree look styled. Choose a woven, rattan-look or knit collar in cream or natural tones, sized a few inches wider than your stand. If you prefer a skirt, a soft faux-fur or linen one in ivory works just as well.
For more ideas on dressing the rest of the room in the same calm cream, blush and gold palette, browse my Christmas decor ideas.
Common Fluffing Mistakes
A few easy mistakes make a tree look sparse even after an hour of work. Watch for these five:
- Pulling branches straight out. Flat, horizontal branches look stiff. Always fan and lift.
- Ignoring the back of the tree. If the tree is against a wall, you can fluff the back more lightly, but leave none of it compressed, or the sides will look thin.
- Bending wire too sharply. Gentle curves only. Kinked tips can snap after a few seasons.
- Skipping the final check from across the room. Gaps that are invisible up close are obvious from the sofa.
- Decorating before fluffing is finished. Ornaments weigh down unshaped branches and hide gaps you'll notice later.
Fluffing a Pre-Lit Tree
Pre-lit trees fluff the same way, but the wires need a little extra care. Work around the light strands rather than against them:
- Keep the tree unplugged while you shape it, and only plug it in to check your progress.
- Move tips, not wires. If a bulb sits awkwardly, bend the nearby tips around it instead of pulling the strand.
- Tuck visible wire behind the tips by fanning a tip or two over it, so the strand disappears into the branch.
- Check each section's connection as you stack it. If a section stays dark, it's often a plug that isn't fully seated between sections.
Pre-lit trees usually take 15 to 30 minutes longer to fluff than unlit ones of the same size, simply because you're working more gently.
How To Revive an Older, Flattened Tree
A tree that has spent many seasons squashed in a box can look tired, but it can usually be brought back. Give it a longer rest after unpacking, two to three hours or even overnight, so the tips have time to relax. Then fluff in two rounds: a quick first pass to open everything up, and a slower second pass to fan and lift each tip properly.
A few more tricks help an older tree:
- Dust it first. Wipe the branches with a soft, dry microfiber cloth, or use a hair dryer on the cool setting to blow off dust. Clean tips look greener and fuller.
- Concentrate filler where it shows. Put extra ribbon loops and picks on the front and sides you see most, and fewer on the back against the wall.
- Add a garland inside the tree. A plain, inexpensive green garland wound around the trunk and inner branches hides a thinning middle.
Many people find that setting up the tree together becomes a small ritual of its own, with music, a warm drink and the same ornaments every year. If you love that kind of seasonal moment, my list of Christmas traditions to start has plenty of gentle ideas.
Tree and Lights Safety
A few minutes of safety habits keep the season calm:
- Check the cords every year. Look for frayed wires, cracked sockets or loose connections before you plug anything in, and replace any damaged strands.
- Use lights rated for indoor use and follow the maker's guidance on how many strands can be connected end to end.
- Unplug the tree lights at night and whenever you leave home. A simple plug-in timer makes this effortless.
- Keep the tree away from heat. Leave at least 3 feet between the tree and heaters, fireplaces, radiators and candles.
- Keep exits clear, so the tree never blocks a doorway or walkway.
The National Fire Protection Association has helpful winter holiday safety tips if you'd like to read more.
How To Store Your Tree So It Stays Full
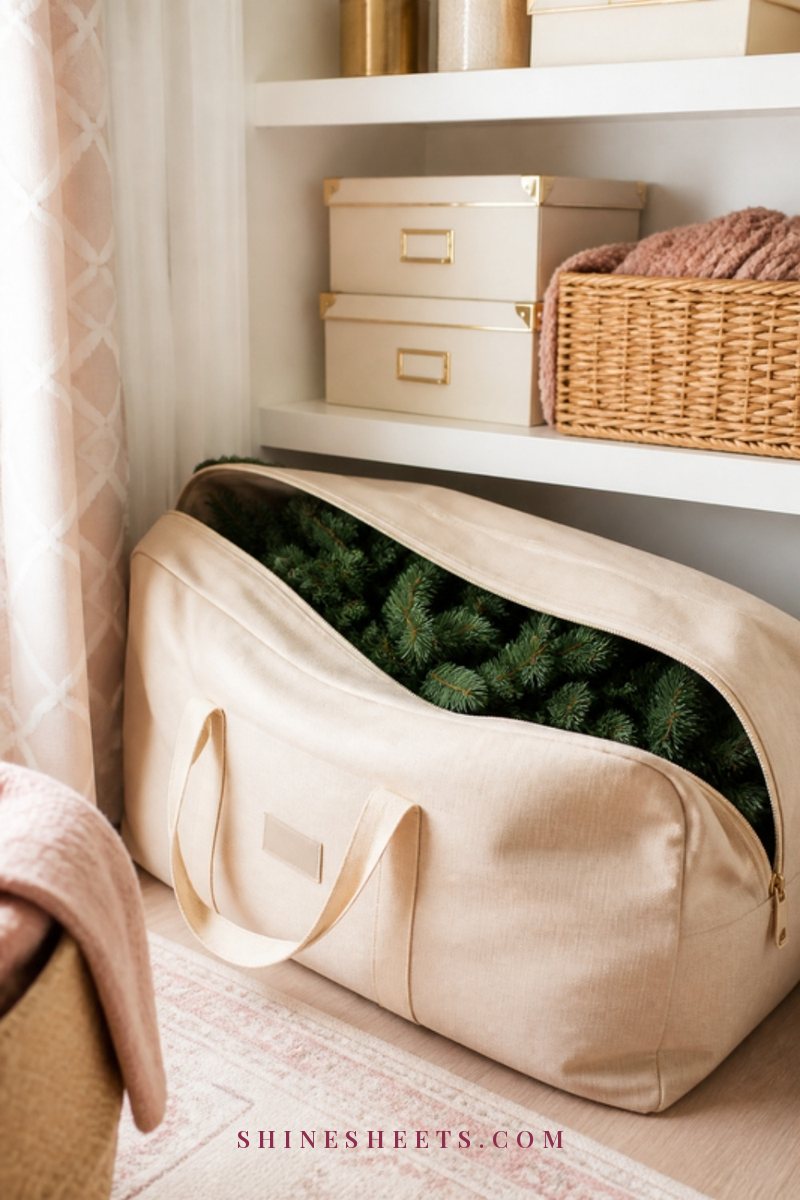
How you pack the tree away decides how much fluffing you'll do next time. Here's the gentle way to do it:
- Remove every ornament, pick and ribbon, so nothing gets crushed into the branches.
- Fold branches up, not down. Gently lift each hinged branch toward the top of the pole, the same way it came in the box. This protects the hinges.
- Wrap pre-lit sections loosely so the wires aren't pulled tight.
- Use a proper storage bag. An artificial tree storage bag with strong handles and a wide zipper is far easier than forcing the tree back into its original box. Choose one sized for your tree's height, in a neutral color, with a water-resistant fabric.
- Store it somewhere dry, with steady temperatures. Avoid damp basements or very hot attics, which can warp tips and fade the color.
If you're short on space this season, my sister guide on small apartment Christmas decor has ideas for slimmer trees and clever placement.
Final Thoughts
Learning how to fluff an artificial Christmas tree is mostly about patience and order: let it relax, start at the bottom, shape the inner tips first, fan in every direction and step back often. The full, lush look you love in photos is well within reach.
Give yourself an unhurried evening for it, put on your favorite music and enjoy the slow, quiet moment when a flat tree turns into the heart of the room. It's one of my favorite parts of the season, and it makes every ornament afterwards look even prettier.