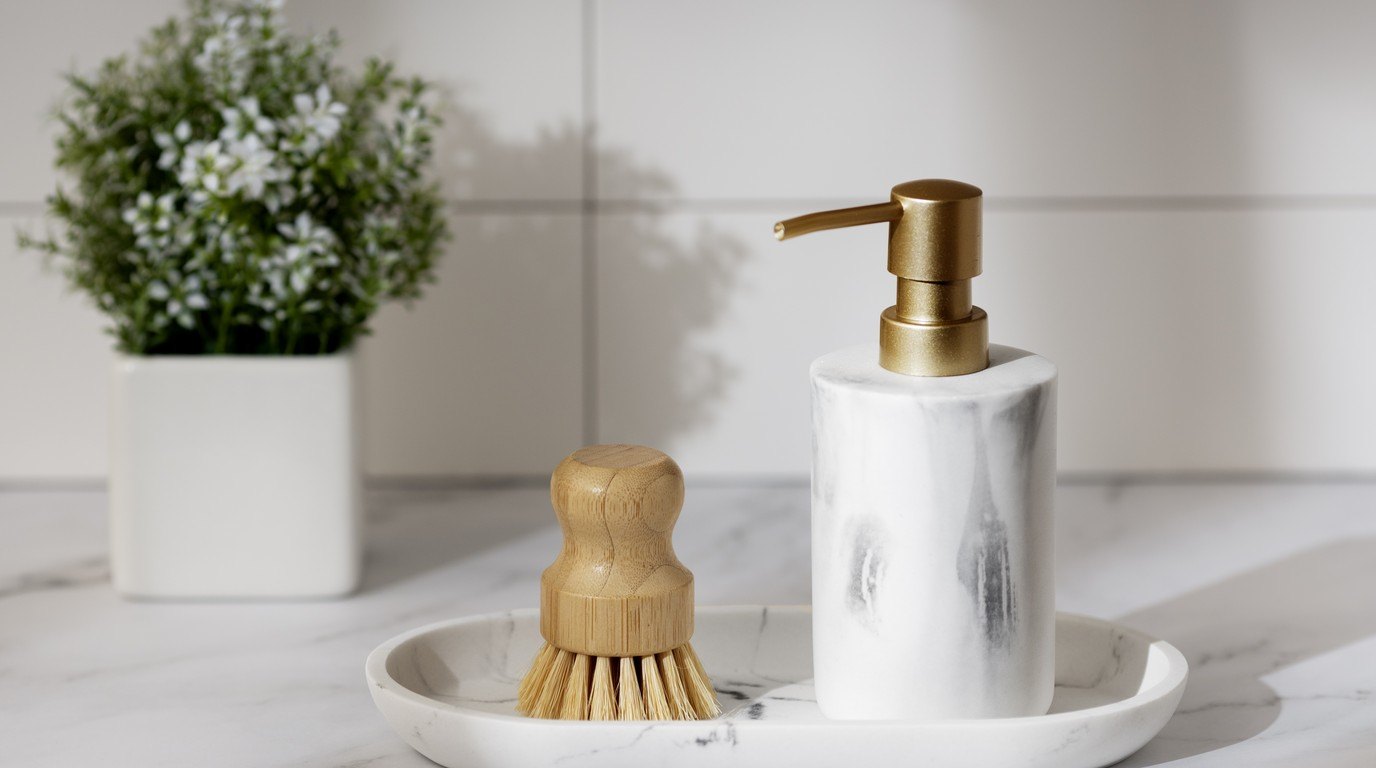
A calm, tidy shower doesn't need a single hole in the wall. Renter-friendly storage has come a long way, and the right mix of tension, suction, adhesive and hanging pieces can hold everything you actually use, then come down cleanly on moving day with your deposit still safe.
The trick is choosing storage that matches your surface and the weight you need to hold, and installing it properly the first time. Most "it fell down at 2 a.m." stories come from rushing the setup rather than from the product itself.
This guide to shower organization without drilling covers a quick edit to start, 8 no-drill storage ideas, a comparison table, how to install adhesive storage so it holds, real weight limits, how to remove everything cleanly and how to keep it all hygienic. No tools, no damaged tiles.
Start With a Shower Edit
Before you buy anything, take everything out of the shower. All of it. It takes about 15 minutes and usually reduces what you need to store by a third.
- Toss the empties. Those bottles with one sad squeeze left go straight into recycling.
- Keep one of each. One shampoo, one conditioner, one body wash, one face cleanser if you wash your face in the shower. Backups and half-finished "maybe" bottles move to a cabinet.
- Move what you don't use in the shower. Hair masks you use once a week, extra razors and travel minis can live outside the shower.
- Check for rust or mold. Old razors, rusty caddies and black-spotted loofahs go.
- Decant if you like. Matching bottles aren't required, but they make a small shower look calmer and fit neatly on narrow shelves.
If you decide to decant, a set of matching pump bottles in a soft cream shade looks clean and simple. Add small waterproof labels so nobody washes their hair with conditioner first (or don't, if you know your routine by heart).
Once you see what's left, you'll know exactly how much storage you need. For most people, it's two shelves and a couple of hooks, not a whole wall system. If you'd like to streamline the products themselves, my guide to an everything shower routine helps you decide what really belongs in there.
8 No-Drill Shower Organization Ideas
Here are eight renter-friendly options. You'll likely combine two or three, depending on your shower's layout and surfaces.
1. A Tension Pole Caddy
A tension pole caddy stands in the corner of your shower and holds itself in place with spring pressure between the tub (or floor) and the ceiling. It's the highest-capacity no-drill option and perfect for shared bathrooms.
- Best for: corner tubs and showers with a solid, flat ceiling.
- Setup: about 10 minutes. Extend the pole until it's snug, then twist the tension mechanism until it doesn't move when you push it.
- Watch for: textured or popcorn ceilings, which can crack, and very high or sloped ceilings, which may need a longer pole.
Look for a white rust-proof tension pole caddy with stainless steel or aluminum parts and open baskets that let water drain. Check the height range against your ceiling before you order.
2. An Over-the-Door or Over-the-Glass Caddy
If you have a glass shower door or a framed shower screen, a caddy that hooks over the top edge is wonderfully easy. It simply hangs, so there's nothing to install and nothing to remove.
- Best for: framed glass doors or panels with a top edge thin enough for the hooks.
- Tip: add the rubber pads that usually come with it to protect the glass and stop rattling.
- Watch for: sliding doors, where a caddy might block the track, and frameless glass, which may not have a safe edge to hang from.
3. Strong Adhesive Shelves
Modern adhesive shower shelves can hold a surprising amount when installed on smooth, non-porous tile or glass. They give you storage exactly where you want it, at the height that suits you.
- Best for: glazed tile, glass and smooth acrylic surrounds.
- Not for: grout lines, textured tile, natural stone, painted walls or anything peeling.
- Key rule: let the adhesive cure for at least 24 hours before loading it (more on this below).
A pick for a minimal look: clear adhesive shower shelves that almost disappear against white tile. Choose a design with drainage holes or slots so water can't pool.
4. Suction Cup Baskets
Suction storage is the easiest to move around and leaves no residue at all. The catch: classic suction cups can lose grip over time, so they're best for lighter items like a face cleanser, a razor or a sponge.
- Best for: perfectly smooth glass, mirrors outside the splash zone or glossy large-format tiles.
- Tip: clean both the cup and the surface with warm water, dry completely, then press firmly from the center out. Newer twist-lock or vacuum-style suction cups hold much better than plain ones.
- Refresh: if a cup starts to slide, remove it, wash it in warm water and reattach it.
A sage quick-dry shower basket with a lock-style suction mount is a sweet, soft-colored option that drains fast.
5. An Over-the-Showerhead Caddy
The classic hanging caddy slips over the shower arm (the pipe that holds your showerhead) and dangles below it. It's inexpensive and needs no installation at all.
- Best for: small showers with no corners or ledges.
- Tip: keep it light. Heavy bottles pull the caddy forward and can loosen the showerhead connection over time. A rubber band or the included grip around the shower arm stops it from sliding and spinning.
- Watch for: handheld or rain showerheads, where an arm caddy may not fit.
6. A Shower Curtain Pocket Liner
A shower liner with built-in mesh pockets turns your curtain into storage. It's perfect for very small bathrooms and keeps light items like a razor, a face sponge or a travel-size bottle within easy reach.
- Best for: tub-shower combos with a curtain rod.
- Tip: keep only light items in the pockets so the liner hangs straight and doesn't pull water outside the tub.
- Care: most fabric liners can go in the washing machine on a gentle cycle every few weeks.
7. A Rolling Cart Nearby

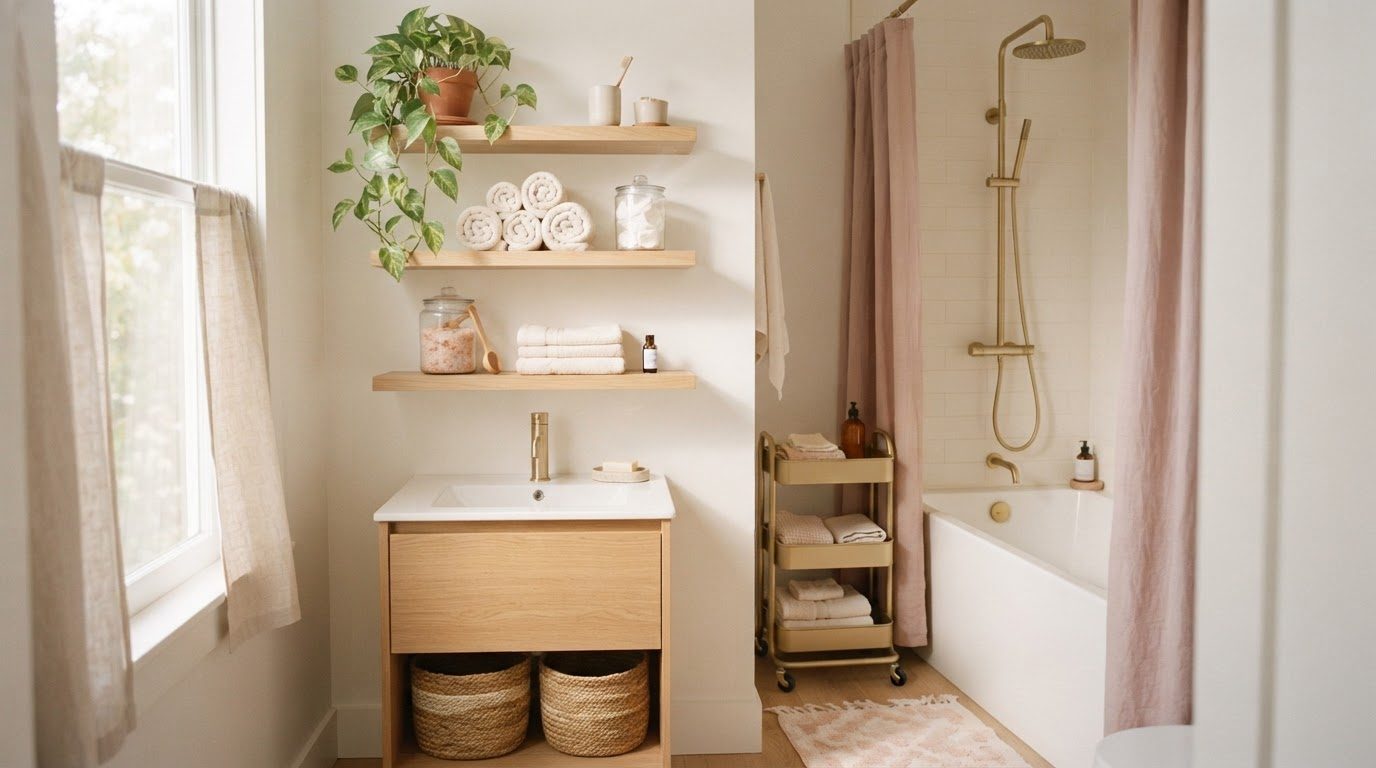
Sometimes the best shower storage isn't inside the shower at all. A slim rolling cart parked just outside holds backups, towels, a hair mask and anything you don't need every day, and it rolls away when you need to clean.
- Best for: bathrooms with a narrow gap beside the tub or toilet.
- Tip: choose metal with a rust-resistant finish or plastic, and keep it out of the direct spray zone.
- Bonus: it frees the shower itself for just the four or five things you use daily.
For more ideas on making a small bathroom feel bigger, these organization ideas for small bathrooms work beautifully with a rolling cart.
8. Adhesive Hooks for Loofahs and Razors
Hooks are the small finishing touch that keeps your shower from looking cluttered. A loofah hung to dry is much more hygienic than one sitting in a puddle, and a razor on a hook stays dry and away from little hands or paws.
- Best for: loofahs, bath sponges, razors, a small washcloth and a hair towel.
- Tip: choose waterproof hooks made for bathrooms (not the general indoor ones) and place them outside the direct spray if possible.
- Bonus: a soap holder that hangs from a hook or sits on a shelf, like a cream silicone soap dish with raised ridges, lets bar soap dry between uses instead of turning soft.
Simple Layouts for 3 Common Shower Types
Not sure how to combine these ideas? Here are three easy layouts that cover most rented bathrooms. Mix and match as you like.
The Tub-Shower Combo
This is the most common rental setup, and the most flexible. Put a tension pole caddy in the back corner for shampoo, conditioner and body wash, with the heaviest bottles on the lowest shelf. Add a pocket liner to the curtain for a razor and a face sponge, and one waterproof hook near the front for your loofah. Backups and a hair mask go on a rolling cart beside the tub.
The Walk-In Shower With a Glass Door
Glass doors are wonderful for no-drill storage. Hang an over-the-glass caddy on the inside of the door for daily bottles, then add one or two adhesive shelves on the smooth tile wall opposite the showerhead for lighter items. If the door is frameless, skip the hanging caddy and use adhesive shelves plus a suction basket on the glass instead.
The Tiny Shower Stall
When space is really tight, go vertical and keep the floor clear. A slim over-the-showerhead caddy holds the essentials, a single suction basket takes your face cleanser and razor, and everything else lives outside the shower on a cart or a shelf. In a tiny stall, the shower edit matters most of all: four or five products is a perfect number.
Whatever your layout, try to keep the products you reach for every day between hip and shoulder height. You'll stop bending into the corner of the tub, and fewer bottles will get knocked over while you rinse.
No-Drill Shower Storage Compared
Here is a quick look at all eight options side by side. Weight ranges are typical for each type; always check the specific product's stated limit.
| Storage option | Weight it typically holds | Surface needed | Removal ease | Cost |
|---|---|---|---|---|
| Tension pole caddy | High, often several bottles per shelf | Solid, flat ceiling and floor or tub edge | Very easy, just release the tension | $$ |
| Over-the-door or over-glass caddy | Medium | Framed glass door or panel top edge | Very easy, lift off | $ |
| Adhesive shelves | Medium to high, depending on the product | Smooth glazed tile, glass or acrylic | Moderate, needs warming and gentle removal | $ to $$ |
| Suction cup baskets | Light to medium | Very smooth, non-porous glass or glossy tile | Very easy, lift the tab | $ |
| Over-the-showerhead caddy | Light to medium | Standard fixed shower arm | Very easy, lift off | $ |
| Shower curtain pocket liner | Light | Curtain rod | Very easy, swap the liner | $ |
| Rolling cart nearby | High | Floor space outside the shower | Very easy, roll away | $ to $$ |
| Adhesive hooks | Light | Smooth tile or glass | Easy to moderate | $ |
How To Install Adhesive Storage So It Actually Holds
Adhesive storage fails for three reasons: a dirty surface, a wet surface or not enough curing time. Follow these steps and your shelves will stay put.
- Pick the spot carefully. Smooth, flat tile or glass, with the shelf fully on one tile rather than across grout lines. Stay out of the strongest spray if you can.
- Clean thoroughly. Soap scum and body oils are invisible but ruin adhesion. Wipe the area with rubbing alcohol (isopropyl) on a clean cloth, which removes residue and dries fast. Avoid household cleaners right before installing, as many leave a film.
- Dry completely. Don't install right after a shower. Wait until the bathroom is dry, ideally a few hours after the last shower, and wipe once more with a dry cloth.
- Press firmly. Peel the backing, place the mount and press hard for at least 30 seconds, covering the whole adhesive area.
- Let it cure for 24 hours. No showers and no weight on it for at least a full day. Some products recommend longer, so check the instructions. This waiting step is the one most people skip, and it's the one that matters most.
A small, honest admission: patience isn't my strongest skill, which is exactly why I'd install adhesive pieces in the morning on a day you can shower elsewhere, or right after your evening shower once the room has fully dried. Plan around the cure and twenty-four hours goes by faster than you think.
Weight Limits: What Your Storage Can Really Carry
Every adhesive, suction or hanging product has a weight limit, and it's worth taking seriously. A full 16-ounce bottle of shampoo weighs about a pound, and a big family-size bottle can weigh two or more.
- Add up what you'll store. Three full large bottles can easily reach four or five pounds.
- Stay below the limit. Aim for roughly half to two-thirds of the stated maximum for long-term use, especially with adhesive and suction pieces in a hot, steamy space.
- Put heavy items low. Big bottles go on the bottom shelf of a tension caddy or on a rolling cart. Light items like razors and face sponges go up high.
- Don't lean on it. Shelves and hooks are not grab bars and should never be used to steady yourself. If you need extra support getting in and out of the shower, ask your landlord about a properly installed grab bar.
How To Remove Hooks and Shelves Cleanly
When it's time to move or rearrange, take it slowly. Most damage happens when adhesive is pulled off cold and fast.
- Empty it first. Remove all bottles and items.
- Check for a release tab. Many adhesive products have a stretch-release strip. Pull it slowly, straight down along the wall, not outward.
- Warm the adhesive. For mounts without a tab, use a hair dryer on a warm setting for 30 to 60 seconds to soften the glue. Keep the dryer well away from water and unplug it when you're done.
- Use dental floss. Slide a length of unflavored floss behind the mount and saw gently back and forth to cut through the softened adhesive.
- Remove residue. Rub leftover adhesive with your thumb, or use a little rubbing alcohol on a soft cloth. Test any remover on a hidden spot first.
Never use a metal scraper or a knife on tile or glass, as it can scratch the glaze. And if you're also planning small pretty upgrades in a rented bathroom, my rental bathroom makeover guide has more deposit-safe ideas.
Keep It Hygienic: Rust, Drainage and Mold
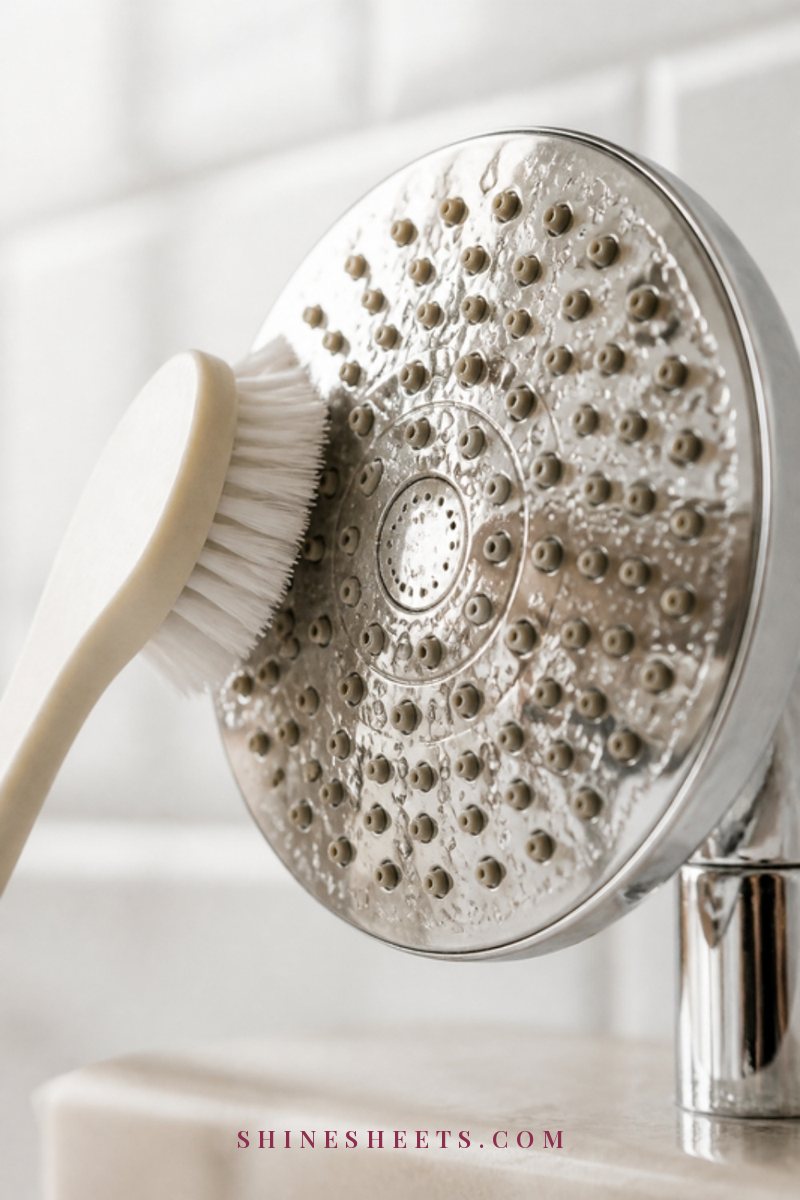
Shower storage lives in the wettest, warmest room in your home, which is exactly what mold loves. A few simple choices keep it fresh.
- Choose rust-proof materials. Stainless steel, aluminum, silicone or plastic. Cheap chrome-plated wire often rusts within months and can stain tile and grout.
- Pick quick-drain designs. Open baskets, slotted shelves and drainage holes keep water from pooling under bottles.
- Lift bottles off flat surfaces. A bottle sitting in a puddle leaves a ring of grime and soap scum.
- Ventilate. Run the exhaust fan during your shower and for 20 to 30 minutes afterward, or open a window. Keeping indoor humidity around 40 to 50 percent overall makes mold much less likely.
- Clean weekly. Once a week, take everything off the shelves, wipe shelves and baskets with a mild bathroom cleaner or warm soapy water, rinse and let them dry. Rinse bottle bottoms too.
A quick safety note: never mix bleach with vinegar or ammonia, as these combinations release harmful fumes. Use one cleaner at a time, keep the room ventilated and test new cleaners on a small hidden spot first.
If dark spots have already appeared, my guide on how to remove mold from shower caulk walks you through it safely, and these tips on how to keep your bathroom clean make the weekly wipe-down feel almost effortless.
Final Thoughts
Shower organization without drilling comes down to three things: keep only what you use, choose storage that suits your surfaces and weight, and install it with patience. Do that, and your shower stays calm and tidy for as long as you live there.
And when moving day comes, everything lifts off, rolls away or releases cleanly, leaving your tiles exactly as you found them. That's the quiet luxury of a renter-friendly home.