
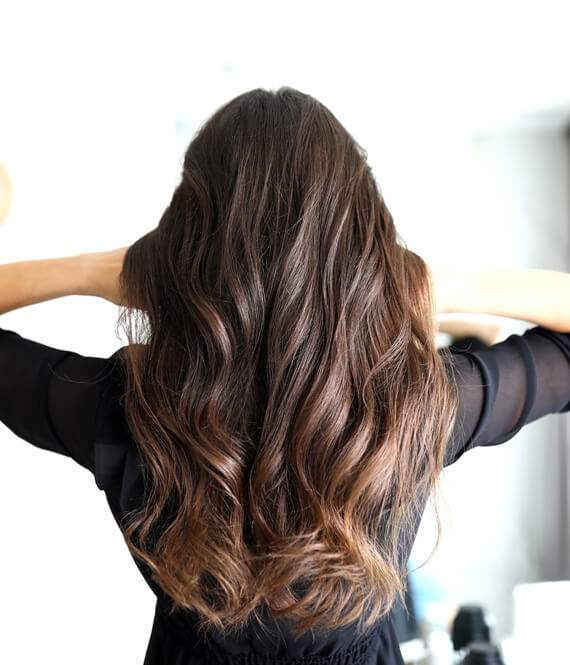
A flat iron or hair straightener is a versatile tool that, despite its name, can not only straighten but also curl locks. Moreover, you can make very different kinds of curls: careless, large, small, dense, etc. In this article, we will show you how to make beach waves that stay popular for many seasons in a row.
Your Daily Beach Waves Hair Guide
1. Tool Selection
When looking for the right flat iron for beach waves, keep in mind the same guidelines as for choosing any hot styling device:
- Power and temperature range. It’s good if an instrument is equipped with several settings so that you can choose them according to your hair type. The faster the tool reaches the desired temperature, the better.
- Coverage. There are straighteners with metal, titanium, and ceramic plates. Choose the last two, as they are more gentle with curls.
- Width. The required width of a device directly depends on the length and thickness of your hair. The shorter the strands, the thinner the plates should be.
- Additional functions. They are optional but greatly improve the styling process. The most common ones are worth noting: ionization, floating plates, additional attachments, rotating cord, built-in memory, etc.

2. Preparing Strands
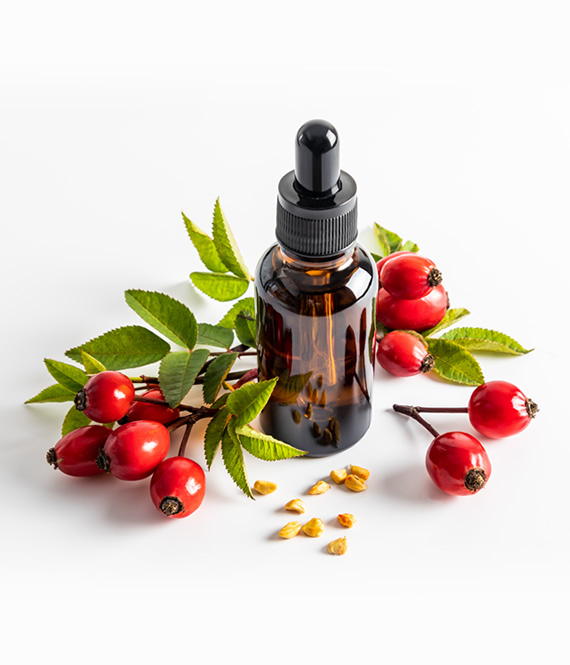
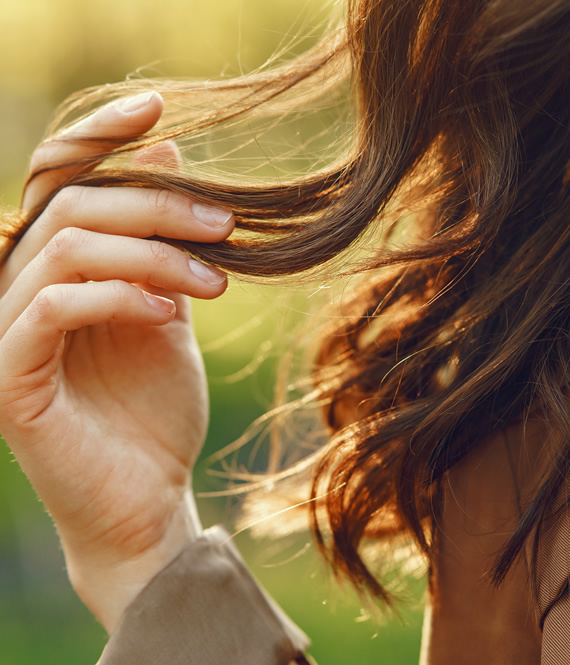
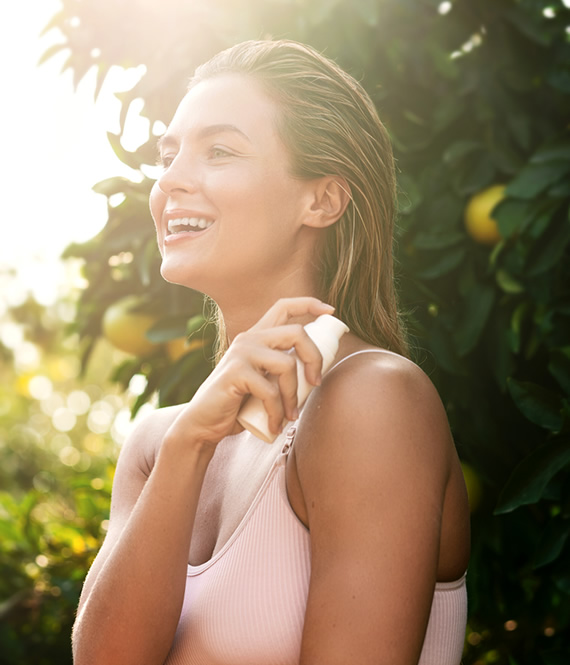
While making beach waves is a more delicate process than curling tight curls, you should still take care of your strands. Choose a leave-in heat protectant for your hair type and apply it over the entire length. Among sprays, emulsions, lotions, oils, and creams, look for one that does not contain alcohol but does have nutrients and vitamins. For added protection, you can pre-use rinse-off products such as shampoos, conditioners, and masks. Remember, these tools shouldn’t be applied to dirty hair. Leftover cosmetics under the influence of high temperatures can overheat and burn your strands.
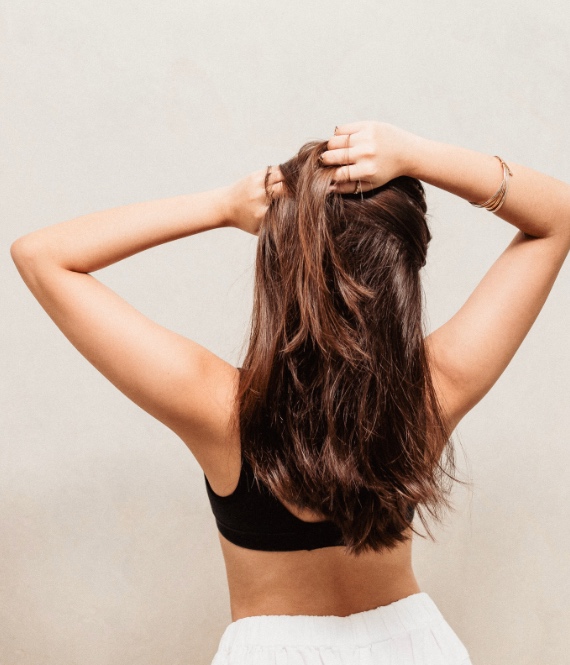
3. Methods of Creating Beachy Waves
There are several ways that can be used to achieve the desired effect. You can try each one and figure out which one suits you best. Although, in general, the steps for performing each technique are similar.
Step 1: Prepare your locks
Hair that has been washed and dried with a hairdryer or naturally should be treated with a heat protectant. Let the locks dry again completely, divide them into large sections, and secure them with hairpins.
Step 2: Wave hair
Professionals recommend starting from the back of your head. Divide the locks of one section into several strands of small width. Do not take too large, as they will be difficult to process. Next, you can style your hair in the following ways.
- Method 1
Pinch the strand as close to the roots as possible (be careful not to burn yourself), turn the flat iron 180 degrees, and slowly slide it down to the ends. It is better to do it in the direction from your face so that the hairdo will look better. Hold your hair lightly with your other hand so that it is fixed between the plates.
- Method 2
Looking for an easier way to create beach waves? Then try making small braids first. Gently and slowly slide the straightener along the hair towards the ends to warm the strands evenly. Unwind your braids, and you’ve got sloppy crimped locks. You can not make braids but twist the strands into tight bundles to make it easier for yourself.
- Method 3
With a flat iron, you can create pin curls as well. Twist the strands, secure them with pins, and heat with the tool. Let the curls cool completely and remove the bobby pins. This method will ensure that your styling lasts overnight.
- Method 4
There is another technique with which you can get the coveted beach waves. Place a strand between the plates, bend it slightly, and drop it back. It will create the “S” effect. Treat the entire lock to the ends in this way.
- Method 5
To get the most casual effect, you can simply turn your device in different directions. Hold the straightener horizontally, pinch the strand near the roots, and slowly work your way down. Twist the tool away and back periodically. It is the least time-consuming styling method.

Step 3: Treat the entire head
Continue working according to the chosen method and gradually move from section to section. Follow from the back of the head to the temples and crown. Hair near the face should be styled the very last. Do not stay in one place too long so as not to burn the curls.
Step 4: Fix the result
To make your styling last longer, you can use a hairdryer with a cold shot mode and treat the hair with a spray.
Be Beautiful Every Day
As you can see, the process of making beach waves with a flat iron is not super complicated.

There are methods that allow you to do this kind of careless styling every day. Of course, your possibilities do not end with the ways described in the article. You can also style your curls with foil, pencils, and headbands. Don’t limit yourself, try new things, and you may find a more convenient styling technique.
Like these tips? Scroll down for more!

Hi! I am author + writer on personal development, beauty, relationships and self-care, sharing insights through this blog since 2018. After years of practicing personal growth, emotional wellness and feminine lifestyle (plus 19 years in a thriving relationship), I share effective and tested advice to help you foster beauty, self-improvement and order in your life. Some articles are written by a small team of beautiful writers I trust.


You need to take part in a contest for among the finest blogs on the web. I will suggest this website!