The prettiest Valentine's manicures are rarely the busiest ones. A glossy sheer pink, a rosy nude or a short, soft red on healthy, well-shaped nails looks romantic in a way that heavy glitter and long extensions never quite manage, and it still looks good the week after.
The secret isn't skill. It's preparation and a few small habits: a clean shape, gently pushed-back cuticles, thin coats and a fresh layer of top coat every few days. Get those right and even the simplest shade looks like a salon visit.
This guide covers eight Valentine's nails you can do at home in soft pink, nude and soft red, with no nail art skills needed. You'll find the prep that makes every look last, a table comparing all eight, how to pick shades for your undertone and how to remove polish kindly so your nails stay strong.
Why Soft Valentine's Nails Work So Well
Soft shades are forgiving. A sheer pink hides small wobbles at the cuticle line, a nude makes fingers look longer, and a short red has that classic, put-together feeling without demanding perfect technique. They also go with everything you'll wear in February, from a cream sweater to a little black dress.
They're a gentle change from the sparkle of the holidays, too. If your December nails were all shimmer and deep berry (my festive holiday nail ideas lean that way), Valentine's is a lovely moment to go quieter and let healthy nails do the talking.
And there's a small Old Hollywood charm to it. I love how a short, glossy red or a sheer pink feels quietly glamorous, like something you'd see on a film star's hand holding a teacup. It's polished, not loud.
Soft nails are also kind to your hands in winter. February air is dry, and short, rounded nails with healthy cuticles are much less likely to snag on sweaters or split at the corners than long, square ones.
Prep First: The Base of Every Manicure
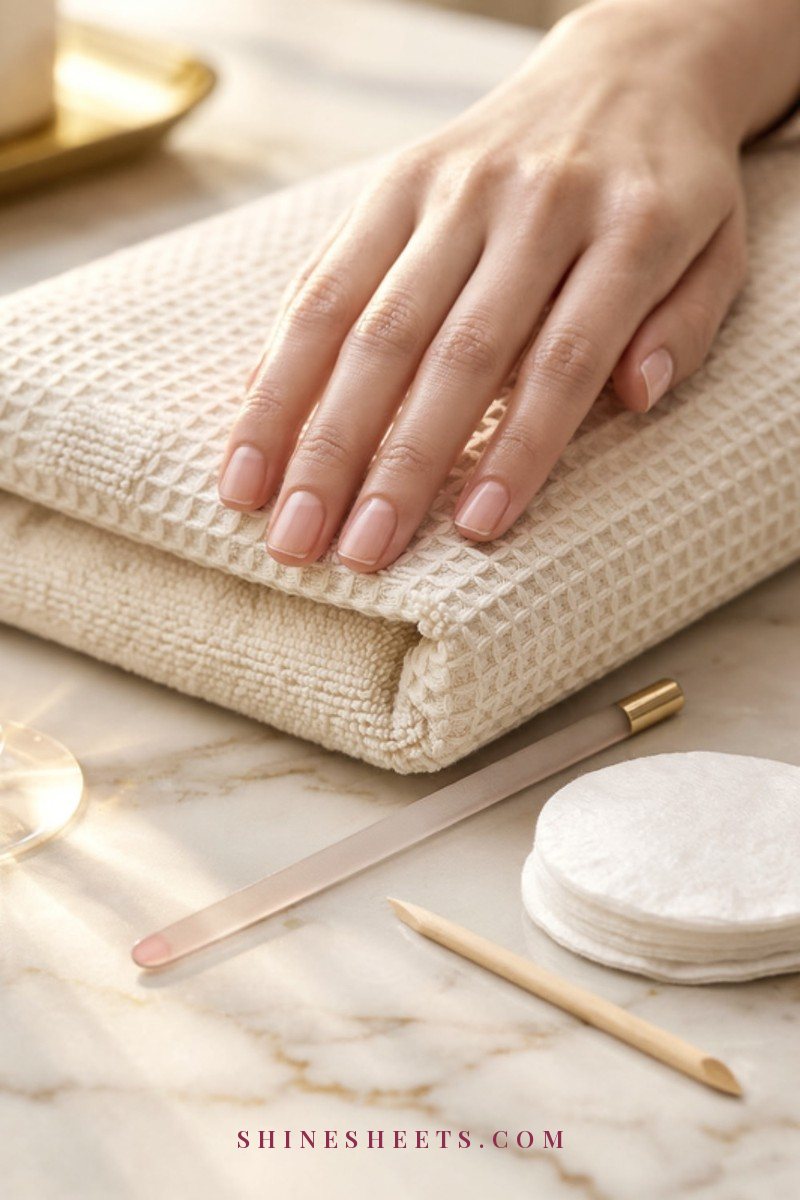
Every look in this guide starts the same way. Give yourself 15–20 minutes for prep before any color goes on. If you'd like the full step-by-step routine, my at-home manicure guide goes into more detail; here's the short version.
File the Shape
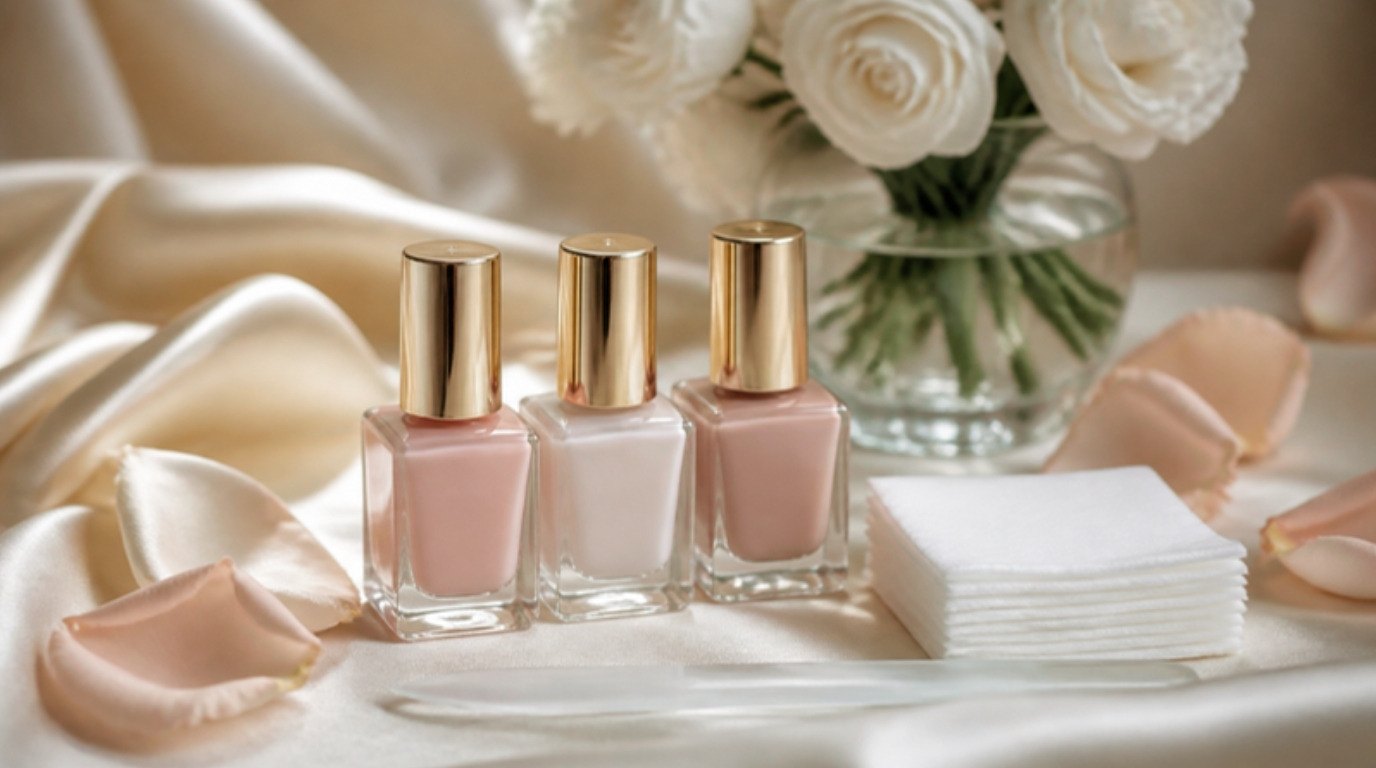
Start with clean, dry nails (filing wet nails can cause tears). For Valentine's looks, a short rounded or soft oval shape is the most flattering and the least likely to chip. File in one direction, from the side toward the center, rather than sawing back and forth. A glass nail file is a pick for this: it's gentle, seals the edge smoothly and rinses clean.
Push Cuticles Back Softly
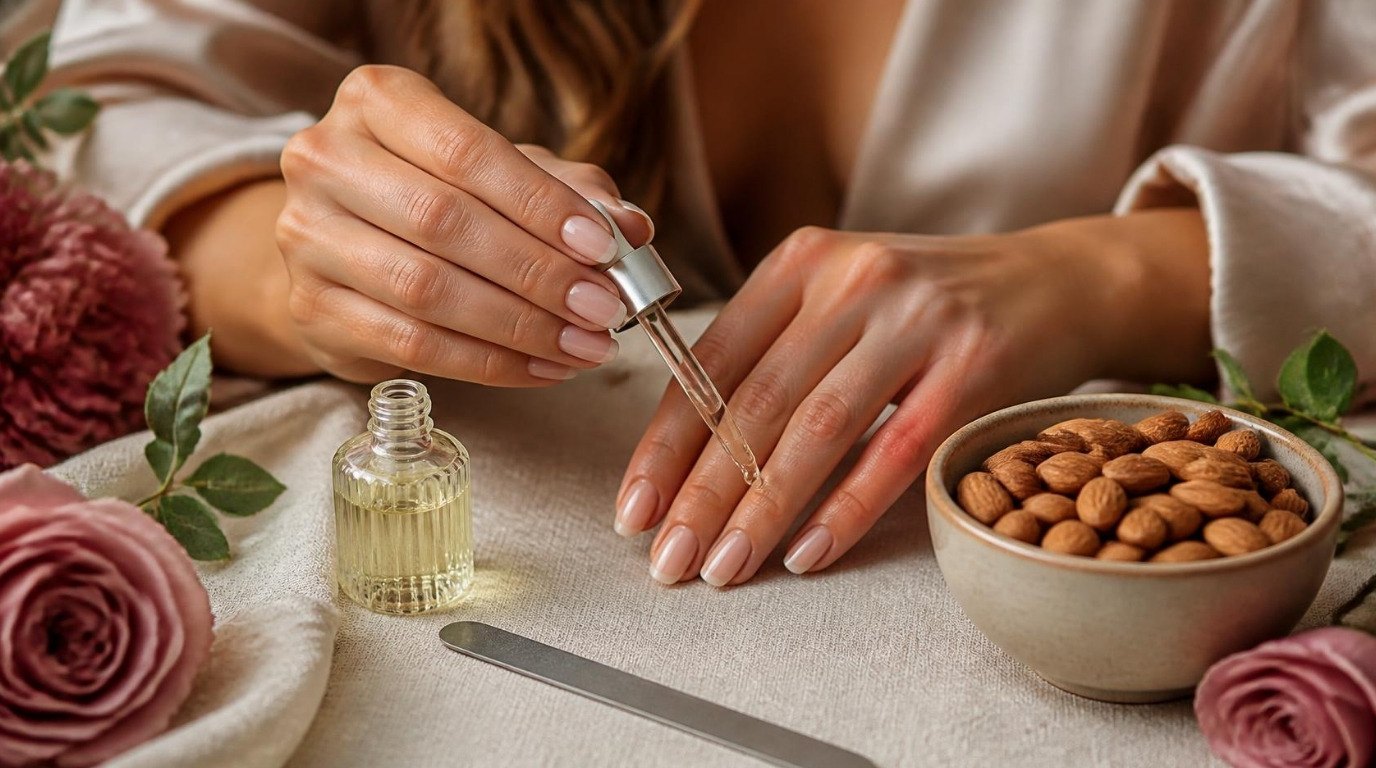
Soften cuticles with a warm, damp towel or a drop of cuticle oil for a minute, then push them back gently with a wooden stick wrapped in a little cotton. Push, don't cut. Cuticles protect the nail from bacteria, so leave them in place. My guide to soft, neat cuticles without cutting explains why this matters so much.
Buff Lightly
A light buff smooths ridges so polish goes on evenly. Use the softest side of a gentle nail buffer and make just three or four passes per nail. Over-buffing thins the nail, so this is a light touch, not a polish-off-the-surface job, and once every couple of weeks is plenty.
Base Coat
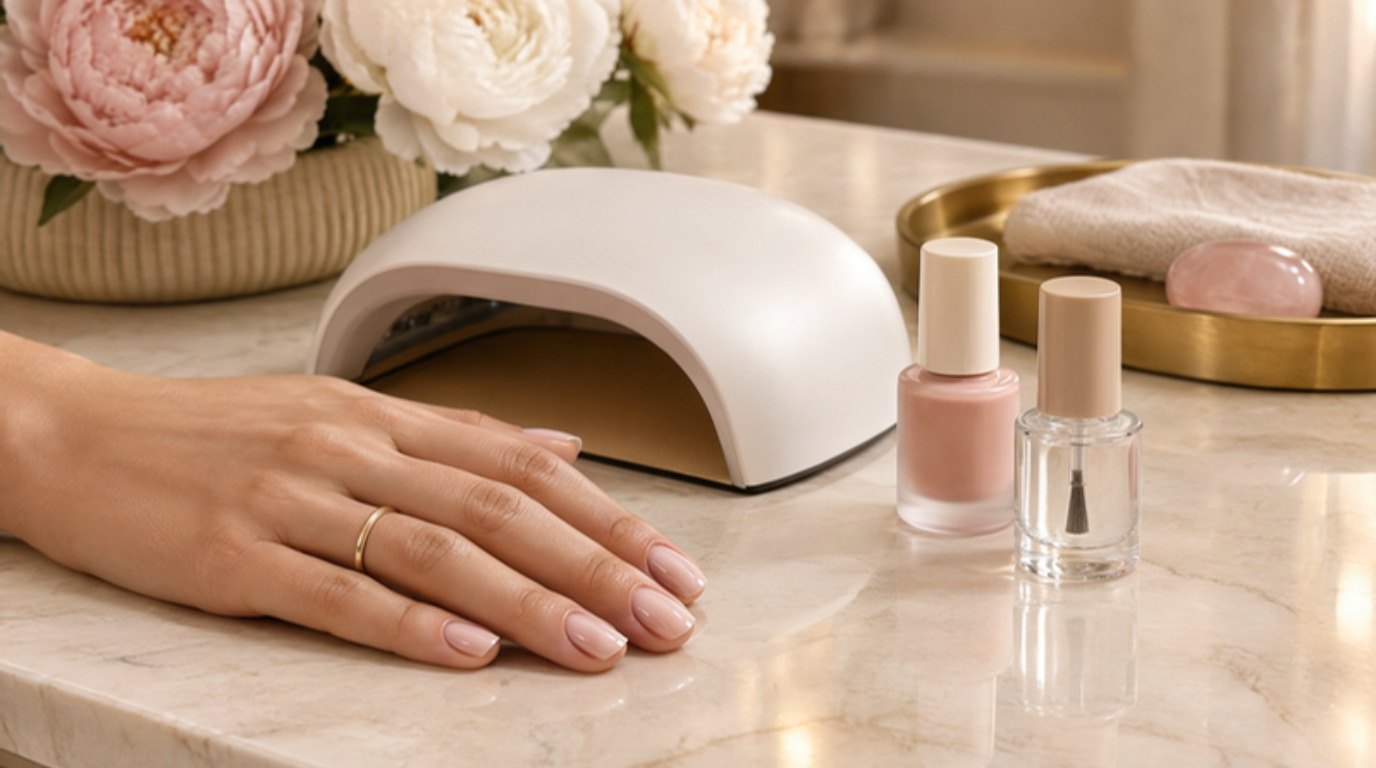
Wipe each nail with a little polish remover on a cotton pad to remove oils, then apply one thin layer of base coat. It helps polish grip, prevents red and pink pigments from staining your nails and gives every look a smoother finish. Let it dry for two minutes before color.
8 Valentine's Nails To Do at Home
All eight looks below use basic polish techniques, so you can choose by mood rather than skill. Pick one for the whole month, or switch between two that suit different plans.
1. Sheer Milky Pink
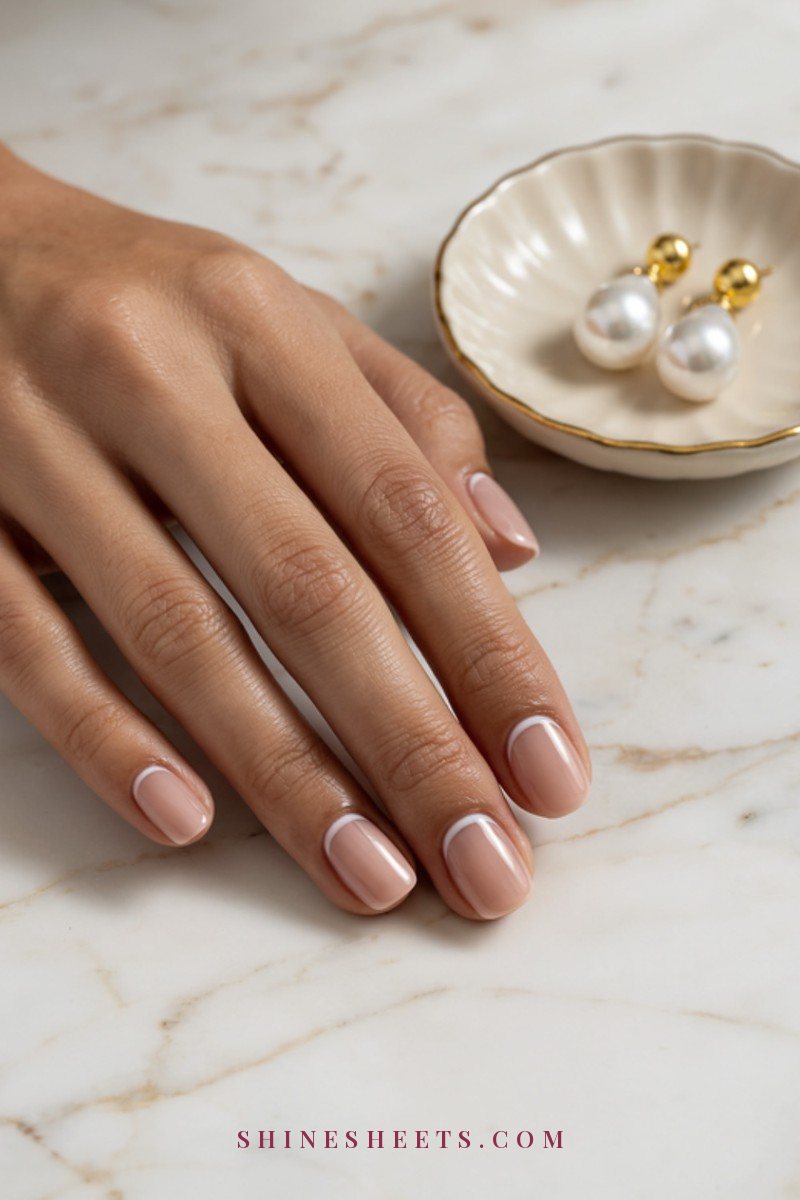
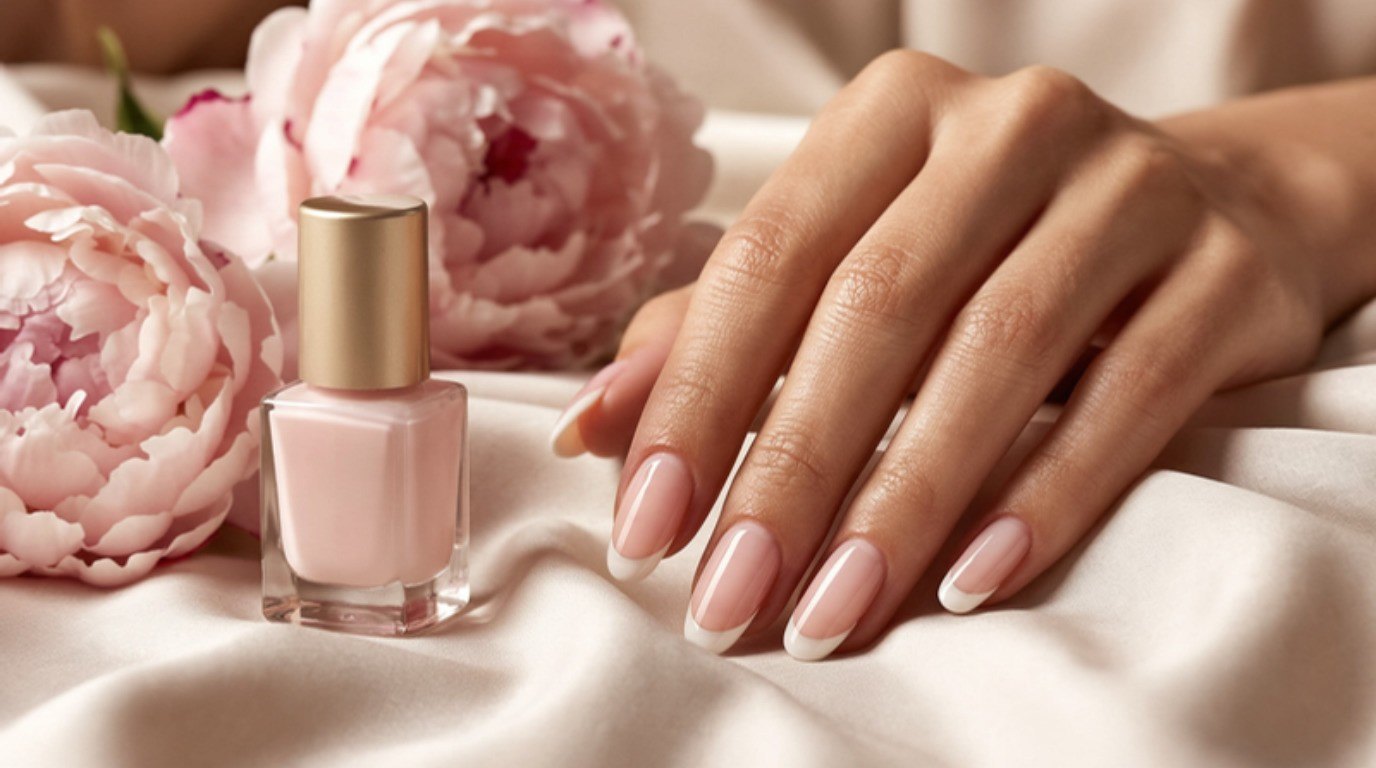
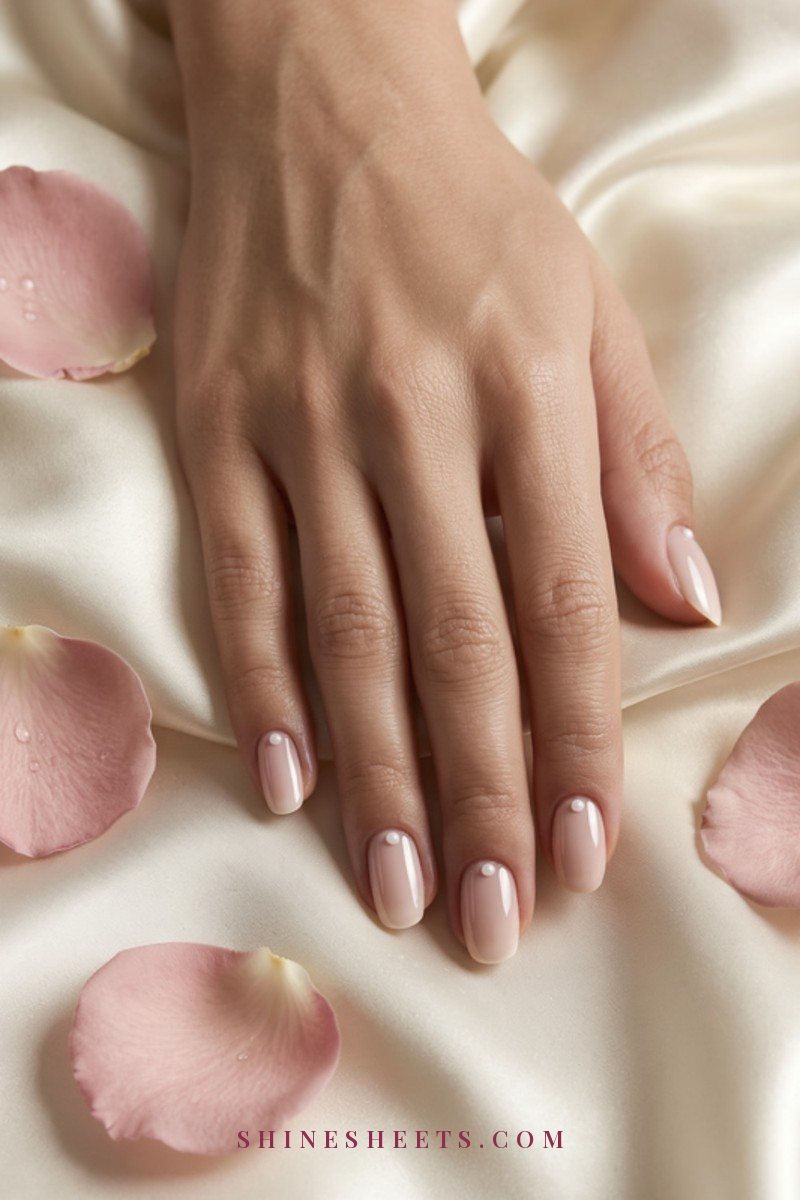
This is the quiet favorite: a soft, slightly milky pink that looks like your nails, only better. It suits every nail length and every skin tone, and grown-out edges barely show. Apply two thin coats of a sheer milky pink polish and finish with top coat.
Best for: anyone who wants a polished look that survives typing, dishes and a busy week, or a first Valentine's manicure if you're new to painting your own nails.
Tip: sheer shades can look streaky if the first coat is too thick. Use three light strokes per nail (center, left, right) and let each coat set for two minutes.
2. Rosy Nude
A rosy nude sits between beige and pink, with a little warmth that keeps it from looking flat. It's the most office-friendly Valentine's option and beautiful with gold rings. Choose a nude one or two shades deeper than your skin with a pink undertone, apply two coats and you're done.
Best for: workdays, a daytime coffee date or anyone who loves a clean, expensive-looking finish. It's also the shade that makes hands look smoothest in photos, because it blends with your skin instead of contrasting with it.
3. Soft Cherry Red
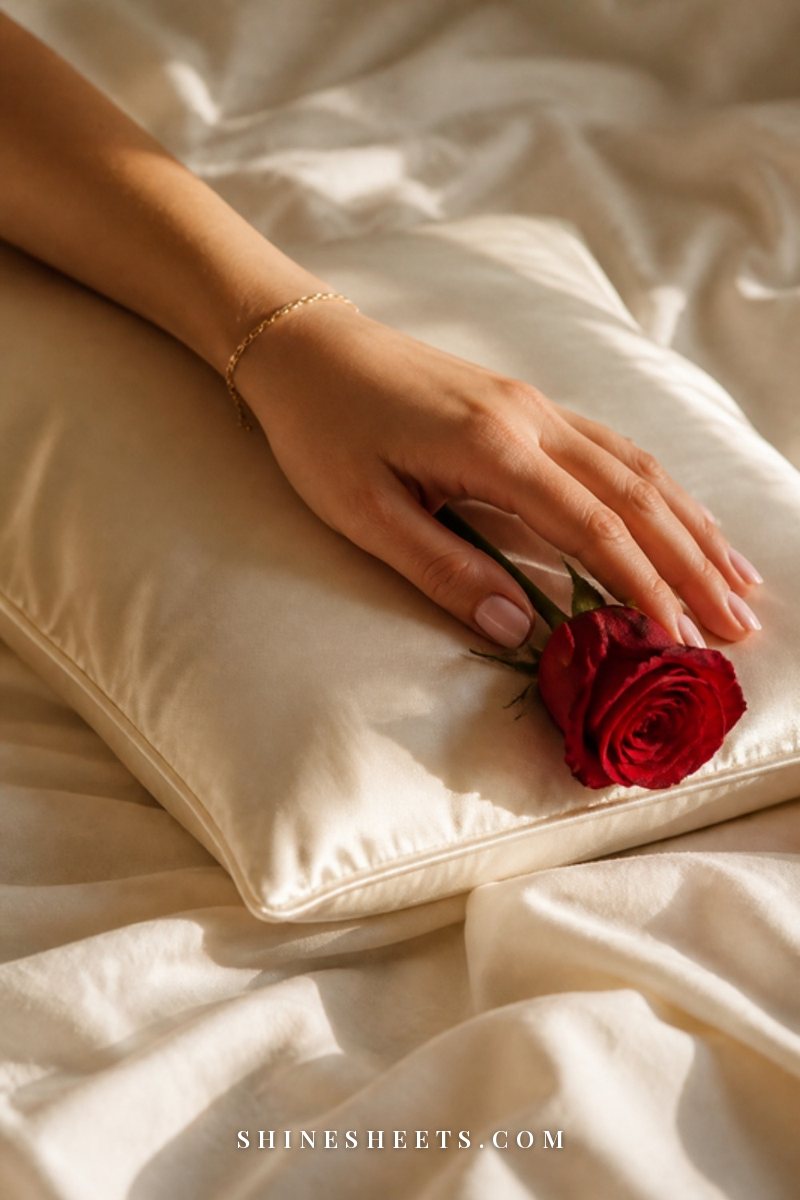
A soft cherry red is brighter and lighter than a classic red, with a juicy, slightly sheer finish. It's romantic without being dramatic. Two thin coats of a soft cherry red polish give a jelly-like look; three give full color.
Keep a cotton swab dipped in remover nearby to clean the cuticle line as you go. Red shows every mistake, and a tidy edge is what makes it look professional.
Best for: a dinner date, a Galentine's evening with friends or anyone who wants red without the commitment of a deep, opaque shade.
4. Glossy Blush
Blush is a fuller, more opaque pink than the milky version, like the color of a ballet slipper or a pink peony. The magic here is the shine: two coats of color, then a generous layer of glossy top coat for a glassy finish. It looks especially lovely on short nails.
Best for: a soft, sweet look that pairs with pink knitwear, cream silk or a blush lip. If you're wearing pink makeup on the day, a glossy blush manicure ties it together beautifully.
5. Pearly Pink Shimmer
If you want a little light without glitter, a pearly pink shimmer is the answer. Look for a fine, soft shimmer rather than chunky sparkle. One coat over a sheer pink base gives a delicate pearl glow; two coats look more luminous. It's gentle, romantic and very forgiving with small chips.
Best for: evening plans and candlelight, where a fine shimmer catches the light softly. Removal is easy, too, since fine shimmer comes off almost as cleanly as a creme polish.
6. Classic Red French Tip
A French manicure with a thin red tip instead of white feels instantly Valentine's while staying simple. Apply one coat of sheer pink, then paint a thin red line along the free edge. For cleaner lines, use the sides of a nail guide sticker or the small-brush method from my French manicure at home guide. Keep the tip thin; a slim line looks more elegant than a thick band.
Best for: medium-length nails with a little white tip to work with. If your nails are very short, skip this one; the red line can make them look shorter.
7. Alternating Pink and Red Nails
Paint every other nail pink and red, or keep your ring fingers red and the rest blush. It's the simplest way to make a manicure feel playful without any designs. Choose two shades with the same undertone (both cool or both warm) so they look like they belong together.
Best for: anyone who can't decide between pink and red (same). Paint all the pink nails first, let them dry for a few minutes, then do the red ones, so you're never switching brushes mid-hand.
8. Short Rounded Soft Red
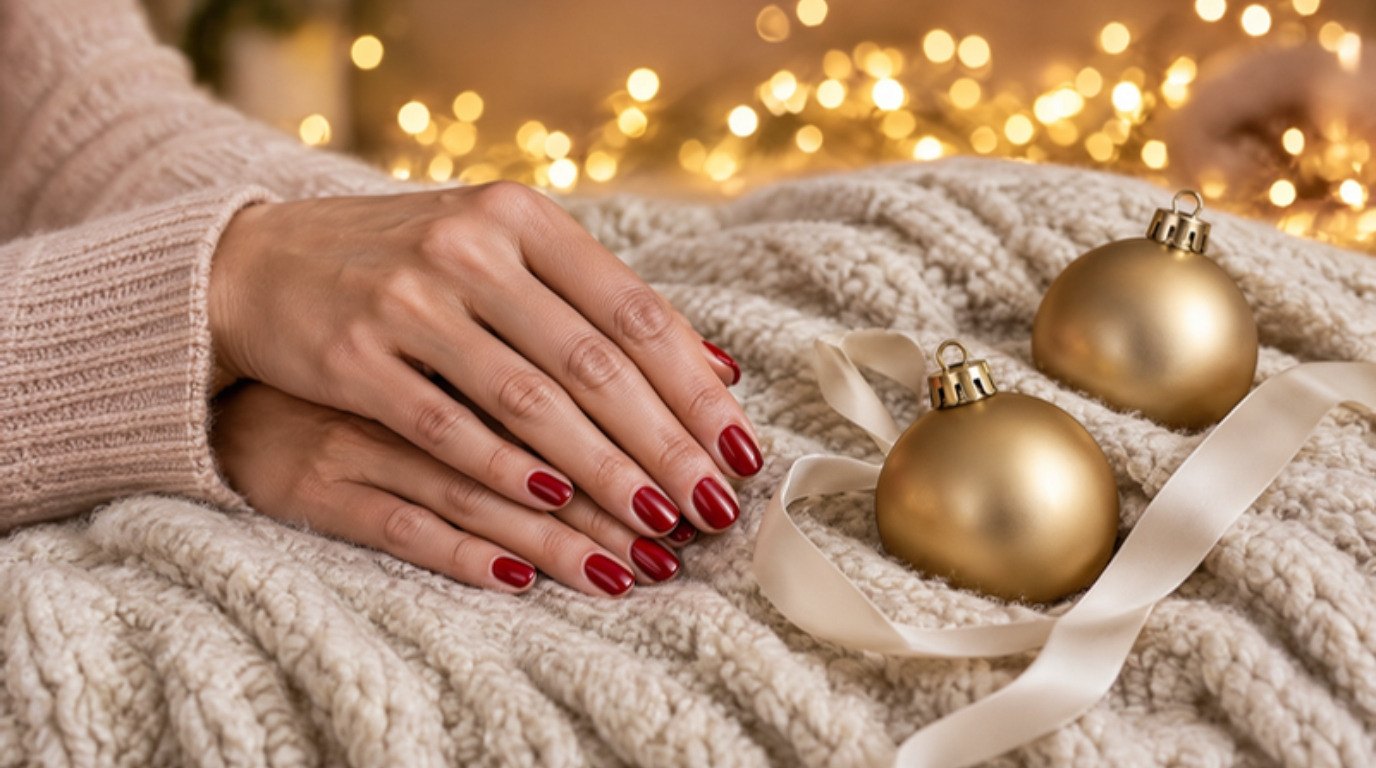
Short, rounded nails in a soft, classic red are timeless. Think 1950s film star, minus the long talons. File your nails just past the fingertip in a soft round shape, apply two coats of red and a glossy top coat. It's elegant, practical and very hard to chip on such a short length.
Best for: anyone who types a lot, plays an instrument or simply prefers short nails. A short red is classic glamour at its most practical.
Valentine's Nails at a Glance
Use this table to choose quickly. Dry times are approximate for regular polish with two thin coats and a quick-dry top coat; they vary with the formula and how warm your room is.
| Look | Shade family | Best nail length | Skill level | Dry time |
|---|---|---|---|---|
| Sheer milky pink | Sheer pink | Any length | Beginner | About 10 minutes |
| Rosy nude | Pink-beige nude | Short to medium | Beginner | About 10–15 minutes |
| Soft cherry red | Light red | Short | Beginner to easy | About 15 minutes |
| Glossy blush | Opaque pink | Short | Beginner | About 15 minutes |
| Pearly pink shimmer | Pink with fine shimmer | Short to medium | Beginner | About 10–15 minutes |
| Classic red French tip | Sheer pink with red tip | Medium | Intermediate | About 20 minutes |
| Alternating pink and red | Pink and red | Short to medium | Easy | About 15 minutes |
| Short rounded soft red | Classic red | Very short | Easy | About 15 minutes |
If you're new to doing your own nails, start with sheer milky pink or glossy blush. They're the most forgiving, and they'll build your confidence for reds.
How To Choose Shades for Your Undertone
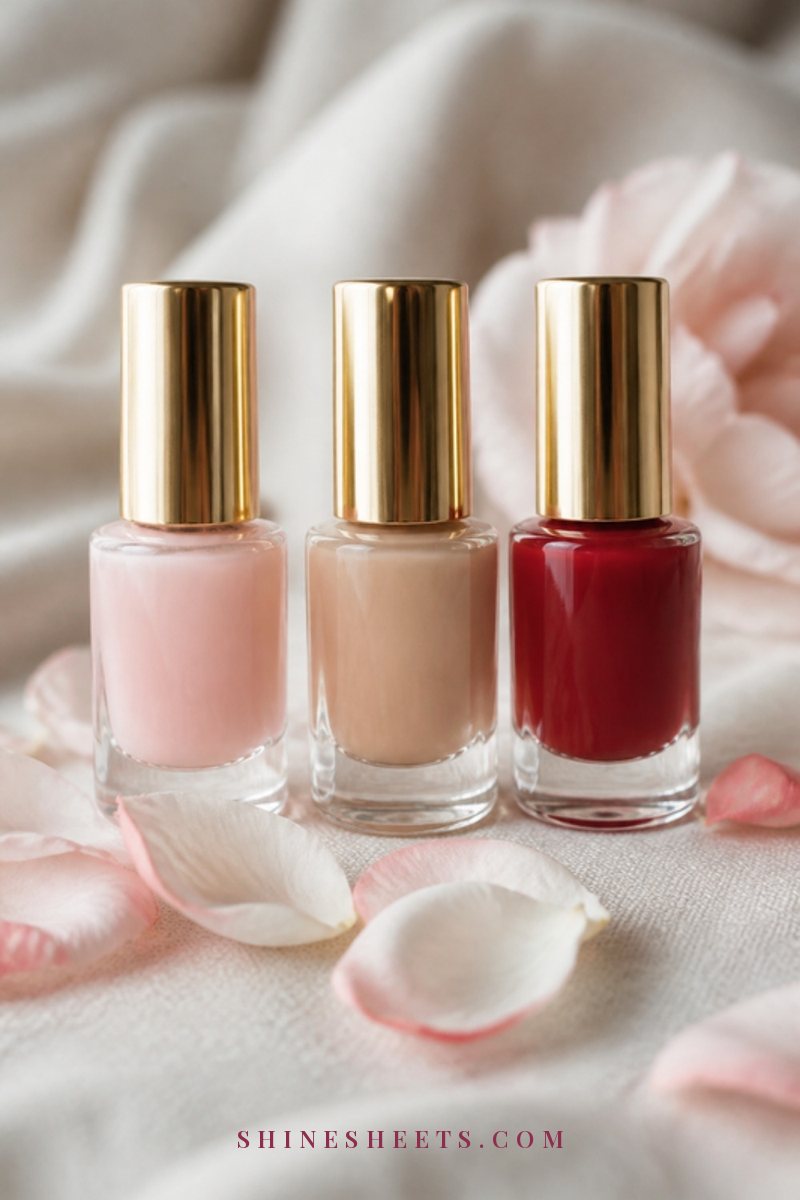
Undertone is the subtle color beneath your skin, and matching it is the easiest way to make a polish look like it was made for you. Look at the veins on the inside of your wrist in daylight and notice which jewelry flatters you most.
- Cool undertones (veins look bluish, silver jewelry flatters): blue-based pinks, cool blush and true or berry-leaning reds.
- Warm undertones (veins look greenish, gold flatters): peachy pinks, warm rosy nudes and coral-leaning or tomato reds.
- Neutral undertones (a mix of both): lucky you, most pinks and reds work; milky pink and soft cherry red are especially pretty.
Nudes are the trickiest. Hold the bottle against your fingers, not the back of your hand, in daylight. If the shade makes your fingers look grayish or washed out, go one shade deeper or a touch pinker.
Reds follow the same rule. If a red looks slightly orange on you, it is probably too warm for cool skin; if it looks purple or harsh, it may be too cool for warm skin. A true, balanced red (neither orange nor blue) is the safest choice when you are unsure, and it suits almost everyone in a short, glossy length.
Application Tips for a Longer-Lasting Manicure
A few small habits make the difference between a manicure that chips in two days and one that lasts a week. My guide on how to make nail polish last longer has even more, but these are the essentials:
- Thin coats only: two thin coats dry harder and faster than one thick coat. If the brush is overloaded, wipe one side on the bottle neck.
- Cap the free edge: after each coat, run the brush lightly along the very tip of the nail. This seals the edge, where most chips start.
- Wait between coats: give each layer about two minutes before the next.
- Top coat every 2–3 days: a fresh thin layer restores shine and adds protection.
- Wear gloves for chores: hot water and cleaning products are the biggest enemies of a fresh manicure.
For the final step, a quick-dry top coat is a pick for busy evenings, especially with reds. Even so, wait at least an hour before anything that presses on your nails (like sleeping on your hands), because polish stays soft underneath for a while after it feels dry on top.
A Simple Valentine's Manicure Timeline
Timing makes a real difference, especially if you have plans on the day. Here's a gentle schedule that leaves room for drying and touch-ups:
- Three to four days before: remove old polish, file, push back cuticles and give your nails one evening bare with a little oil.
- Two days before: paint your chosen look. Polish needs several hours to fully harden, so an evening manicure with a quiet night after it is ideal.
- The day before: add a thin layer of top coat and check for any small chips to fix.
- On the day: a quick swipe of oil around the cuticles and a little hand cream. That's all.
Painting two days ahead also takes the pressure off. If something smudges, you have time to fix it calmly instead of redoing a nail ten minutes before you leave.
Gentle Removal and Aftercare
How you remove polish matters as much as how you apply it. Soak a cotton pad with remover, press it on the nail for 10–15 seconds, then slide it off from cuticle to tip in one movement. Don't scrub back and forth; it spreads red pigment onto the skin and dries the nail.
If you have gel polish from a salon, never peel or pick it off. Peeling takes layers of your natural nail with it and leaves nails thin and bendy. Have it removed professionally or soak it off gently following the product's directions.
For regular polish, a non-acetone remover is gentler on dry or thin nails, though it takes a little longer with deep reds. Acetone works faster but dries the nail and skin more, so if you use it, follow with oil and hand cream straight away. Either way, work in a ventilated room and keep remover away from candles and other open flames.
After removal, wash your hands, then massage a drop of oil into each cuticle and nail. A cuticle oil pen is the easiest way to make this a daily habit, since you can keep it in your bag and click a drop on in seconds. Follow with hand cream, and give your nails a day or two bare between manicures when you can.
When To Skip Polish
Healthy nails come first. Skip polish for a while and let your nails rest if they're splitting, peeling, very soft or sore, or if the skin around them is red or irritated. Keep them short, filed smooth and moisturized with oil instead, and wear a sheer nail strengthener only if it feels comfortable.
If you notice persistent changes, like discoloration that doesn't grow out, thickening, lifting from the nail bed, dark streaks or pain, please see a doctor or dermatologist rather than covering it with color. And if a polish or remover ever makes your skin itchy or red, stop using it and try a gentler formula.
Final Thoughts
Valentine's nails don't need designs or extensions to feel special. A careful shape, soft cuticles, thin coats and the right pink or red for your undertone are enough to make your hands look lovely all month.
Choose the look that feels most like you, make a cup of tea, and give yourself half an hour of quiet care. Whether you're celebrating with someone or simply with yourself, it's a sweet little ritual for February.