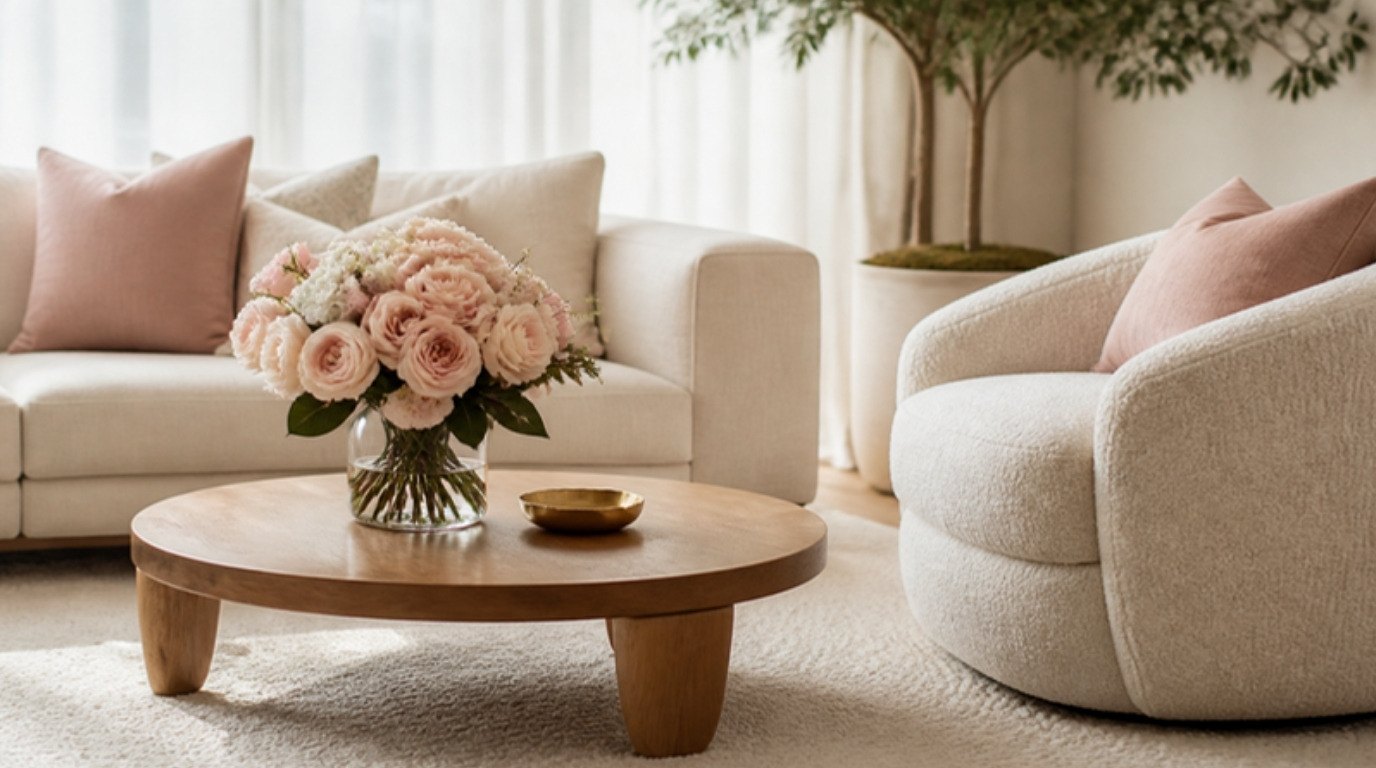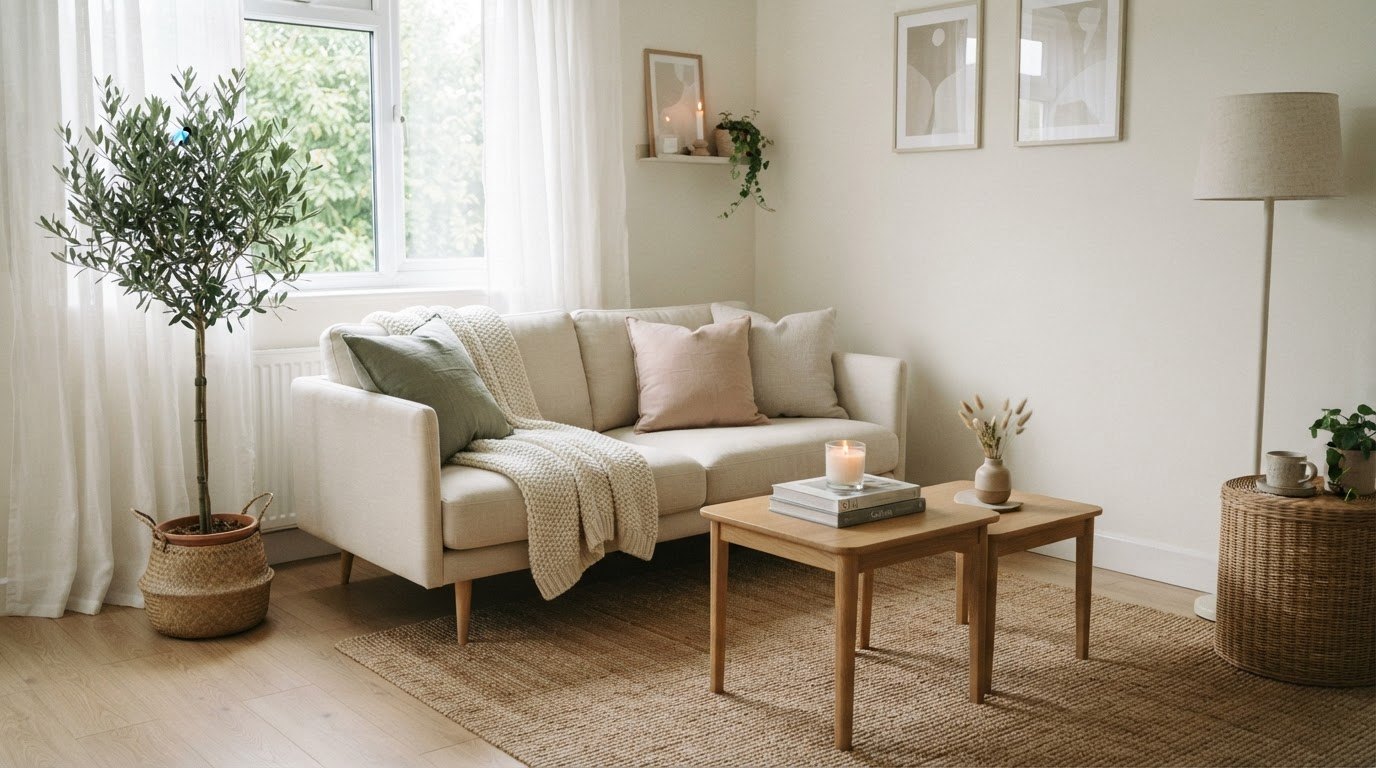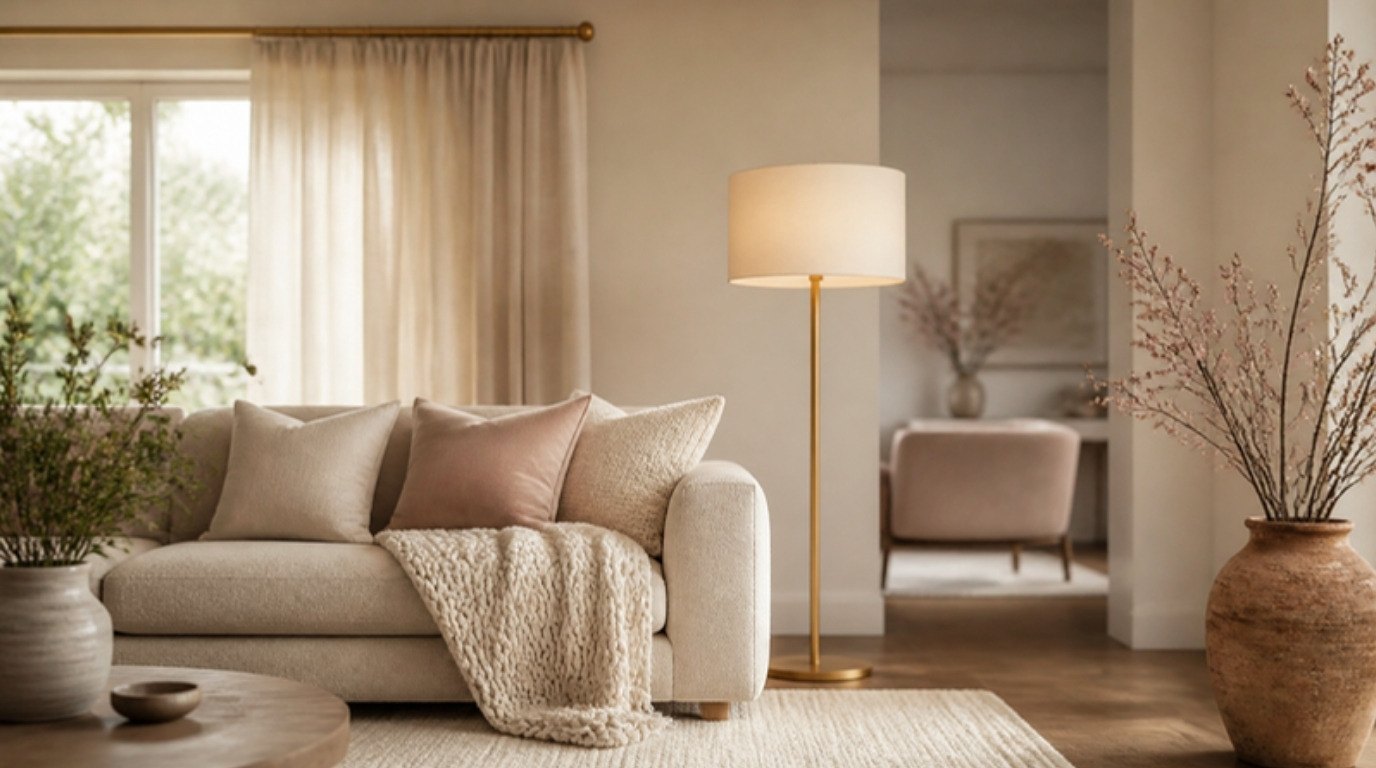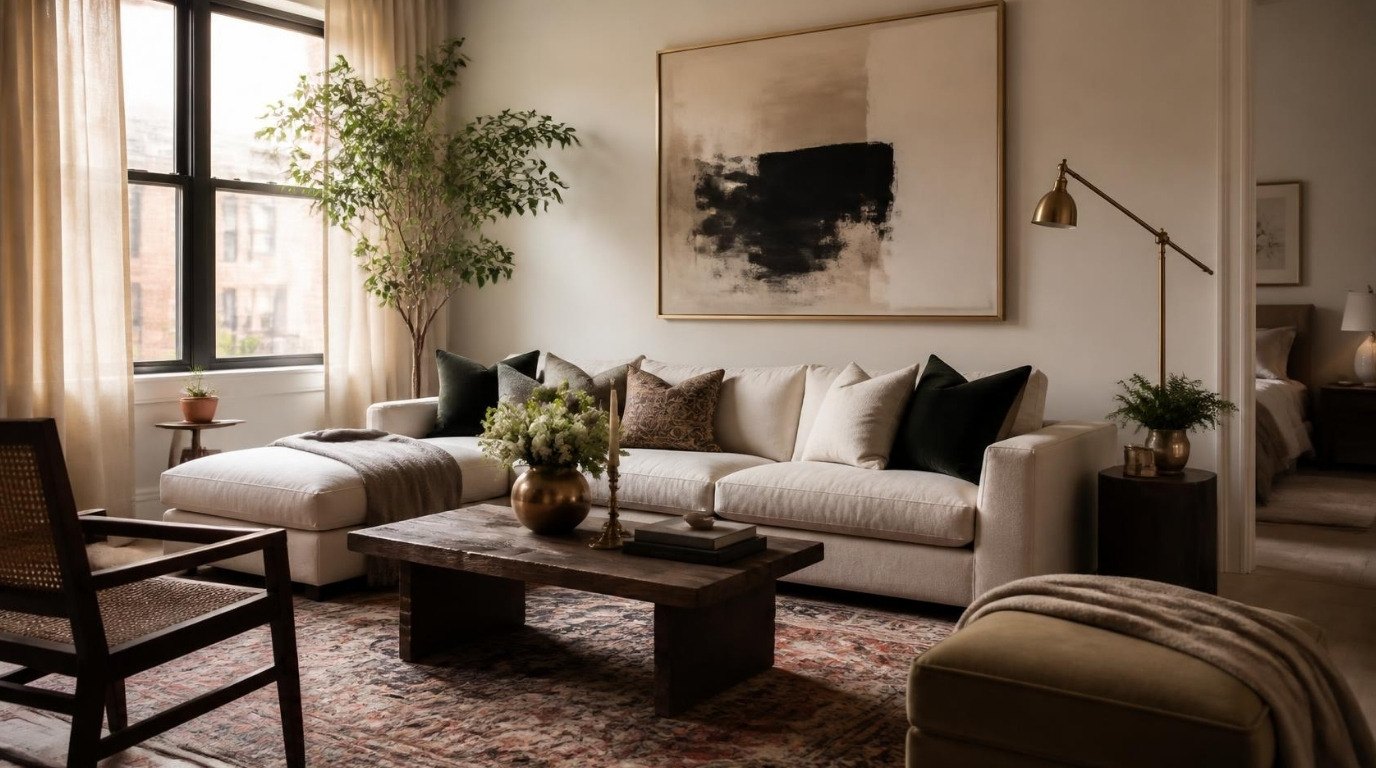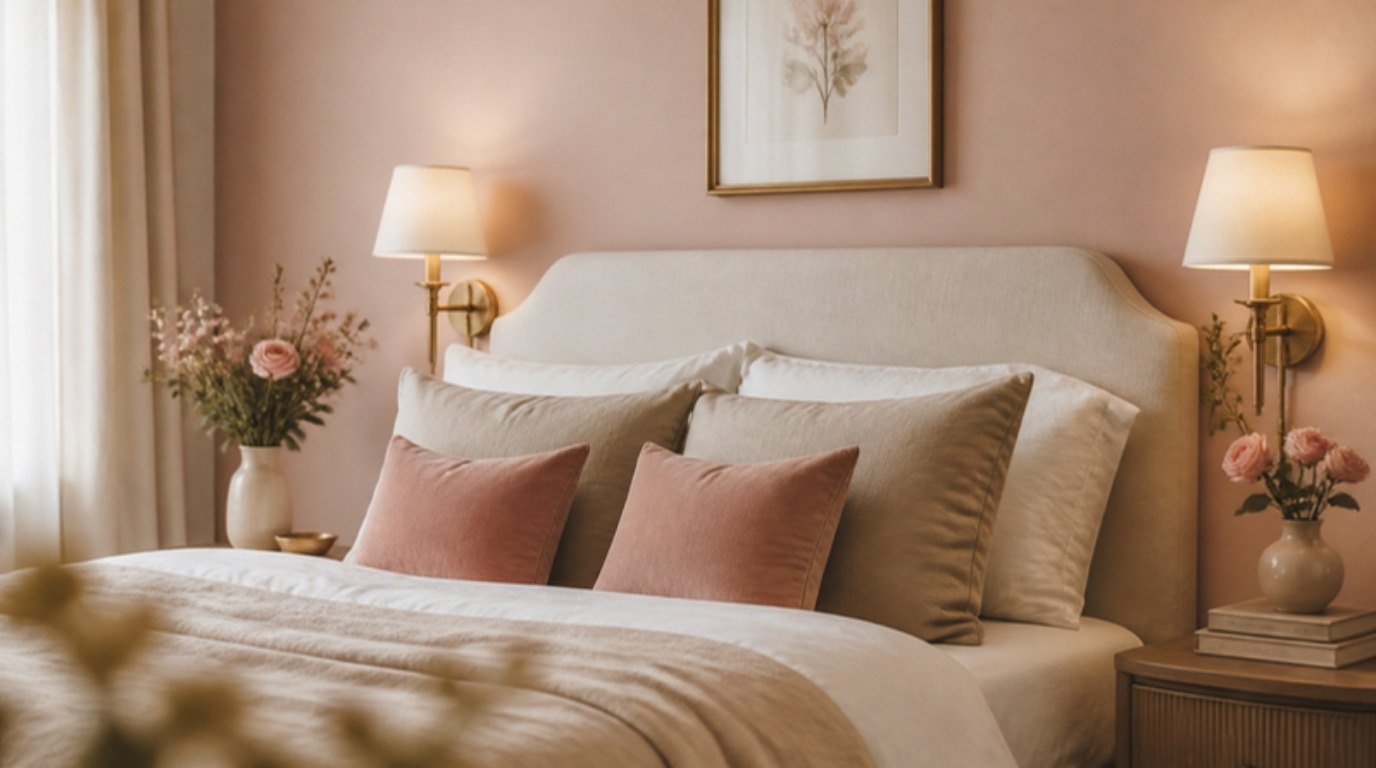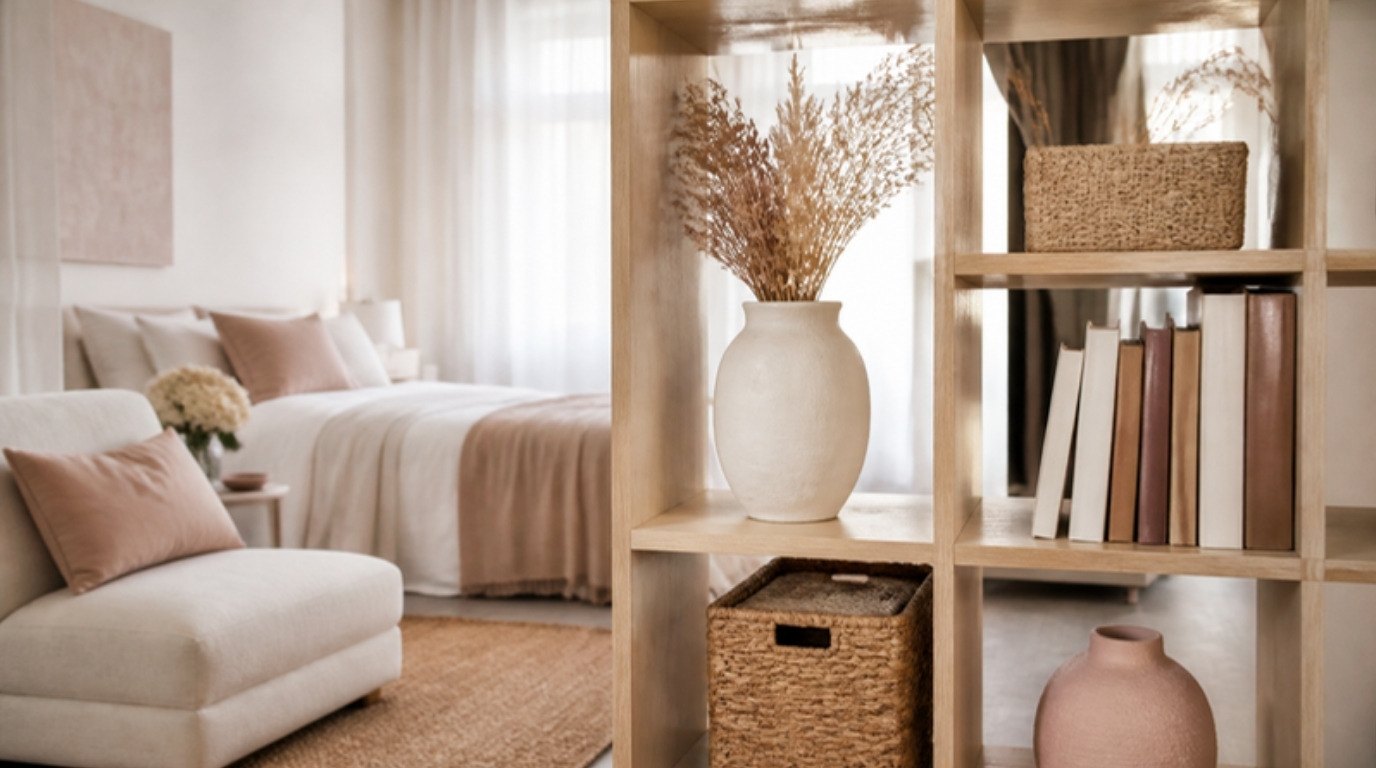
A studio apartment doesn't need more furniture to feel like a real home. It needs clearer boundaries. When your bed, sofa, desk and dinner plate all share one open room, your brain reads the whole space as one big to-do list. Give each activity its own little territory, and the same square footage suddenly feels calmer, roomier and much easier to live in.
The good news is that you can create those territories without building a single wall or losing your deposit. A bookshelf, a curtain, a rug and a smart lamp can do almost all the work. It took me a while to see that a small room isn't the problem; a room with no plan is.
This guide is all about studio apartment ideas that work in real life: how to split one room into zones, where the bed should go, which furniture sizes actually fit, the storage tricks that hide the everyday mess, and how to light the space so evenings feel soft instead of flat. You'll also find a zone plan table you can screenshot and take shopping with you.
Grab a tape measure and a cup of tea, and let's start with the step most people skip.
Start With Zones, Not Furniture
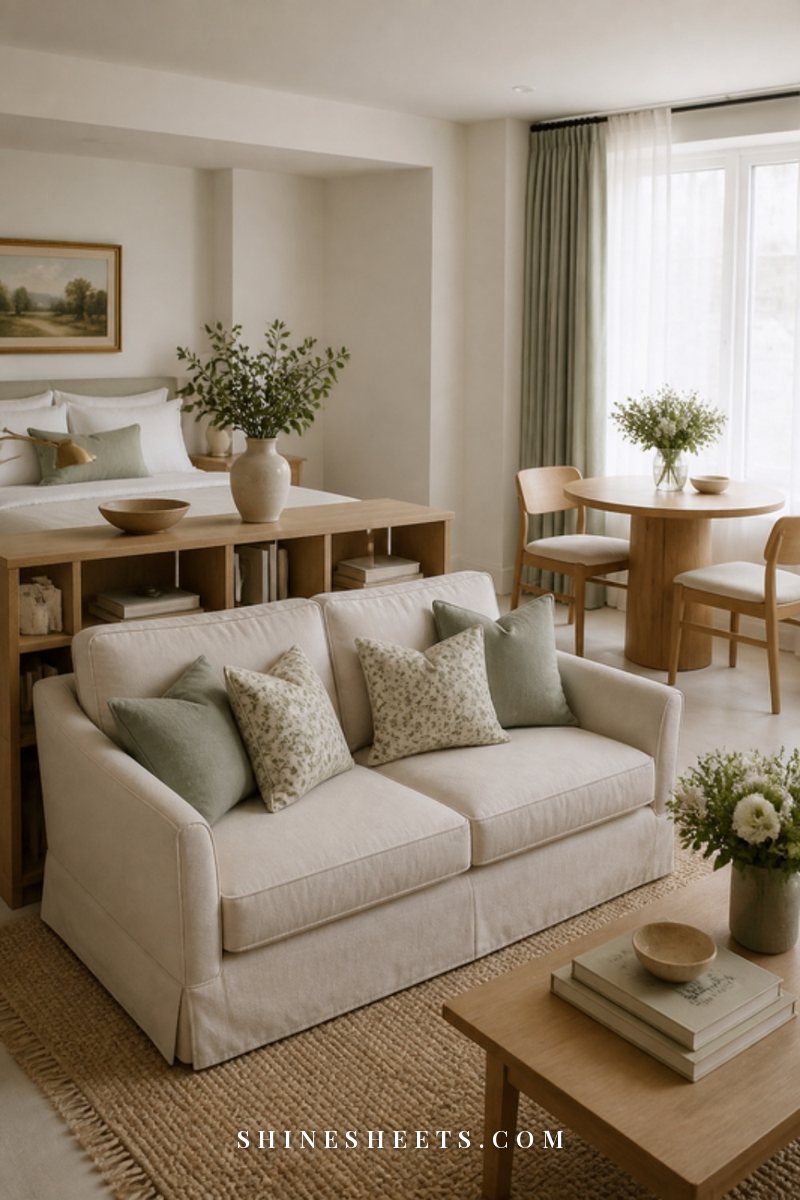
Before you buy anything, list what you actually do at home. For most of us it comes down to five activities: sleeping, relaxing, working, eating and coming in or going out. Each one becomes a zone.
Here's the simple method I'd follow:
- Measure the room and sketch it. Draw the walls, windows, radiators, outlets and the door swing on a piece of paper. Graph paper helps, but a rough sketch with the measurements written in is enough.
- Mark the fixed points. The kitchen and bathroom door can't move, and neither can the window. These decide a lot for you.
- Place the sleep zone first. It needs the most floor space and the most privacy, so it usually goes farthest from the front door.
- Put the living zone in the middle or by the window. It's where guests will sit, so it should feel like the "front" of your home.
- Tuck work and dining in the leftovers. A corner by the window, a wall near the kitchen, or one table that does both jobs.
- Keep a landing spot by the door. Even 60 cm (2 ft) of wall with a hook and a small tray counts as an entry zone.
Not every studio has room for five separate zones, and that's okay. Many studios combine work and dining at one table, or turn the sofa into the guest bed. The point isn't perfection. It's that every activity has a home, so nothing spills everywhere.
Your Studio Zone Plan
This is the table I wish someone had handed me before my first small-space shopping trip. It gives each zone one key piece, a rough size guide and one storage trick, so you can see at a glance what fits and what's just nice to have.
| Zone | Key piece | Size guide | Storage trick |
|---|---|---|---|
| Sleep | Bed with a headboard | Full 137 x 190 cm (54 x 75 in) or queen 152 x 203 cm (60 x 80 in); leave 60 cm (24 in) on at least one side | Storage bed or lidded bins underneath |
| Living | Armless loveseat or small sofa | 150–180 cm (60–72 in) wide; rug about 160 x 230 cm (5 x 8 ft) | Storage ottoman as coffee table |
| Work | Narrow desk or wall-mounted table | Depth 40–50 cm (16–20 in) is plenty for a laptop | Wall shelf above the desk, one closed box for cables |
| Dining | Round or drop-leaf table | 60–80 cm (24–32 in) across seats two | Folding chairs on wall hooks |
| Entry | Hooks plus a slim shelf or tray | At least 60 cm (2 ft) of wall | Shoe cabinet 25–30 cm (10–12 in) deep |
If a piece doesn't fit inside its size guide, it's probably too big for the room, even if it's on sale. Screenshot the table and check it before you click "buy."
6 Ways To Separate Zones Without Walls
Once you know where each zone goes, you need a soft way to say "this part is for sleeping, that part is for living." None of these ideas need a contractor, and most can come with you to the next apartment.
1. An Open Bookshelf Divider
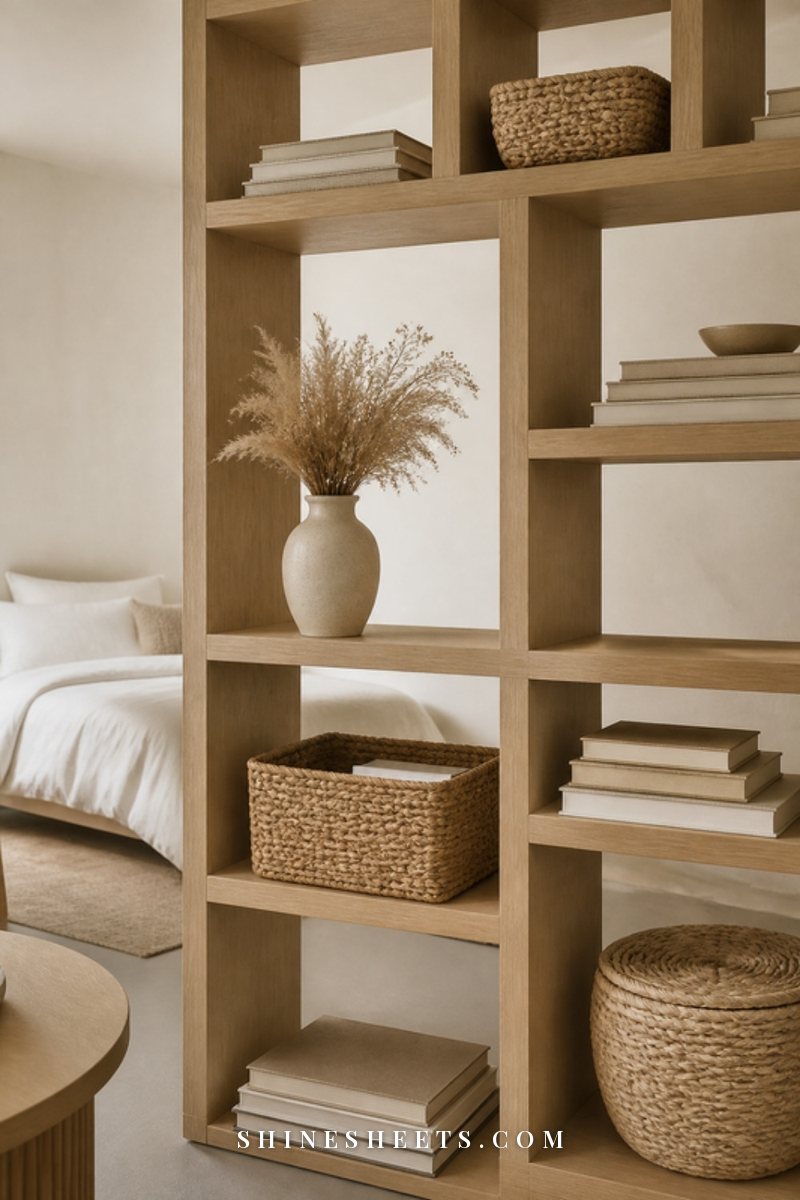
An open shelf is my favorite divider because it separates without blocking light. Light travels through the gaps, so the window still reaches the back of the room. A white open cube bookshelf placed at the foot of the bed or along the side of the sofa gives the sleep zone instant privacy and gives you storage on both sides.
Look for one about 110–150 cm (43–60 in) tall if you want to keep the room airy, or a taller one if you'd like the bed fully hidden from the door. Style it with a mix of books, baskets and one or two pretty objects, and leave about a third of each cube empty so it doesn't look crowded.
A quick safety note: tall shelves need an anti-tip strap screwed into the wall. If you rent, ask your landlord before drilling – most say yes to a small anchor hole, and it's far easier to fill later than to deal with a shelf that falls.
2. A Ceiling-Track Curtain
A floor-to-ceiling curtain around the bed feels like a hotel suite and closes completely when friends visit. A ceiling track needs a few screws, so check with your landlord first. If drilling is a no, use a strong tension rod between two walls in an alcove, or a curtain rod mounted on a freestanding garment rail.
Choose linen or cotton in cream or oatmeal, and make the panels about 1.5 times the width of the opening so they look full when closed. Sheer fabric divides softly; heavier fabric blocks light for better sleep.
3. A Folding Screen
A screen is the most flexible divider of all. Open it to hide the bed during the day, fold it away when you want the room to feel big again. A cream folding room divider with three or four panels about 170–180 cm (67–71 in) tall hides a full-size bed nicely. Rattan, fabric or paper panels in a light color keep things soft rather than heavy.
4. Rugs That Define Each Zone
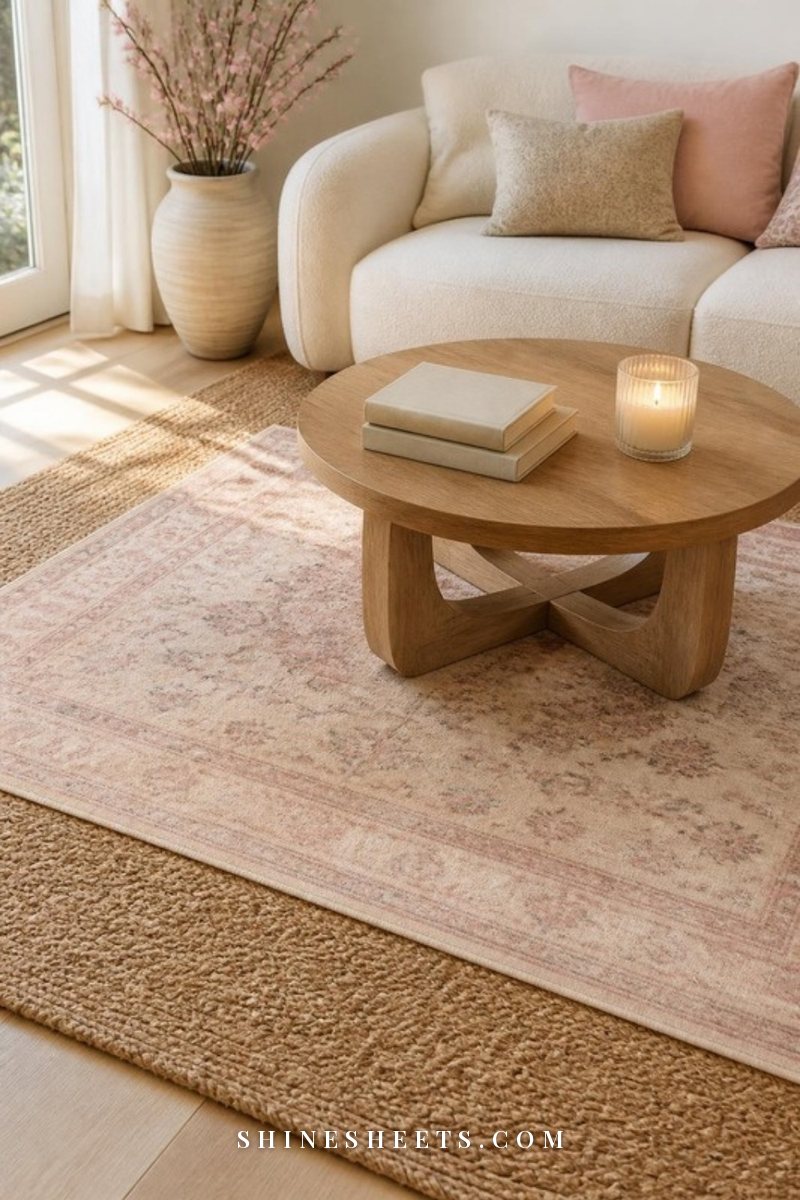
Rugs are the cheapest walls you'll ever buy. Each rug quietly tells the eye "this is one area," so a room with two or three rugs reads as two or three rooms. For the living zone, a rug about 160 x 230 cm (5 x 8 ft) is the sweet spot in most studios: big enough for the front legs of the sofa and chairs to sit on it, small enough to leave floor showing around it.
A natural jute area rug is a lovely base because it's sturdy, textured and works with almost any palette. Add a smaller, softer rug by the bed (about 90 x 150 cm or 3 x 5 ft on one side) so your feet land somewhere warm in the morning. My guide on how to choose a rug size and material goes deeper if you're stuck between two sizes.
5. Furniture Backs as Soft Walls
Turn the sofa so its back faces the bed. Suddenly you have a living room "in front" and a bedroom "behind." A low console table or a slim bench behind the sofa makes it look intentional and gives you a spot for a lamp and a few books.
6. A Change in Lighting
Light can divide a room as clearly as furniture. Give each zone its own lamp, and switch on only the zone you're using. In the evening, a warm lamp by the sofa and darkness by the bed makes the sleep corner seem to disappear. More on that in the lighting section below.
Where To Put the Bed
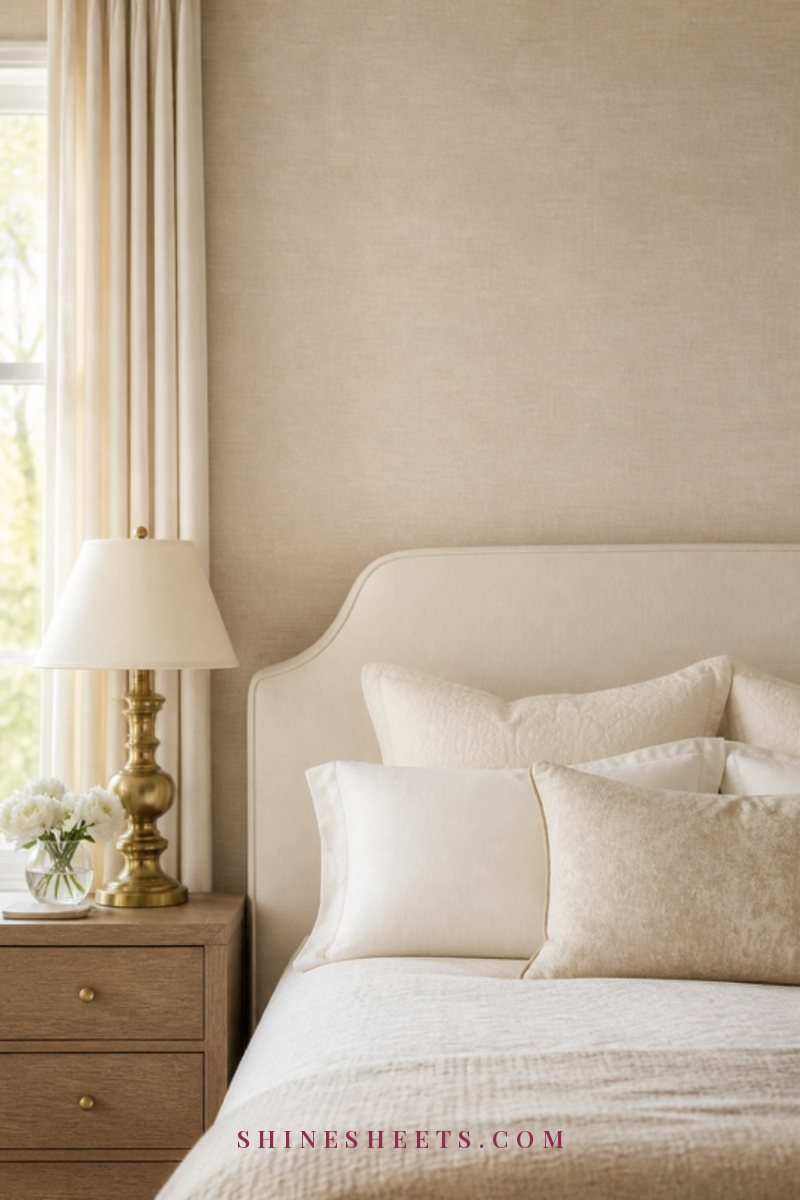
The bed is the biggest thing in your studio, so its position decides the whole layout. A few simple rules make it feel restful rather than in the way:
- Keep it away from the front door. When the door opens, the first thing you see should be the living zone, not your pillows. Diagonally opposite the door is usually best.
- Put the headboard on a solid wall. A wall without a window behind your head feels more secure and is easier to sleep against. It also gives you somewhere to hang a sconce.
- Avoid floating it in the middle. A bed in the center of a studio eats the walkway on every side. Push it against one wall, or into a corner if you only need one side to get in and out.
- Leave about 60 cm (24 in) on the open side. That's enough to make the bed and walk past without bumping your knees.
- Consider a smaller size. A full bed instead of a queen saves about 15 cm (6 in) in width and 13 cm (5 in) in length. In a tiny room, that's a whole walkway.
If you can't stand looking at the bed all day, dress it like a sofa: a tight duvet, a throw folded neatly at the foot and three or four cushions against the headboard. It reads as "daybed" instead of "unmade bedroom."
Keep Walkways Clear
A studio feels small when you have to turn sideways to get anywhere. Keep your main walkways about 75–90 cm (30–36 in) wide: from the door to the kitchen, from the kitchen to the table, and from the living zone to the bed and bathroom. Secondary paths, like the gap between the sofa and the coffee table, can be narrower, about 40–45 cm (16–18 in).
Here's a quick test: put masking tape on the floor where you plan to place each piece, then walk your normal evening route with a mug in your hand. If you bump, twist or squeeze anywhere, something needs to shrink or move. It takes ten minutes and saves you from returning a sofa.
For more ways to make tight spaces feel open, my post on how to make a small room look bigger has plenty of designer tricks with mirrors, paint and curtains.
Choose Furniture With the Right Scale
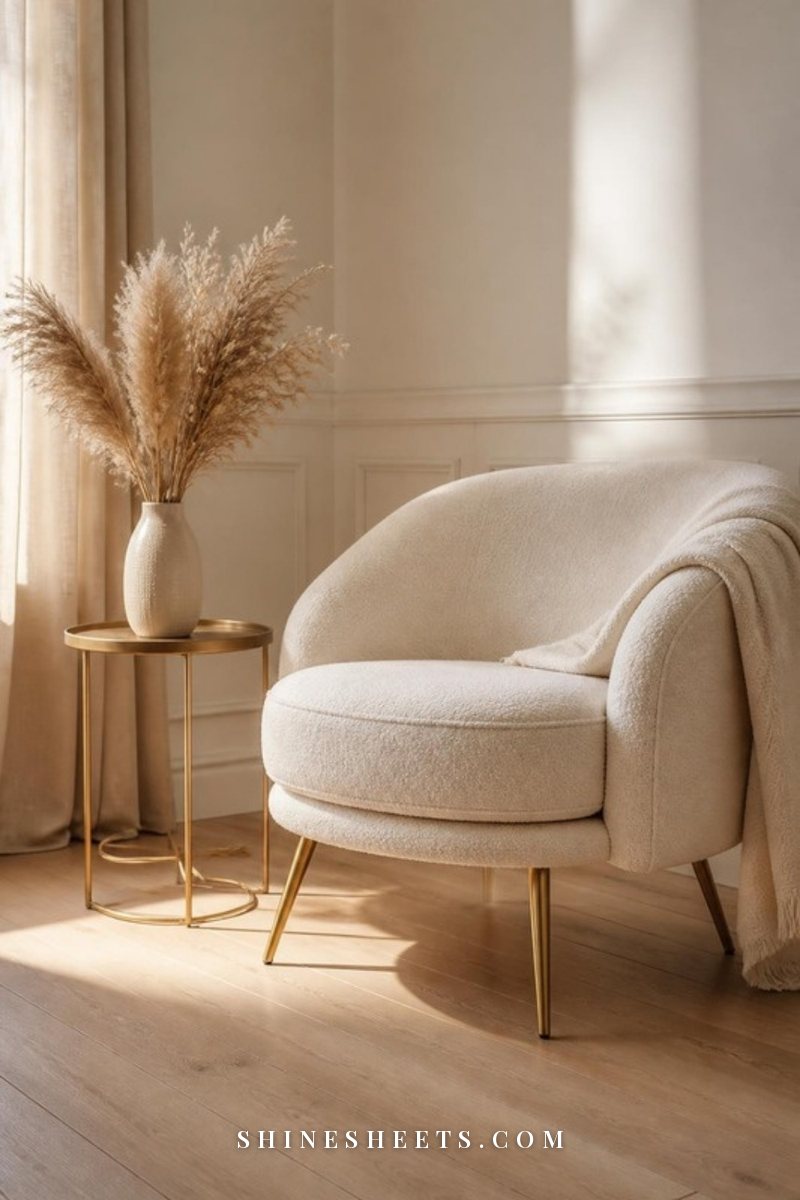
Scale matters more than style in a small room. A beautiful sofa that's 30 cm too long will make the whole studio feel cramped. When you shop, look for three things:
- Leggy pieces. Sofas, chairs and dressers on visible legs show floor underneath, and more visible floor makes the room look bigger.
- Low pieces. Furniture that stays below the windowsill keeps sight lines open. Save height for shelves along the walls.
- Armless or slim-armed pieces. Chunky rolled arms can add 25–30 cm (10–12 in) to a sofa without adding a single seat. Armless or track-arm designs give you the same seating in less space.
Rounded edges help too. A round dining table or coffee table is easier to walk around and softens a room full of straight lines. My small living room ideas guide has more on picking sofas and tables that fit.
7 Multi-Use Furniture Pieces Worth the Space
In a studio, every piece should earn its spot by doing at least two jobs. These are the ones I'd look at first:
- A storage bed. A frame with drawers or a lift-up base holds bedding, off-season clothes and suitcases. It's basically a hidden closet.
- A storage ottoman. A cream boucle storage ottoman works as a footrest, extra seat and coffee table, with blankets hidden inside. Put a tray on top when you need a flat surface for tea.
- A drop-leaf table. Folded, it's a slim console against the wall; opened, it seats two or four. Look for one about 25–40 cm (10–16 in) deep when closed.
- A wall-mounted fold-down table. If you have no floor space left, a table that folds flat against the wall gives you a desk or dining spot that disappears afterwards.
- Nesting tables. One table most days, two or three when friends visit. They tuck together in the space of one.
- A bench with storage. At the entry, it's where you sit to put on shoes; at the table, it seats two people with no chair legs to trip over.
- A sofa bed or daybed. If guests stay over sometimes, a daybed doubles as seating and a spare bed. Test the mattress if you can, because comfort varies a lot.
You don't need all seven. Pick the two or three that solve your biggest problem: no storage, no table, or no extra seats.
Go Vertical With Storage
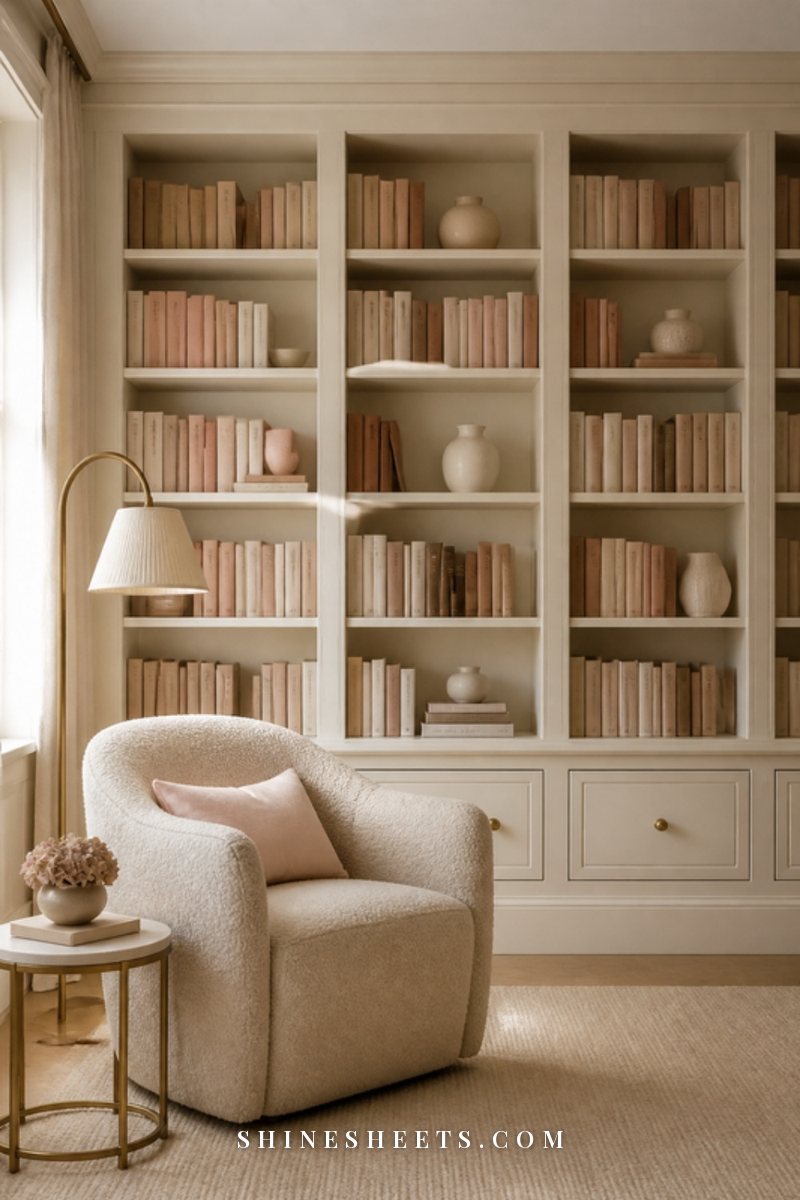
When floor space runs out, the walls are still mostly empty. Using them well can double your storage without making the room feel smaller.
- Shelves to the ceiling. Run shelves high above the desk, the sofa or the door. Keep everyday things at eye level and rarely used things up top in matching lidded boxes.
- Over-door storage. The back of the bathroom and entry doors can hold shoes, towels, bags or cleaning supplies on hooks or a slim rack.
- A rail and hooks in the kitchen. Mugs, utensils and tea towels on a wall rail free up whole drawers.
- A tall, narrow wardrobe or open garment rack. If there's no closet, a rail with a few matching hangers and a shelf above can look boutique-like. My guide on clothes storage without a closet walks through the options.
One rule keeps vertical storage from looking busy: stick to the same color for boxes and baskets. Ten cream boxes look calm; ten different colors look like clutter climbing the walls.
Hide the Clutter With Closed Storage
Open shelves are pretty, but in one room you see everything all the time. That's why I'd keep roughly half of your storage closed: drawers, lidded baskets, cabinets and anything under the bed.
The space under the bed is the biggest hidden closet in most studios. Fabric under-bed storage bins with lids about 15–18 cm (6–7 in) tall slide under most frames and keep dust off sweaters, extra bedding and shoes. Measure the clearance first; if it's too low, bed risers can add 8–15 cm (3–6 in). My post on under bed storage ideas has more ways to use that space.
A few more closed-storage tricks:
- A lidded basket by the sofa for remotes, chargers and the throw you always leave out.
- One drawer or box for "paper stuff" so mail never piles on the table.
- A cabinet with doors instead of an open TV stand or console.
- A small tray by the door for keys, so they have a place that isn't the kitchen counter.
A five-minute reset every evening (everything back into its box) keeps the whole studio looking calm, because in one room, one messy corner is everyone's view.
Pick One Calm Palette
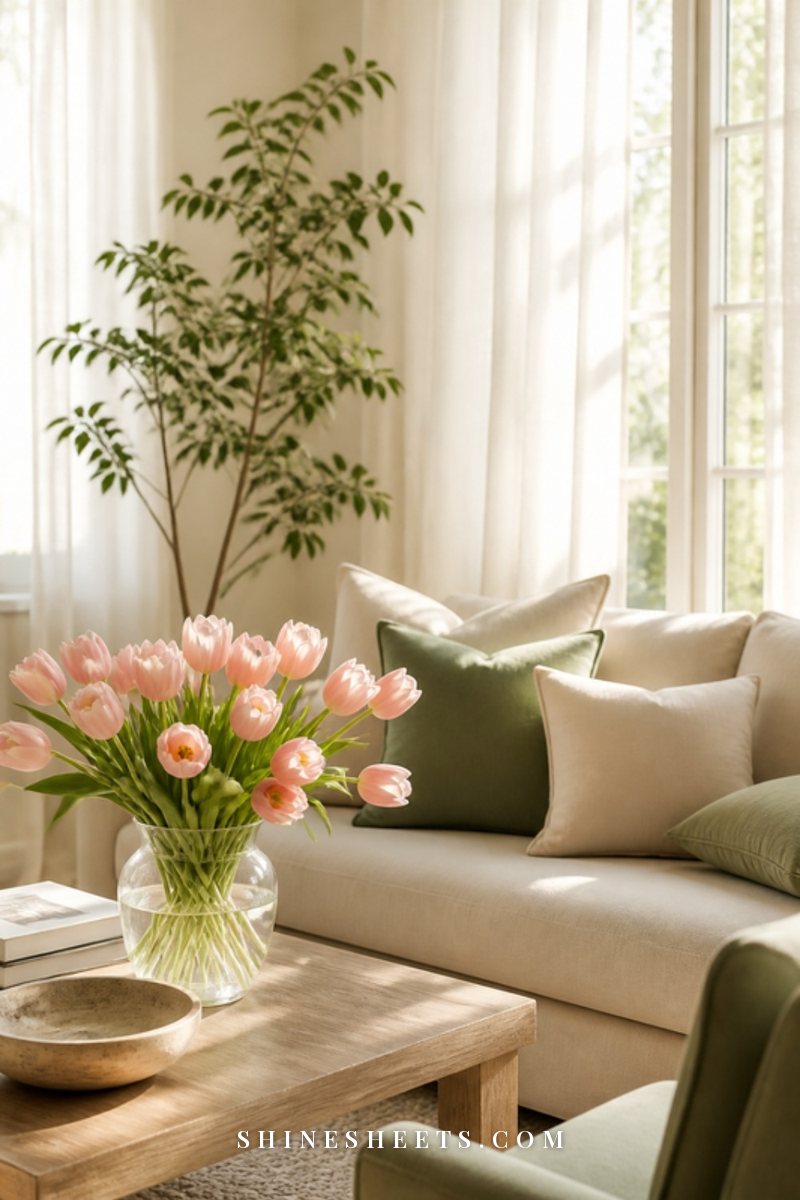
In a studio, every zone is visible at once, so if each one has its own color story, the room feels chopped up. Pick one calm palette and repeat it everywhere. A soft, easy base is:
- Cream or warm white for walls, big furniture and bedding.
- Oatmeal or beige for rugs, baskets and throws.
- Sage as the one accent color, in a cushion, a vase or a plant.
- Light wood for tables, shelves and frames.
A simple formula keeps it balanced: about 60% cream and white, 30% beige and wood, 10% sage or blush. Repeat your accent at least three times across the room (a cushion on the sofa, a throw on the bed, a vase on the shelf) so the eye travels around the whole space instead of stopping at one corner.
Texture keeps a calm palette from feeling flat. Mix linen, knit, boucle, jute and ceramic, and the room will look layered even with very few colors.
Layer Your Lighting (No Hardwiring)
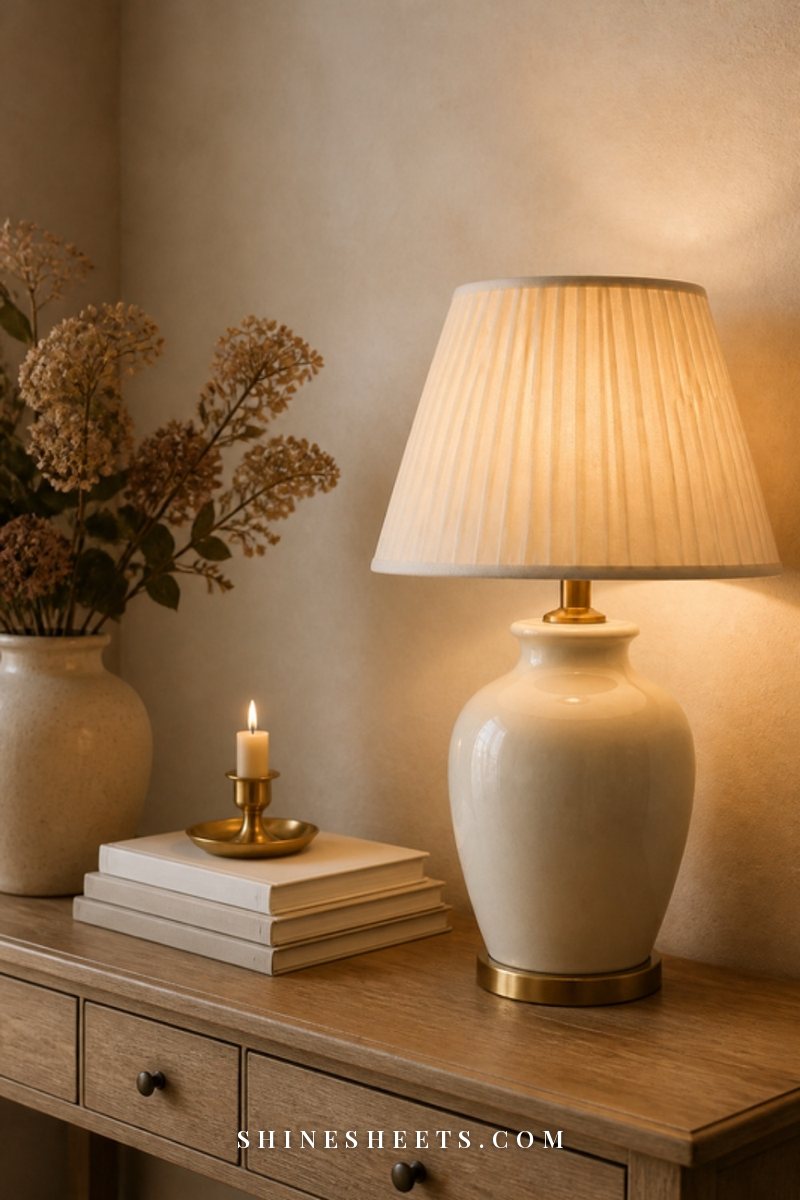
One ceiling light makes a studio look like a single flat box. Three or four lamps at different heights make it look like several rooms. You don't need an electrician for any of this:
- A floor lamp in the living zone. Put it behind or beside the sofa. An arched or tall lamp lights the seating area without needing a side table.
- Plug-in wall sconces by the bed. A plug-in wall sconce with a gold arm frees up the nightstand completely. Mount it about 150–165 cm (60–66 in) from the floor, or so the shade sits just above your shoulder when you sit up in bed. Removable cord covers in the wall color hide the cable.
- A table lamp on the desk or shelf. A small lamp in the work zone makes it feel like its own little office.
- Warm bulbs everywhere. Choose 2700K bulbs for a soft, golden light. Mixing cool and warm bulbs in one room makes it look patchy.
Smart plugs or simple plug-in timers let you switch lamps on by zone, which helps with the "dividing with light" trick from earlier. In the evening, I'd turn off the overhead light completely. With a lamp by the sofa and a sconce by the bed, the room instantly feels softer, and that's usually when evening tea tastes best.
5 Studio Apartment Mistakes To Skip
A few common habits make small spaces feel smaller than they are. Skipping these will help more than any single purchase:
- Pushing everything against the walls. It seems logical, but it leaves a big empty middle and no zones. Pulling the sofa forward to create a "room" usually works better.
- Buying tiny everything. A room full of miniature furniture looks like a dollhouse. One or two generously sized pieces, like a proper rug and a comfortable sofa, actually make the space feel grown-up.
- Too many small decor pieces. Twenty little objects read as clutter. Five larger ones, like a big vase, a framed print and a plant, read as styled.
- Ignoring the entry. Without a landing spot, shoes, bags and coats end up on the bed or sofa. A few hooks and a tray fix it.
- Blocking the window. Tall furniture in front of a window steals your best feature. Keep anything in front of it below the sill.
And one small honest admission: perfect is not the goal. A studio you actually live in will always have a mug on the table and a sweater on the chair. The zones just make it easy to put everything back.
Final Thoughts
A studio apartment can feel like a tiny home with a living room, a bedroom and a little office, all in one open space. Start with zones, give each one a key piece and a lamp, keep the walkways clear and hide what doesn't need to be seen.
Take it one zone at a time. Even moving the bed or adding one rug this weekend can change how the whole room feels, and every small change makes your one room feel a little more like yours.