The best room divider in a studio apartment doesn't wall anything off. It gives each part of your day its own little place – a spot to sleep, a spot to relax, a spot to work – while the light still flows from one end of the room to the other.
That's the shift that makes a single room feel like a home with "rooms". You're not trying to hide the bed or build a fake wall. You're telling your eyes (and your brain) where one activity ends and the next begins.
This guide is all about room divider ideas for zoning a studio: how to decide what you actually need to separate, 10 renter-friendly dividers from an open bookshelf to a rice-paper screen, a comparison table with privacy, light and budget, safety notes for tall pieces and how to style both sides so the room looks pulled together from every angle.
No drilling marathons, no construction – just smart, soft boundaries.
First, Decide What You Need To Separate
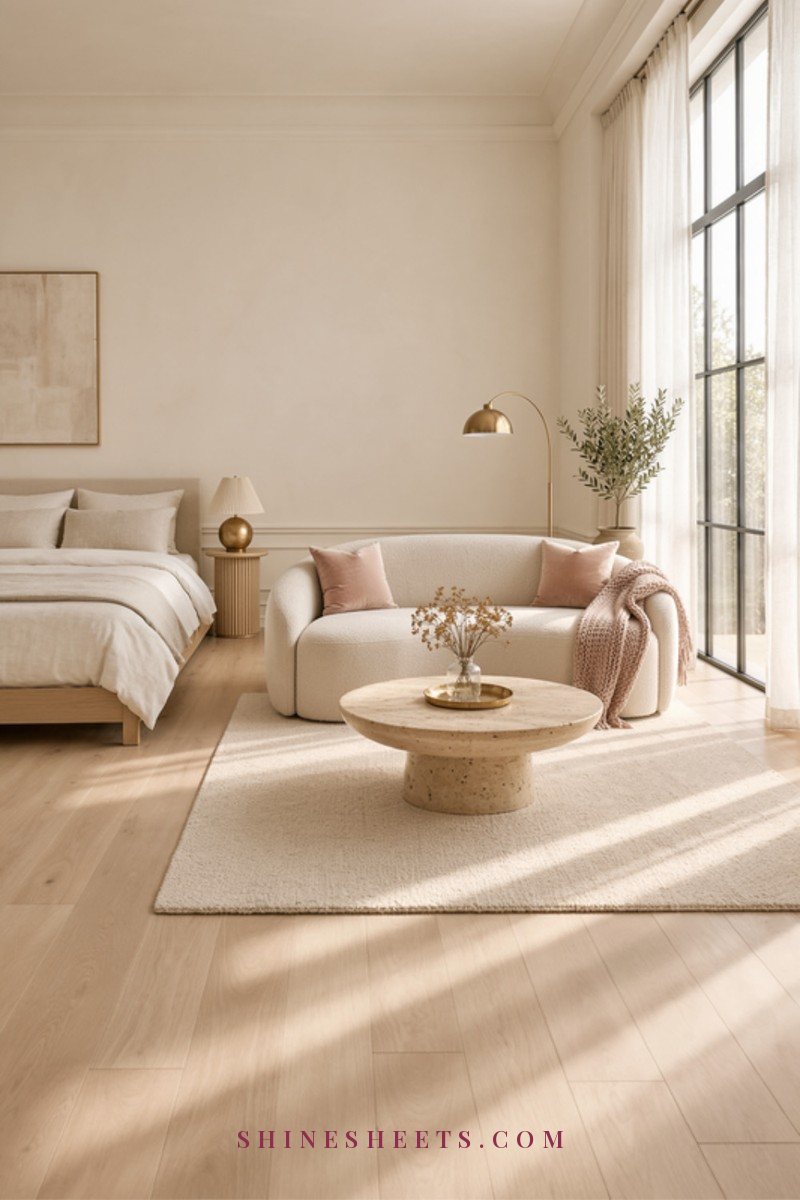
Before you buy anything, stand at your front door and look at the room. Then ask yourself what's bothering you most. Usually it's one (or two) of these four things:
- Privacy. You don't want guests looking straight at your bed, or you want a corner where you can change or read without feeling "on display". This needs a solid or nearly solid divider.
- Light. Your studio has one good window and you can't afford to block it. This needs an open or translucent divider.
- Visual calm. The room isn't messy, it just feels like everything is happening at once. A low or partial divider – a sofa back, a rug, a plant stand – is often enough.
- Noise. Sound is the hardest thing to block in one room. Soft, heavy materials (thick curtains, full bookshelves, rugs) help more than thin panels.
Write down your top one or two. That short list will save you from buying a beautiful screen that does the wrong job.
Next, map your zones. In most studios there are three: sleeping, living and working (or dining). Try to keep the sleeping zone farthest from the door, the living zone in the middle and the work or dining corner near the best light. If you'd like help with the bigger layout picture first, my studio apartment layout and decor tips cover that before you start dividing.
One small rule I keep coming back to: protect the path to the window. Whatever you choose, leave light a way to travel through the room.
10 Room Divider Ideas for a Studio Apartment
Here are ten ways to zone a studio, from the most private to the most subtle. Most are freestanding or no-drill, so they work for renters.
1. An Open Bookshelf
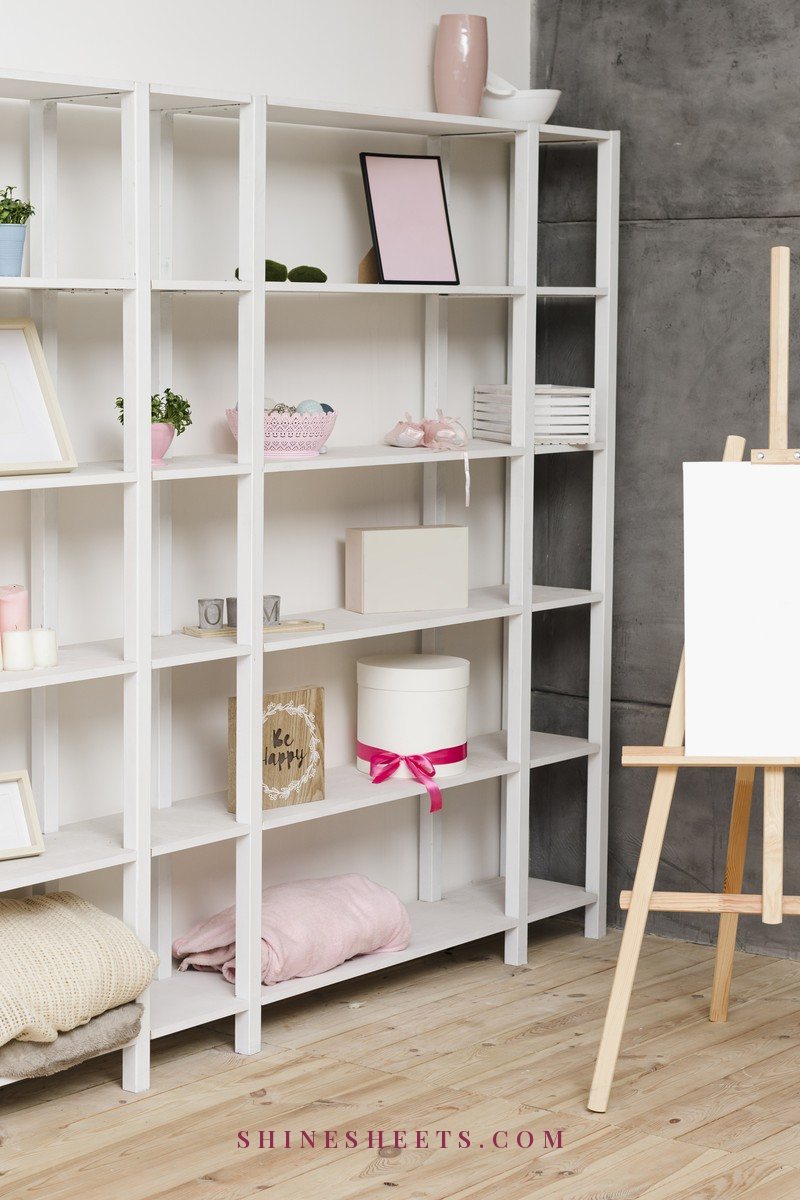
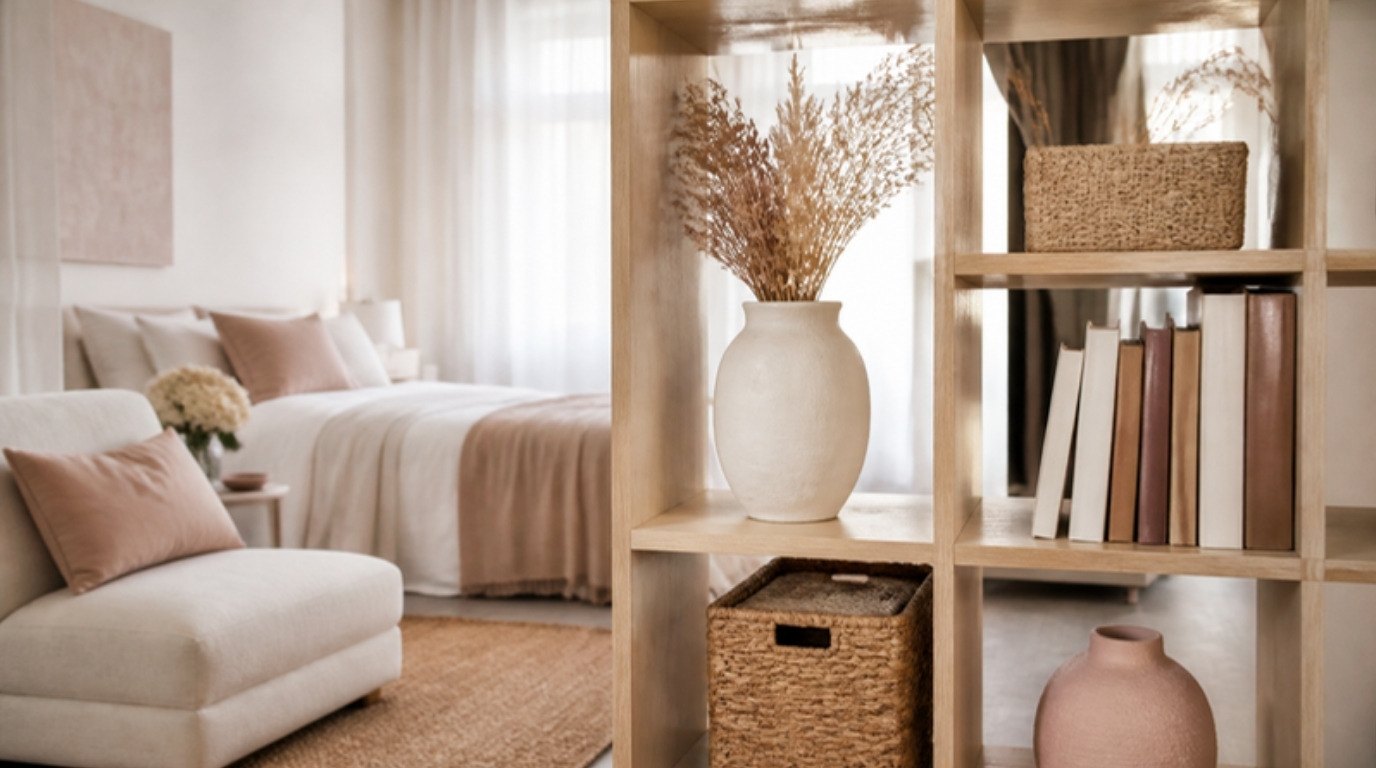
An open shelf is the classic studio divider for a reason: it separates, stores and still lets light pass through. A white open cube bookshelf placed at a right angle to the wall, between the bed and the sofa, creates a clear "bedroom" without blocking the window.
- Height: Around 4–5 feet tall gives privacy for a bed while keeping the room open above it.
- Styling: Mix closed baskets (for clutter) with open cubes (for books and a few pretty objects). Leave about a third of the cubes partly empty so it doesn't look heavy.
- Both sides: Choose a shelf without a back so it looks finished from the bed and from the sofa.
Because the back is open, keep the heaviest things on the bottom shelves, and see the safety section below – a freestanding shelf in the middle of a room needs extra care. For arranging what goes on it, my guide to styling shelves so they look curated works for both sides.
2. A Ceiling-Track Curtain
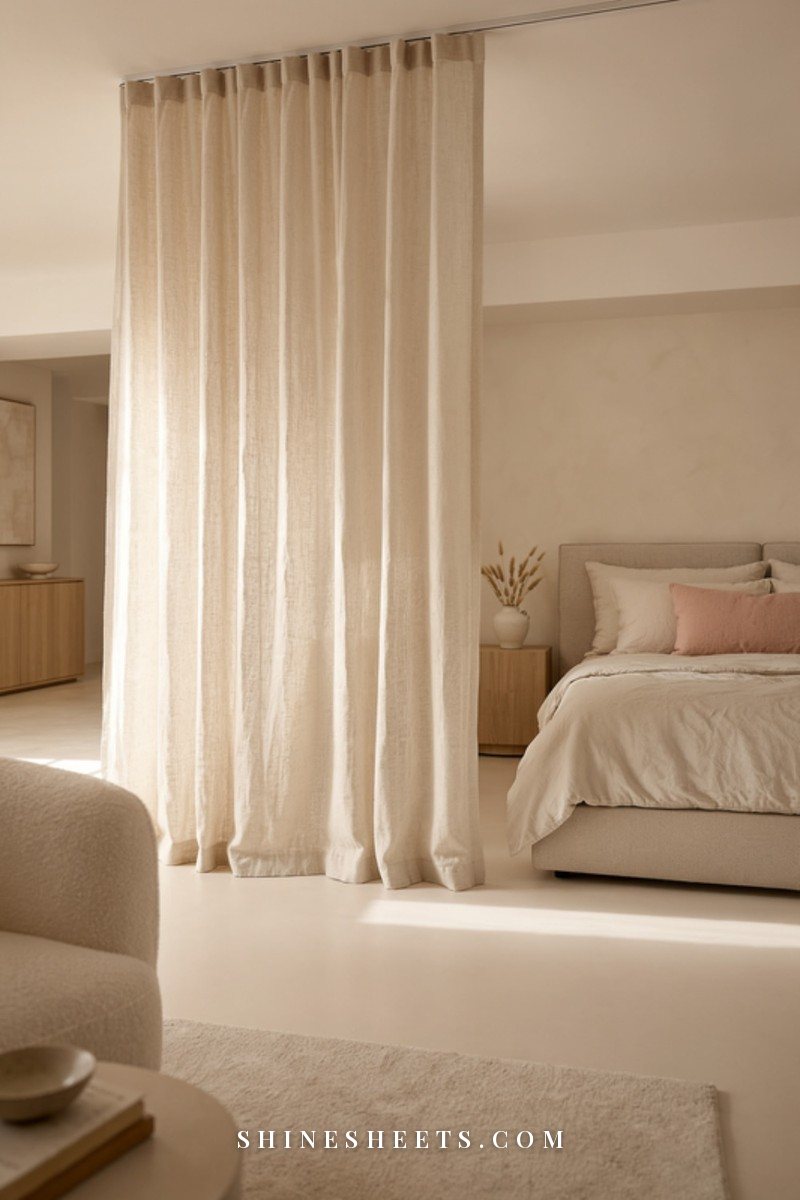
A curtain is the softest, most flexible divider. Open it in the morning for light and space, close it in the evening to "go to bed". A cream linen ceiling curtain on a ceiling track looks almost like a hotel suite.
- Fabric: Linen or cotton gauze for light, a heavier lined fabric for privacy and a little sound softening.
- Length: Let it just kiss the floor or hover about half an inch above it.
- Fullness: Use about 1.5–2 times the width of the opening so it falls in soft folds.
Renter note: ceiling tracks usually need a few small screws. Ask your landlord first, or look for tension-mounted ceiling poles that press between floor and ceiling. My guide to choosing and hanging curtains has more on fabric and fullness.
3. A Tension-Rod Curtain
If you have an alcove, a nook or two walls close together, a tension rod is the easiest divider of all. It presses between two walls, holds a light curtain and leaves no holes.
An ivory tension rod with a sheer or linen panel can hide a bed alcove, a closet area or a desk nook in about ten minutes. Keep the curtain light – tension rods aren't meant for heavy fabric – and check the grip once a month.
4. A Folding Screen
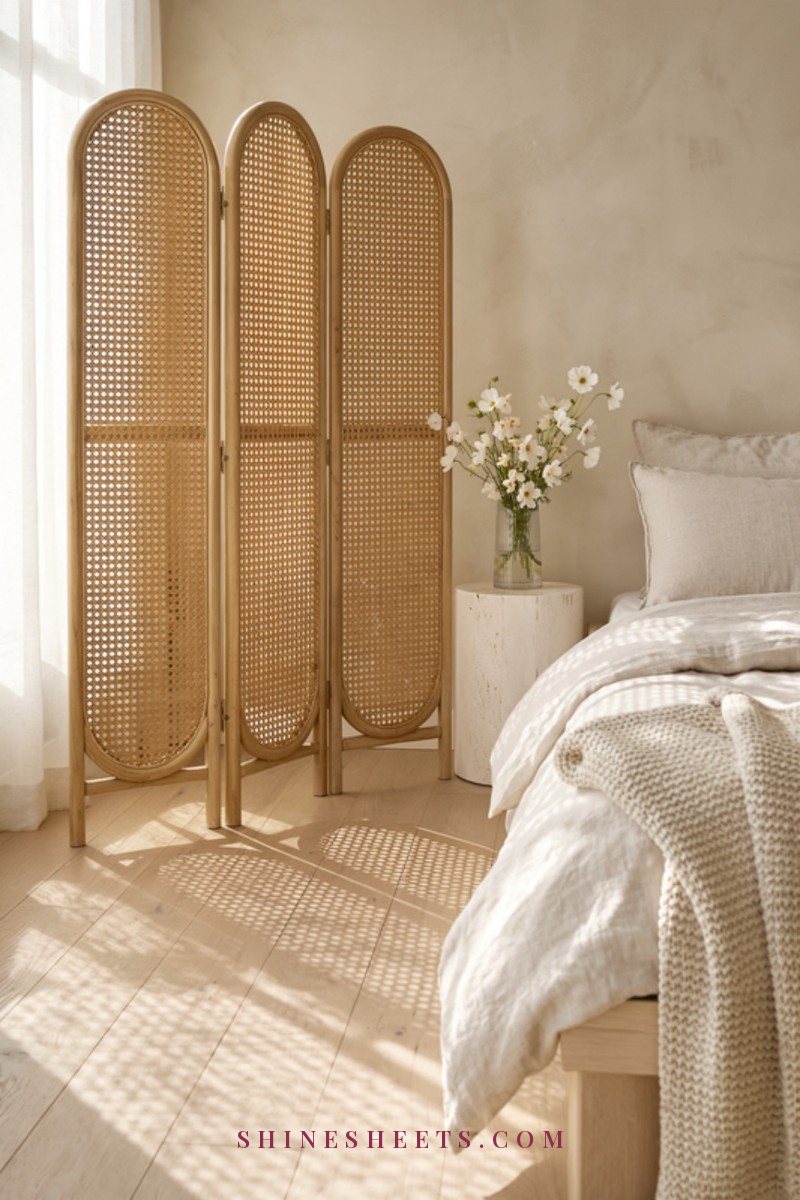
A folding screen is portable privacy. Open it fully for a straight "wall", angle it into a zigzag to hide a corner, or fold it away when friends come over.
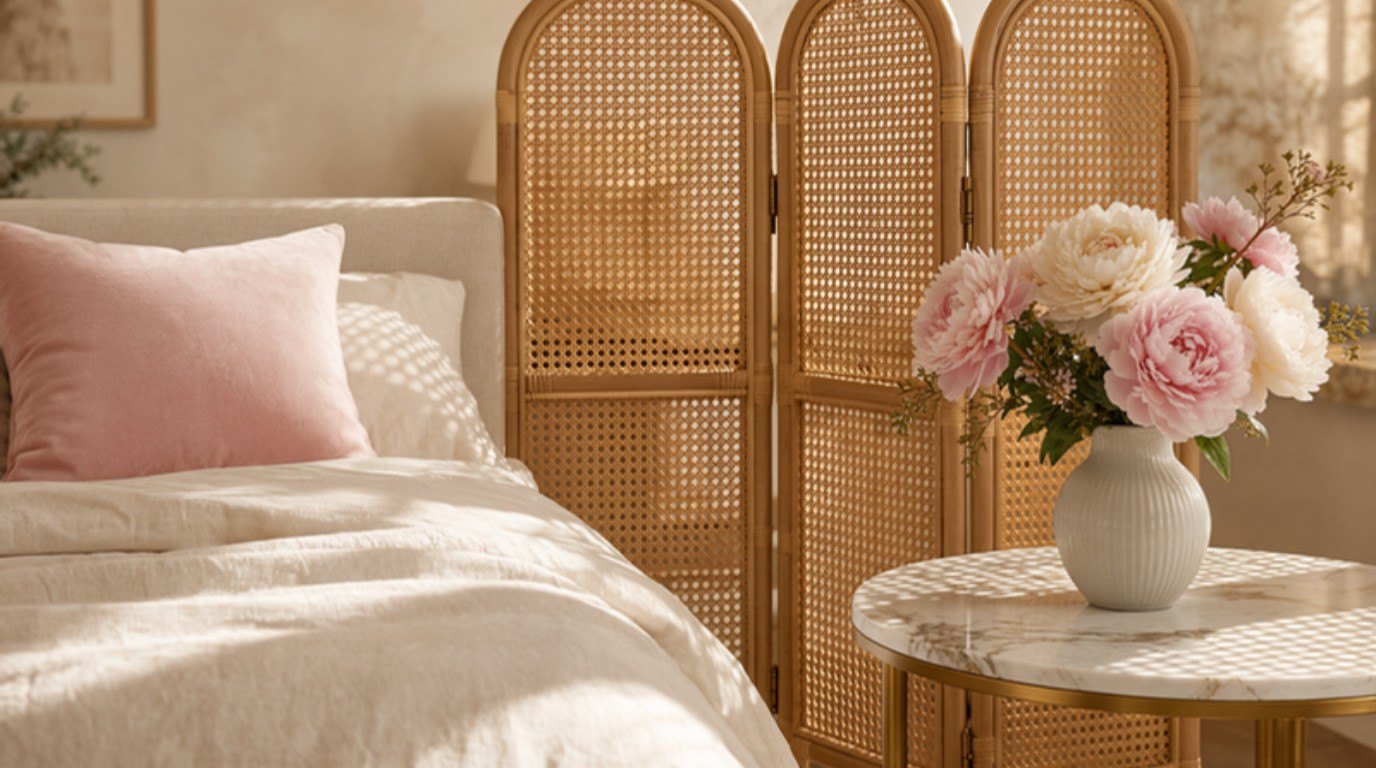
A natural rattan folding screen keeps the room airy, because tiny gaps in the weave let light through. Use one to hide a desk at the end of the workday, a laundry rack or the foot of the bed.
Screens can tip if bumped, so keep them on a flat floor, open them in a zigzag (never completely straight) and keep them away from walkways.
5. Tall Plants on a Stand
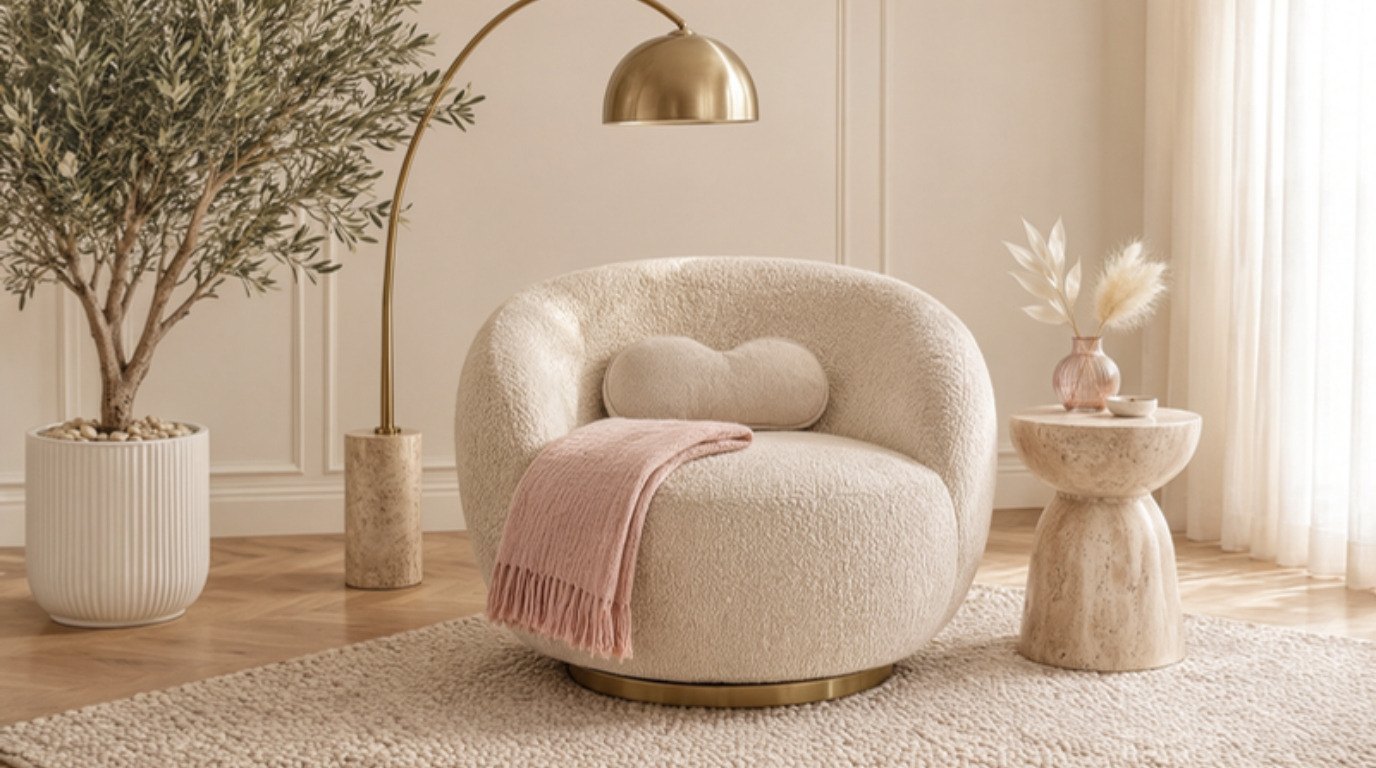
A row of plants is the gentlest boundary there is. Two or three tall plants in matching pots, or a slim plant stand with trailing plants, separates zones without feeling like a barrier.
- Choose plants that suit your light – a sunny window allows more choice than a dim corner.
- Group them in odd numbers (three looks more natural than two).
- Put pots on saucers or stands with feet to protect rented floors.
Plants won't give much privacy, but they make the room feel calm and alive.
6. The Back of the Sofa as a Boundary
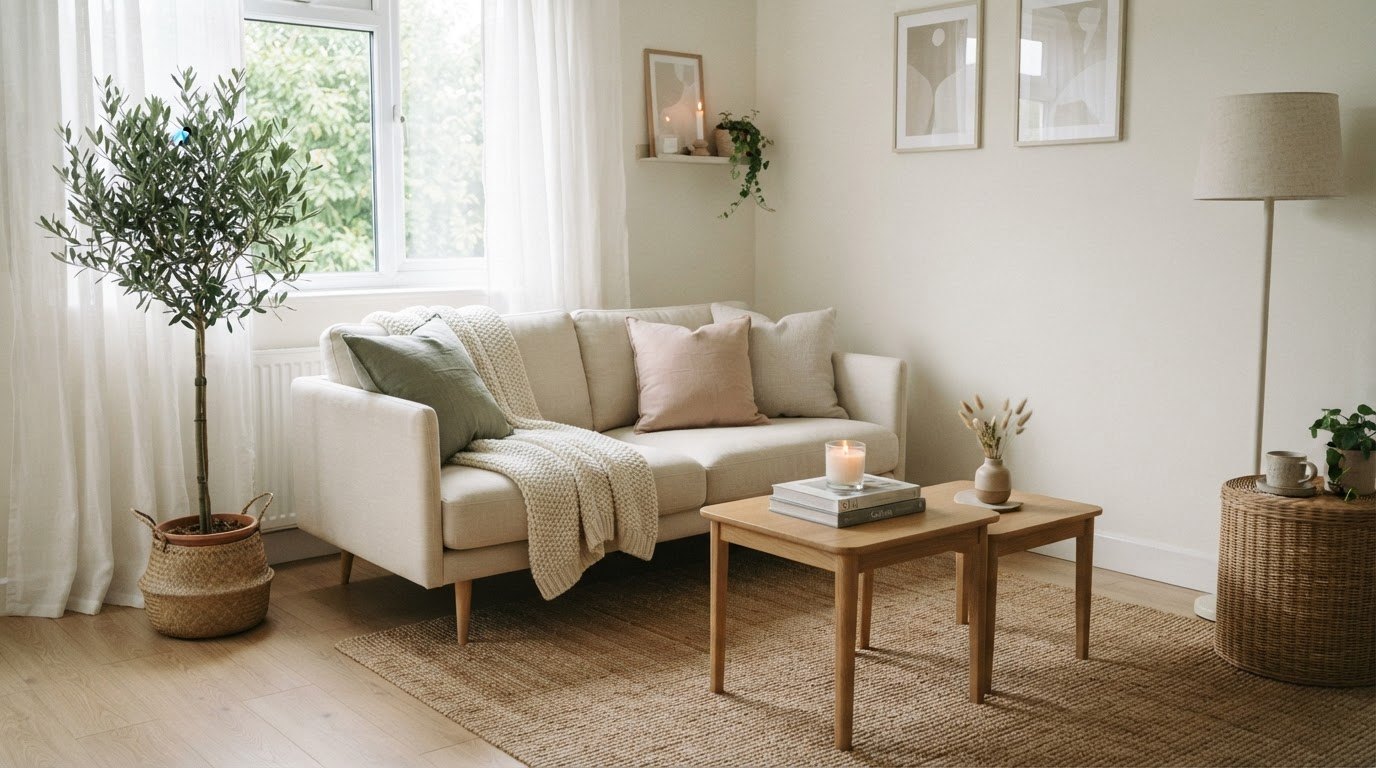
This one costs nothing. Instead of pushing your sofa against the wall, float it in the room with its back facing the bed or the kitchen. Suddenly there's a "living room" in front of it and a different zone behind it.
Add a slim console table behind the sofa with a lamp and a few books, and it reads as a finished edge. My guide on how to arrange living room furniture shows how to float a sofa even in a small room.
7. Rug Zoning
Rugs divide a room without blocking a single ray of light. One rug under the living area, a smaller one beside the bed and perhaps a runner by the desk – and each zone has its own "floor".
- Size: The living-area rug should be large enough for at least the front legs of the sofa and chairs to sit on it.
- Material: A beige jute rug is hard-wearing and neutral; a soft wool or cotton rug works well by the bed.
- Space: Leave a little bare floor between rugs so each zone is clearly separate.
If you'd like to layer two rugs for more texture, these easy rules for layering rugs keep it from looking busy.
8. A Slatted Wood Panel
Slatted wood dividers – vertical wooden slats on a base or between floor and ceiling – are a modern, warm option. They break the view without stopping light or air.
Look for freestanding panels with a weighted base or tension-mounted versions that press between floor and ceiling. Light oak or white-washed wood keeps the look soft. These sit in the mid-price range but feel very custom.
9. A Pegboard or Freestanding Clothes Rail
In a studio, storage and dividing can be the same thing. A freestanding pegboard panel can hold a mirror on the bedroom side and hooks for bags on the other. A sturdy clothes rail, styled with a small edit of your favorite clothes, can separate a dressing corner from the bed.
The secret is editing. Hang only 10–15 pieces in soft, matching colors, use matching hangers, and add a small basket underneath for shoes. Otherwise, it can tip from "boutique" to "laundry pile" fast.
10. A Glass-Look Acrylic or Rice-Paper Screen
When light is the main concern, a translucent divider is a beautiful answer. A frosted acrylic panel or a rice-paper screen (shoji-style) softens the view while letting daylight glow through.
These work especially well between a bed and a work area, where you want a calm visual break rather than full privacy. Keep paper screens away from heaters, candles and lamps, and dust them gently with a soft dry brush.
Room Divider Comparison Table
Use this table to match a divider to your top need. Screenshot it before you shop.
| Divider type | Privacy level | Light kept | Renter-friendly | Budget |
|---|---|---|---|---|
| Open bookshelf | Medium | Good | Yes (with anti-tip kit) | $–$$ |
| Ceiling-track curtain | High when closed | Excellent when open | Ask first (small screws) or use tension poles | $–$$ |
| Tension-rod curtain | Medium–high | Good with sheer fabric | Yes | $ |
| Folding screen | High | Medium (good with rattan) | Yes | $–$$ |
| Tall plants on a stand | Low | Excellent | Yes | $–$$ |
| Back of the sofa | Low | Excellent | Yes | Costs nothing |
| Rug zoning | None (visual only) | Excellent | Yes | $–$$ |
| Slatted wood panel | Medium | Good | Yes if freestanding or tension-mounted | $$–$$$ |
| Pegboard or clothes rail | Low–medium | Good | Yes | $ |
| Acrylic or rice-paper screen | Medium | Very good | Yes | $$ |
$ = under about $60, $$ = about $60–200, $$$ = above about $200. Prices vary, so treat these as rough levels.
Renter-Friendly Notes
Most dividers above need no drilling at all. A few things make renting easier:
- Tension is your friend. Tension rods and floor-to-ceiling tension poles hold curtains and panels without screws.
- Freestanding first. Shelves, screens, rails and plants all move with you to the next place.
- Protect the floors. Felt pads under shelves and screens, saucers under plants.
- Ask before you screw. If you want a ceiling track or wall anchors, a short, polite message to your landlord usually gets a yes – especially for safety anchoring.
Safety First: Anchor Tall Pieces
This part isn't the fun part, but it matters. A tall bookshelf standing in the middle of a room has no wall behind it, so it can tip more easily if someone leans on it, pulls a heavy book or bumps it.
- Anchor tall shelves and dividers to the wall wherever one side touches it, or use an anti-tip kit (furniture straps) designed for the piece.
- For a shelf that stands fully in the room, choose a lower, wider design (about 4 feet tall) and load the bottom shelves with the heaviest items.
- Never let anyone climb a shelf or hang on a screen.
- Keep curtains, paper screens and fabric dividers at least a few feet away from space heaters, radiators, candles and hot lamps.
- Don't block exits, windows you'd use in an emergency or smoke alarms with a divider.
Two minutes with a strap now gives you peace of mind every day after.
Budget Levels: What You Can Do With Any Amount
- Almost nothing: float the sofa, move the rugs you already own, group the plants you have.
- Under about $60: a tension rod and a linen panel, or a simple folding screen.
- About $60–200: an open cube bookshelf with an anti-tip kit, a ceiling-track curtain, a new jute rug.
- Above about $200: a slatted wood panel or a combination – for example a bookshelf plus a rug plus a curtain for the bed.
Often the best result comes from combining two light ideas (a rug and a sofa back, or a bookshelf and a plant) instead of one big, heavy one.
How To Style Both Sides
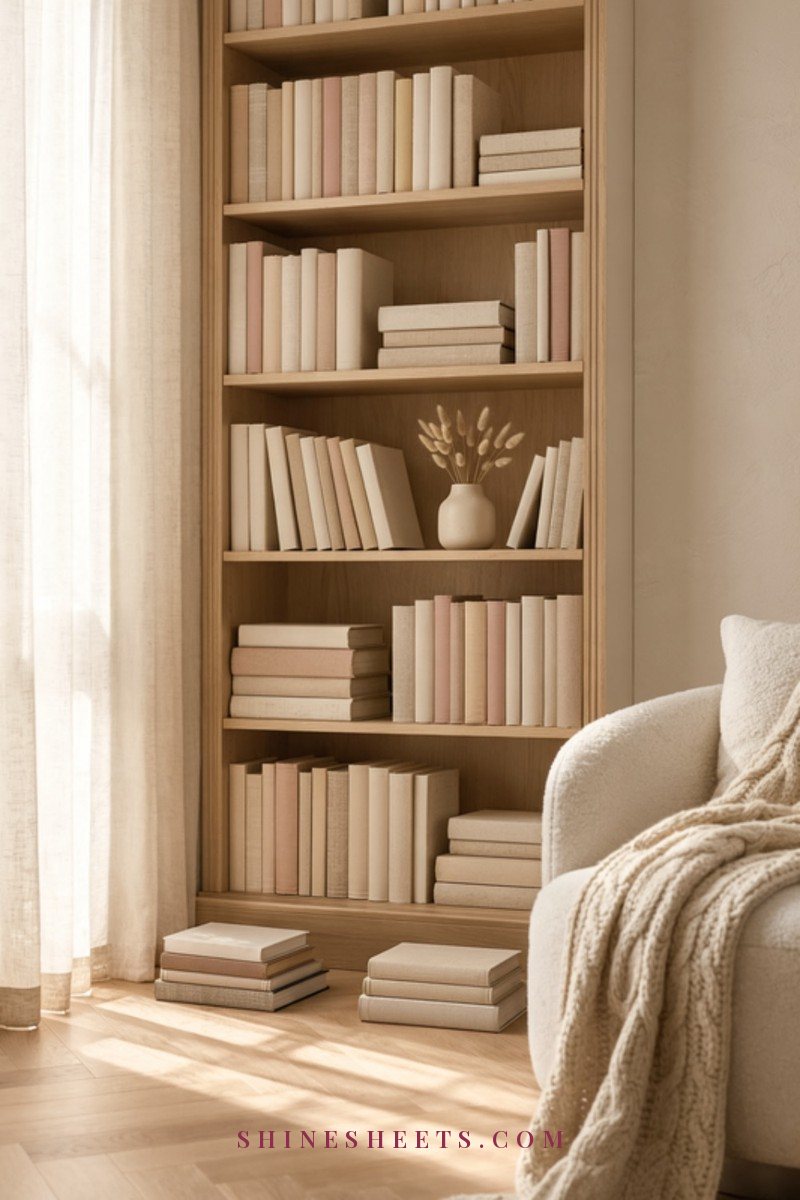
A divider in the middle of a studio is seen from two directions, so it needs to look good from both. A few simple rules:
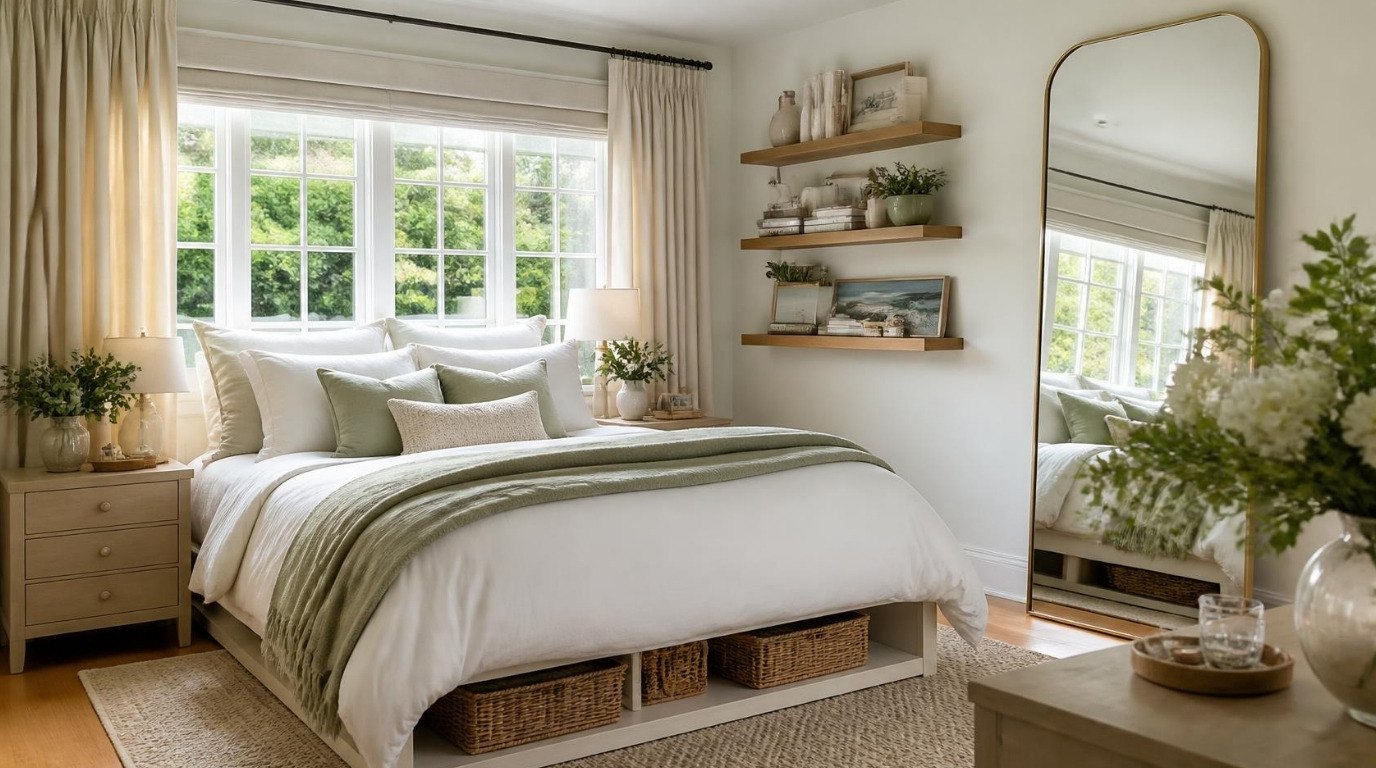
- Keep one color story. Cream, white, beige and soft wood make each zone feel connected. Let accents (a blush pillow, a sage throw) repeat on both sides.
- Give each zone one "anchor". The bed for sleeping, the sofa for living, the desk or table for working. The divider supports the anchor – it isn't the star.
- Light each zone separately. A bedside lamp, a floor lamp by the sofa and a desk lamp let you "switch off" one zone at night. I like a glass candle on the living side in the evening – it marks the end of the day.
- Hide the backs. If a piece has an unfinished back, cover it with fabric, lean a large framed print against it or put plants in front.
- Leave walking space. Keep at least about 30 inches clear around dividers so the room never feels like an obstacle course.
Easy Zoning Plans for Three Common Studio Shapes
Every studio is a little different, but most fall into one of three shapes. Here's a simple starting plan for each, so you're not guessing.
The Long, Narrow Studio
Long rooms are actually the easiest to zone, because the layout already suggests a sequence. Put the bed at the far end (away from the door), the living area in the middle and a small table or desk near the entrance or the window, depending on where the light is.
Divide the bed from the living area with an open bookshelf or a ceiling-track curtain running across the width of the room. Then use a rug and the back of the sofa to mark the living zone. Avoid lining everything up along one wall – staggering furniture slightly breaks up the "corridor" feeling.
The Square Studio
A square room has no natural "end", so the bed is often visible from everywhere. Tuck the bed into the corner farthest from the door and wrap it with an L-shape: a bookshelf on one side, a folding screen or curtain on the other.
Float the sofa in the middle of the room on a rug, facing away from the bed, and put a small desk or bistro table against the wall nearest the window. With one divider and one rug, a square room suddenly has three clear areas.
The L-Shaped Studio
An L-shaped studio has a built-in nook – lucky you. Use the short leg of the L for the bed, and close it softly with a tension-rod curtain or a ceiling-track curtain you can pull across in the evening.
The long leg becomes living and working space, zoned with a rug and a slim console behind the sofa. Because the bed is already out of sight from most of the room, you can keep everything else very open and light.
Common Mistakes To Avoid
- Blocking your only window with a solid divider.
- Choosing a divider that's too tall for the room – it can make a studio feel like a maze.
- Using too many dividers. One or two clear boundaries are calmer than five.
- Forgetting the anchor straps on tall shelves.
- Mixing many different materials and colors so each zone feels like a different apartment.
Final Thoughts
A studio doesn't need walls to feel like a real home. It needs a few gentle boundaries that tell you where to rest, where to relax and where to get things done – and lots of light moving freely between them.
Start with what you need to separate, choose one or two dividers that fit that need and your budget, anchor anything tall, and style each side with care. Your one room can hold your whole life beautifully.