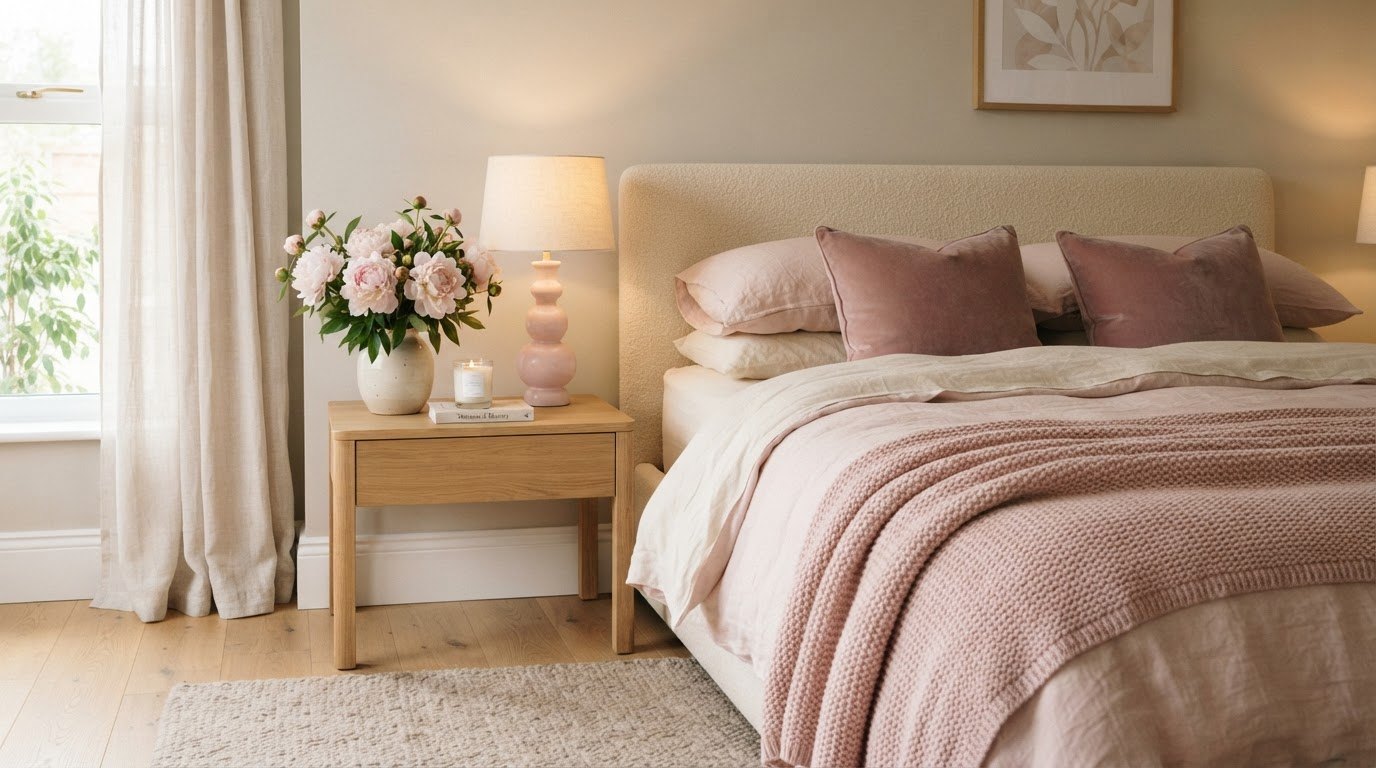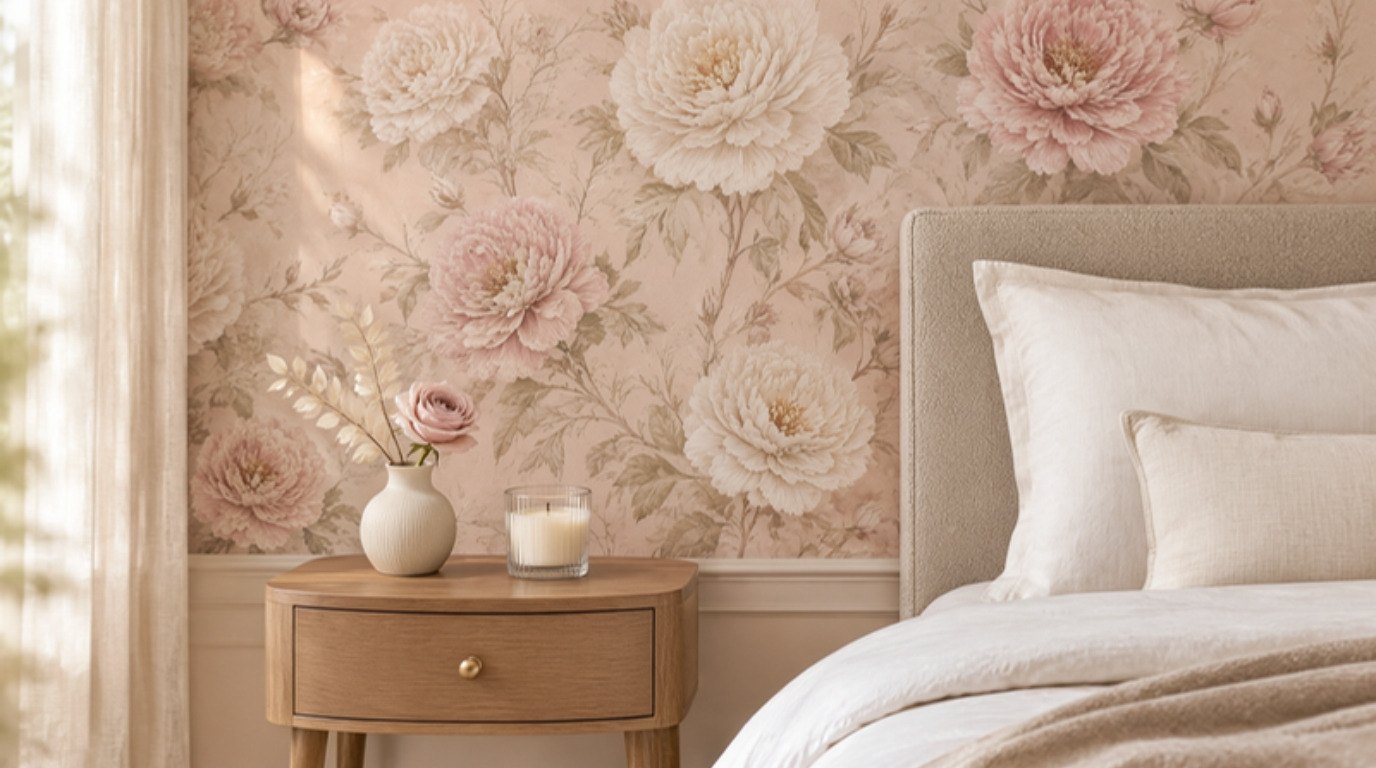
Peel and stick wallpaper looks expensive when the wall underneath is smooth, the pattern fits the room and the first panel goes up perfectly straight. Almost every bubbly, peeling, slightly crooked wall you've seen comes down to one of those three things, not to the wallpaper itself.
That's good news, because all three are easy to get right with a little patience and a few cheap tools. You don't need a contractor, a paste bucket or a landlord's blessing for a weekend project that changes how a whole room feels.
This guide walks you through peel and stick wallpaper from start to finish: how to choose a pattern and finish, how to check your wall, how many rolls to buy, a room-by-room pattern table, the eight application steps, how to fix bubbles and wrinkles, and how to take it all down safely when you move out. It took me a few slightly wonky panels to learn that slow is fast with this stuff (and that the first panel matters more than all the others combined).
Why Peel and Stick Wallpaper Is a Renter's Best Friend
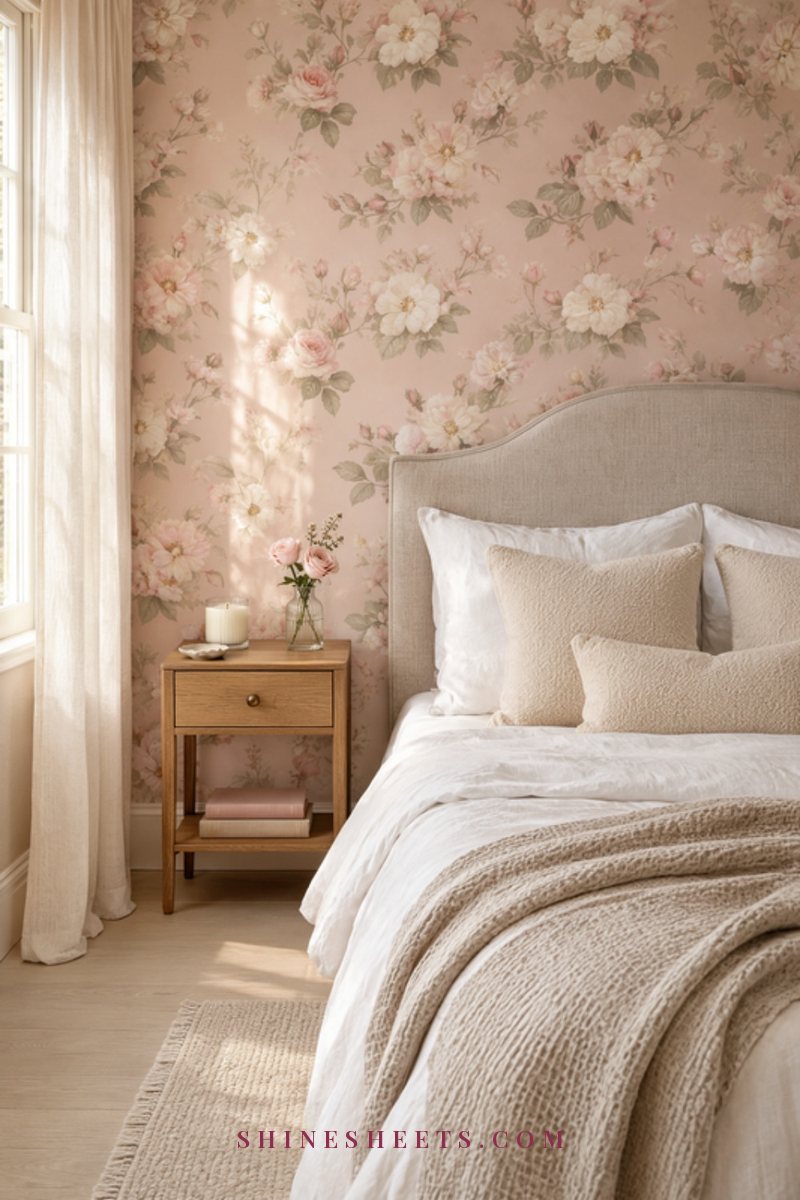
Traditional wallpaper is beautiful, but it's a commitment: paste, soaking, booking, and a removal job that can take days. Peel and stick wallpaper is basically a large, thin sticker with a low-tack adhesive. You can reposition it while you work, and on a well-prepped wall it comes off without taking the paint with it.
That makes it ideal for a few situations:
- Rentals where painting isn't allowed or you'd have to repaint before moving out.
- Small spaces like a powder room, a closet or a hallway, where one or two rolls make a huge difference.
- Trying a look before committing – if you love it after a year, you can always go for the real thing later.
- Furniture and details like the back of a bookshelf, drawer fronts or a plain door.
If you're still deciding which wall deserves the attention, my guide to easy, renter-friendly accent wall ideas compares wallpaper with other options like paneling, picture ledges and painted arches. This article is the deep dive for wallpaper itself.
One small promise before we start: you don't have to be handy. You do have to be willing to go slowly for the first panel.
How To Choose Peel and Stick Wallpaper
Choosing well saves you more frustration than any application trick. Here's what I'd look at, in order.
Pick the Pattern Scale for Your Room Size
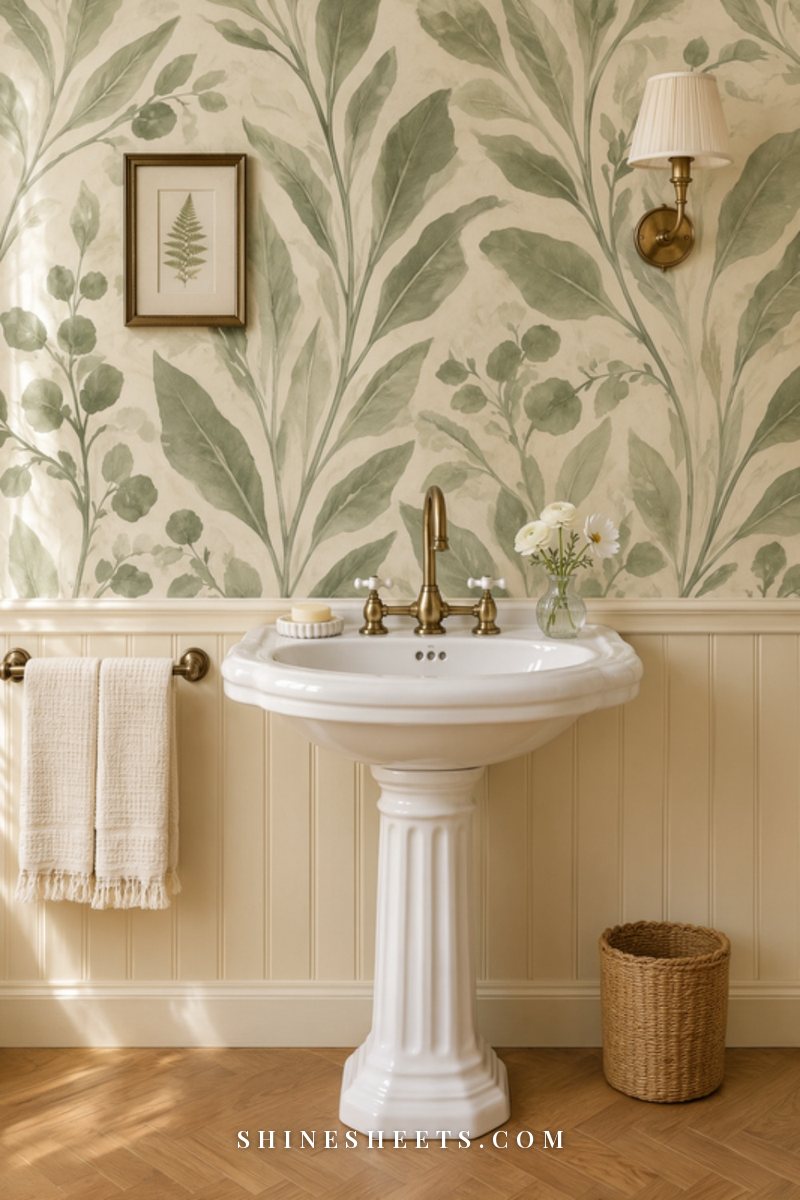
Pattern scale means how big the motif is and how far it is before it repeats. It changes the mood of a room more than color does.
- Small rooms (powder rooms, closets, nooks): surprisingly, large-scale patterns often work best here. A bold motif blurs the corners and makes the room feel like a jewel box. Tiny busy prints can feel cluttered up close.
- Medium rooms (bedrooms, home offices): a medium floral, a soft stripe or a gentle botanical works on one accent wall without overwhelming the furniture.
- Large or open rooms: go for a pattern you can read from across the room, or a textured neutral (linen look, grasscloth look) so the wall feels finished instead of busy.
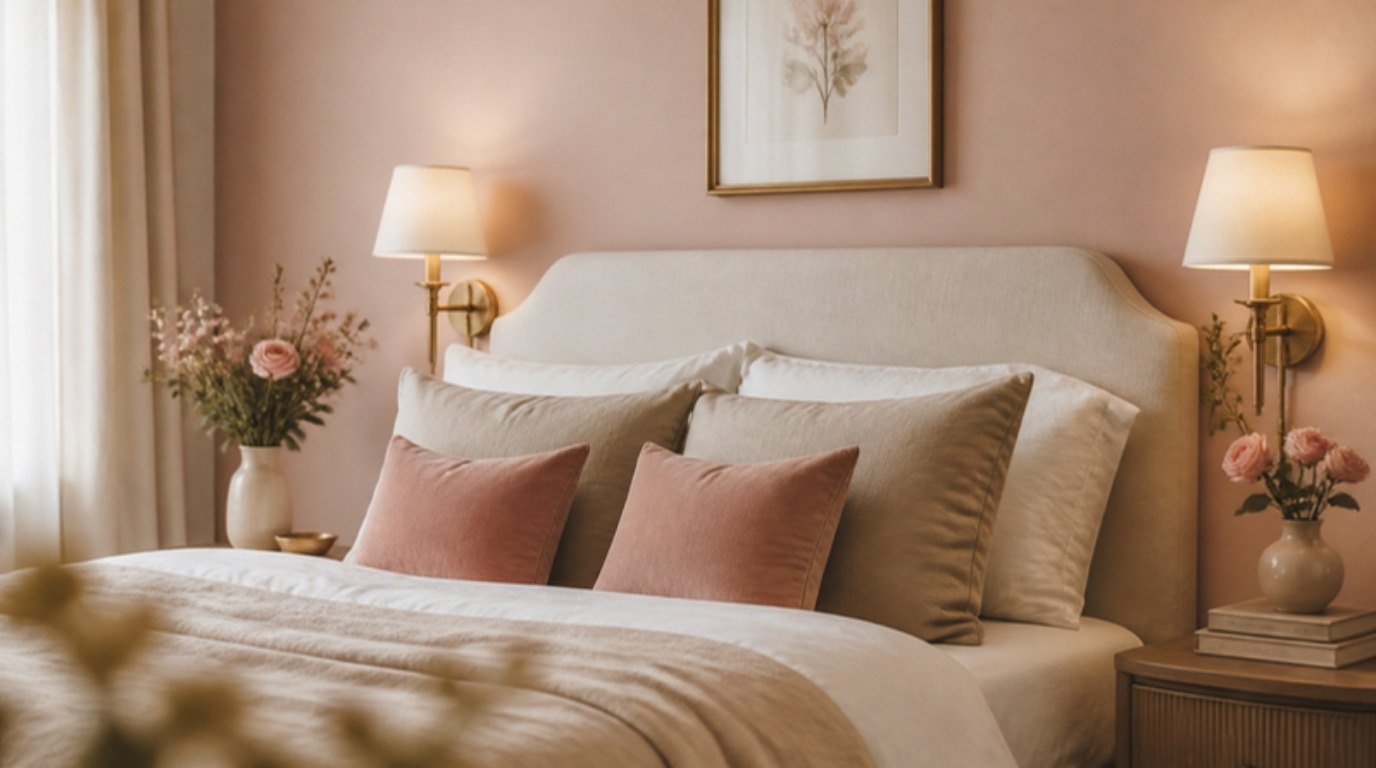
For a romantic bedroom wall, a soft blush floral peel and stick wallpaper with a medium-sized flower is an easy place to start. Look for a pattern where the background color matches or complements your bedding, so the wall feels connected to the room instead of stuck on.
Matte vs Shiny Finish
Finish matters more than most product photos let on. Shiny vinyl wallpaper reflects light and shows every bump in the wall underneath, and it can look a little plastic in daylight. A matte or lightly textured finish hides small imperfections, looks closer to real paper and photographs beautifully.
My rule of thumb: matte for bedrooms, living rooms and hallways; a wipeable satin finish only where you need easy cleaning, like a kitchen wall or near a sink. If a listing doesn't mention the finish, look closely at customer photos taken near a window.
Always Order a Sample First
A sample costs a few dollars and answers questions no product photo can. Order one (or two or three colorways) and tape or stick it to the actual wall for at least three or four days. Check it:
- in morning light, evening light and lamp light,
- next to your bedding, sofa or cabinet color,
- after a day or two, to see whether the edges lift on your paint.
If you want something calm and easy to live with, a neutral linen-look peel and stick wallpaper in cream or beige is a forgiving first project. It adds texture without demanding that you redecorate everything around it.
This sample is also your patch test: if it pulls paint off when you peel it after a few days, your wall isn't a good candidate, and you've found out on a two-inch square instead of a whole wall.
Check Your Wall Surface Before You Buy
Peel and stick wallpaper is only as good as the surface it grips. The ideal wall is smooth, clean, dry and painted with a cured satin or eggshell paint. Be careful with:
- Fresh paint: wait about four weeks after painting so the paint can fully cure. Paint that's dry to the touch isn't cured yet, and the adhesive can bond to it and peel it off later.
- Textured walls (orange peel, knockdown): the wallpaper only touches the high points, so it lifts and bubbles. A very light texture may be okay; test a sample first.
- Damp or humid walls: steamy full bathrooms, walls with any sign of moisture or mold, and exterior walls that feel cold and clammy are not a match. Fix moisture problems first.
- Flat or matte cheap paint: it can be chalky, so the adhesive grips the dust rather than the wall.
- Brick, tile with deep grout and raw wood: these usually need a different product.
If your wall is smooth but a bit grimy, that's an easy fix (more on that in step one).
How Many Rolls You Actually Need
This is where most people run short, because they forget pattern matching. Here's the simple formula I'd use. Screenshot it before you go shopping:
- Panels: wall width ÷ roll width, rounded up.
- Panel length: wall height + 4 inches (2 at the top, 2 at the bottom for trimming) + one pattern repeat if the pattern needs matching.
- Panels per roll: roll length ÷ panel length, rounded down.
- Rolls: panels ÷ panels per roll, rounded up, then add one extra roll.
Example: a wall 10 feet wide (120 inches) and 8 feet tall (96 inches), with rolls 17.5 inches wide and 18 feet long (216 inches). That's 120 ÷ 17.5 = 6.9, so 7 panels. Each panel is 96 + 4 = 100 inches, so you get 2 panels per roll. Seven panels ÷ 2 = 3.5, so 4 rolls, plus 1 extra = 5 rolls.
The extra roll covers a mistake, a crooked first try and future repairs. Buy all rolls at the same time so they come from the same print batch and the color matches perfectly.
Best Rooms To Start With: Pattern and Scale Table
If you're not sure where to begin, start small. A powder room or a closet takes one weekend afternoon, uses only a few rolls and teaches you everything you need for a bigger wall. Here's a quick table to match room, pattern and scale.
| Room | Pattern idea | Scale | Tip |
|---|---|---|---|
| Powder room | Botanical, floral or soft toile | Large | No shower means less humidity, so the edges stay put. Go bold here. |
| Bedroom (wall behind the bed) | Blush floral, soft stripe, linen look | Medium | Paper only the headboard wall so the room still feels restful. |
| Hallway | Narrow stripe or small geometric | Small to medium | Vertical lines make a low ceiling feel taller; skip it on high-traffic corners. |
| Kitchen accent wall | Gingham, check or small herb print | Small | Choose a wipeable finish and keep it well away from the stove and cooktop. |
| Home office nook | Sage botanical or soft abstract | Medium | Paper the wall behind your desk so you see it, not the wall you sit with your back to. |
| Closet or pantry inside | Anything you love but wouldn't dare elsewhere | Any | A low-risk spot to practice and a sweet surprise every time you open the door. |
| Back of a bookshelf | Small floral or grasscloth look | Small | Measure each shelf section separately; you'll need a fraction of a roll. |
For the hallway row, my hallway decor ideas guide has more ways to make a long, plain corridor feel welcoming. And for a botanical office or powder room wall, a sage green botanical wallpaper roll is soft enough to feel calm and bold enough to feel like a design choice.
If you're working on a full rental bathroom, read the humidity warning above twice. My rental bathroom makeover guide covers what works best in steamy spaces (and what quietly peels within a month). The same goes for kitchens: my list of renter-friendly kitchen upgrades shows where wallpaper works and where a backsplash product makes more sense.
What You'll Need Before You Start
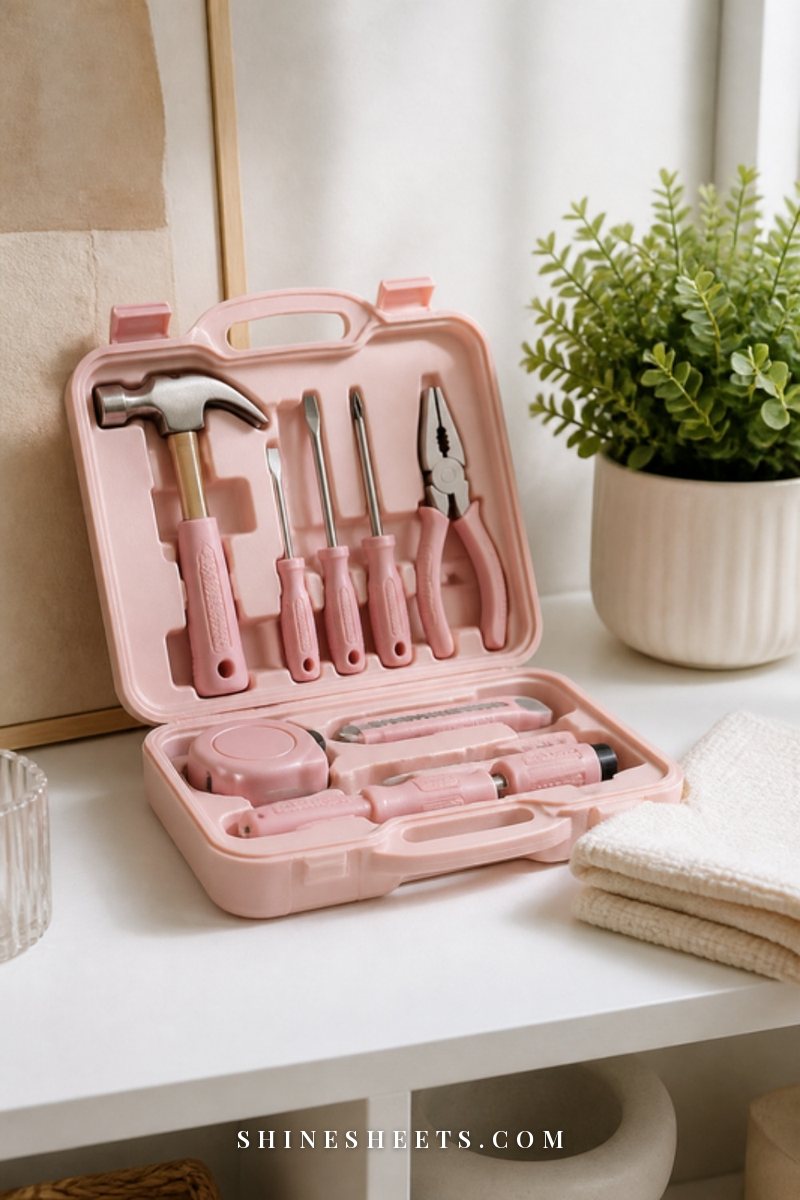
The right tools are cheap and they make the difference between a wall that looks professional and one that looks homemade. Gather these before you peel anything:
- A smoothing tool with a felt edge. A felt-edge wallpaper smoothing tool glides over the surface without scratching or stretching it. A bare plastic edge can scuff matte finishes.
- A level or plumb line. A small laser level projects a perfectly vertical line onto the wall, so you don't have to trust the corner of the room (corners are almost never straight).
- A very sharp blade. A precision craft knife with spare blades gives clean cuts. Snap or change the blade often; a dull blade tears instead of slices.
- A straightedge or putty knife to guide your cuts along the ceiling, baseboard and trim.
- A tape measure and pencil for marking your first line.
- Microfiber cloths and a bucket of mild, soapy water for cleaning the wall.
- A step stool that's stable enough to stand on with both hands busy.
Plan for about one to two hours per wall section for a first-timer, not counting cleaning and drying time. Having a second pair of hands to hold the top of long panels makes the whole thing calmer.
How To Apply Peel and Stick Wallpaper in 8 Steps
Here's the full process. Read all eight steps before you start, then go one panel at a time. The first panel sets the line for every other panel, so give it extra care.
1. Clean and Dry the Wall
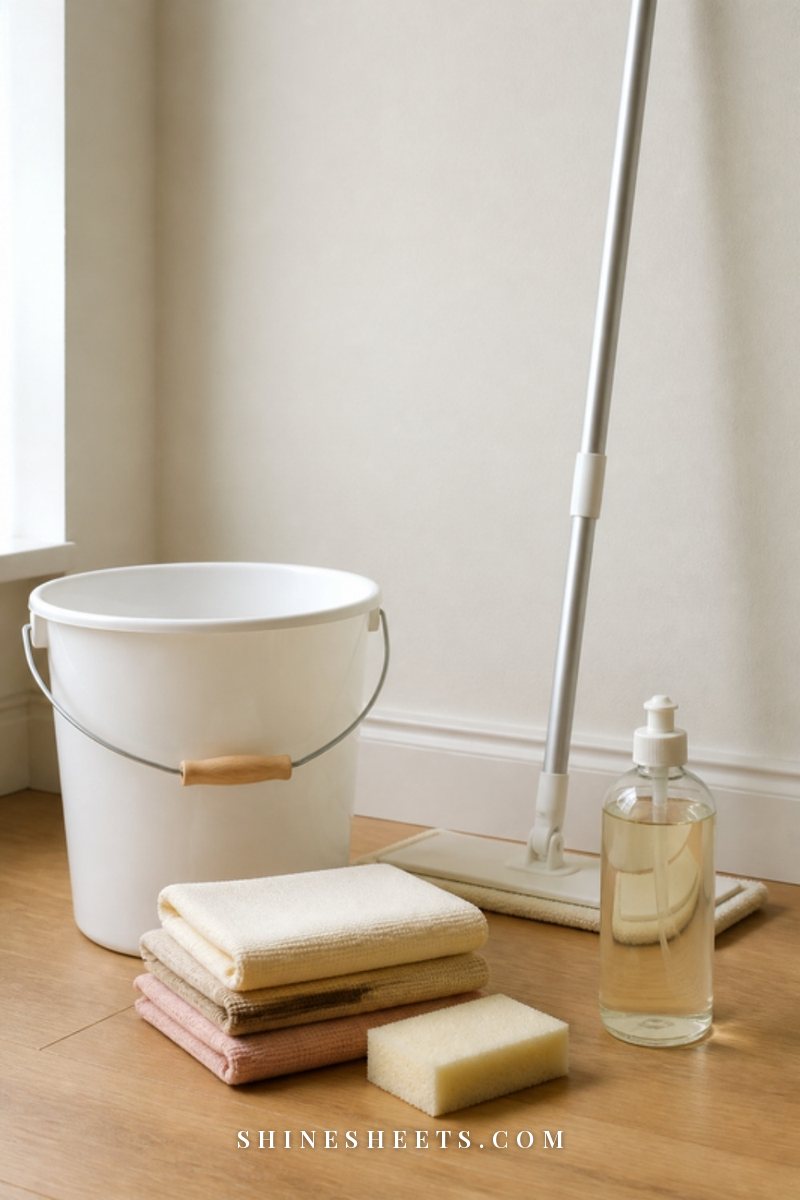
Dust, grease and fingerprints stop the adhesive from gripping. Wipe the wall with a microfiber cloth and mild soapy water, then go over it again with a cloth dampened with plain water to remove any soap film. My guide on how to clean walls without ruining the paint has the gentle method for every paint finish.
Then wait. Let the wall dry completely, ideally overnight, or at least several hours with good airflow. Also remove outlet and switch covers now (screws in a little bowl so they don't vanish), fill any small nail holes and sand the patches smooth.
2. Mark a Plumb Line
Never start from a corner and trust it to be straight. Measure one roll width (minus about half an inch) from the corner or edge where you'll begin, and mark a perfectly vertical line from ceiling to floor with your laser level or a long level and a pencil.
You'll line up the edge of your first panel with this line, not with the corner. The half-inch overlap at the corner gets trimmed later. This one step is the difference between a straight wall and a wall that drifts more crooked with every panel.
3. Peel a Little Backing at a Time
Don't peel the whole backing off at once. It will stick to itself, to you and to the wall in all the wrong places. Instead, peel back about 10 to 12 inches from the top, leaving the extra 2 inches for trimming above the ceiling line.
Line the edge up with your plumb line, press the top lightly into place, and step back to check before you press firmly. Most peel and stick wallpaper can be repositioned while the adhesive is fresh, so lift and adjust as many times as you need for this first section.
4. Smooth From the Center Out
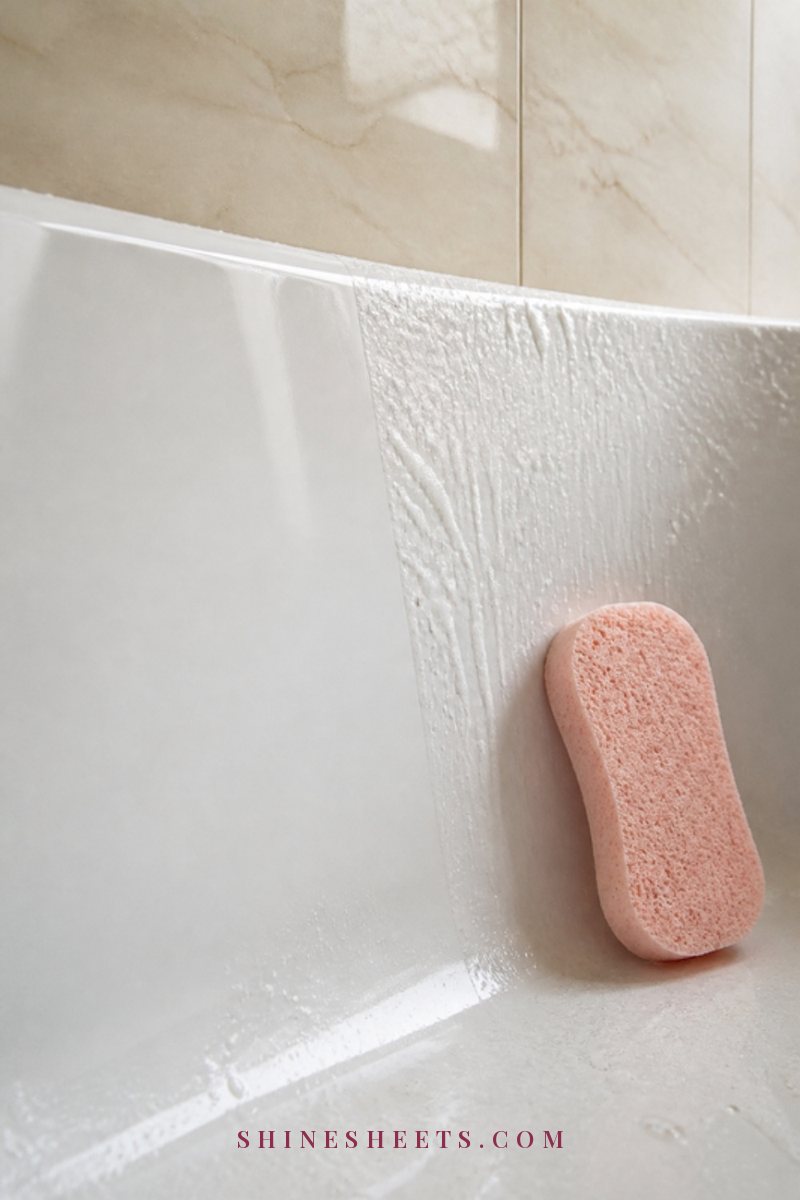
With the top section in place, use your smoothing tool in gentle strokes from the center of the panel out to the edges, like drawing the branches of a tree. This pushes air out instead of trapping it in the middle.
Then pull the backing down another 10 to 12 inches with one hand while you smooth with the other, always center out, always in small sections. Work your way down to the floor. Press, don't stretch: pulling the paper tight can distort the pattern and makes edges lift later.
5. Match the Pattern on Every Panel
Before you peel the backing on the second panel, hold it up to the first and slide it up or down until the pattern lines up perfectly at eye level. That's where mismatches are most noticeable.
Depending on the product, panels either sit edge to edge (butted) or overlap slightly; follow the instructions for your wallpaper. Check the seam from a few steps back after each panel. If it's off, lift and adjust now, not after three more panels.
6. Trim With a Sharp Blade
Once a panel is fully smoothed, trim the excess at the ceiling and baseboard. Press your straightedge or putty knife firmly into the corner and run the blade along it in one smooth motion.
Change or snap the blade every few panels, and always cut away from your body with your free hand behind the blade. A sharp blade and a slow, steady pace give you edges that look like they were done by a professional.
7. Work Around Outlets and Switches (Power Off)
Turn off the power to that wall at the breaker before you cut around outlets and switches, and keep your blade away from the wiring inside the box. Smooth the wallpaper over the opening, make a small X-shaped cut in the center, then trim carefully around the edges of the box.
Once all the panels are done and trimmed, put the covers back on. They'll hide any slightly uneven edges around the opening. If an outlet looks loose or damaged, leave it to an electrician or your landlord.
8. Press Every Edge One More Time
When the whole wall is up, go over every seam, top edge and bottom edge once more with the felt side of your smoothing tool. Edges are where lifting starts, so a final firm press really pays off.
Then give it time. Most adhesives grip best after 24 to 48 hours. Keep the room at a normal, comfortable temperature, avoid blasting heat or air conditioning directly at the wall, and don't hang anything on it right away.
How To Fix Bubbles and Wrinkles
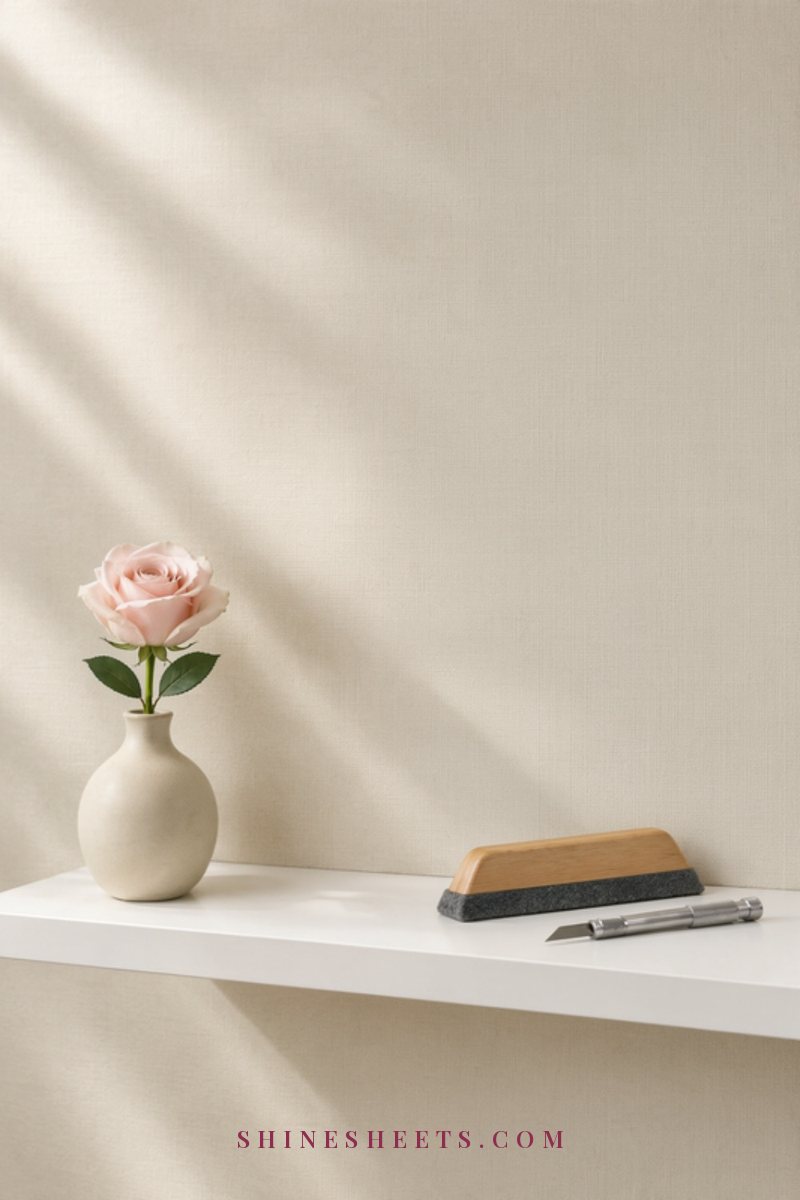
Even careful hands get a bubble or two. Here's how to deal with the usual suspects:
- Small air bubbles right after hanging: push them toward the nearest edge with your smoothing tool. Many small bubbles also flatten on their own within a day or two as the adhesive settles.
- Stubborn bubbles in the middle: prick the bubble with the tip of a pin or your craft knife, then press the air out through the tiny hole with your finger or tool. The hole becomes invisible.
- Wrinkles or creases: gently lift the panel back past the wrinkle, then re-smooth from the center out. Don't try to flatten a crease by pressing harder; it just sets it.
- Lifting edges: press firmly with the smoothing tool. If they keep lifting, a thin line of clear, removable double-sided tape or wallpaper seam adhesive under the edge can help (test it on your sample first in a rental).
- A seam that's drifted crooked: lift the panel while it's still fresh and realign it to the one before. If it's been days, cutting a new panel from your extra roll is easier than fighting it.
Bubbles that appear weeks later often point to a wall problem underneath, like moisture, dust or uncured paint. In that case, check the wall before patching the paper.
How To Remove It Safely When You Move Out
The whole point of peel and stick is that it leaves without drama. To keep it that way:
- Start at a top corner and lift a few inches with your fingernail or a plastic putty knife.
- Peel slowly and low. Pull the panel down and back at a low angle, close to the wall, instead of straight out toward you. This puts less stress on the paint.
- Use gentle warmth if it resists. A hair dryer on a low, warm setting held several inches from the surface softens the adhesive. Keep it moving and never leave it pointed at one spot.
- Clean any residue with warm soapy water and a soft cloth, and let the wall dry.
- Touch up if needed. Check your lease, and ask your landlord for the original paint color name if you need to touch up a small spot.
Take a few photos of your walls before you put up wallpaper and again after you remove it. It's an easy, friendly way to show the walls were left as you found them.
Small Mistakes That Make Wallpaper Look Cheap
A few details separate a wall that looks designed from one that looks like a weekend experiment. Watch out for these:
- Papering every wall. One accent wall usually looks more intentional than four, especially in a small room. My small bedroom ideas show how one patterned wall can make a tiny room feel bigger instead of smaller.
- Ignoring the edges. Ragged cuts along the ceiling or a visible gap at the baseboard draw the eye. Take your time with trimming.
- Choosing shine to save money. Glossy, thin vinyl shows every flaw. Spend a little more on a matte, thicker product.
- Skipping the sample. Colors shift dramatically from screen to wall, and blush can read as peach in warm lamp light.
- Hanging heavy art right away. Wait a couple of days, and use hooks that go through to the wall rather than adhesive hooks on the wallpaper itself.
Final Thoughts
Peel and stick wallpaper rewards the slow, careful version of you: a clean wall, a straight first line, a sharp blade and small sections smoothed from the center out. Get those right and the rest of the wall almost hangs itself.
Start with a powder room, a closet or the wall behind your bed, give yourself a whole afternoon, and let it be a little imperfect the first time. A home that feels like yours is worth a weekend of patience, and every wall after the first one gets easier.