A calm baking day doesn't start with a bigger kitchen. It starts with knowing exactly where the baking powder is. Most baking clutter isn't about having too much stuff; it's about the stuff being scattered: flour in the pantry, sprinkles in a random drawer, the cooling rack wedged behind the cutting boards and the piping tips rattling around who knows where.
When everything for one job lives together, you stop digging and start enjoying the process. You can see what you have, you stop buying a third jar of cinnamon and cleanup is quicker because everything has a home to go back to. And none of it requires drilling, new cabinets or a pantry the size of a bedroom.
This guide shows you how to organize baking supplies in a small kitchen, step by step: a quick edit first, how to group everything by task, where each zone should live, 7 small-space tricks that work in rentals, a storage table you can screenshot and a simple upkeep routine so it stays that way. If your whole kitchen needs a reset, my kitchen organization ideas for small kitchens are a nice companion read.
Start With a Quick Edit
Before you buy a single container, take everything baking-related out and put it on the counter or table. It's a little chaotic for twenty minutes, but it's the only way to see what you really have. Then go through it quickly:
- Check the leaveners. Opened baking powder usually loses its lift after roughly 6–12 months. To test it, stir half a teaspoon into a little hot water; if it doesn't fizz, it's time to replace it.
- Check dates on everything else. Extracts, food coloring, sprinkles, yeast and whole-grain flours (which go stale faster than white flour). If it smells off or looks clumpy and odd, let it go.
- Merge duplicates. Two half-bags of powdered sugar become one. Three open bags of chocolate chips become one container.
- Be honest about pans. The specialty pan you've used once in three years can live somewhere less precious (or with a friend who bakes more). Keep what you actually reach for.
- Toss the broken bits. Cracked spatulas, rusty cookie cutters, a whisk with a bent wire.
As you sort, keep a small pile of things to move elsewhere: the birthday candles that belong in a party box, the reusable bags that drifted in, the coffee mugs hiding behind the cake pans. Baking supplies stay organized much more easily when only baking supplies live in their spots.
Give yourself a time limit. Thirty minutes is plenty for most small kitchens, and you don't have to get it perfect. You just need a smaller, truer pile.
Group Your Baking Supplies by Task
Instead of storing by "what fits where," sort what's left into five task groups. This is the secret that makes everything else easy, because when you bake, you reach for things by job, not by size.
- Dry staples: flours, sugars, cocoa powder, oats, baking powder, baking soda, salt and the spices you bake with.
- Sweet extras: chocolate chips, sprinkles, nuts, dried fruit, extracts and food coloring.
- Decorating tools: piping bags and tips, offset spatulas, cookie cutters, cupcake liners, a cake turntable and stencils.
- Measuring and mixing: measuring cups and spoons, a kitchen scale, whisks, spatulas, a sifter, a rolling pin and mixing bowls.
- Pans and sheets: sheet pans, cake and loaf pans, muffin tins, cooling racks and silicone mats.
Put each group in its own pile. Now you can see how much space each one truly needs, and you'll probably notice that one group (usually pans) is much bigger than the others.
Where Each Zone Lives in a Small Kitchen
In a small kitchen, the goal isn't one giant baking cupboard. It's a few small, logical homes, each close to where you'll use it. Here's how I'd set it up.
Dry Staples: One Shelf in Airtight Canisters
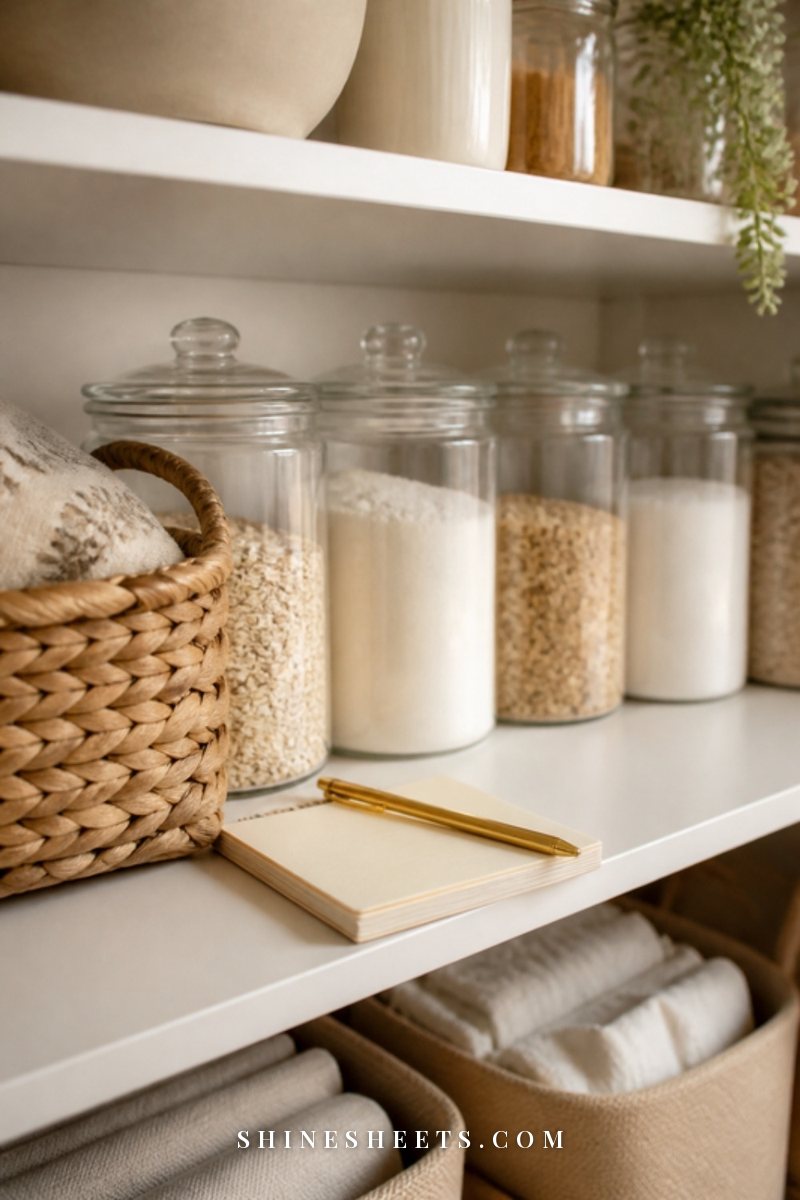
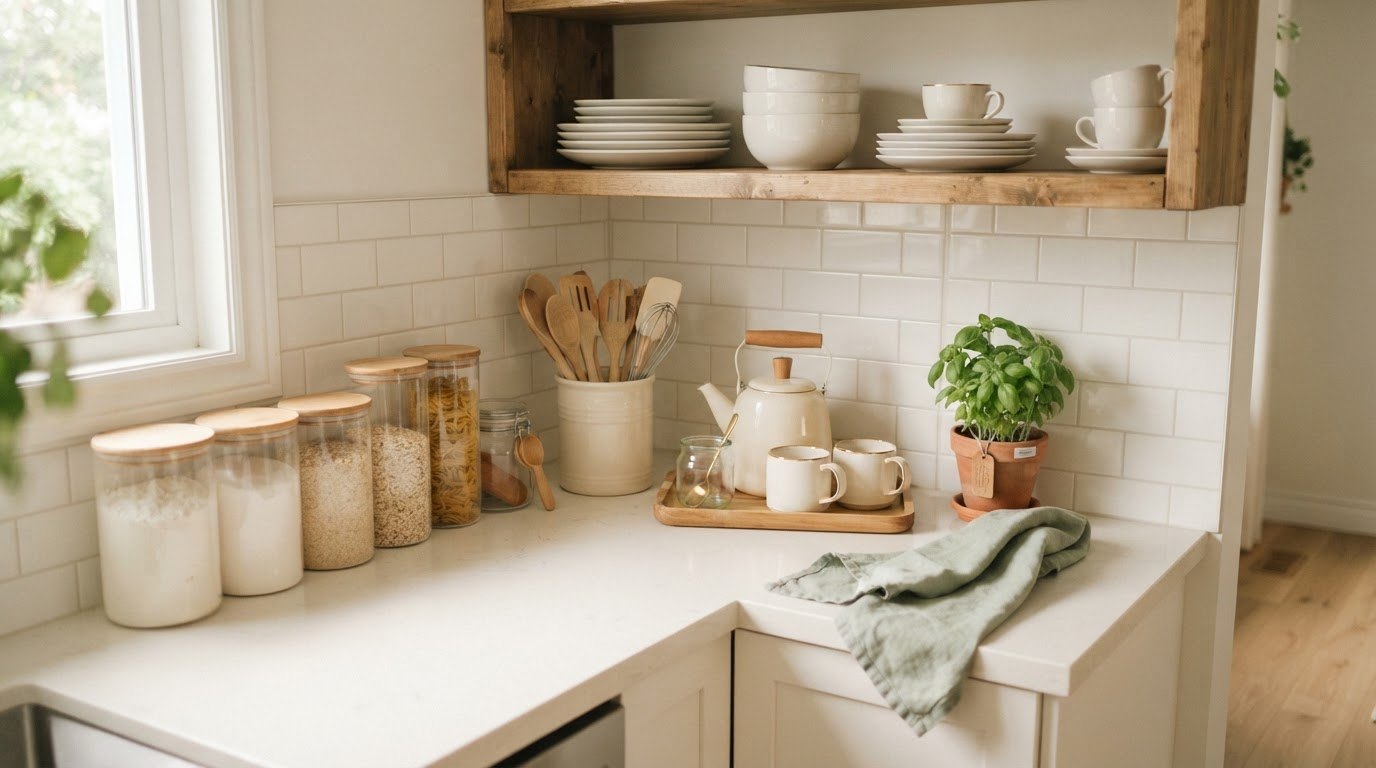
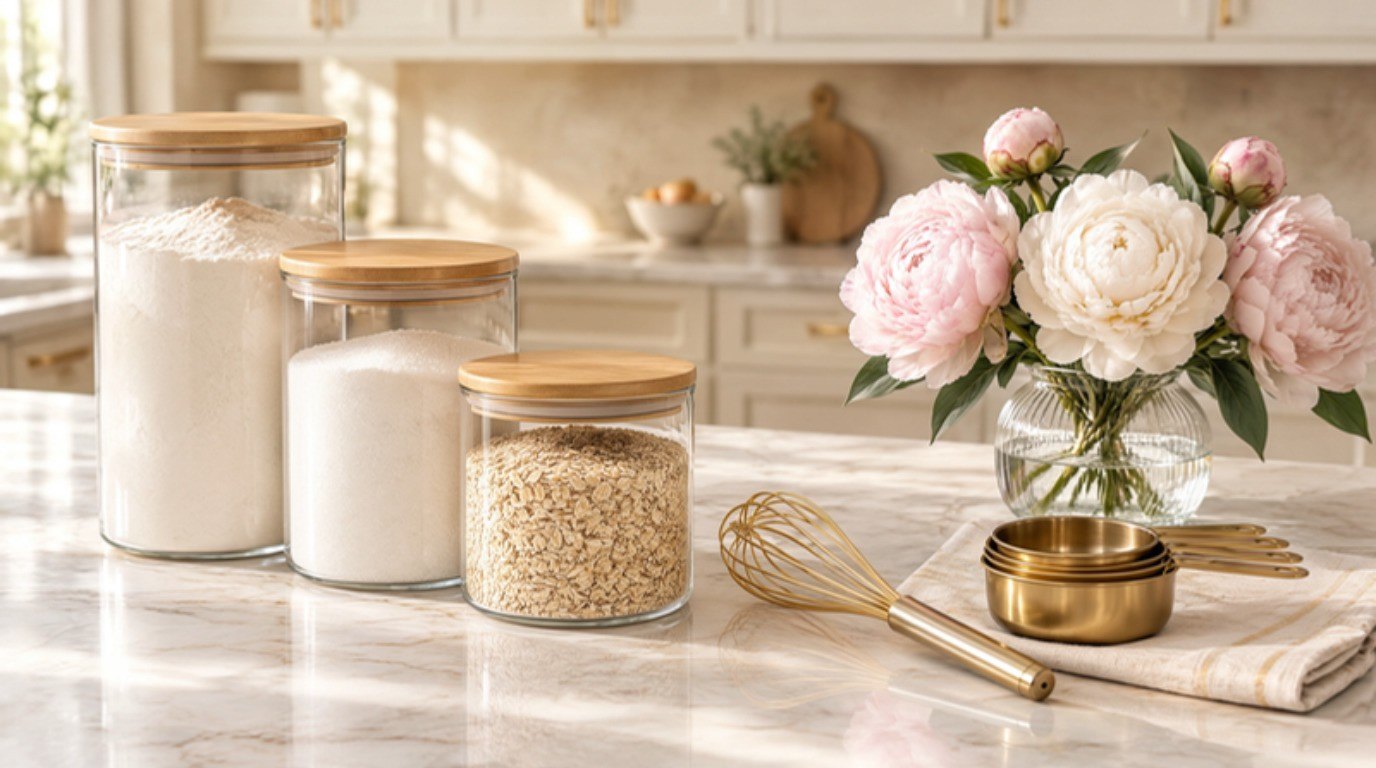
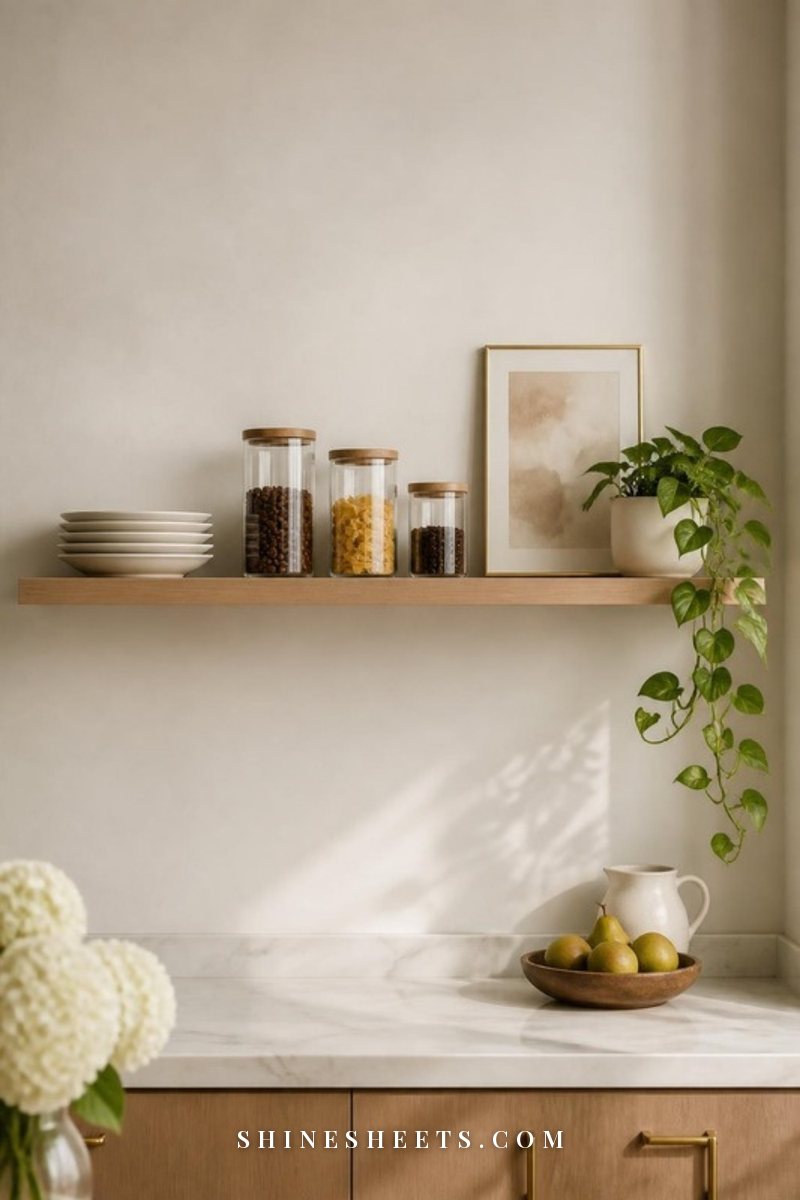
Give your staples one shelf (or one deep bin) in the pantry or an upper cabinet near your prep space. Decanting into clear containers makes it easy to see when you're running low, keeps out humidity and pantry pests, and stops bags from tipping over. Clear airtight canisters with bamboo lids are a pretty pick; look for a wide opening so a measuring cup fits inside, and a silicone seal so the lid closes firmly.
Put the things you use most (all-purpose flour, granulated sugar) at the front and at eye level. Specialty flours and less-used sugars can go behind or above. My pantry organization guide has more on shelf layouts if your staples share space with everything else.
Sweet Extras: One Small Bin
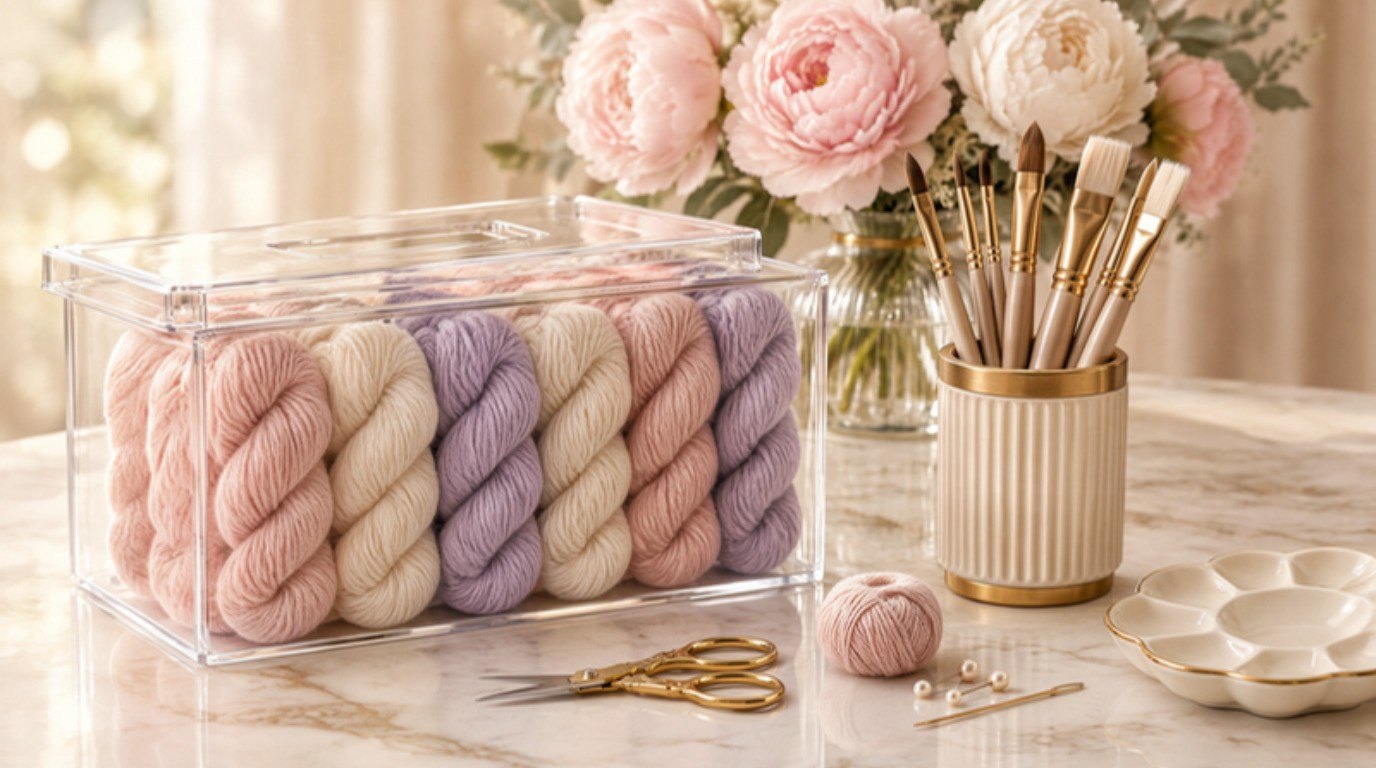
Chocolate chips, sprinkles, extracts and food coloring are small, so they get lost quickly. Gather them into one bin that you can pull out like a drawer. Cream lidded storage bins keep them dust-free and look calm on an open shelf; a lid also means you can stack a second bin on top.
Keep open bags clipped or move the contents into small jars, and store chocolate away from the stove or a sunny window so it doesn't bloom.
Inside the bin, stand bottles upright at the back and lay flat bags at the front so you can flip through them like files. If you have more than one bin's worth, that's a gentle sign to bake through a few of the open bags before buying anything new.
Decorating Tools: A Lidded Caddy
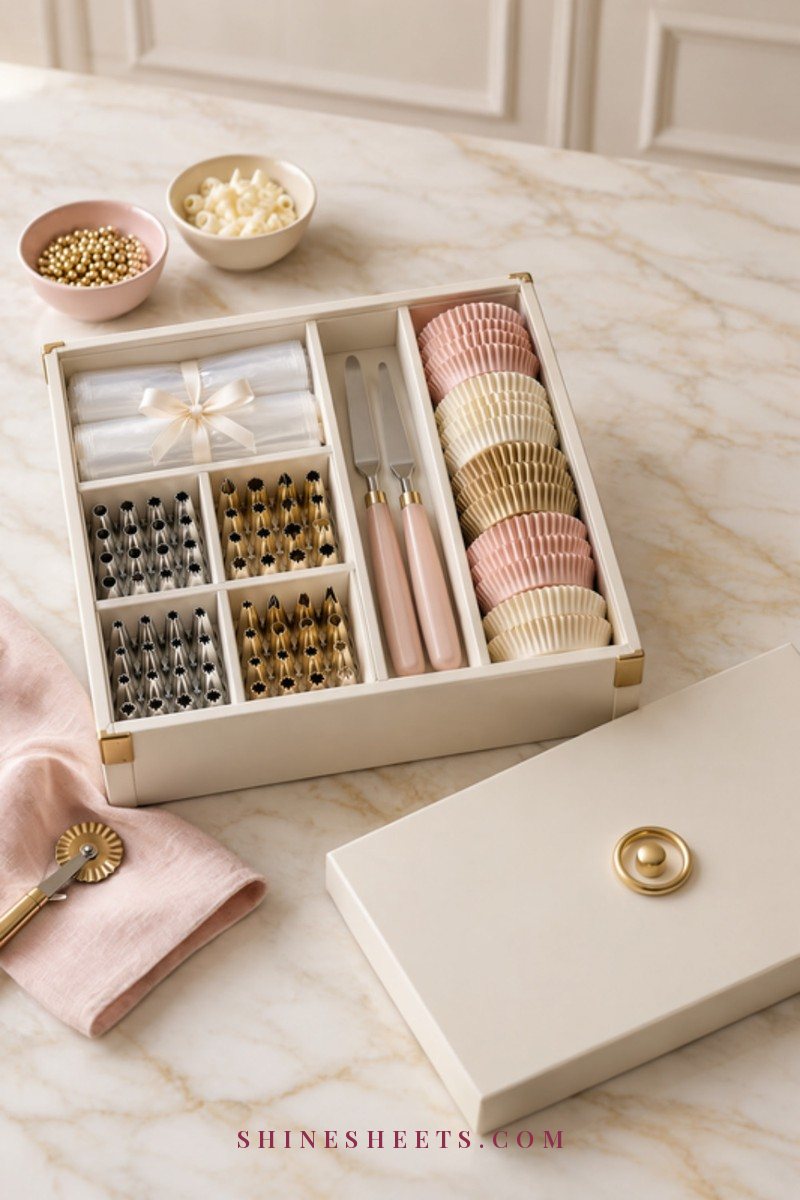
Decorating bits are the definition of "small and fiddly." Keep them all in one lidded caddy or box with a few small compartments: piping tips in one, liners in another, spatulas and cutters laid flat. Since you don't use them every week, this caddy can live on a higher shelf or in a closet. When it's time to decorate, you bring the whole box to the table.
Measuring Cups and Spoons: A Shallow Drawer
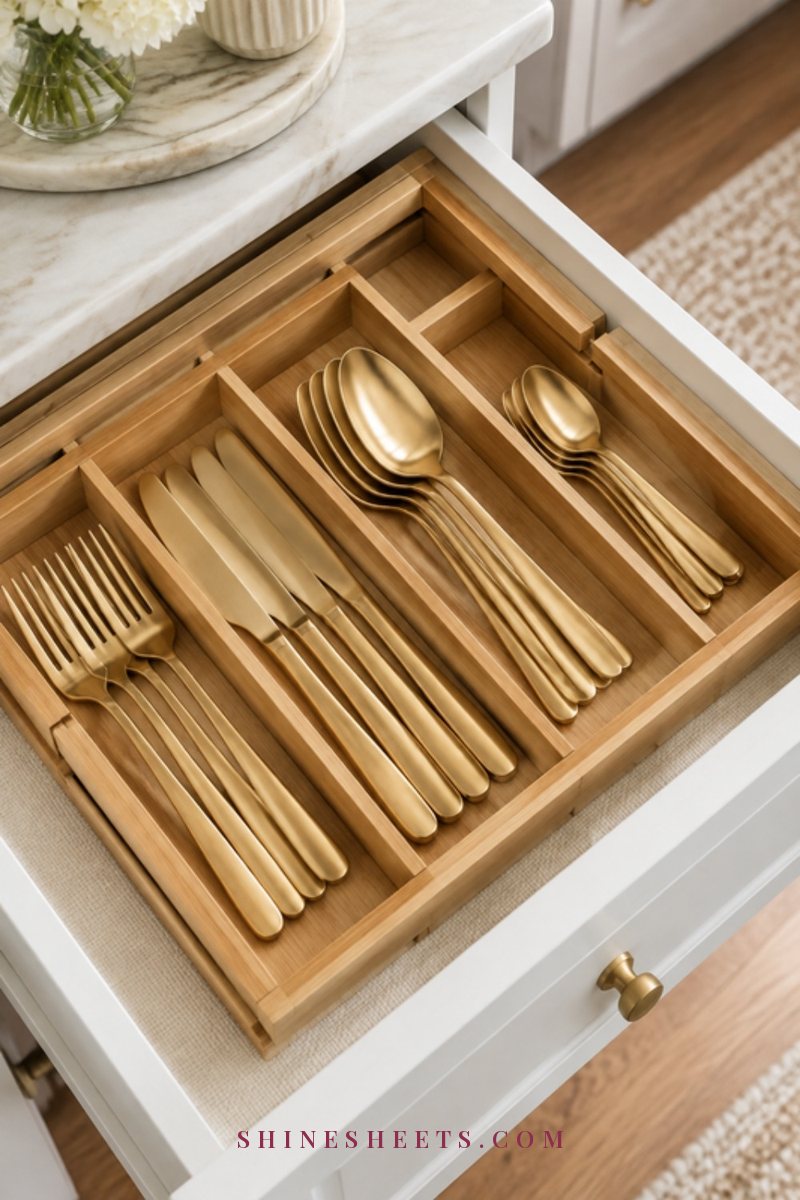
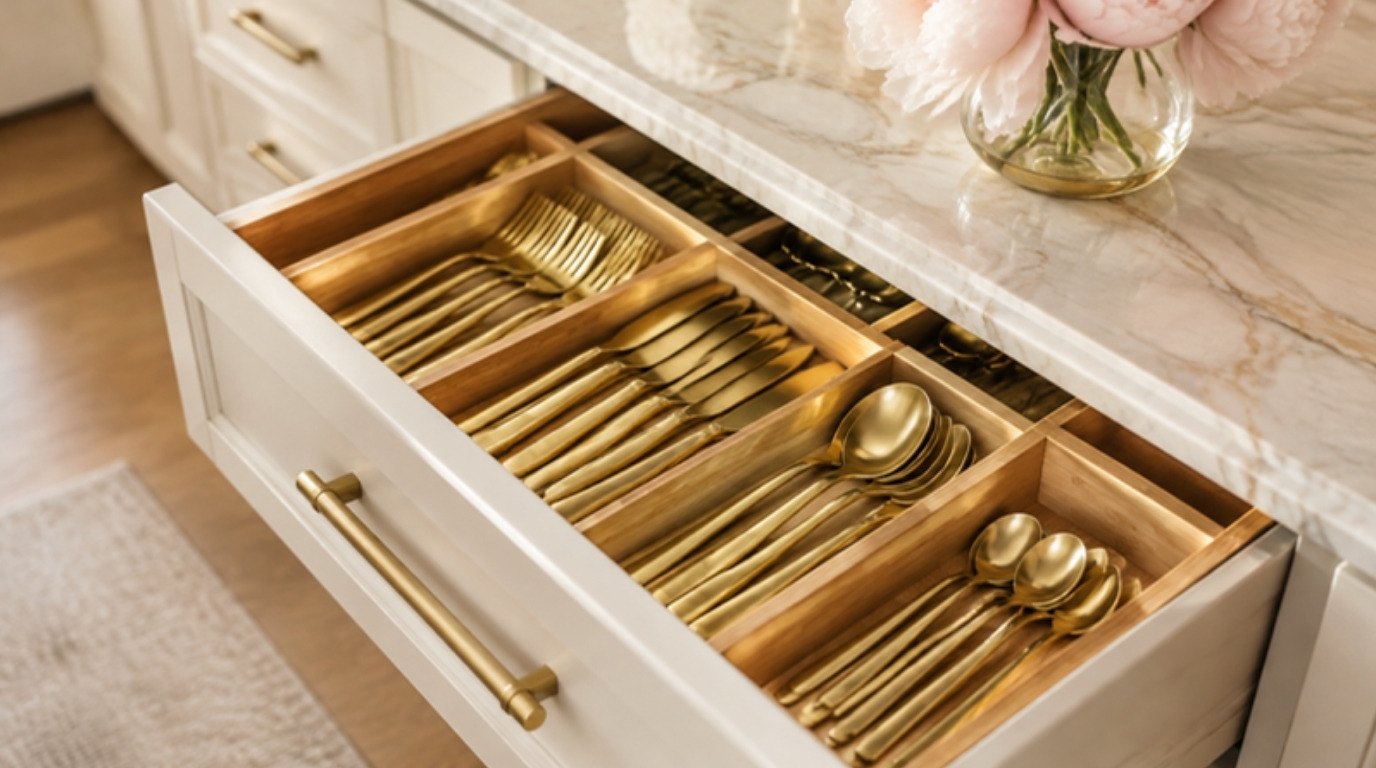
Measuring tools want to live in the drawer closest to where you mix. A shallow drawer with a simple divider is ideal: nested measuring cups in one section, spoons on a ring in another, small whisks and spatulas in a third. You don't need anything custom. An expandable bamboo divider or a few small trays work beautifully.
If your drawers are already a jumble, my guide to kitchen drawer organization walks through every drawer, not just the baking one.
Sheet Pans and Cooling Racks: Filed Upright
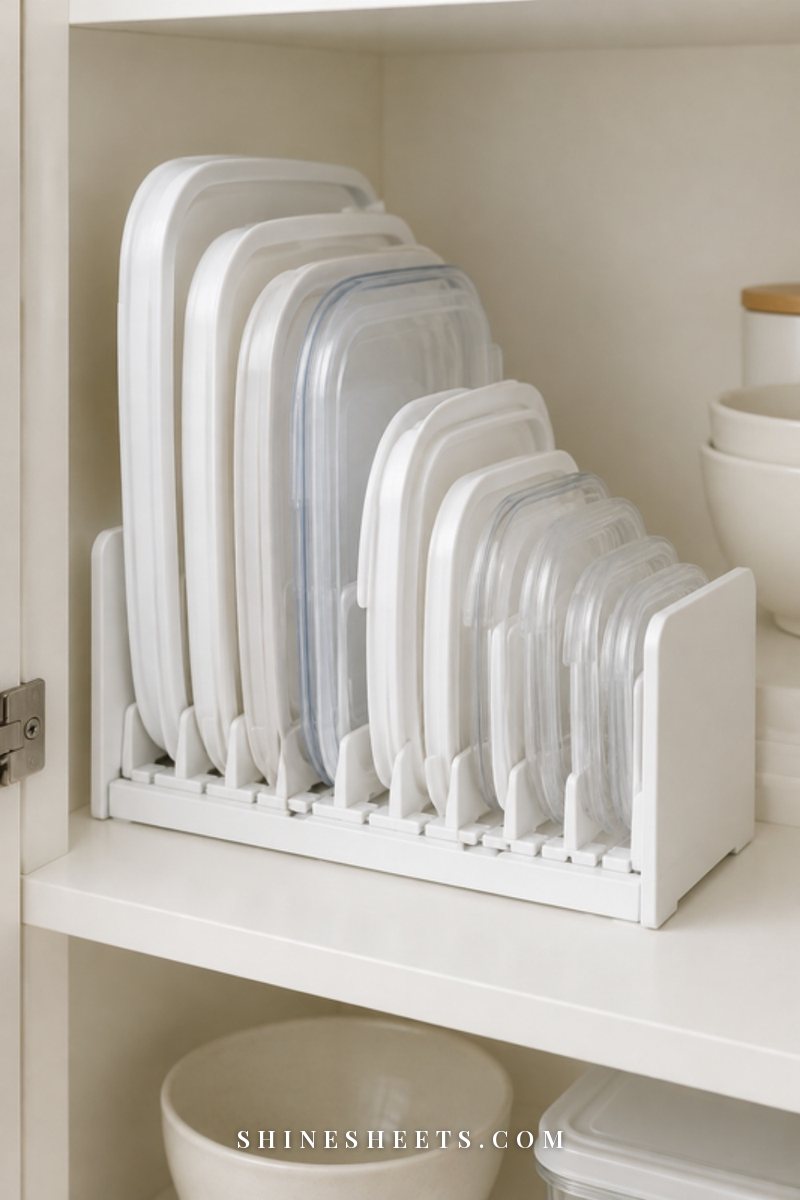
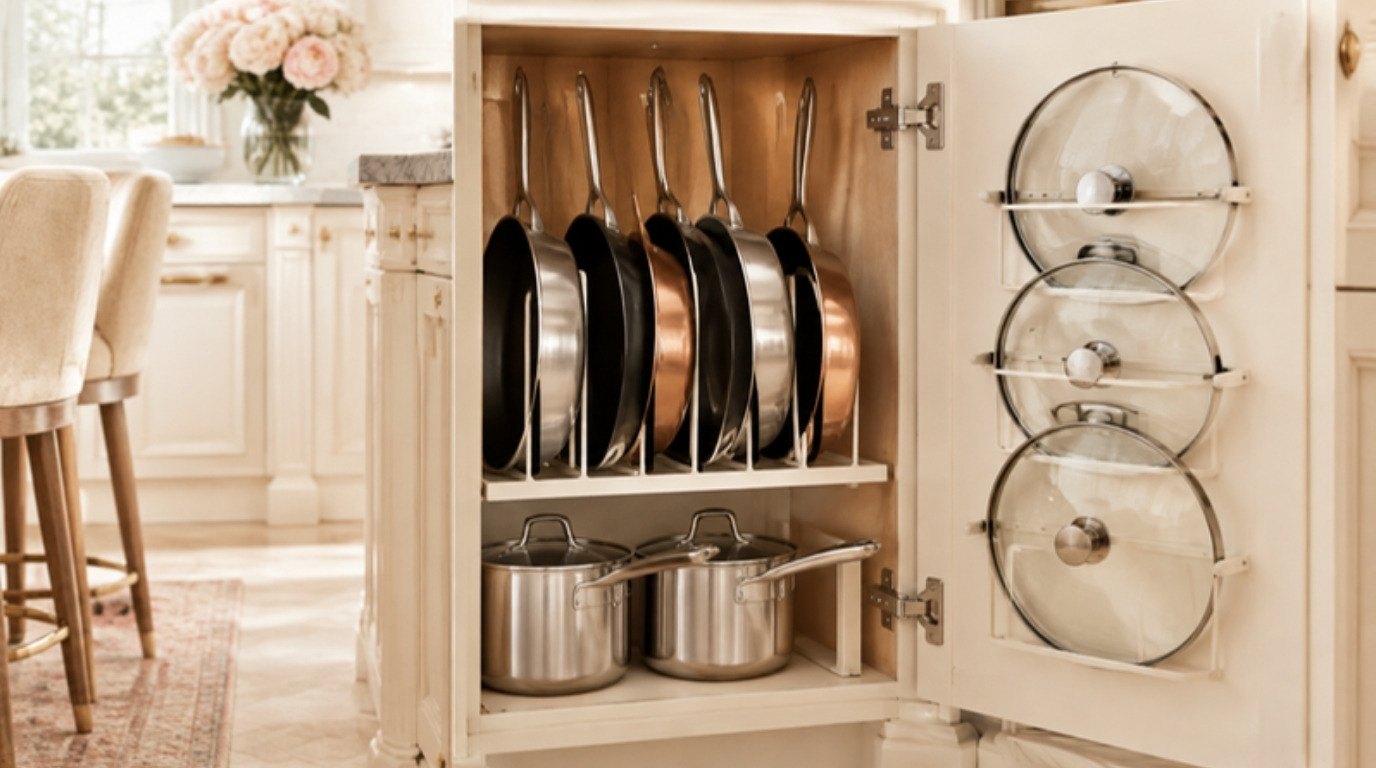
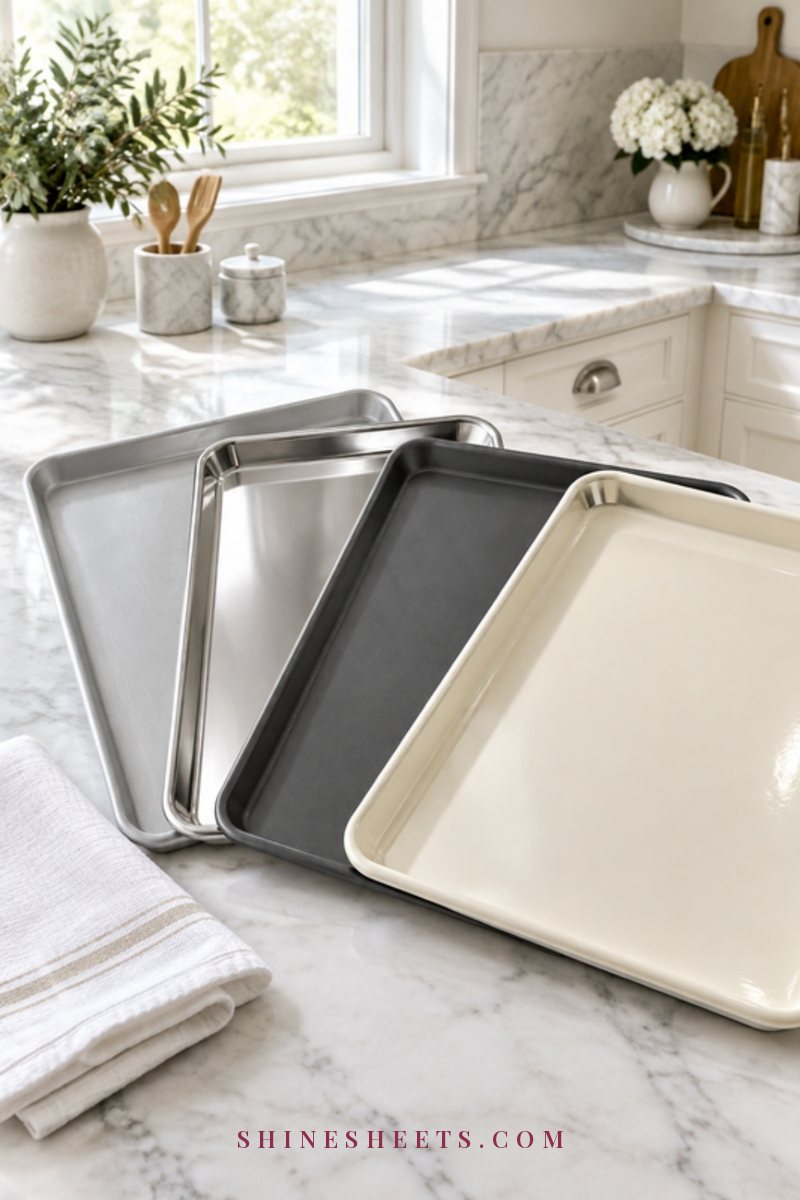
Stacking sheet pans flat means you have to lift four to get the one at the bottom. Filing them upright, like books, lets you slide out exactly the one you need. An adjustable pan rack organizer sits inside a lower cabinet with no installation; look for dividers you can move so wide sheet pans and narrow loaf pans both fit.
Cake pans and muffin tins can nest together in the same cabinet. For lids, skillets and the rest of the cookware puzzle, my guide on how to organize pots and pans in a small cabinet has more ideas.
Mixer and Bowls: Near an Outlet
A stand mixer or hand mixer is heavy and used in one spot, so store it close to an outlet and at a comfortable height, never on a high shelf where you'd have to lift it over your head. If it lives on the counter, give it a corner that isn't prime chopping space. If it lives in a cabinet, choose a low one near where you'll plug it in, with the cord loosely wrapped.
Mixing bowls nest right beside it, largest at the bottom. Keep the beaters and dough hook inside the top bowl so they don't wander.
A hand mixer is easier: it can live in the grab-and-go bin or in a drawer with its cord in a loose loop held by a soft tie. Rolling pins, sifters and a kitchen scale fit nicely in the same cabinet as the bowls, so the whole "mixing" group stays together and you only open one door.
Three Small-Kitchen Setups That Work
Every small kitchen is a little different, so here's how the same system adapts to three common situations. Pick the one closest to yours and adjust from there.
If You Only Have One Cabinet
Use the cabinet in layers. Staples in canisters go on the middle shelf at eye level, the sweet extras bin sits beside them, and the turntable holds leaveners and extracts at the front. Sheet pans stand upright on the bottom shelf with a tension-rod divider, and the decorating caddy goes on the very top shelf because you need it least. Measuring tools move to the nearest drawer, and the mixer stays on the counter or in a closet.
If You Have No Pantry at All
A rolling cart becomes your pantry. Staples go on the top tier, sweet extras and the grab-and-go bin in the middle and bowls on the bottom. It can live in a hallway closet, beside the fridge or even in a living room corner and roll into the kitchen on baking day. Pans go in the cabinet closest to the oven.
If You Have Open Shelving
Open shelves are lovely, but they show everything. Matching clear canisters and a couple of cream lidded bins keep it calm to look at: canisters on display, everything small and colorful hidden in bins. Keep decorating bits and anything in bright packaging behind closed doors, and wipe the shelves a little more often, since dust and flour settle where everyone can see.
Baking Supply Storage Table
Here's the whole system in one place. Screenshot it, or keep it in your notes app for the next time you reorganize.
| Baking Item | Best Container | Where It Lives | How Often To Check |
|---|---|---|---|
| Flour | Large airtight clear canister | Staples shelf, eye level | Every 3 months |
| Sugar and brown sugar | Airtight canister with a tight seal | Staples shelf, next to flour | Every 6 months |
| Baking powder and soda | Original container, lid closed | Front of the staples shelf or a turntable | Every 6 months (fizz test) |
| Chocolate chips and sprinkles | Small jars or a lidded bin | Sweet extras bin, away from heat | Every 6 months |
| Extracts and food coloring | Original bottles, upright | Turntable or sweet extras bin | Once a year |
| Piping tips, liners, cutters | Lidded caddy with compartments | Higher shelf or closet | Once a year |
| Measuring cups and spoons | Drawer divider | Shallow drawer by the mixing spot | When you clean the drawer |
| Sheet pans and cooling racks | Upright pan rack | Lower cabinet near the oven | Every few months for wear |
| Mixer and bowls | Bowls nested, mixer on its own | Low cabinet or counter corner near an outlet | When you deep-clean the kitchen |
7 Small-Space Baking Storage Tricks
If you've run out of shelves (welcome to small-kitchen life), these renter-friendly tricks create extra space without a single hole in the wall.
1. An Over-the-Door Rack
The back of a pantry or closet door is wasted space in most homes. A white over-the-door organizer rack hooks over the top of the door and holds extracts, sprinkles, cupcake liners and small bags of nuts in shallow baskets. Check the door closes fully before you load it up.
Keep the heaviest bottles in the lowest baskets so the door doesn't pull or swing, and save the top basket for light, bulky things like liners and paper. If the door is used a lot, a strip of felt behind the hooks stops any rattling.
2. A Turntable
Small bottles at the back of a cabinet are basically invisible. A white turntable fixes that: one spin and every extract, food coloring bottle and leavener is in view. A 10–12 inch one fits most standard cabinets.
Choose one with a raised lip so nothing slides off mid-spin, and keep it to one category (all the small bottles, for example) so it doesn't become a new junk zone. A second turntable in a corner cabinet works just as well for spices you bake with.
3. Stackable Risers
Most cabinet shelves have a lot of empty air above short items. Stackable shelf risers double your usable space, with canisters below and lighter items like liners or cookie cutters on top.
Measure the height of your shelf before you buy, and leave at least a hand's width above the tallest canister so you can lift it out without tilting. Clear or white risers keep the cabinet looking light rather than crowded.
4. A Tension-Rod Divider
No pan rack? Two small tension rods fitted vertically inside a cabinet create instant slots for sheet pans, cooling racks and cutting boards. They twist into place and come out without a mark, which makes them perfect for rentals.
Space them roughly 3–4 inches apart for sheet pans, a little wider for cooling racks. If the rods slip under weight, a small rubber pad at each end (the kind sold for furniture feet) gives them extra grip.
5. A Rolling Cart
A slim rolling cart can be a complete baking station that tucks into a gap beside the fridge or into a closet. Put staples on the top tier, sweet extras in the middle and bowls at the bottom. A sage rolling utility cart is a soft, pretty pick; look for locking wheels and a top tier deep enough that canisters won't slide off.
6. Hooks Inside a Cabinet Door
Measuring cups, oven mitts and a small whisk can hang inside a cabinet door on removable white adhesive hooks. Look for ones rated for a little more weight than you need, and test that the door still closes before you hang everything.
7. One Grab-and-Go Baking Bin
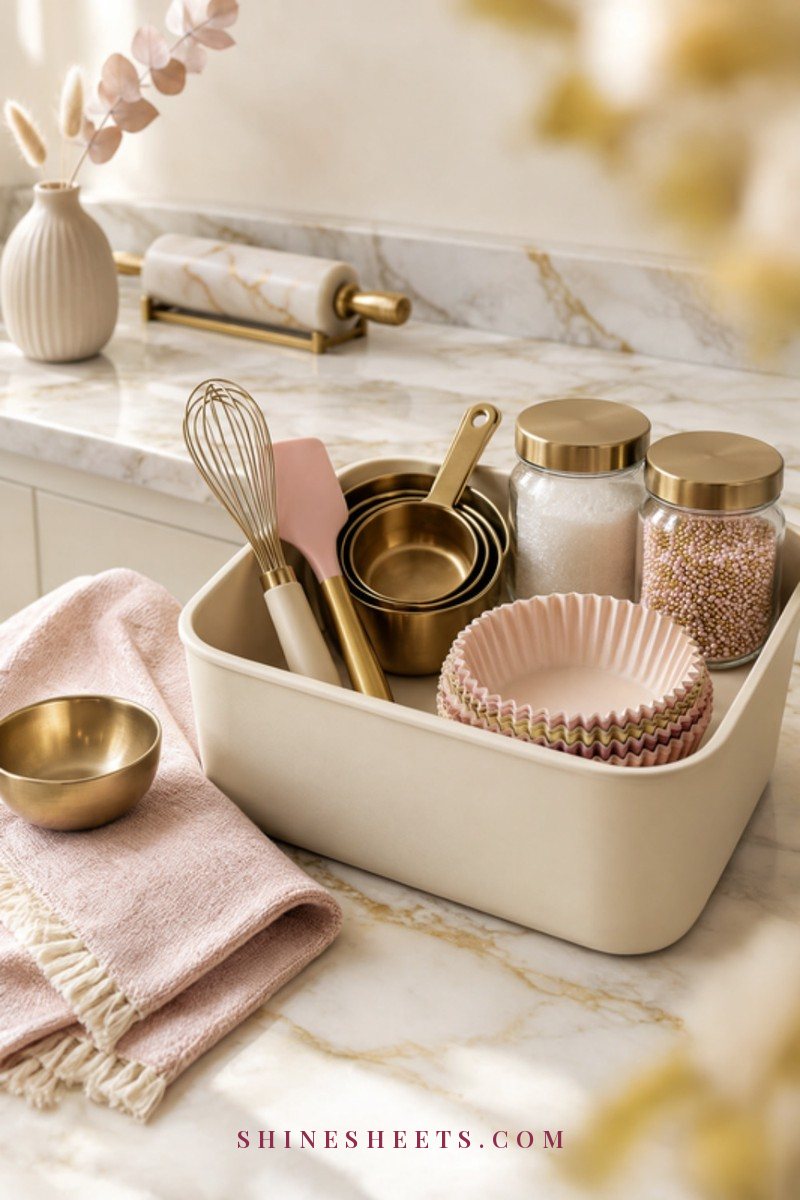
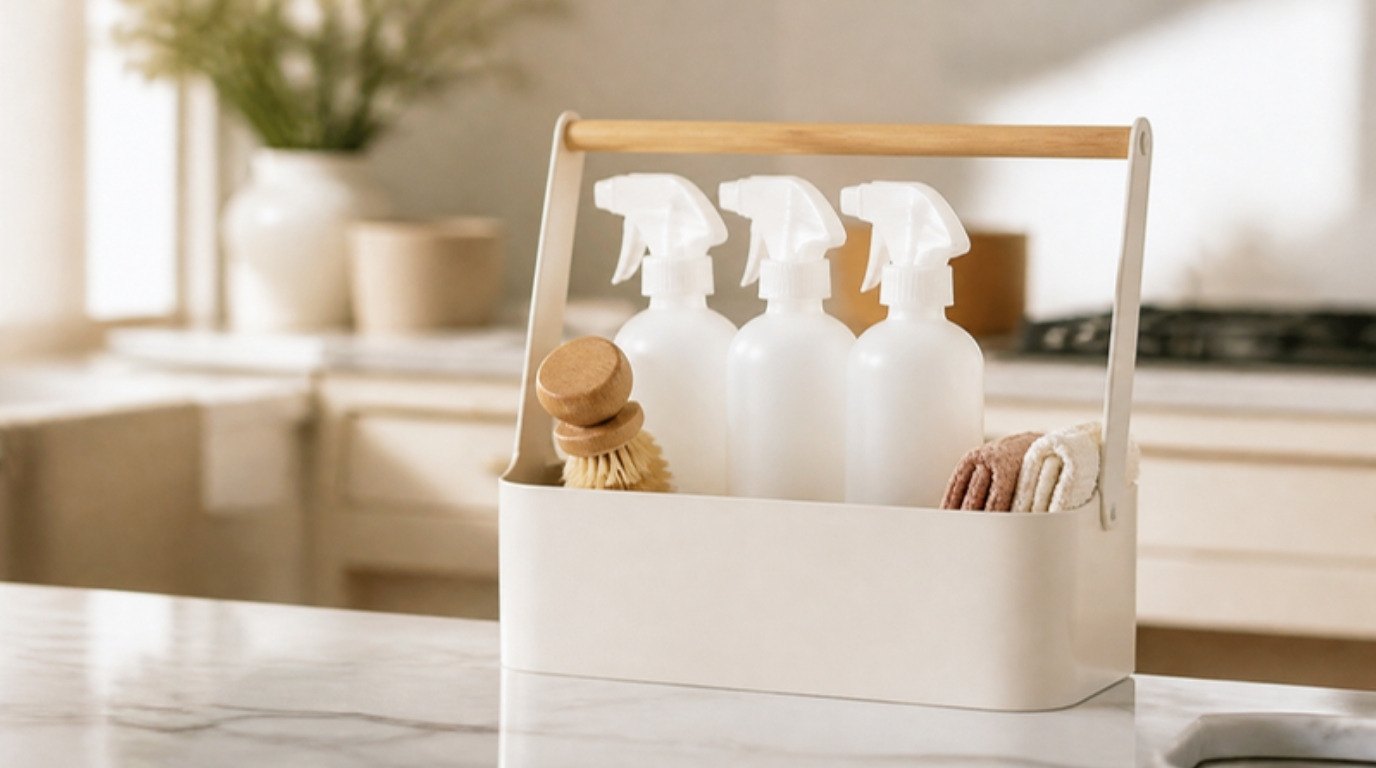
This is my favorite small-kitchen trick. Think about the thing you bake most often, then put every non-perishable tool you need for it in one bin: measuring cups, a whisk, a spatula, liners, the right pan if it fits. On baking day, you pull out one bin instead of opening six cabinets. When you're done, everything washes and goes back in the same bin.
Keep It Tidy: Simple Upkeep
A baking system stays organized with a few tiny habits rather than a big monthly overhaul:
- Date your staples. When you refill a canister, write the date on a small piece of tape on the bottom or back. It takes five seconds and saves you guessing later.
- Use the oldest first. Pour new flour or sugar into a separate container until the old one is finished, rather than topping up, so nothing at the bottom gets forgotten for a year.
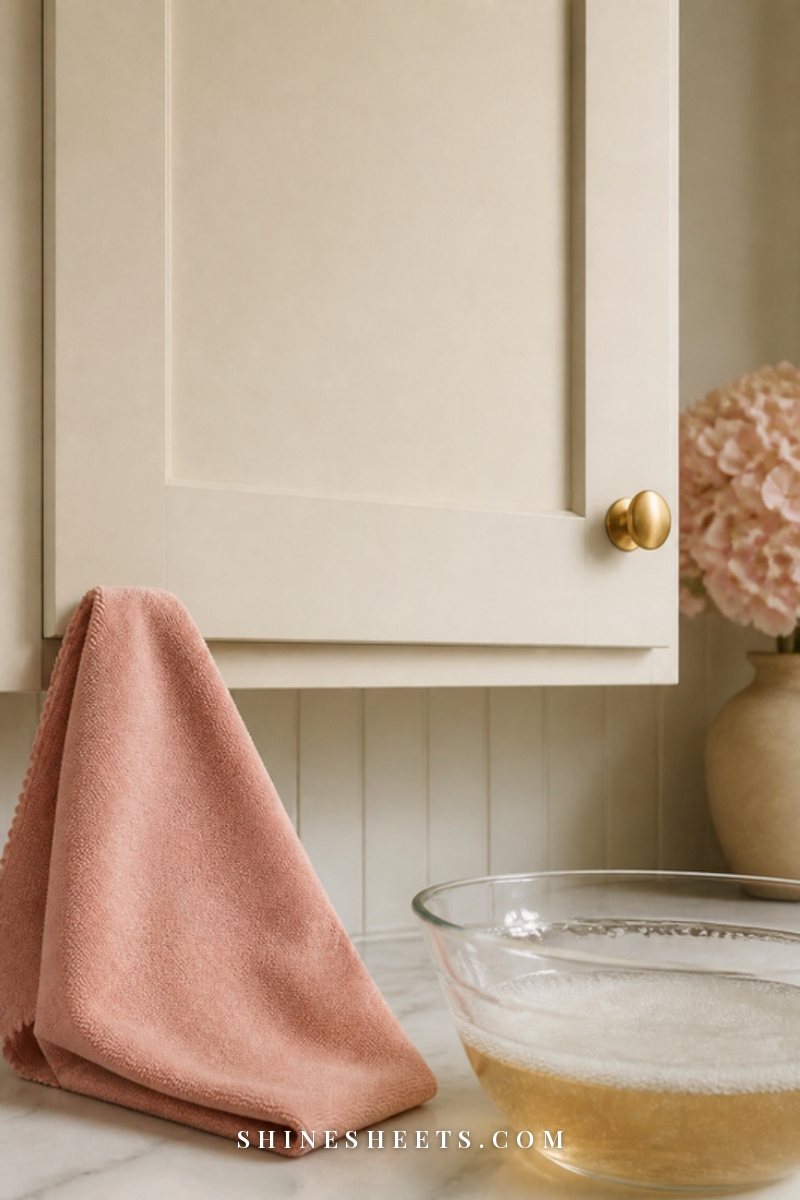
- Wipe crumbs monthly. Take everything off the staples shelf once a month, wipe it with a damp cloth and let it dry fully before putting things back. Flour dust and sugar crystals attract pests.
- Do a quick reset after baking. Everything goes back to its zone before the oven is cool. Ten minutes, tops.
- Look after your pans. Store sheet pans completely dry so they don't rust, and if they're looking tired, my guide on how to clean baking sheets brings them back without harsh scrubbing.
- Check twice a year. Use the table above as your guide and do the fizz test on your baking powder.
Final Thoughts
Organizing baking supplies in a small kitchen isn't about buying a matching set of everything. It's about a quick edit, five simple groups and a home for each one, close to where you use it. Add one or two small-space tricks, and baking day starts with a calm reach instead of a frantic search.
Start with the zone that annoys you most, whether that's the sprinkle chaos or the avalanche of sheet pans. One tidy zone makes the next one feel easy, and before long your little kitchen will feel like it was made for baking.