Craft supplies don't need a bigger room. They need a home where you can see everything at a glance, grab what you need in seconds and put it back without thinking. When storage works like that, the mess stops building up between projects, and starting something creative feels easy again instead of like a chore you have to dig your way into.
The trick is to organize by how you actually craft, not by what looks pretty on a shelf. Yarn needs air and protection from moths. Paper needs to stay flat. Paints need to stand upright with their lids tight. Once each supply has the kind of container it likes, everything else falls into place.
This guide walks you through craft supply organization step by step: how to sort and edit what you own, the best storage for six types of supplies, a simple table you can screenshot, small-space ideas that work in apartments and rentals, and a take-it-out, put-it-back routine that keeps it all tidy. Grab a big mug of tea and let's start with the honest part.
Why Craft Supplies Get Out of Hand So Fast
Crafting is a hobby built on possibility. Every skein of yarn, every pack of patterned paper, every little pot of paint is a project you could make someday. That's exactly why supplies multiply: buying them feels like buying a future cozy afternoon.
A few other things make crafts harder to organize than, say, kitchen tools:
- Odd shapes and sizes. A roll of ribbon, a pad of watercolor paper and a jar of buttons all need different containers.
- Lots of tiny pieces. Beads, sequins, pins and clips scatter the moment a lid isn't closed properly.
- Half-finished projects. They don't belong with fresh supplies, but they don't feel like trash either, so they end up on every surface.
- Several hobbies at once. If you knit, journal and paint, three hobbies are competing for the same drawer.
None of this means you're messy. It means your supplies need a system that matches how crafting really works. If you're still exploring which hobbies you love most, my list of hobbies for fun, creativity and relaxation can help you decide which ones deserve the best storage spots.
Step 1: Gather, Sort and Let Go
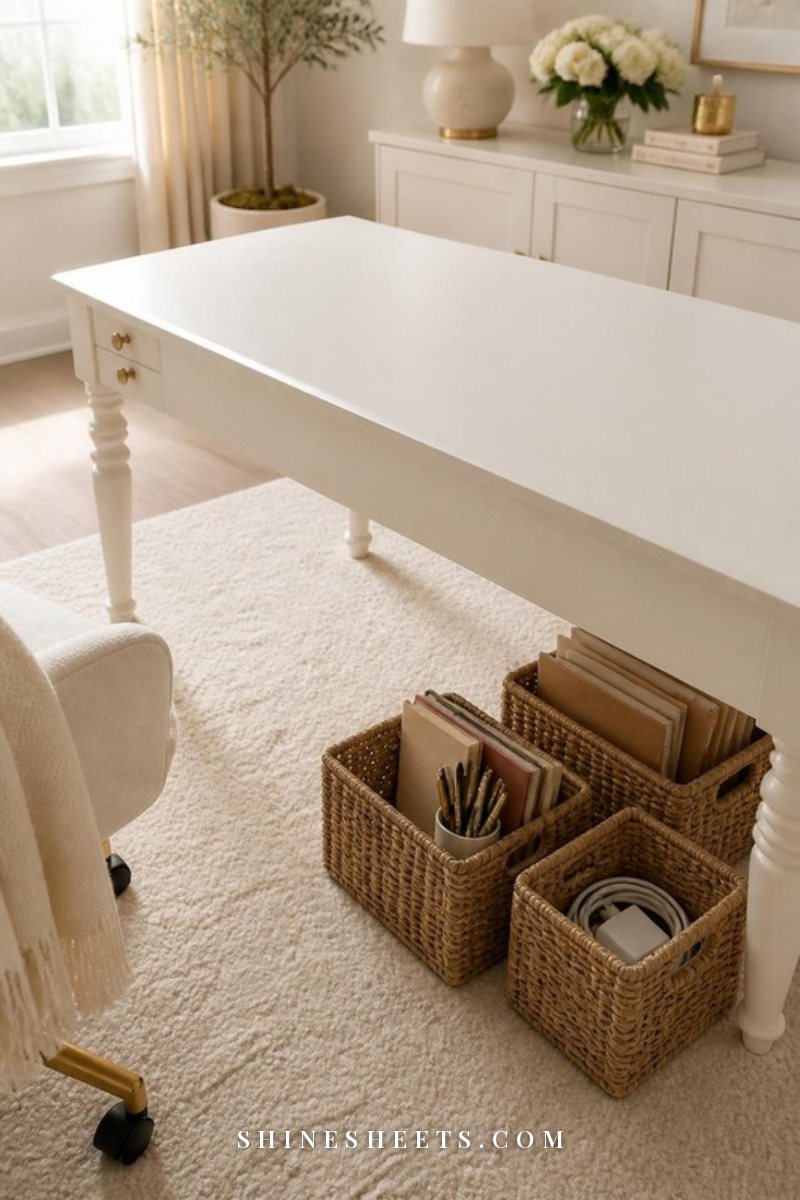
Before you buy a single bin, bring everything into one place. I know it's tempting to skip this part, but organizing supplies you can't see is how you end up with three identical glue guns. Clear a table or lay a clean sheet on the floor and work through it in this order:
- Gather it all. Check the closet, under the bed, the junk drawer, the car, your bag. Crafts hide everywhere.
- Sort by craft first. Make a pile for each hobby: knitting, sewing, paper crafts, painting, jewelry making and so on.
- Then sort by supply type inside each craft. In the painting pile, separate paints, brushes, palettes and paper.
- Let go of what's done. Dried-out paints and markers, cracked glue sticks, rusty scissors, frayed brushes and tangled thread that can't be saved can go.
- Be honest about old projects. If a kit has been waiting for years and the thought of it feels heavy rather than exciting, you're allowed to pass it on.
- Donate the good leftovers. Schools, libraries, senior centers and community art groups often welcome clean, usable supplies.
A quick test for anything you're unsure about: if you had a free afternoon tomorrow, would you reach for it? If the answer is a warm yes, it stays. If you feel a little guilt and nothing else, it's probably time.
Give yourself about 60–90 minutes for a small collection and a full afternoon if your crafts have spread across several rooms. You can also do it one craft at a time over a week. Slow progress is still progress.
How To Store Craft Supplies by Type: 6 Sections
Once everything is sorted, give each supply type the container it actually needs. Here are the six categories most crafters have, with exactly what works for each one.
1. Yarn and Fabric
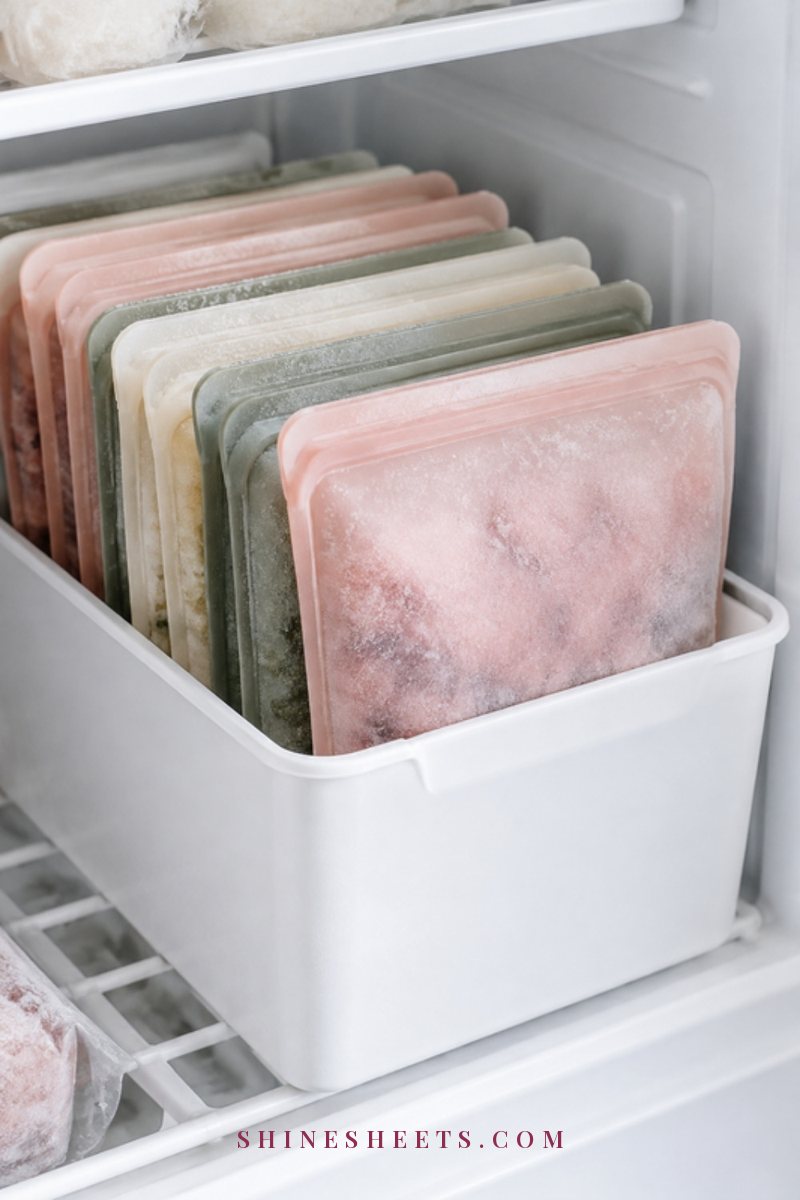
Yarn and fabric are soft, bulky and surprisingly delicate. Their two enemies are moths and sunlight, and their third enemy is the "I'll just stuff it in here" bag.
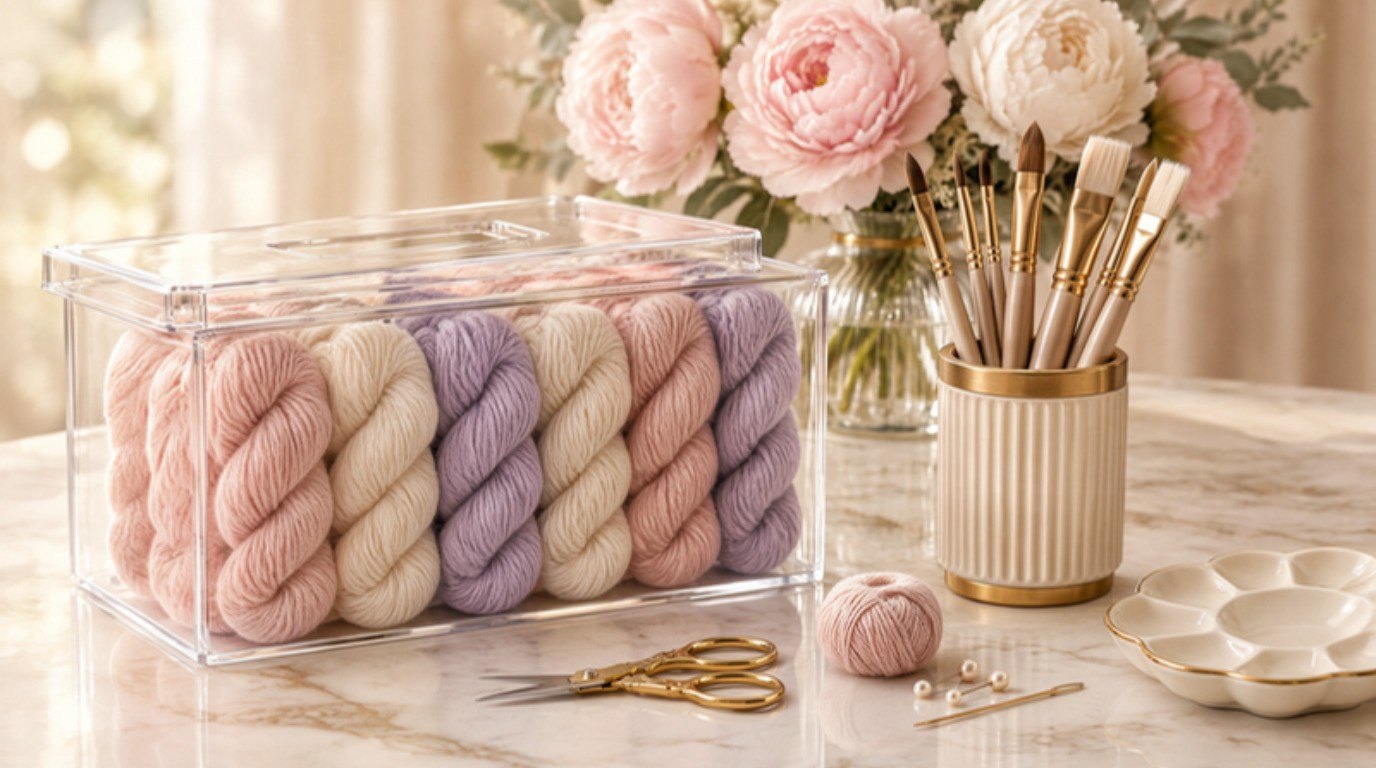
- Use clear bins with lids. Clear stackable bins let you see colors at a glance and keep dust and pests out. Sort by weight for yarn (fingering, worsted, bulky) or by color if that's how you shop your stash.
- Fold fabric like a shop. Fold fabric around a piece of cardboard or a ruler into same-size rectangles and stand them upright like books. You'll see every print without unfolding a pile.
- Try a hanging organizer. A hanging closet organizer with cubbies is lovely for yarn if you're short on floor space.
- Protect from moths. Store only clean yarn and fabric, add cedar blocks or lavender sachets, and check your stash every few months.
- Keep it out of the sun. A spot away from a bright window stops colors from fading unevenly.
A small honest admission: yarn is the one supply I find hardest to edit, because every color feels like it has a plan. A clear bin with a firm limit (when it's full, it's full) is kinder than any rule.
2. Paper and Cardstock
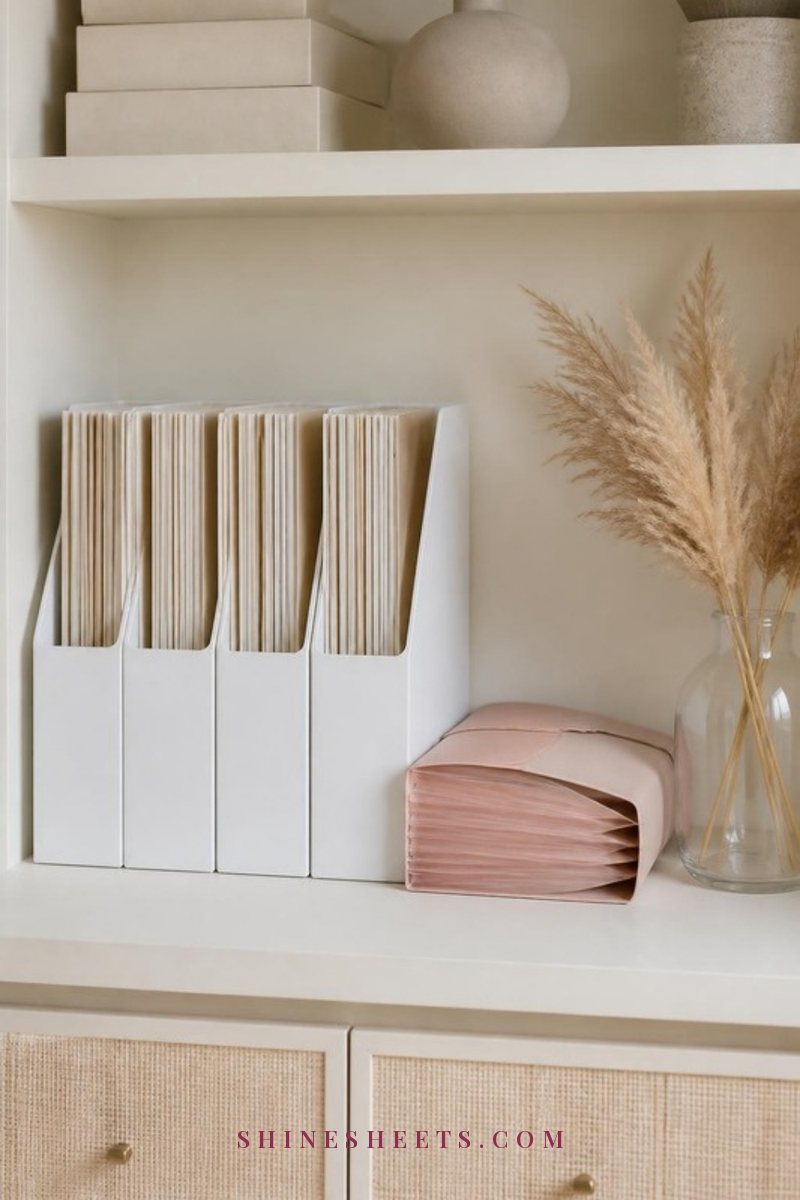
Paper has one simple wish: to stay flat. Bent corners and curled edges happen when paper lies in a messy pile or leans in a half-empty bin.
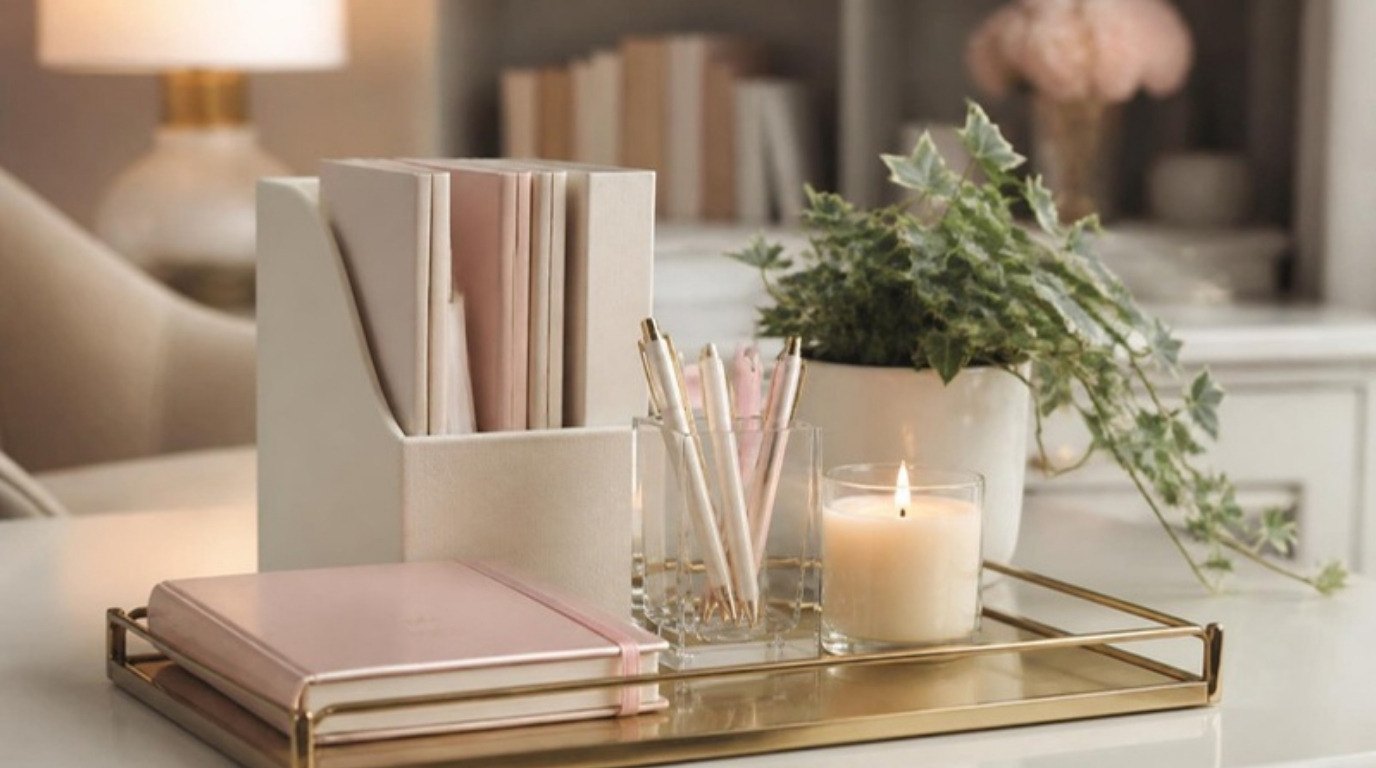
- Store sheets vertically. White magazine file holders keep 12x12 and letter-size paper upright and easy to flip through, and they fit on a regular bookshelf.
- Or go flat. A shallow drawer unit or flat file holder works if you have lots of thin paper that slumps when it stands.
- Sort by color or by use. Color sorting looks beautiful. Sorting by use (cards, scrapbooking, journaling) is faster if you craft for specific occasions.
- Keep scraps in one folder. A single accordion folder for offcuts stops tiny pieces from taking over the whole shelf.
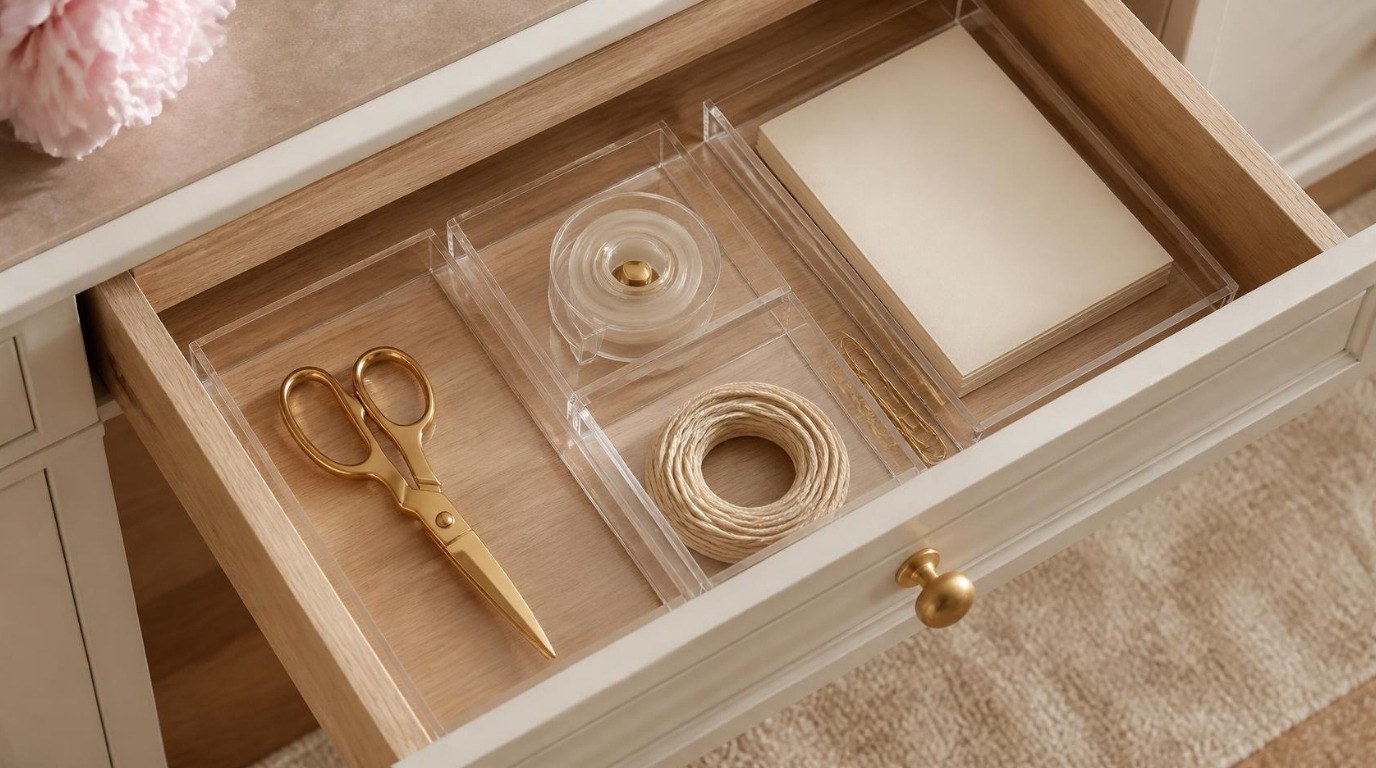
- Stickers and washi tape fit nicely in a shallow tray or a small drawer, so you can see every design at once.
Keep paper away from humid spots like a bathroom or a basement corner, since moisture makes it wavy and can lead to mildew spots.
3. Paints and Inks
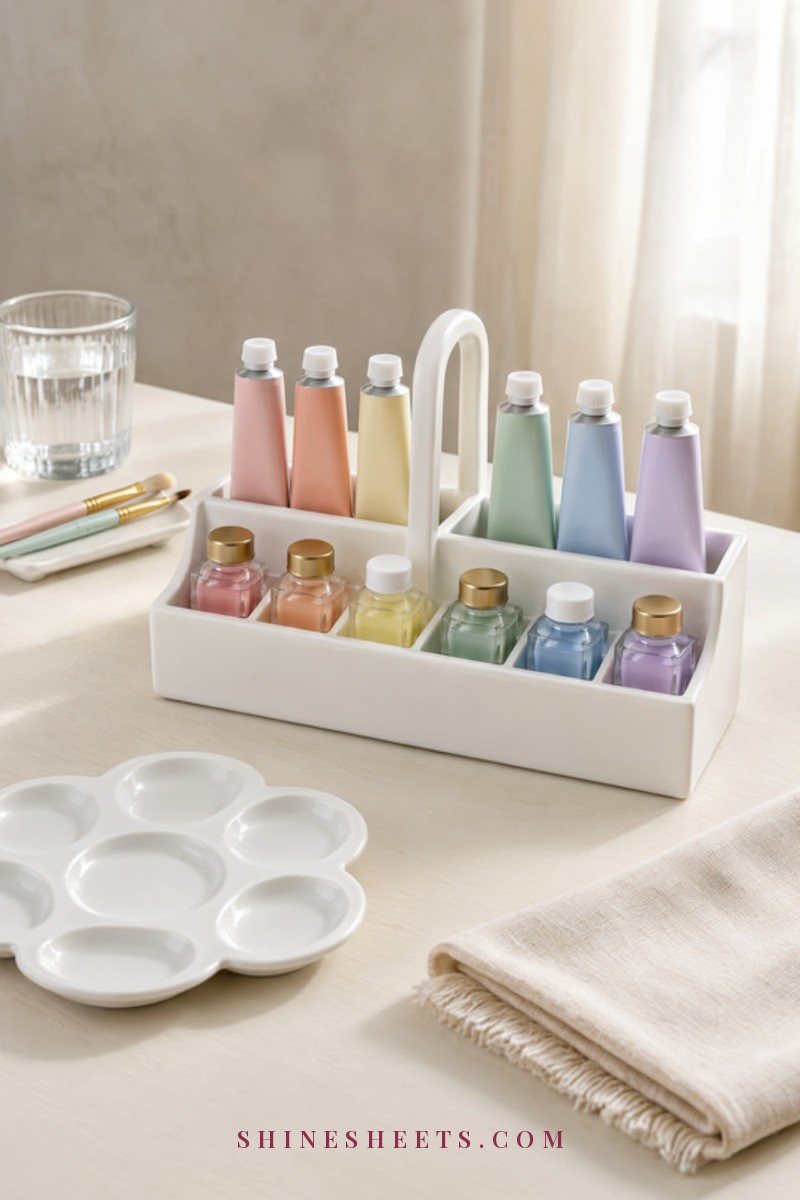
Paints and inks last much longer when they stand upright with their lids closed tight. Lying on their side, bottles leak and tubes get crusty around the cap.
- Use an upright caddy or tray. A divided caddy with a handle means you can carry your whole paint setup to the table and back in one trip.
- Sort by type. Keep acrylics, watercolors, gouache and inks in separate sections, since they behave differently and you rarely need all of them at once.
- Then sort by color. A rough rainbow order makes it easy to spot what you're running low on.
- Wipe the necks before closing. A quick wipe with a damp paper towel keeps lids from sticking shut.
- Store at room temperature. Extreme heat or cold can separate or thicken paint, so skip the garage or a sunny windowsill.
Write the date on the bottom of a new bottle with a small dot of marker if you like. It helps you notice which colors you love and which ones never get opened.
4. Brushes and Tools
Brushes, scissors, craft knives, rulers, hooks and needles are the supplies you reach for most, so they deserve the easiest spot to grab.
- Stand brushes bristle-side up in jars or cups once they're completely dry. Gold-accent pencil cups look pretty on a desk and hold brushes, markers and pens neatly.
- Dry wet brushes flat first. Standing a wet brush upright lets water run into the base and loosen the bristles over time.
- Put tools on a pegboard. A cream pegboard set with hooks and small baskets keeps scissors, rulers, tape and ribbon visible and off your table. Many kits mount with adhesive strips, so they're renter-friendly.
- Give crochet hooks and knitting needles a roll or case. A fabric roll with slots keeps sizes in order and points protected.
- Keep sharp tools capped. Craft knives with the blade retracted, scissors closed, pins in a pincushion.
5. Small Bits: Beads, Buttons and Sequins
Tiny pieces are where craft storage either shines or falls apart. The secret is small compartments with secure lids.
- Use a divided organizer box. A clear bead organizer with adjustable compartments keeps beads, buttons, charms and sequins separated and visible.
- Store organizer boxes flat. Even good lids can let tiny beads slip between compartments if the box is stored on its side.
- Sort by color or size, not both. Pick one system and stick to it, or you'll spend more time sorting than making.
- Use small zip bags inside bins for things like jewelry findings, snaps or eyelets.
- Keep a magnetic dish nearby for pins and needles while you work.
If small things already take over your home in general, my guide to junk drawer organization uses the same compartment idea and works beautifully for craft odds and ends too.
6. Works in Progress
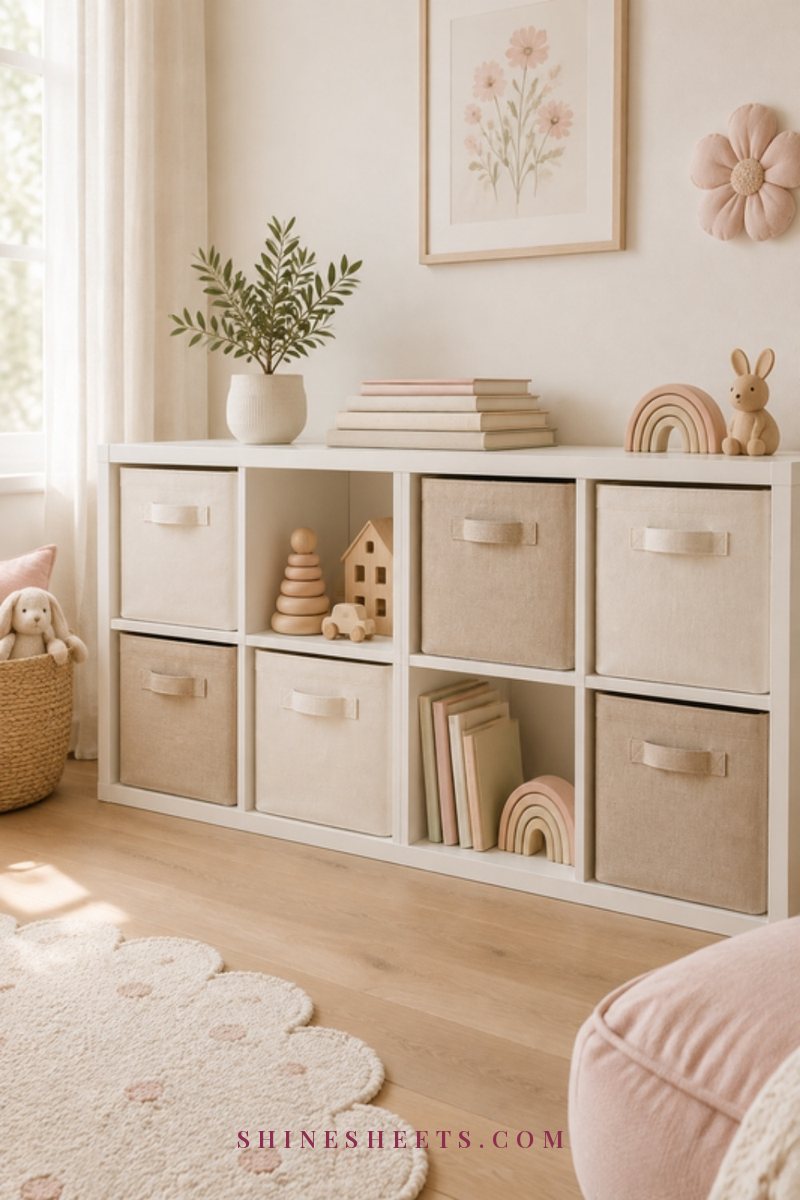
Unfinished projects need their own home, separate from fresh supplies. Otherwise you'll keep borrowing pieces from them and wondering where your half-knit scarf went.
- One project, one bin. Keep every piece you need for a project together: the pattern, the yarn, the tools, the notes.
- Add a small note on top. Write where you stopped ("row 34" or "glue the second panel") so picking it up again takes seconds.
- Limit your active projects. Three is a lovely number. When a fourth wants to start, one of the three gets finished or put back into storage.
- Store the bins where you craft. A project you can see is a project you'll actually return to.
Pretty lavender fabric storage cubes are lovely for works in progress on an open shelf, because they hide the slightly chaotic inside while keeping everything together.
Craft Storage Table: Where Everything Goes
Here's the whole system in one place. Screenshot it before you shop so you only buy containers you really need.
| Supply | Best container | Where to store it | How to protect it |
|---|---|---|---|
| Yarn | Clear lidded bins or a hanging cubby organizer | Closet shelf or under the bed | Clean before storing, cedar or lavender sachets, no direct sun |
| Fabric | Folded upright in bins or on a shelf like books | Closet or bookshelf | Away from windows, check for moths every few months |
| Paper and cardstock | Magazine file holders or flat file drawers | Bookshelf or desk | Store vertical or flat, away from humidity |
| Paints and inks | Upright divided caddy | Shelf or cart at room temperature | Wipe necks, close lids tight, no heat or cold |
| Brushes | Jars or pencil cups, bristles up | Desk or craft table | Dry flat first, then stand upright |
| Tools (scissors, knives, rulers) | Pegboard hooks or a drawer tray | Wall above your work area | Blades capped, out of reach of kids and pets |
| Beads, buttons, sequins | Clear compartment organizer | Drawer or flat on a shelf | Store flat, lids clicked shut |
| Works in progress | One lidded bin or fabric cube per project | Shelf near where you craft | Add a note of where you stopped |
If you'd like to add labels to your bins, my guide to home labeling ideas has simple ways to label containers so they look neat and stay readable.
Small-Space Craft Storage Ideas
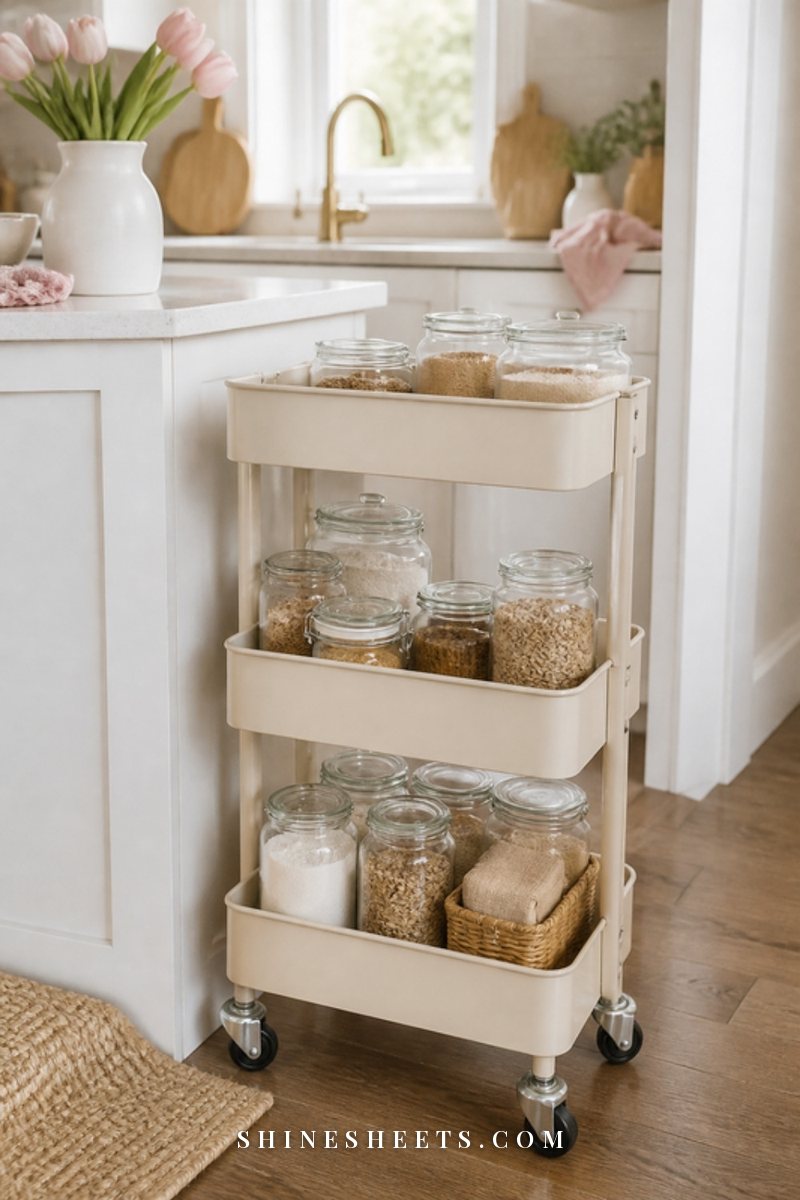
You don't need a craft room to have a beautiful craft setup. In a small apartment or rental, the goal is storage that moves, hangs or slides away, so your supplies are close when you need them and invisible when you don't.
- A rolling cart. A white rolling utility cart is probably the most useful craft storage there is. Put your most-used supplies on the top tier, paints or paper in the middle and bulky things at the bottom, then roll it next to the table when you craft and into a corner when you're done.
- Over-the-door pockets. A clear pocket organizer on the back of a closet or bedroom door holds ribbon, stickers, markers, glue and small tools. It uses space you'd never use otherwise, and it's completely renter-friendly.
- Under-bed boxes. Flat lidded boxes under the bed are perfect for paper, fabric and backup yarn you don't need every week. My guide to under bed storage ideas has more ways to use that space well.
- A wall pegboard. Pegboard turns a small wall into storage for tools, ribbon and baskets, and it keeps your desk clear for actual making.
- A shared desk. If your craft space is also your work or study space, keep crafts in one cart or one drawer so the two can live together peacefully. My desk organization ideas can help with that balance.
For homes that truly have no closets to spare, my guide on how to organize a small apartment with no storage has even more space-saving tricks you can borrow for your supplies.
The Take-It-Out, Put-It-Back Routine
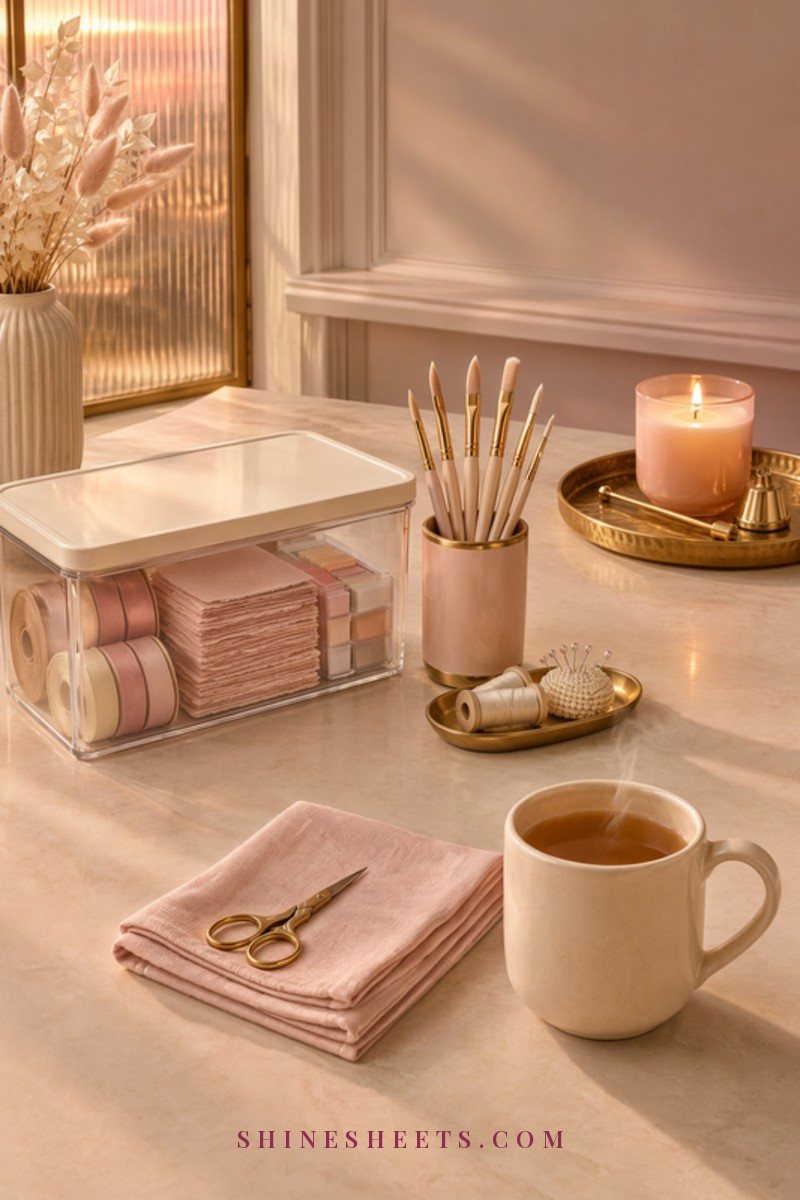
The most beautiful storage won't stay beautiful without a tiny routine. This one takes about five minutes and keeps you from facing a mountain of supplies every time you want to start something.
- Take out only what you need. Bring one project bin and the supplies it uses to the table, not your whole collection.
- Work on a tray or mat. It keeps small pieces corralled and makes cleanup a matter of lifting one thing.
- Set a five-minute timer when you finish. It's long enough to tidy and short enough that you won't skip it.
- Clean tools right away. Rinse brushes, wipe paint palettes, close every lid and cap every pen.
- Put things back where they live. If something doesn't have a home, that's your sign to make one.
- Leave your project ready for next time. Update the little note on top of the bin so future you knows where to start.
Once a season, do a quick fifteen-minute check: toss anything dried out or broken, finish or let go of one stalled project and notice which supplies you never touch. It's much easier than a full reorganization, and it keeps your collection feeling like a joy rather than a backlog.
One more gentle tip: if a craft session runs long and you're tired, it's okay to just close the lids and leave the rest for the morning. Closed lids protect the supplies, and that's what matters most.
Safety Notes for Storing Craft Supplies
Craft supplies are cheerful, but a few of them need extra care, especially if you share your home with little ones or pets.
- Store solvents and sprays up high. Spray adhesives, spray paint, paint thinner, resin and alcohol inks belong on a high shelf or in a closed cabinet, away from heat sources and open flames.
- Keep sharp tools out of reach. Craft knives, rotary cutters, needles and pins go in a closed container or high on the pegboard.
- Watch the small pieces. Beads, buttons and magnets can be a choking hazard for small children and pets, so keep organizers closed and off low shelves.
- Ventilate when you paint. Open a window or run a fan when using paints, inks, resins or sprays, and follow the directions on the label.
- Keep original packaging for anything hazardous so the safety directions stay with the product.
- Never store craft supplies near a candle. I love glass candles on a craft evening, but they belong well away from paper, fabric and yarn, and they always get blown out before I leave the room.
Common Craft Organization Mistakes
A few small habits make craft storage harder than it needs to be. If any of these sound familiar, you're in very good company.
- Buying containers first. Sort and edit before you shop, or you'll end up with bins in the wrong sizes.
- Choosing opaque boxes for everything. If you can't see it, you'll forget it and probably buy it again. Use clear containers for supplies and save solid ones for things you'd rather hide.
- Mixing works in progress with fresh supplies. Projects lose pieces and supplies get "borrowed."
- Storing the most-used things in the hardest spots. Your everyday tools should be within arm's reach, not in the back of a closet.
- Organizing once and never adjusting. Your hobbies change. It's fine if your storage changes with them.
Final Thoughts
Good craft supply organization isn't about having a picture-perfect craft room. It's about making it easy to start, easy to stop and easy to come back. Sort what you have, give each supply the container it likes, keep your works in progress together and close your session with five gentle minutes of tidying.
Start with one craft this week, maybe the one you miss most, and give it a proper home. The next time inspiration shows up, everything you need will be right there waiting for you.