Nail polish bubbles are almost never a sign that you're bad at painting your nails. They're a sign that air or solvent got trapped under a layer that dried on top before it dried underneath. Once you understand that one little mechanism, every fix makes sense – and most of them take less than a minute.
The good news is that bubbles are one of the most predictable manicure problems there is. They come from a short list of habits and room conditions, and each one has a clear tell: tiny pinholes, a foamy look, larger domes, or bubbles that show up only on the top coat. Once you can read the clue, you know exactly what to change next time.
This guide walks you through nail polish bubbles from start to finish: why they form, the seven most common causes, a troubleshooting table you can screenshot, a step-by-step routine that prevents them, and what to do when they've already appeared on wet or dry polish. It took me a lot of slightly bumpy manicures to realize the bottle was rarely the problem – the timing was. I hope this saves you a few redos.
Why Nail Polish Bubbles Form
Nail polish is basically color and film-forming ingredients dissolved in solvents. When you brush it on, those solvents start evaporating right away. In a thin coat, they escape evenly and the film settles flat and glossy.
Bubbles happen when something interrupts that even escape. Either air gets whipped into the polish before it ever reaches your nail, or the surface of the coat dries into a skin too quickly, and the solvent still trapped underneath pushes up little pockets as it tries to get out. Moisture and oil on the nail plate add a third route: the polish can't grip those spots, so tiny gaps form under the color.
That's why bubbles often look different depending on the cause:
- Tiny pinholes scattered across the nail usually mean air was mixed into the polish (shaking) or the room was too warm.
- A foamy, cloudy patch often points to a coat that was too thick or applied over a layer that was still wet.
- Bigger single bubbles near the cuticle or tip can mean oil, water or lotion on the nail plate.
- Bubbles only in the top coat usually mean the top coat went on too soon or doesn't pair well with the color underneath.
Keep those clues in mind as you read the causes below – you'll probably recognize your own manicure in one or two of them.
7 Common Causes of Nail Polish Bubbles
Most bubbly manicures come from one of these seven habits. Often it's two of them stacked together, like a thick coat in a warm bathroom, which is why the same bottle can behave perfectly one evening and badly the next.
1. Shaking the Bottle Instead of Rolling It
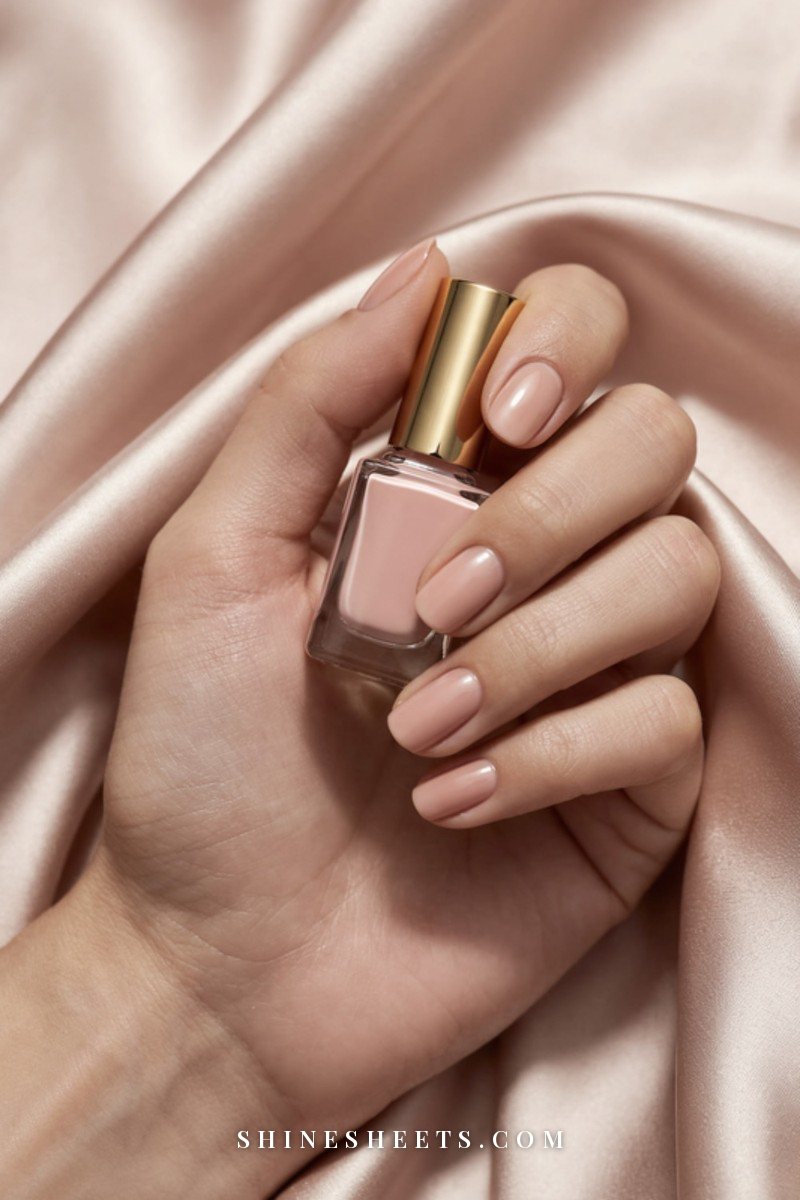
Shaking a bottle feels like the natural thing to do, and it's the number one reason for pinhole bubbles. Every shake whips air into the polish, and those micro bubbles travel straight onto your nail with the brush. They're often too small to see in the bottle and only show up once the coat starts to set.
The fix is simple: hold the closed bottle between your palms and roll it back and forth for about 20 to 30 seconds. The warmth of your hands loosens the polish a little and the rolling mixes the pigment without adding air. If your polish has a mixing ball and has separated a lot, you can turn it upside down slowly a few times – still no vigorous shaking. After a shake, let the bottle sit for a few minutes so the air can rise and escape before you paint.
2. Coats That Are Too Thick
A thick coat looks efficient (one coat and done), but it's a classic bubble trap. The top of a thick layer dries first and seals over, while the solvent underneath is still trying to evaporate. It pushes up through the skin of the polish and leaves dimples, foam or little craters.
Think of it as two or three thin coats instead of one heavy one. A thin coat should look slightly streaky after the first pass – that's normal. The second coat evens it out. If you can see a little puddle of polish sitting at the side walls or near your cuticle, you've loaded too much. Wipe the brush on the neck of the bottle on both sides before each nail and you'll already be closer to the right amount.
3. A Hot or Humid Room
Heat speeds up how fast the surface of the polish dries, so the same "skin over, trapped solvent underneath" problem happens even with a thin coat. Humidity adds moisture to the mix, which can leave a cloudy finish and tiny bubbles. That's why painting your nails in a steamy bathroom right after a shower is often a recipe for a bumpy result.
Aim for a comfortable, airy room at normal temperature – a living room or a bedroom with the door open works well. If you've just showered, wait 20 to 30 minutes until the steam clears, both from the room and from your nails. In summer, avoid a sunny windowsill and keep the bottle out of direct sun before you use it.
4. Old or Thickened Polish
Polish thickens over time as solvent evaporates every time the bottle is opened. Thick, stringy polish is harder to spread thinly, so you end up with heavier coats and more trapped air almost automatically. If you notice the brush dragging, the polish forming threads when you lift it, or a gummy rim around the neck of the bottle, it's probably time to thin it or replace it.
The safe way to thin it is a few drops of nail polish thinner made for that purpose – never acetone or nail polish remover poured into the bottle, which can break down the formula and make it streaky and fragile. I've written a separate guide on how to fix thick nail polish without ruining the formula if your favorite bottle has gone gloopy. And if the polish has separated into layers that won't remix, or smells very different than it used to, let it go.
5. Oily or Damp Nails
Polish needs a clean, dry nail plate to grip. Natural oils, hand cream, cuticle oil or a little leftover water from washing your hands all create spots where the polish can't bond properly. The result is often bigger bubbles, lifting at the edges or polish that peels off in one sheet a day later.
Before your base coat, wash your hands, dry them thoroughly (including under the tip and around the sides), wait a few minutes and then swipe each nail with a little remover or rubbing alcohol on a lint-free nail wipe. Cotton balls can leave fluff behind, and those fibers can trap air too. Save the cuticle oil and hand cream for after your top coat is dry.
6. Layering Before the Previous Coat Is Dry
This is the one I see most when someone says "I did everything right." When you brush a fresh coat over a layer that's still soft, the new solvent reactivates the layer underneath, and the trapped solvent from both coats tries to escape at the same time. The result is a soft, foamy surface and bubbles that seem to appear out of nowhere.
Give each thin coat about two to three minutes before the next one. It should feel set, not tacky-wet, when you look at it closely (don't touch it). If you're impatient like I sometimes am, paint all ten nails with one coat and then go back to the first nail – by the time you're done with your other hand, the first hand is usually ready.
7. Fans or Heaters Blowing on Wet Polish
It sounds like a smart shortcut: point a fan, a hair dryer or a space heater at your nails to speed things up. But a strong airflow or hot air dries the very top of the polish almost instantly and seals the solvent underneath, which is exactly how bubbles form. Warm air also makes the polish softer, so it can wrinkle as well.
If you want faster drying, the cooler and gentler option is better: a cool room, thin coats and a good quick-dry top coat. My guide on how to make nail polish dry faster without smudging has more gentle tricks that won't create bubbles along the way.
Nail Polish Bubbles Troubleshooting Table
Here's the unique part of this guide: match what you see on your nail to the most likely cause, then use the quick fix today and the prevention tip next time. Screenshot it and keep it next to your polish.
| Bubble cause | What it looks like | Quick fix | How to prevent it next time |
|---|---|---|---|
| Shaken bottle | Tiny pinholes all over the nail, often visible right after painting | While wet, smooth gently with one light stroke; when dry, buff lightly and add a thin coat | Roll the bottle between your palms for 20–30 seconds |
| Thick coat | Foam, dimples or little craters, especially near the cuticle | Remove and repaint that nail with thin coats | Wipe both sides of the brush and use three strokes per coat |
| Hot or humid room | Cloudy finish with small bubbles, slow drying | Let it dry fully, then a thin top coat in a cooler room | Paint in an airy room, not right after a shower |
| Old, thick polish | Streaky, gloopy coats with bubbles that won't level | Remove and switch to a smoother bottle | Add a few drops of nail polish thinner (never remover or acetone) |
| Oily or damp nails | Larger single bubbles, lifting edges, polish peeling in a sheet | Remove, cleanse the nail plate and start again | Wipe nails with remover or alcohol before the base coat; no lotion first |
| Layering too soon | Soft, foamy surface; bubbles that appear a few minutes later | Leave it alone to dry fully; fix with a thin coat later | Wait two to three minutes between every coat |
| Fan or heater on wet polish | Bubbles plus wrinkles or a rippled surface | Let it dry, buff lightly, add a thin layer | Skip hot air; use a quick-dry top coat in a cool room |
If you see two clues at once (say, pinholes and a cloudy finish), you're probably dealing with two causes. Change one thing at a time and you'll know which habit made the difference.
How To Prevent Nail Polish Bubbles, Step by Step
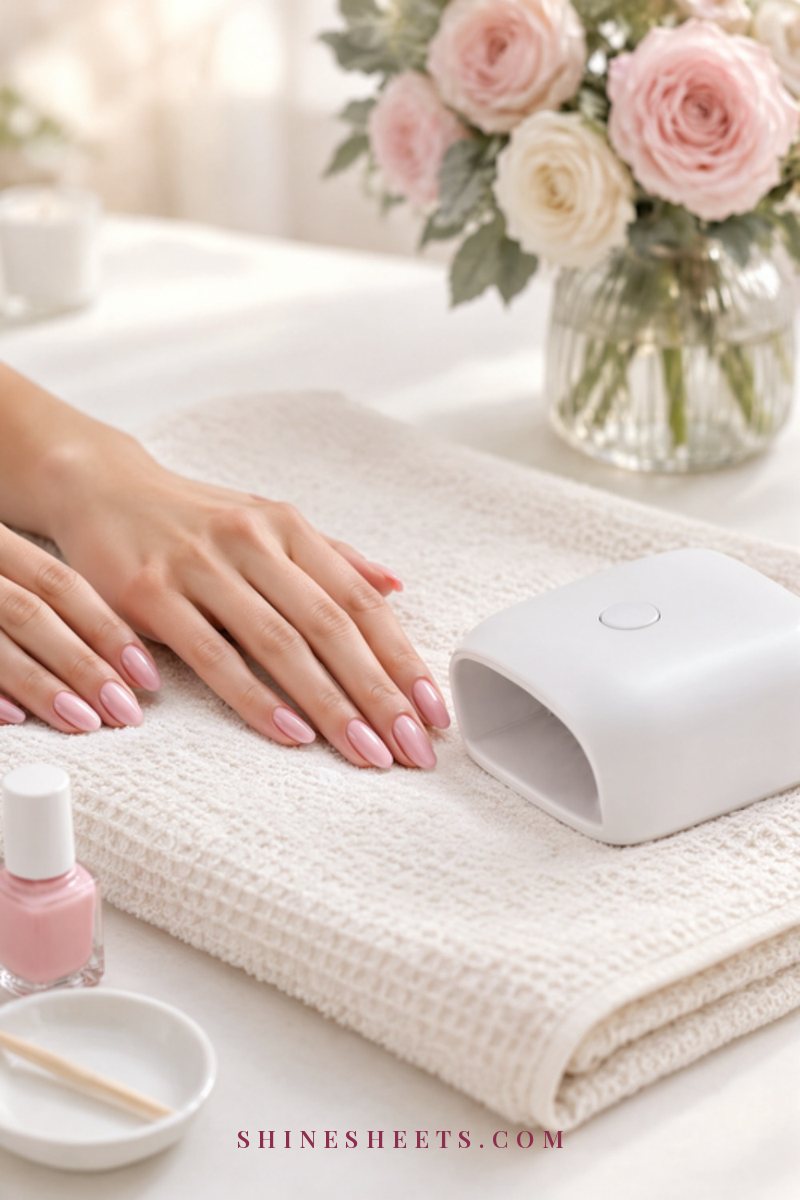
This is the routine I'd suggest for a smooth, bubble-free finish. It isn't complicated, and once it's a habit you won't even think about it. Set aside about 30 to 40 minutes for the whole thing, including drying time. If you'd like the full manicure process, including cuticles and shaping, my at-home manicure step-by-step guide covers it from start to finish.
Step 1: Start With a Clean, Dry Nail
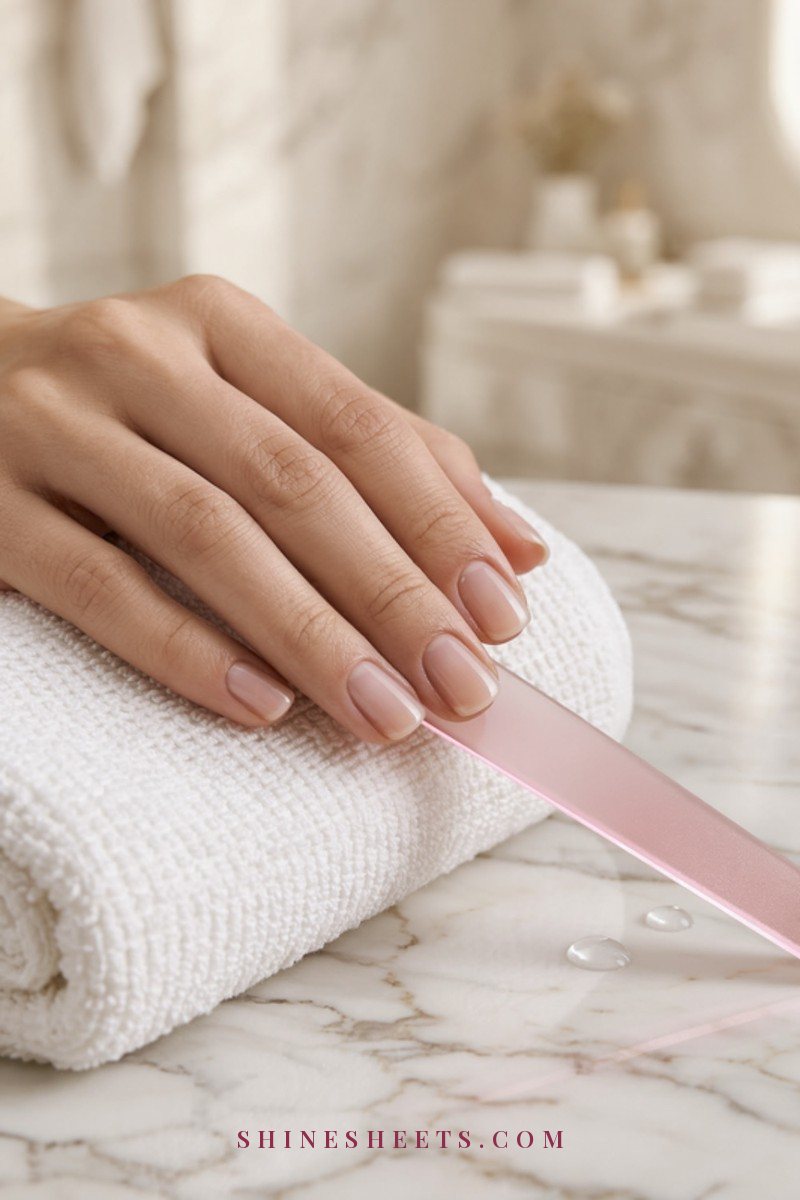
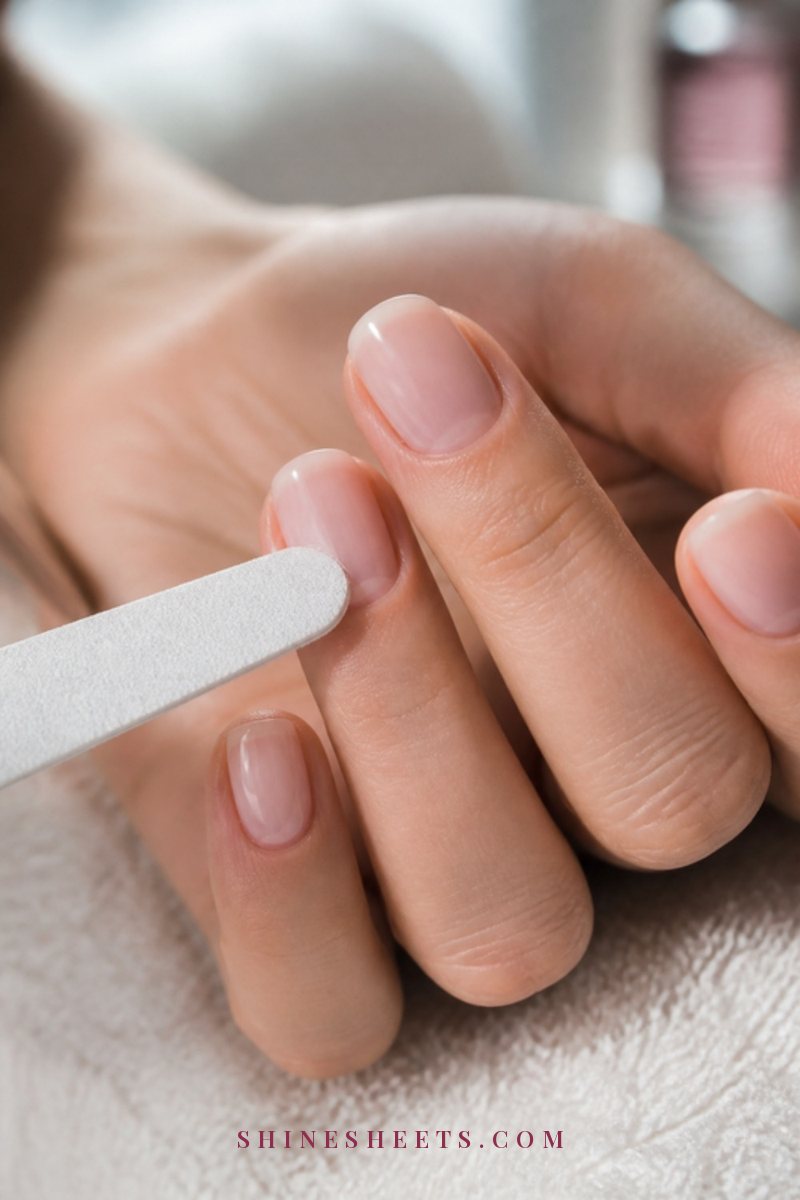
Remove old polish completely, then shape your nails with a fine file. A glass nail file is a lovely pick here because it seals the edge smoothly and is gentle on nails that tend to peel. File in one direction rather than sawing back and forth.
Wash your hands, dry them very well and wait five minutes. Then wipe each nail with remover or rubbing alcohol on a lint-free wipe to take off oil and dust. Don't moisturize at this point – lotion is lovely, just not yet.
Step 2: Bring Your Polish to Room Temperature
Cold polish is thicker and harder to spread thinly; hot polish dries too fast on the surface. If your bottles live in a cool cabinet or a chilly bathroom, set them out on the table for about 15 minutes before you paint. Never warm a bottle with hot water or a hair dryer – gentle hand warmth from rolling is enough.
Step 3: Roll the Bottle Between Your Palms
Roll for 20 to 30 seconds. Then open the bottle and wipe one side of the brush on the neck so you start with a controlled amount. This tiny step alone fixes a surprising number of pinhole manicures.
Step 4: Use a Thin Base Coat
A base coat gives the color something to grip and fills small dips in the nail surface, which helps the color go on evenly instead of pooling. If your nails have visible lines, a smoothing, ridge-filling base coat is worth looking for – ridges create little channels where polish collects thicker. (If those lines bother you, my guide to why nail ridges appear and how to smooth them explains the gentle way to handle them.) Let the base coat set for two minutes.
Step 5: Paint Thin Coats With Three Strokes
Load the brush lightly, place it a tiny bit away from the cuticle, press gently so the bristles fan out, then make three strokes: one down the middle, one on each side. Lift the brush between strokes rather than dabbing back and forth, because dabbing pushes air into the wet polish. Two thin color coats are usually enough; sheer shades may need three.
Step 6: Wait Two to Three Minutes Between Layers
Set a timer if you need to. Use the waiting time to paint the other hand, so the minutes don't feel wasted. If you're working in a slightly warm room, give it closer to three minutes and keep the coats extra thin.
Step 7: Finish With a Compatible Top Coat
A top coat seals everything in and gives you the glossy finish, but it can also be the layer where bubbles appear if it goes on over soft polish or is applied very thickly. Wait the full two to three minutes after your last color coat, then use one smooth layer. A quick-dry glossy top coat is a good pick – look for one described as self-leveling and suitable for regular (not gel) polish. Some very fast-drying top coats can shrink slightly or bubble over certain formulas, so if a top coat keeps bubbling over one particular color, try a different pairing rather than blaming yourself.
Cap the free edge by running the brush lightly along the tip of the nail. Then leave your hands still and in a cool spot for at least 10 to 15 minutes. Full hardening takes longer, so be gentle for a few hours. For more ways to keep that smooth finish chip-free, see my tips on how to make nail polish last longer.
How To Fix Bubbles in Nail Polish
Bubbles already showed up? Don't panic, and definitely don't start poking at them with a fingernail. What you do depends on whether the polish is still wet or already dry.
If the Polish Is Still Wet
If you spot bubbles within the first minute or so, you can sometimes smooth them out. Load the brush with a very small amount of polish and make one feather-light stroke over the nail from base to tip. The fresh polish softens the surface just enough for the bubbles to level. Do it once – going back and forth will add more air.
If the polish has already started to set (it looks a little matte or feels tacky), leave it alone. Touching half-dry polish creates drag marks that are harder to fix than the bubbles. Let it dry fully and use the dry-polish fix below.
And if it's a foamy mess on just one nail, the fastest option is often to remove that nail's polish and repaint it with thin coats. It takes three minutes and it's honestly less frustrating than trying to rescue it.
If the Polish Is Already Dry
You have two good options:
- Remove and redo. For big bubbles or a foamy surface, this is the cleanest result. Soak a remover pad, press it on the nail for 10 seconds so the remover can soften the polish, then wipe from cuticle to tip. Repaint with the step-by-step routine above.
- Lightly buff and add a thin layer. For a few tiny pinholes, wait until the polish is completely dry (a few hours is best, overnight is ideal). Very gently buff the surface of the polish – not your natural nail – with the finest side of a soft buffer, just until the bumps feel smoother. Wipe away the dust, then add one thin coat of color and a thin top coat.
The buffing trick works because you're only flattening the polish layer, not thinning the nail. If you ever want a polish-free shine instead, my guide on how to buff your nails for a natural shine explains how to do that gently and how often.
Keep Your Natural Nails Healthy While You Fix It
Chasing a perfectly smooth finish shouldn't cost you the health of your nails. A few gentle rules make a big difference:
- Don't buff the natural nail aggressively. Buffing removes layers of the nail plate. A light polish on top of dry color is fine; heavy buffing of bare nails to fix bumps or ridges makes nails thinner, softer and more likely to peel.
- Use remover in a ventilated room. Open a window or work near an open door, keep the bottle closed between uses and keep remover away from candles and any open flame, because it is flammable.
- Be kind with remover. Pressing and holding a soaked pad is gentler than scrubbing over and over. Pre-soaked blush polish remover pads are handy for quick one-nail fixes.
- Moisturize afterward. Once your top coat is dry, massage a drop of cuticle oil into the skin around each nail and finish with hand cream.
- Take breaks if your nails feel weak. If your nails are peeling or very thin, a few days of bare nails with oil and cream can help before your next manicure.
If you notice irritation, redness or swelling around your nails after using a new polish, base coat or remover, stop using it and check in with a doctor or dermatologist, since some people react to ingredients in nail products.
Final Thoughts
Bubbles are just your polish telling you something: too much air, too much heat or too little waiting. Once you roll instead of shake, keep your coats thin and give each layer its two or three minutes, most bubbly manicures simply stop happening.
Be patient with yourself while the new habits settle in. A calm half hour, a cup of evening tea next to you and a smooth, glossy set of nails at the end is a lovely little ritual – and it gets easier every single time.