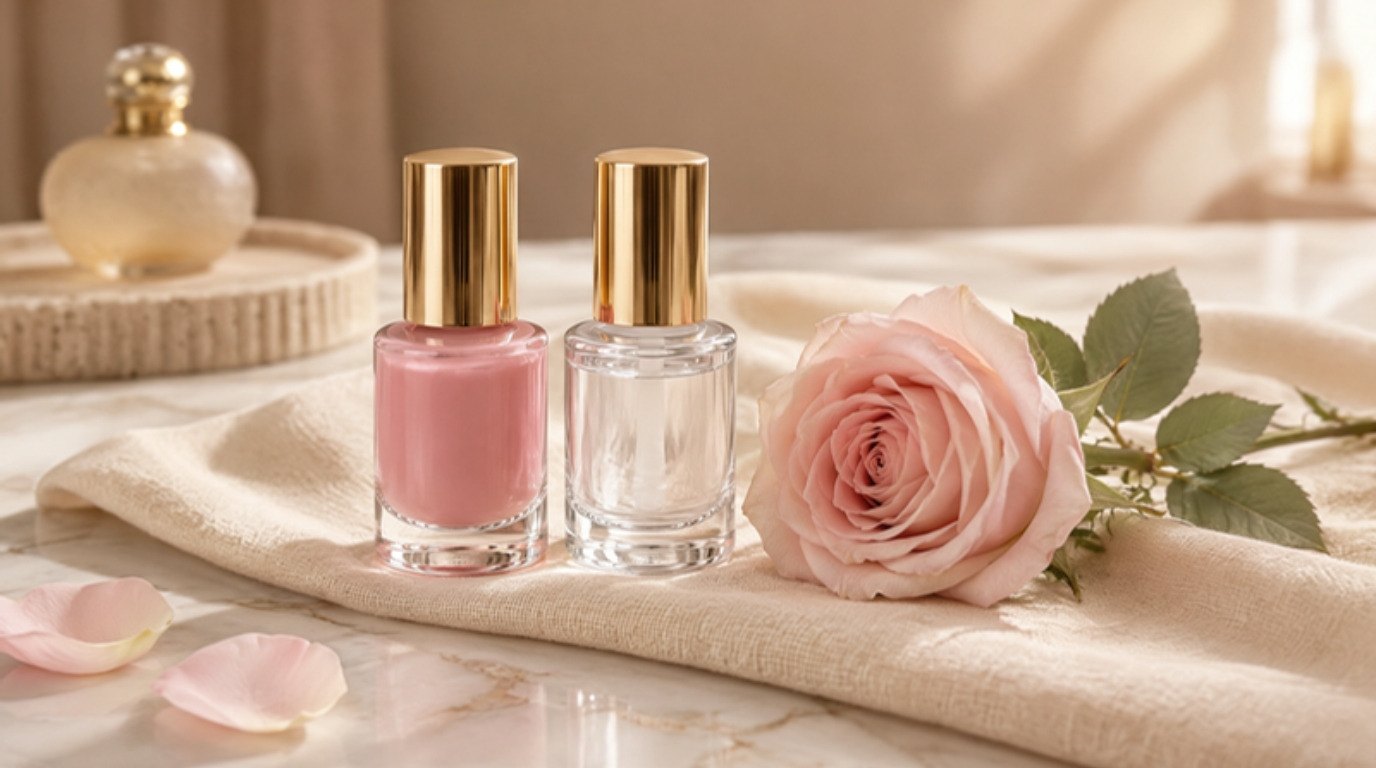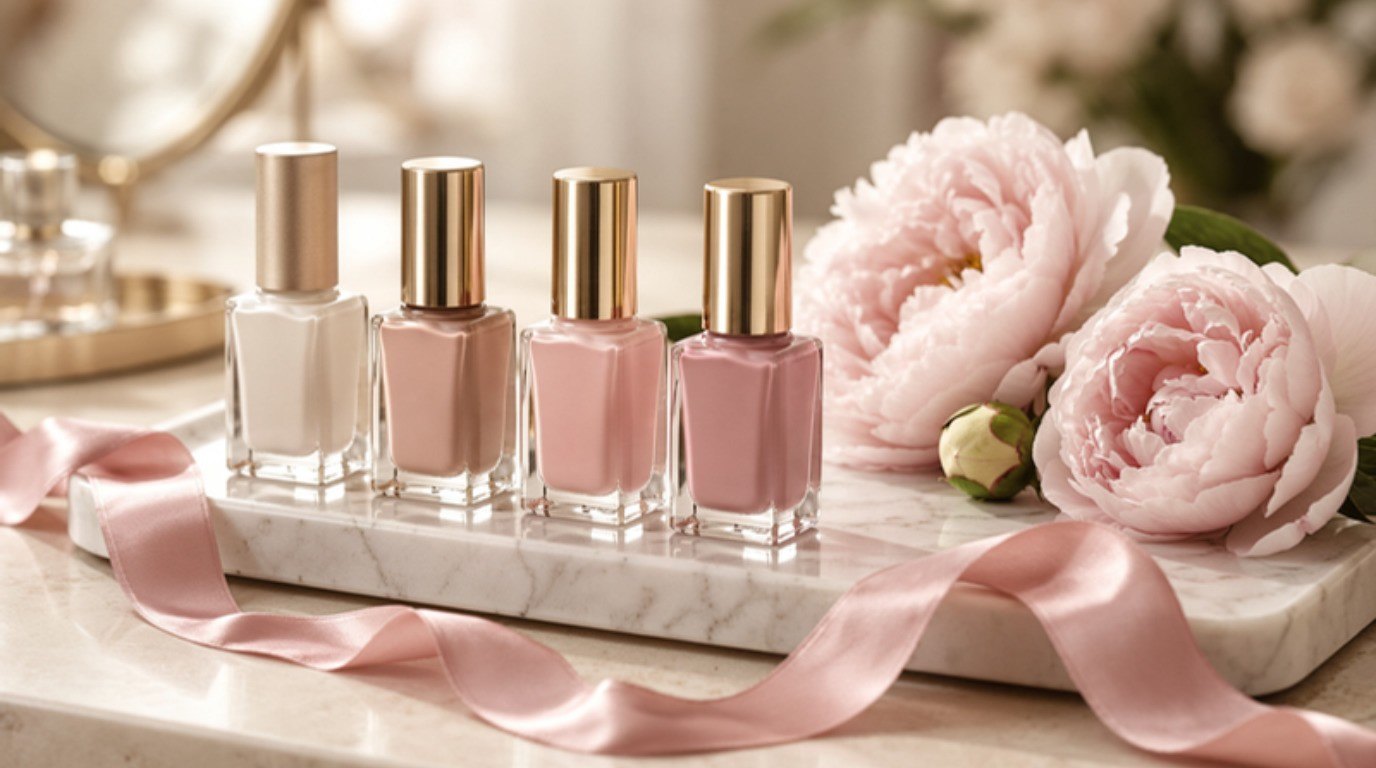
Thick, gloopy nail polish is almost never ruined polish. Most of the time it has simply lost some of its solvent to the air, and that is something you can gently put back. The formula, the pigment and the shade you loved are still sitting in that little bottle, waiting for a few drops of the right liquid and a bit of patience.
The tricky part is that the most tempting fix (a splash of nail polish remover) is the one that does the most damage. It took me a while to accept that a slow, slightly boring method beats a quick one every single time when it comes to polish.
This guide walks you through how to fix thick nail polish the safe way: why polish turns stringy in the first place, a quick test to know whether a bottle can be saved, a step-by-step rescue with nail polish thinner, a simple trick for polish that is only a little stiff, and six small habits that keep every bottle smooth for longer. There is also a table you can screenshot for the next time a favorite shade starts misbehaving.
Nothing here is complicated. You only need a calm ten minutes, a well-ventilated spot and a little restraint with the dropper.
Why Nail Polish Turns Thick and Gloopy
Nail polish is basically film-forming ingredients, resins, plasticizers and pigment suspended in solvents. Those solvents are what keep it fluid in the bottle and then evaporate on your nail so the polish can harden. The problem is that they don't wait for your nail. Every time air gets in, a little bit escapes, and over months the balance tips from silky to syrupy.
Here are the most common reasons a bottle thickens:
- Solvent evaporation. This is the big one. Polish slowly loses its liquid part, especially once a bottle is half empty and there is more air inside.
- The bottle stays open too long. Leaving the cap off while you do all ten nails, or while you answer a message, lets solvent drift away with every minute.
- Gunk on the neck. Dried polish around the rim stops the cap from sealing properly. A cap that looks closed can still let air in all day and all night.
- Heat and sunlight. A sunny windowsill, a spot near a radiator or a steamy bathroom shelf speeds up evaporation and can change the texture and the color.
- Age. Even a perfectly stored bottle changes over time. Most polishes are at their best within roughly a year or two of opening, and some formulas (shimmers, very sheer shades) change faster.
The good news is that only the first two or three of these are truly fixable. Thinner can replace lost solvent, but it can't undo a formula that has separated for good or a bottle that has gone off. That's why the next step, a quick honesty check, matters so much.
Can This Polish Be Saved? The 60-Second Test
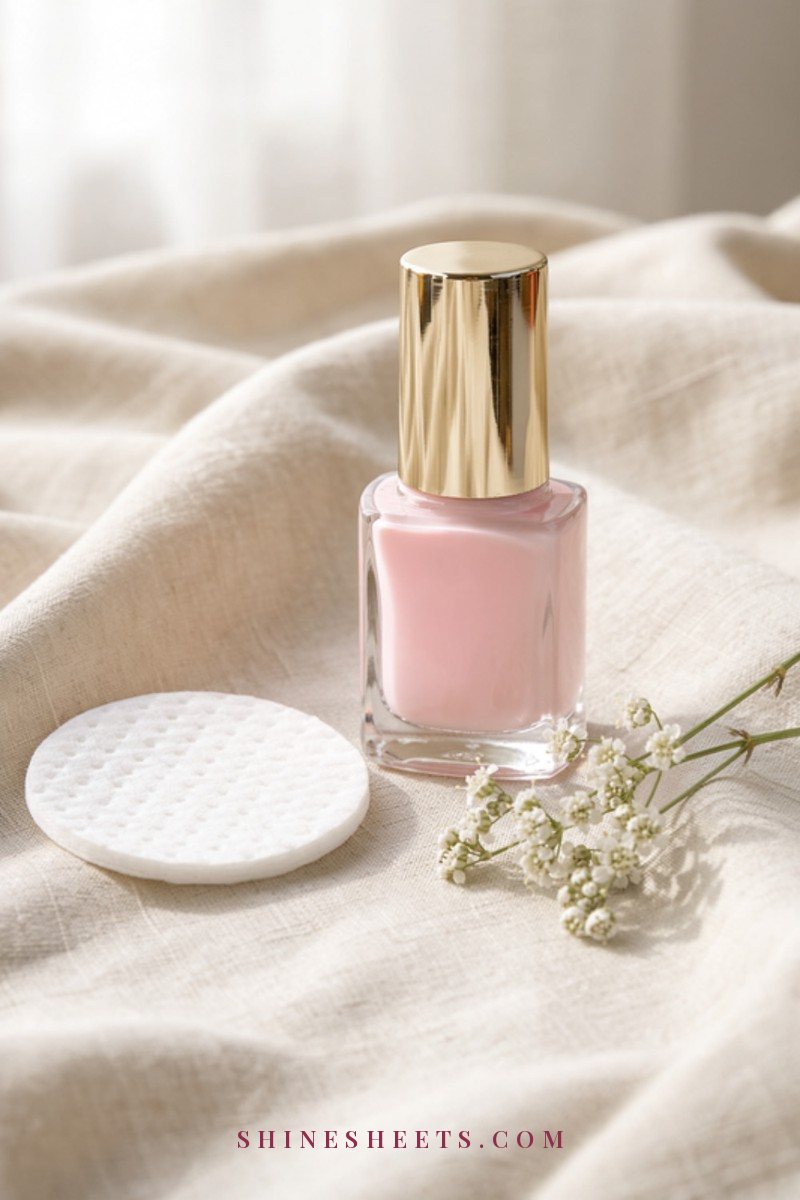
Before you add anything to a bottle, give it a minute of attention. I like to do this test by a window in daylight, because it is much easier to see streaks and lumps.
- Look at the bottle upright. A thin clear layer on top is normal for many polishes and usually mixes back in. A thick, stubborn layer of liquid floating over a solid lump at the bottom is a warning sign.
- Roll it between your palms for about 30 seconds. If the color comes back together and looks even, that's a very good sign.
- Lift the brush and watch the drip. Smooth polish runs off the brush in a soft bead. Thick polish clings and drips slowly. Polish that stretches into long threads, like melted cheese, is stringy and will need thinner (and sometimes even thinner won't help).
- Check for chunks. Little dried flakes stuck to the brush or floating in the bottle usually come from the neck. If there are many hard bits all through the polish, it will never apply smoothly again.
- Smell it gently. Polish always smells strong, but a sour, unusual or very different smell from what you remember can mean the formula has broken down.
A polish that is simply thick, slow and a bit sticky is a great candidate for rescue. A polish that stays separated after rolling, has dried chunks all through it, or smells clearly off is ready to be thanked and let go. No guilt there. It did its job.
Thick Nail Polish Fix Table: Problem, Cause, Fix
Here is the whole guide in one table. Screenshot it and keep it with your manicure things so you don't have to guess next time.
| Polish problem | Likely cause | What to do | Save or toss? |
|---|---|---|---|
| Slightly stiff, a bit slow to spread | Cold room or light solvent loss | Warm the closed bottle in warm water for 2–3 minutes, then roll | Save |
| Thick and gloopy, drags on the nail | Solvent evaporation over time | Clean the neck, add 2–3 drops of nail polish thinner, roll, rest 10–15 minutes | Save |
| Cap hard to open, crusty rim | Dried polish on the neck and threads | Wipe the neck and inside of the cap with a little remover on a lint-free wipe, then close tightly | Save |
| Small flakes on the brush | Bits of dried polish from the neck falling in | Clean the neck and brush, thin slightly, remove floating flakes with an orange stick | Usually save |
| Stringy, stretches into threads | Heavy solvent loss or very old formula | Try thinner in tiny amounts, test on one nail | Save if it smooths out, toss if it stays stringy |
| Liquid on top, solid lump at the bottom | Formula has separated for good | Roll well for a minute; if it won't blend, stop | Toss |
| Many hard chunks all through it | Polish has partly dried inside the bottle | No fix will make it smooth | Toss |
| Sour or unusual smell, odd color change | Formula has broken down with age or heat | Don't try to save it | Toss |
You'll notice that acetone and remover only ever appear for cleaning the outside of the bottle, never for going inside it. That's deliberate, and I'll explain why in a moment.
How To Fix Thick Nail Polish Step by Step
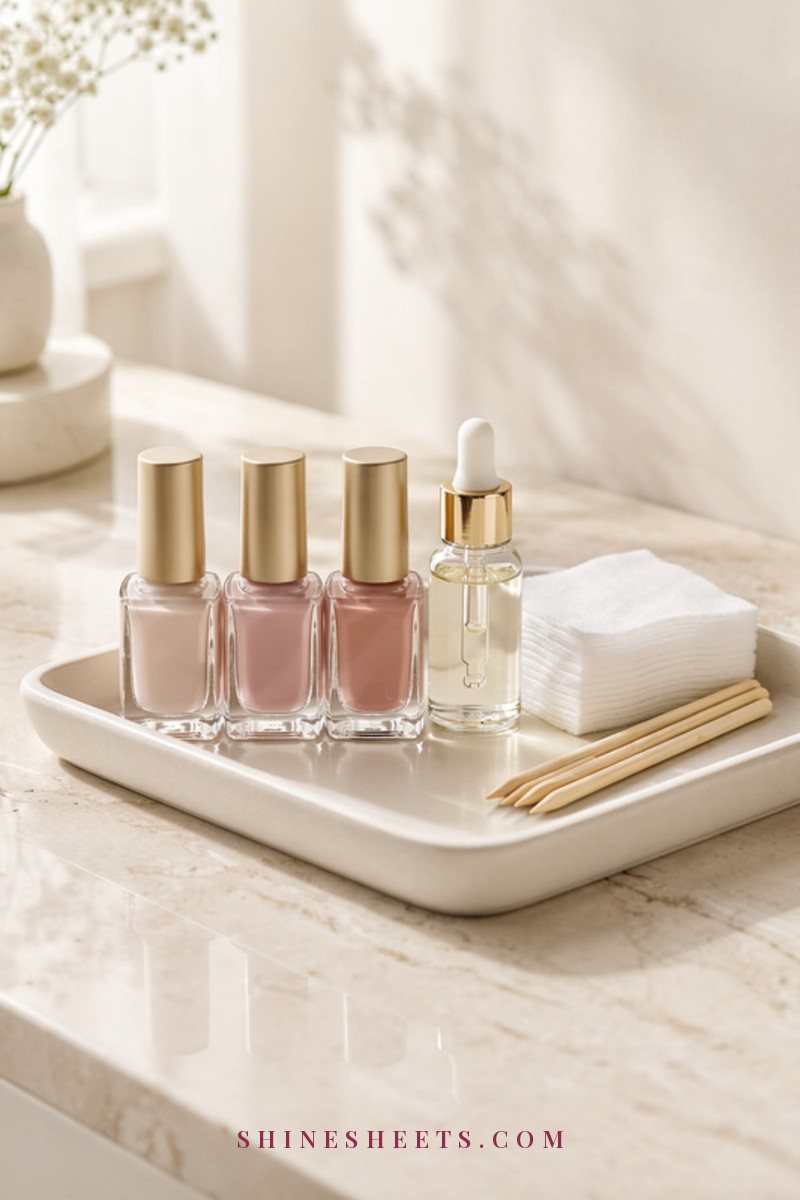
Once a bottle passes the test, this is the method I'd use. Set yourself up near an open window, put a paper towel or old cotton cloth on the table, and have everything within reach before you open anything. The whole thing takes about 15 minutes, most of which is just waiting.
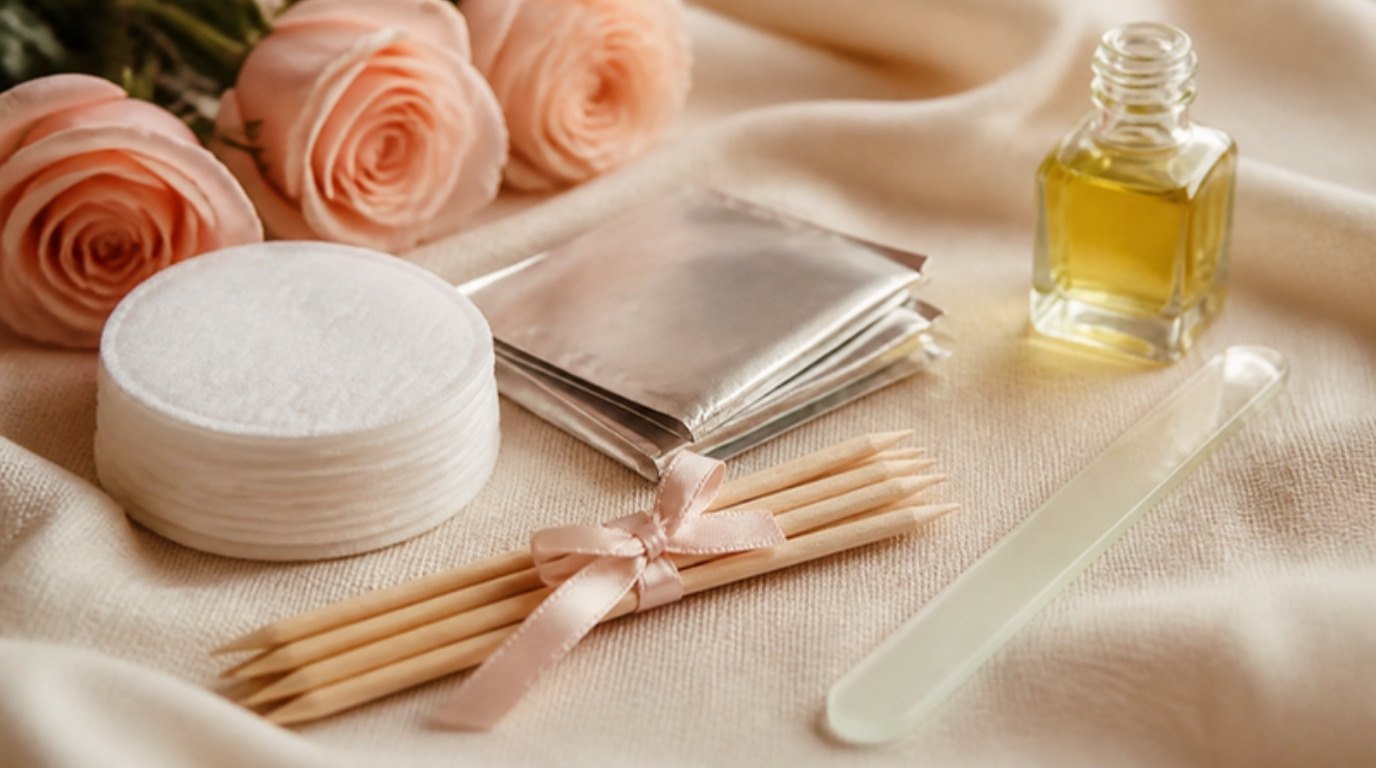
You'll need a bottle of nail polish thinner with a dropper, a few lint-free nail wipes, a little nail polish remover for cleaning the outside only, and an orange stick or a cotton bud.
Step 1: Clean the Neck and Cap
Start with the outside, because a rescue doesn't last if the bottle can't seal. Dip a lint-free wipe in a little remover and run it around the rim of the bottle and the threads of the neck until all the dried polish is gone. Then wipe inside the cap, where crusty polish likes to collect. Let both dry for a minute.
Be careful here: you want the remover on the outside of the bottle only. Hold the bottle at an angle so nothing drips into the polish, and squeeze out the wipe so it's damp rather than wet.
While you're at it, check the brush. If the bristles have hard bits of old polish at the base, gently wipe them off with a clean wipe (no remover on the brush, or it can drip in later).
Step 2: Add a Few Drops of Thinner
Nail polish thinner is made of the same kind of solvents that were in the polish to begin with, without any of the other ingredients. That's why it restores the original texture instead of diluting it.
Add two to three drops to a regular-size bottle. That's it for the first round. It's very easy to add more and impossible to take it back out. A good rule of thumb is to never add more than a few drops at a time, and to stop once you've added roughly a tenth of the remaining polish volume in total. If a half-full bottle still feels thick after that, it is probably past saving.
Close the cap tightly straight away so the solvent doesn't evaporate while you think about it.
Step 3: Roll, Never Shake
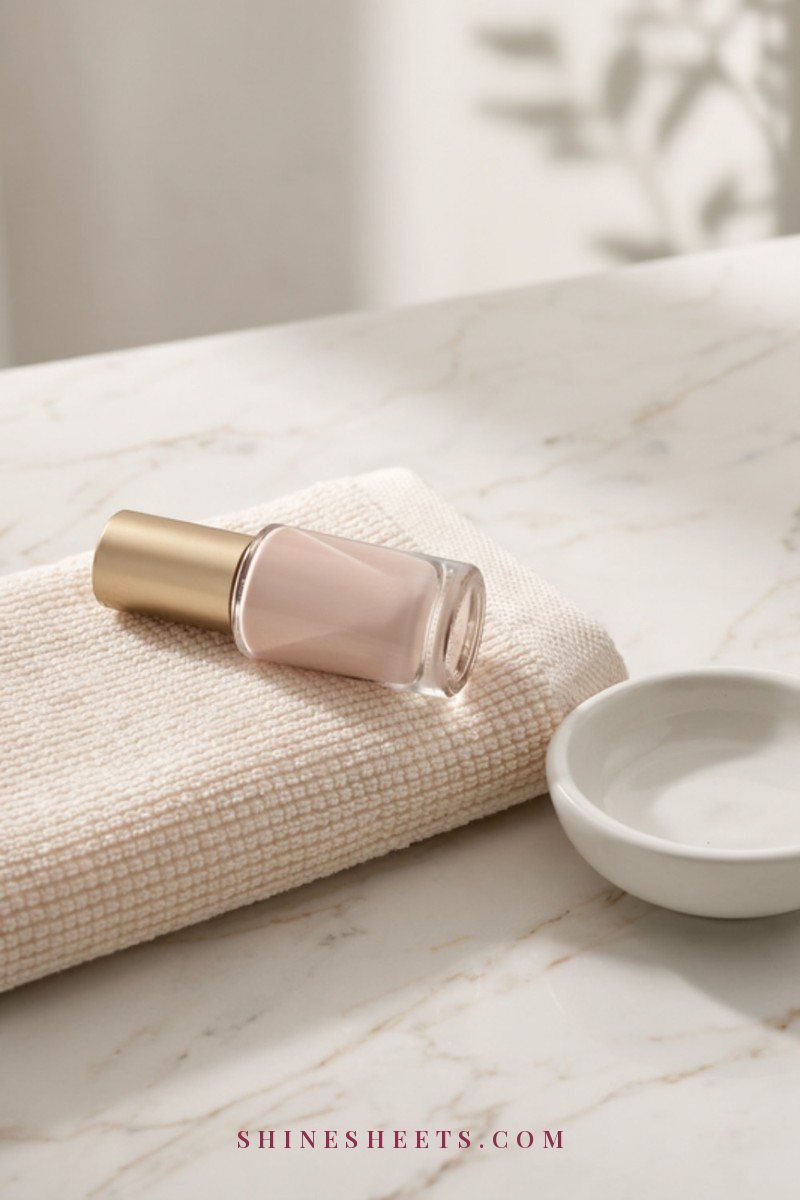
This is the step most of us want to rush. Shaking feels faster, but it whips tiny air bubbles into the polish. Those bubbles stay in the formula and turn up on your nails as little craters and dots. (If that already sounds familiar, my guide on making nail polish last longer has more on smooth application.)
Instead, hold the bottle horizontally between your palms and roll it back and forth for about a minute. Then turn it upside down for a few seconds and roll again. The warmth of your hands helps, too. If there's a mixing ball inside, you'll hear it moving gently, which is exactly what you want.
Step 4: Rest and Test
Leave the bottle upright for 10 to 15 minutes so everything settles and any bubbles you did create can rise and pop. Then do a small test: paint one stripe on a nail or on a piece of white paper.
- It glides on and levels nicely: you're done. Close tightly and store it well.
- It's better but still drags: add one or two more drops, roll, rest and test again.
- It's runny and sheer: you added a little too much. Leave the bottle closed for a day or two; it often comes back to a better texture. Next time, use fewer drops.
One small honest admission: I always want to skip the resting time. But the test after resting is the only one that tells you the truth about the texture, so it's worth the wait.
Why You Should Never Add Acetone or Remover to the Bottle
Nail polish remover is designed to do one thing very well: dissolve dried polish. Pouring it into a bottle seems logical, and for a single manicure it can even look like it worked. The problem shows up later.
Acetone and regular remover don't just thin polish. They start breaking down the film-forming ingredients that give polish its shine, flexibility and staying power. Many removers also contain water, oils or conditioners, which have no place inside a polish formula. The result is a polish that looks streaky, dries dull, chips quickly and often gets thick again even faster than before, because the formula is now unbalanced.
The rule is simple:
- Thinner goes inside the bottle.
- Remover stays outside the bottle, for cleaning the neck, the cap and your fingers.
If you're curious about the difference between removers in general, my guide to acetone vs non-acetone nail polish remover explains which one is kinder to your nails and when each makes sense. And while we're here: water, oil or alcohol don't belong in a polish bottle either.
The Warm Water Trick for Slightly Stiff Polish
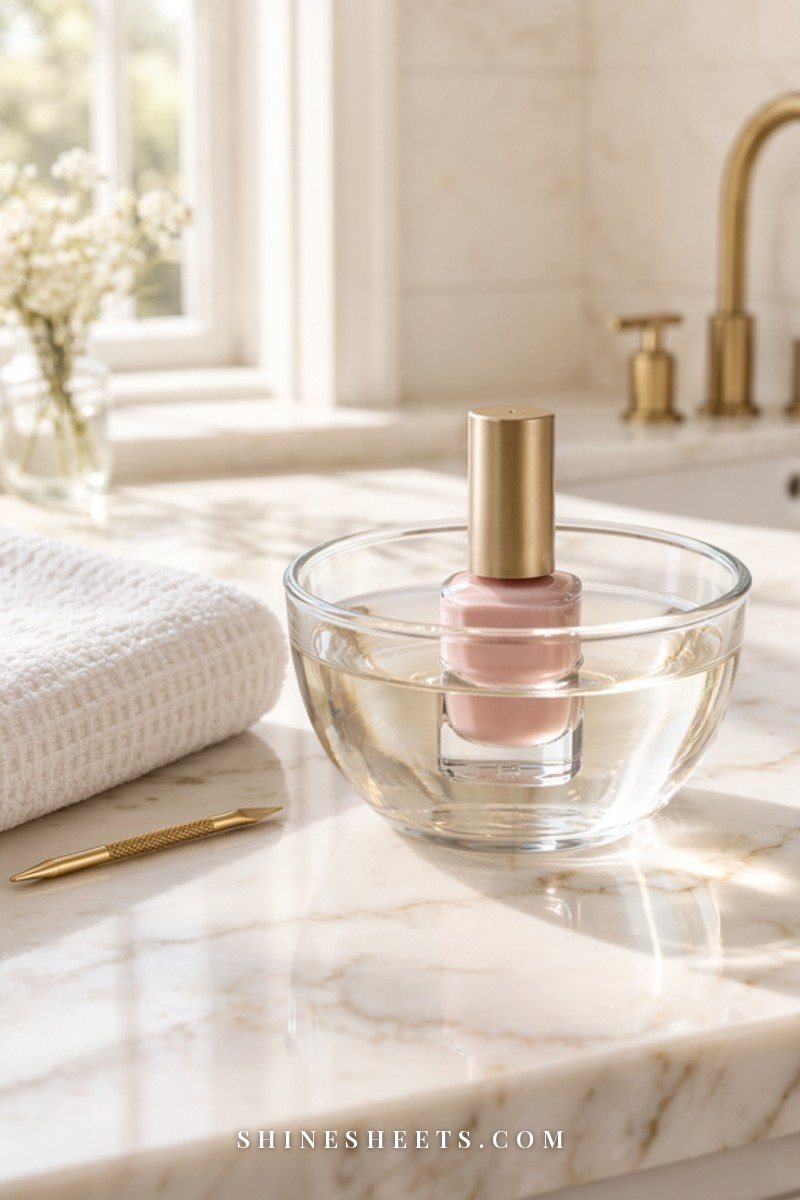
Not every thick polish needs thinner. Sometimes the room is just cold, and polish behaves like honey in a chilly kitchen. This happens a lot in the colder months, or when bottles are kept by a drafty window.
Before you reach for the dropper, try this:
- Make sure the cap is tightly closed.
- Fill a small bowl or mug with warm (not hot) water, about the temperature you'd use to wash your hands.
- Stand the bottle in the water for 2 to 3 minutes, keeping the cap above the water line.
- Dry the bottle, then roll it between your palms for 30 seconds.
If the polish now flows nicely, you've saved yourself a step. If it's still thick once it's back to room temperature, it has lost solvent and needs the thinner method above. Please don't use a hairdryer, a microwave or very hot water: polish is flammable and the bottle can crack or the formula can be damaged by sudden heat.
Safety: Ventilate and Keep Thinner Away From Flames
Thinner and polish are both made with volatile solvents, which means they evaporate easily and are flammable. A few calm habits keep the whole process safe:
- Work near an open window or in a room with good airflow, and take a short break if the smell gets strong or you feel lightheaded.
- Keep thinner, polish and remover away from candles, gas stoves, heaters and anything with an open flame. (Yes, that includes my beloved glass candles. They wait until the bottles are closed and put away.)
- Close bottles tightly right after use and store them out of reach of children and pets.
- Protect the table with a paper towel or an old cloth, as both thinner and remover can mark wood and some plastics.
- If thinner touches your skin, wash it off with soap and water. If any gets in your eyes, rinse with plenty of clean water and get medical advice if irritation continues.
None of this is meant to make you nervous. It's the same common sense you'd use with any household product that has a strong smell.
6 Habits To Keep Nail Polish Smooth Longer
Once a bottle is rescued, a few small habits will keep it that way for months. None of them take more than a few seconds, and together they make a real difference.
- Close the cap tightly every time. Turn it until it stops, not just until it feels on. A loose cap is the fastest route back to gloopy polish.
- Wipe the neck after each manicure. A quick swipe with a lint-free wipe and a tiny bit of remover around the rim keeps the seal clean. Ten seconds, once per use.
- Store bottles upright. Lying bottles can leak polish into the neck, where it dries and stops the cap sealing. A clear acrylic polish organizer keeps them standing and lets you see every shade at a glance.
- Choose a cool, dark spot. A drawer or cupboard at normal room temperature is ideal. If you prefer something prettier on a shelf, a lidded cream storage box keeps light out and looks calm and tidy.
- Keep polish away from heaters and sunny windows. Heat speeds up evaporation and can fade or shift colors, especially sheer pinks and nudes.
- Keep the bottle open only as long as you need. Close it between coats, or at least while each coat dries. Pairing this habit with my tips on making nail polish dry faster makes the whole manicure smoother.
A bonus that isn't a habit so much as a mindset: a polish that feels slightly thick at the end of a manicure often finishes beautifully with a thin layer of glossy top coat on top. It levels out small brush marks and adds the shine that makes simple nails look polished and finished.
How To Paint With Rescued Polish
A rescued bottle can be just as good as a new one, but it rewards a slightly gentler technique for the first few manicures.
- Start with clean, dry nails. Any oil or lotion on the nail makes thick polish drag and bead. A quick wipe with remover before you start helps a lot.
- Use thin coats. Wipe one side of the brush on the neck so you're working with a small bead of polish. Two thin coats always look better than one thick one.
- Use three strokes. One down the middle, one on each side. The fewer times you go back over the nail, the smoother it looks.
- Give each coat a couple of minutes. Rushing the second coat on top of a wet first one can pull the polish and create texture.
- Finish with top coat. It seals in everything and smooths small imperfections.
If you want the full routine from shaping to cuticles, my at-home manicure step by step guide brings all of it together in about half an hour.
When It's Time To Let a Polish Go
Some polishes simply can't be rescued, and that's completely fine. Let it go if:
- it stays separated after a full minute of rolling,
- it's still stringy or lumpy after a couple of rounds of thinner,
- it has hard chunks all through it,
- it smells sour or very different from when it was new,
- the color has visibly changed or looks patchy on the nail.
When you're clearing out bottles, check your local rules for disposal: nail polish and thinner are often treated as household hazardous waste, so they may not belong in the regular trash or down the drain. Many areas have collection days or drop-off points.
And if you find yourself with a drawer full of half-used shades, it can be a good moment for a wider sort-out. My beauty stash declutter guide helps you decide what to keep, what to finish and what to let go without feeling wasteful.
Final Thoughts
A thick bottle of nail polish is usually just asking for a little care: a clean neck, a few drops of thinner, a slow roll and a short rest. Skip the remover shortcut, keep your bottles upright in a cool spot and close them tightly, and your favorite shades will stay smooth far longer than you might expect.
And when a bottle truly has had its day, you can let it go with a clear conscience, knowing you gave it every fair chance.