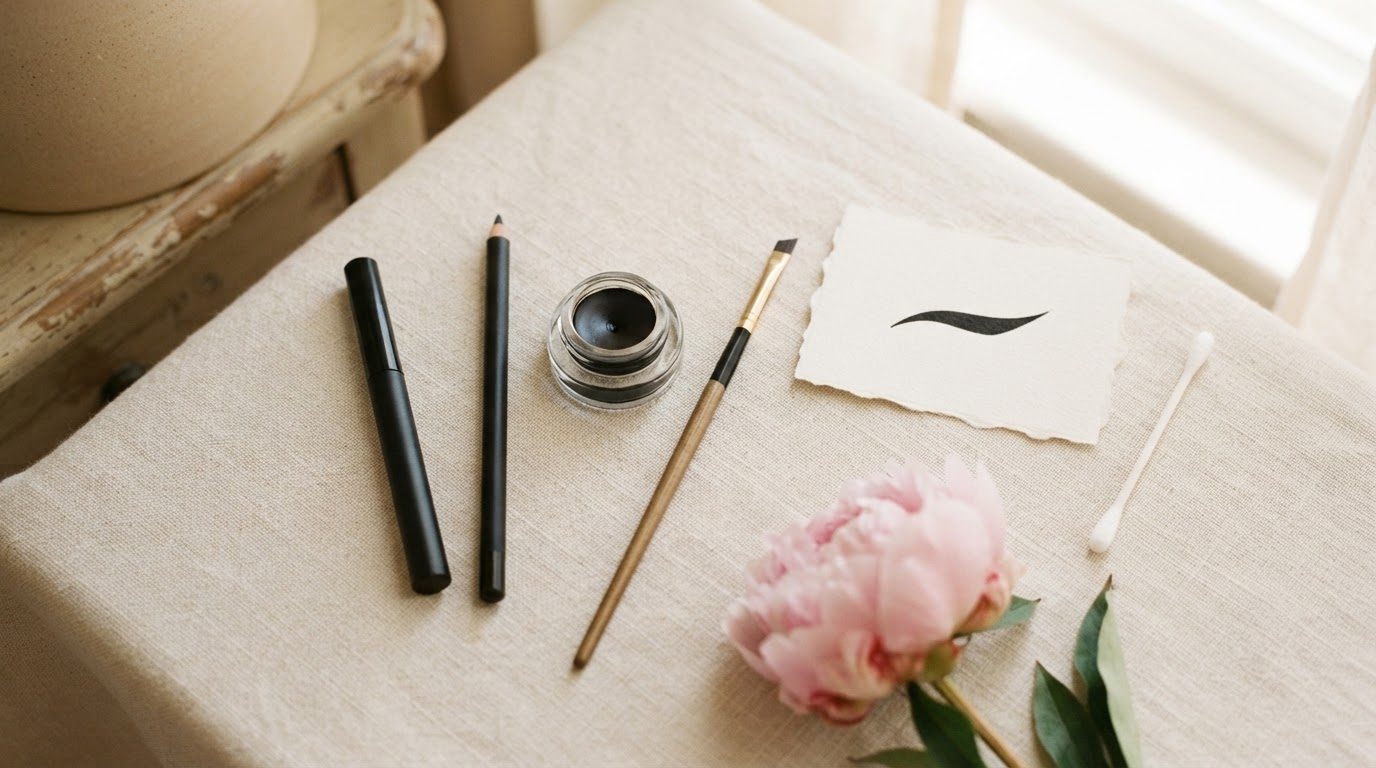
Natural brows are less about drawing and more about filling in what's already there. Most brows don't need a new shape. They need their own shape made a little clearer: a few gaps softened, the tail finished, the hairs brushed up and held in place. That's it. That's the whole "effortless" look you see everywhere.
The reason so many of us end up with blocky, too-dark or too-sharp brows isn't a lack of skill. It's usually the wrong product for our brow type, or too much pressure in the wrong spot (the front, almost always the front). Once you match the product to your brows and start light, the rest gets surprisingly easy.
This guide covers how to do natural brows step by step: how to map your brows with three simple points, how to choose between pencil, powder, pomade and gel, how to fill with hair-like strokes, and how to set everything so it stays put all day. You'll also find a product-by-brow-type table and a 5-minute routine card you can screenshot and keep by your mirror.
Grab your brow products, sit near a window if you can, and let's start with the map.
What "Natural Brows" Actually Means
A natural brow looks like hair, not like makeup. When someone looks at your face, they should notice that your brows are neat and full, but they shouldn't be able to point at a line and say "that's pencil." A few signs you're there:
- The front is soft. The inner start of the brow is the lightest, most diffused part, never a hard square edge.
- The tail is the most defined. Brows naturally get thinner and a little darker toward the end, so that's where precision belongs.
- You can see individual hairs. Product sits on and between the hairs, not in a solid block over them.
- The color matches your hair, not your mood. One shade lighter than your hair roots is the safest choice if you have dark hair, and one to two shades darker if you're very blonde.
- The shape follows your bone structure. You're refining your brow, not inventing a new one.
Natural doesn't mean "no product." It means product used with restraint. Even the fluffiest, most "I just woke up like this" brows usually have a few strokes and a coat of gel behind them.
Step 1: Map Your Brows With 3 Points
Brow mapping sounds technical, but it takes about thirty seconds and saves you from the two classic mistakes: brows that start too close together and tails that end too early or droop too low. All you need is a pencil (or any straight makeup brush handle) and a mirror.
Point 1: Where Your Brow Starts
Hold the pencil vertically against the side of your nose so it runs straight up past the inner corner of your eye. Where it crosses your brow is your starting point. Make a tiny dot with your brow pencil. If your natural hairs start a little inside or outside this point, that's fine. Just don't extend the front further toward the middle, because that's what makes brows look heavy and severe.
Point 2: Where Your Arch Peaks
Keep the base of the pencil at the side of your nose and angle it so it passes across the outer edge of your iris (look straight ahead while you do this). Where it hits your brow is roughly where your arch should peak. Mark it lightly. Most of us have a natural high point near here already, and you're only confirming it.
Point 3: Where Your Brow Ends
Now angle the pencil from the side of your nose to the outer corner of your eye. Where it crosses the brow line is where your tail should end. One more tip: the tail should finish at the same height as the start of your brow or slightly higher. If it dips lower, brows can make you look tired.
Connect those three dots in your head (not with a drawn outline – that's where the "stencil" look comes from) and you have your guide. If you have sparse brows and want to build more shape, my guide to making thin eyebrows look fuller goes deeper into growing and filling them over time.
Step 2: Choose the Right Brow Product for Your Brow Type
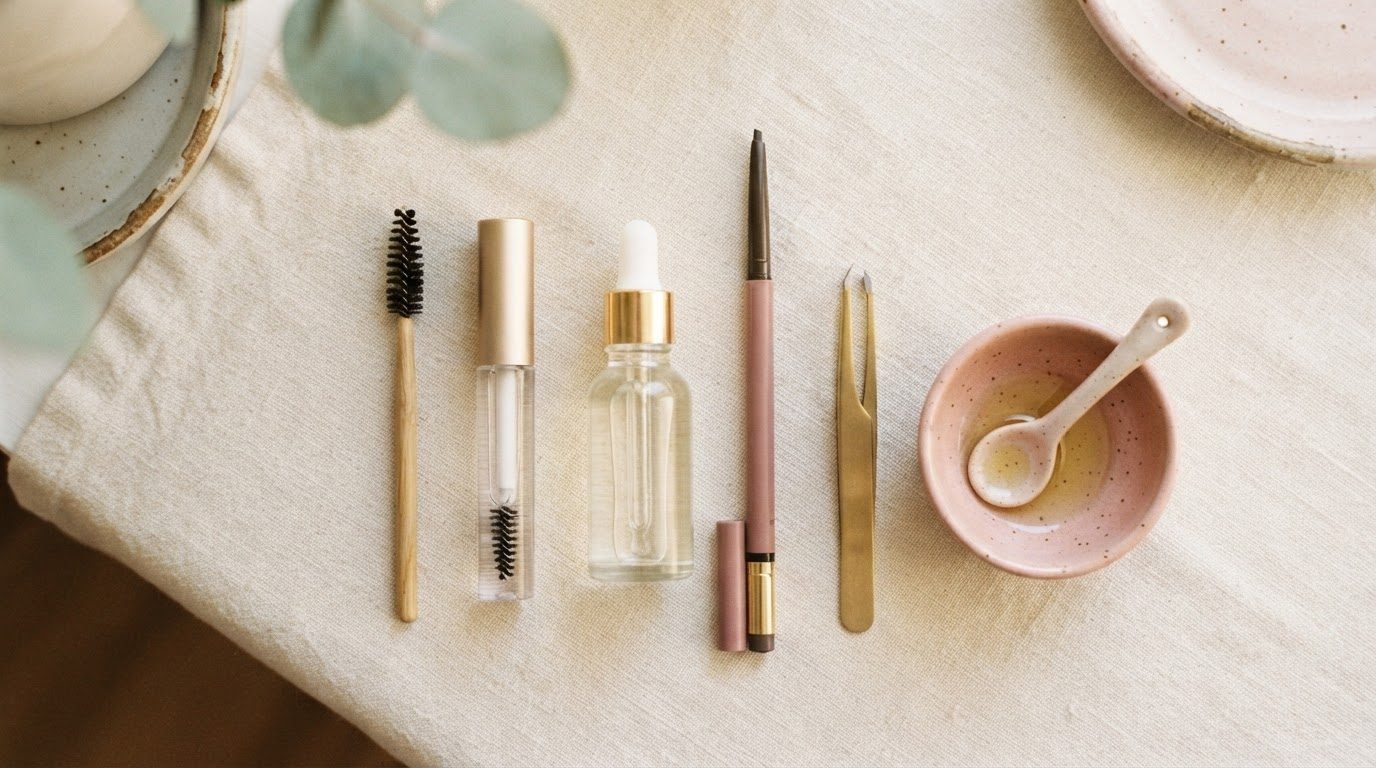
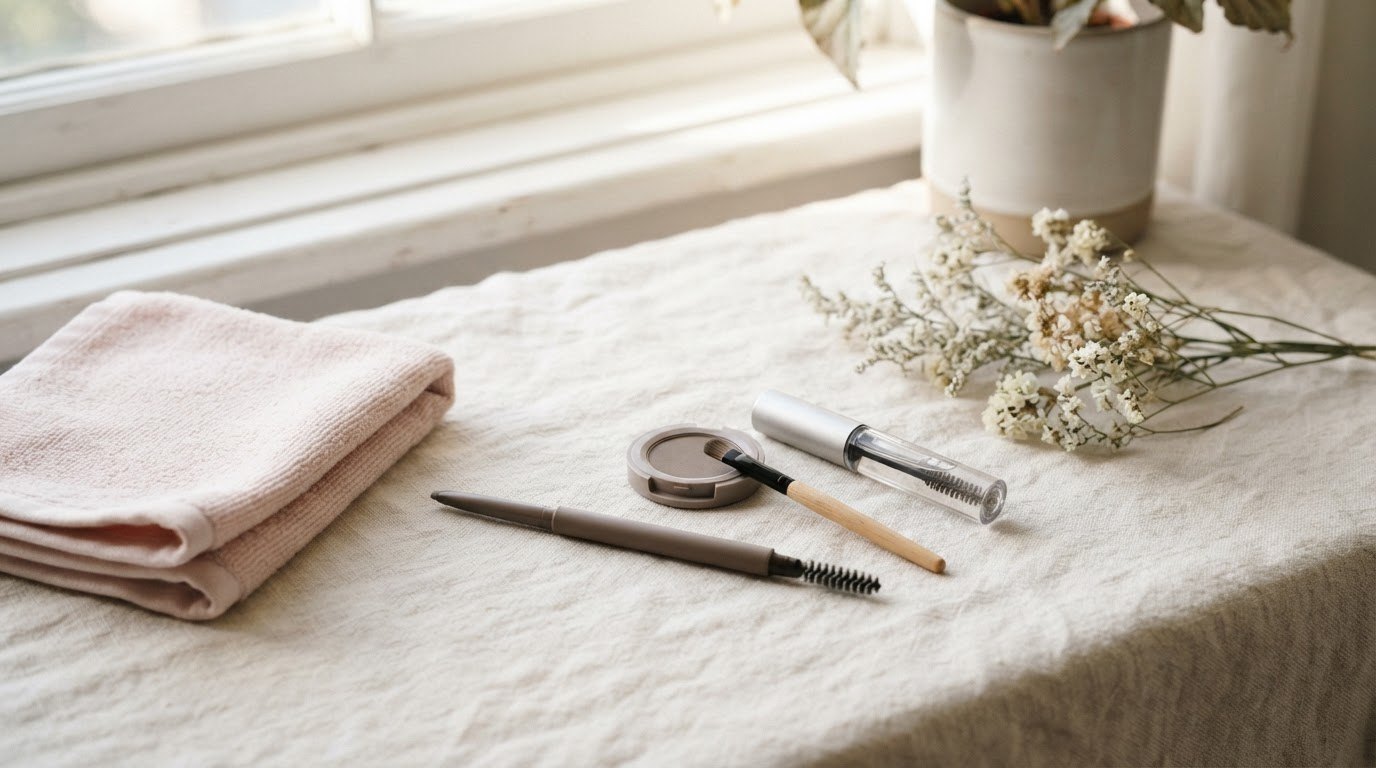
This is the step that changes everything. Pencil, powder, pomade and gel each do a different job, and the "best" brow product is simply the one that fits your brows. Here's a quick look at each one:
- Micro pencil: An ultra-thin tip that draws individual hair-like strokes. The most beginner-friendly option and the best for filling small gaps or drawing a tail that isn't there.
- Brow powder: Soft, diffused color applied with an angled brush. Perfect for adding fullness and evening out density without looking drawn on.
- Pomade: A creamy, long-wearing formula. Very precise and very pigmented, so it's lovely for defined looks but easy to overdo for natural brows.
- Tinted brow gel: A mascara-style wand that coats the hairs with color and holds them in place. Fastest option for full brows that only need a little color and grooming.
- Clear brow gel: No color, just hold. The finishing step for everyone, and the only step some people need.
If you only buy one thing, I'd choose an ultra-fine micro brow pencil with a spoolie on the other end. Look for a tip around 1.5 mm or thinner, a slightly waxy texture that doesn't skip on skin, and a shade with a soft, slightly cool or neutral undertone (warm, red-leaning browns are the ones that tend to look orange by mid-afternoon).
Product-by-Brow-Type Table
Here's the shortcut. Find your brow type in the first column and you'll see which products to reach for, what to skip and the one technique note that makes the biggest difference.
| Brow type | Best products | Skip or go easy on | Technique tip |
|---|---|---|---|
| Sparse or thin | Micro pencil + brow powder | Heavy pomade over the whole brow | Pencil strokes first to create "hair," then a light layer of powder to blend and fill |
| Thick or unruly | Clear or tinted brow gel | Pencil through the whole brow | Brush hairs up, then slightly outward; let gel do the shaping |
| Full with a few gaps | Micro pencil only, then clear gel | Powder all over (it flattens the natural texture) | Only fill the gaps, with three or four short strokes each |
| Light or blonde | Tinted gel in light taupe + soft powder | Dark brown or black shades | Go one to two shades darker than your brow hair, not darker than that |
| Gray or graying | Tinted gel + micro pencil in soft taupe or gray-brown | Warm, reddish browns | Coat the gray hairs with tinted gel first, then pencil only where hair is missing |
If you're between two types (very common), start with the lighter routine. You can always add a second product, but it's much harder to take a heavy brow back down to soft.
Step 3: Brush and Trim Before You Fill
Before any product touches your brows, give them a quick brush. This is the step most people skip, and it's the one that shows you where the real gaps are.
- Brush the hairs up and slightly out with a clean spoolie. Start at the front and work toward the tail.
- Look for the true gaps. Once the hairs are lifted, you'll see exactly where skin shows through. Those are the only spots that need pencil.
- Trim only what sticks out above the top line. With the hairs brushed up, snip just the very tips that extend well beyond the natural shape. Small brow scissors, a tiny bit at a time.
- Brush them back into place. Then step back from the mirror and look at both brows together before deciding anything else.
A small pack of spoolie brushes costs very little, and having a clean one in every makeup bag means you'll actually use it. Look for dense, short bristles and a slim head that fits close to the brow.
One honest admission: tweezing is where I went wrong for years. Overplucking happens slowly, a hair here and a hair there. Now I only tweeze stray hairs clearly below the brow shape, in good daylight, and never right before an event.
Step 4: Fill With Hair-Like Strokes
This is where natural brows are made. The goal is to imitate the direction and length of your real hairs, so the product reads as hair and not as a line.
Start in the Middle, Not the Front
Begin at the arch area, where brows are naturally fullest, and use short, feathery strokes in the direction your hair grows. In the middle of the brow, hairs usually grow slightly up and outward. Keep your pencil sharp and your pressure light – think of tapping and flicking rather than drawing.
Define the Tail
Next, work outward toward the tail. Here hairs grow more horizontally, so your strokes can flatten out. This is the one area where you can be a little more precise: a clean bottom line on the tail (from the arch to the end) lifts the whole eye area.
Go Gentle at the Front
Leave the front for last and use whatever product is left on your pencil, with almost no pressure. Draw a few upward strokes only, following the vertical growth of the front hairs. Never outline the front with a solid edge. If you feel it looks too dark, brush through it with your spoolie straight away.
Add Powder if You Need Fullness
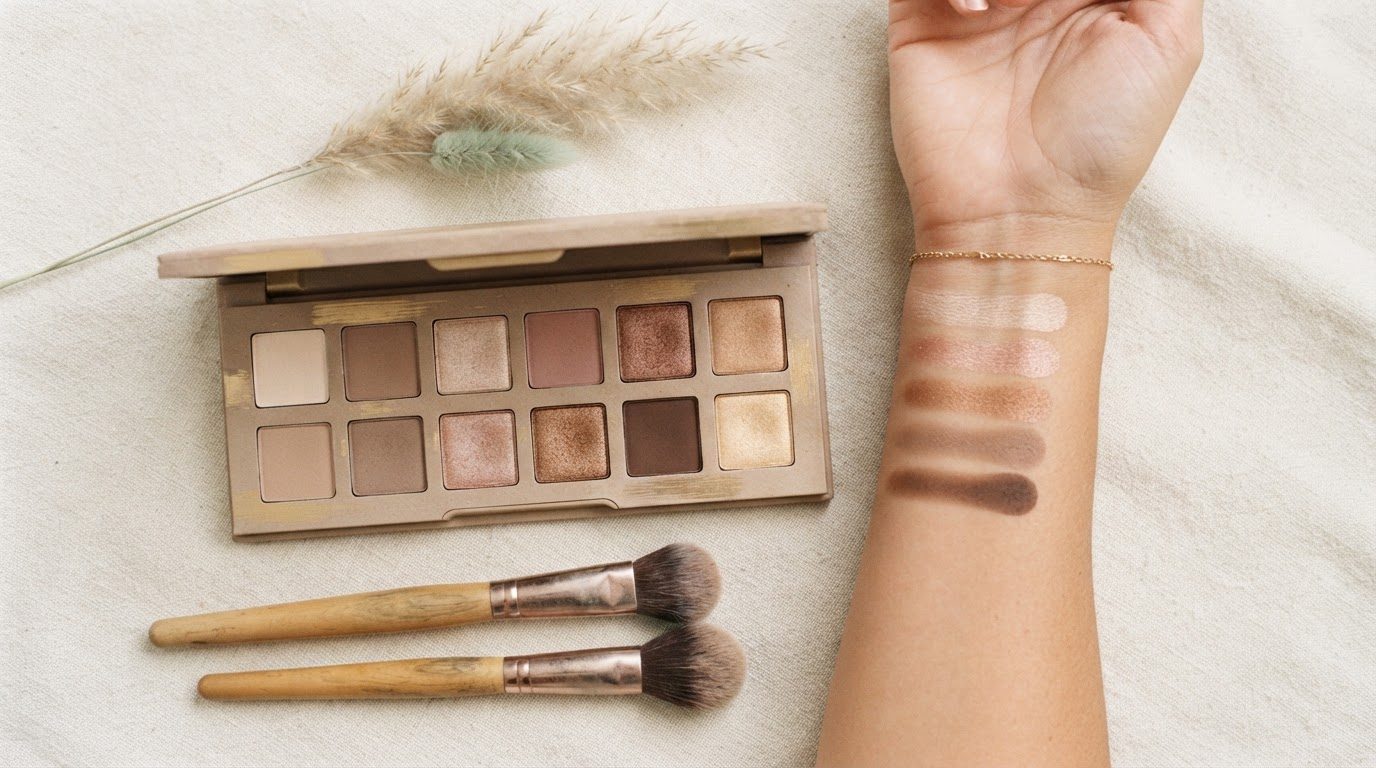
If your brows are sparse, pick up a tiny amount of powder on an angled brush, tap off the excess, and press it lightly through the middle and tail. A good brow powder duo with an angled brush lets you mix two shades: the lighter one at the front, the deeper one toward the tail. Look for soft, buildable powders in taupe or ash-brown tones and a stiff, thin angled brush.
A good rule: you should be able to stop at any moment and the brows still look finished. If at any point they look "done," they're done.
Step 5: Set Your Brows So They Stay All Day
Setting is what turns filled brows into fluffy, polished ones that look the same at 5 p.m. as they did at 8 a.m. It also blends any pencil strokes into the hair, which softens the whole look.
- Wipe excess gel off the wand. Too much product makes hairs clump and look wet. Wipe the wand once on the rim of the tube.
- Brush upward at the front. Short vertical strokes through the first third of the brow give that soft, feathery look.
- Brush up and out through the middle, then smooth the tail outward and slightly down to follow its natural direction.
- Press the hairs into place. Use the side of the wand or your fingertip to gently press the lifted hairs so they hold the shape while the gel dries.
- Let it dry for 30 seconds before you touch your face or move on to eye makeup.
A clear brow gel with a strong but flexible hold works for every brow type. Look for a formula that dries without flaking and a small wand that reaches the front hairs without painting your skin.
If your brows are full but light, or you're covering a few gray hairs, a tinted brow gel in a soft taupe can replace both pencil and clear gel. Choose a shade with a cool, ashy undertone and apply it in two light coats rather than one heavy one.
The 5-Minute Natural Brow Routine Card
This is the whole routine on one card. Screenshot it, keep it on your phone, and follow it a few mornings in a row until your hand remembers it on its own.
| Time | Step | What to do |
|---|---|---|
| 0:00–0:30 | Brush | Spoolie through the brows, up and out, to show the real gaps |
| 0:30–1:00 | Map | Check the 3 points: start, arch, end (tiny dots only if you need them) |
| 1:00–3:00 | Fill | Micro pencil hair strokes: middle, then tail, then a few soft strokes at the front |
| 3:00–3:30 | Soften | Spoolie through again to blur any strokes that look too drawn |
| 3:30–4:30 | Set | Clear or tinted gel, upward at the front, outward through the tail, press into place |
| 4:30–5:00 | Check | Step back, look at both brows together in daylight, adjust only if something stands out |
On rushed mornings, skip straight to brush plus gel. It takes one minute, and groomed brows with no fill still look more polished than you'd expect.
Common Natural Brow Mistakes (and Easy Fixes)
Most brow problems come from the same handful of habits. The good news: each one has a quick fix.
1. The Front Is Too Dark or Too Square
Fix: Brush a clean spoolie through the front only, then tap a little concealer or a fingertip of setting powder over the inner edge to soften it. Next time, start filling at the arch and save the front for last.
2. The Shade Is Too Warm
Brow products with red undertones often oxidize to orange during the day. Fix: switch to a taupe, ash or gray-brown shade. If you're unsure, pick the cooler of two options.
3. The Brows Don't Match
Fix: they don't have to. Brows are sisters, not twins. Focus on matching the height of the start and the tail, and let the rest be a little different. Work on both brows at the same time, switching every few strokes, instead of finishing one completely and then trying to copy it.
4. Outlining Before Filling
Drawing a full outline and coloring it in is the fastest route to "drawn-on" brows. Fix: only the bottom line of the tail ever gets a defined edge. Everything else is strokes.
5. Skipping the Gel
Fix: even if you skip everything else, use gel. It's the step that makes brows look groomed and fluffy, and it holds your filling in place.
6. Doing Brows Last
Brows frame the whole face, so they change how much eye makeup and blush you need. Fix: do them right after skin. If you follow my clean girl makeup routine, brows go straight after concealer, and you'll often find you need less of everything else.
How Brows Fit Into Your Everyday Makeup
Natural brows work with any makeup style, but they matter most when the rest of your face is soft. A few pairings that always look balanced:
- Bare-skin days: Brushed-up brows with clear gel, a swipe of mascara and lip balm. Brows do most of the work here.
- Everyday eye makeup: Filled brows plus a neutral wash of shadow. If you're still learning eye looks, my eye makeup for beginners guide walks through five easy ones, and brows are the first step of each.
- Soft evening makeup: The same natural brow, just with a slightly more defined tail. Resist the urge to make brows darker for evening – a crisper tail is enough.
- Sculpted makeup: If you contour, keep brows soft and feathered so the face doesn't look too "drawn." My guide to contour for beginners has the placement basics.
It also helps to clean your brow tools regularly. Spoolies and angled brushes pick up oil and old product quickly, and a clean brush gives softer, more even color. A weekly rinse with gentle soap and warm water is plenty.
Caring for Your Brows Between Makeup Days
The best natural brows start with healthy hair underneath. A few gentle habits help:
- Remove brow products every night. Gel and pomade can build up on the hairs. Use your usual cleanser or a little micellar water on a cotton pad, pressing and sweeping in the direction of hair growth.
- Brush them in the morning even if you skip makeup. It trains the hairs to grow in a neater direction over time.
- Give tweezers a break. If you want to grow your brows out, put tweezers away for a full eight to twelve weeks. It looks messy in the middle stage, but hair needs that time to come back in.
- Be gentle with skincare around the brows. Strong exfoliating acids and retinoids can irritate the skin under the brows. Apply them around, not through, your brow area.
A small safety note: if you try brow tint, lamination or any new brow product, patch test first, and keep strong products away from the eye area. If you notice sudden or patchy brow hair loss, it's worth mentioning to a doctor or dermatologist, since it can have causes that makeup can't fix.
Final Thoughts
Natural brows aren't about perfection. They're about making your own brows look a little more like themselves – brushed, filled where they need it, and set so you can forget about them for the rest of the day.
Start with the lightest routine that works for your brow type, give your hand a week to learn the strokes, and keep the front soft. Five minutes, a sharp pencil and a good gel are honestly all it takes for brows that frame your face beautifully.