The first time I wore blush on purpose, I did exactly what I'd seen in a magazine as a teenager: smiled as wide as I could, swirled pink onto the very round part of my cheeks and walked out of the house. Then I relaxed my face. The color slid down with my cheeks and sat in two neat circles just above my smile lines, looking less "healthy flush" and more "rag doll." I didn't touch blush again for a long time.
What I eventually learned is that blush isn't one-placement-fits-all. Where it sits on your face changes everything: it can lift, soften, widen, shorten, warm or balance your features. The "smile and swirl on the apples" rule works beautifully for some faces and not at all for others. Old Hollywood makeup artists knew this well, which is why the screen stars I love always looked so sculpted and fresh at the same time.
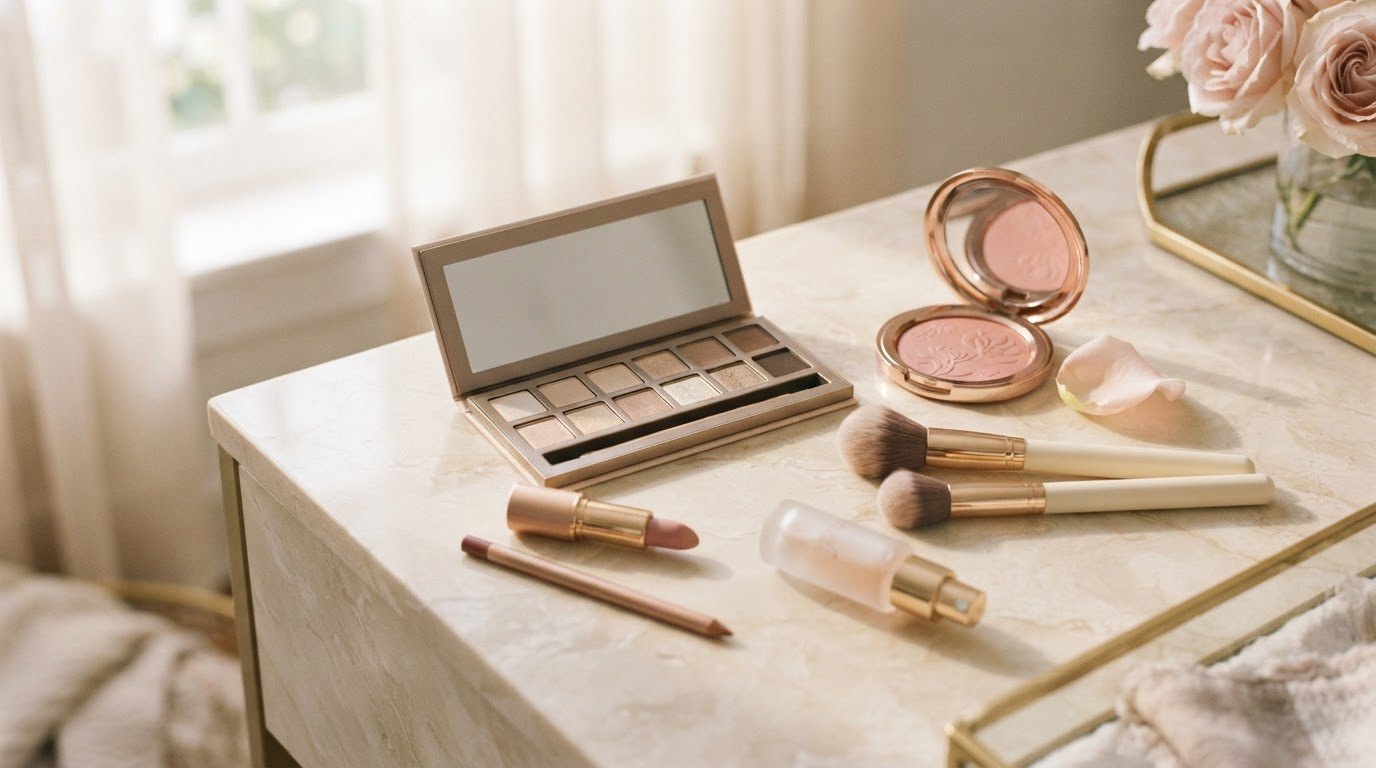
So this is my simple blush placement guide. You'll find a placement map for five face shapes (round, oval, heart, square and long), a quick way to work out your own shape, a cream vs powder vs liquid chart so you know which texture suits your skin, and the most common mistakes with easy fixes. Everything works with widely loved, easy-to-find blushes.
No complicated contouring and no special skills. Just a little understanding of where the color goes and why.
The 3 Blush Landmarks You Need To Know
Every placement in this guide is built from three spots on your face. Find them once in good daylight and the rest is easy:
- The apples of your cheeks. The round, fleshy part that pops up when you smile. Find it with a gentle smile, then relax your face and notice where it settles (usually a little lower and further out).
- Your cheekbone. Press your fingertips along your cheek from beside your nose toward your ear. The bony ridge you feel is your cheekbone. Blush placed on top of it lifts; blush placed below it sculpts.
- Your temple. The soft area beside the outer end of your brow, just inside the hairline. Blending blush up toward the temple makes the whole face look lifted.
A simple rule of thumb that works for almost everyone: keep blush no closer to your nose than the center of your eye, and no lower than the bottom of your nose. Stay inside that zone and it's very hard to go badly wrong.
How To Find Your Face Shape
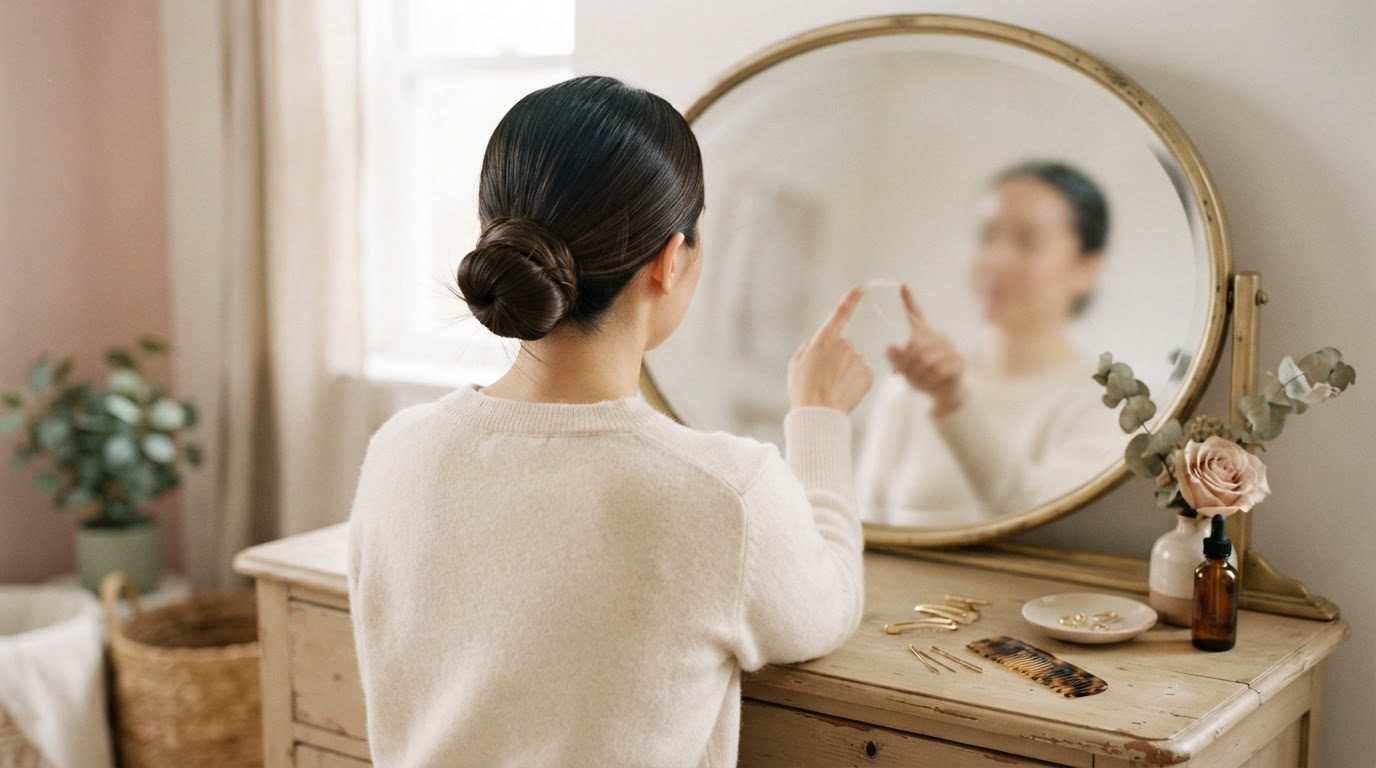
Pull your hair back, stand in front of a mirror in daylight and look at three things: the widest part of your face, the shape of your jawline and the overall length compared to the width.
- Round: width and length about the same, full cheeks, soft rounded jaw.
- Oval: a little longer than wide, cheekbones the widest part, gently rounded jaw.
- Heart: wider forehead and cheekbones, narrowing to a smaller, often pointed chin.
- Square: forehead, cheekbones and jaw all similar in width, with a strong, angular jaw.
- Long: noticeably longer than wide, with forehead, cheeks and jaw fairly similar in width.
Most faces are a mix, so don't overthink it. Choose the shape that sounds closest, try that placement, and adjust slightly by eye. Your face shape isn't a problem to fix, by the way. These placements simply work with your features instead of against them.
Blush Placement Map by Face Shape
Here's the whole guide in one table. Screenshot it and keep it next to your mirror the first few times you practice.
| Face shape | Where to place blush | Blend toward | What it does | Go easy on |
|---|---|---|---|---|
| Round | Just above the apples, angled along the cheekbone | Temples, in an upward diagonal | Adds lift and gentle definition | Circles on the center of the apples |
| Oval | On the apples, sweeping lightly back along the cheekbone | Toward the ears | Keeps natural balance, adds freshness | Very heavy color in one spot |
| Heart | On the apples and slightly below the cheekbone | Outward and very slightly down | Softens a wide upper face, balances a narrow chin | Blush high up near the temples |
| Square | On the apples in a soft, rounded shape | In small circles, then slightly up | Softens angles and adds warmth | Sharp, straight lines of color |
| Long | Across the outer cheeks in a horizontal band | Straight back toward the ears | Adds width and visually shortens | Diagonal lines up to the temples |
The pattern behind the table: upward diagonals lengthen and lift, horizontal placement widens and shortens, and rounded placement softens angles. Once you see that, you can adapt blush to any face, including your own unique mix.
Blush Placement for Each Face Shape, Explained
Round Face
Round faces already have lovely, youthful fullness, so the goal is gentle lift and a little structure. Smile, find your apples, then place the blush just above and slightly behind them rather than right on the center. Blend it up along the cheekbone in a diagonal line toward your temple.
Keep the color slightly more concentrated at the top of the cheekbone and softer as it moves toward your ear. If you also use bronzer, place it just under the cheekbone so the blush sits on top of it like a soft highlight of color.
Oval Face
Oval faces are already balanced, so you can wear almost any placement. The classic one is lovely: blush on the apples, blended back along the cheekbone toward your ears. It looks fresh, natural and healthy.
If you want variety, try a slightly higher, lifted placement for evenings and a softer apples-only placement for weekends. An oval face is the perfect canvas for experimenting.
Heart Face
With a heart-shaped face, the upper half is usually the widest part, so you want to bring a little attention toward the middle and lower cheeks. Place blush on the apples and just slightly below the cheekbone, blending outward and a touch downward.
Avoid sweeping blush high up to the temples, which can make the forehead look even wider. A soft, rounded flush in the center of the cheek is the most flattering option, and it gives a sweet, rosy look.
Square Face
Square faces have beautiful, strong angles, and blush can add softness and warmth. Keep the placement rounded: tap color onto the apples, then blend in small circles, lifting slightly at the outer edge. Rounded shapes balance a strong jaw nicely.
Skip sharp, straight lines of blush or contour along the cheekbone, which emphasize angles rather than soften them.
Long Face
Long faces look lovely with blush that creates a sense of width. Place it on the outer part of the cheeks in a horizontal band, from the apples straight back toward your ears, keeping it fairly level rather than angled up.
Avoid long diagonal sweeps up to the temples, which add length. If you want an extra touch, a very light dusting of blush across the bridge of the nose connects the cheeks and visually shortens the face.
One last check before you leave the house, whatever your face shape: step back from the mirror to arm's length and look in daylight. Can you see a clear patch of color with a visible edge? Blend more. Do your cheeks simply look warm, healthy and a little lifted? You're done. Bathroom lighting is often dim and yellow, so if you can, check near a window. Blush that looks perfect under a warm bulb can look much stronger outside.
4 Popular Blush Placement Styles
Beyond face shape, there are a few placement "styles" that each create a different mood. Choose by the look you want on the day:
- Classic apples. Color on the round part of the cheeks, softly blended. Sweet, youthful and very natural, especially lovely with a cream blush.
- Lifted. Color on the top of the cheekbone, blended up toward the temples. Fresh and slightly sculpted, and a favorite for soft glam makeup.
- Draped. A soft C shape from the cheekbone up and around to the temple, blended into the outer brow area. Elegant and very Old Hollywood, perfect for evenings.
- Sun-kissed. A light wash across the tops of both cheeks and over the bridge of the nose. Looks like you've spent a lovely afternoon outdoors.
On everyday mornings I'd lean toward classic or sun-kissed, because both forgive a quick, imperfect application. My everyday makeup routine shows how blush fits into a seven-minute look.
Cream vs Powder vs Liquid Blush
Placement matters, but so does texture. The right formula for your skin makes blush blend more easily and last longer. Here's how the three main types compare:
| Cream | Powder | Liquid | |
|---|---|---|---|
| Finish | Dewy, skin-like | Soft matte or satin | Sheer, natural stain |
| Best for | Dry, normal and combination skin | Oily and combination skin | All skin types, especially normal to dry |
| Apply with | Fingertips or a damp sponge | Angled or fluffy brush | Fingertips or a damp sponge |
| Goes on | Before powder | After powder | Before powder |
| Lasts | Medium, longer when set with a little powder | Long on oily skin | Very long once it sets |
| Beginner-friendly | Very, easy to blend | Very, easy to build slowly | Less, it sets fast and is pigmented |
| Watch out for | Sliding on very oily skin | Clinging to dry patches | Using too much (start with one dot) |
With my combination skin and shiny T-zone, I'd reach for a cream blush most days, because the cheeks are the drier part of my face, and keep powder blush for long, warm days. If you're working out what your own skin needs, my skincare routine for combination skin is a good place to start, since blush always looks better on well-prepped skin.
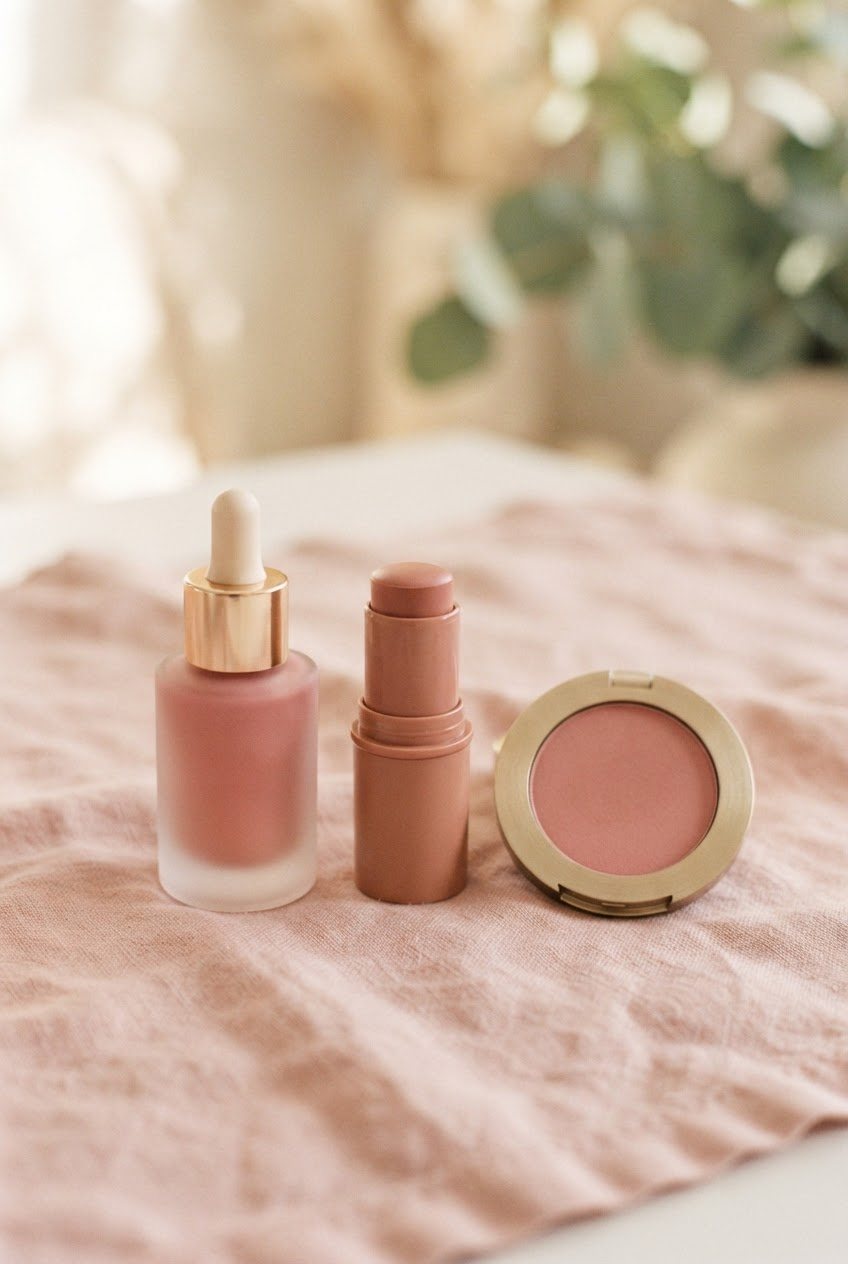
How To Apply Each Blush Texture
Cream Blush
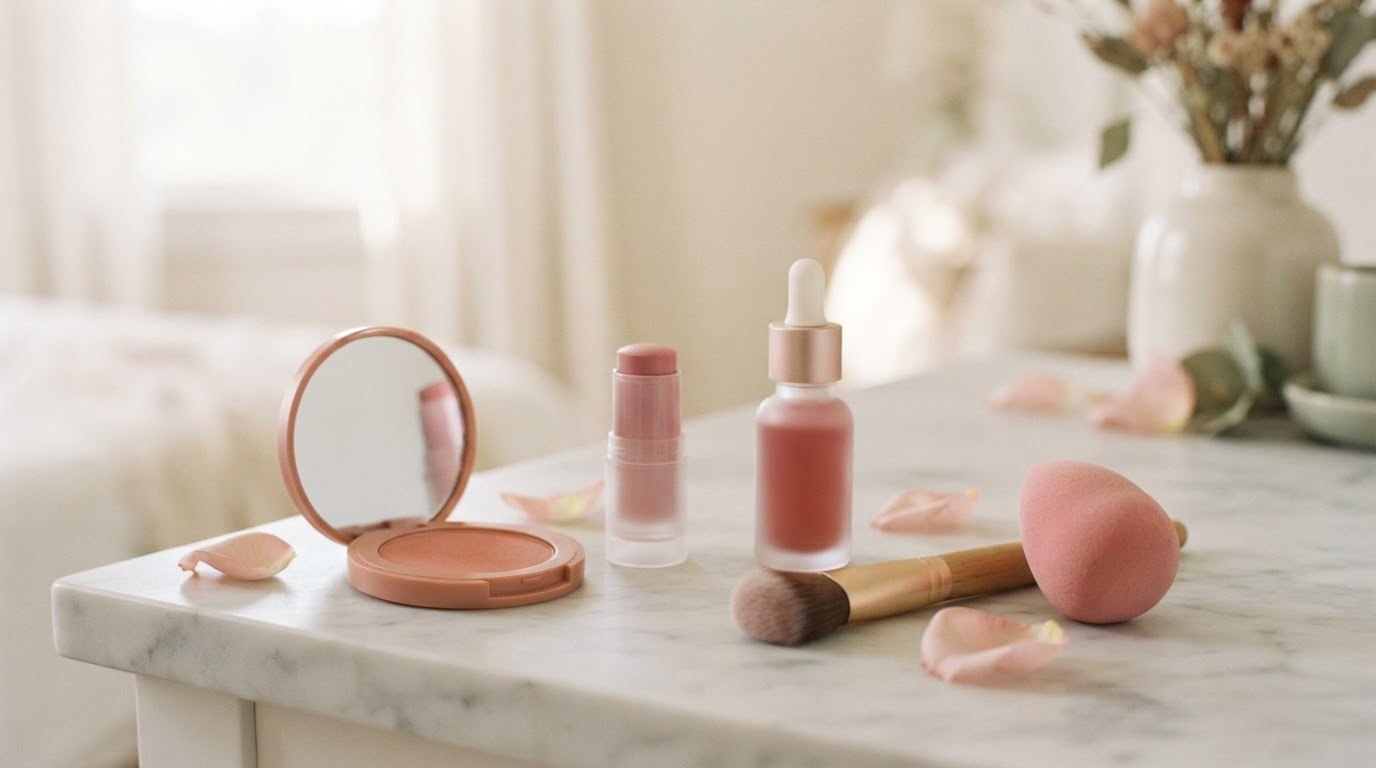
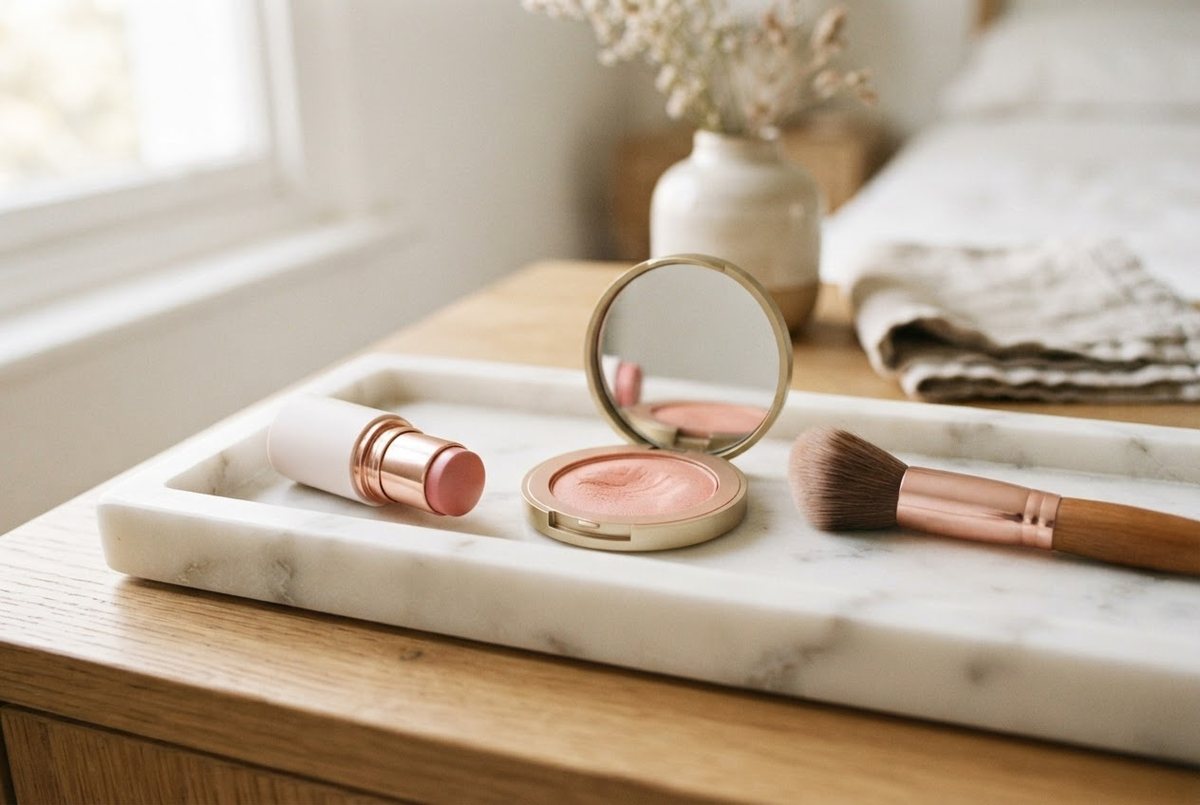
A pink cream blush stick is the easiest place to start. Dab three small dots along your chosen placement, then tap and blend with two fingertips, moving in the direction from the table. The warmth of your fingers melts it into the skin.
Apply cream blush after foundation and concealer but before any powder. Powder first, then cream, tends to look patchy.
Powder Blush
Swirl an angled blush brush lightly in a peach powder blush, tap off the excess on the back of your hand and place it on the fullest point of your placement. Blend outward in small back-and-forth strokes or circles, building one thin layer at a time.
The angled shape fits naturally along the cheekbone, which makes lifted and round-face placements especially easy.
Liquid Blush
A rose liquid blush is beautifully natural but quite pigmented, so start with one tiny dot per cheek, less than you think. Tap it out immediately with your fingertips or a pink blending sponge, working quickly because it sets within a minute.
Once it's set, liquid blush lasts for hours and survives warm days well. If you overdo it, press a little foundation on top with the sponge to soften it.
How Blush Works With Bronzer and Highlighter
If you wear more than one cheek product, the order and position matter as much as the blush itself. Think of it as three layers stacked from bottom to top:
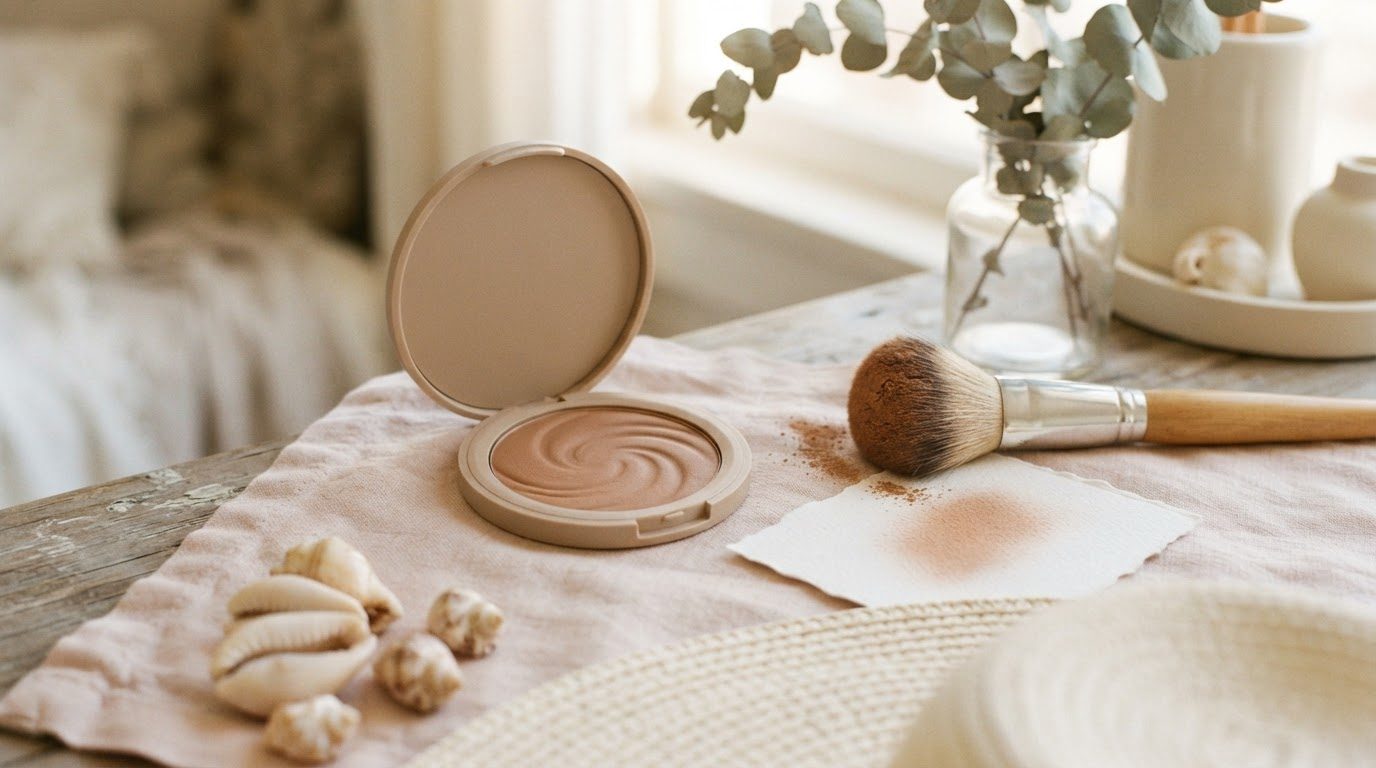
- Bronzer sits lowest, just under the cheekbone and around the edges of the face, adding warmth and gentle shape.
- Blush sits in the middle, on the apples or the top of the cheekbone, depending on your face shape, slightly overlapping the top edge of the bronzer so there's no gap.
- Highlighter sits highest, on the very top of the cheekbone where light naturally hits, just above the blush.
Blend the line where blush meets bronzer with a clean brush so they melt into each other. If bronzer tends to look muddy on you, my post on how to apply bronzer without looking dirty covers shade and placement in detail.
For highlighter, a champagne highlighter stick is the most forgiving choice for beginners. Tap a small amount along the top of the cheekbone with your fingertip, just above your blush, and stop before it reaches the hairline. It catches the light and makes blush look even fresher, without glitter.
How To Make Your Blush Last All Day
Blush is often the first thing to fade, especially on combination and oily skin. A few small habits keep it in place from morning until evening:
- Layer cream under powder. Apply a thin layer of cream blush, set it lightly with translucent powder, then tap a little powder blush in a similar shade on top. This "sandwich" can last through a long workday.
- Start with prepped skin. Blush slides on skin that's still damp from moisturizer, so give skincare a couple of minutes to settle first.
- Keep your hands off your face. Easier said than done, but resting your cheek on your hand wipes blush away faster than anything.
- Refresh, don't restart. A cream blush stick in your bag lets you add a quick tap in the afternoon without redoing anything.
How To Choose Your Blush Shade
A quick trick: pinch your cheeks gently and look at the color that appears. A blush close to that natural flush will always look believable. Beyond that, these guidelines are a good starting point:
- Fair skin: soft pink, light peach, baby rose.
- Medium skin: rose, warm apricot, soft coral.
- Olive skin: warm peach, terracotta, muted rose.
- Deep skin: berry, brick, rich coral, deep plum.
For an easy, finished look, choose a blush in the same color family as your lipstick. My guide to the best lipstick shades for your skin tone uses the same undertone logic, so the two pair naturally.
6 Blush Mistakes (and Easy Fixes)
- Placing blush while smiling, then relaxing. Find your apples with a smile, but blend with a relaxed face so the color sits where it will actually stay.
- Too close to the nose. Keep blush outside the line from the center of your eye downward, or it can look like redness rather than a flush.
- Too low on the cheek. Blush below the bottom of your nose drags the face down. Lift it up toward the cheekbone.
- Hard edges. Blend the outer edges with a clean brush or a bit of foundation on a sponge until you can't tell where blush starts and stops.
- Too much product at once. Build thin layers, stepping back to arm's length between each. Adding is easy; taking away usually means redoing your base.
- Wrong order with textures. Creams and liquids go before powder, powders after. Mixing the order is the most common cause of patchy blush.
A Gentle Note for Sensitive Skin
Blush sits on one of the most sensitive areas of the face, especially if your cheeks flush easily like mine. Patch test any new blush along your jaw for a day or two, wash brushes and sponges once a week, and replace cream and liquid formulas when they change smell or texture. If a product stings, itches or leaves redness that lasts, stop using it, and check with a doctor or pharmacist if the irritation doesn't calm down.
Final Thoughts
Blush is one of the smallest steps in any makeup routine, and one of the most powerful. A few centimeters higher, lower or further back can lift, soften or balance your whole face, and once you know your placement, it becomes a ten-second habit you'll never have to think about again.
Start with the map for your face shape, choose the texture your skin likes best and let yourself play a little. Healthy, flattering color, in just the right place, is always a lovely thing to wear.