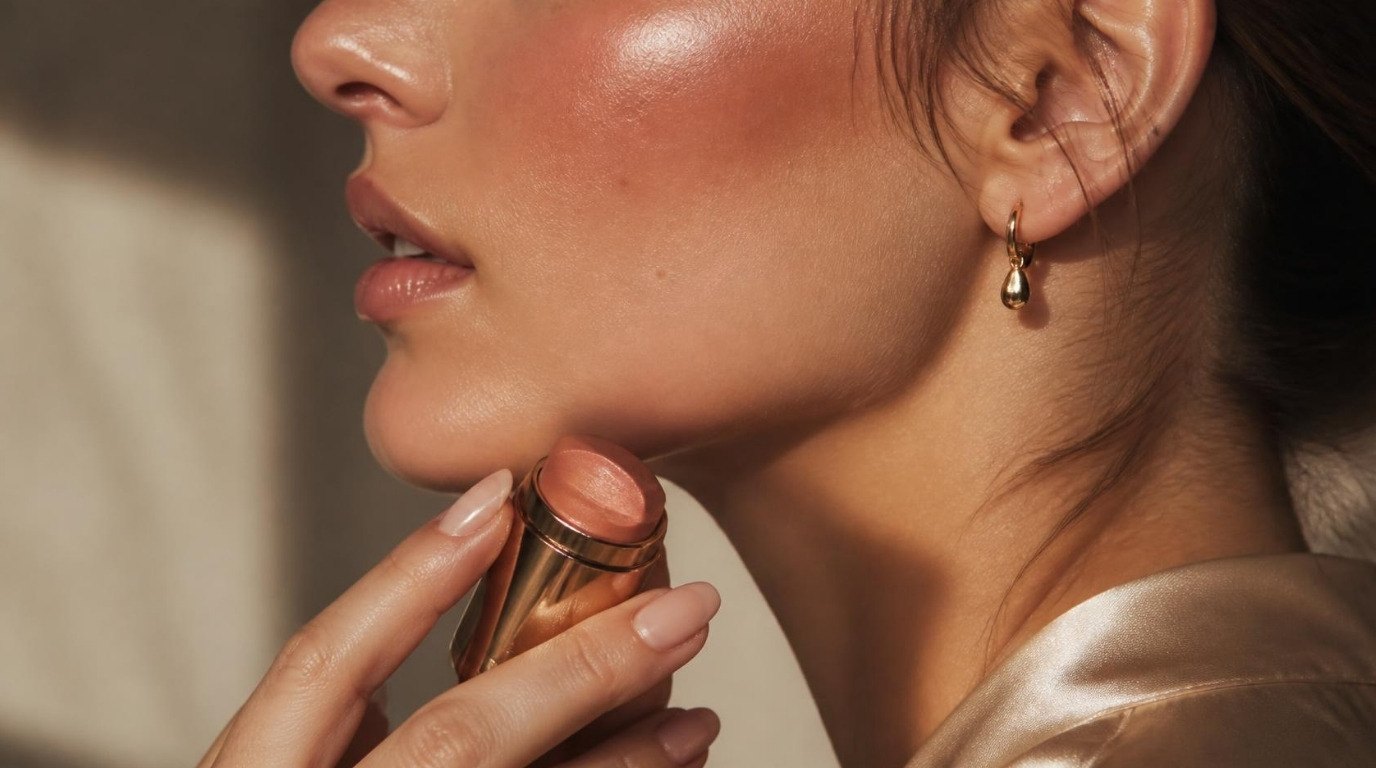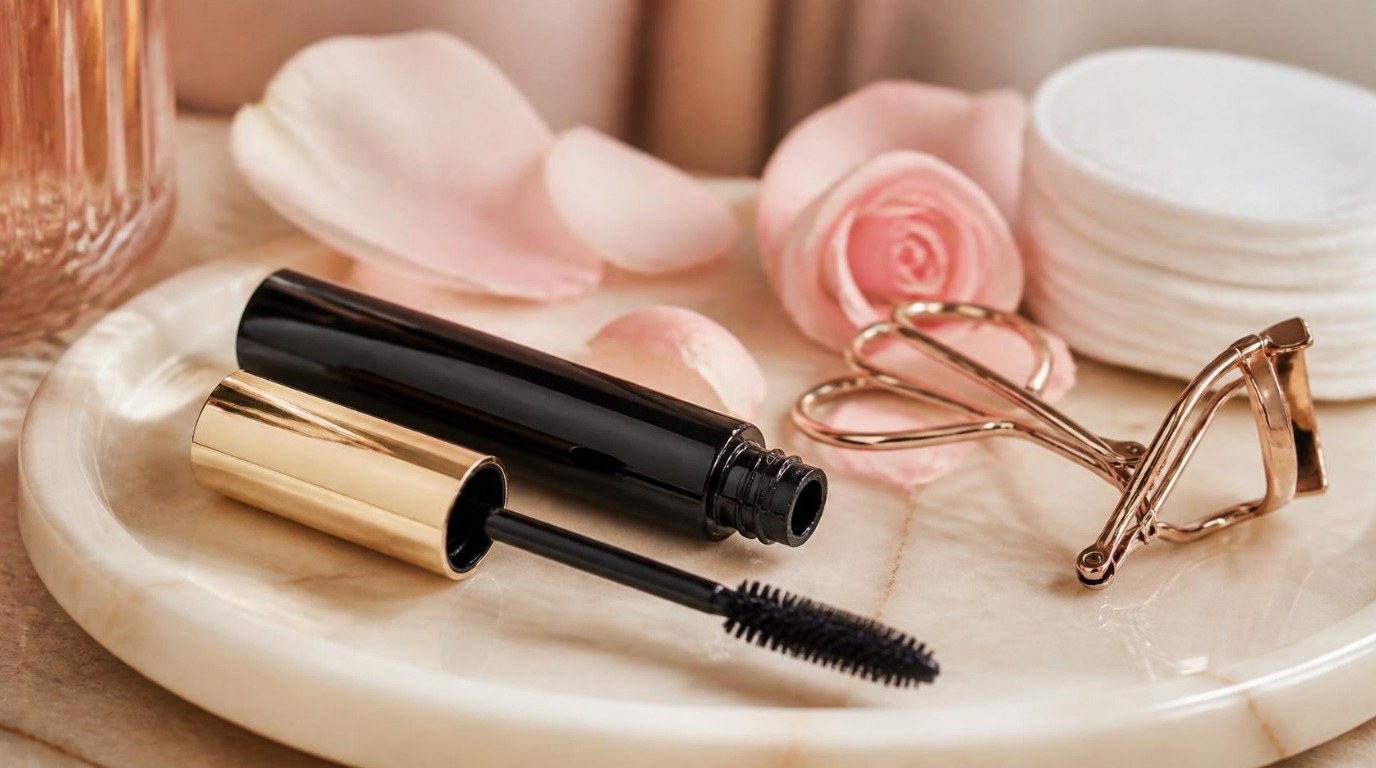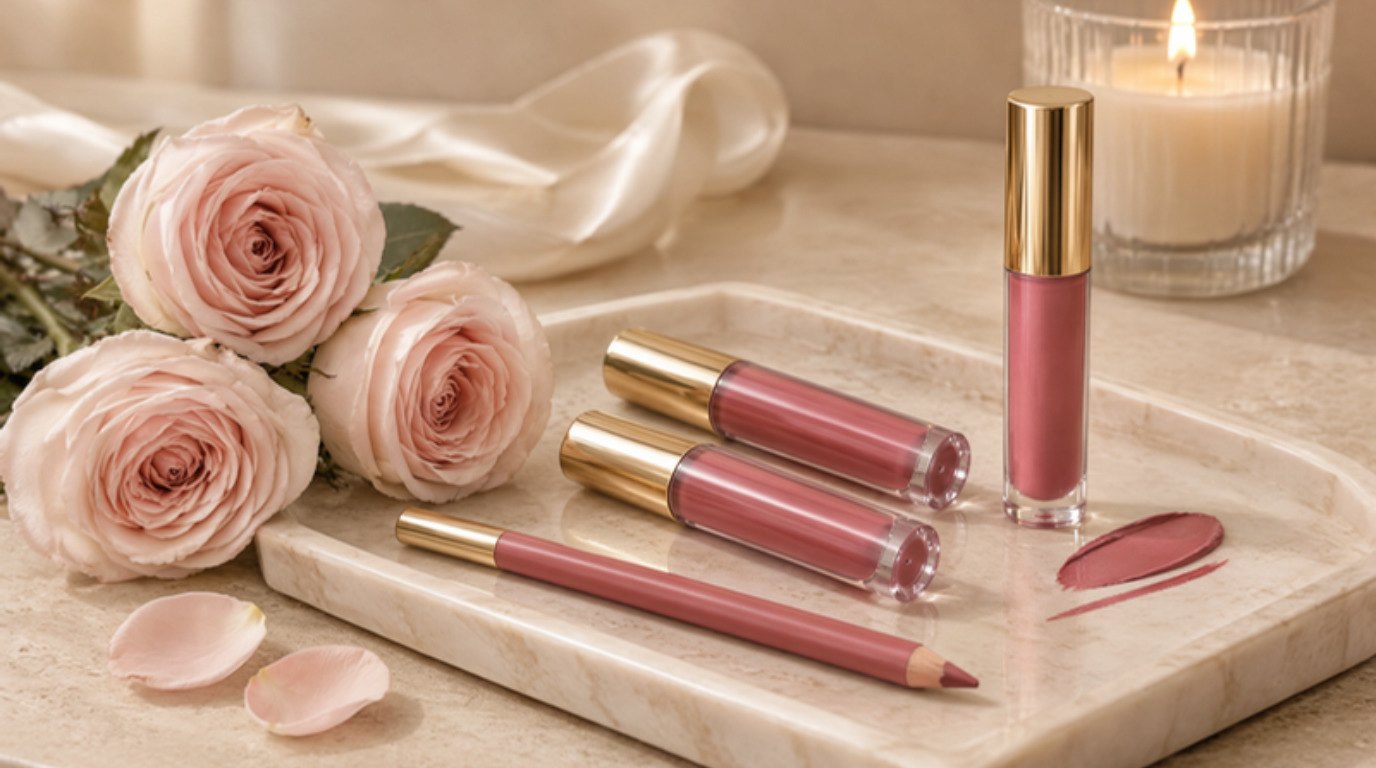
A truly kiss-proof lipstick look isn't about finding one magic tube. It comes from three small things working together: a formula that actually sets, lips that are smooth but not raw, and thin layers instead of one thick coat. Get those right and your color stays put through dinner, a toast, a coffee and yes, a kiss goodnight.
Most "my lipstick never lasts" problems come from the wrong formula for the job (a creamy bullet will always move, no matter what you put under it) or from too much product sitting on top of the lips with nothing to grip. It took me a while to accept that the long-wear trick is mostly technique. The product only does half the work.
This guide walks you through what makes a formula kiss-proof, a comparison table of formulas, gentle prep, the liner and layering method, keeping dry lips comfortable, shade tips for every skin tone, quick touch-ups during the evening and how to take it all off at night without tugging. There's also a short list of the five mistakes that quietly undo all your work.
Whether you're getting ready for Valentine's Day, an anniversary dinner or simply a night out where you don't want to think about your lips once, let's make it easy.
What Actually Makes a Lipstick Kiss-Proof
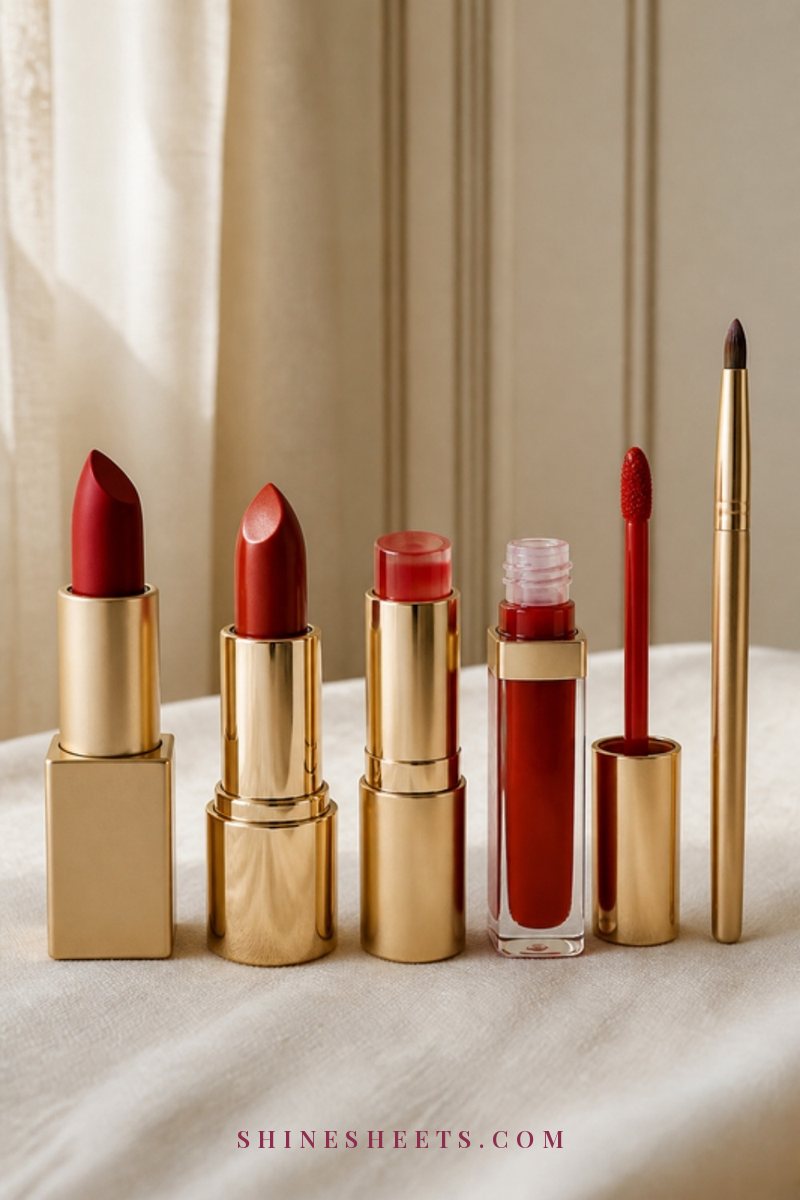
"Kiss-proof" isn't an official category, so it helps to know what you're looking for on the shelf. A lip formula stays put when it sets: the liquid part evaporates and leaves a thin film of pigment that grips the lips instead of sliding on top of them. Anything that stays creamy, slippery or shiny will transfer, because there's still something wet there to move.
In plain terms, here's how the main formulas behave:
- Liquid matte lipsticks go on wet and dry down in about a minute to a flat, soft finish. These are the closest thing to kiss-proof most of us will find.
- Lip stains and tints soak into the top layer of the lips. They're sheer and natural, and once dry they barely transfer, though they fade gently from the center.
- Long-wear "two-step" formulas pair a color coat with a separate glossy top coat. The color sets; the top coat adds comfort but can leave a little shine on a glass.
- Satin and creamy bullets are comfortable and pretty, but they never fully set, so they transfer.
- Glosses and lip oils are made to move. Lovely on their own, not for a kiss-proof plan.
When you shop, look for words like "transfer-resistant", "long-wear", "matte" or "stain" and, ideally, a formula that feels light rather than thick. A pick for most beginners is a rose pink liquid matte lipstick with a doe-foot applicator, because a soft rose flatters a wide range of skin tones and is far more forgiving than a bright red if your line isn't perfect.
Kiss-Proof Lipstick Formulas Compared
Here's the quick comparison I wish I'd had years ago. Screenshot it before your next makeup shopping trip. Wear times are rough guides; your own will depend on what you eat, how dry your lips are and how thickly you apply.
| Formula type | How long it usually lasts | Transfer level | Best for lip type | How to remove |
|---|---|---|---|---|
| Liquid matte | 5–8 hours, longer with layering | Very low once set | Normal and oily lips; dry lips with good prep | Oil-based remover, held for 20–30 seconds |
| Lip stain or tint | 4–6 hours, fades softly from the center | Very low | Dry and textured lips, lovers of a natural look | Oil-based remover or cleansing balm; may leave a faint tint until morning |
| Two-step long-wear | 6–10 hours | Low (top coat may leave light shine) | Dry lips that need comfort on top | Oil-based remover, then a gentle cleanser |
| Satin or creamy bullet | 2–3 hours | Medium to high | Very dry lips on low-pressure evenings | Any makeup remover or cleanser |
| Gloss or lip oil | 1–2 hours | High | Adding shine to the center of a set color (optional) | A tissue or your usual cleanser |
If you want the comfort of a cream with better staying power, the layering method further down makes a big difference. It won't turn a creamy bullet into a liquid matte, though, and it's kinder to yourself to choose a setting formula for nights when you really don't want to think about your lips.
Step 1: Prep Your Lips Without Over-Scrubbing
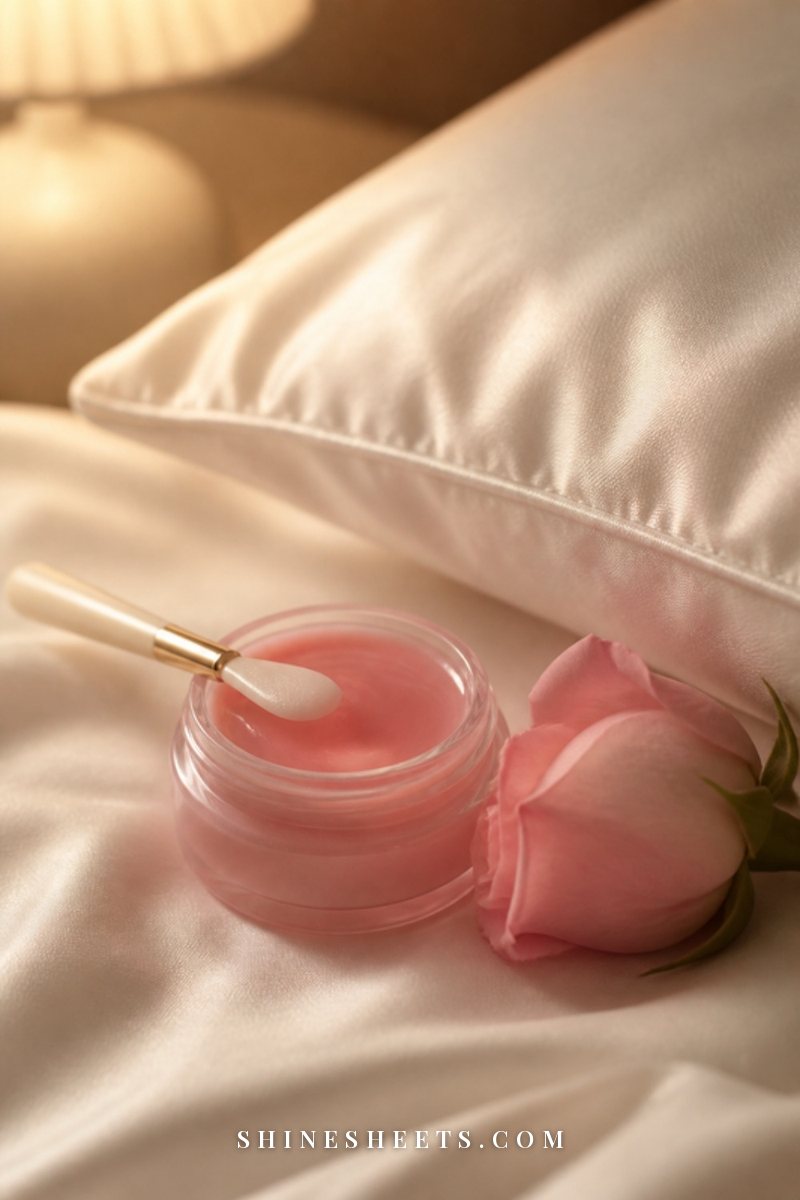
Long-wear formulas cling to every dry flake, so smooth lips matter. But here's where many of us go wrong: we scrub hard right before applying, and the color then grips raw, slightly irritated skin that cracks by dessert. Gentle wins.
- The night before: apply a thick layer of balm before bed. Most of your "exfoliation" will happen overnight as the flakes soften.
- About 30 minutes before makeup: press a warm, damp washcloth on your lips for 10 seconds, then sweep it gently side to side two or three times. That's enough. No sugar scrubs, no toothbrush scrubbing.
- Right after: smooth on a thin layer of a nourishing lip balm and let it soak in while you do your skin and eyes. Look for shea butter, ceramides or squalane, and skip balms with strong menthol or cinnamon if your lips are sensitive.
- Just before color: blot firmly with a tissue. You want lips that feel soft but not slippery. If you can see shine, blot again.
This last blot is the step people skip most, and it's the reason a long-wear formula slides around instead of setting. For a deeper routine to keep your lips smooth all season, my winter lip care routine has the daily habits that make prep almost unnecessary.
Step 2: Line the Whole Lip, Not Just the Edges
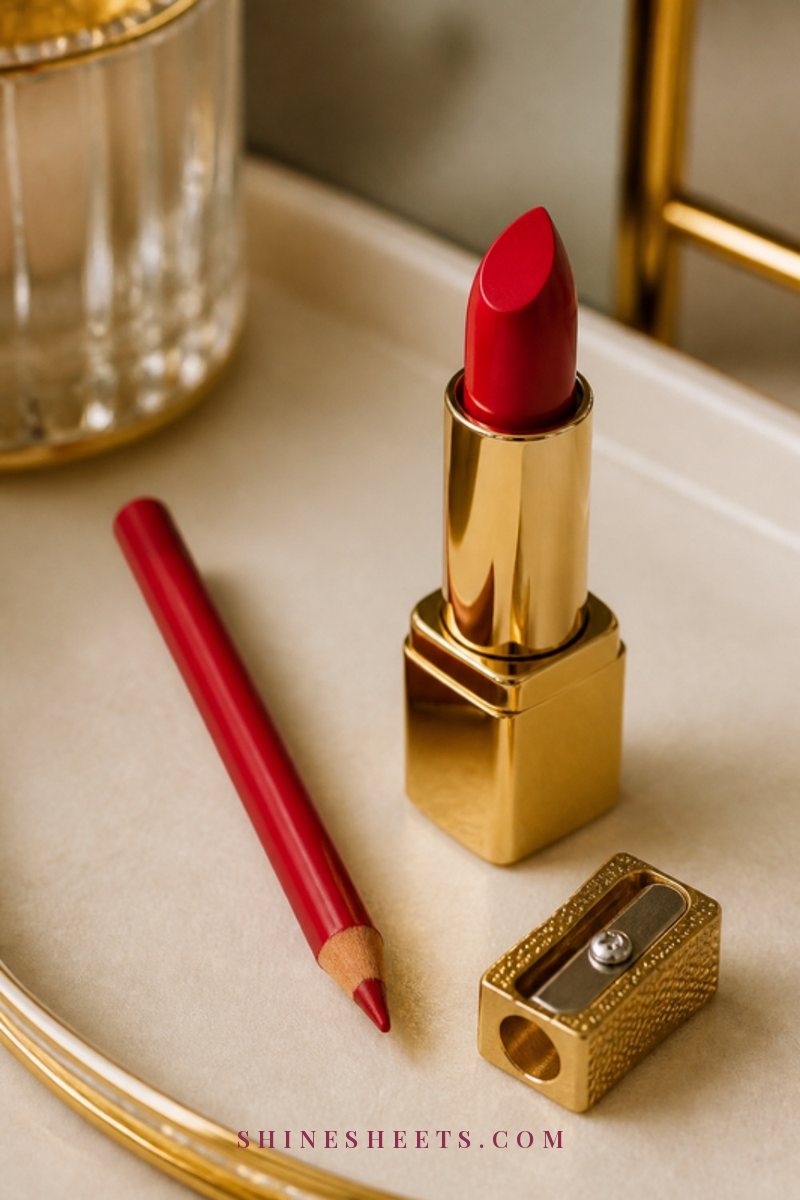
Lip liner is the quiet hero of lasting color. When you outline and fill in the whole lip, you create a slightly drier, grippy base that holds pigment. When the top layer starts to wear, what's left behind is the same shade, so it fades evenly instead of leaving that dreaded ring around the edges.
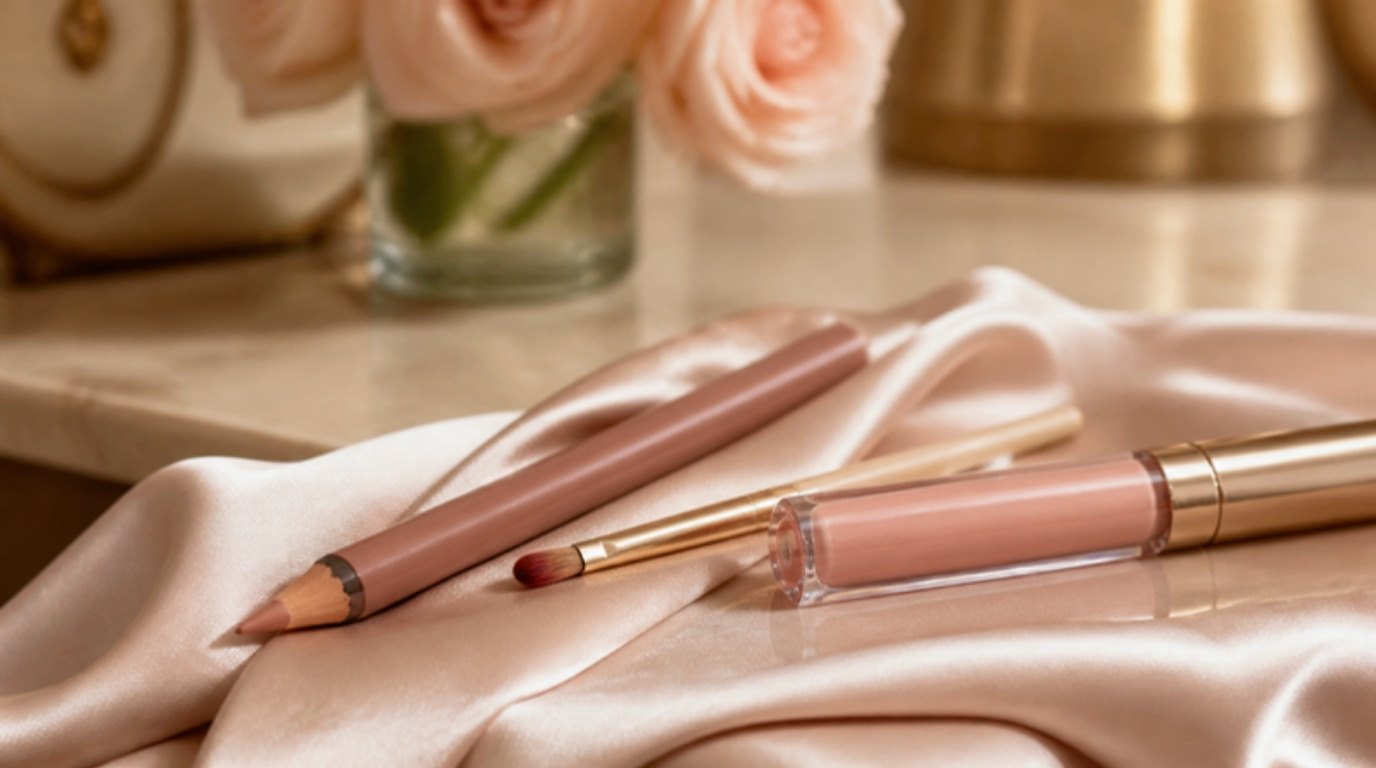
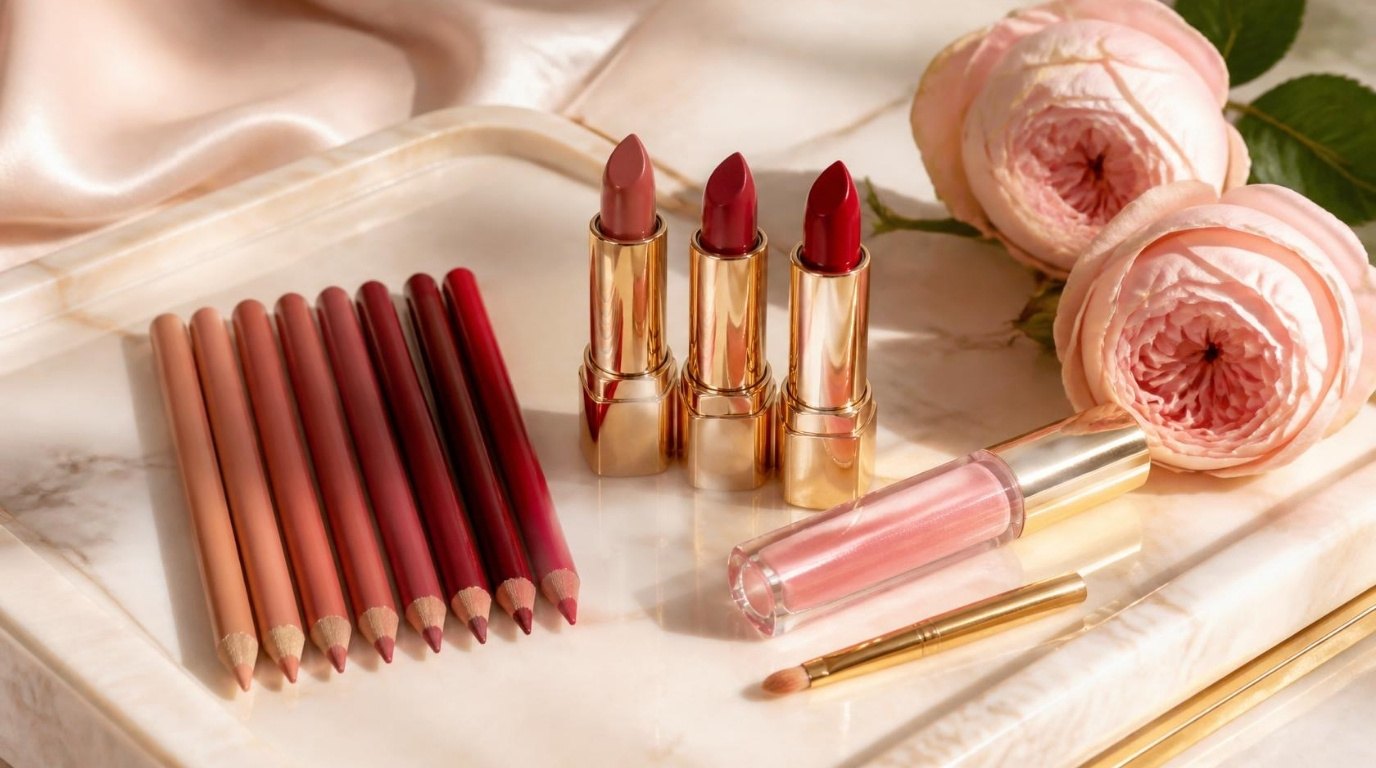
- Match the shade to your lipstick or go one step deeper. A matching lip liner pencil in rose pink pairs with most pink and nude-pink liquids.
- Sharpen, then warm the tip on the back of your hand for a second so it glides instead of tugging.
- Outline in short strokes: start with an X at your cupid's bow, then the center of the bottom lip, then connect out to the corners.
- Fill in with the side of the pencil using light pressure. The goal is a soft, even tint, not a thick waxy layer.
If you love pairing shades (a deeper liner with a lighter center, for example), my lip combos guide has liner and lipstick pairings that work beautifully with long-wear formulas too.
Step 3: The Layering Method That Makes Color Last
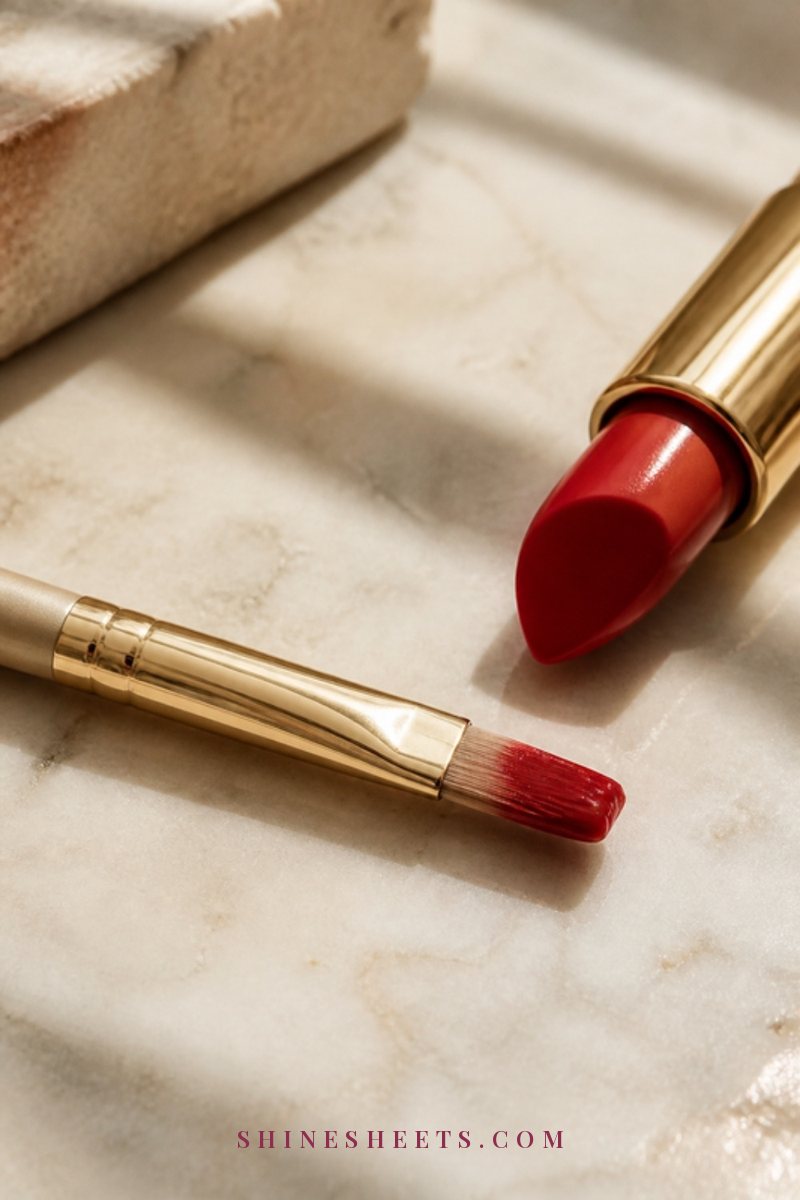
This is the heart of a kiss-proof look. Thin layers dry faster, crack less and grip better than one thick coat. Give yourself about five minutes, and don't rush the drying time.
- First thin coat: apply your liquid lipstick over the liner, starting in the center and pressing outward. Use about half the product you think you need.
- Let it dry: keep your lips slightly apart for 60 seconds. Don't press them together yet.
- Blot: place a single-ply tissue over your lips and press once. This lifts any excess that would otherwise transfer later.
- Powder through the tissue: keep the tissue in place and dust a tiny amount of translucent setting powder over it with a fluffy brush. The tissue lets through only a whisper of powder, which locks the first layer without making it chalky.
- Second thin coat: apply another light layer of color and let it dry fully, about 60 to 90 seconds.
- The test: press the back of your finger gently against your lips. If nothing comes off, you're set.
A creamy bullet benefits from the same tissue-and-powder trick, by the way. It won't be fully kiss-proof, but it can easily last twice as long.
When a Setting Spray Helps
Setting spray is optional for lips, but it helps on long nights, in warm restaurants or if your lips tend to feel tight under powder. After your final layer has dried, hold a makeup setting spray about 8 to 10 inches from your face, close your eyes and lips, and mist once over your whole face. Let it dry without touching. It adds a slightly fresher finish and a bit more hold on top of the powder.
If you're unsure whether you need powder, spray or both for the rest of your face too, I break it down in setting powder vs setting spray. For lips, the short answer is: powder for grip, spray for comfort and extra insurance.
How To Keep Dry Lips Comfortable Under a Matte Formula
Matte formulas have a reputation for feeling tight, and if your lips are naturally dry, you might feel that after an hour or two. You don't have to choose between comfort and staying power, though. A few small adjustments help a lot:
- Hydrate from the start. Drink a glass of water while you get ready and keep sipping through the evening. Dehydrated lips feel the tightness first.
- Use the balm, then wait. The balm from Step 1 needs at least 10 minutes to sink in before you blot and apply color.
- Choose softer mattes. Look for formulas described as "soft matte", "velvet" or "cushion" rather than "ultra matte" or "flat matte".
- Stick to two thin coats. Three or four layers almost always crack on dry lips.
- Add a tiny bit of balm to the very center of your lips after a couple of hours if they feel tight. Tap it on with a fingertip. It may soften the hold slightly in that spot, but it keeps the edges crisp and your lips comfortable.
A gentle safety note: if any long-wear formula makes your lips sting, swell, peel or itch, take it off and give your lips a break. Patch test a new formula on a small area first if your skin is sensitive (mine is, so I always do). Lips that stay cracked, sore or bleeding for more than a couple of weeks are worth showing to a dermatologist.
Kiss-Proof Tips for Dry, Normal and Textured Lips
The same steps work for everyone, but small tweaks make each lip type happier.
Dry Lips
Prep the night before is non-negotiable. Choose a stain or a two-step long-wear formula, which gives you a set color with a comfortable top coat. Skip the powder step if it feels too drying and rely on the blot alone.
Normal Lips
You get the widest choice. A liquid matte with the full layering method (liner, coat, blot, powder through a tissue, second coat) gives you the longest wear with the least fuss.
Textured or Lined Lips
Vertical lines and texture are completely normal. Choose a satin-matte or soft-matte liquid rather than a flat matte, which tends to settle into lines. Apply with the tip of the doe-foot applicator in small dabs, pressing color into the texture instead of dragging across it. A softer, mid-tone shade is more forgiving than a very dark or very bright one.
Kiss-Proof Lipstick Shades for Every Skin Tone
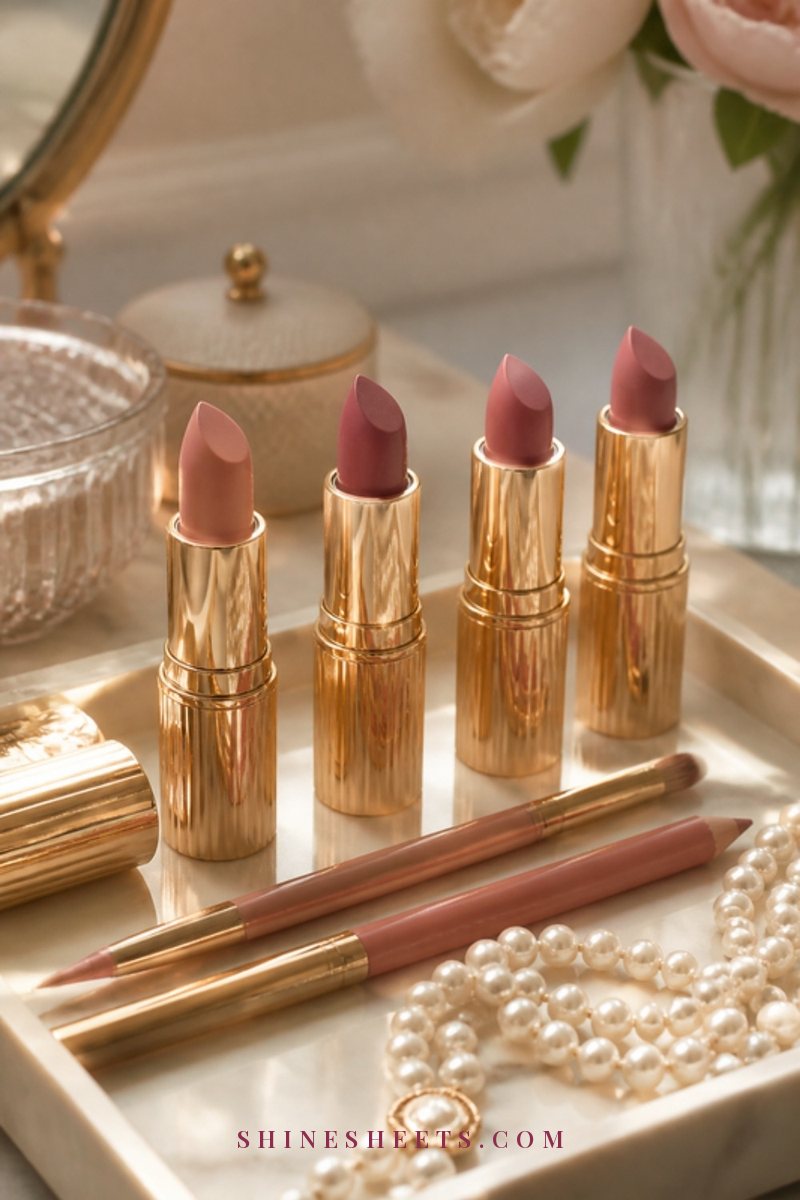
Long-wear formulas show every edge, so a shade that flatters you makes the whole look feel effortless. A few easy starting points:
- Fair skin: soft rose, pink nude and cool berry. Bright red is lovely but shows any wobbly line, so pair it with a precise liner.
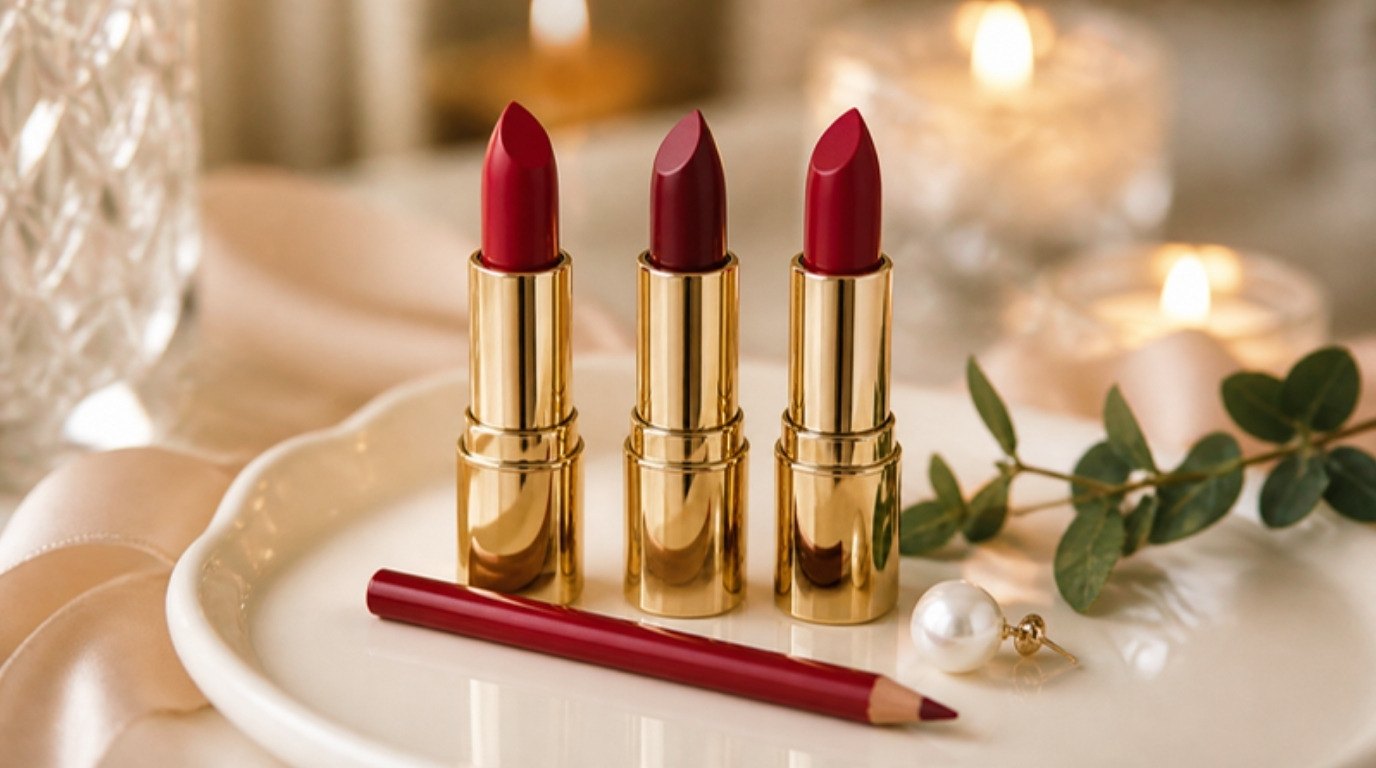
- Light to medium skin: warm rose, mauve pink, brick rose and classic blue-based red for an Old Hollywood moment.
- Medium to tan skin: terracotta rose, deeper mauve, raspberry and warm brick red.
- Deep skin: rich berry, plum, deep rose-brown, wine and bold fuchsia. A liner one shade deeper than your lips gives a beautiful, defined edge.
Undertone matters too: cool undertones tend to love blue-pinks and berries, warm undertones shine in coral-pinks and brick shades, and neutral undertones can wear almost anything in the rose family. For a deeper dive into choosing by skin and hair tone, my guide to the best lipstick shades for your skin tone walks you through it. And if you'd like your eyes and cheeks to echo a pink lip, my pink monochrome makeup guide shows how to build the whole face around one shade family.
Touch-Ups During the Evening
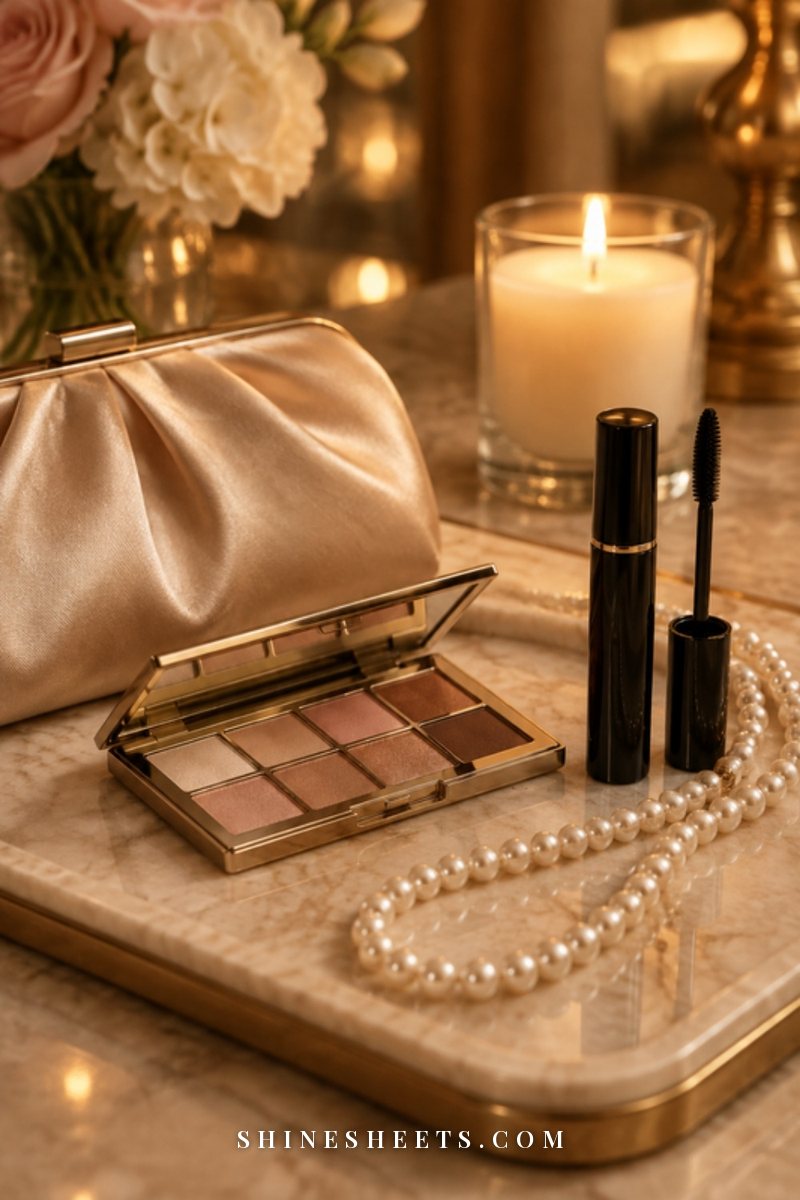
Even the best kiss-proof lipstick wears a little in the center after a meal, especially anything oily (oil breaks down long-wear formulas, which is also why oil-based removers work so well). The good news is that touch-ups are quick if you plan for them.
- Pack light: your liner, the liquid lipstick and a couple of tissues. That's all.
- Don't layer over flakes. If the center has worn patchy, blot it with a tissue first so you're not stacking new color on crumbly old color.
- Fill the center only. Tap a little liner into the worn area, then press a thin layer of lipstick on top and blend toward the edges with your fingertip.
- Give it 60 seconds to dry before sipping your drink. Water or tea is gentlest on the formula.
A touch-up in the middle of the evening, plus one before you leave, is plenty for most dinners. If you're planning a full Valentine's look around your lips, my Valentine's Day makeup guide has eight romantic looks that pair beautifully with a long-wear lip.
How To Remove Long-Wear Lipstick Gently
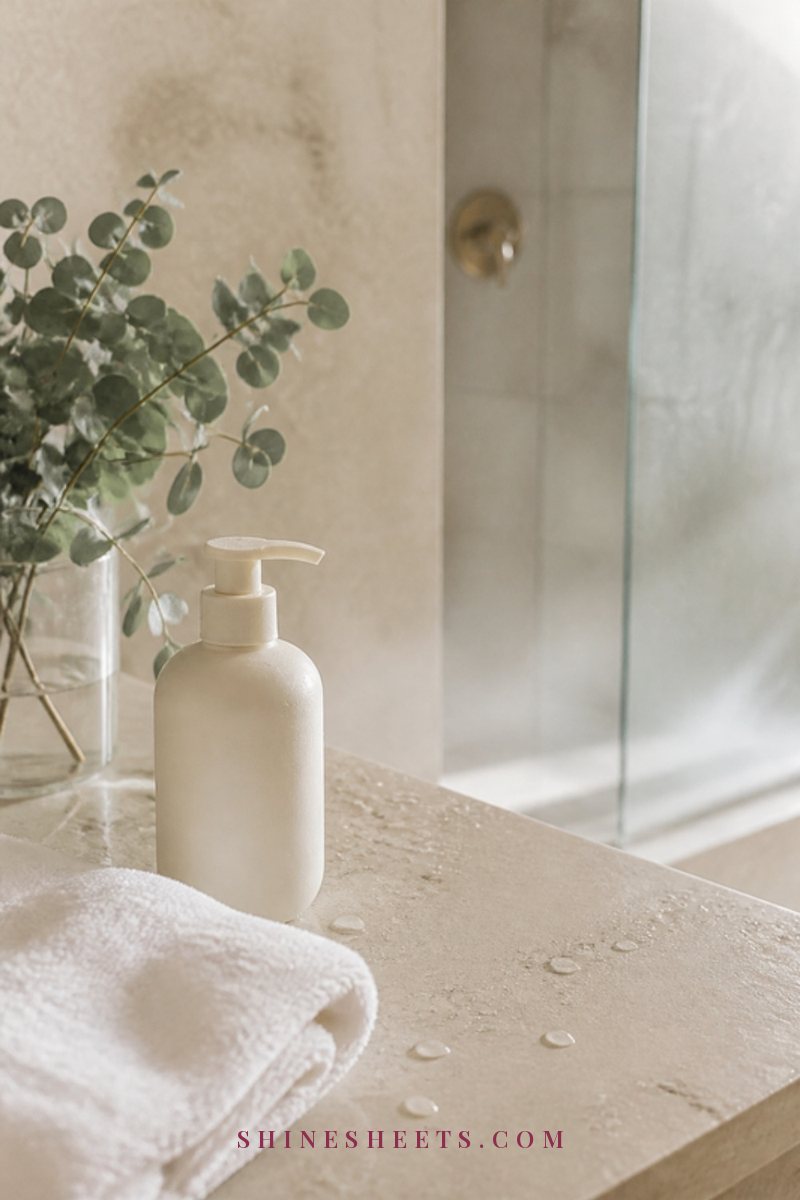
A formula that survives dinner won't come off with a quick swipe of a cotton pad, and scrubbing is the fastest way to end up with sore lips tomorrow. Oil is the answer, because it breaks down the film that makes long-wear color grip.
- Soak a cotton pad with a gentle oil-based makeup remover or cleansing oil.
- Press it on your closed lips and hold for 20 to 30 seconds. Don't rub yet.
- Wipe gently from the corners toward the center. Repeat with a fresh pad if needed.
- Follow with your usual gentle cleanser to remove the oily film.
- Finish with a generous layer of balm before bed.
Stains may leave a faint tint until the morning. That's fine and harmless; it will fade on its own, and you don't need to keep scrubbing to get rid of it.
5 Common Kiss-Proof Lipstick Mistakes
If your long-wear color has disappointed you before, one of these is almost always the culprit:
- Applying over fresh balm. Balm that hasn't soaked in and been blotted keeps the formula from setting. Always blot first.
- One thick coat instead of two thin ones. Thick layers stay tacky longer, transfer more and crack sooner.
- Pressing your lips together too soon. Give each layer a full minute. Rubbing lips together while wet is how a matte turns patchy.
- Scrubbing hard right before. Raw skin grips color unevenly and stings under matte formulas. Gentle prep the night before works far better.
- Layering fresh color over worn, flaky color. Blot and smooth the center first, then touch up thinly.
Final Thoughts
A kiss-proof lip isn't about perfection. It's about a few calm minutes of prep, two thin layers and a formula that does what it promises, so you can stop checking your reflection and simply enjoy the evening.
Pick your pink or your red, line the whole lip, blot, powder, layer, and then forget all about it. You deserve a night where the only thing you're thinking about is the company, the candlelight and how good you feel.