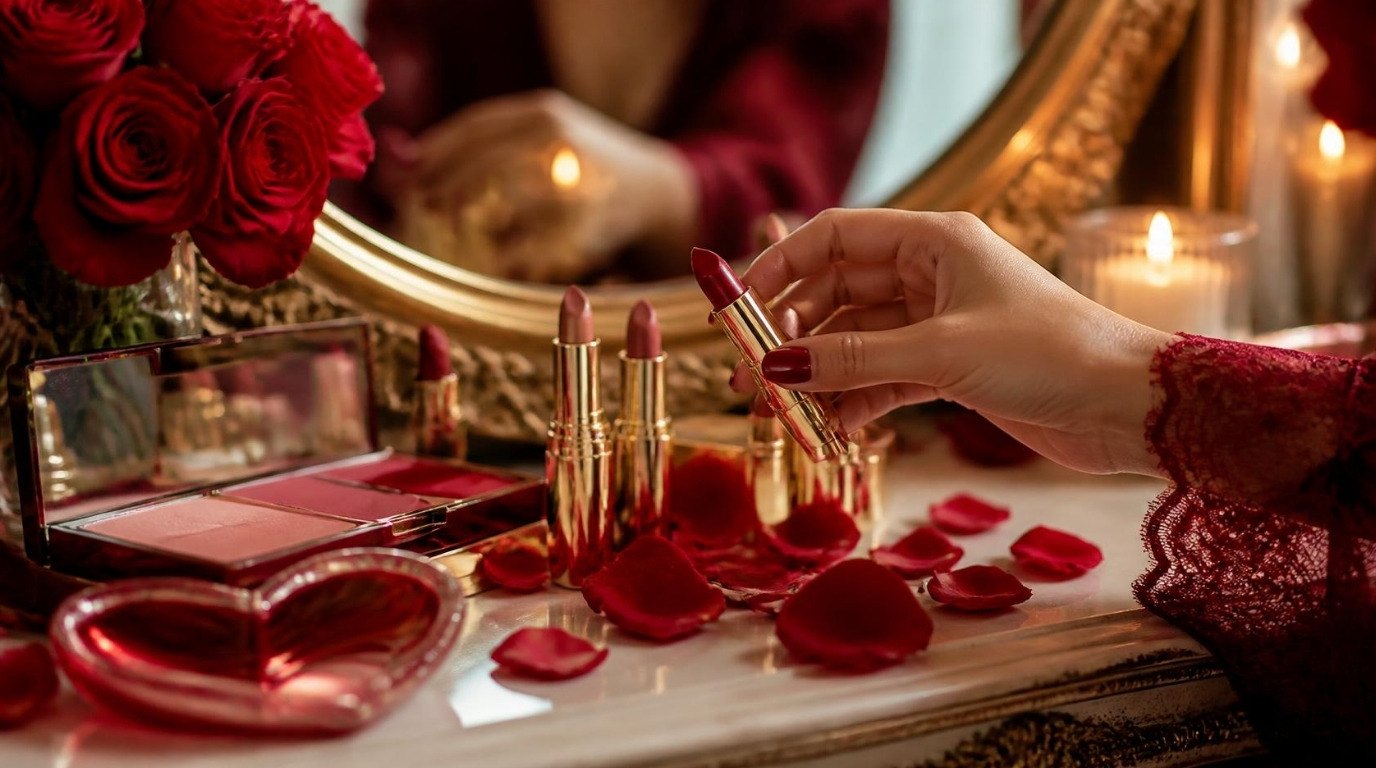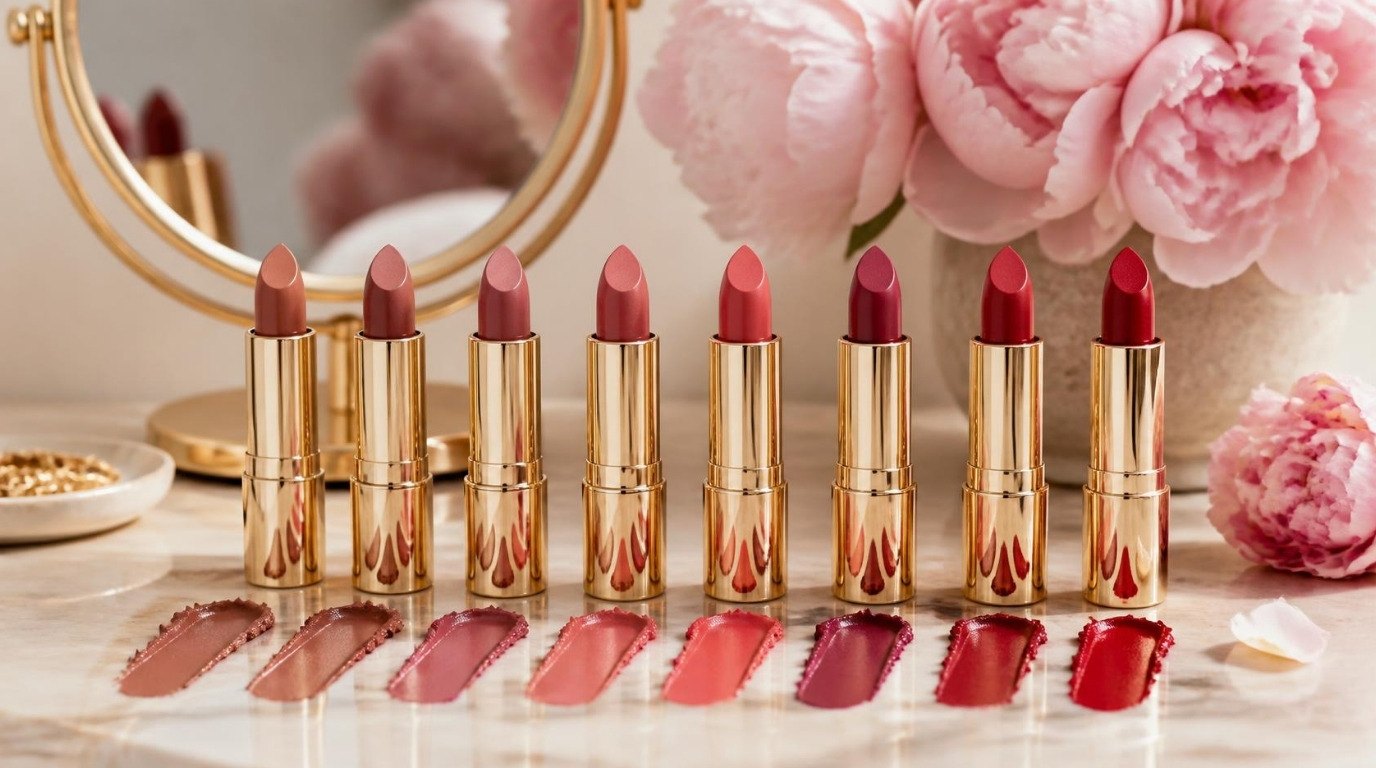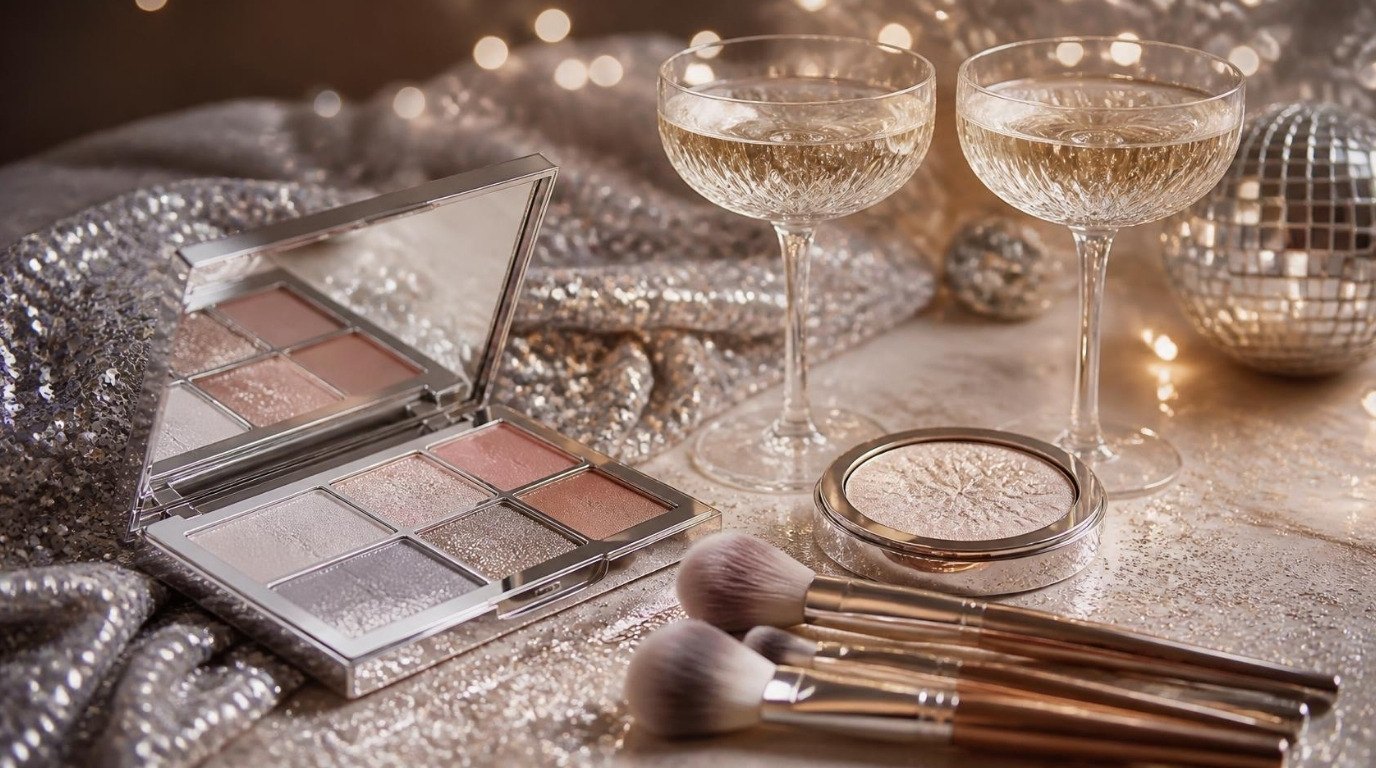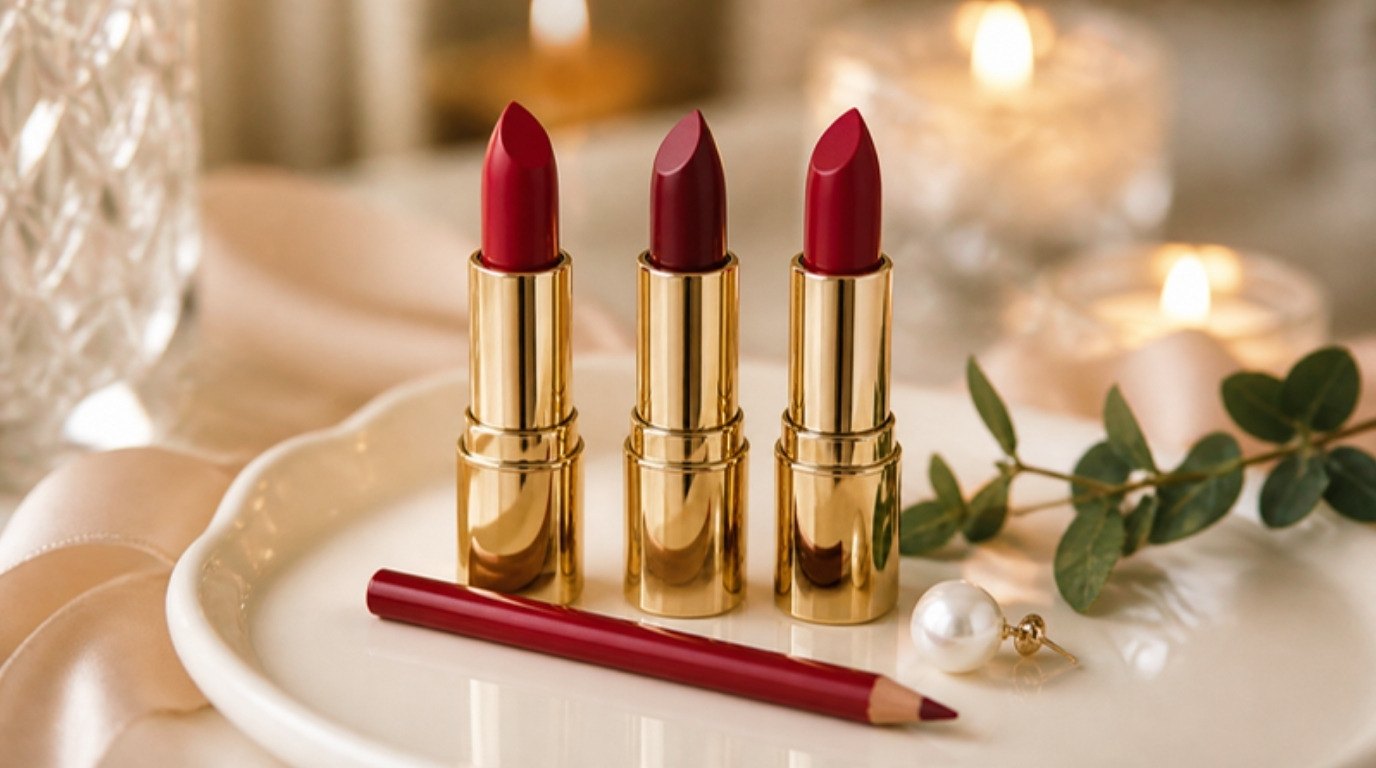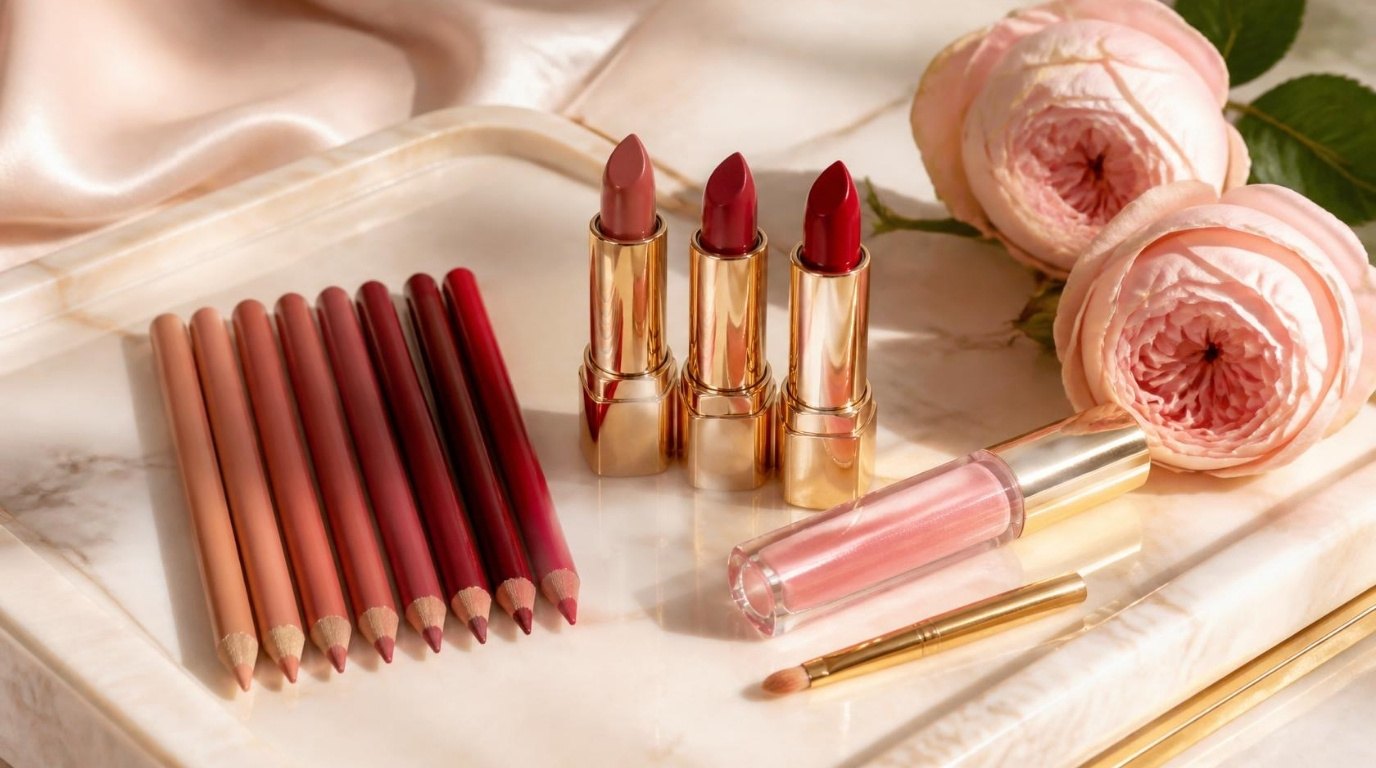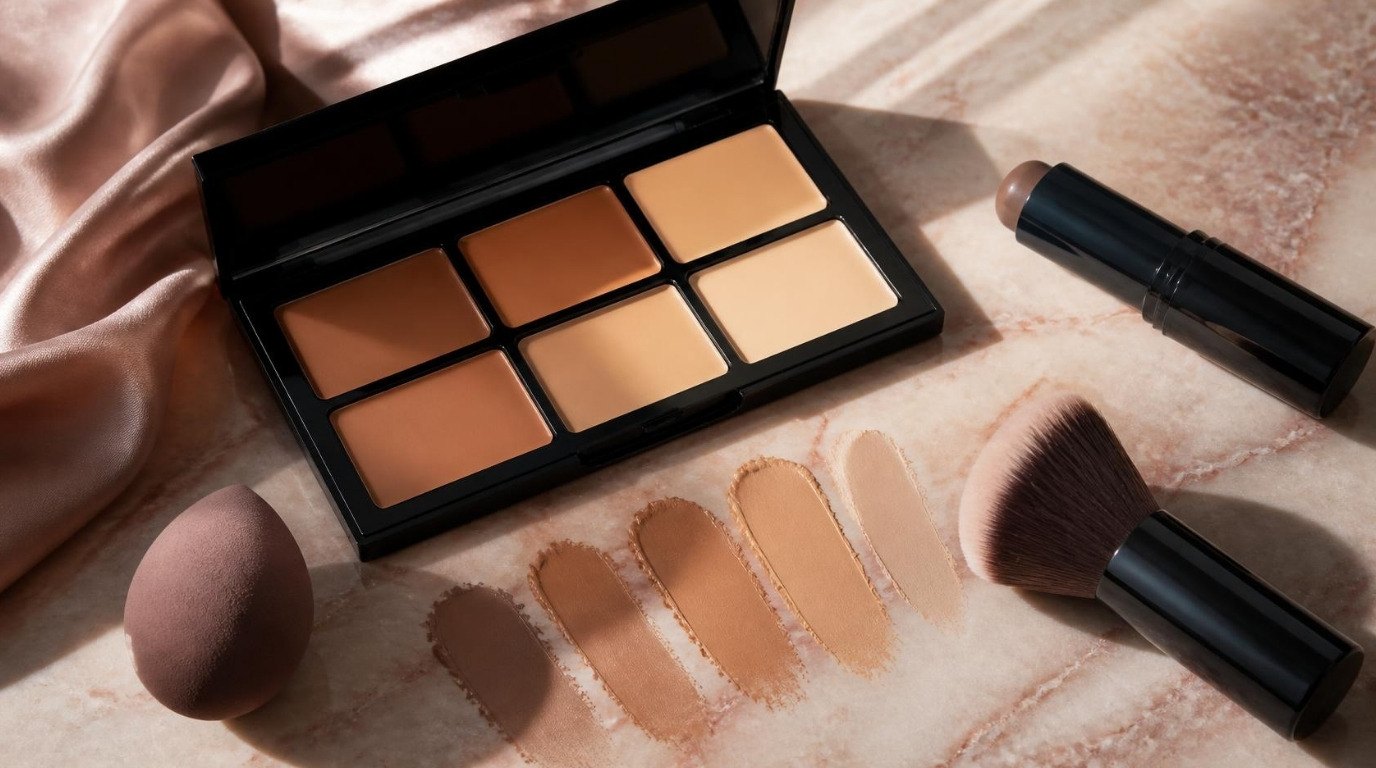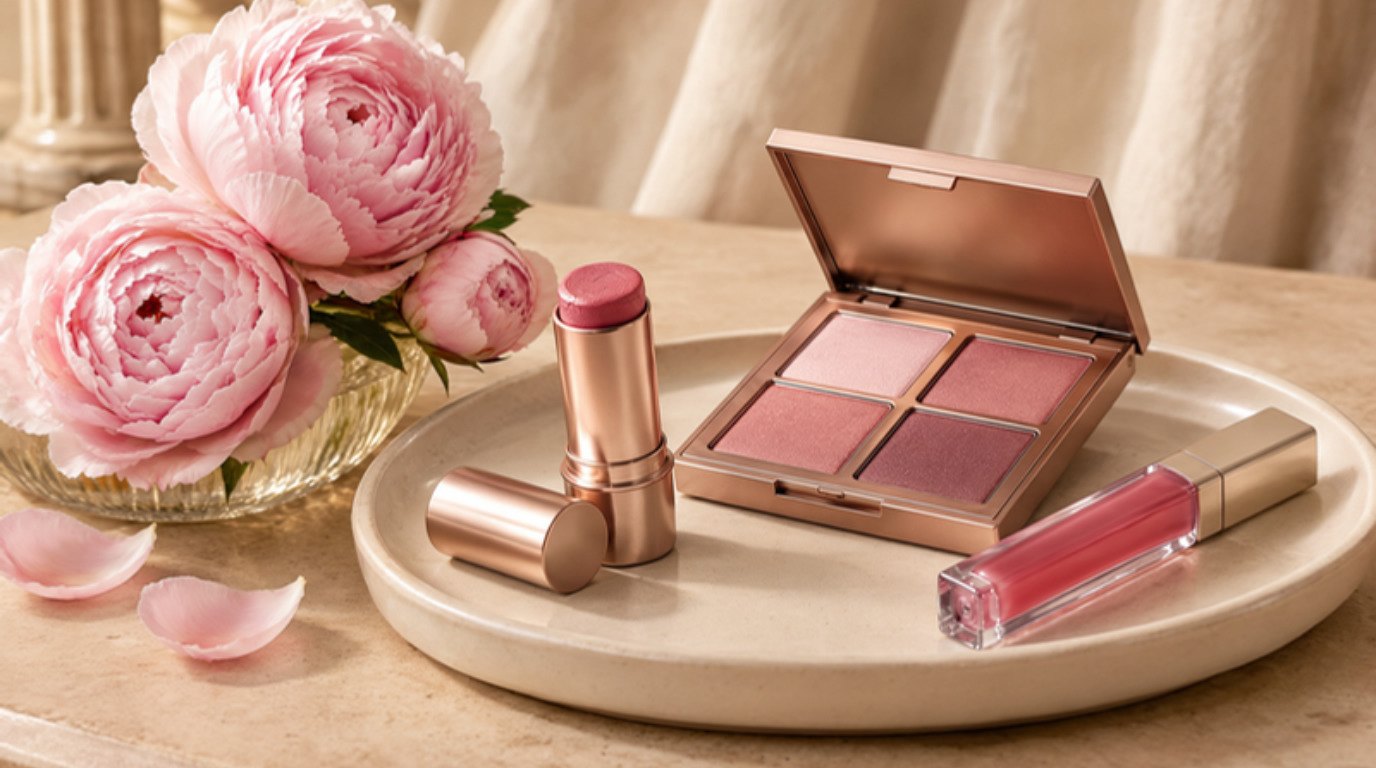
The secret to pink monochrome makeup isn't finding the prettiest pink in the store. It's finding your pink, the one that already lives in your skin when you blush, and then repeating it softly on your eyes, cheeks and lips. When one shade family ties your whole face together, you look rested, polished and quietly romantic with surprisingly little effort.
It's also one of the most beginner-friendly looks there is. You're not matching three different colors or worrying about whether your eyeshadow clashes with your lipstick. You're choosing one family, adjusting the intensity and blending until everything looks like it belongs together. (It's a very Old Hollywood idea, really: one flattering color, worn with confidence.)
This guide covers how to pick your pink by undertone and skin depth, a shade table you can screenshot, cream vs powder for dry, oily and mature skin, the step-by-step look from base to lips, three intensity levels from daytime soft to evening deeper, and how to keep it from looking tired or flushed. It's a lovely choice for Valentine's Day, but you can wear it any day you want to feel a little softer.
What Pink Monochrome Makeup Is (and Why It Works)
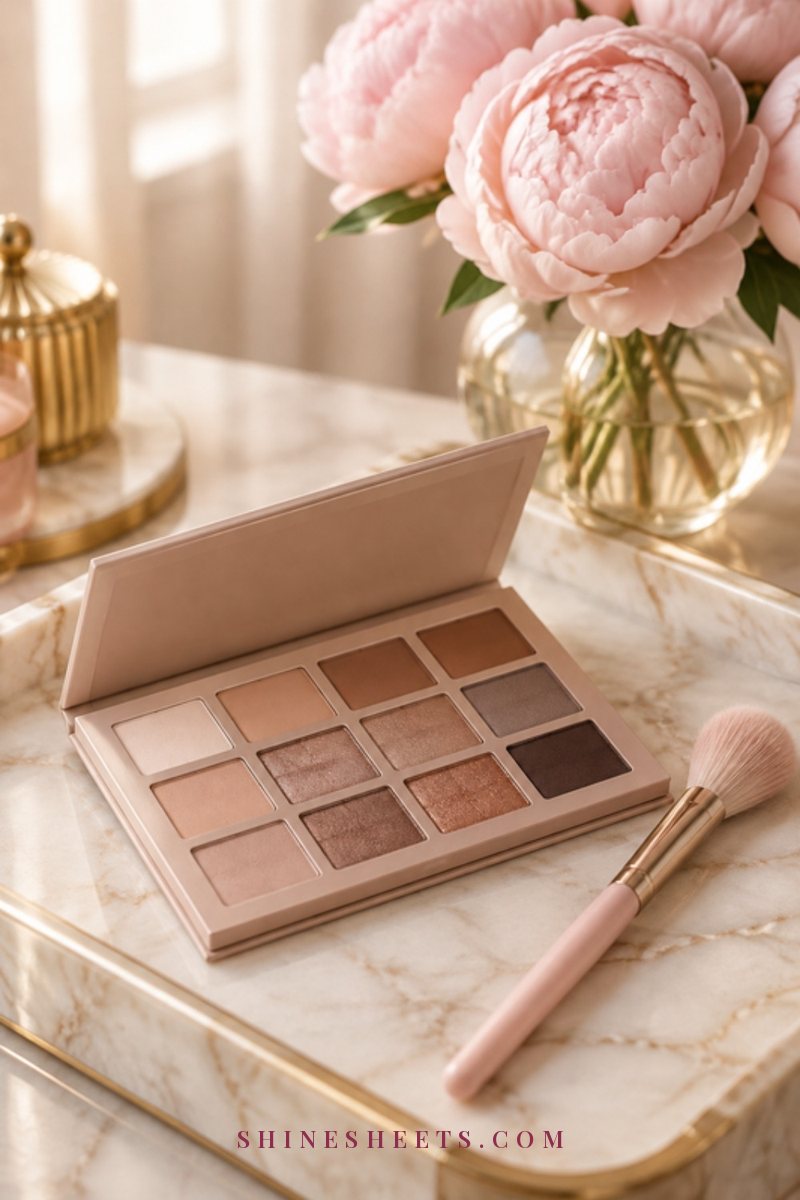
Monochrome simply means one color. In makeup, it means using the same shade, or very close shades from one family, on your lids, cheeks and lips. It doesn't have to be identical everywhere. Think of it as variations on one theme: a sheer wash on the eyes, a soft flush on the cheeks and a slightly richer version on the lips.
It works for three reasons:
- It looks intentional. When everything matches, the eye reads it as "pulled together", even if each step took thirty seconds.
- It flatters. A pink that matches your natural flush makes skin look healthy and awake.
- It's simple. You can do the whole look with one product if you like, which also makes it wonderful for travel or busy mornings.
If you're looking for a range of romantic looks for February (glossy, smoky, red-lipped and more), my Valentine's Day makeup guide has eight of them. This one stays focused on the one-color technique, and on finding the pink that's truly yours.
How To Find Your Pink by Undertone
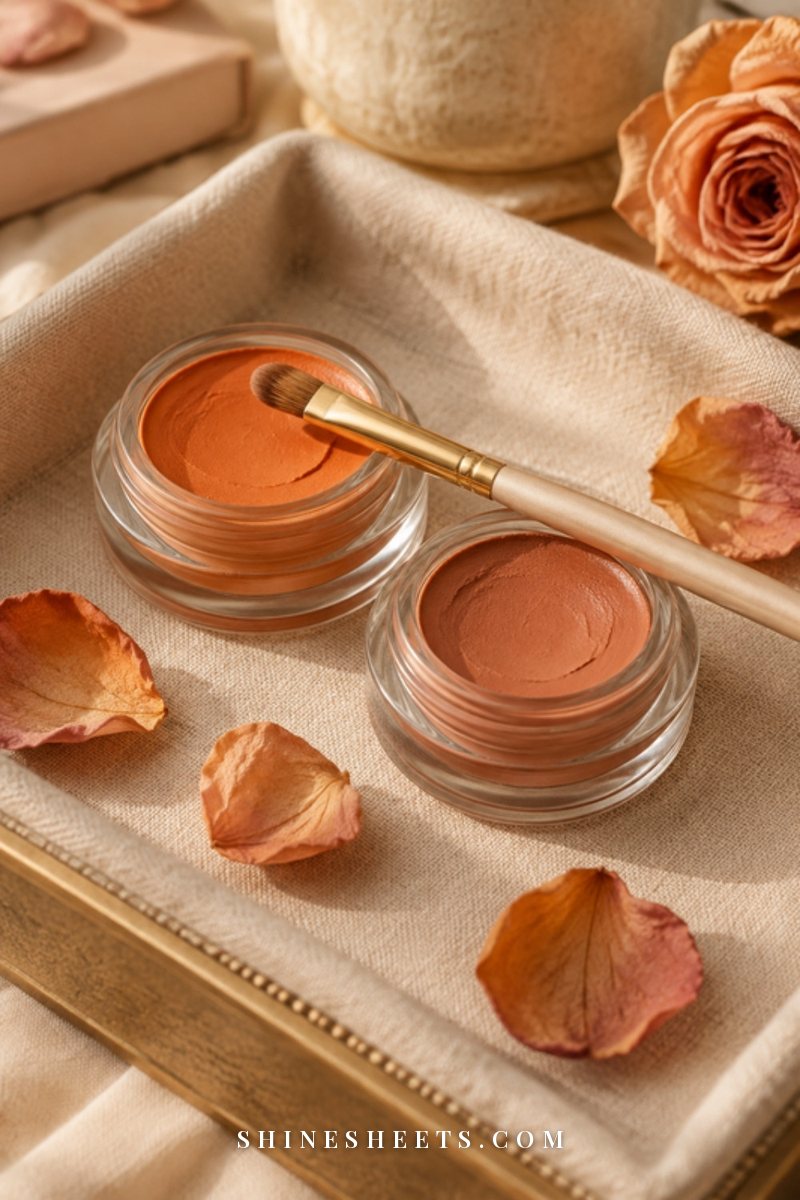
Your undertone is the subtle color under the surface of your skin. It doesn't change with a tan, and it's the most useful guide for choosing a pink. A few quick ways to check:
- Look at your wrist veins in daylight. Mostly blue or purple suggests cool; mostly green suggests warm; a mix, or hard to tell, suggests neutral.
- Hold up white and cream fabric. If bright white flatters you more, you're likely cool. If cream or ivory looks better, you're likely warm.
- Think about jewelry. Silver usually suits cool undertones and gold suits warm, while neutral undertones can wear both.
If you've already found your foundation match, you probably know your undertone. If not, my guide on how to choose your foundation shade walks through it step by step.
Cool Undertones: Berry and Rose
Cool undertones look lovely in pinks with a touch of blue: classic rose, raspberry, berry and soft mauve-pink. Avoid very orange pinks, which can look slightly muddy on cool skin.
Warm Undertones: Peach-Pink and Coral-Pink
Warm undertones come alive in pinks with a touch of yellow or orange: peach-pink, coral-pink, apricot-rose and warm watermelon. Icy, blue-based pinks can look a little chalky on warm skin.
Neutral Undertones: Dusty Rose
Neutral undertones have the most freedom. Dusty rose, soft mauve and muted rose-beige are especially easy, and you can lean warmer or cooler depending on your mood and outfit.
Matching Your Pink to Your Skin Depth
Undertone tells you the direction of your pink; skin depth tells you how rich it should be. As a gentle rule:
- Fair skin: pale, sheer pinks. A little goes a long way, so build slowly.
- Light to medium skin: mid-tone roses and peach-pinks.
- Medium to tan skin: richer roses, warm berry and deeper coral-pink.
- Deep skin: saturated berry, fuchsia, deep rose and rich raspberry. Pale pastel pinks can look ashy on deep skin, so choose pigment-rich formulas.
Pink Monochrome Makeup Shade Table
Here's the quick-reference table for the whole look. Screenshot it, then pick one row and shop (or shop your own makeup bag) from there.
| Undertone | Best pink shades | Eyes | Cheeks | Lips |
|---|---|---|---|---|
| Cool | Rose, raspberry, berry, mauve-pink | Sheer rose wash, berry along the lash line for evening | Cool rose, tapped high on the cheekbones | Rose or berry, matching or one shade deeper |
| Warm | Peach-pink, coral-pink, apricot-rose | Peachy pink in the crease, warm rose on the lid | Peach-pink, blended up toward the temples | Coral-pink or warm rose tint |
| Neutral | Dusty rose, soft mauve, rose-beige | Dusty rose all over the lid | Dusty rose on the apples, blended back | Dusty rose or a muted mauve-pink |
| Any undertone, deep skin | Saturated berry, fuchsia, deep rose | Rich rose or berry with a soft matte finish | Pigmented berry or fuchsia cream | Deep rose, berry or raspberry |
| Any undertone, fair skin | Pale rose, ballet pink, soft peach-pink | Barely-there pink wash | Sheer pink, built in thin layers | Sheer pink tint or soft rose |
Cream vs Powder Pinks for Your Skin Type
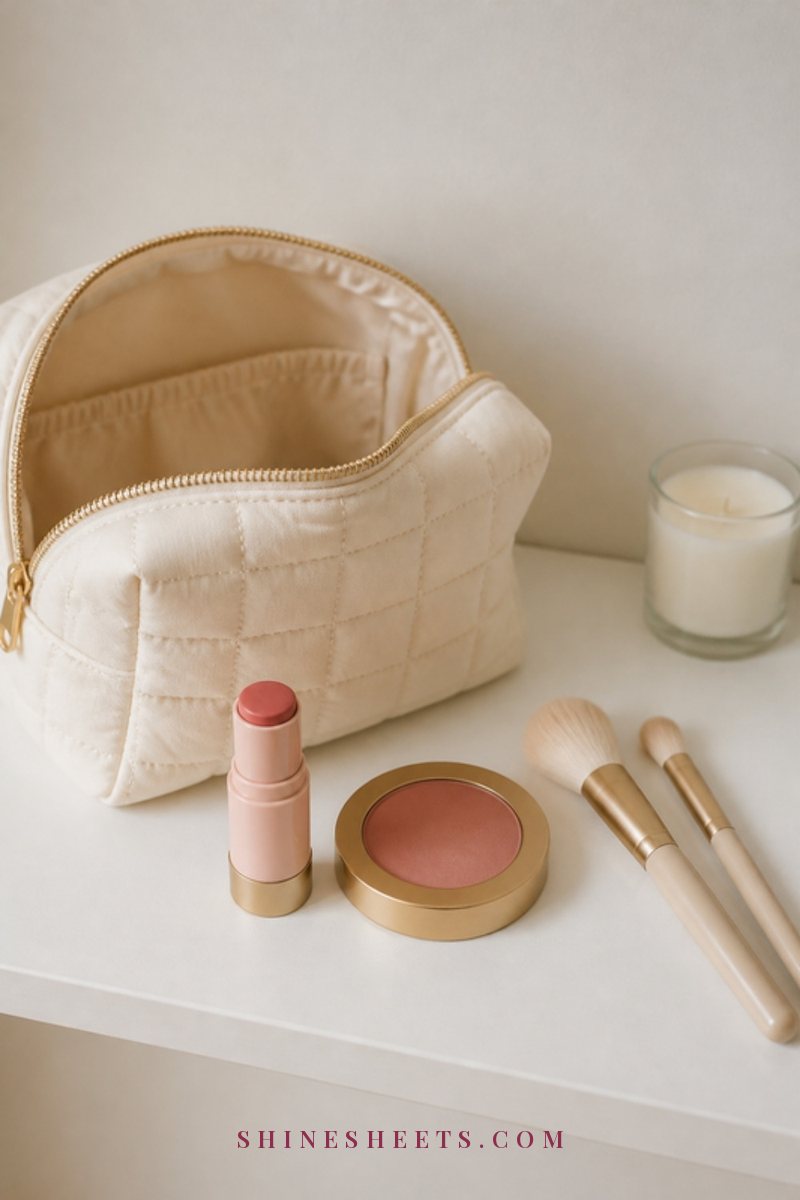
You can do this look entirely with creams, entirely with powders or with a mix. The right choice depends mostly on your skin:
- Dry skin: creams are your best friend. They melt in, look fresh and don't cling to flaky spots. A multi-use cream blush stick in rose that works on eyes, cheeks and lips is the simplest way to do the whole look.
- Oily skin: powders last longer and won't slide. Matte or soft-satin powder pinks are easiest. If you love the look of cream, apply a thin layer and set it with a matching powder on top.
- Combination skin: cream on the cheeks, powder on the eyes. (This is my own approach, because my T-zone gets shiny by afternoon while my cheeks stay calm.)
- Mature skin: creams or very finely milled powders, used lightly. Avoid heavy shimmer on the lids and cheeks, and tap rather than sweep so nothing settles into texture.
For a deeper look at how each formula behaves on different skin, I compare them side by side in cream blush vs powder blush.
How To Do Pink Monochrome Makeup Step by Step
The whole routine takes about 10 to 15 minutes. Work in natural light if you can, and remember that it's much easier to add color than to take it away. Thin layers, always.
Step 1: Start With a Light, Even Base
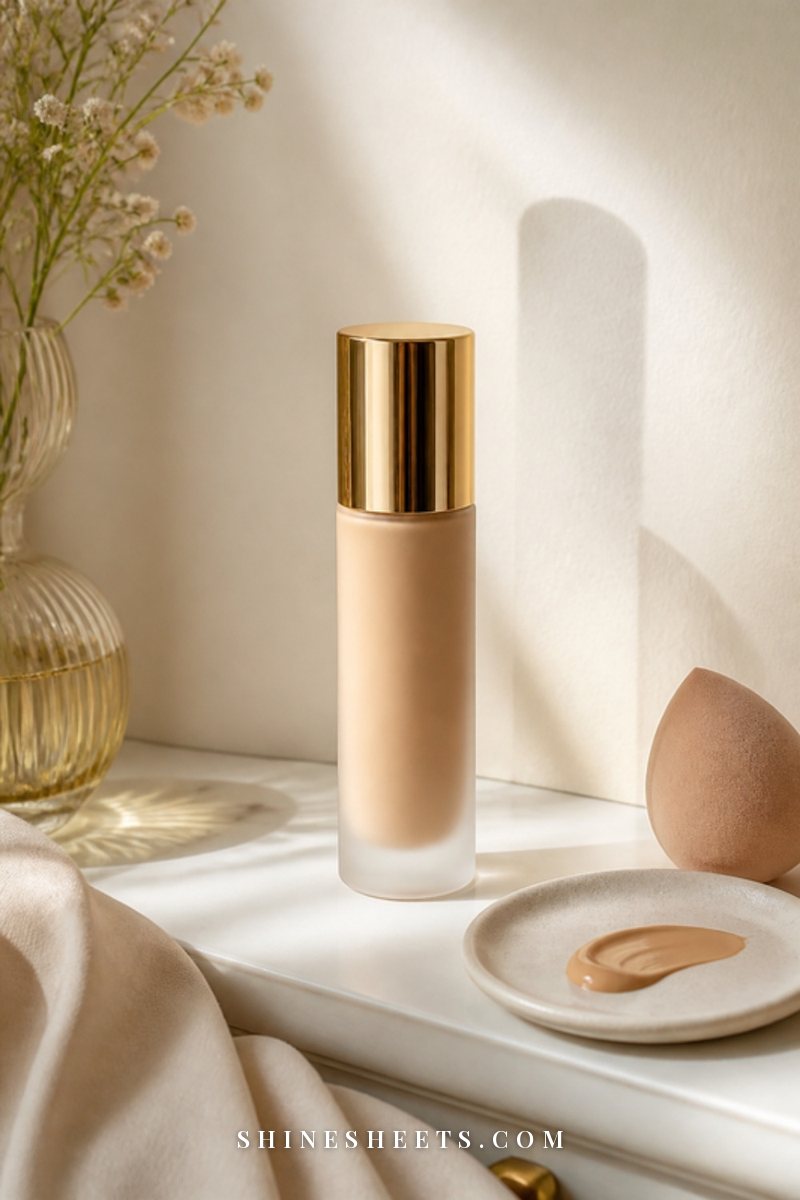
Pink monochrome looks best on skin that still looks like skin. A heavy, full-coverage base can make the pinks sit on top and look painted on. Instead:
- Moisturize and let it sink in for 2 to 3 minutes.
- Apply a light skin tint, a sheer foundation or a little concealer only where you need it (around the nose, under the eyes, on any blemishes).
- Press it in with a damp ivory makeup sponge so the edges disappear and the finish stays fresh.
- If you're oily, dust a little translucent powder on the T-zone only. Leave the cheeks unpowdered if you're using cream blush.
A tip: counteract strong redness lightly before you start. Pink on top of very red areas (around the nose, for example) can tip the whole look into "flushed" instead of "fresh".
Step 2: Eyes in Soft Pink
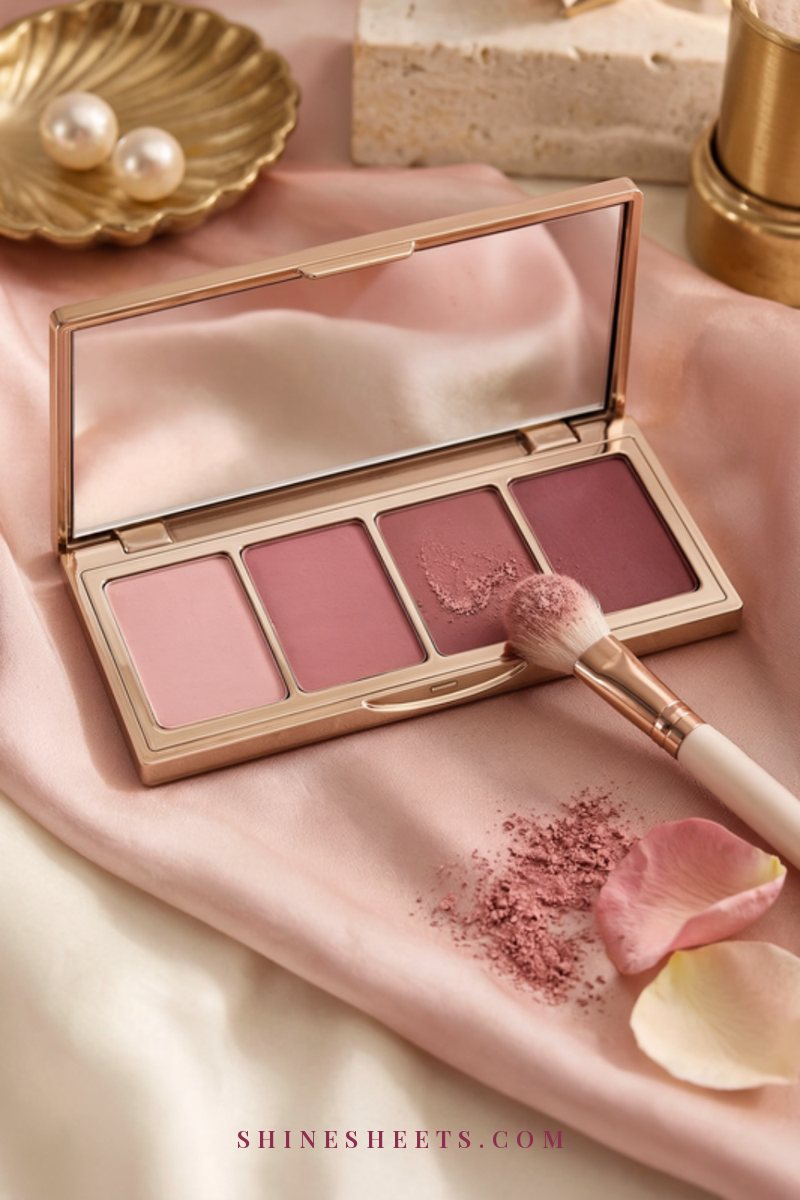
The eyes get the softest version of your pink. Think "rosy wash", not "pink eyeshadow look".
- Prime or set your lids with a little powder or concealer so the color stays even.
- With a fluffy blending brush, sweep your lightest pink across the whole lid and slightly into the crease.
- Press a medium pink onto the outer third of the lid and blend the edge softly upward.
- Optional: smudge the same medium shade along the outer lower lash line with a small brush for a little definition.
- Finish with brown or black mascara.
A pink matte eyeshadow palette with a pale pink, a rose and a deeper berry gives you every intensity in one place. Look for matte or soft-satin finishes; a whole lid of glitter turns this into a different look entirely. If you're short on time, tap your cream blush stick onto the lids with a fingertip and blend. Done.
Step 3: Cheeks That Match Your Face Shape
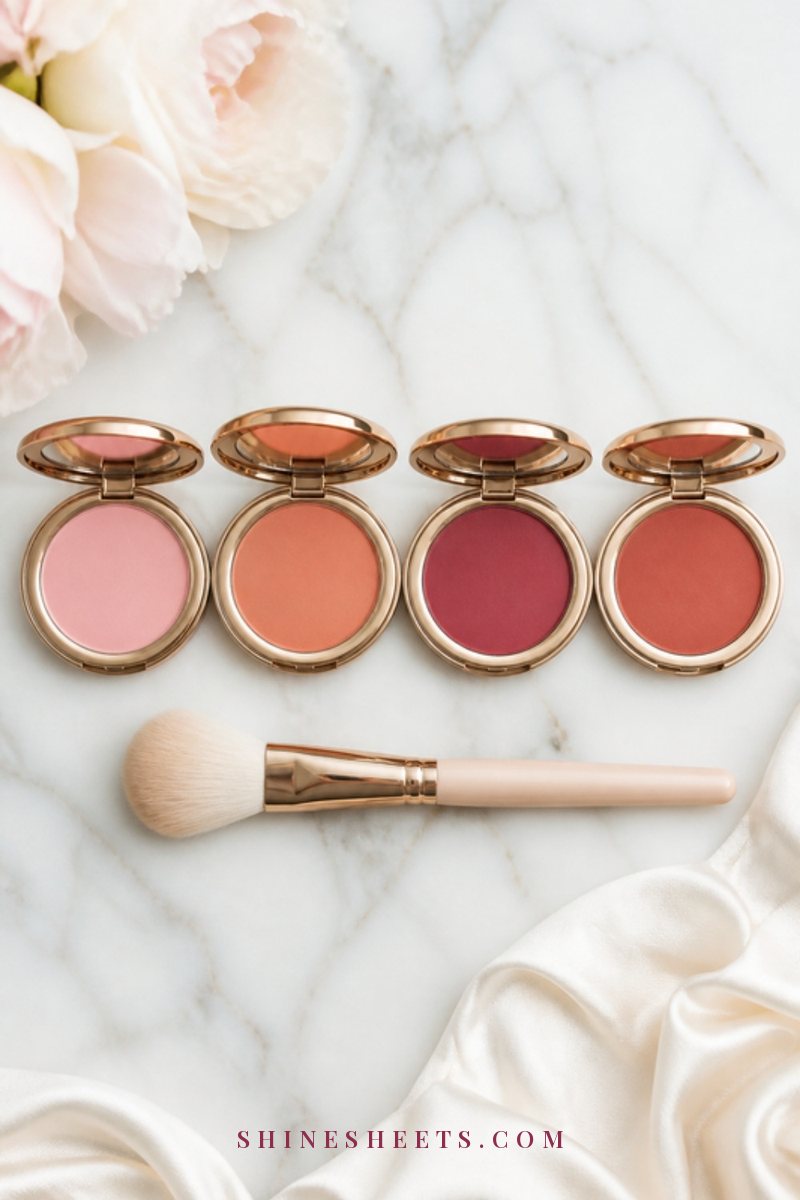
Cheeks are the anchor of the whole look, so take a moment here. Smile slightly to find the apples, then place color where it lifts your face shape:
- Round face: start just above the apples and blend up and back toward the temples to add lift.
- Long face: keep color on the apples and blend outward horizontally, which visually shortens the face.
- Square face: blend softly in a rounded shape on the apples to soften angles.
- Heart face: place color slightly below the cheekbones, toward the outer cheek.
- Oval face: almost anything works; the classic placement on the upper cheekbones is lovely.
With cream, tap two or three dots and blend with your fingertips or a sponge. With powder, use a soft fluffy blush brush, tap off the excess and build in thin layers. A little color under the outer brow and on the bridge of the nose ties it all together. For more detail on placement, my blush placement guide covers every face shape in more detail.
Step 4: Lips That Match or Go One Shade Deeper
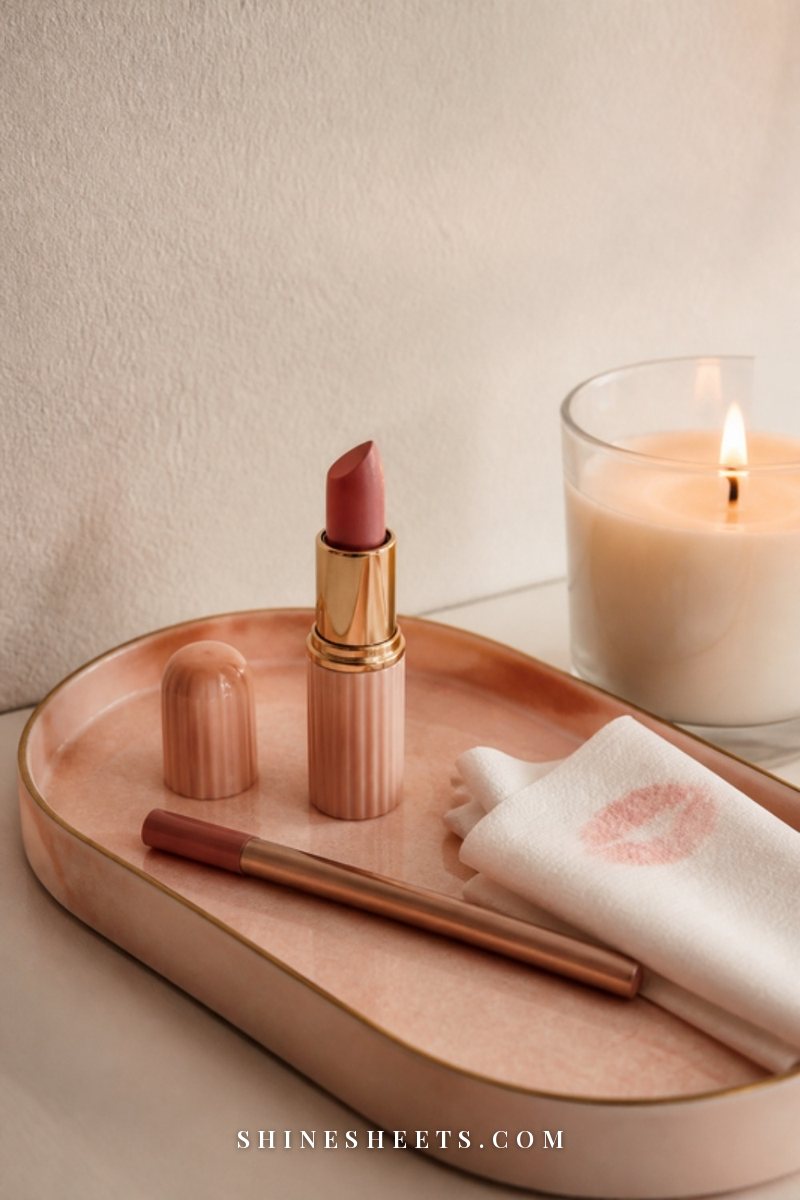
You have two lovely options for lips:
- Match exactly: use the same cream blush or a pink that's nearly identical. This gives the softest, most blended result.
- Go one shade deeper: a slightly richer pink adds definition and keeps the look from feeling flat, especially for evening.
A sheer pink lip tint is the easiest way to get a "my lips but better" version of your pink, and it layers well if you want more color later. If you're choosing a lipstick to finish the look, my guide to the best lipstick shades for your skin tone helps you find a pink that matches your undertone. And if you want your lip color to last through a dinner, the layering method in my kiss-proof lipstick guide works beautifully with pinks too.
3 Intensity Levels: From Daytime Soft to Evening Deeper
The beauty of a one-color look is that you can turn it up or down with the same products. Here are three versions, from barely-there to romantic and rich.
1. Daytime Soft
One thin layer everywhere. A sheer wash of pink on the lids (or none at all), a light flush on the cheeks and a tinted balm or sheer tint on the lips. Mascara, brushed-up brows and you're done in about 7 minutes. Perfect for work, coffee with a friend or a weekend walk.
2. Dinner Medium
Add a medium pink on the outer third of the lids and a smudge along the lower lash line. Build the cheeks with a second thin layer, and choose a lip one shade deeper than your blush. This is the sweet spot for a Valentine's dinner: noticeably pretty but still soft.
3. Evening Deeper
Bring in the deepest shade of your family (berry, deep rose or raspberry) in the outer corner and lower lash line, plus a thin line of brown eyeliner to define. Cheeks get a richer layer blended high, and lips go matte or satin in the deepest pink. Keep the base light and the edges well blended so it stays romantic rather than heavy.
How To Avoid Looking Tired or Flushed
Pink is wonderfully flattering, but placed in the wrong spots it can make you look sleepy, sunburned or like you just came in from the cold. A few gentle rules keep it fresh:
- Keep pink away from the inner corners and the area right under the eyes. Pink there can mimic tiredness or irritation. Use a light neutral or a touch of concealer instead.
- Define your lashes. Mascara (and a little liner for evening) gives the eyes a frame, so the pink looks deliberate.
- Blend cheek color upward, not down. Color that sits low near the nose reads as flushed; color blended up toward the temples reads as lifted.
- Balance the intensity. If your cheeks are bold, keep the eyes soft, and the other way around. Only the lips should ever match the strongest point.
- Add a little brightness. A dab of satin highlighter on the top of the cheekbones, or a dewy finish, keeps pinks from looking flat.
- Groom your brows. Defined, brushed brows give structure to a soft, monochrome face.
A small safety note: if a new cream or eyeshadow makes your eyes sting or your skin itch, remove it gently and stop using it. Patch test new products on a small area first, especially near the eyes, and see a dermatologist if irritation keeps coming back.
The One-Product Version for Busy Days
Some mornings you have three minutes, not fifteen. That's exactly when a multi-use cream blush shines, because one stick can do the whole look:
- Cheeks first: swipe two short lines on the upper cheeks and blend up and back with your fingertips, about 20 seconds per side.
- Eyes next: with whatever is left on your ring finger, tap a sheer veil across each lid. No new product needed.
- Lips last: dab a little straight from the stick onto the center of your lips and press them together, then add a thin layer of balm on top if they feel dry.
- Finish: one coat of mascara and a quick brush through your brows.
Because everything comes from the same product, the color match is automatic. It's the most foolproof way to try the look for the first time before you buy a single extra shade. A small hygiene note: if you use one stick on your lips and cheeks, wipe the top with a clean tissue now and then, and don't share it.
How To Keep Your Pink Fresh All Evening
Cream pinks can fade on oily skin and powder pinks can look dry on drier skin after a few hours. A few easy habits keep your look as soft at the end of the night as it was when you left:
- Layer cream and powder on the cheeks if you want extra staying power: a thin cream layer first, then a light dusting of a matching powder on top.
- Blot before you touch up. Press a tissue on shiny areas first, so fresh color doesn't turn patchy.
- Carry just two things: your lip color and the cream stick. A quick tap on the cheeks and lips refreshes the whole look in under a minute.
- Mist lightly with a setting spray at the end if your skin tends to look powdery by evening.
That's really all it takes. One color family, a few thin layers and a little upkeep, and the look holds together from the first coffee to the last candle of the evening.
Final Thoughts
Pink monochrome makeup is really about one thing: finding the pink that already belongs to you and letting it tie your face together. Once you know your shade, the whole look comes down to a few soft layers and a little blending.
Wear it barely-there on a quiet Tuesday or deeper for a candlelit Valentine's dinner. Either way, you'll look like the most rested, romantic version of yourself, and that is always in style.