The secret to overlining your lips naturally is that you barely overline them at all. The fuller-looking lips you admire in photos usually come from a millimeter of extra liner in just the right places, soft blending and a little light in the center, not from drawing a whole new mouth over your own.
When overlining goes wrong, it's almost always because the line went out too far, too dark, or all the way to the corners. When it goes right, nobody can tell you did anything. They just think your lips look soft, full and a little more polished than usual. I adore a classic Old Hollywood lip, and even those famous looks relied on precise, subtle shaping rather than drawing far outside the natural line.
In this guide, I'll show you how to overline your lips naturally: where to add (and where not to), how to choose a liner shade, how to prep, a five-step method, a lip shape table so you know exactly where to focus, contour and highlight tricks, the mistakes to skip and how to make it all last.
What Natural Overlining Really Means
Natural overlining means tracing just outside your natural lip line in a few strategic spots, by 1 millimeter or less. Think of it as the width of the pencil tip itself, placed on the outer edge of your lip line instead of right on it.
The two places that make the biggest difference are:
- The center of your upper lip, at and just around your cupid's bow, the two little peaks.
- The center of your lower lip, the widest, roundest part.
Everything else stays on your natural line, and the outer corners stay exactly where they are or even slightly inside. Adding fullness in the center while keeping the corners crisp mimics how naturally full lips catch light, which is why it looks real. Going outside the line all the way around just makes lips look wider and drawn on.
One honest note: if your natural lip line is very faint or uneven, overlining a tiny bit can also simply even out the shape. That counts, too. You don't need to want "bigger" lips to use this technique.
How To Choose the Right Lip Liner
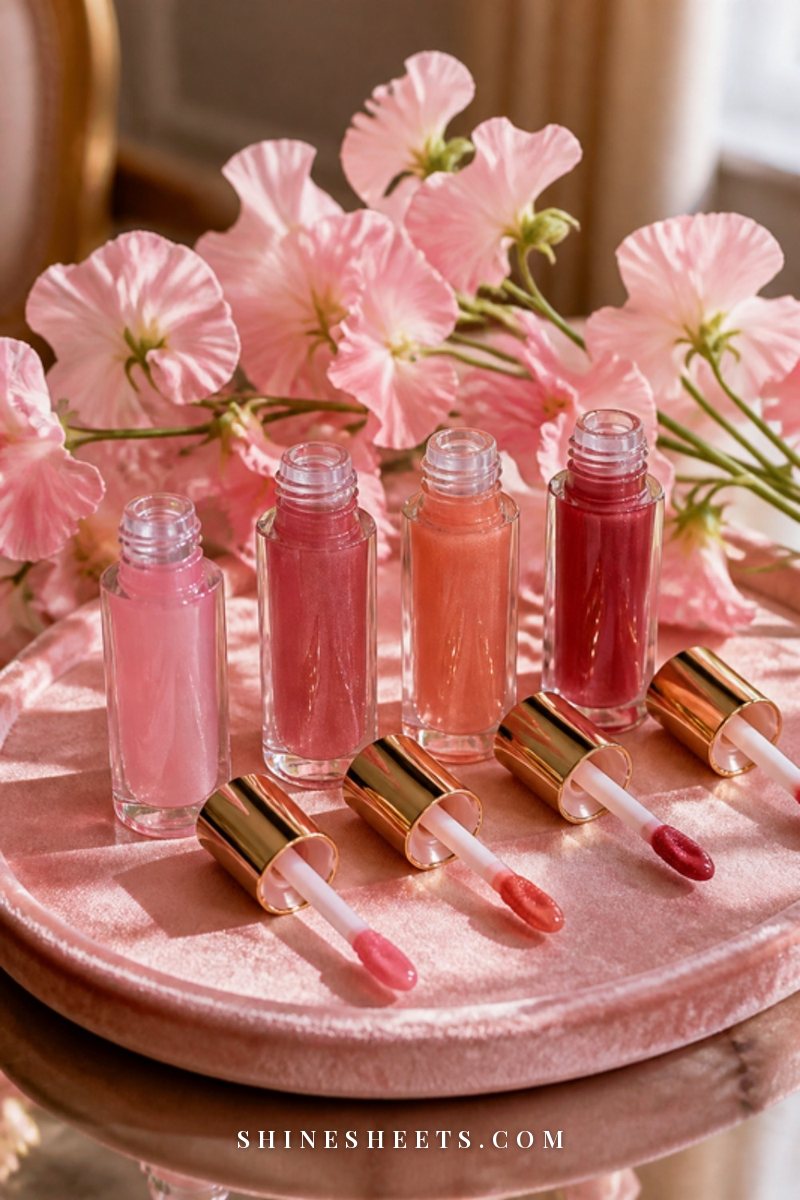
The liner shade does most of the work. Get it right and the overlined part disappears into your lip. Get it wrong and you'll see a ring.
- Choose one shade darker than your natural lip color, not your skin. Pull your bottom lip down slightly and look at the color just inside it; that's your guide.
- Never go darker than your lipstick. If the liner is deeper than what you're filling in with, the edge will show as the lipstick wears off.
- Match the undertone. Rosy lips look best with a soft rose or mauve-nude liner; warmer or deeper lips with a warm brown-nude or cinnamon liner.
- Choose a creamy but firm texture. Too dry and it drags; too soft and it smudges outside the line. A slightly creamy pencil that you can sharpen to a fine point is ideal.
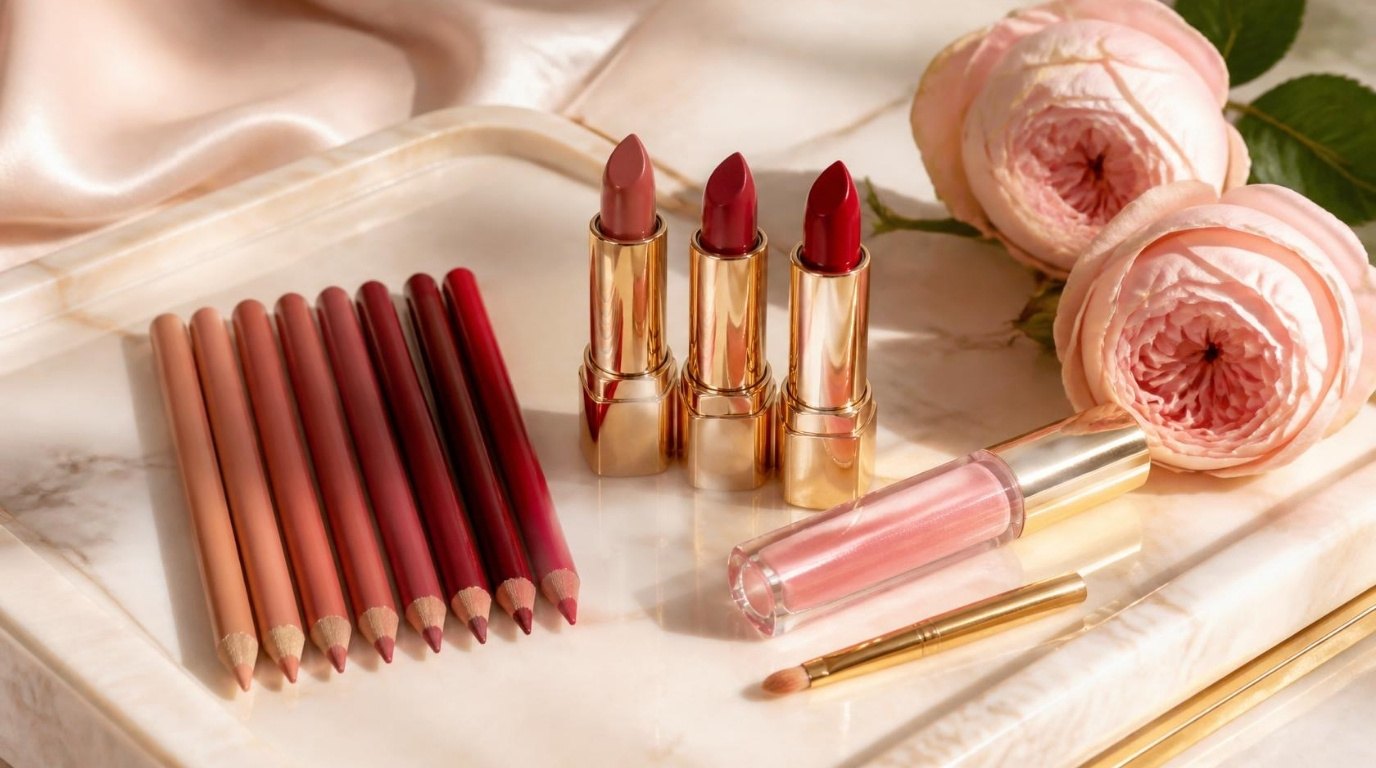
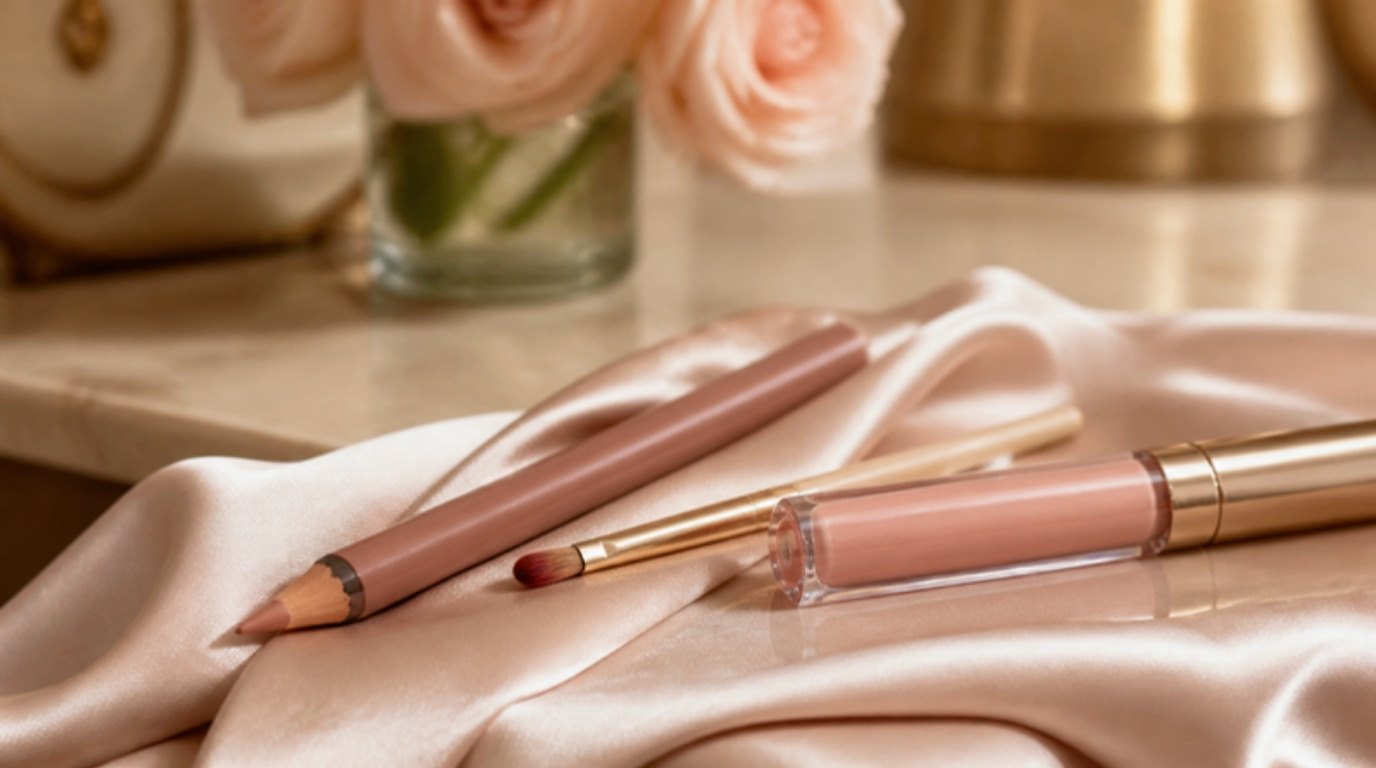
If you only own one liner, make it a neutral nude lip liner pencil in a "your lips but better" shade. Look for a long-wearing formula from a well-known drugstore or beauty brand, and test it on the inside of your wrist and your lips in daylight before deciding. For pairing ideas once you've found it, my guide to liner and lipstick lip combos shows which shades flatter together.
Prep Your Lips First
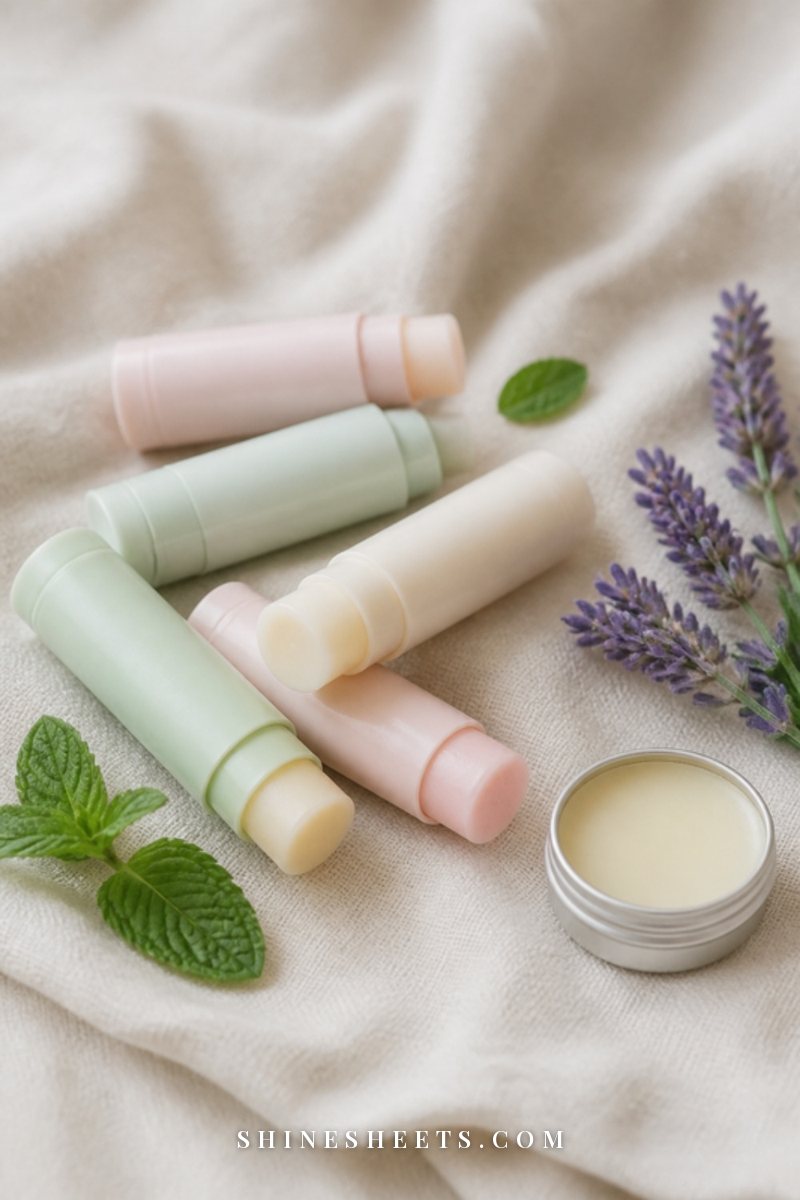
Liner clings to dry patches and skips over flaky spots, which makes even a perfect line look uneven. Two minutes of prep makes everything smoother.
- Exfoliate gently (only if your lips are flaky): rub them softly with a damp washcloth for 10–15 seconds. Skip this step if your lips are cracked or sore.
- Apply a thin layer of balm: a hydrating lip balm with ingredients like shea butter, ceramides or petrolatum works well. Let it sit for about 5 minutes while you do the rest of your makeup.
- Blot with a tissue so only a barely-there layer remains. Liner won't grip on slippery lips.
- Optional: a dab of foundation or concealer on the lip line evens out the edge and helps the liner blend. Keep it to the border only.
If your lips are chronically dry, especially in colder months, my winter lip care routine will make overlining much easier, since a smooth base is half the effect.
How To Overline Your Lips Step by Step
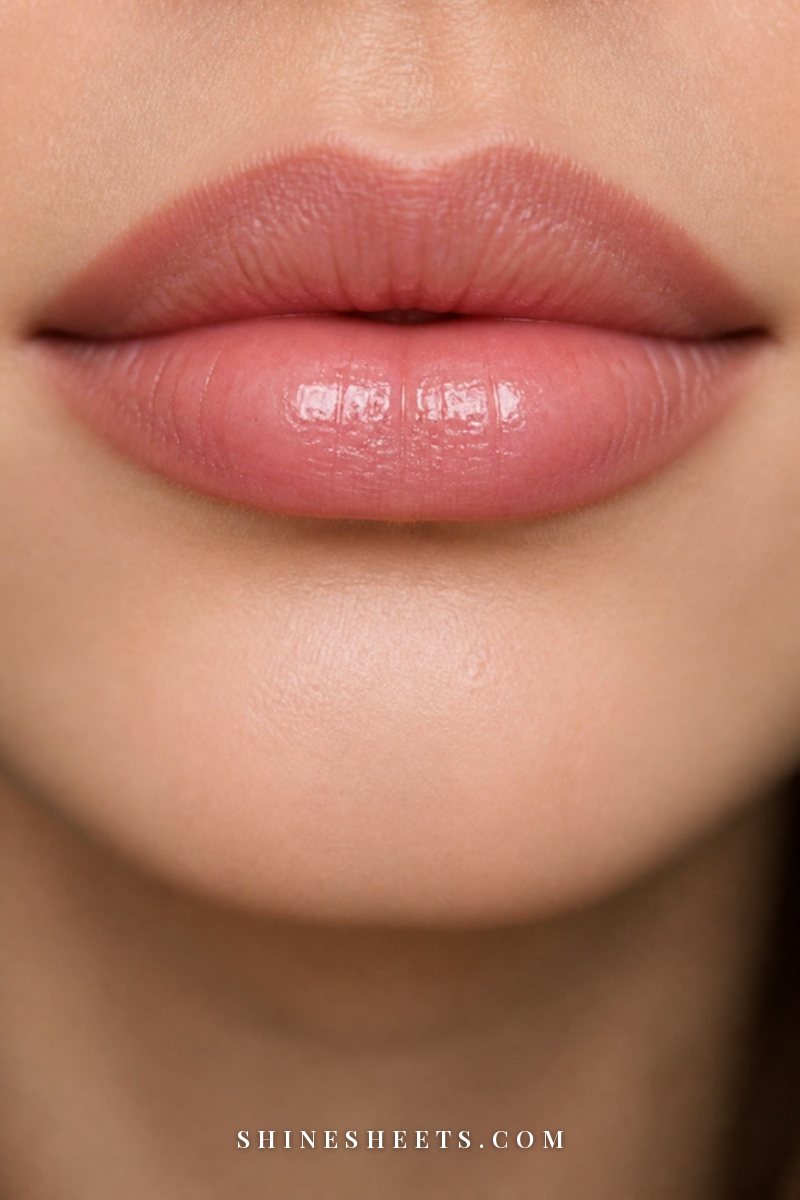
Sharpen your liner, sit in good daylight (facing a window is ideal), and relax your mouth. Don't stretch or smile while you line, or the shape changes the moment you relax. Work in small, light strokes rather than one long line.
Step 1: Find Your Cupid's Bow
Start at the two peaks of your upper lip. Place the liner tip just on the outer edge of each peak, no more than 1 mm above your natural line, and draw a tiny, soft "X" shape or two small strokes that slightly round out the peaks. Avoid making the peaks sharper or higher; softly rounded looks fuller and more natural.
Then draw from each peak a short way down toward the corners, staying on that same slightly-outside line for about a third of the way.
Step 2: Add a Little to the Center of Your Bottom Lip
Find the widest part of your lower lip. Draw a short, gently curved line just under your natural line, again only 1 mm out at most. This is the spot that gives the "pout," because it mirrors where light naturally hits a full bottom lip.
Keep this line short, roughly the width between the two peaks of your cupid's bow.
Step 3: Connect Toward the Corners
Now connect the center lines to the corners of your mouth, gradually moving back onto your natural lip line as you go. By the time you reach the outer third of each lip, you should be exactly on your natural line, or even a hair inside it.
This tapering is the whole trick. It keeps the corners crisp and lifted instead of heavy and droopy, and it stops the shape from looking cartoonish. If your corners naturally turn down a little, finish the upper line slightly inside the corner and the lower line meeting it right at the corner, which gives a subtle lift.
Step 4: Blend With a Lip Brush
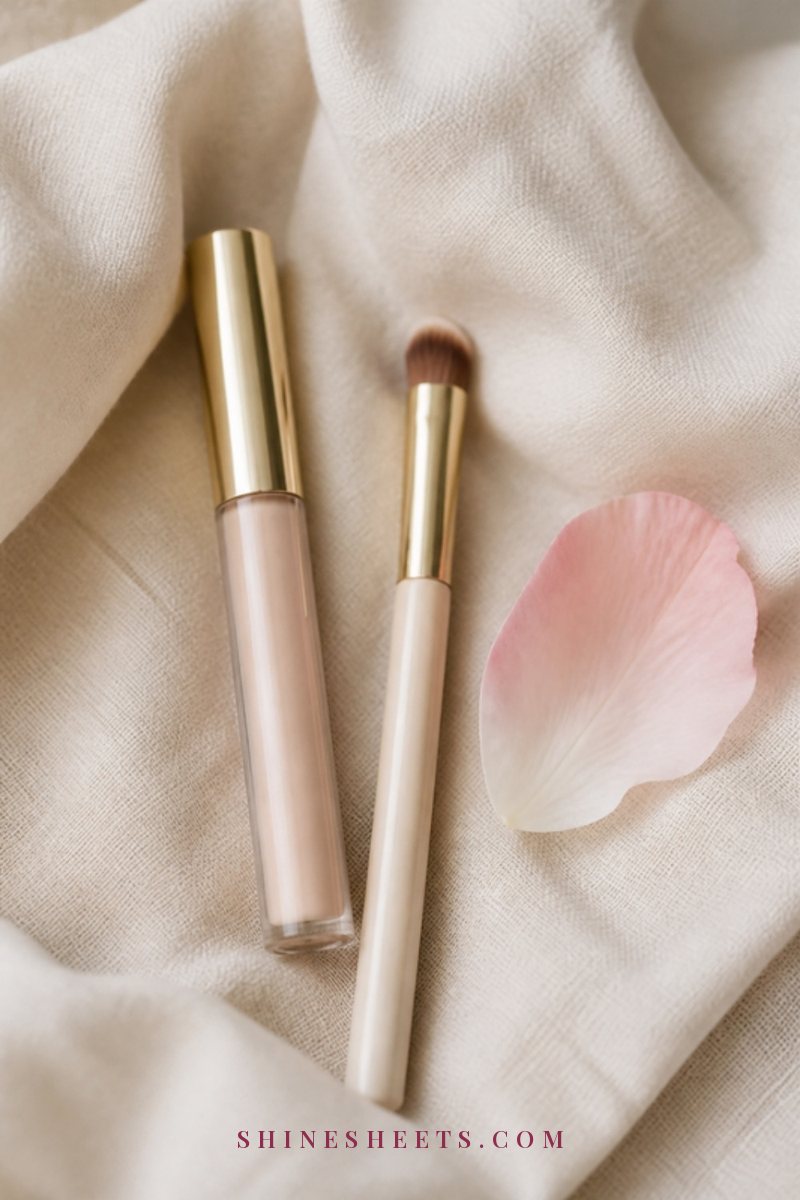
This is the step most people skip, and it's what makes overlining look natural. Take a small, firm precision lip brush and gently blur the liner inward, toward the center of your lips, with tiny strokes. You're softening the inner edge so there's no visible line between liner and lip.
Then lightly fill in your whole lips with the liner, using the side of the pencil, and blend again with the brush. A full base of liner helps your lipstick last and hides the transition between the overlined area and your natural lip.
Step 5: Fill and Top With Lipstick or Gloss
Apply your lipstick from the center outward, staying inside the liner. A satin or cream finish looks more natural than a flat matte when you overline, because a tiny bit of sheen adds dimension. Choose a shade that's the same as your liner or slightly lighter.
For the fullest-looking finish, tap a sheer lip gloss just on the center of your lower lip and the middle of your upper lip. Light hits that shine and makes lips appear plumper, without any extra liner. Not sure which lipstick shades suit you best? My guide on how to pick the best lipstick shades covers it by skin and hair tone.
Where To Overline for Your Lip Shape
Every mouth is different, so "overline the center" is only the starting point. Find your lip shape in the table below, and focus your extra millimeter where it will make the biggest difference.
| Lip shape | Where to overline | Where to stay on the line | Extra tip |
|---|---|---|---|
| Thin upper lip | Center of the upper lip and softly around the cupid's bow | Bottom lip and all corners | Use a touch of highlighter above the cupid's bow |
| Thin lower lip | Center of the lower lip in a soft, rounded curve | Upper lip, corners | Add gloss to the bottom lip only |
| Thin upper and lower lips | Centers of both lips, 1 mm at most | Outer thirds of both lips | Choose a satin or glossy finish, not matte |
| Uneven lips | Only the smaller side, matching it to the fuller side | The fuller side | Check symmetry with your mouth relaxed, not smiling |
| Flat or undefined cupid's bow | Two tiny soft peaks at the upper center | Everything else | Keep peaks rounded, not pointy |
| Downturned corners | Upper center only | Finish the upper line slightly inside the corners | Dab concealer under the outer corners |
| Already full lips | Nowhere, or just even out any gaps | The whole natural line | Use liner only to define and help lipstick last |
Screenshot this table and keep it next to your makeup bag until the shape becomes second nature. Most people get there within a week or two of practice.
Contour and Highlight Tricks for Fuller-Looking Lips
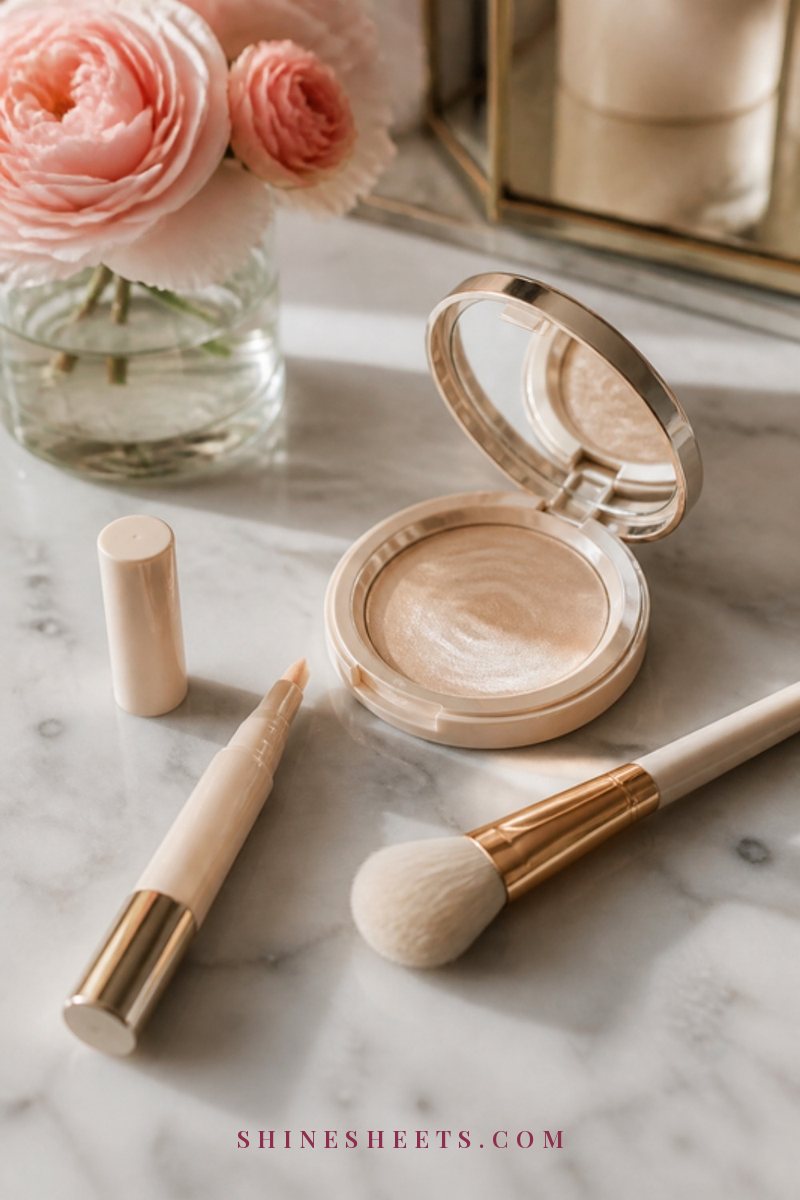
A little light and shadow around the lips can make them look fuller without going further outside the line. These are the same principles as face contouring, just tiny.
- Clean the edge with concealer. Use a concealer pen or a small flat brush with your regular concealer to trace just outside the liner. This sharpens the shape and erases any wobble. Blend it outward with your fingertip so there's no visible stripe.
- Highlight the cupid's bow. A tiny dot of highlighter or a light shimmer pressed just above the center of your upper lip catches the light and makes that area look lifted. Keep it subtle; one tap is enough.
- Shadow under the lower lip. A soft touch of matte bronzer or contour, just under the center of your bottom lip, adds a shadow that makes the lip look like it's sticking out a little more. Blend it until you can barely see it.
- Light the center. A slightly lighter lipstick or gloss pressed into the center of both lips creates a rounded, three-dimensional effect.
If you'd like to learn more about where light naturally hits your face, my guide on highlighter placement includes a little more on the cupid's bow trick.
How To Adapt Overlining for Different Lip Looks
The basic method stays the same, but each lip look asks for a slightly different touch. Here's how I'd adjust it for the four looks most of us reach for.
Everyday Nude Lips
This is the most forgiving look for overlining, because a nude liner melts into your natural lip color. Use a liner one shade deeper than your lips, overline the centers by the smallest amount, and fill everything in. Top with a tinted balm or a nude satin lipstick. If you're short on time, liner plus a dab of gloss in the center is a full look on its own. It pairs beautifully with a simple everyday makeup routine and takes under two minutes once you've practiced.
Classic Red Lips
Red is the least forgiving shade, because every wobble shows. Overline only at the cupid's bow, and keep the rest of the line exactly on your natural edge. Use a red liner that matches your lipstick, not a nude one, and always clean the edge with concealer afterward. This is the Old Hollywood approach: a crisp, slightly rounded bow and perfectly neat corners. It looks expensive precisely because it's precise.
Glossy Lips
Gloss naturally makes lips look fuller, so you need even less overlining. Line and fill with a liner close to your lip color, then apply gloss only to the inner two-thirds of your lips, leaving the edges matte. That keeps the gloss from sliding over the line and creates a soft, juicy center that reads as volume.
Berry and Deep Shades
Deeper shades make lips look slightly smaller, so a careful overline at the centers helps balance them. Choose a liner in the same family as your lipstick, blend the inner edge well, and blot between layers so the color doesn't feather. A touch of highlighter on the cupid's bow keeps a deep lip from looking flat.
Overlining Mistakes To Avoid
These are the ones I see most often, and they're all easy to fix once you know them:
- Overlining the corners. This makes lips look wider and heavier, not fuller. Always taper back to your natural line in the outer third.
- Choosing a liner that's too dark. A deep brown liner with a nude lipstick creates a visible ring, especially as the lipstick fades. Stick to one shade deeper than your lips.
- Going too far out. More than about 1–2 mm starts to look drawn on in daylight, even if it looks great in a flattering bathroom light. Check your lips near a window before leaving.
- Harsh, unblended lines. Always blend the inner edge with a brush. A crisp outer edge with a soft inside is what reads as natural.
- Lining a smiling mouth. Your lips change shape when you stretch them. Line with your mouth relaxed and slightly parted.
- Using a flat matte over a big overline. Very matte lipsticks highlight the border. A satin finish or a dab of gloss in the center is more forgiving.
- Lining over dry, flaky lips. The liner catches and looks patchy. Prep first.
If you made one of these mistakes, don't start over. Dip a cotton swab in a little micellar water, wipe only the part that went wrong, let it dry for a few seconds, and redraw that section. A small fix keeps the rest of your lip look intact, and it's a lot faster than removing everything. Most of the time, a dab of concealer around the edge is all it takes to tidy things up.
How To Make Overlined Lips Last
Nothing is more frustrating than a perfectly shaped lip that disappears after your first coffee. A few habits keep it in place for hours:
- Fill your whole lip with liner as the base, not only the edges. Liner is drier and grips better than lipstick, so it stays even when the lipstick fades.
- Blot and layer. Apply lipstick, press a tissue between your lips, then apply a second thin layer. This builds staying power without heaviness.
- Set the edge. Lightly press a tissue over your lips and dust a little translucent powder through it, just on the edges.
- Keep gloss to the center. Gloss near the edges can make liner slip and blur.
- Carry your liner for touch-ups. After eating, re-trace just the center of both lips and blend with your fingertip. It takes 20 seconds.
As with any new lip product, do a quick patch test on your inner wrist first, especially if you have sensitive skin. If your lips get irritated, swollen or itchy, stop using the product, and if the reaction doesn't settle, check in with a dermatologist.
Final Thoughts
Overlining your lips naturally is really about restraint: a millimeter in the center, a soft blend, a little light, and corners left exactly where nature put them. Once you see how small the change needs to be, it becomes one of the quickest ways to look polished.
Give yourself a few practice days in good daylight, and soon your hand will know the shape by heart. Your lips, just a little more you.