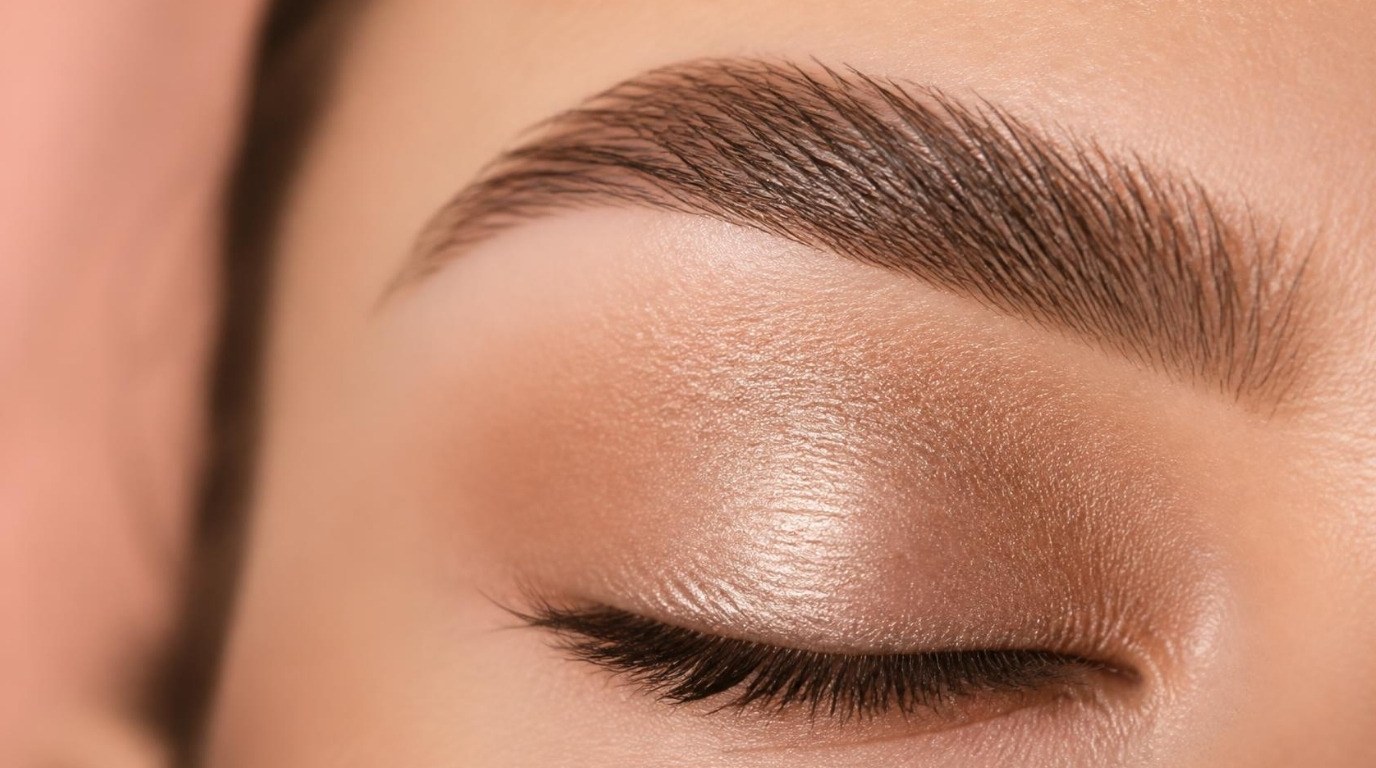
Fluffy brows aren't about having more hair than you were born with. They're about pointing the hair you already have in the right direction. When every little hair is brushed up and set in place, light passes through the brow instead of bouncing off a flat, combed-down line, and that's what makes them look soft, full and a bit undone in the prettiest way.
The best part is that the look forgives a lot. You don't need a sharp outline or a perfect arch. You need a spoolie, the right hold for your hair type and about three minutes. It took me a while to stop drawing my brows on and start styling them instead (my shiny T-zone kept turning a pencil line into a smudge by lunch), and that switch changed everything.
This guide covers exactly how to get fluffy brows step by step: what the look is, who it suits, how to choose between clear gel and brow soap, how to fill gaps with hair-like strokes, a no-chemical laminated look, fixes for the most common problems and how to keep your brows healthy in between.
What Are Fluffy Brows?
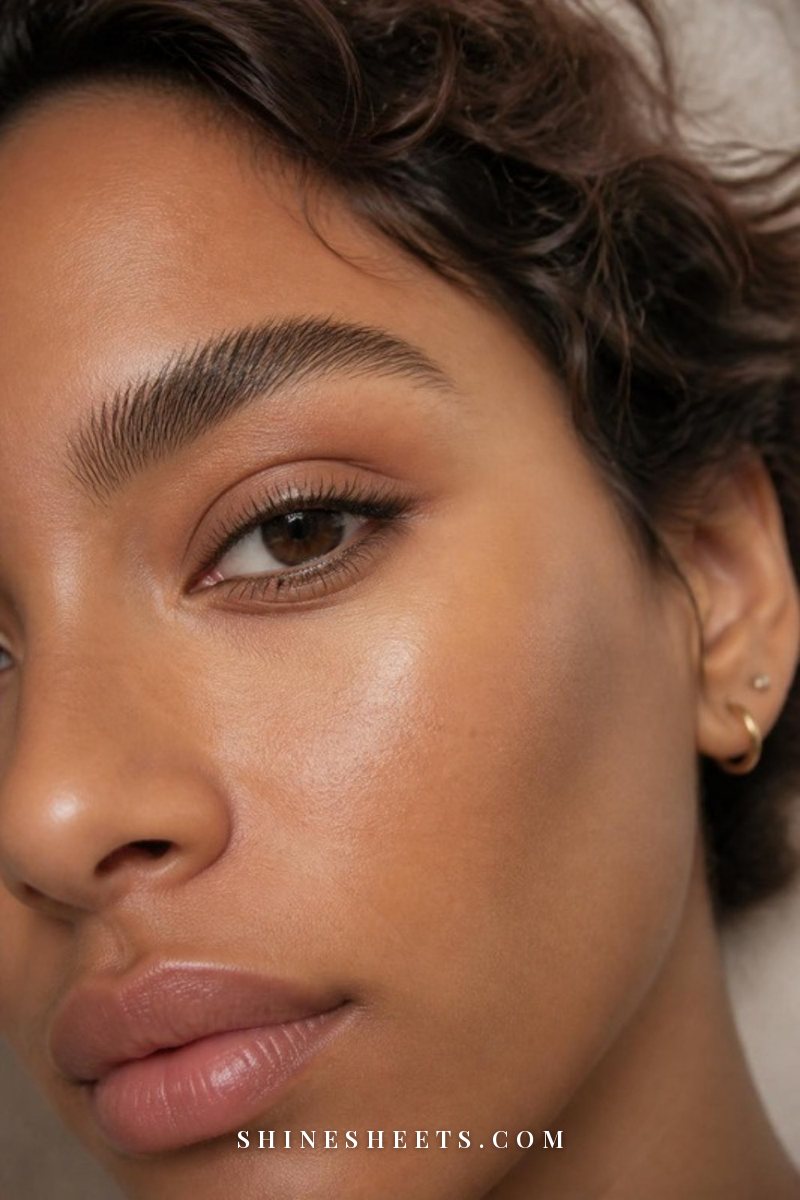
Fluffy brows are natural brows brushed upward and slightly outward, then set so the hairs stay lifted. They look full and textured, with visible individual hairs and soft edges instead of a crisp, filled-in block.
Think of them as the midpoint between untouched brows and a full sculpted look. Compared to a classic filled brow, fluffy brows are:
- Brushed up, not across. The front hairs point toward your hairline, the middle angles up and out, and only the tail follows a smooth line.
- Textured, not solid. You can see skin between the hairs, and that's on purpose.
- Soft at the front. There's no hard starting edge, so the brow fades in gently from the bridge of your nose.
- Set, not stiff. They hold their shape all day but still move a little if you touch them.
If you prefer a more polished, defined shape, my guide to natural brows you can fill, shape and set in 5 minutes is a lovely middle ground. Fluffy brows simply lean further into texture.
Who Fluffy Brows Suit (and a Few Honest Caveats)
Here's the good news: almost everyone can wear some version of fluffy brows. The look adapts to your hair, not the other way around. A few things are helpful to know before you start, though:
- Medium to thick brows are the easiest canvas. The hair is already there, it just needs direction and hold.
- Sparse or thin brows can absolutely do this, but you'll rely more on hair strokes and tinted gel. If thinness is your main worry, my guide on how to make thin eyebrows look fuller pairs perfectly with this one.
- Very short brow hairs (common after years of overplucking) won't lift much yet. Brush them up anyway, because the direction trains them over time.
- Strong, angular face shapes often look softer with fluffy brows. Rounder faces can keep a little more lift in the arch so the brow doesn't read as flat. Not sure which one you have? This guide to different face shapes and how to tell yours takes two minutes.
- Mature brows often get sparser and lighter, and fluffy brows are kind to them because the soft texture looks more natural than a heavy line.
One gentle caveat: the look is meant to be a little imperfect. If you love symmetry and sharp edges, you may prefer a softer version (brushed up at the front only, with a neat, defined tail). That's still fluffy brows. It just has better manners. If you are not sure which arch suits you, my guide to eyebrow shapes for every face shape makes it easy.
What You'll Need
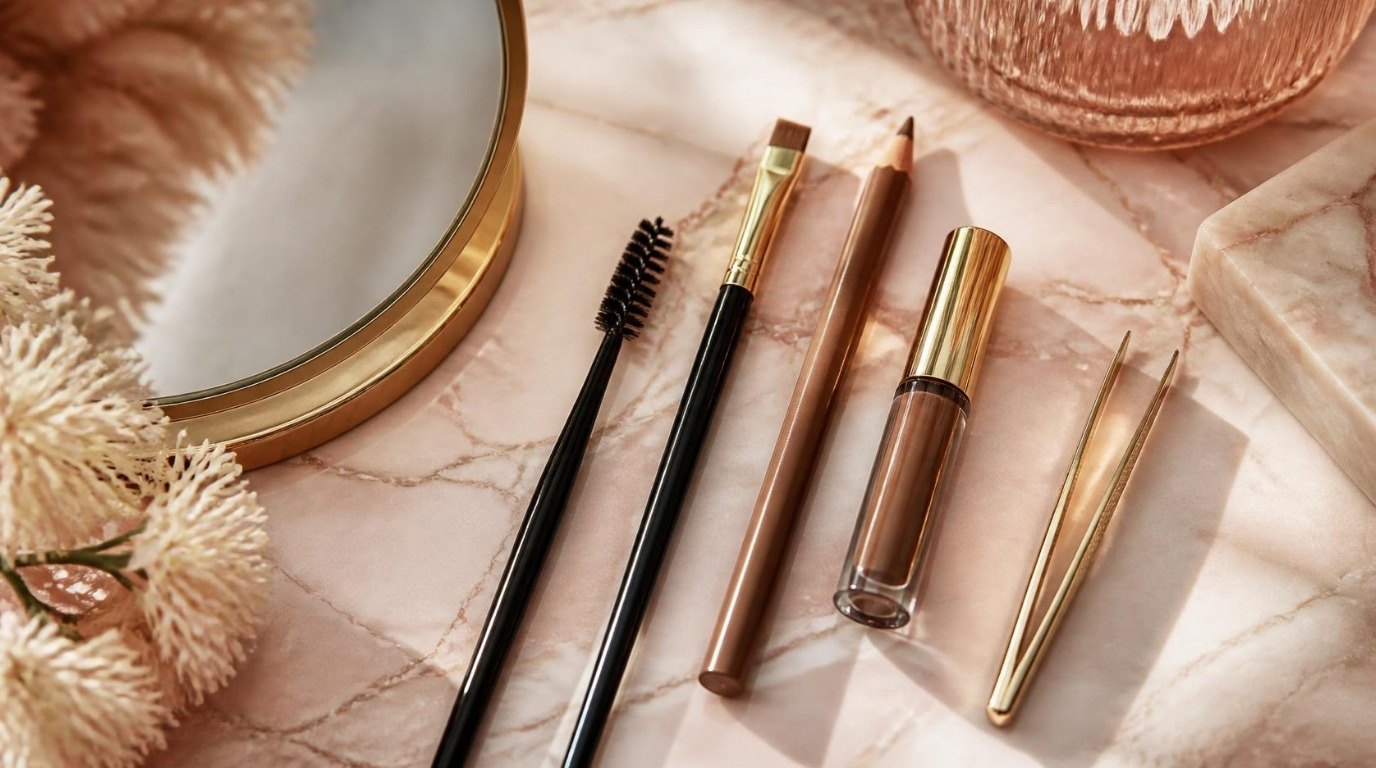
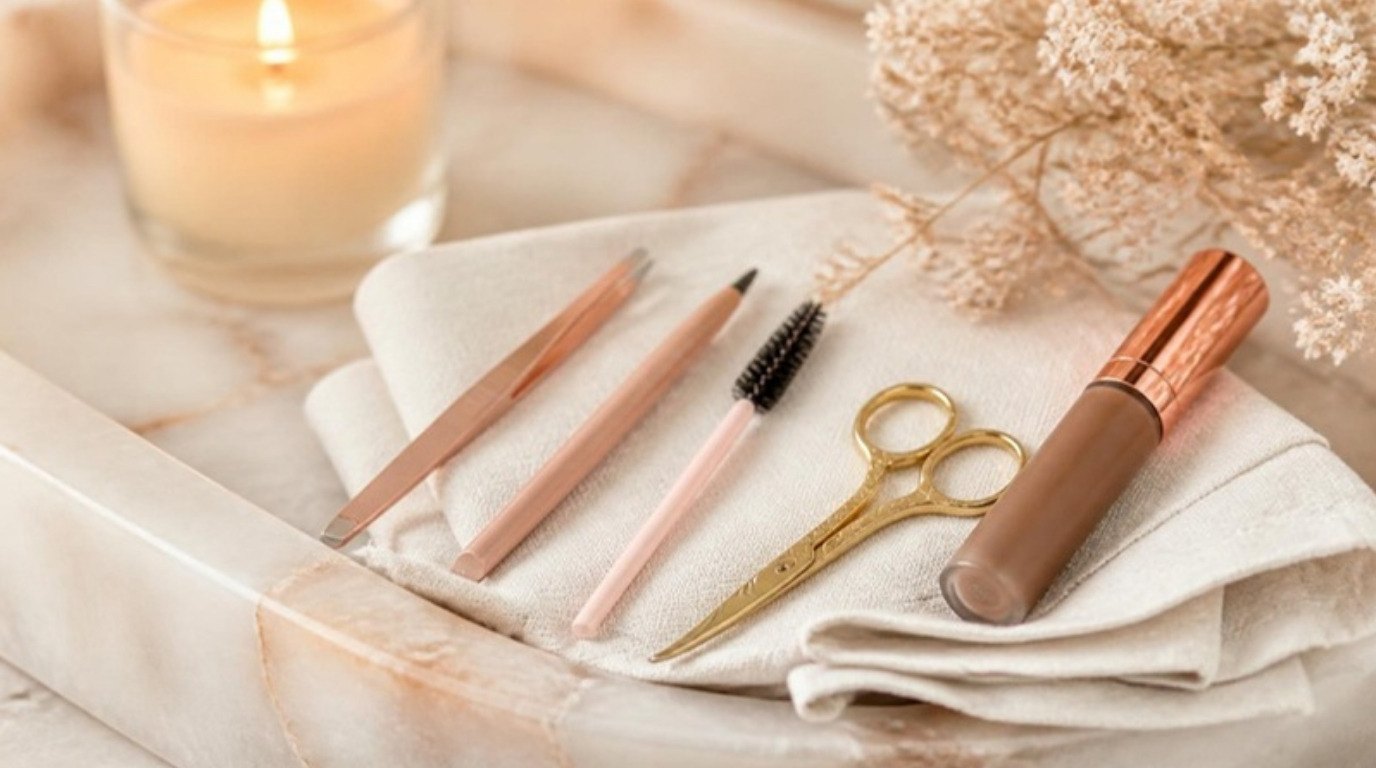
You don't need a whole brow wardrobe. Most days I'd reach for two or three of these, depending on how much my brows need:
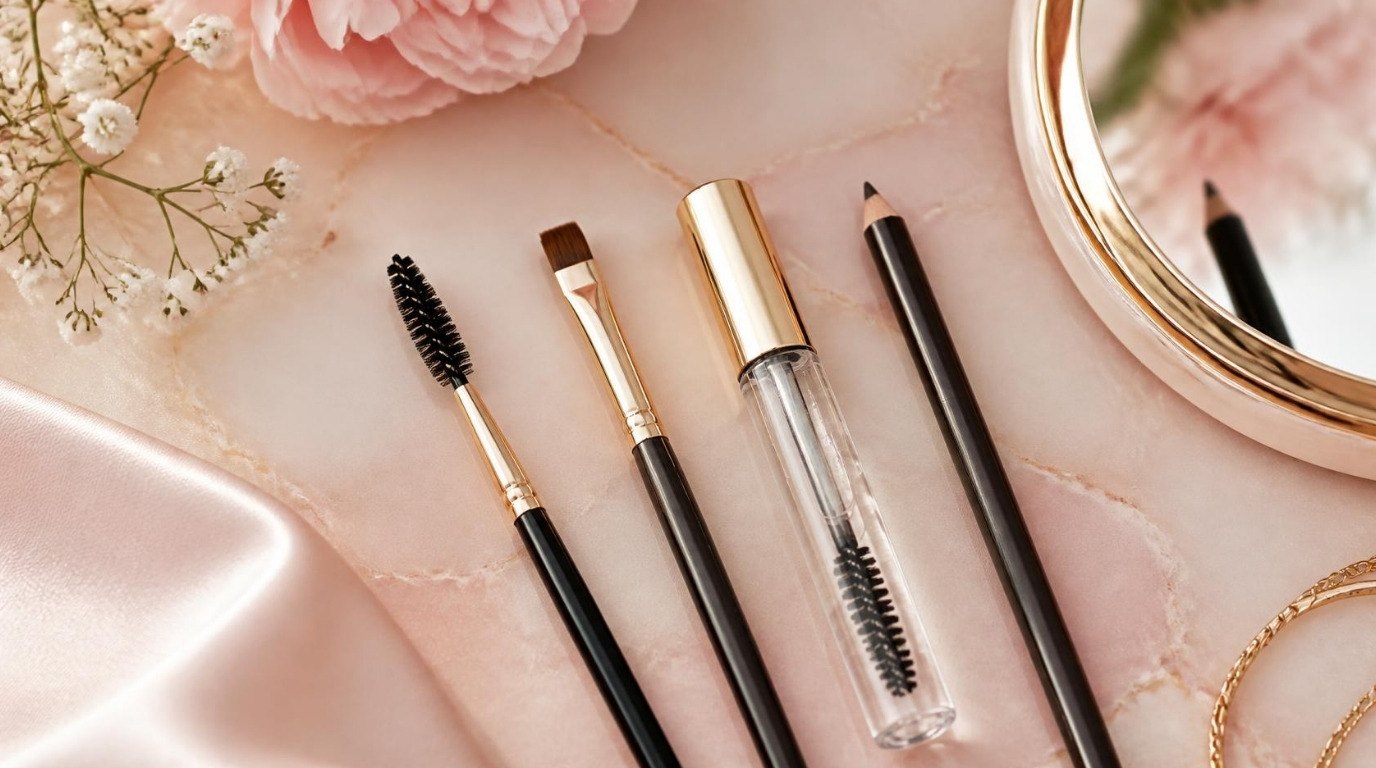
- A spoolie. The most important tool, and the cheapest. A set of spoolie brushes means you can keep one in your bag, one by the sink and one that's always clean.
- A hold product. Either a clear gel or a brow soap (more on choosing in the table below).
- A fine pencil. For filling gaps with tiny hair-like strokes, not for outlining.
- A tinted gel (optional). Adds color and grip to light, fine or sparse hairs.
- A tiny bit of concealer (optional). Only if you want to clean up under the tail.
That's it. If you're building a simple kit from scratch, my everyday makeup routine for beginners shows where brows fit into a quick morning without adding extra time.
The Brow Product Picker
This is the part that saves you money. The right product depends on your brow hair, not on what's trending. Find your row, start with that one product and add more only if you need it.
| Your brows | Best pick | Why it works | Maybe skip |
|---|---|---|---|
| Thick, coarse or stubborn | Brow soap | Strongest hold, keeps heavy hairs lifted all day | Light clear gels (the hairs drop by noon) |
| Full but unruly | Clear gel, strong hold | Grips without adding color you don't need | Pomade (makes full brows look heavy) |
| Sparse with gaps | Micro pencil + tinted gel | Pencil fakes hairs, gel coats the real ones so they look thicker | Brow soap alone (it can't fill gaps) |
| Fine and soft | Tinted gel | Adds grip and a touch of volume to each hair | Heavy soap layers (they clump fine hairs) |
| Very light or blonde | Tinted gel one shade darker | Makes hairs visible without a drawn-on look | Dark pencil (too harsh against light hair) |
| Oily brow area | Brow soap or strong clear gel | Waxier formulas resist oil better than light gels | Powder (slides off and looks patchy) |
| Very short on time | Tinted gel only | Color, shape and hold in one step, under a minute | Multi-step routines on rushed mornings |
Screenshot it if you like. Pomade gets a "maybe skip" for most fluffy looks because it builds a solid shape, and solid is the opposite of what we want here. A tiny amount on a fine brush works for filling gaps, but use it sparingly.
How To Get Fluffy Brows: 7 Steps
Here's the full routine. On a normal day you might do steps 2, 3 and 7 only. On days when you want them extra full, do all seven. Either way, it shouldn't take longer than five minutes.
1. Start With Clean, Dry Brows
Brow products grip hair, not moisturizer. If your skincare is still damp or there's a film of cream sitting on your brows, the hairs will slide right back down.
- Apply skincare, then wait two or three minutes.
- Run a cotton pad or a clean spoolie through your brows to lift off any leftover cream.
- If you wear foundation, keep it light over the brows. A thick layer of base makes the hairs clump together.
2. Brush Every Hair Straight Up
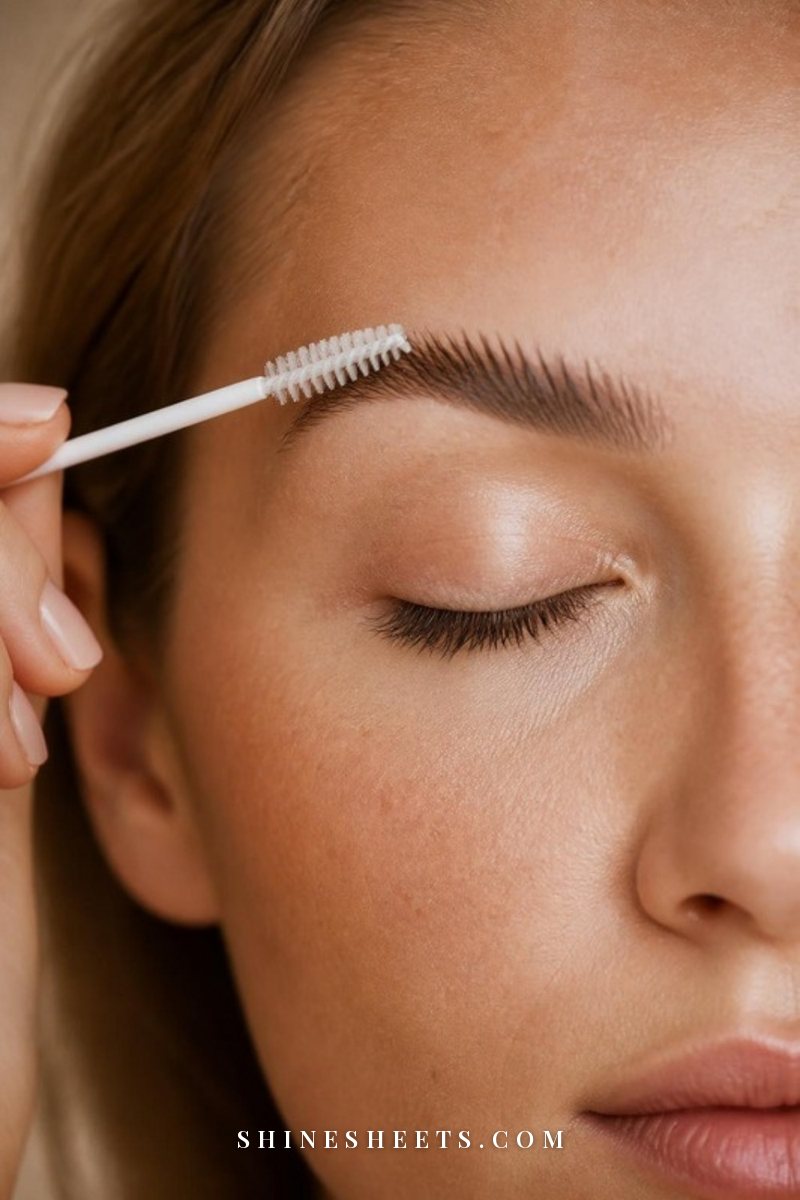
This is the step that does most of the work. With a clean spoolie, brush the brows straight up, root to tip, and look at the shape before you add anything.
- Front (the first third): brush straight up toward your hairline.
- Middle: brush up and slightly outward at a gentle diagonal.
- Tail: brush outward toward your temple, following the natural line.
Brushing up first also shows you where your real gaps are. Many "sparse" spots disappear once the hairs are standing up and spreading out.
3. Choose Your Hold: Clear Gel or Brow Soap
Both lift and set, but they behave differently. Check the picker table above, then use the method that matches your product.
Clear gel: wipe most of the product off the wand on the rim of the tube (too much gel makes brows wet and crunchy). Brush up through the front, then up and out through the middle. A strong-hold clear brow gel is a pick for most brow types, as long as it dries flexible rather than shiny.
Brow soap: mist a clean spoolie with a tiny spray of water or setting spray, rub it across the soap two or three times and brush up through the brows. Then press the hairs into place with the flat side of the spoolie. A brow soap kit that comes with its own spoolie is easiest for beginners. Look for a clear, fragrance-free formula and patch test first if your skin is sensitive, and keep it well away from your lash line.
A small honest admission: brow soap has a learning curve. The most common first attempt uses far too much water, and the brows dry white and flaky. Less water, less product, more brushing is the formula.
4. Fill Sparse Spots With Hair-Like Strokes
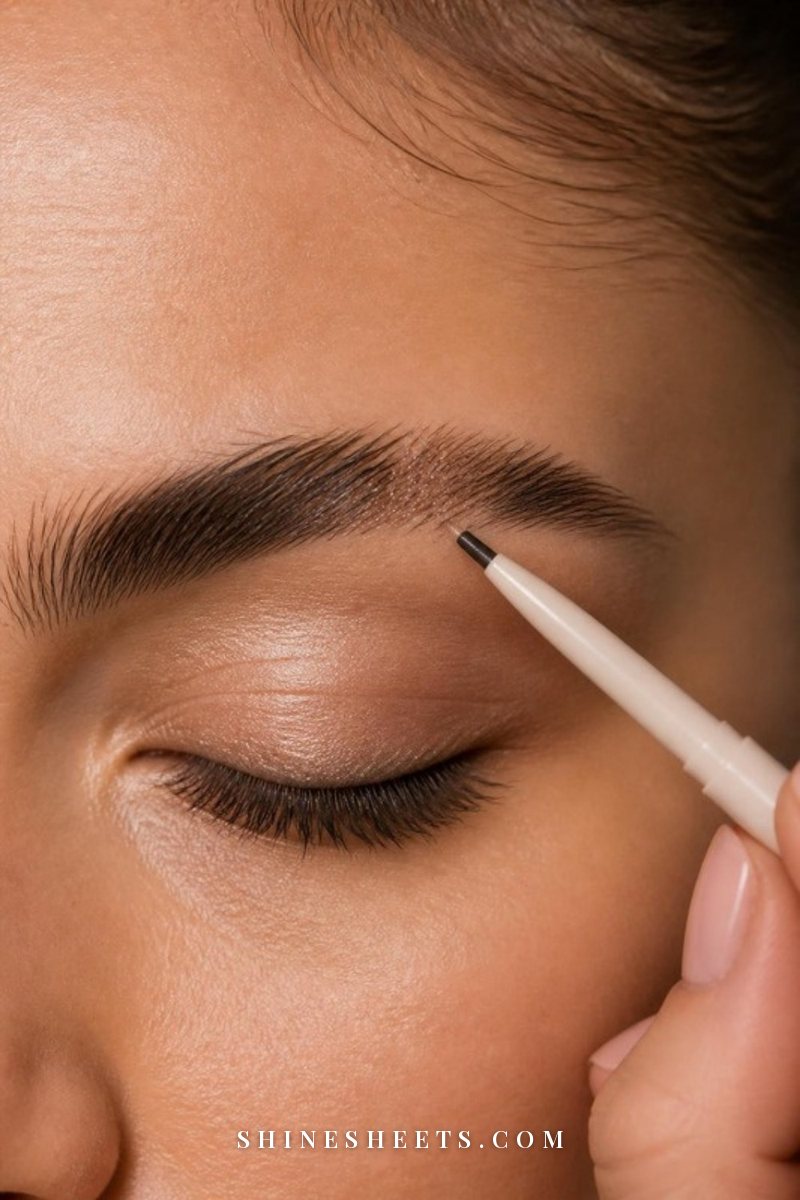
Fill only after the brows are brushed up, because now you can see the gaps clearly. The goal is to draw hairs, not shapes.
- Use a micro brow pencil one shade lighter than your hair for the front, and your matching shade for the middle and tail.
- Hold the pencil near the end, not the tip, so your pressure stays light.
- Draw short, flicky strokes about the length of a real brow hair, in the same direction you brushed: up at the front, up and out in the middle.
- Leave space between strokes. Two or three hairs in a gap is usually enough.
- Brush gently through with the spoolie once to soften any line that looks drawn.
Skip the outline completely. An outline is the fastest way to turn fluffy brows into a filled-in block.
5. Add Tinted Gel for Depth
If your brows are fine, light or sparse, a coat of tinted gel adds color to every hair and makes each one look thicker. Use it on top of soap or clear gel once it's dry, or on its own for a one-step look.
Choose a tinted brow gel with a small, tapered brush so you can coat the hairs without painting the skin. Wipe the brush first, then use light upward flicks. If you have very dark hair, a clear gel is often enough and tinted gel can look heavy.
6. Press and Shape the Front
Once the hold product is almost dry (about 30 seconds), press the front hairs gently with the flat side of the spoolie or a clean fingertip. This gives the brow a soft, laminated feel instead of hairs sticking straight out like a brush.
If the front looks too tall or spiky, angle the inner hairs slightly outward. Brows that point straight up all the way through can look surprised, so the diagonal in the middle matters.
7. Keep the Tail Neat
This is the detail that makes fluffy brows look intentional rather than messy. The front and middle can be textured, but the tail should be smooth and tidy.
- Brush the tail outward along its natural line, not up.
- Use a tiny bit of your gel or soap to keep it flat and sleek.
- If the tail is sparse, add two or three pencil strokes to finish it, ending roughly in line with the outer corner of your eye.
- Optional: tap a little concealer under the tail with a fingertip to clean up the edge.
A neat tail with a fluffy front is the classic balance. It's also why this look works so beautifully with clean girl makeup and fresh, minimal skin.
The Laminated Look at Home (No Chemicals)
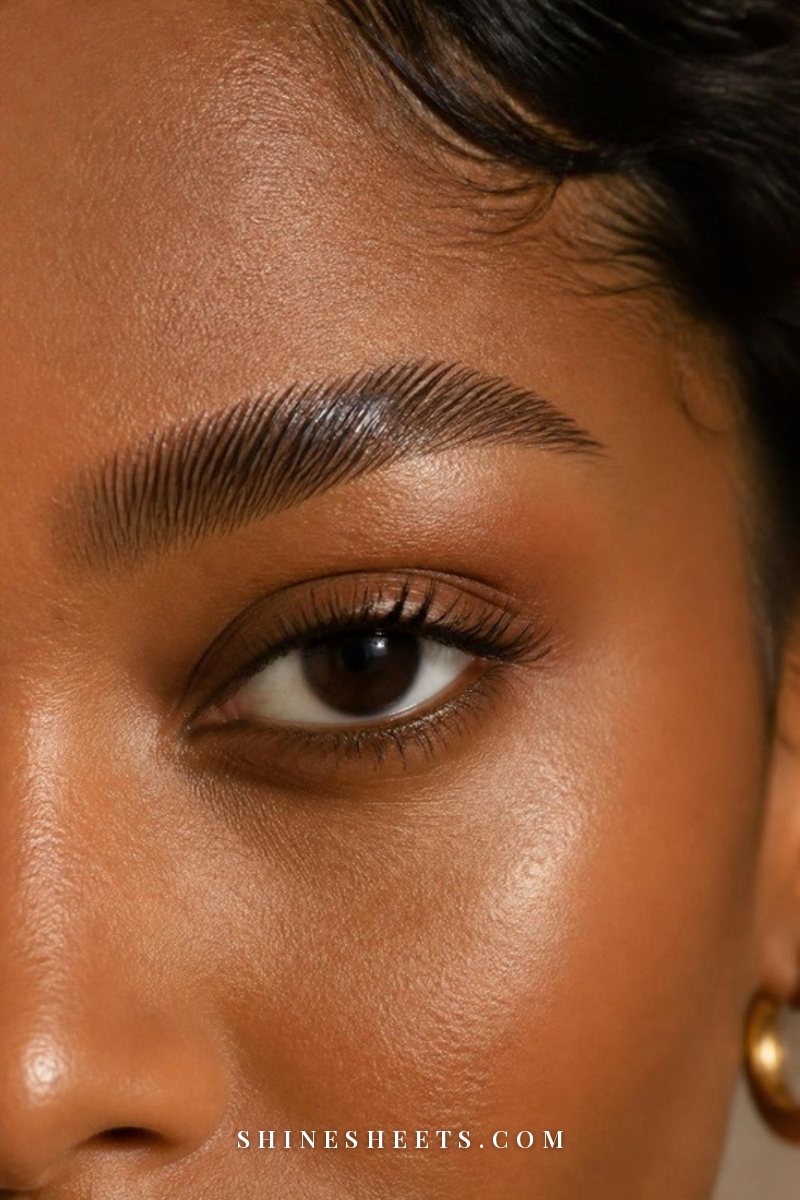
Brow lamination is a salon treatment that uses chemical solutions to reshape the hairs for several weeks. You can get a very similar, glossier version for a day with just your hold product and a little patience. Here's the routine:
- Brush the brows up with a clean spoolie.
- Apply brow soap or a strong clear gel generously to the front and middle, coating every hair from root to tip.
- Brush straight up, then press the hairs flat against the skin with the side of the spoolie, so they lie up and slightly outward.
- Wait 60 seconds without touching.
- Add a second thin layer of clear gel on top for shine and extra hold.
- Comb the tail outward and set it smooth.
That's six steps and about three minutes. The look is sleeker and more defined than everyday fluffy brows, which makes it lovely for evenings or photos. (I think of it as the modern answer to Old Hollywood polish, minus the pencil-thin arch.)
A quick safety note: at-home lamination kits with perming solutions are a different thing entirely. They work close to your eyes, so if you ever try one, follow the instructions exactly, patch test 48 hours ahead and never use one on irritated skin. The no-chemical version above gives you most of the effect with none of that risk.
Fluffy Brow Fixes: 4 Common Problems
Most fluffy brow frustrations come down to too much product or the wrong one. Here's how to fix the four I hear about most.
They Look Stiff or Crunchy
You've used too much hold. Brows should look soft, not lacquered.
- Wipe the gel wand on the tube rim before every use.
- With soap, use half the product and brush longer.
- Already done and too stiff? Brush through gently with a dry spoolie to break up the hold.
They're Flat by Noon
Usually this is oil, a light formula or skincare underneath. My combination skin with its shiny T-zone is the classic culprit here.
- Let skincare sink in fully before you start.
- Switch to brow soap or a stronger gel (check the picker table).
- Press a little translucent powder over the brow area with a fluffy brush before your hold product, then brush the powder through.
- Keep a spoolie in your bag for a five-second midday brush-up.
The Gaps Still Show
Brushing up spreads the hairs, which sometimes reveals more skin.
- Fill with pencil strokes after brushing up, not before.
- Add tinted gel on top so the real hairs look thicker.
- Keep the front soft. A slightly sparse front looks natural, while a sparse tail looks unfinished.
They Look Messy Instead of Fluffy
This almost always comes down to the tail or too many directions.
- Neaten the tail first (step 7 above).
- Make sure the middle angles up and out, not straight up.
- Pluck only obvious strays well below the brow. Leave anything close to the shape alone, because those hairs give you the fullness.
Keeping Your Brows Healthy
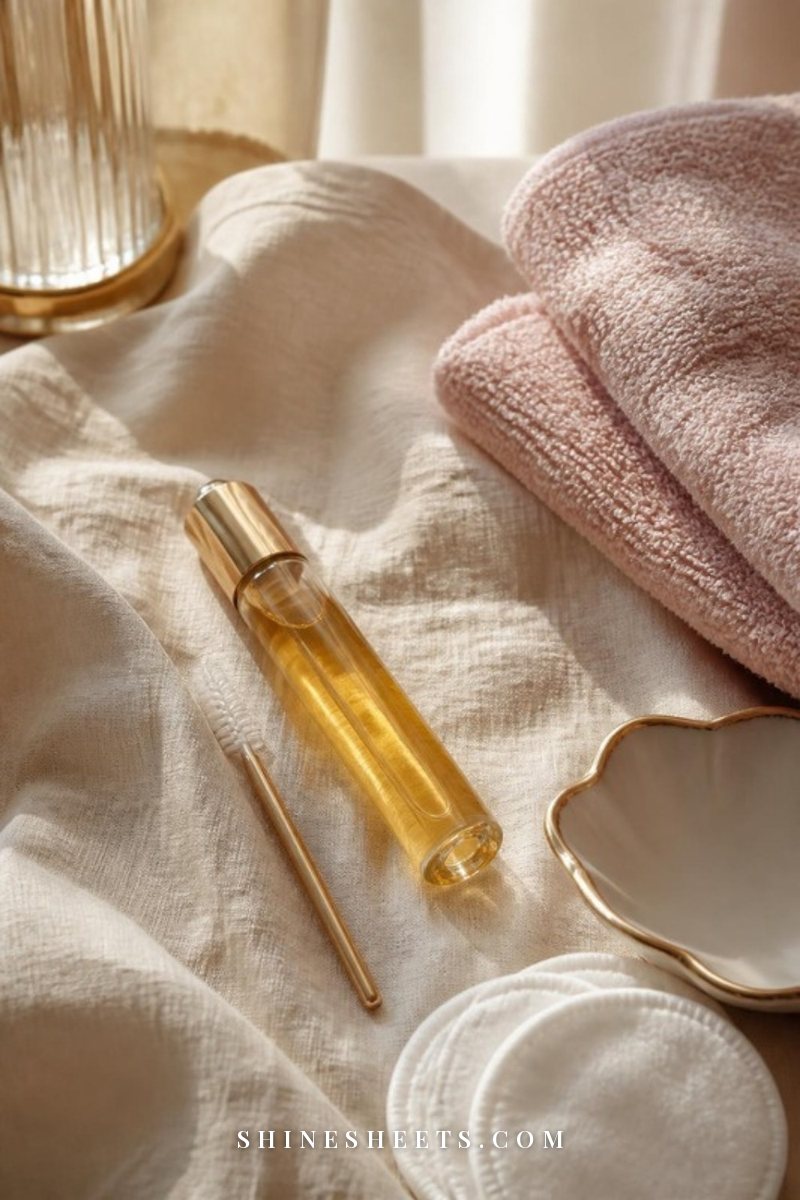
Fluffy brows depend on having hair to brush, so a little care between makeup days goes a long way. None of this is dramatic, it's mostly about leaving your brows alone in the right ways.
- Remove brow products every night. Gel and soap can sit on the hairs and skin. Use your cleanser or a gentle oil cleanser and massage the brows lightly in the direction they grow.
- Brush them daily. Even on no-makeup days, brushing upward trains the hairs and gently stimulates the area.
- Put down the tweezers. If you want fuller brows, give them eight to twelve weeks of no plucking except obvious strays far from the shape. The awkward phase passes.
- Try a nightly oil, gently. Some people like a drop of castor oil for conditioning. A castor oil roll-on makes it easy to apply a thin layer without dripping toward your eyes. To be honest about it, there's no strong research proving it grows hair, but it can make brows feel softer and look glossier. Patch test first, and stop if your skin reacts. My post on castor oil benefits for beauty, skin and hair covers more.
- Clean your spoolies weekly. Old product and oil build up and make brows clump. Wash them with gentle soap and warm water, then let them dry fully.
- Replace brow gel every few months. If it smells off or the texture changes, it's time.
A kind note: if your brows thin suddenly, fall out in patches or the skin underneath is red, flaky or itchy, it's worth talking to a doctor or dermatologist. Brow changes can sometimes be linked to things like thyroid issues or skin conditions, and those deserve proper care, not more pencil.
Final Thoughts
Fluffy brows are one of the kindest makeup looks out there. They work with the brows you have, they forgive a shaky hand and they look better a little imperfect.
Start with a spoolie and one hold product from the picker table, brush up, keep the tail neat and give yourself a week to find your rhythm. By the end of it, your brows will feel less like something you draw on and more like something that was always yours.