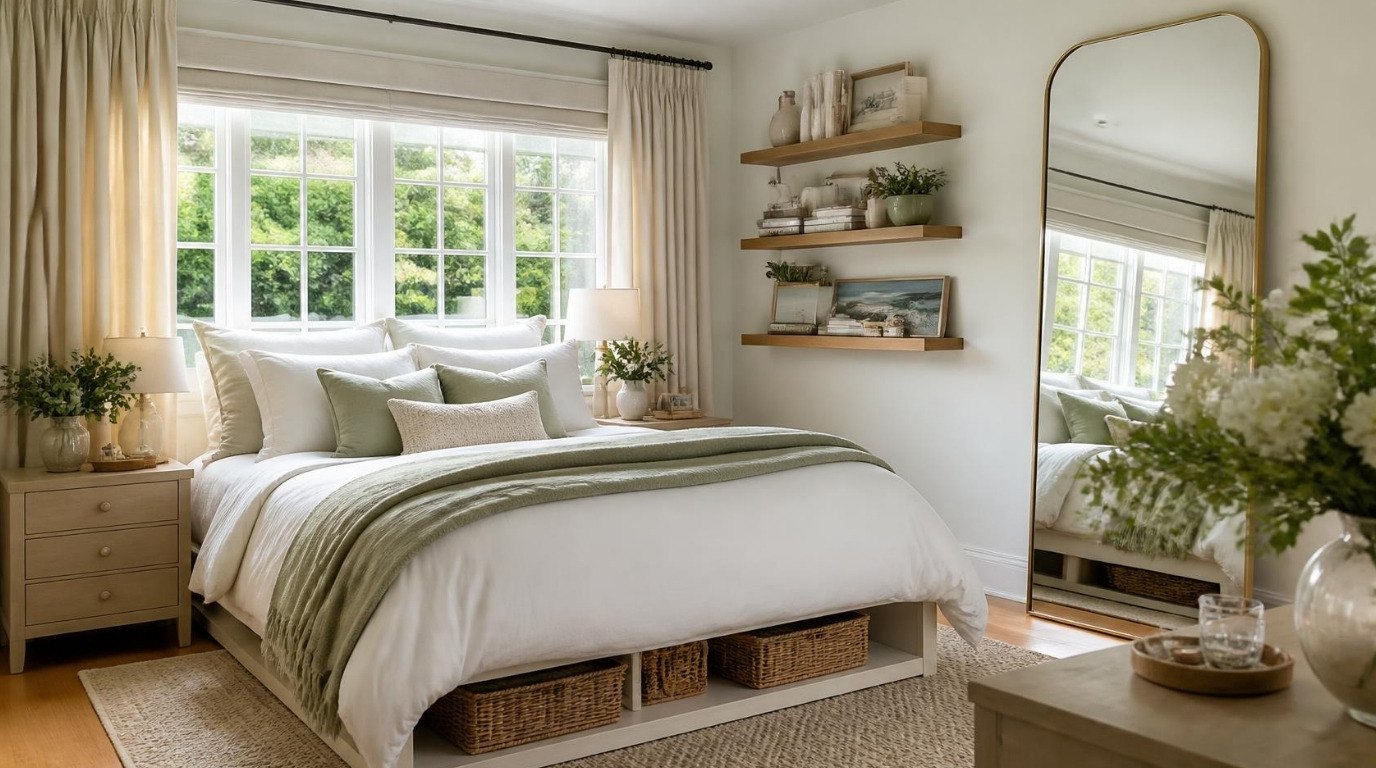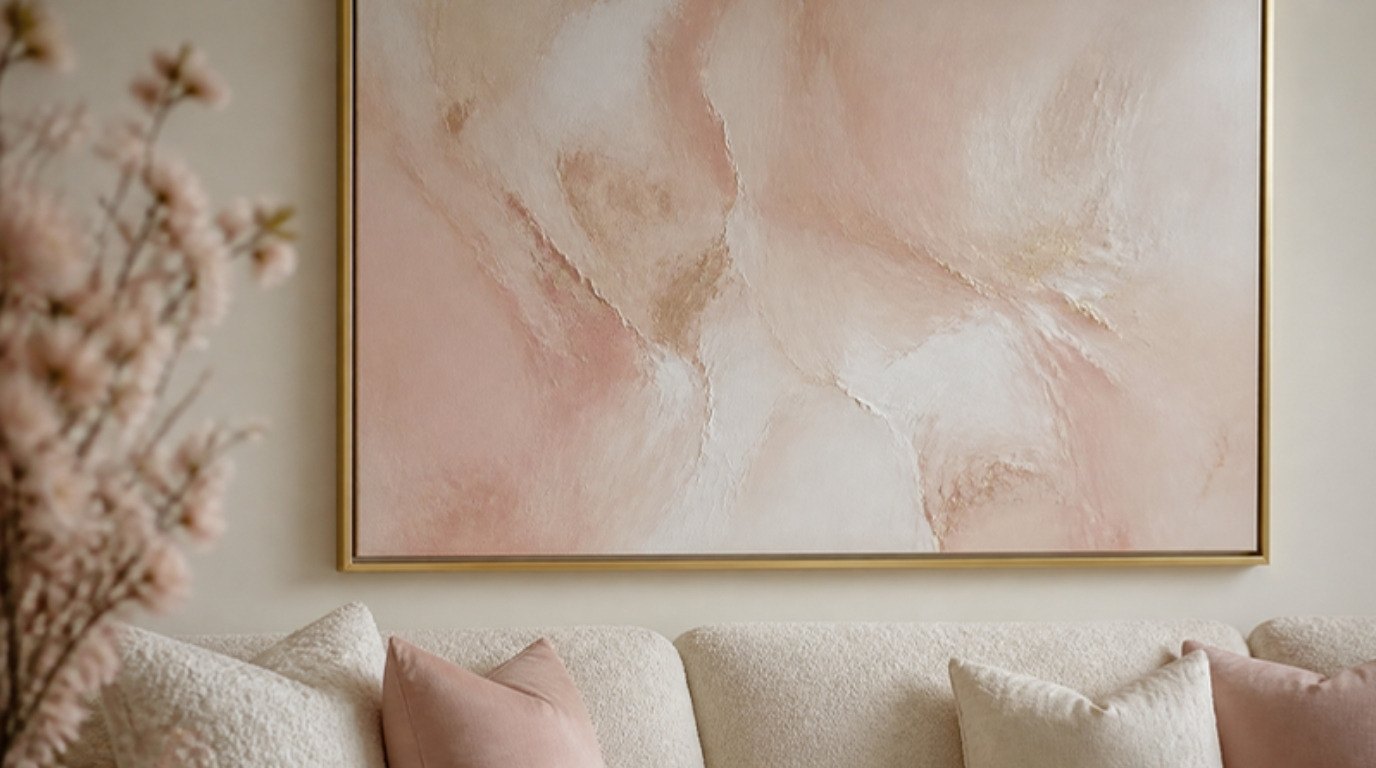
Most art that looks "off" on a wall isn't the wrong art. It's hung at the wrong height, the wrong size for the furniture below it or with awkward gaps between frames. Fix those three things and even an inexpensive print can look like it was placed by an interior designer.
The lovely part is that the rules are simple, and they're mostly just numbers. Once you know a few measurements, you can stop second-guessing every nail hole. Almost everyone hangs things too high at first (I certainly did), and learning the eye-level rule is the change that makes walls look calmer overnight.
This guide covers how to hang art and frames so they look right: the eye-level rule, how high to hang above a sofa, bed or mantel, how big your art should be, spacing for groups, planning with paper cutouts, choosing hardware by weight, renter-friendly options, step-by-step hanging, leveling tricks and an art hanging measurements cheat sheet to keep on hand.
Grab a tape measure and a pencil. Let's make your walls feel finished.
The Golden Rule: Hang Art at Eye Level
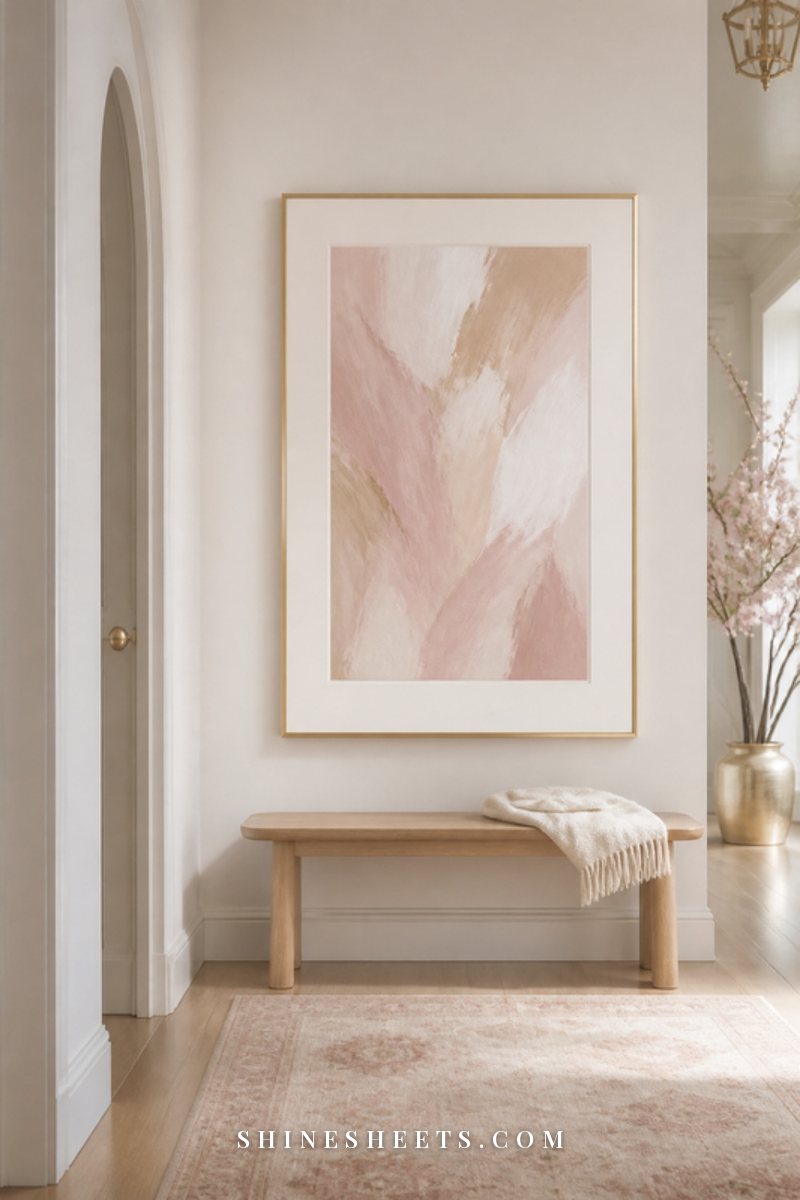
The most common art mistake by far is hanging pieces too high. Galleries and museums typically hang art so the center of the piece sits about 57 to 60 inches from the floor, which is roughly the average person's eye level. It's a wonderful default for most homes.
Here's the simple formula for a single piece with a hanging wire or bracket on the back:
- Start at 57 inches (or up to 60 if your ceilings are high or your household is tall). That's where the center of the art should be.
- Add half the height of the frame. For a 24-inch-tall frame, add 12 inches. You're now at 69 inches, the top of the frame.
- Subtract the drop. Pull the hanging wire taut toward the top of the frame and measure the distance from the wire to the top edge. If it's 3 inches, subtract 3. Your nail goes at 66 inches.
Formula card: nail height = 57 inches + (frame height ÷ 2) − wire drop. Write it on a sticky note and keep it with your hammer.
For a group of frames, treat the whole arrangement as one big piece: the center of the entire group sits at 57 to 60 inches.
How High To Hang Art Above Furniture
The eye-level rule changes once furniture comes into the picture. When art hangs above a sofa, bed or dresser, it should relate to that piece, not float on its own. The aim is for the art and furniture to look connected, like one composition.
Above a Sofa

Leave about 6 to 10 inches between the top of the sofa back and the bottom of the frame. Any more and the art starts drifting away; any less and people will bump it with their heads.
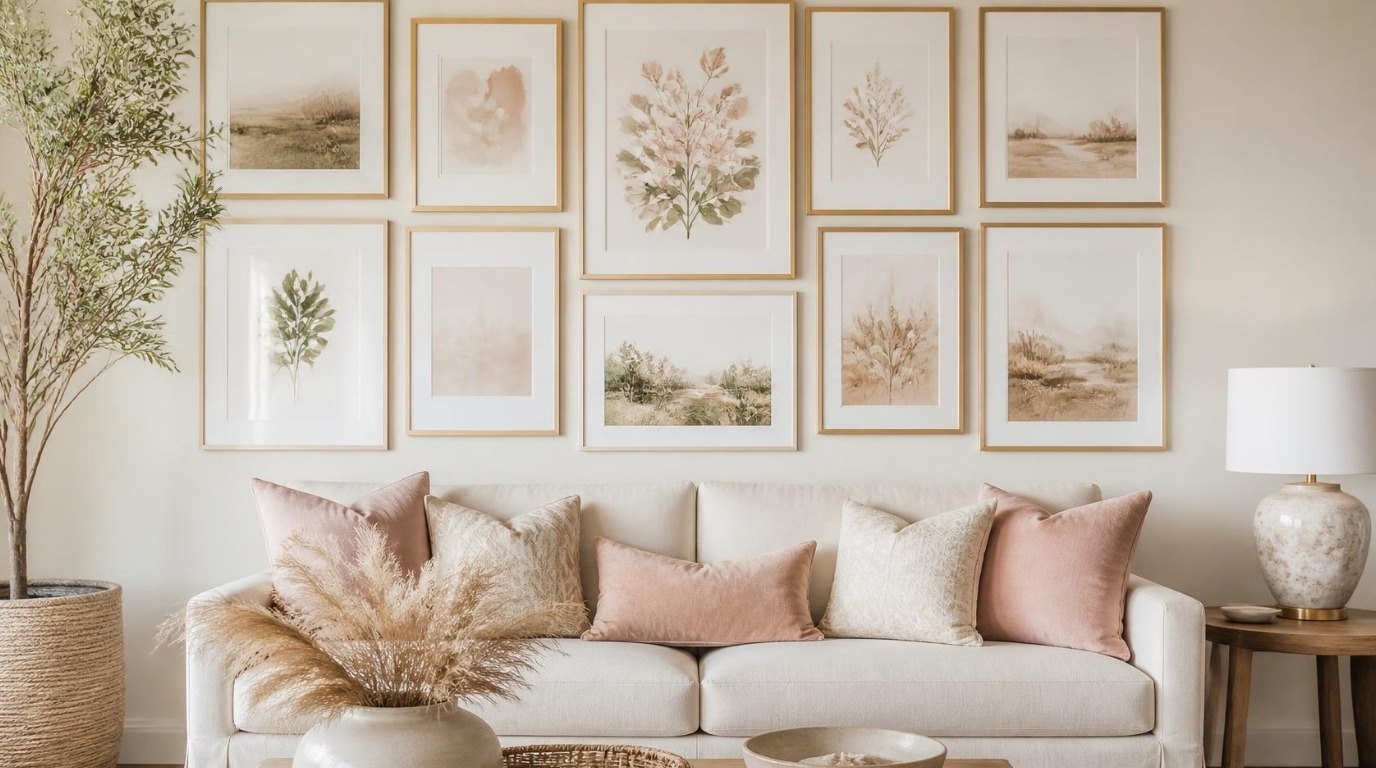
The art (or the whole group of frames) should be about two-thirds the width of the sofa. For an 84-inch sofa, that's roughly 56 inches of art. One large piece or a pair of matching frames side by side both look polished. If you have a low-back sofa, you can hang a little lower, closer to 6 inches.
Above a Bed
The same 6 to 10 inches works above a headboard. If your headboard is tall, measure from the top of the headboard; if there isn't one, measure from the top of the pillows when the bed is made, and leave a little extra room so you're not hitting the frame when you sit up to read.
Aim for art about two-thirds the width of the bed: around 40 inches for a queen and 50 inches for a king. Horizontal pieces, a pair of vertical frames or a row of three small frames all work well here.
A quick safety note: over a bed, choose lightweight frames with acrylic or plexiglass instead of real glass if you can, and always use hardware rated for well over the weight of the piece. If you live in an area with earthquakes, consider skipping heavy art above the bed completely.
Above a Console, Dresser or Mantel
Leave about 4 to 8 inches above a console table or dresser, and art about two-thirds to three-quarters of its width. Above a fireplace, there's a little more flexibility: 4 to 8 inches above the mantel shelf, and art that's slightly narrower than the mantel itself. Layering by leaning a second smaller piece in front of the hung one adds depth. My guide to mantel decor ideas has plenty of ways to style around your art.
How Big Should Your Art Be?
Undersized art is the second most common reason a wall looks "not quite right." A small frame alone on a big wall looks lost, almost like it's floating away. A few simple guidelines:
- Above furniture: about two-thirds the width of the piece below it.
- On an empty wall: art (or a group) that fills roughly 60 to 75 percent of the available wall width, leaving breathing room on both sides.
- Too small? Group it with other frames, give it an oversized mat or place it on a narrow wall, like between two windows or in a hallway.
- Not sure? Go bigger. A piece that's slightly too large almost always looks more intentional than one that's too small.
An easy way to make inexpensive prints look high-end is a large frame with a wide white or cream mat. A set of gold frames in a few sizes gives you flexibility to try different arrangements before committing.
How To Space Frames in a Group
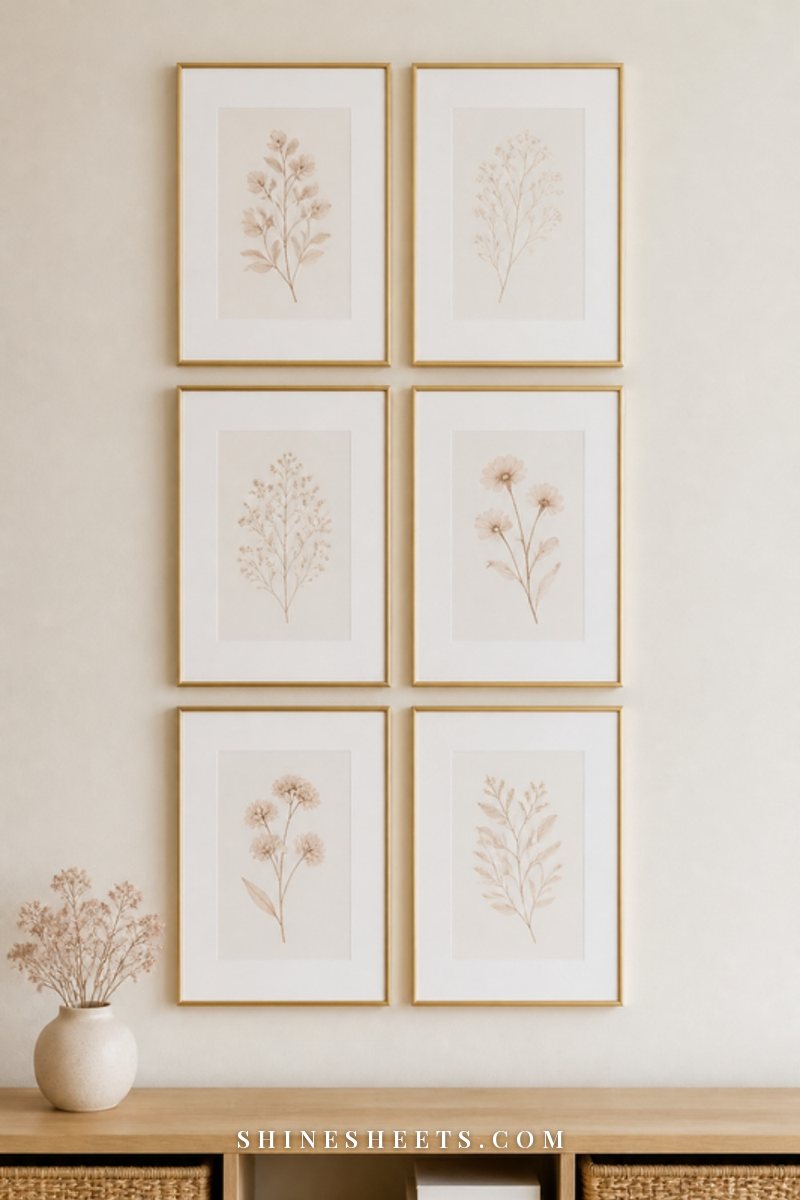
Spacing is what makes a group of frames look like one collection instead of a scattered bunch. The magic number is 2 to 3 inches between frames. Go tighter (about 2 inches) for small frames and wider (up to 4 inches) for large pieces. Whatever you choose, keep it consistent across the whole arrangement.
Grid Layouts
Matching frames in neat rows and columns look calm, modern and very polished. Use identical spacing both horizontally and vertically. Grids of four, six or nine frames work beautifully above a sofa or bed.
Salon-Style Layouts
Mixed sizes, shapes and frame finishes create a collected, personal look. The trick is to keep the outer edges of the arrangement roughly even (an imaginary rectangle around the whole group) and to put the largest piece slightly off-center as an anchor. For ideas, my guide to gallery wall ideas walks through several layouts in detail.
Pairs and Trios
Two matching frames side by side, or three in a row, are some of the easiest and most elegant arrangements. Align them along the top edge or along a central horizontal line, keep them 2 to 3 inches apart and treat them as one piece when calculating height.
Plan Your Layout With Paper Cutouts
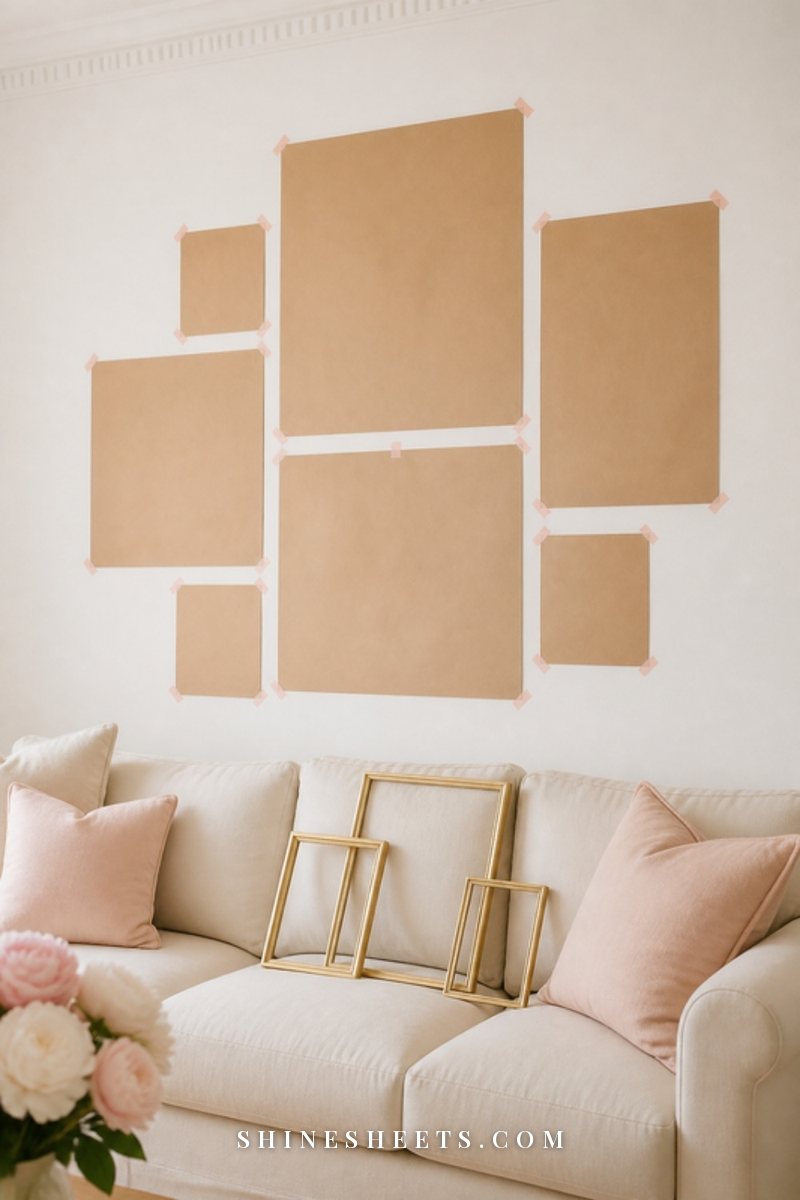
This is the step that saves your walls from a dozen extra nail holes. Before you hammer anything, make a stand-in for each frame:
- Trace each frame onto kraft paper or wrapping paper and cut it out.
- Mark where the nail or hook will go on each paper shape. Hold the frame's wire taut, measure from the top and mark the same spot on the paper.
- Arrange the shapes on the floor first until you like the layout.
- Tape them to the wall with painter's tape. Step back, look at it from across the room and from the doorway.
- Live with it for a day or two. Adjust until it feels right.
- Hammer your nails straight through the marks on the paper, then tear the paper away.
It feels like an extra step, but it's genuinely the fastest way to a perfect result, especially for groups.
Choose the Right Hardware for the Weight
Using the wrong hardware is how frames end up on the floor. Weigh your piece on a bathroom scale (weigh yourself holding it, then without it) and choose accordingly. A picture hanging kit with a range of hooks and nails is a smart thing to keep in your home toolbox.
- Under 5 lb (small frames): small finishing nails or small picture hooks, or adhesive strips on smooth, painted walls.
- 5–20 lb (most medium frames): angled picture hooks rated for the weight. These go into drywall at an angle and hold much better than a plain nail.
- 20–50 lb (large art and heavy frames): heavy-duty picture hooks, or drywall anchors rated for the weight. Use two hooks spaced apart for stability.
- Over 50 lb: screw into a wall stud, or use heavy-duty toggle anchors. Consider asking a handyman.
- Plaster, brick or tile: these need specialized hardware and a drill. Check product instructions carefully.
Before drilling or hammering, especially near outlets and switches, be aware that electrical wires and pipes often run vertically above and below them. A stud finder with wire detection is a sensible tool if you're unsure.
Renter-Friendly Ways To Hang Art
Renting doesn't mean bare walls. Many leases allow small nail holes (check yours), but if you'd rather not make any, these options work beautifully.
Adhesive Strips
Adhesive picture hanging strips are perfect for light to medium frames on smooth, painted walls. Clean the wall spot with rubbing alcohol first, press each strip firmly for 30 seconds and wait an hour before hanging the frame. Always respect the weight limit on the package, and remove them by pulling the tab straight down, slowly, along the wall.
They don't do well on textured walls, wallpaper, freshly painted walls (wait at least a week) or in steamy bathrooms.
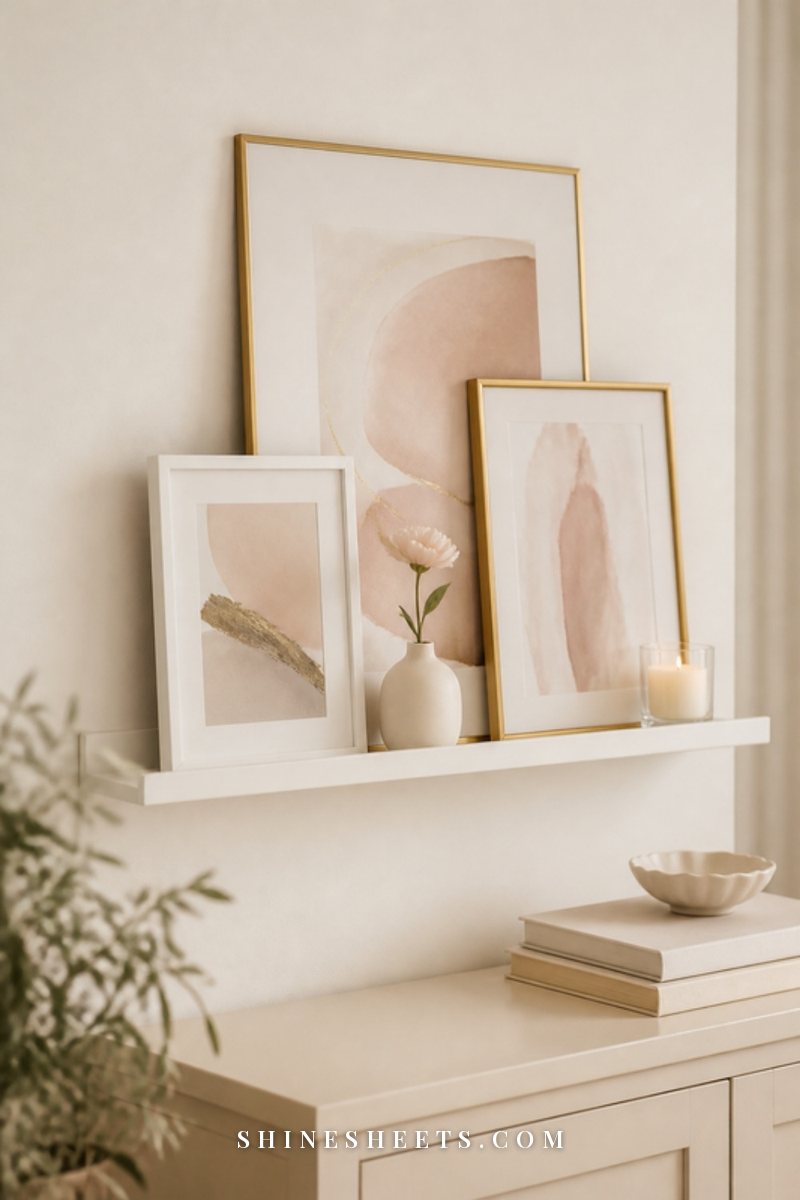
Picture Ledges
A white picture ledge shelf needs only a couple of screws but lets you change your art endlessly without new holes. Layer frames of different heights, overlap them slightly and mix in a small vase or candle. Hang the ledge with the same eye-level logic: the middle of your arrangement should land around 57 to 60 inches.
Leaning Art
Large art leaning on a dresser, console, mantel or even the floor looks relaxed and effortlessly stylish. Let the bottom of the frame sit securely, with something to stop it sliding if needed, and lean only sturdy pieces in rooms without small children or pets who might pull them down. For more ideas on styling walls without commitment, my guide to wall decor ideas is full of options.
Hanging Art in Hallways, Stairways and Tricky Spots
Not every wall is a big blank rectangle above a sofa. A few common tricky spots and how to handle them:
- Hallways: people see hallway art up close and while walking, so stick to eye level and choose a row of same-size frames hung with their centers on one line. It creates a calm, gallery-like rhythm.
- Stairways: keep the center of each frame about 57 to 60 inches above the stair it hangs over, so the arrangement climbs at the same angle as the stairs. Paper cutouts are especially helpful here.
- Narrow walls between windows or doors: one tall, vertical piece or two small frames stacked vertically fill the space far better than a wide piece.
- Corners: a small cluster that wraps around a corner can look charming in a reading nook. Keep the spacing identical on both walls.
- Kitchens and bathrooms: choose frames with glazing that can handle a little humidity, and keep art away from direct steam and splashes.
In every case, step back to where you'll usually see the wall from (the sofa, the doorway, the bottom of the stairs) before you commit. That viewpoint matters more than any single measurement.
How To Hang a Frame Step by Step
Here's the full process for hanging a single piece with a wire, from start to finish:
- Decide the spot. Use the eye-level or above-furniture rules and mark the center of where the art will go with a light pencil dot.
- Measure the frame. Note its height and the drop from the taut wire to the top edge.
- Calculate the nail height using the formula above.
- Mark the nail spot directly above your center point.
- Check for wires and pipes, then install your hook or anchor.
- Hang the frame and gently slide it left or right on the wire until it looks level.
- Level it with a spirit level or laser level.
- Add small bumpers (felt or rubber dots) to the bottom corners so it stays straight and doesn't mark the wall.
For large pieces, two hooks spaced about a third of the way in from each side keep the frame straight far better than one central hook.
Leveling Tricks
Crooked frames are one of those things you can't unsee. A few tricks make leveling easier:
- Use a laser level for groups. A laser level projects a straight line across the wall, so you can line up the tops or centers of several frames at once.
- Painter's tape guide line. Run a strip of tape along a level line and use it as your guide for a row of frames.
- Two hooks instead of one for anything wider than about 24 inches.
- Bumpers on the back corners stop frames from shifting every time a door closes.
- Trust the level over the ceiling. Older homes often have sloped ceilings or floors. If your level says straight but it looks off, nudge it slightly to look right to the eye. That's the one exception.
Art Hanging Measurements Cheat Sheet
All the key numbers in one place. Screenshot it and keep it on your phone for the next time you pick up a hammer.
| Situation | Measurement | Tip |
|---|---|---|
| Center of art on an open wall | 57–60 in from the floor | Treat groups as one piece |
| Nail height formula | 57 in + half frame height − wire drop | Pull the wire taut to measure the drop |
| Above a sofa | 6–10 in above the sofa back | Art about 2/3 of sofa width |
| Above a bed | 6–10 in above the headboard | About 40 in wide for a queen, 50 in for a king |
| Above a console or dresser | 4–8 in above the surface | 2/3 to 3/4 of the furniture width |
| Above a mantel | 4–8 in above the mantel shelf | Slightly narrower than the mantel |
| Spacing between frames | 2–3 in (up to 4 in for large pieces) | Keep it consistent |
| Art on an empty wall | 60–75% of the wall width | When in doubt, go bigger |
| Wide frames | Two hooks, each about 1/3 in from the sides | Stays level much longer |
| Adhesive strips | Press 30 sec, wait 1 hour | Smooth painted walls only |
Common Art Hanging Mistakes
- Hanging too high. The number one mistake. Bring it down to eye level.
- Art too small for the wall or furniture. Size up, group frames or add a wide mat.
- Uneven spacing in a group. Measure every gap; consistency is what makes it look intentional.
- Skipping the paper layout. It's the difference between two holes and twelve.
- Ignoring weight. A nail that holds a small print won't hold a heavy framed piece for long.
- Every frame a different color and style. Mixing is lovely, but tie it together with one repeating element, like gold frames or white mats.
- Forgetting the room's sightlines. Hang your favorite piece where you'll see it first, like across from the door or above the sofa.
Art on the walls is often the finishing touch in a room refresh. If you're giving your bedroom some love too, my guide to a bedroom makeover on a budget shows where art fits into the bigger picture.
Final Thoughts
Hanging art well comes down to a few kind, simple rules: center it around eye level, keep it close to the furniture below, size it generously and space groups evenly. Plan with paper first, choose hardware for the weight and let yourself adjust until it feels right.
Your walls are where your personality gets to show, and with the right numbers in your pocket, every frame can look exactly where it belongs.