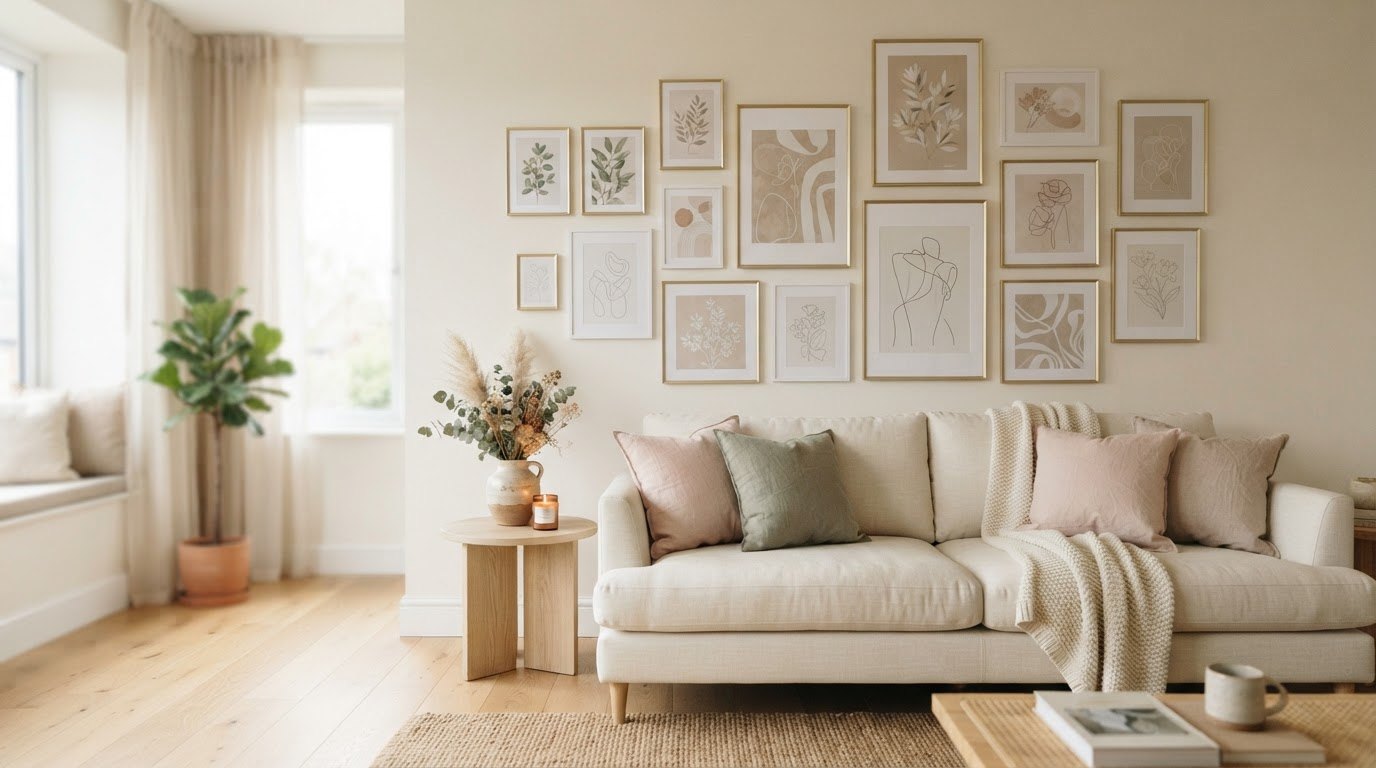
A gallery wall looks effortless only when the planning happened on the floor first. The difference between a wall that feels curated and one that feels scattered is almost never the art itself. It's the layout, the spacing and the height you hang it at.
This guide covers gallery wall ideas from start to finish: five layout recipes (with how many frames each one needs and how far apart to hang them), a spacing rules card you can screenshot, a step-by-step hanging method, ideas for what to hang beyond prints, and renter-friendly options that don't need a single nail.
The nice part is that you don't need expensive art or a design eye. You need a plan, some paper and a little patience.
Before You Start: Choose a Thread
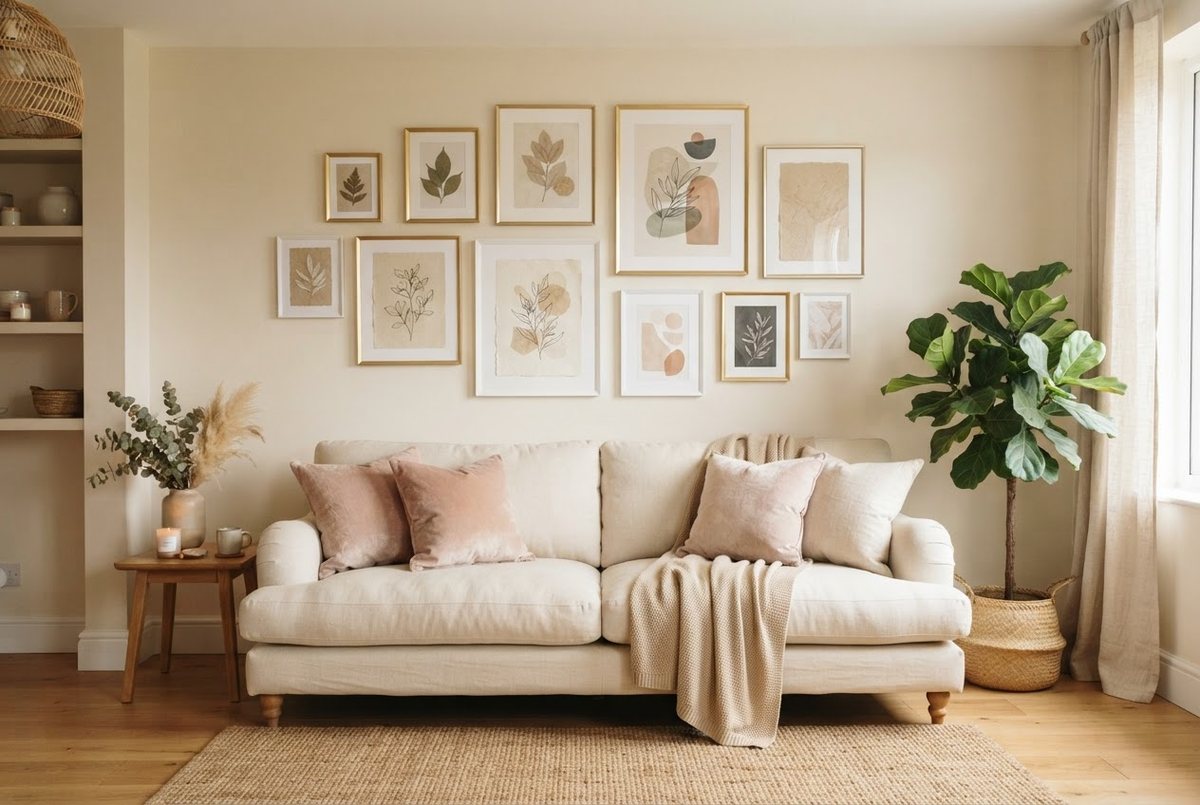
Every good gallery wall has one thing that ties it together. Without it, even beautiful pieces can look like a garage sale. Pick at least one thread, ideally two:
- Frame color. All gold, all white, all natural wood, or a deliberate mix of two finishes.
- Color palette. Prints that share two or three colors (cream, blush and sage, for example).
- Subject. Botanicals, line drawings, vintage postcards, black and white photos.
- Mat style. Wide white mats make even small, inexpensive prints look like gallery pieces.
If you already have a jumble of frames in different colors, that's fine. Make the art the thread instead: keep prints in a soft neutral palette, and the mismatched frames start to look intentional.
5 Gallery Wall Layout Recipes
These five layouts cover almost every wall in a home. Pick the one that matches your space and your personality, then use the numbers as a starting point.
| Layout | Best for | Number of frames | Spacing |
|---|---|---|---|
| Grid | Calm, modern rooms; above a sofa, bed or console | 4, 6 or 9 identical frames | 2 inches between every frame, exactly |
| Salon style | Collectors, eclectic rooms, large blank walls | 8–20 mixed sizes | 2–3 inches, kept as even as possible |
| Staircase | Stairwells and hallways with a slope | 5–12 mixed sizes | 2–3 inches, centers follow the stair angle |
| Ledge | Renters, people who change art often | 4–8 leaning pieces per ledge | Overlap allowed; 1–2 inches gap at the ends |
| Symmetric pair | Small walls, beside a window, either side of a bed | 2 matching frames (or 2 stacks of 2) | 3–5 inches between the pair |
Grid
Identical frames in neat rows. It's the most polished look and the easiest to get right, because every gap is the same. A grid of six or nine botanical prints above a sofa looks calm and expensive. Use a white picture frame set with mats so every piece matches perfectly; the mats add breathing room and make the prints feel considered.
Salon Style
The classic collected look, with mixed sizes, orientations and frames hung close together. Start with your largest piece slightly off-center, then build out around it, keeping the outer edges roughly rectangular. The trick is consistent gaps; that's what keeps a busy wall from looking chaotic.
Staircase
Follow the angle of the stairs by keeping the center of each frame about 57–60 inches above the step directly below it. Work from the middle of the staircase outward, and keep larger pieces toward the middle so the arrangement doesn't look top-heavy at either end.
Ledge
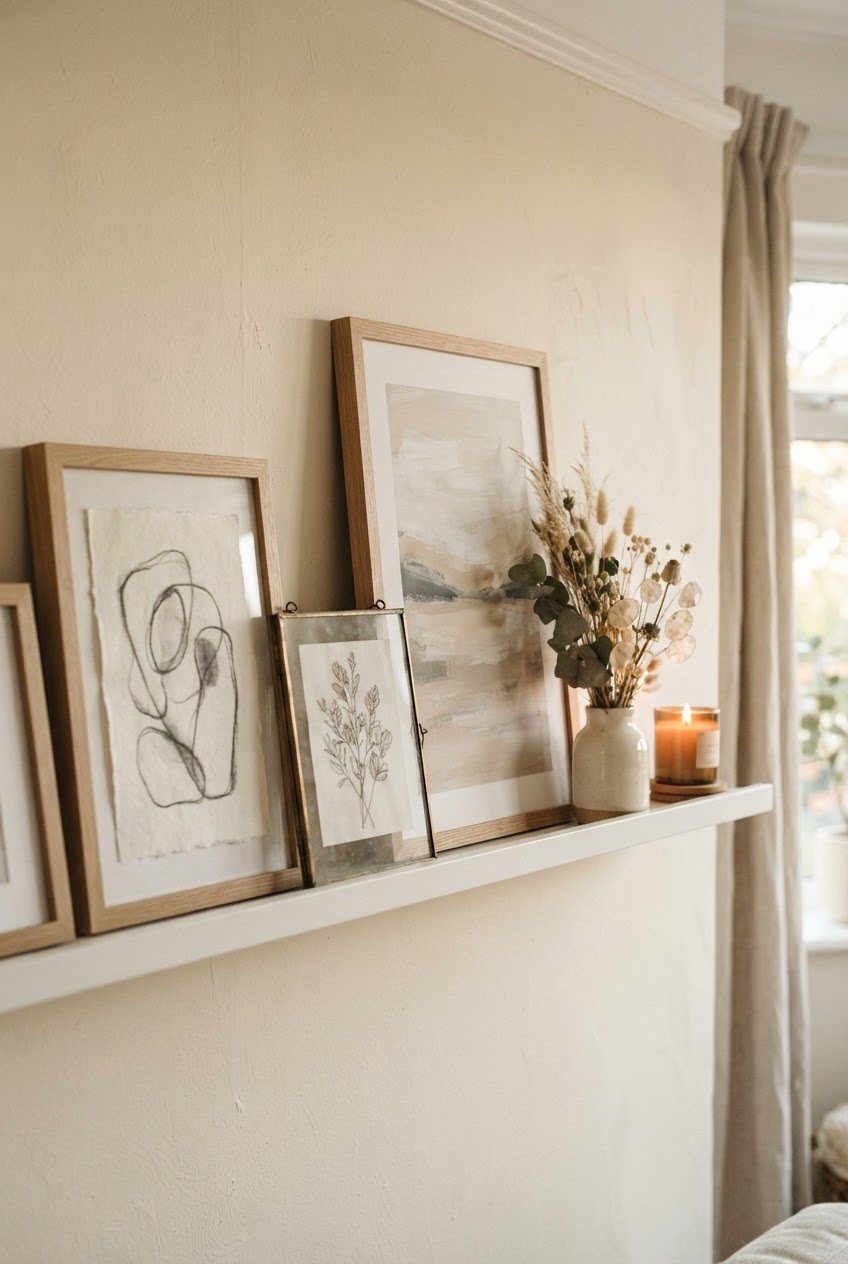
One or two shelves with art leaning on them. You can layer smaller frames in front of larger ones, mix in a vase or a candle and change everything in five minutes. A slim picture ledge shelf with a front lip keeps frames from sliding. It's also the best choice if you love rotating art with the seasons.
Symmetric Pair
Two frames of the same size, hung side by side or one above the other. It sounds simple, and it is, but it's also the most elegant option for a narrow wall, the space above a nightstand or either side of a mirror. Matching frames with different but related prints (two botanicals, two abstracts) keep it from looking stiff.
How Many Pieces Do You Need?
The right number depends on the wall, not on a rule of thumb. Measure the space you want to fill, then work backward: for a sofa that's 84 inches wide, the gallery wall should be about 56 inches wide. Six 16x20 frames in a 3x2 grid with 2-inch gaps lands almost exactly there. For a salon wall of the same width, plan one large anchor (around 18x24), two or three medium pieces and four to six small ones.
On a large empty wall, it's better to go bigger than to go more. Two oversized frames often look calmer than fourteen small ones. On a narrow wall, a vertical stack of two or three frames makes the ceiling feel higher. When in doubt, cut out your paper shapes and tape them up; your eye will tell you within a minute whether the wall wants one more piece or one less.
The Gallery Wall Spacing Rules Card
These rules are what make a gallery wall look professionally hung. Screenshot this section; you'll use it every time.
- 2–3 inches between frames. Closer than 2 and the frames crowd each other; wider than 3 and they start to look like separate pieces instead of one group. Small frames like 2 inches; larger frames can take 3.
- Center the whole group at 57–60 inches. Measure from the floor to the middle of the arrangement (not the top). This is roughly eye level and the standard museums use.
- 8–10 inches above furniture. Above a sofa, bed or console, leave 8–10 inches between the top of the furniture and the bottom of the lowest frame so they read as connected.
- Two-thirds the width of the furniture. The whole gallery wall should be about two-thirds as wide as the sofa or console below it.
- Plan with paper first. Trace each frame on kraft paper, cut it out, mark the hanging point and tape the cutouts to the wall. Live with them for a day before you make any holes.
- Use the right hanging method. Nails or hooks for heavier frames, removable strips for lightweight ones, a ledge if you want no holes at all.
If you remember just one rule, make it the 57–60 inch center. Most gallery walls that feel "off" are simply hung too high.
How To Hang a Gallery Wall Step by Step
This method works for any layout. Set aside an afternoon and don't rush the middle steps.
- Collect everything first. Gather all frames and prints before you plan. Adding pieces later is possible, but much harder.
- Lay it out on the floor. Arrange frames on the floor in front of the wall, in a space the same width as your target area. Take a photo of each version you like.
- Make paper cutouts. Trace each frame on a roll of kraft paper, cut it out and write the frame name on it. Mark exactly where the nail or hook goes by measuring from the top of the frame to the taut hanging wire or sawtooth.
- Tape the cutouts up. Use painter's tape. Step back, look from the doorway and from the sofa, then adjust. This is where the magic happens, so take your time.
- Check it's level. A small torpedo level or the level on your phone keeps rows straight. Check the top and bottom edges of the group, not only each frame.
- Hang through the paper. Put the nail or hook right through your marked point, then tear the paper away. No measuring each frame again.
- Straighten and secure. Small foam bumpers or museum putty on the bottom corners stop frames from tilting every time a door closes.
A gentle safety note: for heavy frames or anything glass above a bed or sofa, use proper picture hooks or wall anchors rated for the weight, and check for pipes or wires before drilling. Strips are lovely, but only within their stated weight limit.
Renter-Friendly Gallery Walls (No Holes)
You can absolutely have a gallery wall without losing your deposit. These options leave little or no trace:
- Removable hanging strips. Damage-free picture hanging strips work well for lightweight frames. Clean the wall with rubbing alcohol first, press firmly for 30 seconds and wait an hour before hanging. Respect the weight limit on the pack.
- Picture ledges. One or two ledges mean only a few screws instead of a dozen nail holes, and the art can change endlessly.
- Leaning art. A large framed piece leaning on a console, dresser or the floor, with a smaller one layered in front, looks relaxed and styled.
- Washi tape for unframed prints. For a dorm-style or temporary look, soft-colored washi tape at the corners holds lightweight prints and postcards.
- Clip rails and string. A simple wooden rail with clips lets you hang photos, cards and small prints in a line and swap them whenever you like.
For more ways to make a rental feel personal without big changes, my apartment decor on a budget guide is full of them.
What To Hang: 12 Gallery Wall Ideas Beyond Prints
Art prints are the easy start, but the most interesting gallery walls mix in a few unexpected pieces. Aim for mostly flat art plus one or two pieces with texture or shape.
- Neutral art prints. Abstracts, botanicals and line drawings in cream, beige, blush and sage are the backbone of a calm wall. A set of neutral botanical art prints gives you a matching palette from day one.
- Your own photos. Black and white or softly edited photos from trips and ordinary days. Converting them all to the same tone ties them together.
- Vintage postcards and maps. Small, inexpensive and full of character. Group them in matching frames with wide mats.
- Pressed flowers. Flowers from a bouquet you loved, pressed in a floating glass frame. Beautiful and personal.
- Textiles. A small woven piece, an embroidered hoop or a scrap of vintage fabric in a frame adds softness among the glass.
- Decorative plates. Hung with plate hangers, a few ceramic plates add round shapes to a rectangular grid. Mix them into a salon wall or hang a cluster of three.
- Small mirrors. One small round or arched mirror bounces light and breaks up all the frames. Keep it to one so it reads as an accent.
- Handwritten notes and letters from family. Framed, a few lines in a loved one's handwriting become heirlooms.
- Children's or friends' drawings. In good frames with mats, a simple sketch looks surprisingly artful.
- Wall baskets. Woven baskets add texture and depth, especially on large walls where frames alone feel flat.
- A small shelf. One tiny shelf inside the arrangement, holding a bud vase or a candle, makes the wall three-dimensional. My trinket shelf ideas have plenty of ways to style it.
- Concert tickets, letters and keepsakes. Put small mementos in a shadow box so they're protected and given proper attention.
How To Choose Frames and Mats
Frames do more work than most people expect. The same print can look like a poster or like gallery art depending on what goes around it.
- Go a size up and add a mat. An 8x10 print in an 11x14 frame with a white mat looks far more expensive than the same print edge to edge. The mat gives the eye a place to rest.
- Limit yourself to two finishes. Gold and white, wood and black, or white and natural oak. Three or more finishes almost always looks accidental.
- Keep frame widths similar. Thin frames next to chunky ones fight each other. If you mix, mix on purpose, with one chunky frame as the anchor piece.
- Think about glass. Acrylic fronts are lighter and safer above beds and in kids' spaces. Glass looks crisper but adds weight, which matters for strips and ledges.
- Buy sets when you can. A matching set of thin gold picture frames in mixed sizes gives you a built-in thread for a salon or grid wall and costs less than buying frames one by one.
A small honest admission: I find the framing part the most fun, and I've learned to stop myself from buying frames before the layout is planned. Plan first, shop second, and you'll end up with exactly the sizes you need.
Gallery Wall Ideas by Style
If you're not sure what look you're going for, these four directions are easy to build and hard to get wrong:
- Soft neutral. White or oak frames, wide mats, cream and beige abstracts, a couple of line drawings. Calm, airy and perfect for small rooms.
- Old Hollywood. Black and white photographs, thin gold frames and one small vintage-style mirror. A little glamour above a vanity or dresser.
- Cottage botanical. Pressed flowers, vintage botanical prints, a woven basket and natural wood frames. Lovely in a bedroom or kitchen.
- Soft pastel. Prints in blush, baby blue, lavender and pastel yellow in white frames. Cheerful without being loud, especially when the wall around it stays white. If you love a rosy palette, my pink room decor ideas show how to keep it grown-up.
Whichever direction you choose, keep about one in five pieces a little unexpected (a plate, a basket, a small textile). That one surprise is what makes people stop and look.
Gallery Wall on a Budget
A full wall of art can add up quickly, but it doesn't have to. Thrift stores are full of solid frames you can spray paint white or gold. Calendars, old books with illustrated plates and museum gift-shop postcards make lovely, inexpensive prints. Your own photos printed at a local shop cost very little. And you can start small: hang three or four pieces now, leave room in your paper plan, and add the rest over a few months as you find pieces you love.
Where To Put a Gallery Wall
Almost any wall works, but some spots are made for it:
- Above the sofa. The classic. A grid or salon layout two-thirds the sofa's width.
- Above the bed. Lighter frames only, and securely hung. A symmetric pair or a small grid feels restful.
- Hallways. A long, low line of frames turns a pass-through space into something worth walking down slowly.
- Staircases. The staircase recipe from the table, built from the middle out.
- A reading corner. A small salon arrangement above a chair makes a corner feel like a destination. My reading nook ideas pair well with this.
- Home office. A ledge of rotating art or mood images keeps a work wall inspiring without distraction.
Common Gallery Wall Mistakes
- Hanging too high. The most common one by far. Bring the center down to 57–60 inches.
- Too small for the wall. A few tiny frames on a big wall look lost. Either add more pieces, choose larger mats or move the group to a smaller wall.
- Uneven gaps. Gaps that vary from 1 inch to 6 inches make the eye jump around. Pick a number and stick to it.
- No anchor piece. Salon walls need one larger piece to organize around. Without it, everything competes.
- Skipping the paper step. It feels like extra work, but it saves so many holes. Thirty minutes with kraft paper beats an afternoon of patching.
If you'd like your gallery wall to be part of a whole-room look, my aesthetic room decor ideas help you pull colors and textures together around it.
Final Thoughts
A gallery wall is one of the most personal things you can put in a home. It doesn't need rare art or a big budget, only a thread that ties it together, consistent spacing and a center at eye level.
Start with one layout from the table, cut your paper shapes and let the wall come together slowly. The pieces you choose will tell your story better than any single print ever could.