Most wood furniture doesn't need more product. It needs less. That cloudy film on your dining table, the sticky feel on a dresser top, the streaks that come back no matter how much you buff – they're usually leftover polish, spray and soap, not dirt. Clean wood is mostly about a soft cloth, very little water and knowing what your finish actually wants.
This guide covers how to clean wood furniture and polish it without leaving residue: how to figure out your finish with a quick hidden-spot test, a simple routine for dusting and wiping, why buildup happens and how to remove it, five polishing options matched to different finishes, and easy spot fixes for water rings, light scratches and candle wax.
It's a calm, gentle routine. Your furniture will look warmer and feel smoother, and you'll probably end up using fewer products than before.
First, Figure Out Your Wood Finish
The finish is the protective layer on top of the wood, and it decides almost everything: how much moisture the surface can handle, which polish helps and which one causes trouble. Most furniture falls into one of four groups:
- Sealed (lacquer, polyurethane, varnish). The most common finish on modern and mass-produced furniture. It forms a hard, smooth layer, often with a slight sheen. Water beads on top.
- Waxed. Common on antiques, vintage pieces and handmade furniture. Soft, low sheen, sometimes slightly tacky in warm weather. A fingernail drawn lightly across a hidden area may leave a faint mark.
- Oiled. Often seen on Scandinavian-style, teak and solid oak pieces. Matte and natural looking, with the wood grain you can almost feel. Water darkens it slightly before it soaks in.
- Unfinished or raw. No protective coat at all. Feels dry and slightly rough, and absorbs water quickly, leaving a darker spot.
If you have paperwork from the store or the maker, check it first. Otherwise, the hidden-spot test below will tell you most of what you need.
The Hidden-Spot Test
Choose a spot nobody sees: the back of a leg, the underside of a tabletop, the inside of a drawer front. Then:
- Add one drop of water and wait 1–2 minutes. If it beads, the finish is likely sealed. If it slowly darkens the wood and soaks in, it's likely oiled. If it soaks in almost immediately and leaves a dark mark, it's probably unfinished.
- Look at the sheen in good light. High or even shine suggests lacquer or polyurethane; a soft, deep glow suggests wax; a flat, natural look suggests oil.
- Blot it dry with a soft cloth right away.
Use that same hidden spot to test any new cleaner or polish before you go near the top of the piece. Wait 24 hours and check for cloudiness, stickiness or color change. It feels fussy, but it's the single best habit for keeping wood looking lovely.
Wood Finishes at a Glance
Here's the core of this guide in one table. Screenshot it and keep it handy for the next time you're standing in front of a dresser wondering what on earth to use.
| Wood finish | How to clean | What to polish with | What to avoid |
|---|---|---|---|
| Sealed (lacquer, polyurethane, varnish) | Dry or barely damp microfiber cloth; mild soap and water for grime, then dry right away | Usually nothing; a silicone-free polish only occasionally if you want extra shine | Wax on top of a hard finish, silicone sprays, soaking wet cloths, abrasive pads |
| Waxed | Dry dusting; a barely damp cloth for spots, dried immediately | A thin coat of paste wax or beeswax balm once or twice a year, then buff | Water left on the surface, all-purpose sprays, heat, oil-based polish over the wax |
| Oiled | Dry or barely damp microfiber; a drop of mild soap in water for grime | A thin coat of a light furniture oil when the wood looks dry or pale | Heavy coats of oil, waxes that seal the surface, silicone sprays |
| Unfinished or raw | Dry dusting and a soft brush; spot-clean very carefully with a barely damp cloth | Nothing, unless you decide to finish it properly | Water, soaps, sprays, oils or waxes without testing first |
When in doubt, treat a piece as delicate: dry dusting only, until you've done the hidden-spot test.
Your Gentle Wood Cleaning Kit
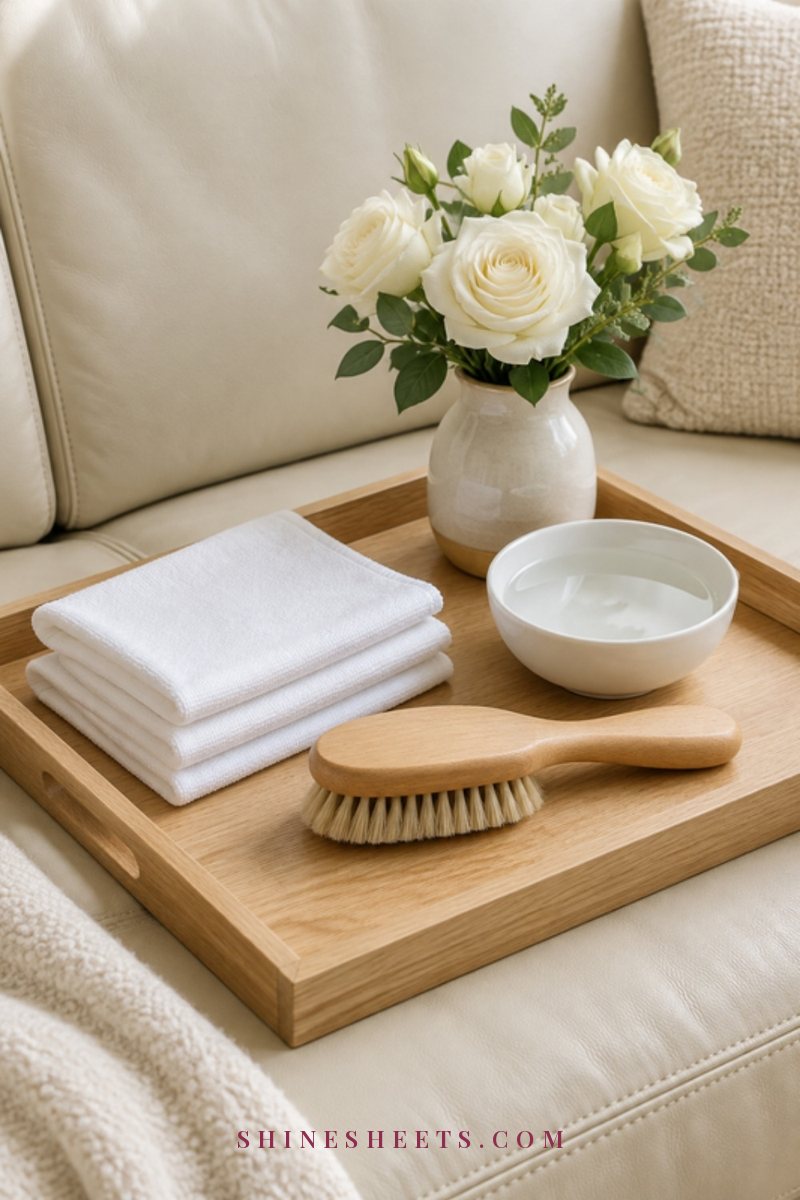
You need very little, and none of it is expensive:
- Microfiber cloths. A set of soft microfiber cloths is the base of everything: they grab dust instead of pushing it around and need only a touch of water. Keep a few just for wood so they don't carry leftover cleaners from the kitchen.
- A soft duster. A lambswool duster is lovely for carved details, chair spindles and the tops of tall cabinets. Shake it out outside after each use.
- Cotton cloths for buffing. A few white cotton buffing cloths (old cotton T-shirts work too) leave no lint and are ideal for the final polish.
- Mild, fragrance-free dish soap and a bowl of lukewarm water.
- Gloves for anything stronger than soap, and an open window for good airflow.
- One polish that matches your finish – more on that below.
Routine Dusting: The Step That Does Most of the Work

Dust is a little abrasive. Left to settle and then wiped around, it slowly dulls the finish with fine scratches. Regular dusting with the right cloth prevents most of the problems people try to fix with polish later.
- Clear the surface so you're not just dusting around objects.
- Use a dry microfiber cloth for most pieces. If dust is heavy or flies around, mist the cloth (never the furniture) with plain water so it's barely damp – it should feel almost dry to the touch.
- Wipe with the grain, in long, light strokes. Fold the cloth into quarters and turn it to a fresh side as it fills up.
- Use the duster for carvings, legs and edges.
- Buff dry with a second clean cloth if you used any moisture.
How often: once a week for surfaces you use every day, every two weeks for the rest. If your home seems to make dust faster than you can wipe it, these habits that actually reduce dust at home make a real difference.
A small tip: skip feather dusters and dry paper towels on wood. Feathers mostly move dust around, and paper can be scratchy on soft finishes.
How To Wipe Away Grime With Mild Soap and Water

Sometimes dusting isn't enough: fingerprints on a dresser, a sticky patch on the dining table, hand oils on chair arms. For sealed, oiled and well-maintained waxed finishes, this is the gentlest deeper clean:
- Mix the solution. Add 2–3 drops of mild dish soap to about 2 cups of lukewarm water. That's it – more soap means more residue.
- Dip and wring hard. Dip a microfiber cloth and wring it until it's only damp, not dripping. This is the most important part.
- Wipe a small section with the grain, about the size of a placemat at a time.
- Rinse-wipe. Go over the same section with a second cloth dampened in plain water and wrung out well, to lift any soap.
- Dry immediately with a clean cotton cloth. Don't let water sit for more than a minute or so, and never let it pool in joints or seams.
For unfinished wood or delicate antique wax, stick to dry dusting and spot-cleaning with a barely damp cloth, and ask a furniture restorer about anything valuable.
If you prefer simple cleaning in general, my guide to natural cleaning that actually works explains which everyday products are gentle and which combinations are never safe to mix.
Why Residue Builds Up on Wood Furniture
If your furniture looks smeary, cloudy or slightly sticky (and shows every fingerprint), buildup is almost always the reason. The usual culprits:
- Too much polish, too often. Polish is meant to be applied in thin layers every few months, not every week. Layer upon layer turns into a soft film that attracts dust.
- Silicone sprays. Many aerosol furniture sprays contain silicone oils that give instant shine but sit on the surface, smear easily and can make future refinishing harder.
- Oil soaps left on. Wood soaps can leave a waxy, dulling film if they aren't rinsed and dried properly.
- All-purpose kitchen sprays. They're not designed for wood and can leave streaks or, over time, soften some finishes.
- Wax on top of a sealed finish. Wax can't soak into lacquer or polyurethane, so it just sits there, smudging.
- Too much water. Moisture that dries on the surface leaves minerals and cloudiness behind.
How To Remove Sticky Polish Buildup
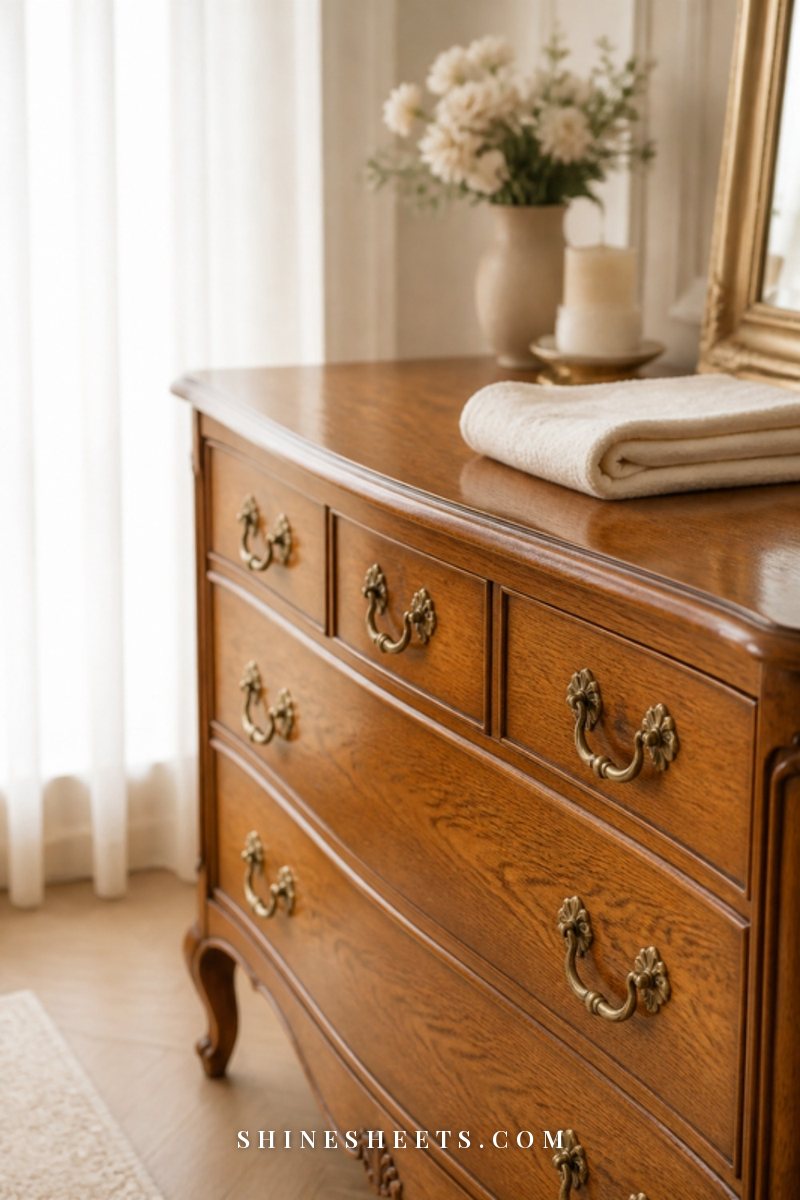
Go gentlest first, and test every step on your hidden spot.
- Start with the soap-and-water wipe above. For light buildup on a sealed finish, it's often enough. You may need two rounds, drying well between them.
- Buff hard with a dry cotton cloth. Firm, quick strokes with the grain warm up and spread soft polish film so it lifts onto the cloth. Switch to a clean section often.
- For heavier wax or polish buildup, a dedicated wax remover or a little odorless mineral spirits on a soft cloth will lift it from most sealed and waxed finishes. Wear gloves, open a window, work a small section at a time, and wipe with a dry cloth right after. Don't use it on unfinished wood or anything you're unsure about, and keep it away from candles or any open flame.
- Let the surface rest for a few hours before deciding whether it needs any polish at all. Many sealed pieces look best with nothing on top.
If the film doesn't budge or the finish itself looks cloudy, cracked or worn through, that's a finish problem rather than residue, and a professional furniture restorer is the right next step, especially for antiques.
5 Ways To Polish Wood Furniture by Finish
Polishing isn't cleaning – it's the final protective touch, and it only needs to happen occasionally. Choose one option based on your finish and keep the coats thin.
1. Furniture Wax for Waxed Wood
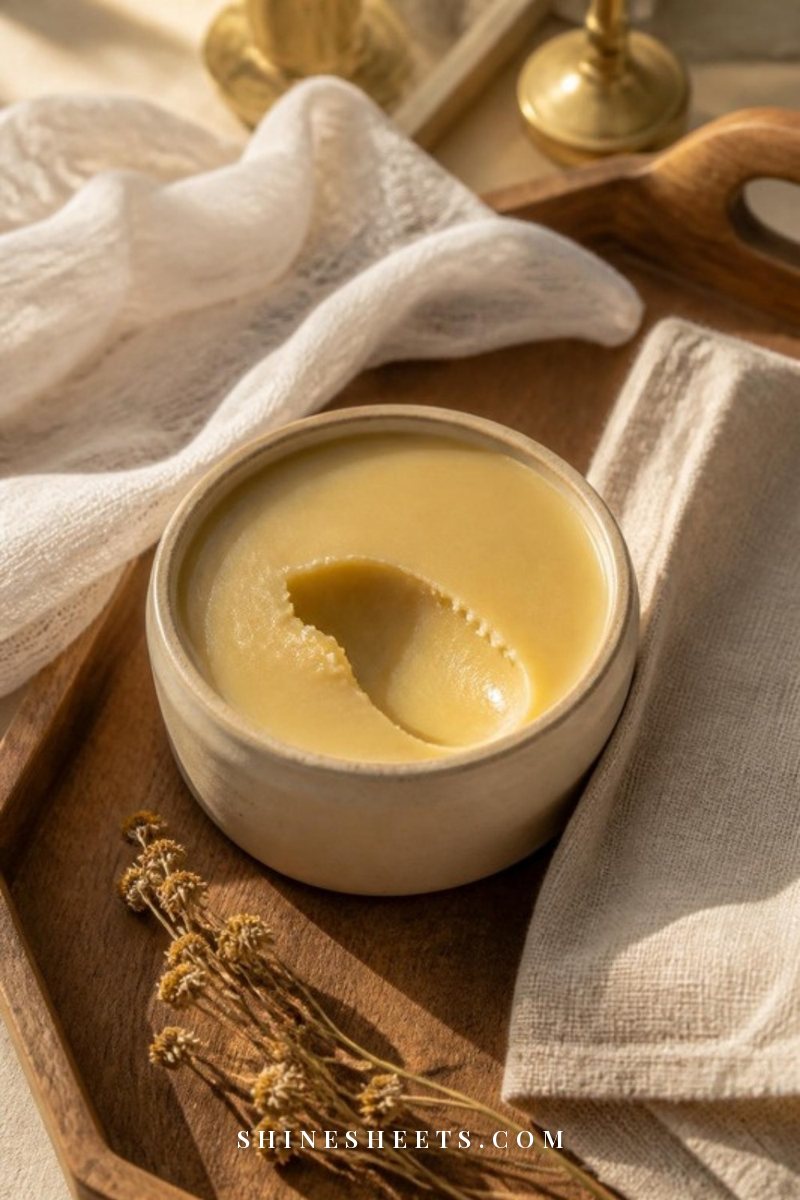
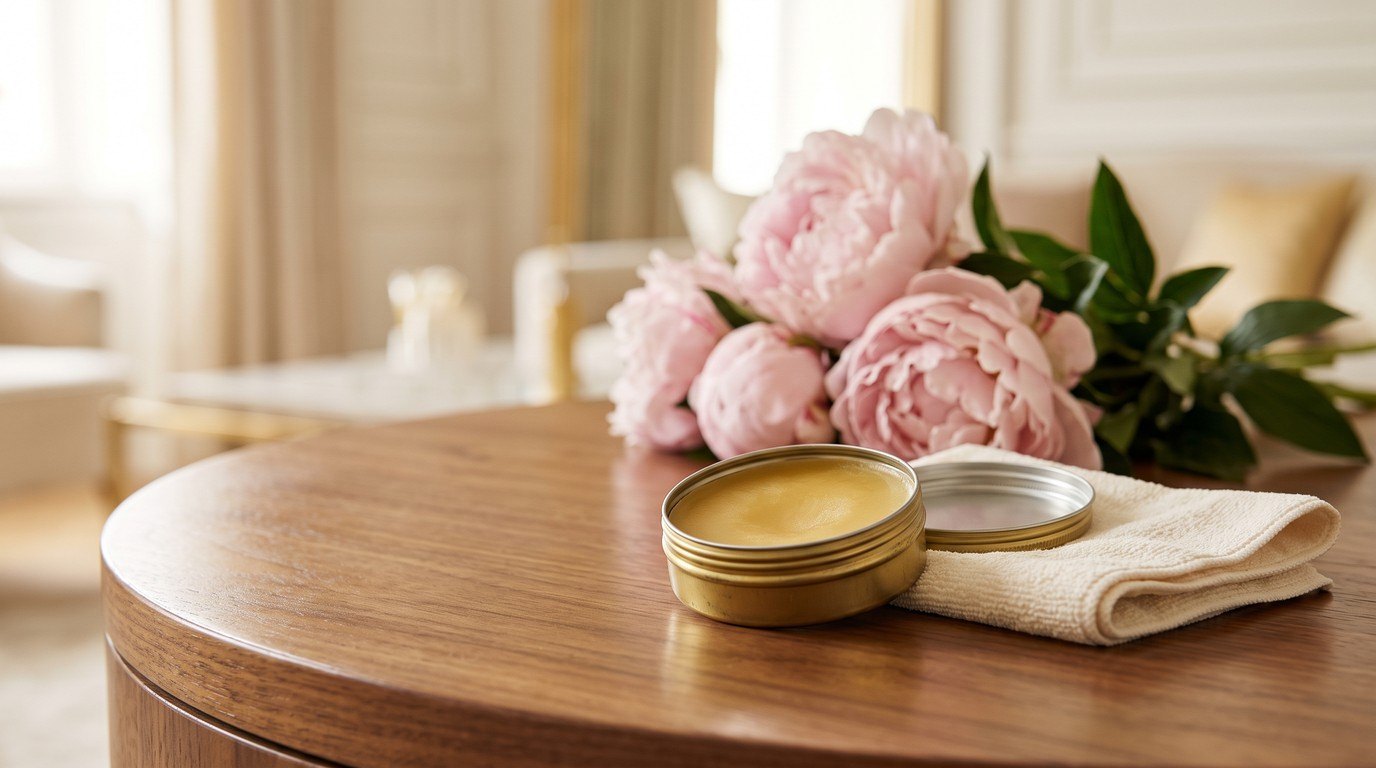
For pieces that already have a wax finish (and for many antiques), a thin coat of paste wax renews the soft, deep glow and adds a little protection.
How to do it: make sure the surface is clean and completely dry. Apply a pea-sized amount of wax or a natural beeswax wood balm to a soft cotton cloth and rub it in with the grain in a very thin layer. Let it haze for about 10–15 minutes (check the product's directions), then buff with a clean cloth until it feels smooth, not tacky. How often: once or twice a year is plenty.
2. A Light Oil for Oiled Wood
Oiled finishes slowly dry out and look pale or thirsty, especially on tabletops. A light furniture oil made for oiled finishes brings back their depth.
How to do it: apply a small amount to a cloth, not directly onto the wood. Rub it in with the grain, wait about 15–20 minutes, then wipe away every bit of excess with a dry cloth. Any oil left on the surface turns sticky. How often: when the wood looks dry, usually every few months. A safety note: cloths soaked in some drying oils can heat up as they dry, so lay used rags flat outside to dry before throwing them away.
3. A Silicone-Free Polish for Occasional Shine
If you love a little extra shine on a sealed piece, choose a polish that clearly says it's silicone-free. It gives a fresh look without the slippery film that causes smears and buildup.
How to do it: spray or pour a small amount of silicone-free furniture polish onto a cloth (not the furniture), wipe with the grain, then buff with a clean dry cloth. How often: once every month or two at most. Between polishes, just dust.
4. Buffing With a Soft Cloth
This is the option people forget: a well-cared-for surface often only needs a good buff. Friction alone smooths existing wax or oil and brings up the natural sheen.
How to do it: take a clean, dry cotton or microfiber cloth and buff with the grain in brisk, light strokes for a minute or two per section. It works on every finish except raw wood. How often: whenever you like – it's a lovely finishing step after weekly dusting.
5. Nothing at All for Sealed Surfaces
Here's the permission you might need: most sealed furniture (lacquer, polyurethane, many modern veneers) doesn't need polish at all. The finish is already the protection. Adding products on top mostly creates film.
What to do instead: dust weekly, wipe with barely damp soapy water when it's grimy, dry it, and buff. That's the whole routine. If the finish looks dull even when clean, it may simply be worn, and that's a refinishing question rather than a polishing one.
Spot Fixes for Common Wood Problems
Small marks happen to every lived-in home. Here's how to handle the most common ones gently. Always try the mildest fix first and test on a hidden area.
Water Rings

White or cloudy rings usually mean moisture is trapped in the finish, not the wood, and they're often fixable:
- Wait and dry. Fresh rings sometimes fade on their own within a day as the moisture escapes.
- Gentle warmth. Hold a hair dryer on the low or warm setting about 6 inches away, moving constantly, for a few minutes at a time. Stop as soon as the ring starts to fade, and never let one spot get hot.
- Buff afterward with a dry cloth, and add a thin coat of the right polish if the piece is waxed or oiled.
Dark rings mean water has reached the wood itself. These are much harder to fix at home and are worth showing to a furniture restorer. Prevention is easier: keep coasters within reach, and if you're styling a table, my coffee table styling formula includes a tray, which quietly protects the wood too.
Light Scratches
For surface scratches in the finish (not deep gouges):
- Clean the area first so dust doesn't get pressed into the scratch.
- Buff with polish or wax that suits the finish – a thin coat often makes fine scratches nearly disappear.
- Use a furniture touch-up marker or wax stick in a matching shade for slightly deeper scratches. Test the color on a hidden spot, go one shade lighter if unsure, and wipe away excess quickly.
Deep gouges, cracks or missing veneer are jobs for a professional, especially on pieces you love.
Candle Wax

A little dripped wax is easy to lift if you're patient (I love glass candles partly because they keep this from happening, but it still sneaks out sometimes):
- Let it harden. Hold an ice cube in a zip-top bag on the wax for about 1–2 minutes to make it brittle.
- Lift it gently with a plastic card, like an old gift card, held almost flat. Never use a knife or metal scraper.
- Soften any thin leftover film with a hair dryer on low for a few seconds and wipe with a soft cloth right away.
- Buff and, on waxed or oiled finishes, add a thin coat of polish to even out the sheen.
For wax on fabric, glass or other surfaces around the house, my guide on how to remove candle wax from fabric, wood and glass covers each one.
Safety Notes for Cleaning Wood
- Never use bleach on wood. It can lighten, dry and damage both wood and finish.
- Never mix bleach with vinegar or ammonia (or with other cleaners at all), as the combinations release harmful fumes.
- Wear gloves for anything stronger than mild soap, including mineral spirits and polishes.
- Ventilate. Open a window when using polish, wax removers or oils, and keep them away from candles and open flames.
- Test every new product on a hidden spot and wait 24 hours.
- Skip steam cleaners, abrasive pads and harsh multi-surface sprays on wood furniture.
- Store products closed, upright, and out of reach of children and pets.
A Simple Wood Care Routine
Put it all together and the routine is wonderfully short:
- Weekly: dry or barely damp dusting, with the grain, then a quick buff.
- Monthly or as needed: a mild soap-and-water wipe for fingerprints and grime, dried right away.
- Every few months: a thin coat of oil for oiled wood, or a silicone-free polish for sealed pieces if you want shine.
- Once or twice a year: wax for waxed furniture, and a calm look at every piece for rings, scratches or dry spots.
- Every day: coasters, placemats, and no hot dishes directly on the wood. Keep furniture out of strong direct sunlight and away from radiators where you can.
Wood floors follow similar rules (less water, the right product, no buildup), so if you're in the mood to keep going, here's how to clean hardwood floors without damaging them.
Final Thoughts
Beautiful wood furniture isn't about the shiniest spray or the most products. It's about knowing your finish, keeping water to a minimum and letting a soft cloth do most of the work.
Start with one piece you love, give it a gentle clean and a good buff, and enjoy how much warmer it looks. The rest of your home can follow one table at a time.